


skeetoids
Established Member
Hi,
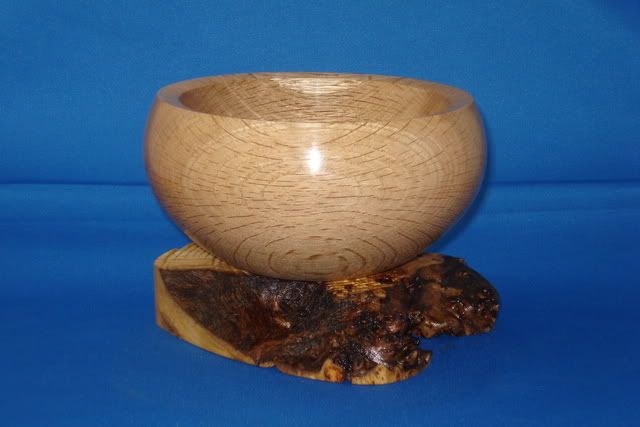
Made from Oak on Poplar Burr base, 140mmx70mm or 140mmx100mm including base.
Bowl sealed and sanded back then finished with Chestnut Mycrocrystaline Wax, base finished with boiled linseed oil:
Normal view:
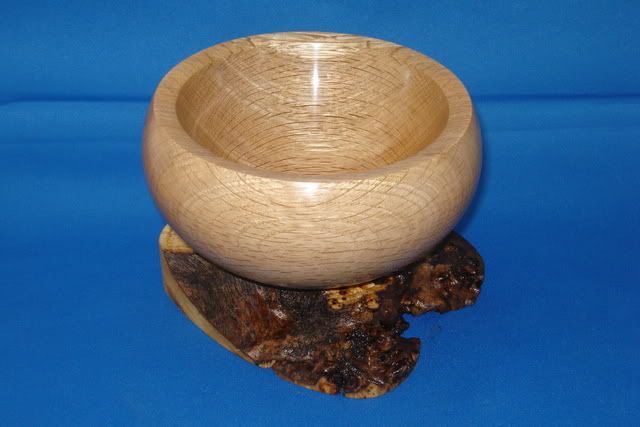
Top down view:
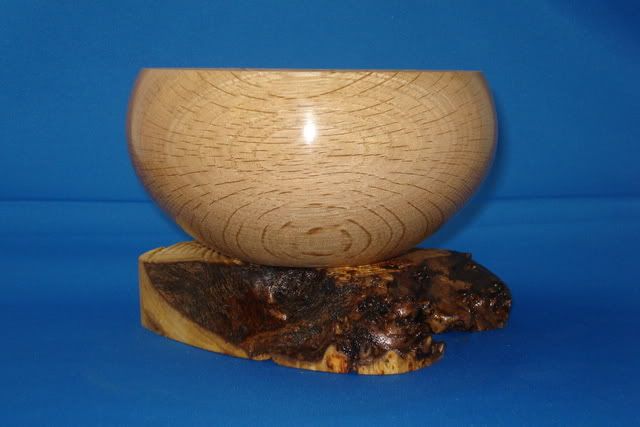
Profile view:
Many thanks for looking,
Lee.")
Made from Oak on Poplar Burr base, 140mmx70mm or 140mmx100mm including base.
Bowl sealed and sanded back then finished with Chestnut Mycrocrystaline Wax, base finished with boiled linseed oil:
Normal view:
Top down view:
Profile view:
Many thanks for looking,
Lee.