Bowed board

UKworkshop.co.uk

Help Support UKworkshop.co.uk:

This site may earn a commission from merchant affiliate links, including eBay, Amazon, and others.
I'd recommend more than a thick bead of glue. It doesn't always spread as much as you'd expect even under pressure. I'd cover both faces 100%. Palette knives are good - easy to clean even when glue gone hard.
 
Hi Jacob. It was a thick bead of glue on each side, spread evenly with a bit of whatever came to hand. I’m sure there was enough glue applied.
 
It's not the quantity it's the coverage. A very thick bead won't necessarily spread over both faces even under pressure. A small amount spread 100% on both faces is likely to stick better. Ideally when cramped up there should be a thin bead of glue showing all along the glue line both sides to show you've got 100% coverage. In practice it's never that neat but you should have surplus glue needing wiping off with a wet rag before it goes off.
 
Yep, that basically describes what I had in terms of squeeze out. I spread the glue evenly along the edges. Both mating faces were completely covered. I always saturate both surfaces like this when I’m doing a glue up as a little extra glue costs very little when compared to the risk of joint failure. As for cleaning the squeeze out up with a wet rag: I think that has pros and cons to it. If you can’t rinse the rag adequately then you risk the just spreading dilute pva around your work. Not such a big deal on a top like this one which will get planed and probably sanded but for fiddly bits like where the apron joins the leg then I’ll need to do something else.
 
Which beggars the question how exactly DO you avoid glue smears around apron/leg joints, or more to the point M&T's? I've made tables with M&T's in the past where I thought I'd cleaned off all the excess glue, only to find out once a finish is applied, wasn't the case at all. Very frustrating!
 
PVA needs wiping/washing off with damp rag very quickly or it starts to settle in. Some fine sanding, scraping, even planing, may still be necessary later when its gone right off.
 
On my last project I actually finished the pieces before gluing it up, I found the layer of Danish oil prevented the PVA from permeating into the timber.
Obviously with this method you have to be carful not to get finish on the mating faces where you actually want the glue to penetrate.

EDIT: Nice looking job btw, looking forward to seeing the WIP thread.

Also as a side note, has anyone ever tried routing a channel into the back side of a bowed board and gluing in a strip of timber whilst clamping the board flat? Effectively forming a localised lamination. If this was done in the underside of the coffee table top to inlayed piece wouldn't be seen.
 
Tape or pre-finishing the parts will work, I usually leave the squeeze out and cut/scrape it off when it goes rubbery.
Easer than wet cloth smearing the glue every where and affecting wood.

Pete
 
JSW":54t6acci said:
Which beggars the question how exactly DO you avoid glue smears around apron/leg joints, or more to the point M&T's?
One method is to cut the joints so that there's excess space somewhere in there to act as glue reservoirs. Over-deep mortises provide this, as does undercutting the shoulders if there are any. Not sure why this isn't more often done but drilling a hole through the tenon would as well, obviously this reduces the glue surface area a bit but not enough to be important I would have thought.

You can as mentioned tape all adjacent surfaces and this works well, but I think that's a terrible faff. Pre-finishing (wholly or partially) does the same basic thing, the glue doesn't go onto the wood itself, and I think it works in to a build procedure much more naturally.

If you wipe up wet you've got to be thorough about it. One wipe is often/usually not enough. You can wipe very carefully once, then wipe away again – with a clean cloth! – then do one last pass over a wider area just for security. Using warm water rather than cold makes a big difference. Some also swear by adding in a drop or two of Fairy to the water.

An alternative to wiping with damp cloths is to use sanding dust to absorb the excess glue. You dust or brush it on generously then scrub carefully away with a stiff-bristled brush. I've found this to be especially useful on open-grained woods like oak because it gets into the recesses the way a damp cloth might not.

JSW":54t6acci said:
I've made tables with M&T's in the past where I thought I'd cleaned off all the excess glue, only to find out once a finish is applied, wasn't the case at all. Very frustrating!
Worst time to find it! You probably know this already but dampening the wood around the joint ahead of time will preview any glue spots that still need to be dealt with.
 
ED65":3683sjhr said:
I've found this to be especially useful on open-grained woods like oak because it gets into the recesses the way a damp cloth might not.

Yes that appears to be the problem more often than not. My usual method is to use an angled scraper drawn down the grain to remove the bulk of the squeeze-out, then rags dampened in warm water to get rid of any residue, the glue gets into the grain though, and while I 'think' I've removed it all, in reality there's still a trace of the glue left behind.

I have an L shaped computer desk to make soon, probably on a M&T framework, will be more thorough after reading the comments here, Thanks again!
 
Racers":eq3qsn8g said:
I usually leave the squeeze out and cut/scrape it off when it goes rubbery.

Pete

I always try to do this but invariably get involved doing something else and forget so end up having to scrape it off with the Stanley no80!!
 
For M&Ts, I have on hand whole load of unused coffee stirrers (When in Pret I help myself to a few spares). When glueing up the mortice and tenon I spread the glue into the mortise, and onto the cheeks of the tenon (not into the shoulder, which being end grain will not do alot). I close the mortice up so that I can just fit the 'lolly' stick in to the gap, and wipe off the glue being careful to not get any on what will be a finished face. I then close and clamp the joint with no squeeze out, but confidence that there is enough glue on the faces down the 'ole to keep it all together.
 
I’ve used a Stanley #112 in the past actually and that works well on fully cured PVA. Makes a woolly mess of softwood though, if that’s what your piece is built with.
 
JSW":11yy50aq said:
ED65":11yy50aq said:
I've found this to be especially useful on open-grained woods like oak because it gets into the recesses the way a damp cloth might not.

Yes that appears to be the problem more often than not. My usual method is to use an angled scraper drawn down the grain to remove the bulk of the squeeze-out, then rags dampened in warm water to get rid of any residue, the glue gets into the grain though, and while I 'think' I've removed it all, in reality there's still a trace of the glue left behind.

I have an L shaped computer desk to make soon, probably on a M&T framework, will be more thorough after reading the comments here, Thanks again!
Warm water with washing up liquid and a toothbrush, followed by T towel. Has to be done promptly before it starts going off and quickly to avoid water soaking in.
 
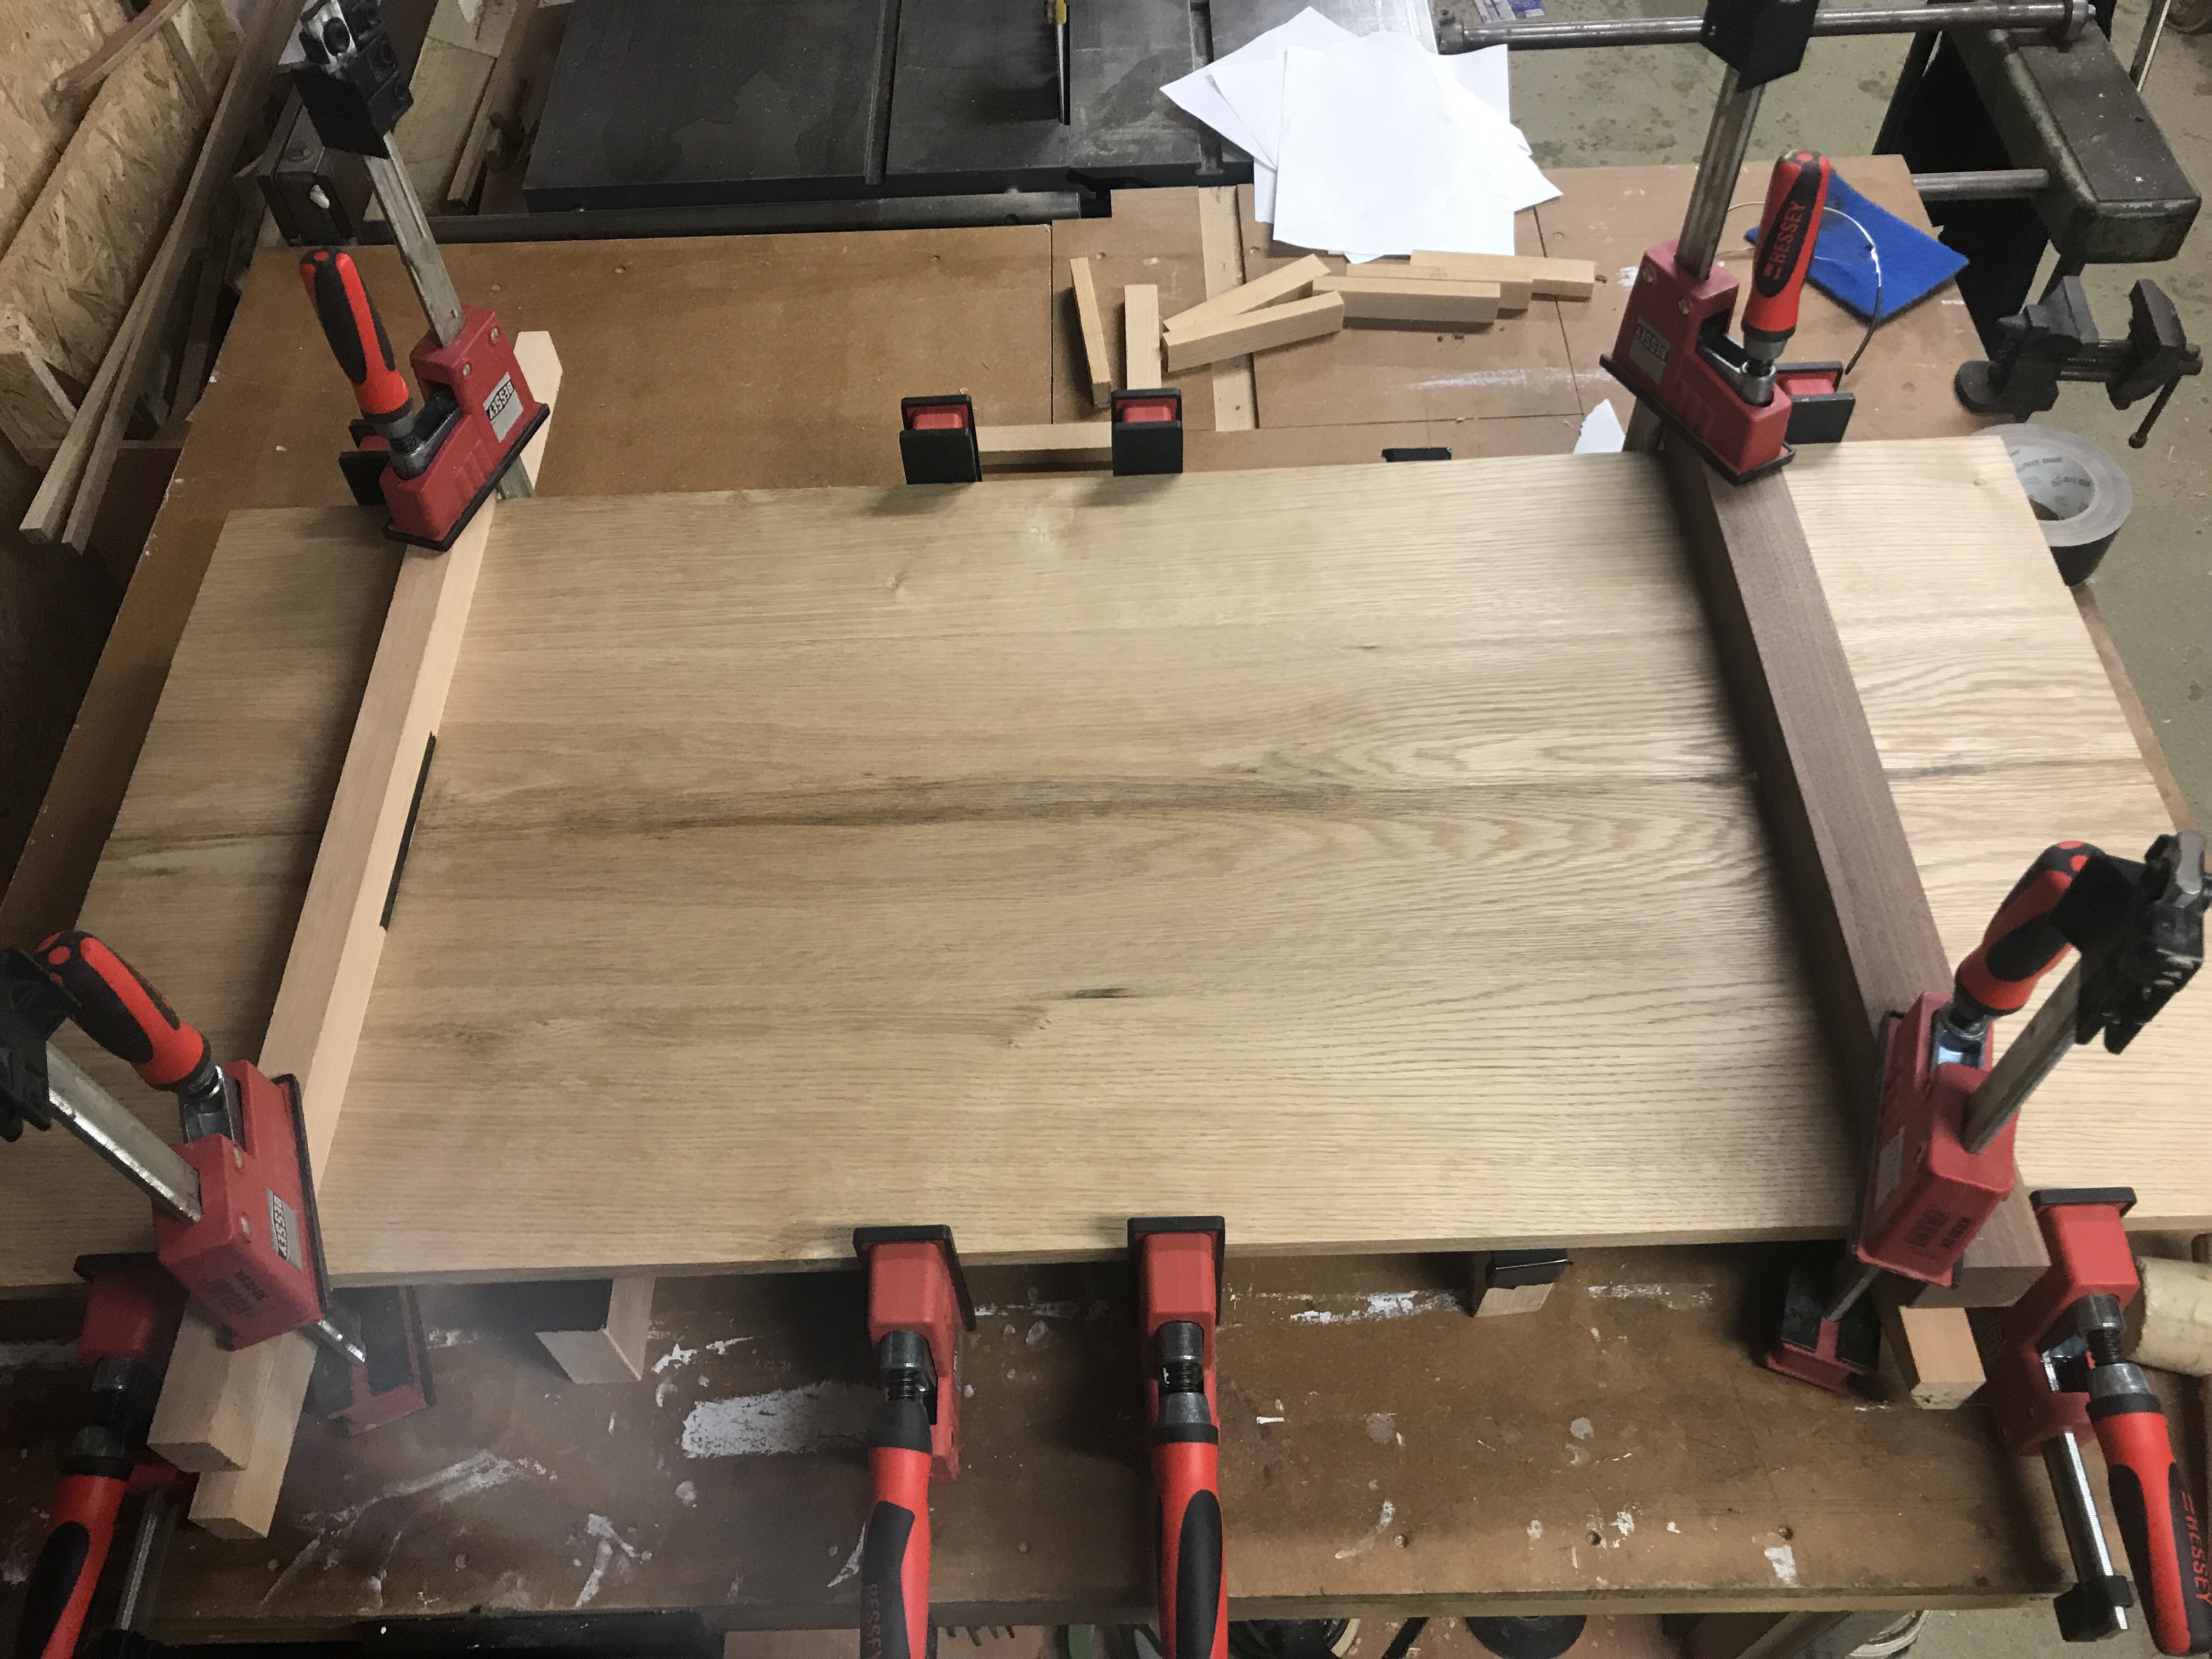
Thanks again for the input everyone. I managed to get a bit of shed time tonight so I glued the two sub assemblies together. In my dry run I found my cramp pressure was crowning the boards so I used some cauls to keep things in place and went for it:

NxgbapQ.jpg


I’ll open a WIP thread in the projects section once I get some more shed time (hopefully this weekend).
 
Tidy work Memzey. Using bearers for this glue-up was a sensible approach, they allowed you to slip cauls on, sighted across like winding sticks they guarantee a flat reference surface, and if you'd been using traditional steel sash cramps they'd have been essential to prevent iron staining the workpiece.
 
Back
Top