Ironballs
Established Member
I've had this box sitting around in component form for around 18 months now, it was supposed to be a dry run for one I finished 14 months ago 
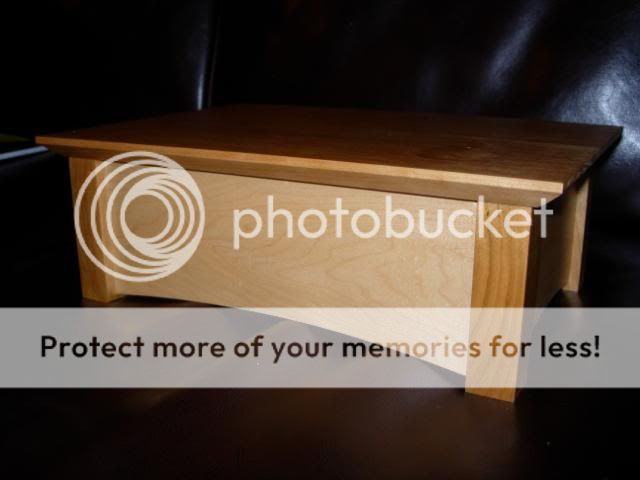
Anyway got round to finishing it off recently, it's a dead simple english cherry leg, maple sides, american cherry top box with a ply bottom and no hinges.
Here's a quick WIP and some finished pics, must upgrade my camera to a digital SLR and find something better to photo on than a dark leather sofa. I have a long weekend ahead to do the man maths
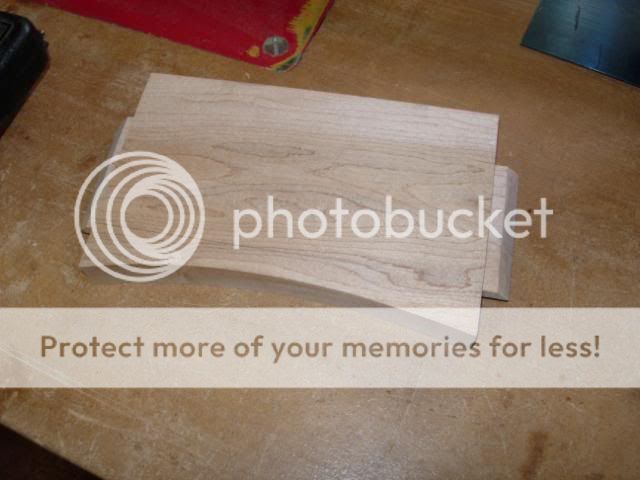
Legs are simple square stock with mortices sunk into them, this here shows a side with chamfered tenon, routed slot and spokeshaved curve on the bottom
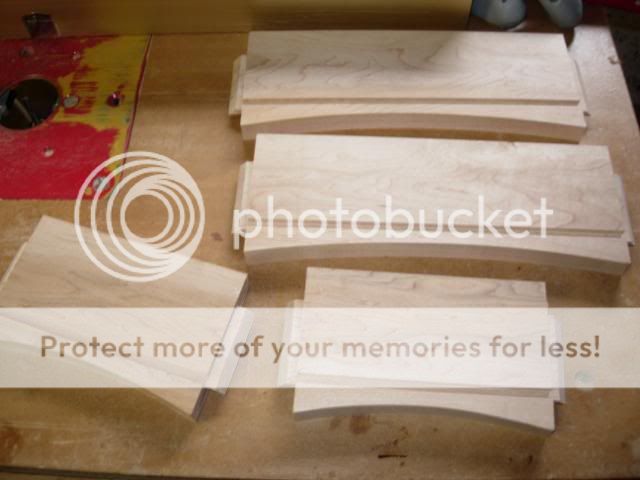
The other rails
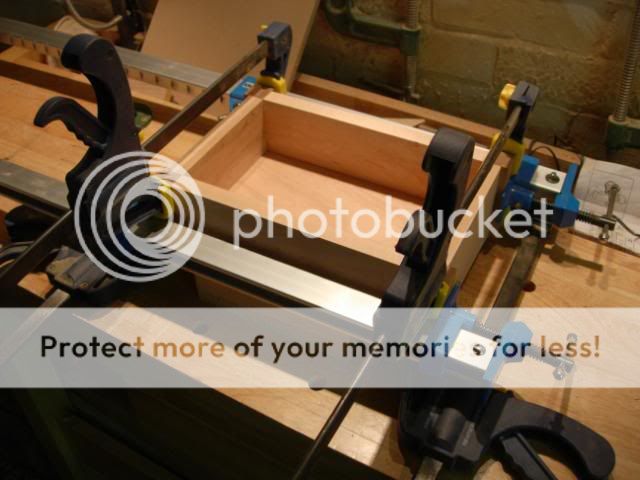
From there it was straight to the glue up - I somehow managed to not take a photo of the bit where I realised I had glued a leg in upside down. That was a frantic 2 minutes
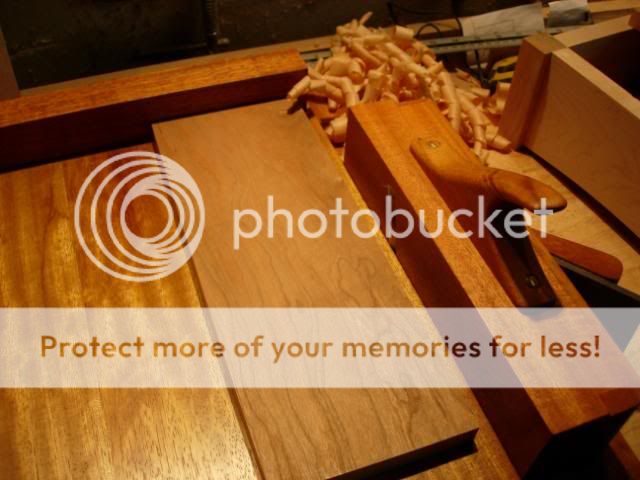
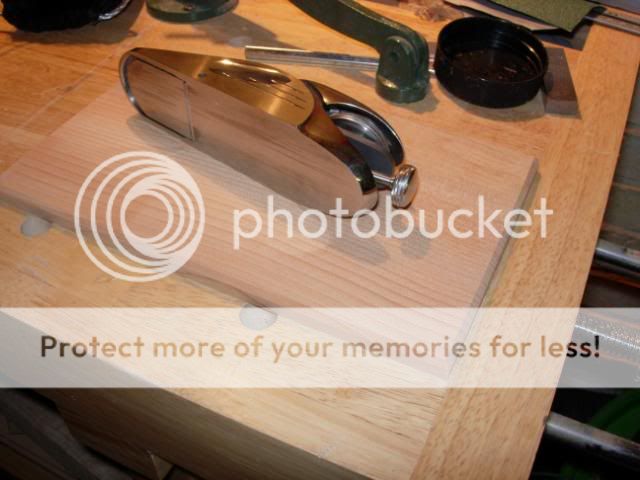
Bit of work with the trusty Philly plane to shoot in the 2 halves of the lid
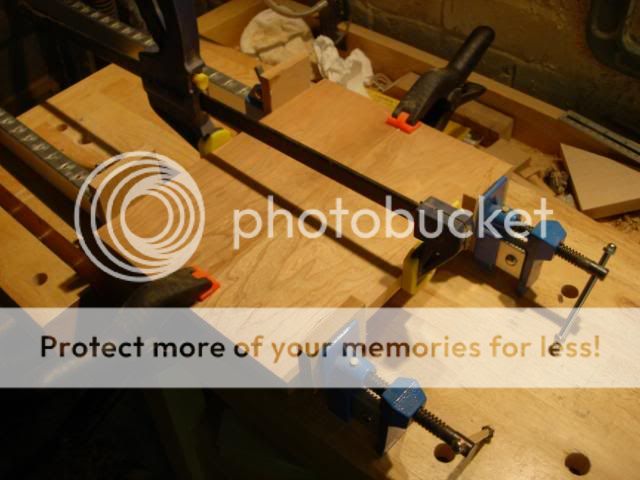
Bit of glueing
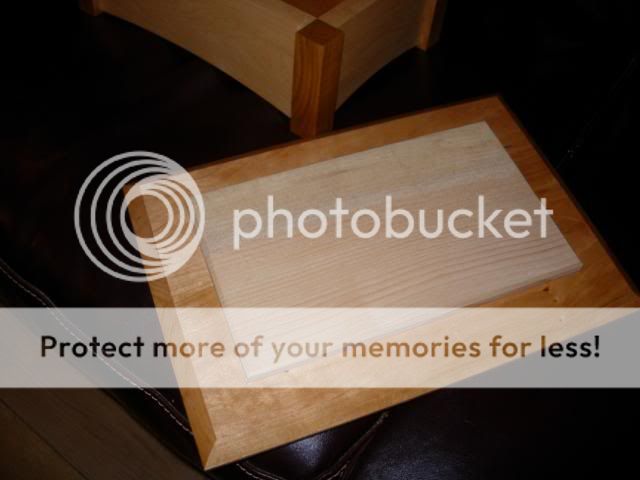
As the lid is not hinged I needed a way of holding it in place, decided to make an insert that fitted the inner dimensions. I used a piece of quartered cedar which I would leave unfinished to impart a lovely smell to the box that would be released each time it was opened. Put a chamfer on the edges to ease it in, block plane rather than router
Insert was glued in place using the Dulux Mk1 paint tin clamp. From there it was masking up the cedar and spraying up with Behlen satin finish lacquer. 2 coats and cut back with 320 grit before the final coat. Et voila


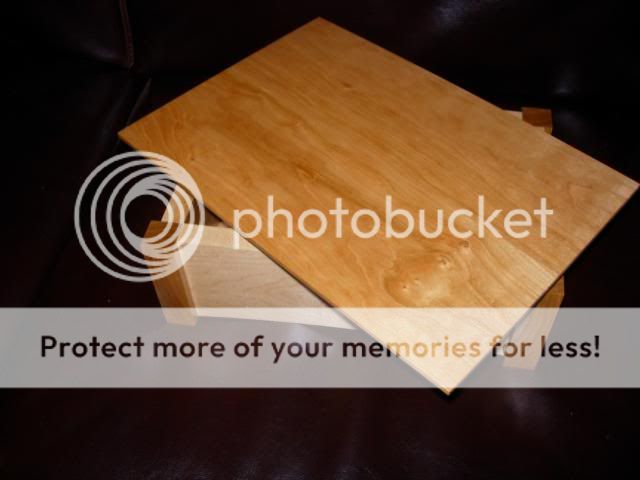
And sat on top of big daddy who provided some of the inspiration
Anyway got round to finishing it off recently, it's a dead simple english cherry leg, maple sides, american cherry top box with a ply bottom and no hinges.
Here's a quick WIP and some finished pics, must upgrade my camera to a digital SLR and find something better to photo on than a dark leather sofa. I have a long weekend ahead to do the man maths
Legs are simple square stock with mortices sunk into them, this here shows a side with chamfered tenon, routed slot and spokeshaved curve on the bottom

The other rails

From there it was straight to the glue up - I somehow managed to not take a photo of the bit where I realised I had glued a leg in upside down. That was a frantic 2 minutes

Bit of work with the trusty Philly plane to shoot in the 2 halves of the lid

Bit of glueing

As the lid is not hinged I needed a way of holding it in place, decided to make an insert that fitted the inner dimensions. I used a piece of quartered cedar which I would leave unfinished to impart a lovely smell to the box that would be released each time it was opened. Put a chamfer on the edges to ease it in, block plane rather than router

Insert was glued in place using the Dulux Mk1 paint tin clamp. From there it was masking up the cedar and spraying up with Behlen satin finish lacquer. 2 coats and cut back with 320 grit before the final coat. Et voila


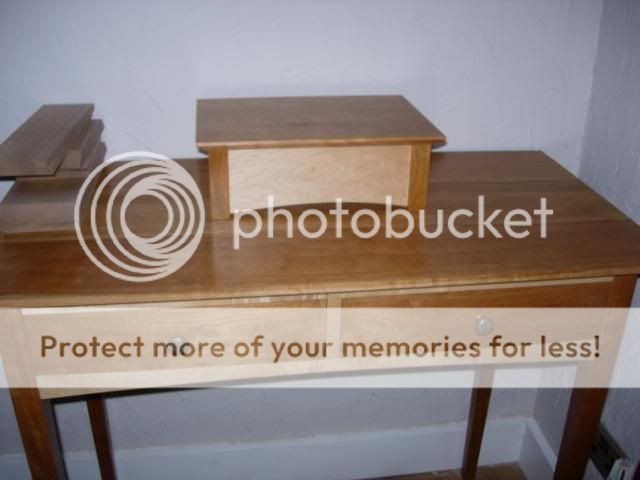
And sat on top of big daddy who provided some of the inspiration


