Okay then, little bit of background. Been mountain biking for years and only bought a complete bike a couple of times, I normally prefer to have my own built using the parts I want and know will work. Then a couple of years ago I read an article in the excellent Singletrack magazine which described the ventures of a couple of chaps who went on a frame building course run by the highly respected frame builder Dave Yates. To cut a long story short I read the article about a billion times and eventually booked onto the course, which I did in May last year.
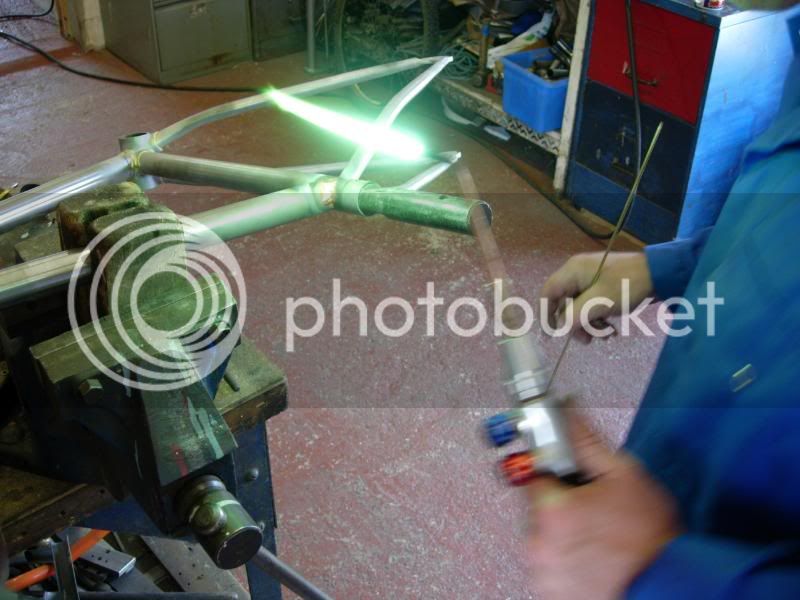
You build a steel framed bike brazed together with brass then built up with brass fillets. I built a mountain bike designed so that it could be run with an 8spd hub gear or even single speed if I lose my mind. Tubing is Reynolds 853, this is high performance strong thin walled and butted tubing that hardens after the application of heat. We used an oxy-acetylene torch which had the ability to burn through the steel in about 10 seconds if you weren't paying attention.
My last experience of metal working had been at school where I made some very unimpressive items - though I still have the trowel! Bit nervous then, but very excited.....
After getting sized up by Dave using his patented Mk 1 eyeball we pulled a selection of tubes from his large range and arrived at step 1, a box full of metal tubes, some dropouts for the wheels and a mild steel cast bottom bracket shell. Step 2 was make a brew, Dave was very keen we learnt this step. The first step was simple, put a plain half moon mitre into the seat tube, introduce to the bottom bracket shell you've just hand sanded clean of surface rust, put a bit of flux in there and then spark up the torch. Get told off by Dave for having too little oxy and too much acetylene and covering the workshop in carbon bits. Sweaty palms time, as I heat my first bit of bike to a cherry red colour. Bit of a mess this one but you start to see in action what Dave has been explaining to you. The steel surface has to be wetted by the heat so that brass flows and sticks, very weird when you see it.
After having a go on scrap it was time to mitre the down tube to fit the head tube. No mucking about here you need a big slice of man pie, pick up a hack saw, cut a semi circle, check the rough fit, then select the biggest file (half moon) and start removing metal. The trick is to take bold sweeps and keep checking progress. Very satisfying when it comes together, doesn't take long to pick up either
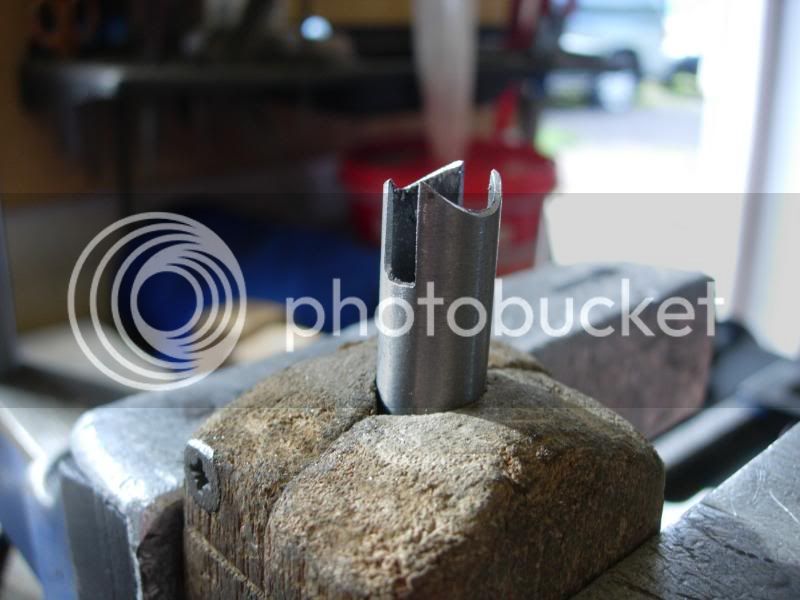
Dave had said at the beginning there will be no H&S lecture, assume everything is hot and don't point your lit torch at anyone (only 2 on the course a time). He also said you will cut yourself, you will get burnt, no one has made it through unscathed. I'll be the first I thought, until I met this little feller and lost concentration at the end of the day. Filing those very sharp points I slipped and embedded one in the thumb. Not good, blood rusts bare steel, must protect frame. This is a chainstay end, slotted and shaped to take a dropout and fill with brass.
More brazing, this time the dropout I had filed, with brazing more brass is good as it fills the joint. Tricky one to do as the points heat up very quickly and will melt if you keep the heat on them. Quickly learn to direct the heat and flick over the areas you want, brass will follow the heat so you play follow my leader with the torch. Looks messy, will clean up
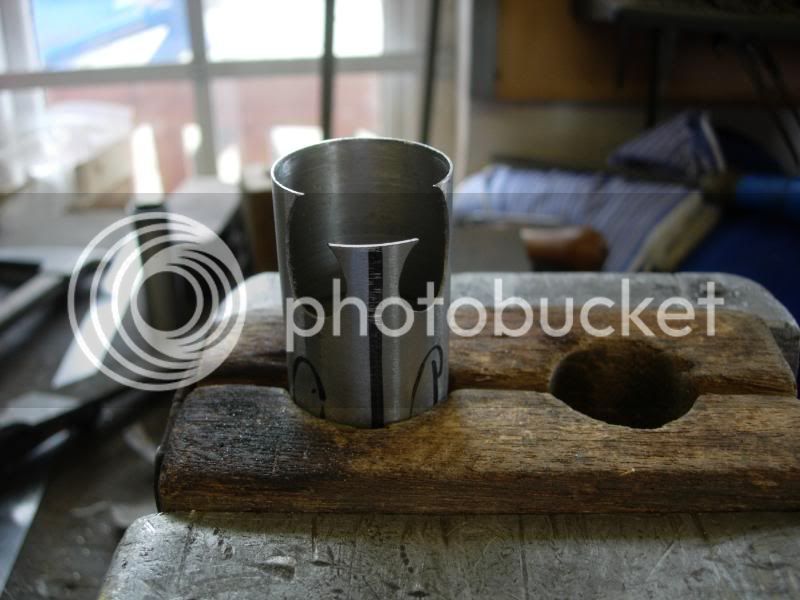
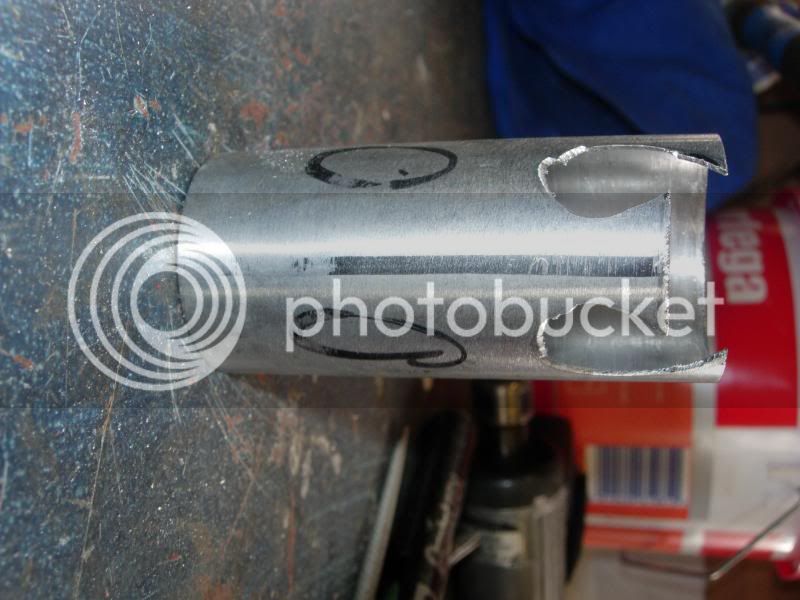
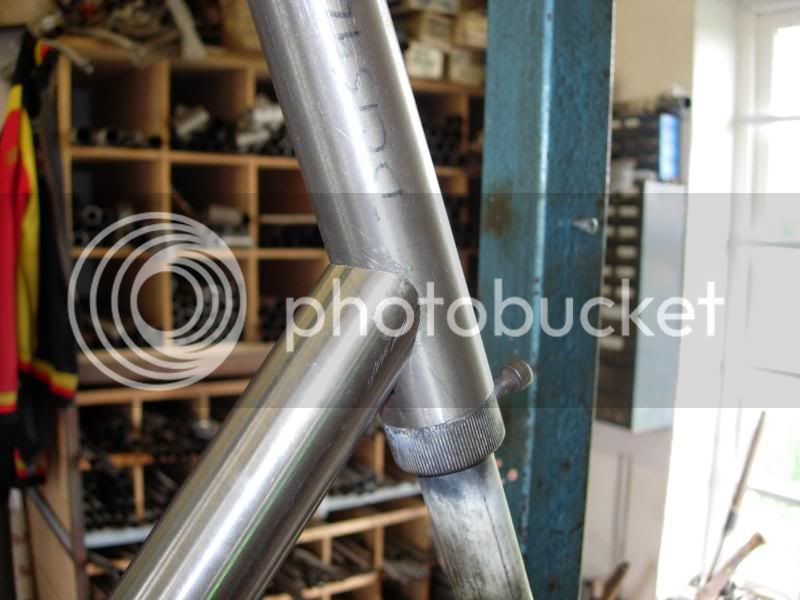
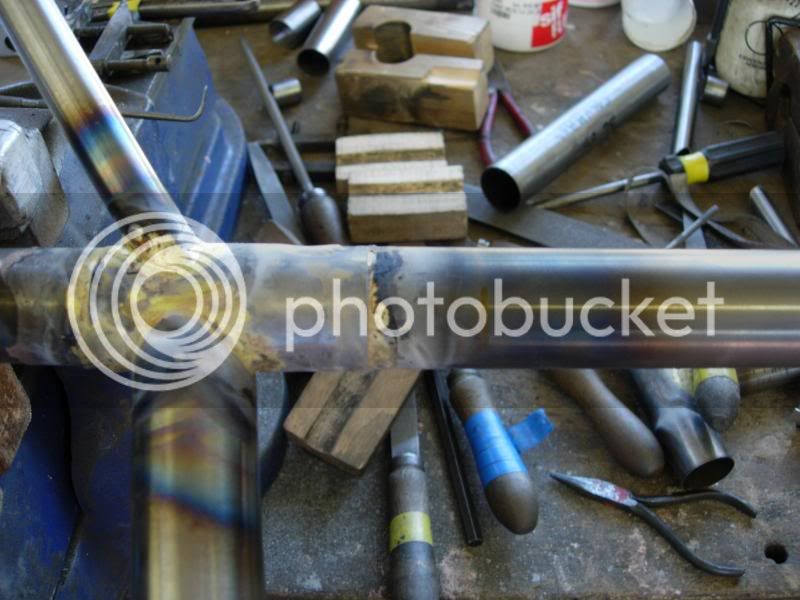
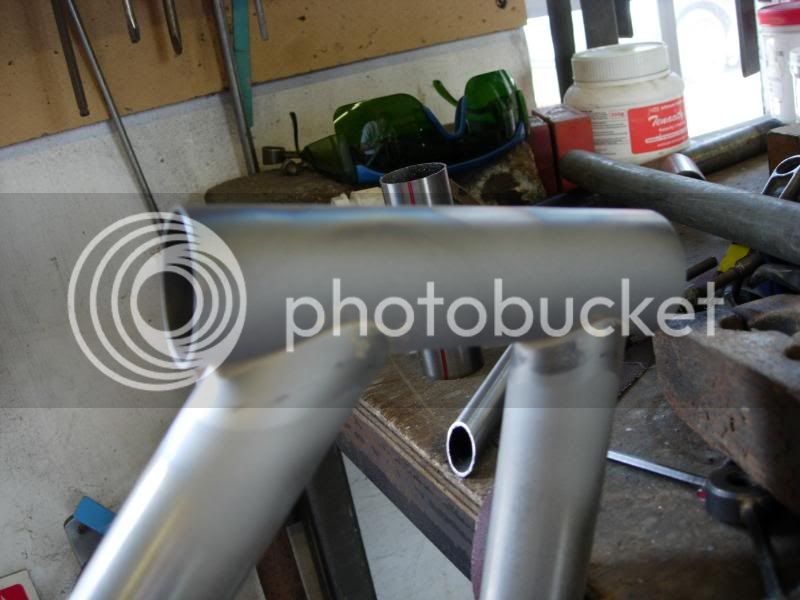
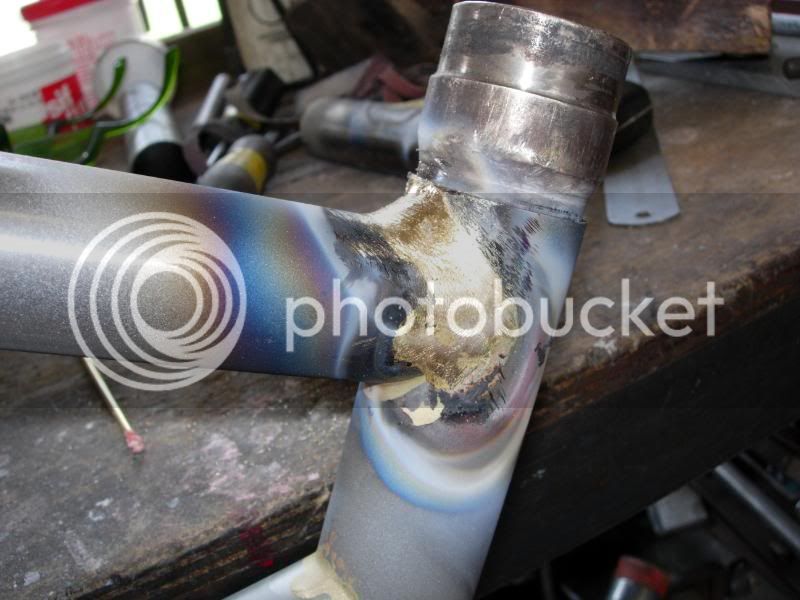
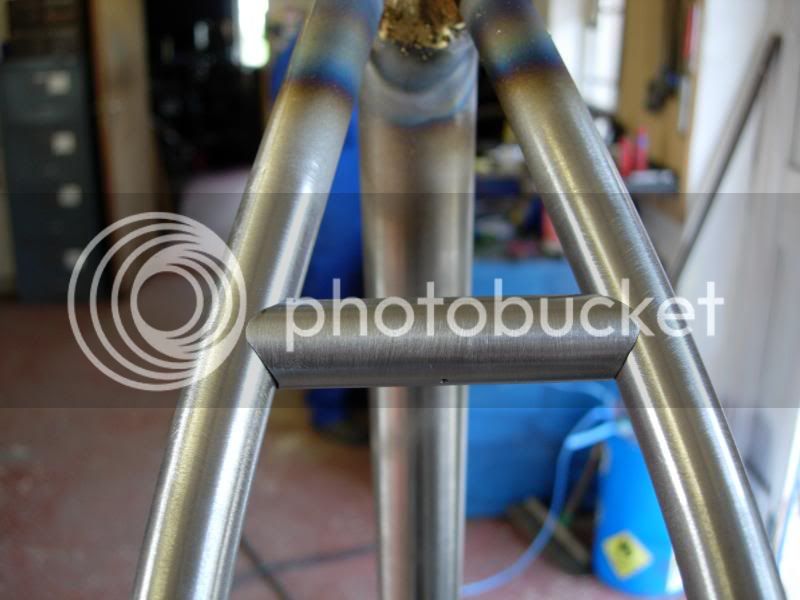
My chosen seat tube fitted the bottom bracket shell perfectly but was a bit narrow for the top tube, so we had to fit a sleeve over it where the top tube would join. The option was to just braze on a sleeve or make it slightly more ornate. I had 5 mins to decide so went for ornate. No reason I chose this shape except that I thought it would be simple to do and look quite nice. Paper template, draw with a pen on the tube, hacksaw, file, power tools are for girls
This is the sleeve brazed on, again tricky as you need to get as much brass under the sleeve as possible without heating the tubes and distorting them. Also tricky as a lot of points on the sleeve. Put a steel heat sink down the tube to protect it and proceeded with caution. This really showed how brass followed the heat as you could feed in the rod and draw it in and watch it disappear, quite a lot of rod went into this one
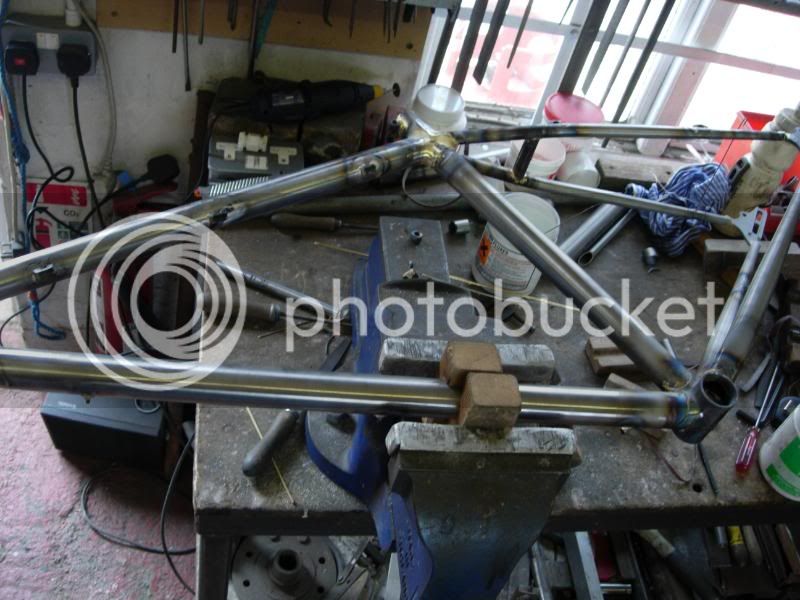
Onto to Dave's jig now and cutting and alignment of the tubes, have to no what orientation each end is as you're usually putting a horizontal mitre at one end and a vertical at the other. Trick is to get one end right and then do the other, you should be able to drop it into place and it will hold itself in there. Small gaps are allowable as they'll be filled by brass, indeed if the fit was perfect and looked "airtight" it may be too tight and not allow enough brass through to the back of the joint
In go the seat and down tubes, getting more confident with the torch now and getting an eye for the flame, still hot work though
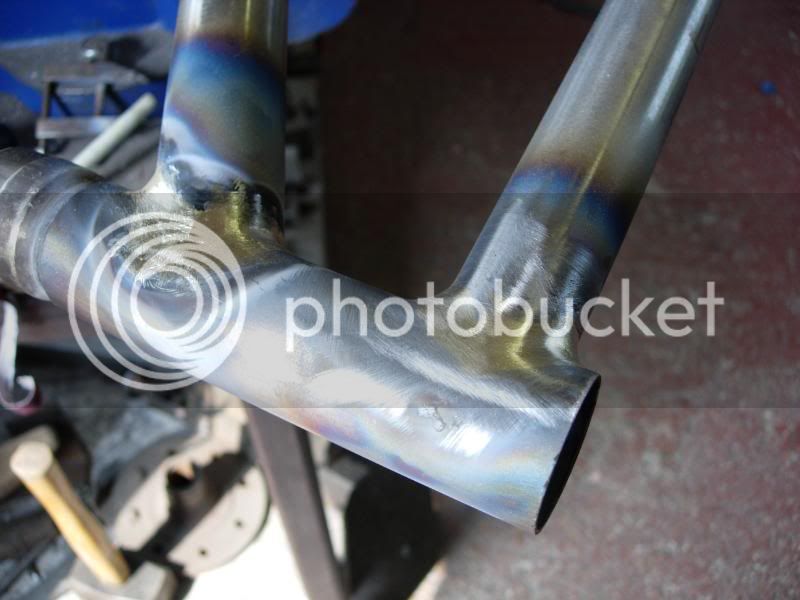
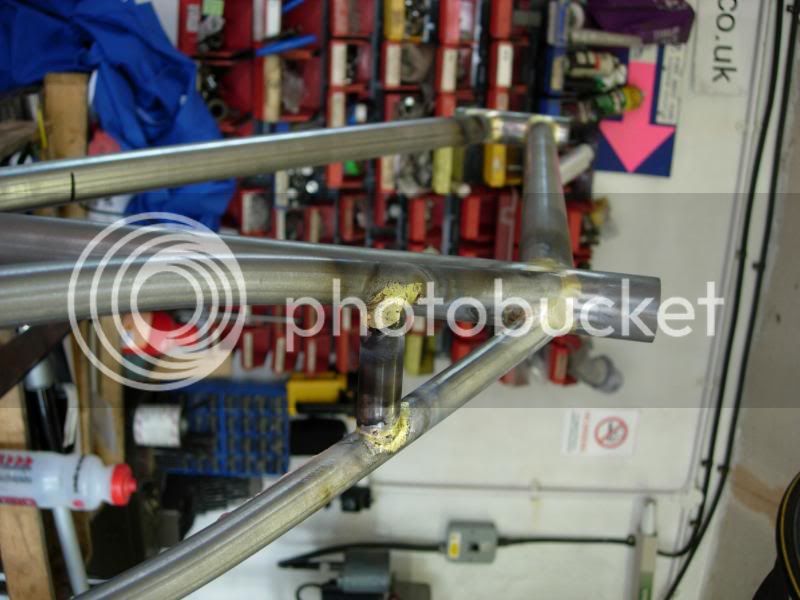
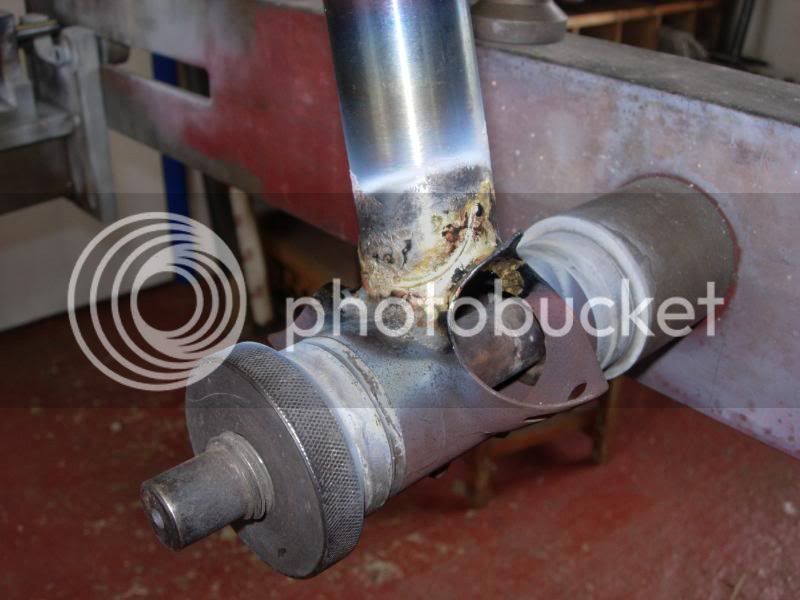
Trial fit of the chainstays into the bottom bracket, simple joint this one, just need a rough mitre in the end so that the BB is clear. As the BB is a big lump of steel it takes more heating so that's where the flame goes and you move it around there to draw the brass in, very little heat goes on the tubes
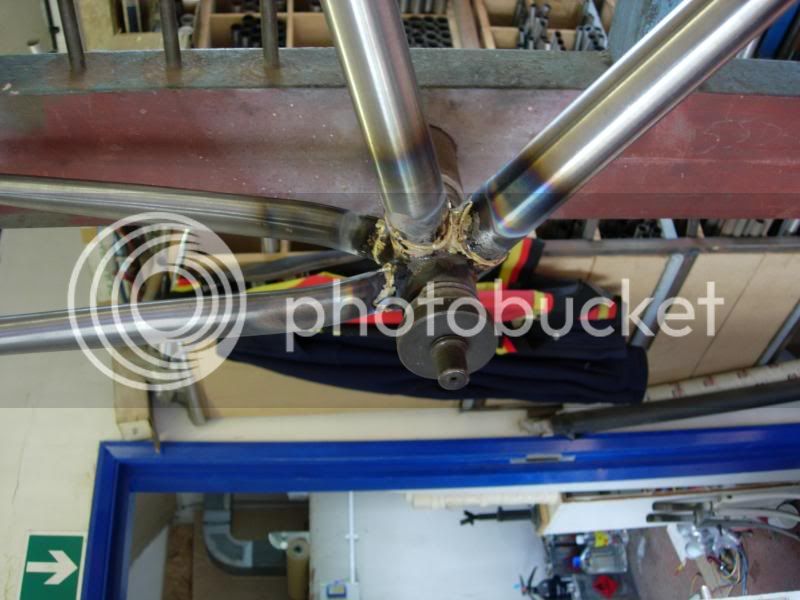
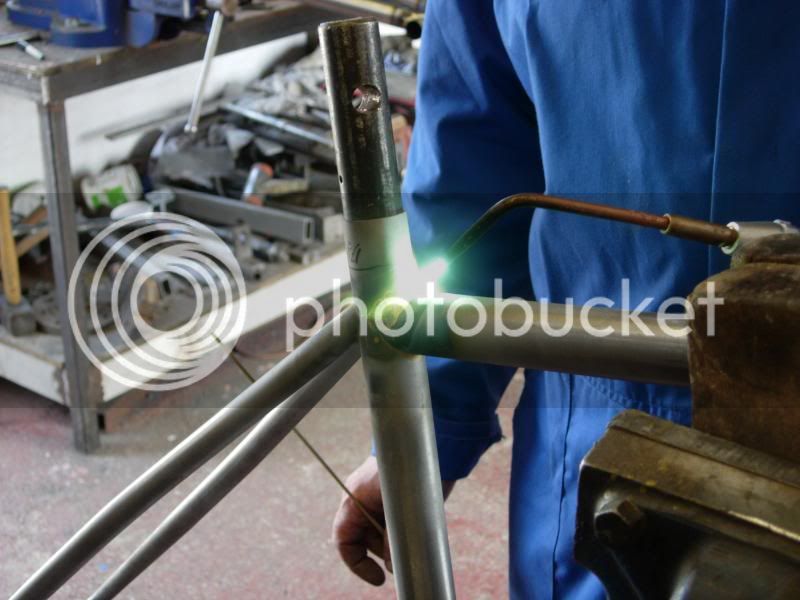
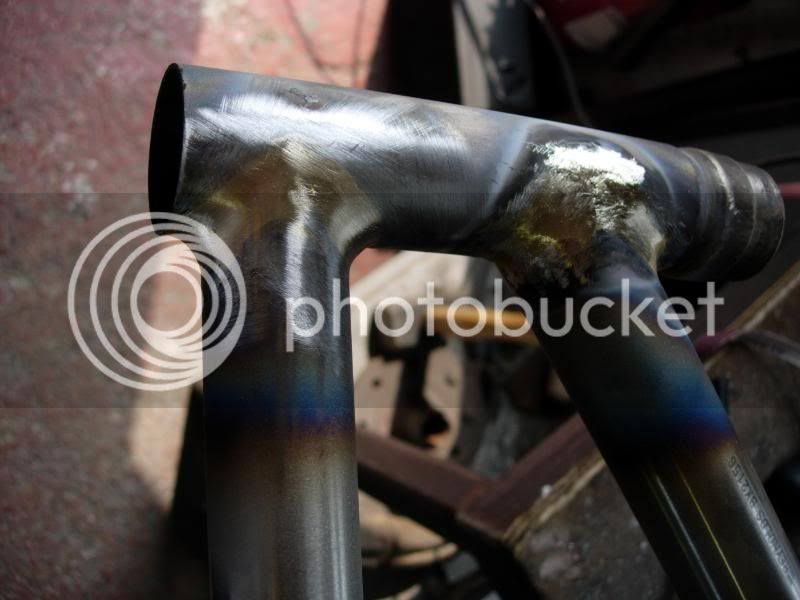
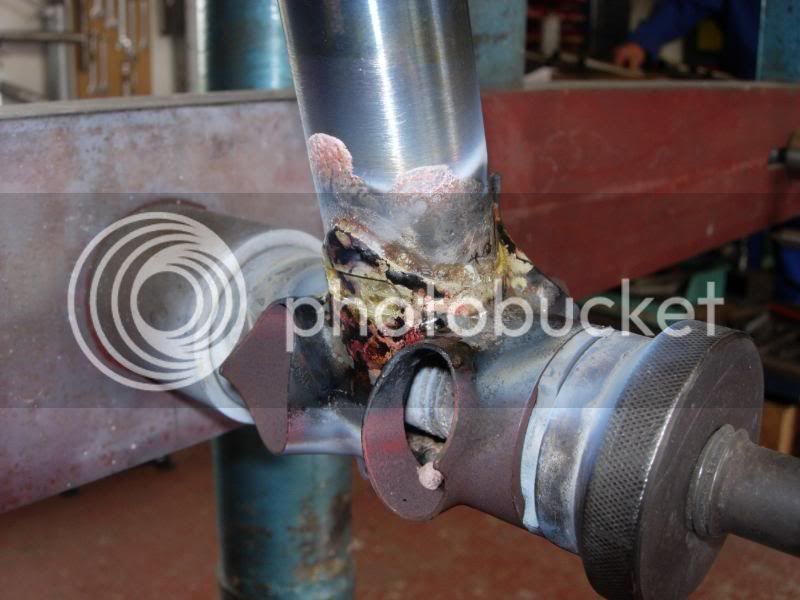
This shows the brazing of the headtube with the heatsink in place, too much heat here will distort the headtube - mine needed next to no reaming when finished...
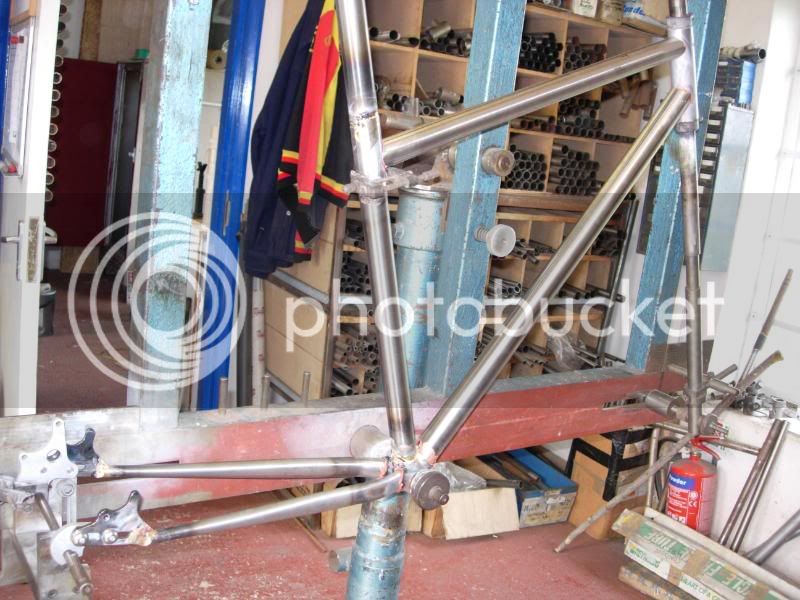
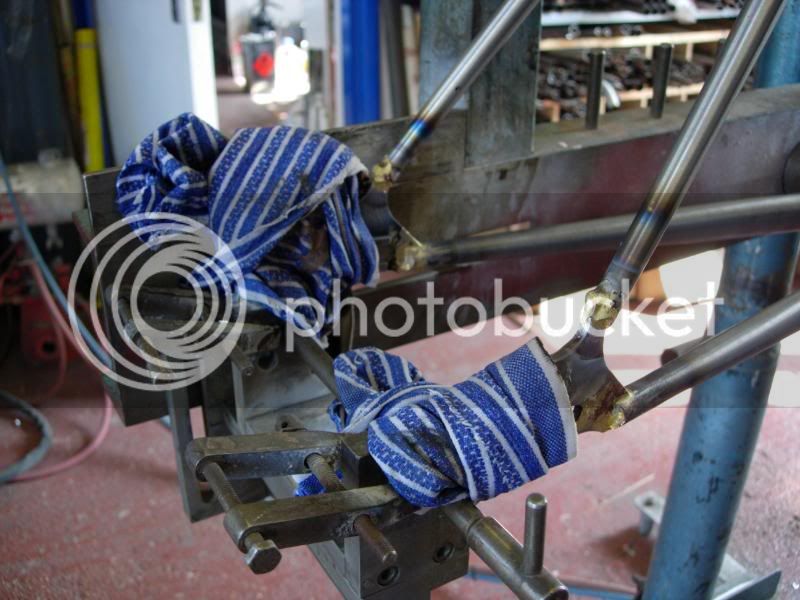
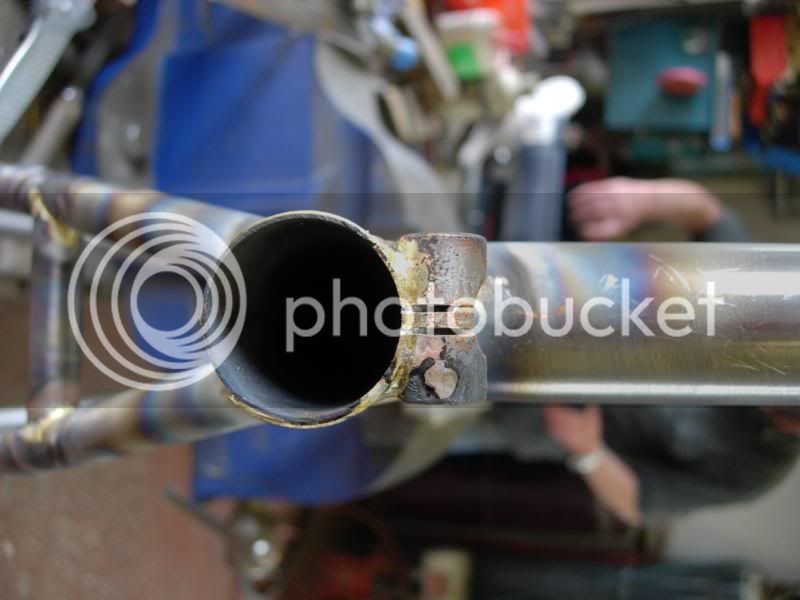
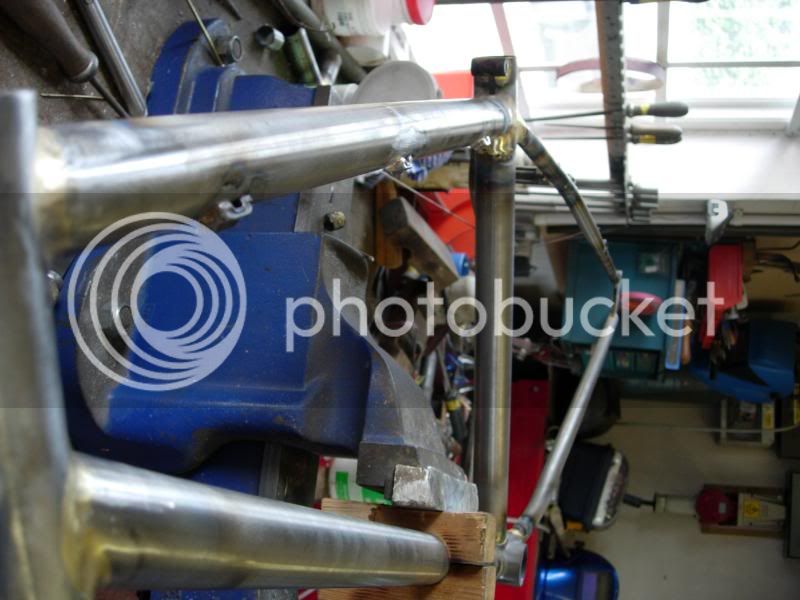
To fit the seat stays I had to have the drop outs fitted to ensure that I had the right axle clearance, the drop outs themselves are steel, but I had aluminium sliders to mount the disc brake and hold the wheel. Aluminium melts at temps a lot lower than steel of course, the solution, some old tea towels soaked in cold water to keep the temps down - and don't point the torch anywhere near them
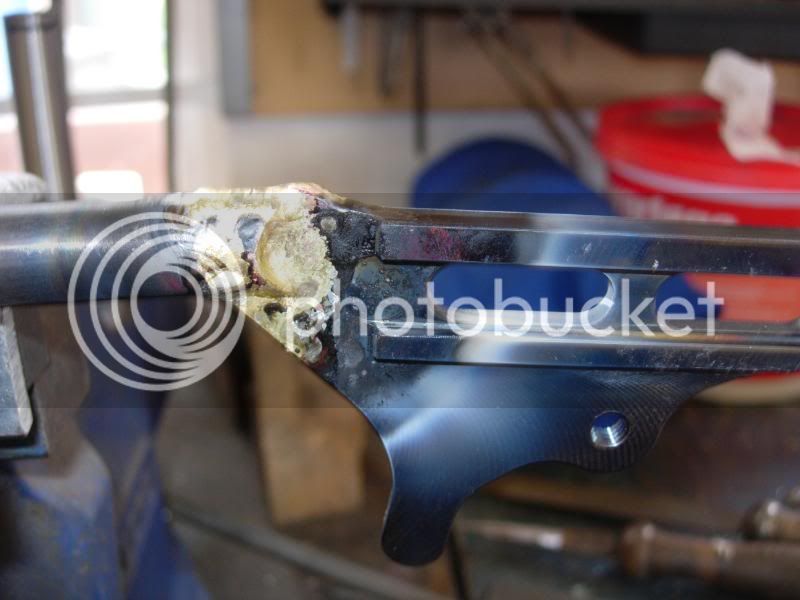
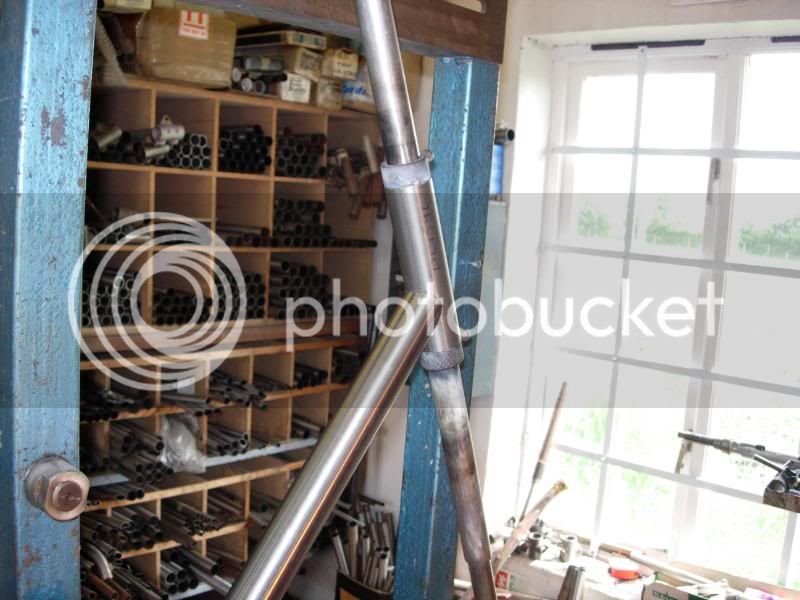
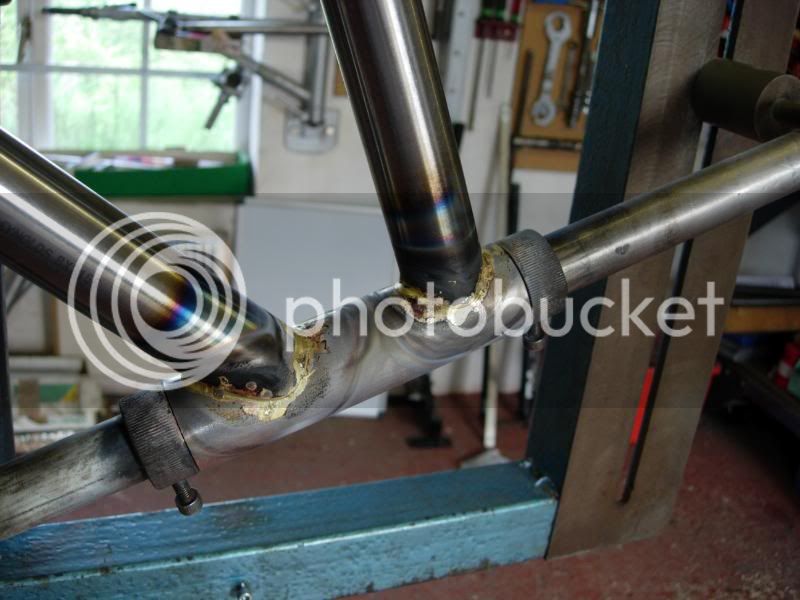
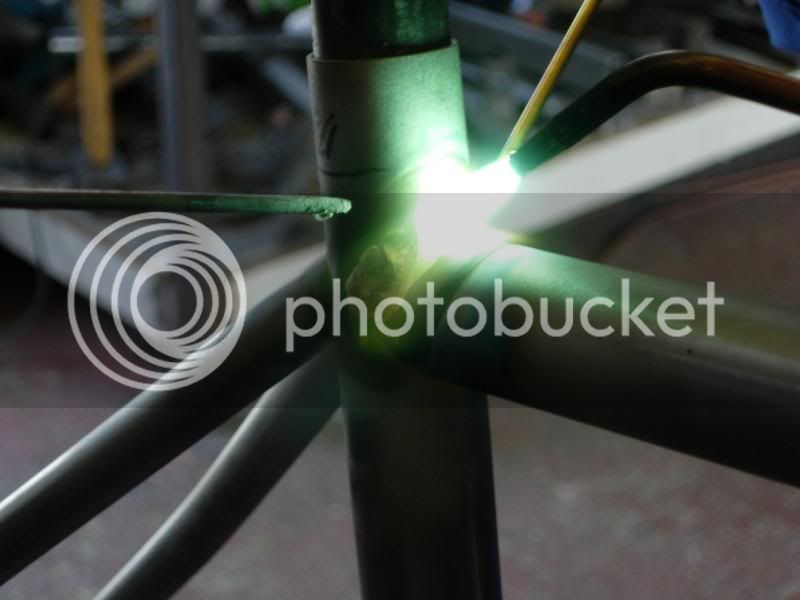
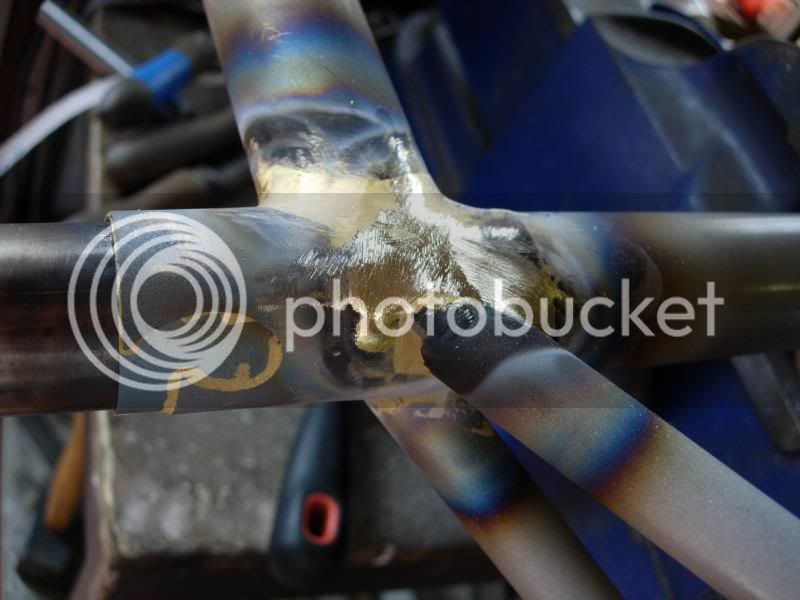
This is the seat stays at the other end, a big mess of tubes and brass, a lot of heat ends up going into this section - sleeve, top tube, seat stays and seat clamp. Cutting the slot in the tube into 853 that has had a lot of heat into it is very hard work, that bit wasn't fun
This here is fillet brazing in action, not me and not my frame as I can't braze and photograph at the same time. Say hello to Nigel everyone
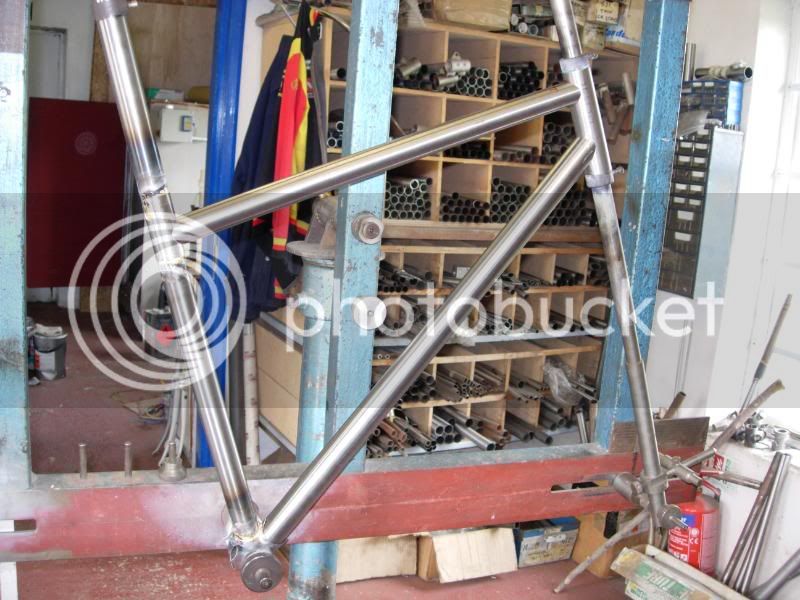
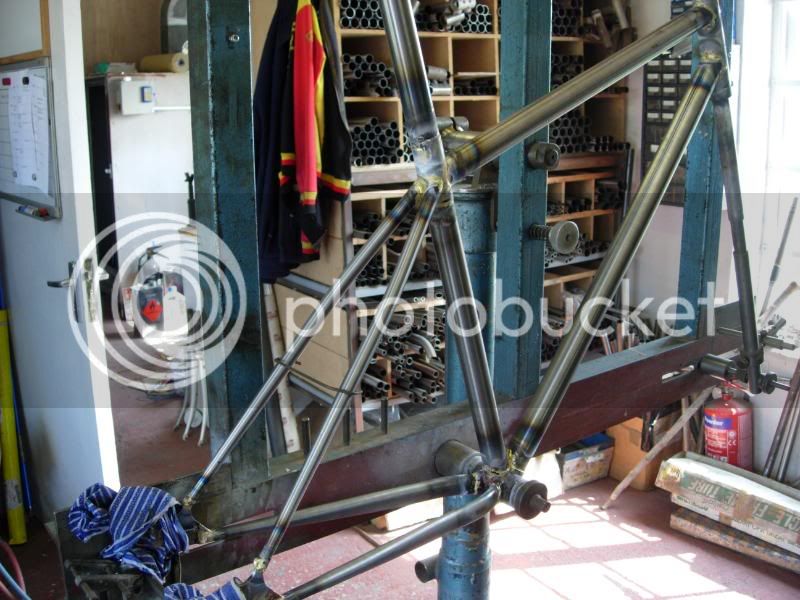
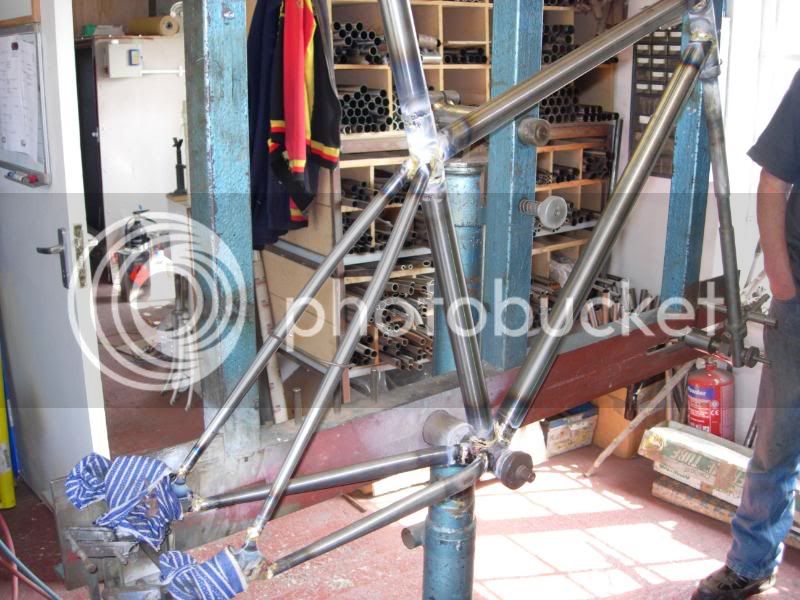
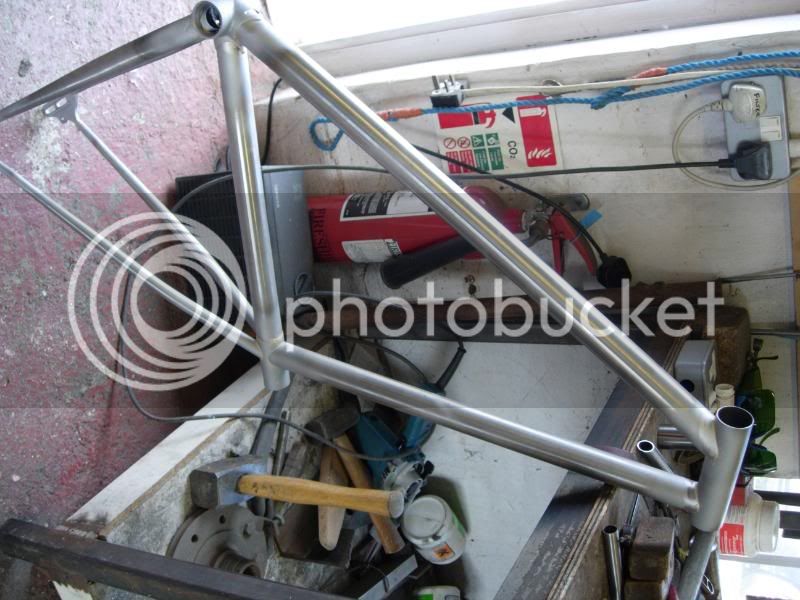
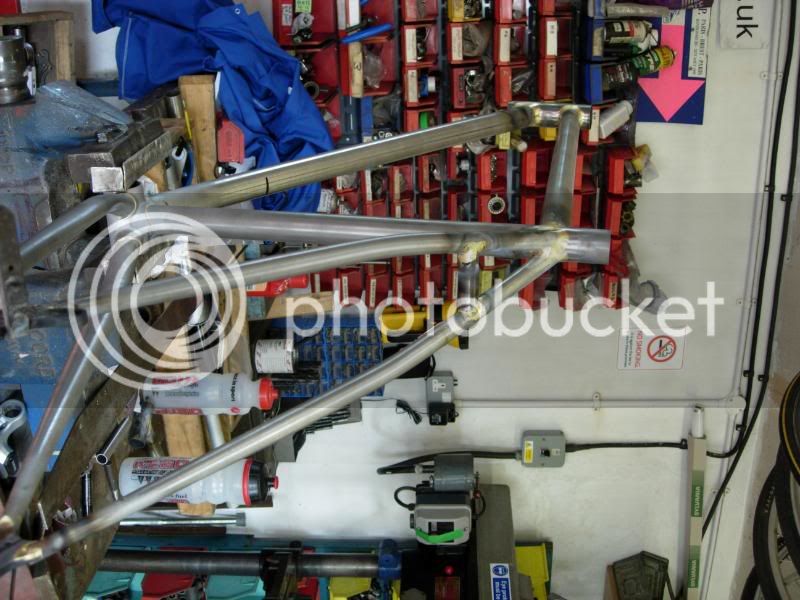
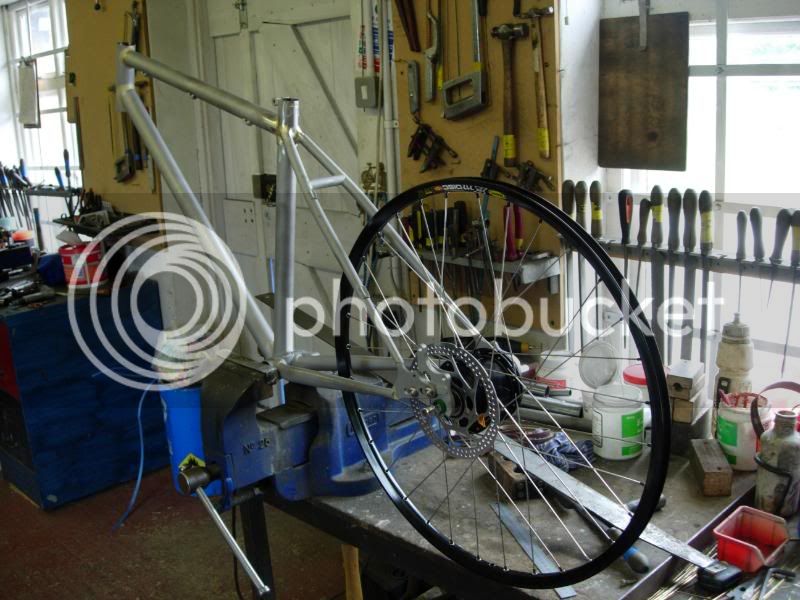
A big moment this, bike off the jig and back from the blast cabinet, first bike shaped object. You can see the areas that have had the heat as they appear shiny after blasting - the beads don't touch those areas as too hard
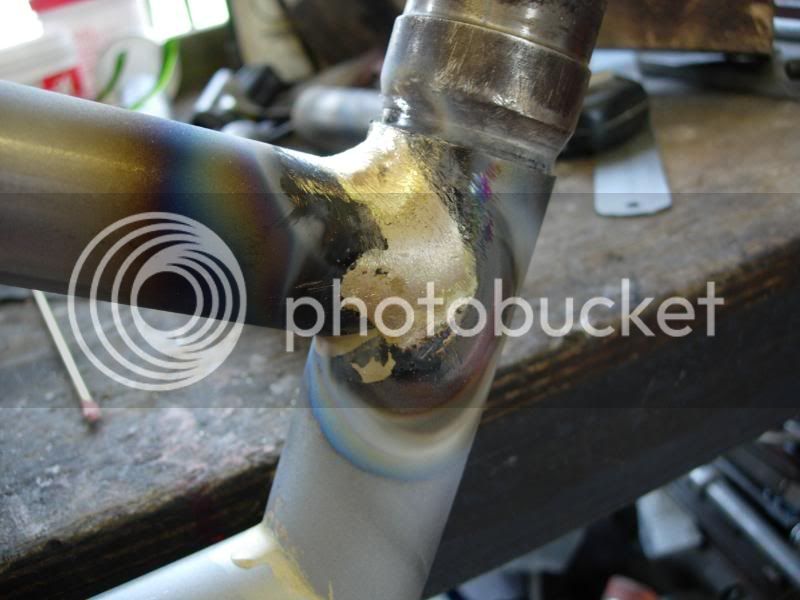
This is me fillet brazing, aka the art of making brass forms puddles against gravity. Fillet brazing adds some more strength to the joint and is also cosmetically appeialling as it smooths the joints in your frame. Did a practice T joint and then off we went. Dave demonstrated the strength of the joint by taking my T piece and clamping in the vice , inserting a 3 foot long piece of steel bar and then pulling as hard as he can. Eventually the edges of the tube bent over a bit but the join itself was intact with no hint of a crack or stress lines. Officially impressed.
You do the fillets in quarters around each join, you start by tacking on a blob to start from and then building up from there, brass goes from solid rod to running onto the floor in 20-30 degrees. First few goes are quite patchy and need touching up, but you soon get the idea and get into a groove and start painting a smooth surface onto the brass with the flame. The better the finish with the torch the less work you have to do with the hand file. Hot and hard work, you have to smooth off the brass whilst still hot to make it easier and lose the edge of the brass in the steel without taking any tube off. Sunniest day of the course on that day...
Fitting the seatstay bridge, dab hand at mitring now, quick job, highly satisfying. Dave no longer stood over my shoulder, or even in my end of the workshop
View down the seat tube showing the seat clamp
New technique, silver soldering on the hose and cable guides. These go onto the side of the tubes, so you want even less heat here, therefore the silver which has a lower melting point. Much trickier than brass as silver melts very quickly and runs everywhere. Technique for this was flame in, couple of seconds later silver in, silver away, flame away. Bit like a pouncing movement!
There was a lot of work with strips of emery cloth to file the brass down before off to the blast cabinet. Frame finished and wheel thrown in for fun.
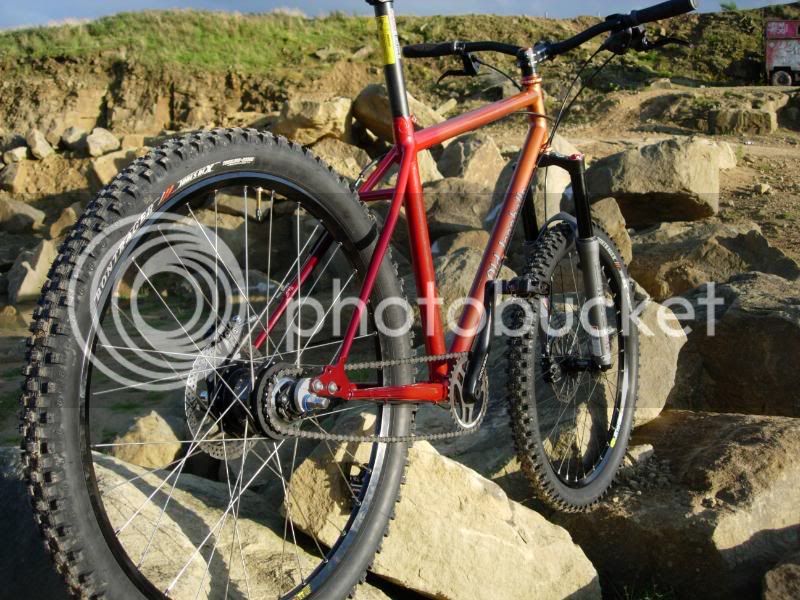
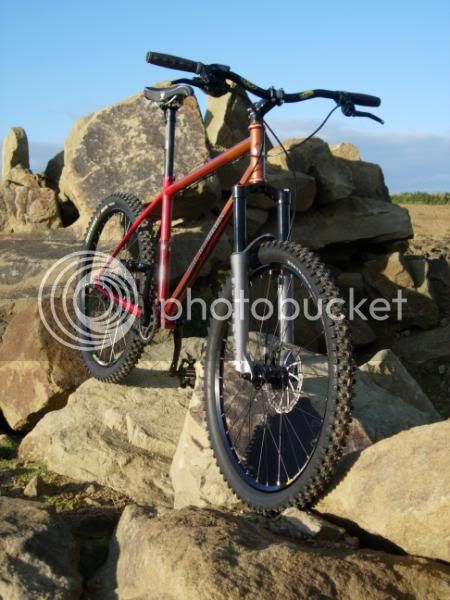
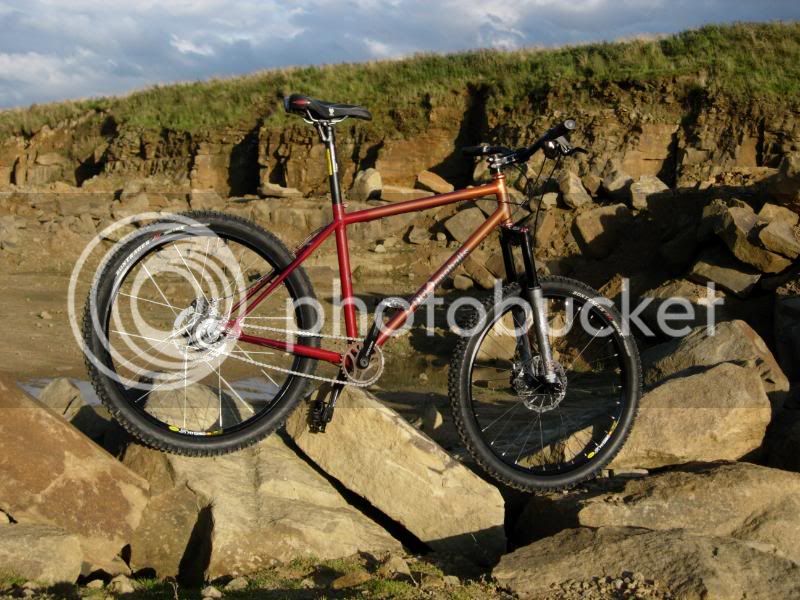
I spent a lot of time mulling over paint schemes and stickers. Got a load of car paint in the colours I liked and sprayed up a few pieces of wood. Took painted wood and frame to Bob Jacksons in Leeds, complimented me on the finish of the frame and were quite pleasant about my plank spray job too. Went for this 4 colour coppery/red fade, looks fantastic.
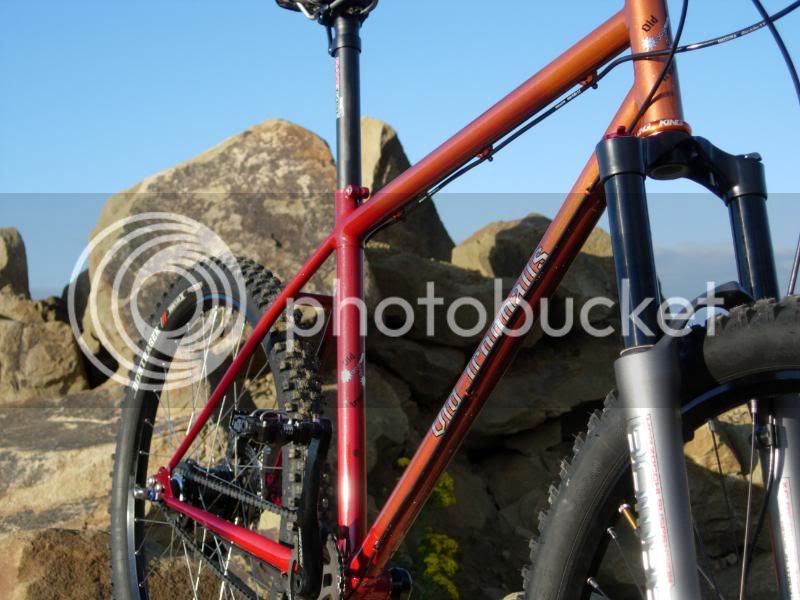
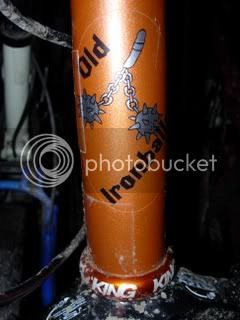
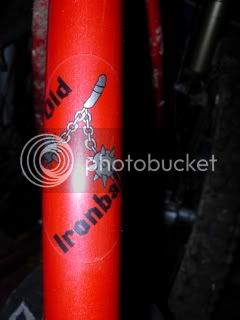
Spent another edge choosing and buy the font I wanted (know a lot about fonts now) and spent even longer talking through the double flail design with the decal man - Nick, very helpful. The name comes from a sad obsession with Red Dwarf and Arnold "Old Ironballs" Rimmer and is also tribute to the frame's iron/steel origins in a world of aluminium, titanium and carbon fibre. Double balled flail was just a little bit of fun, it is my bike after all! Finishing kit mostly in black to set off the frame colour as much as possible.
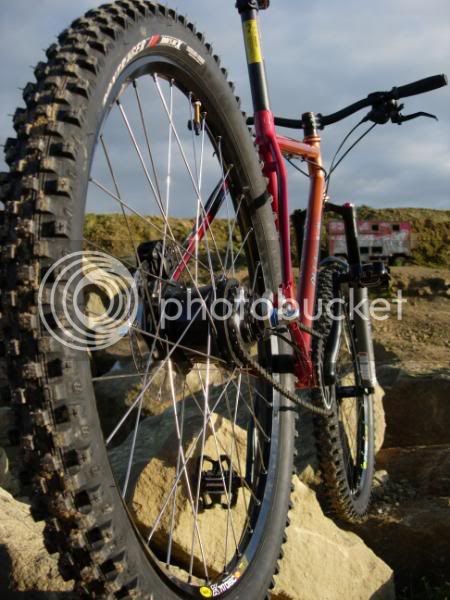
I may be biased but I think it rides fantastically, climbs like a mountain goat and descends like a demon. I love it and I made it, very proud. Hope you enjoy the build and hope I remembered to resize the pictures
Old ironballs