MikeG.
Established Member
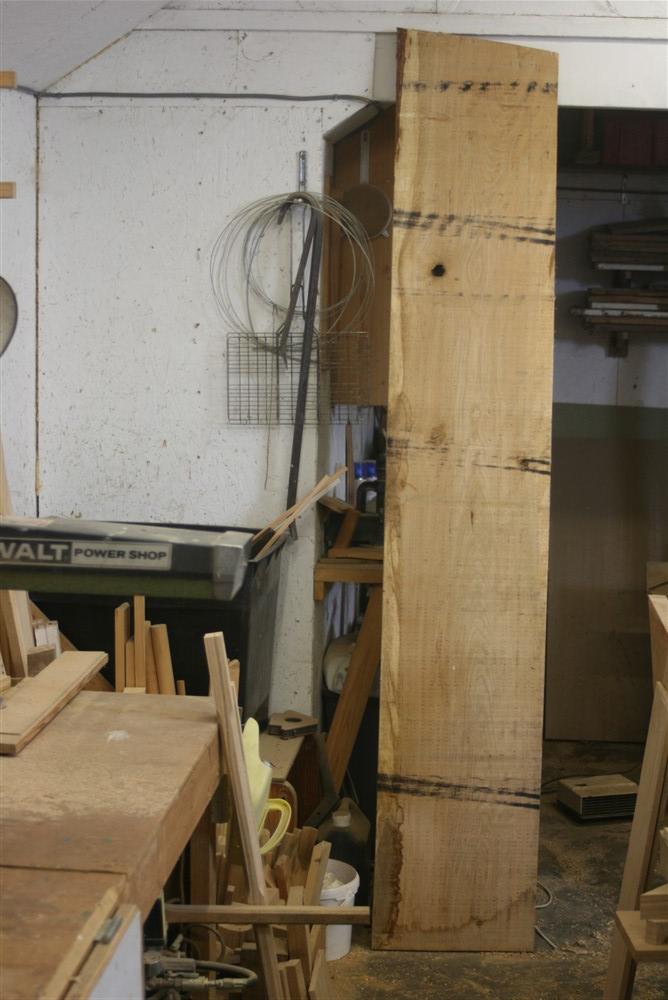
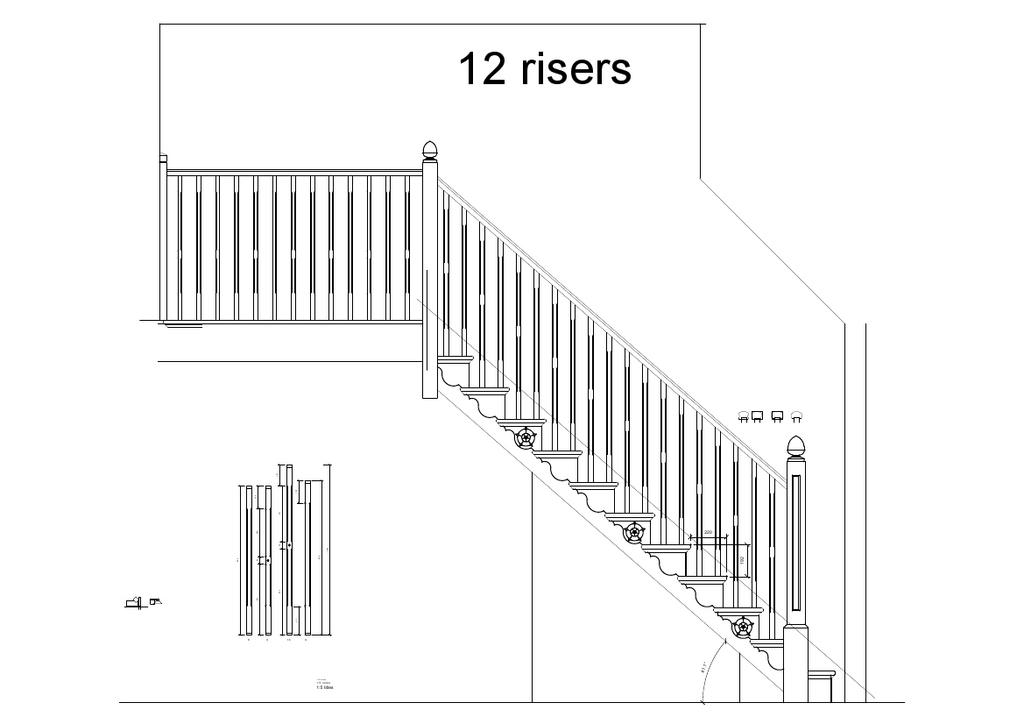
Right, let's start at the beginning. I have a temporary staircase made of bits of construction pine, open tread, totally non-compliant with regulations, and we've put up with it for long enough. So I bought some oak. This stair will be the first and probably the last that I have ever made, and I wanted to make it individual but still traditional, so I settled on a cut string stair. Better get on with it......
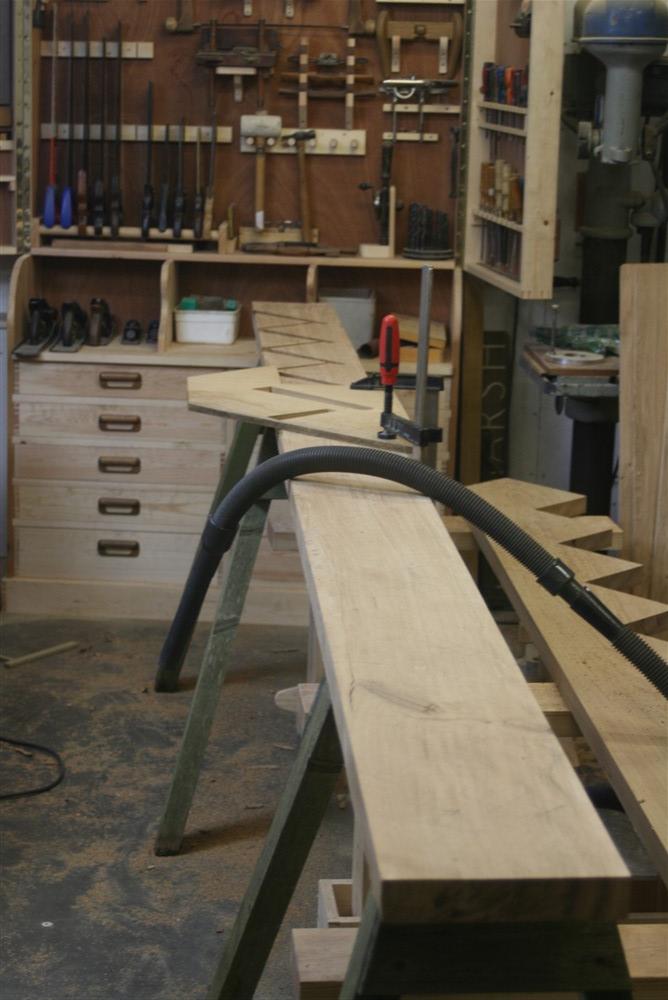
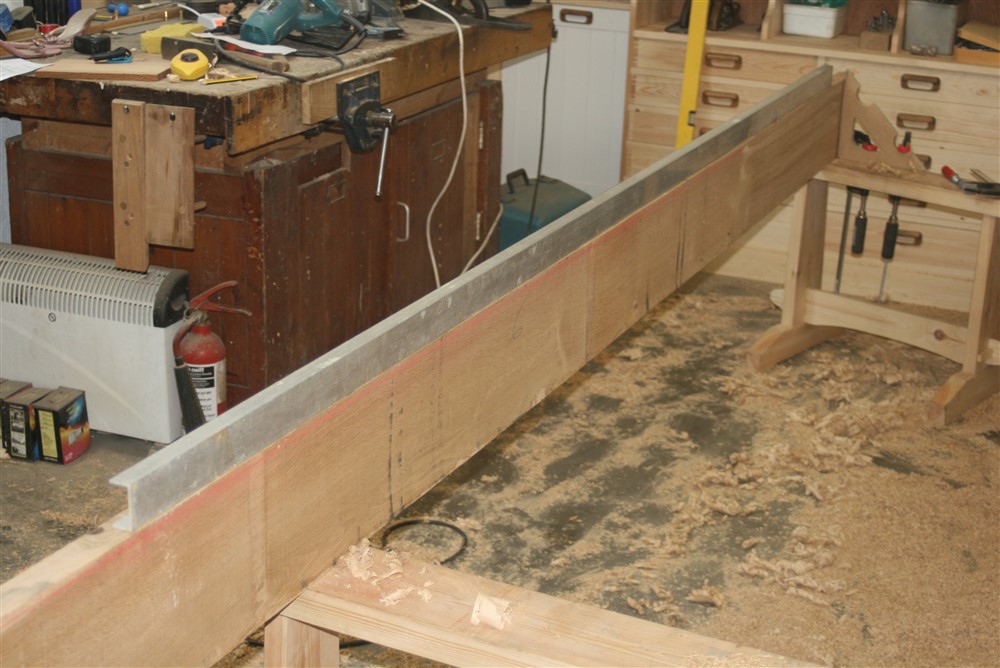
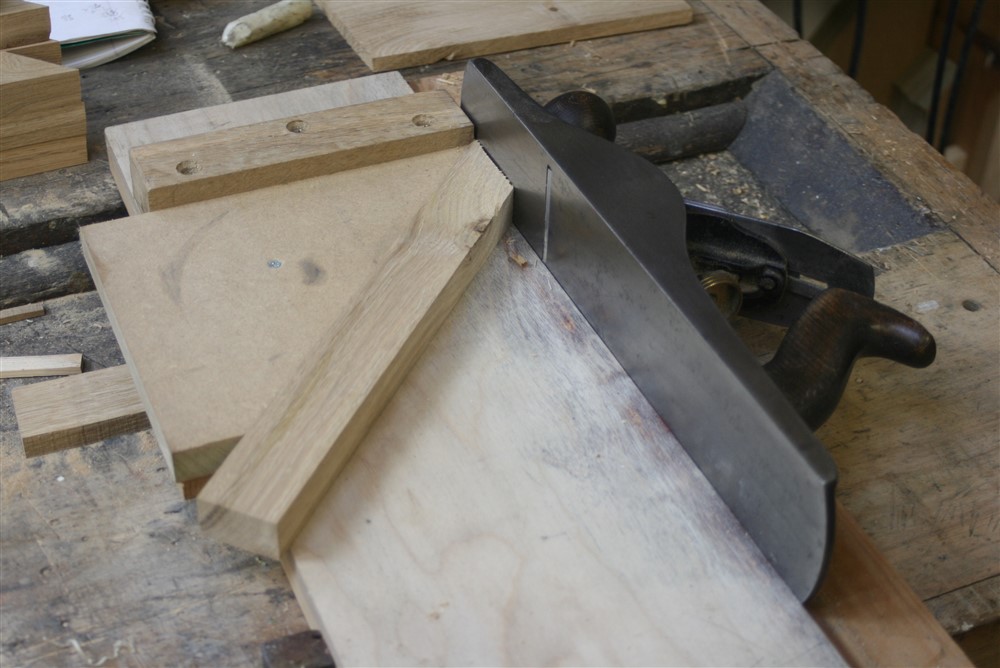
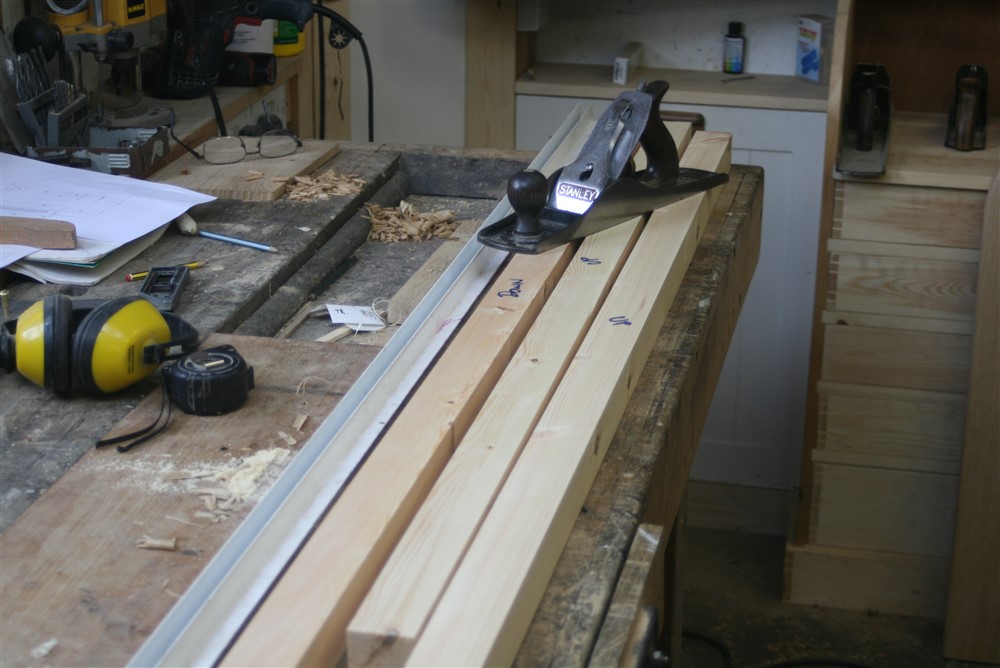
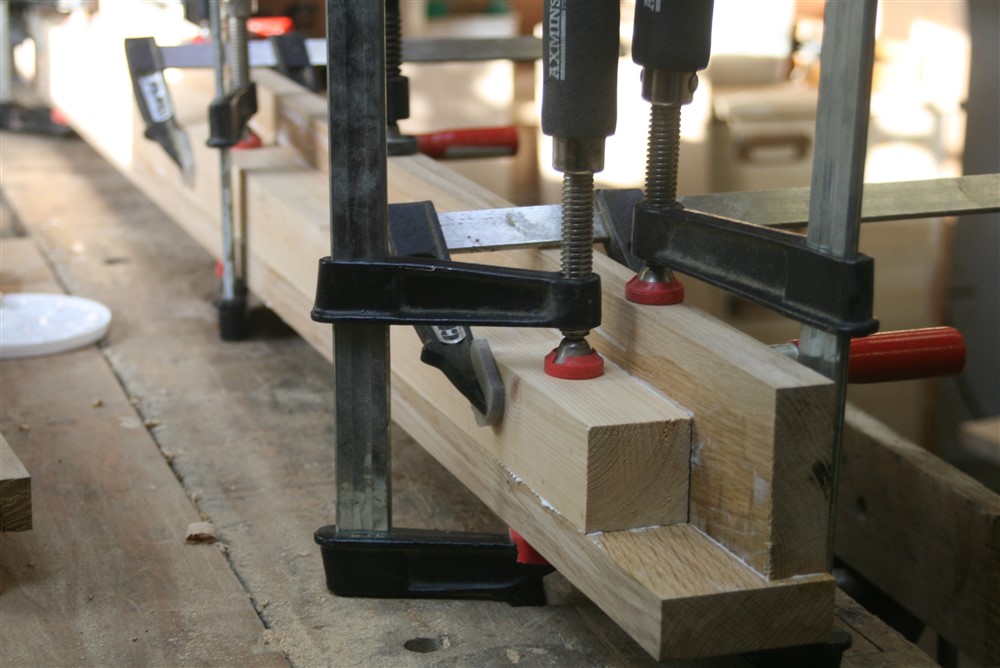
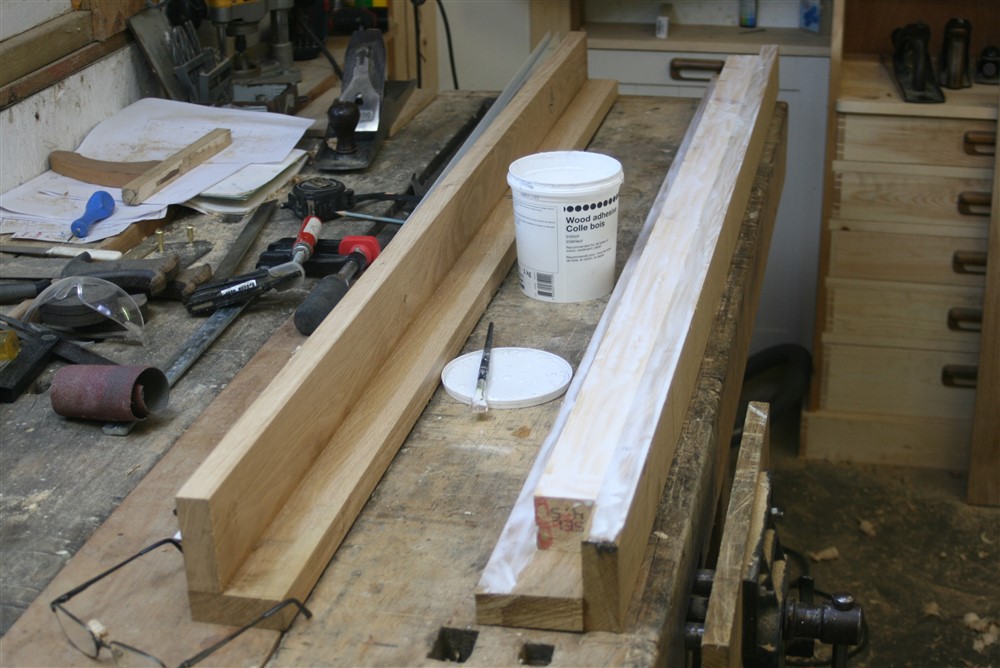
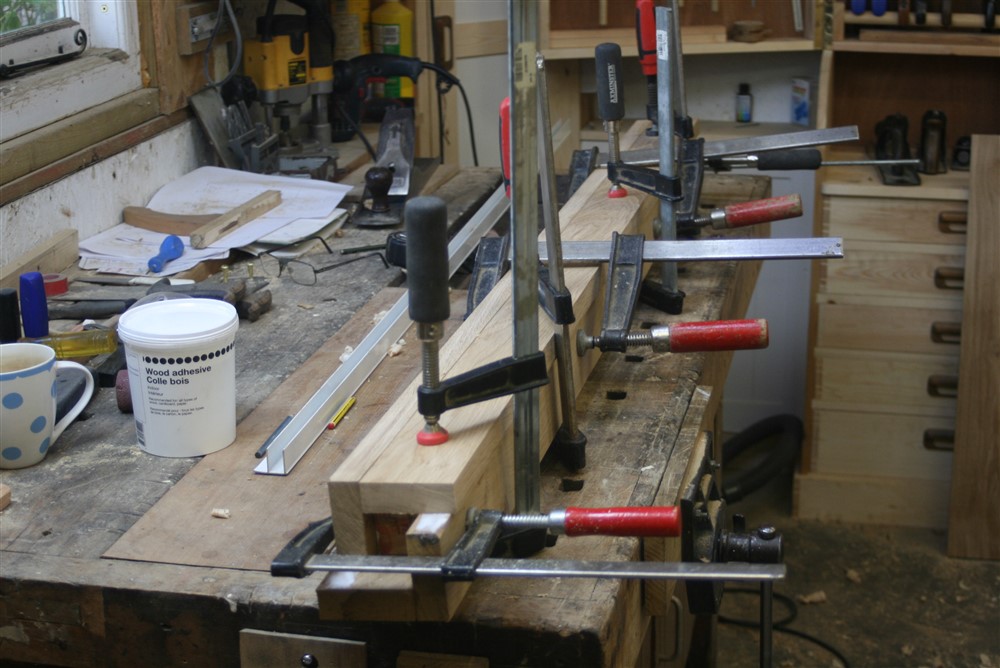
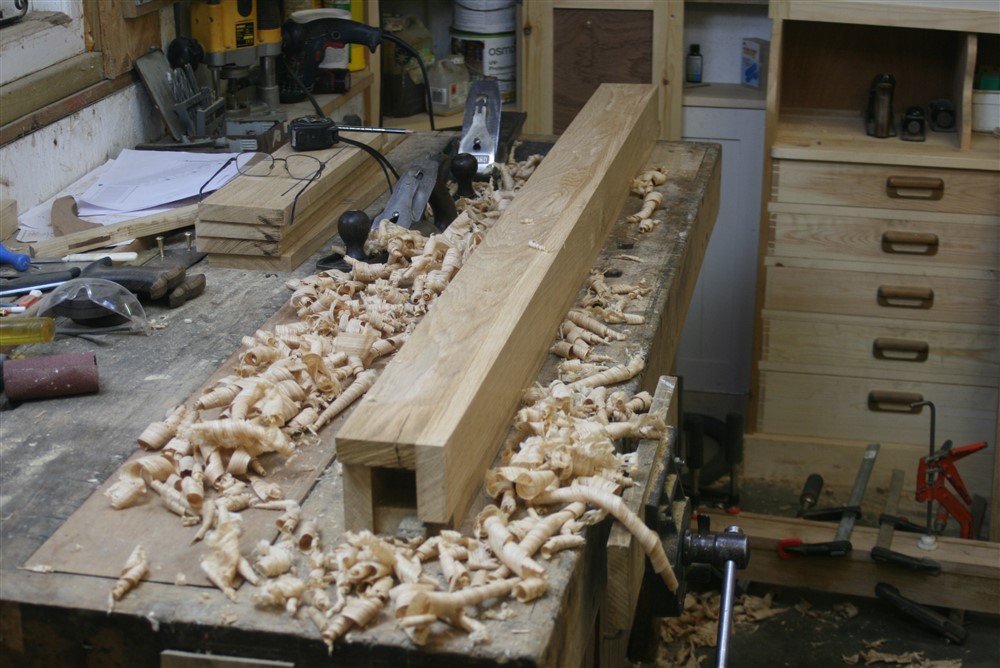
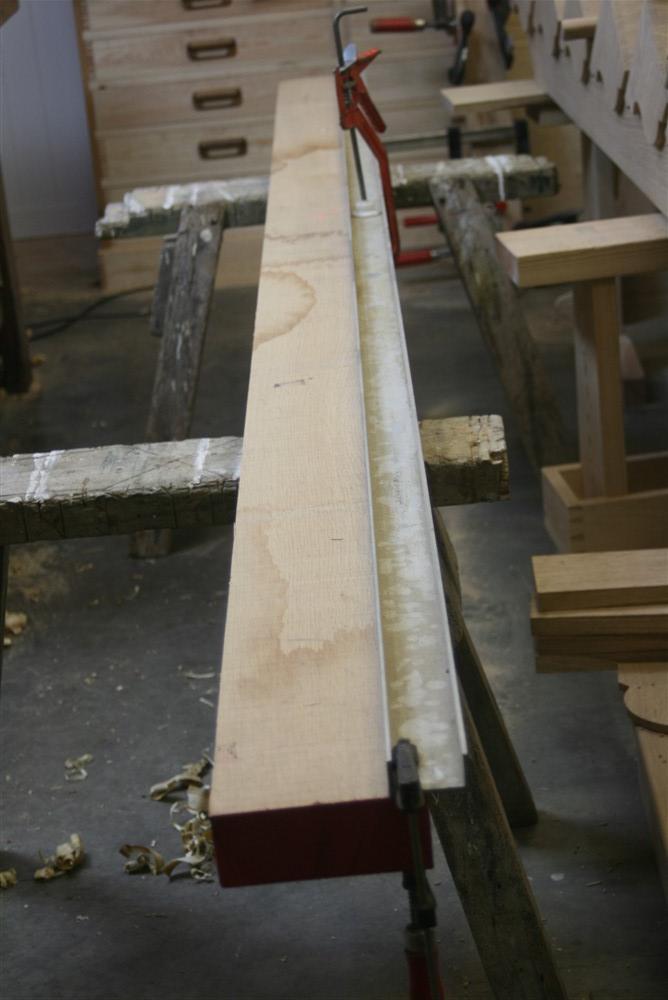
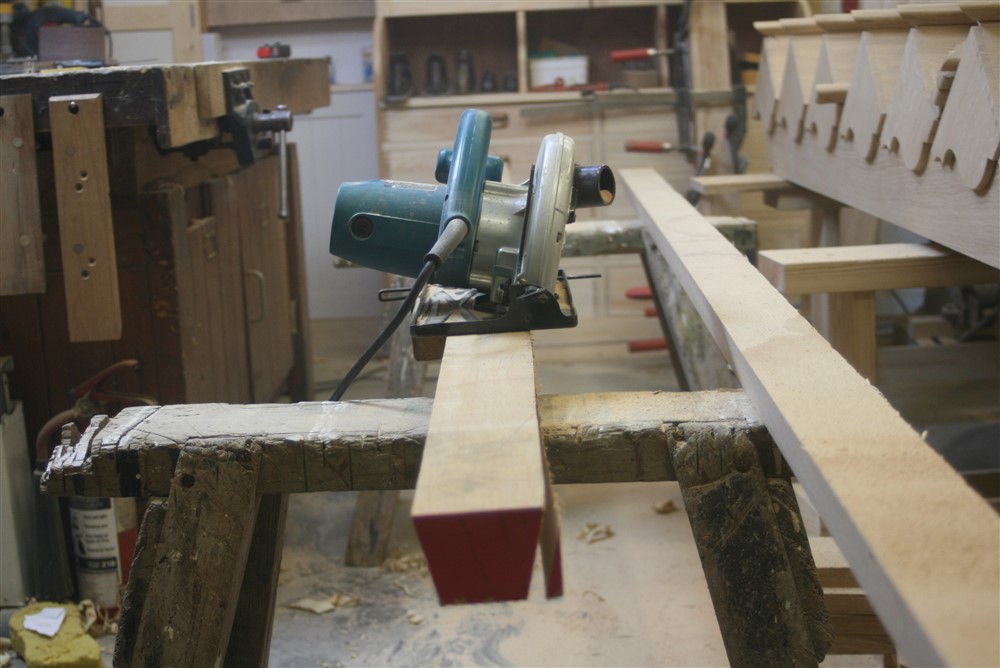
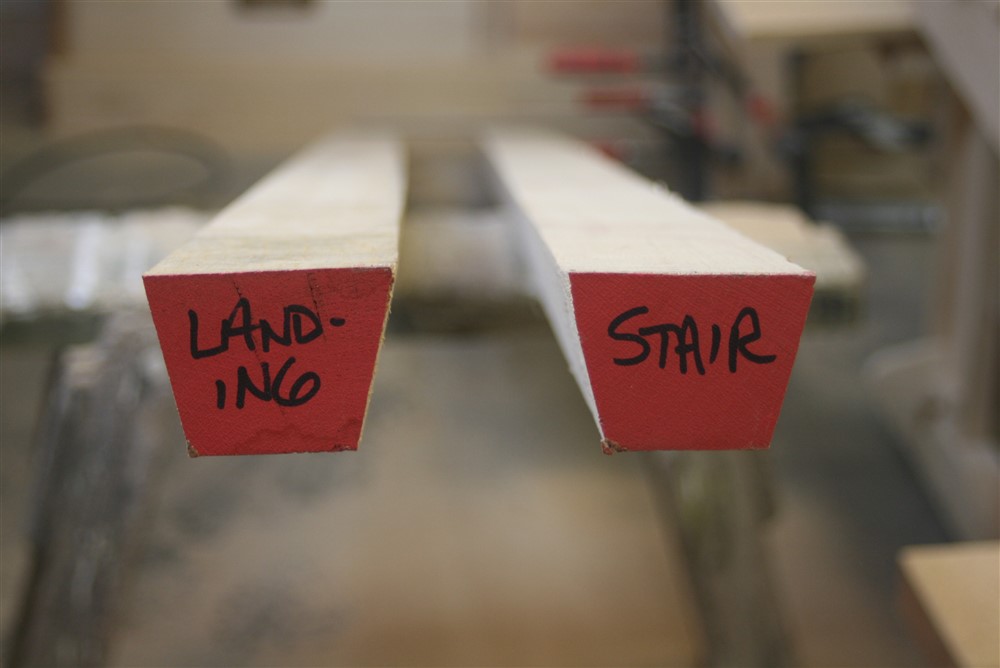
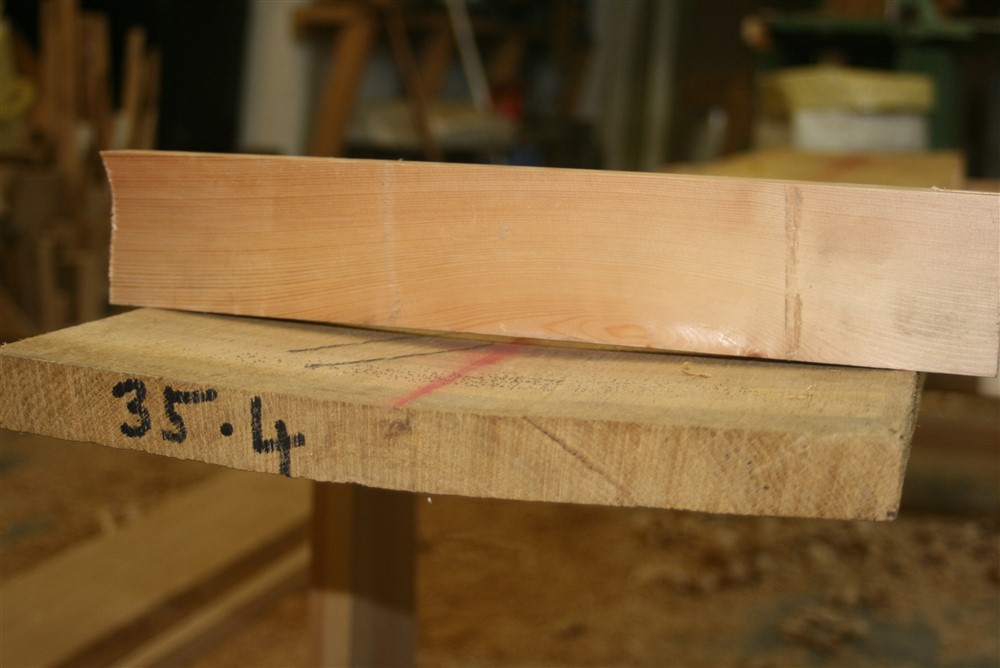
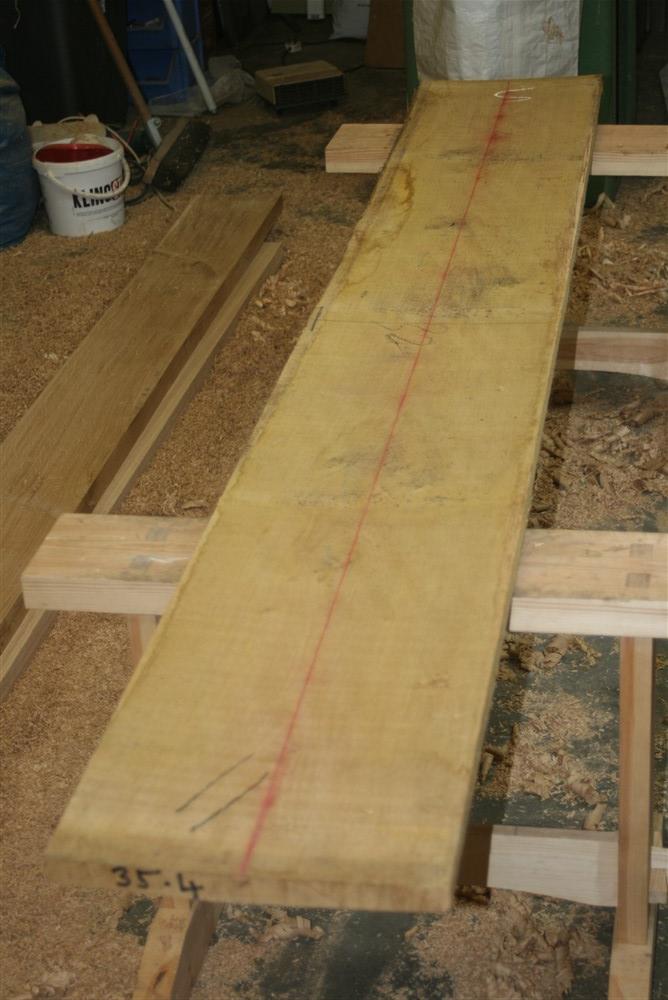
I haven't any photos of running the waney edge boards through a friends big planer thicknesser, because that's just dull. Two boards that I couldn't take with me, though, were the strings, because of their length and the position of his machine. So I had to clean those up by hand:
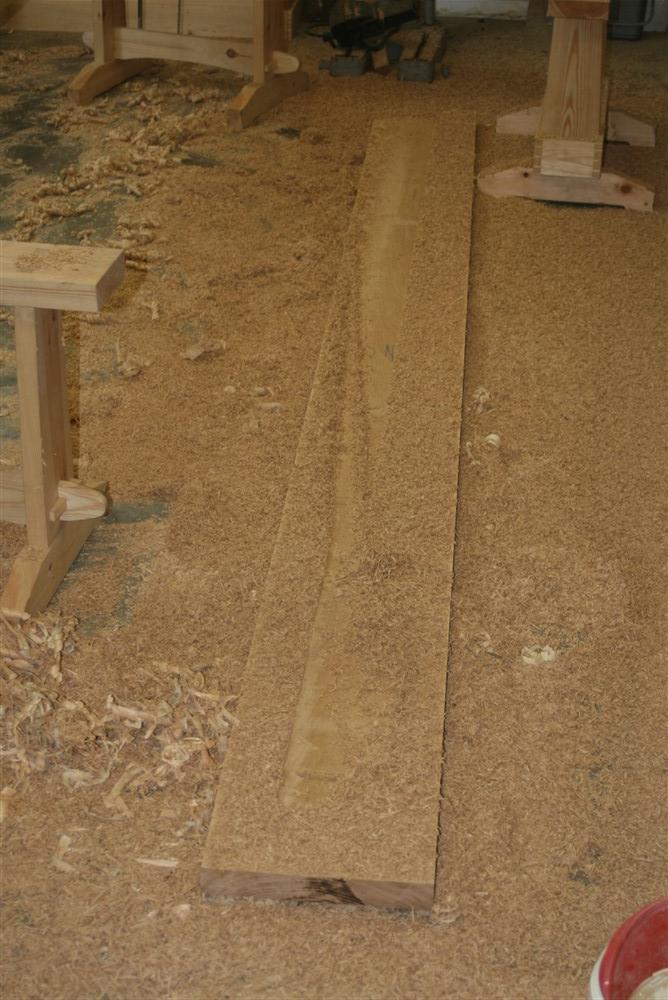
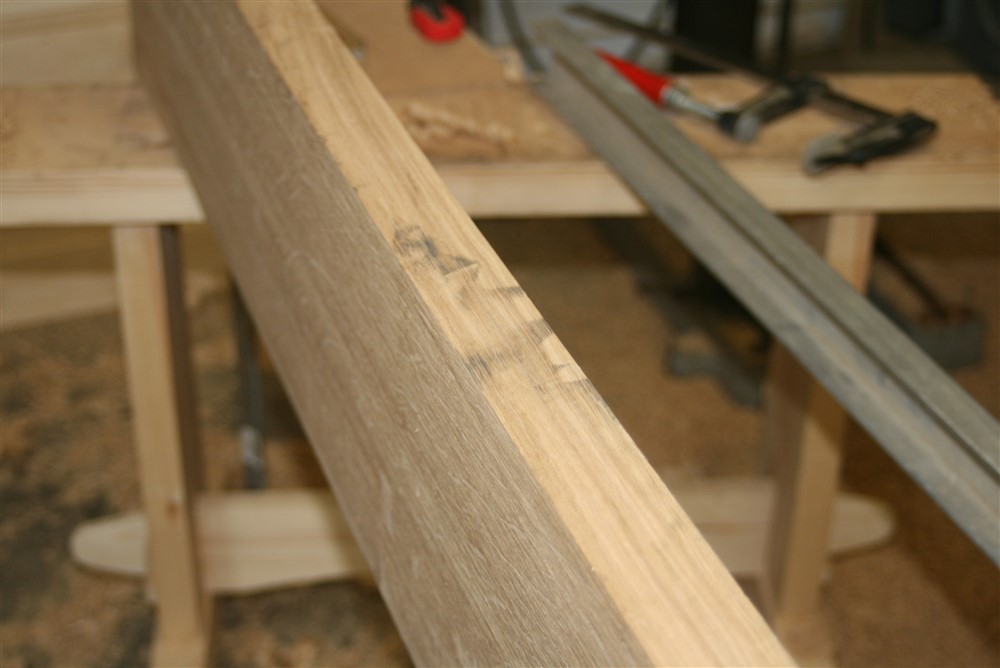
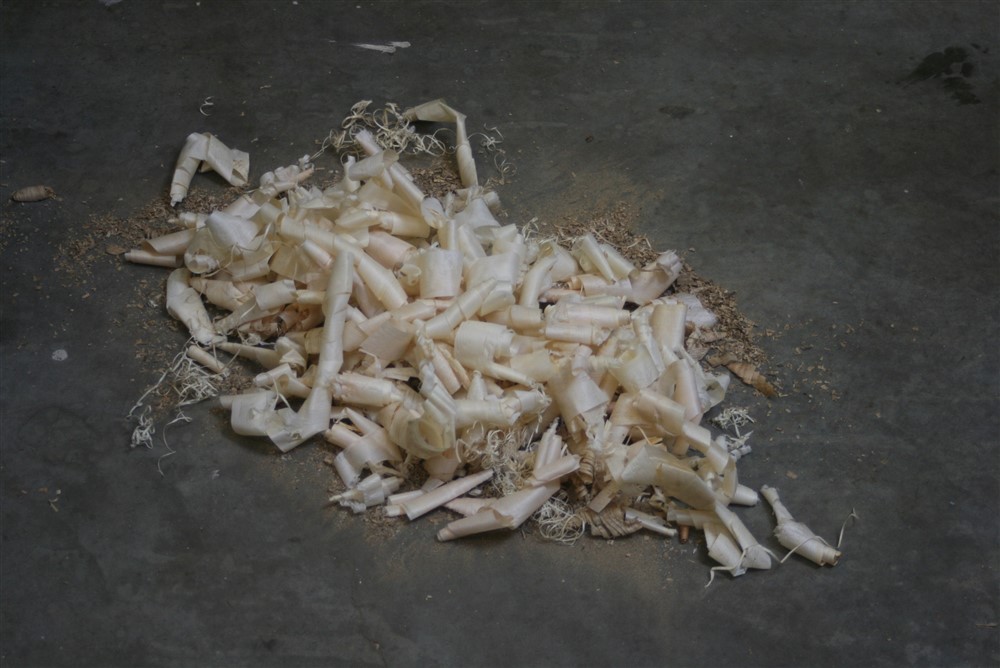
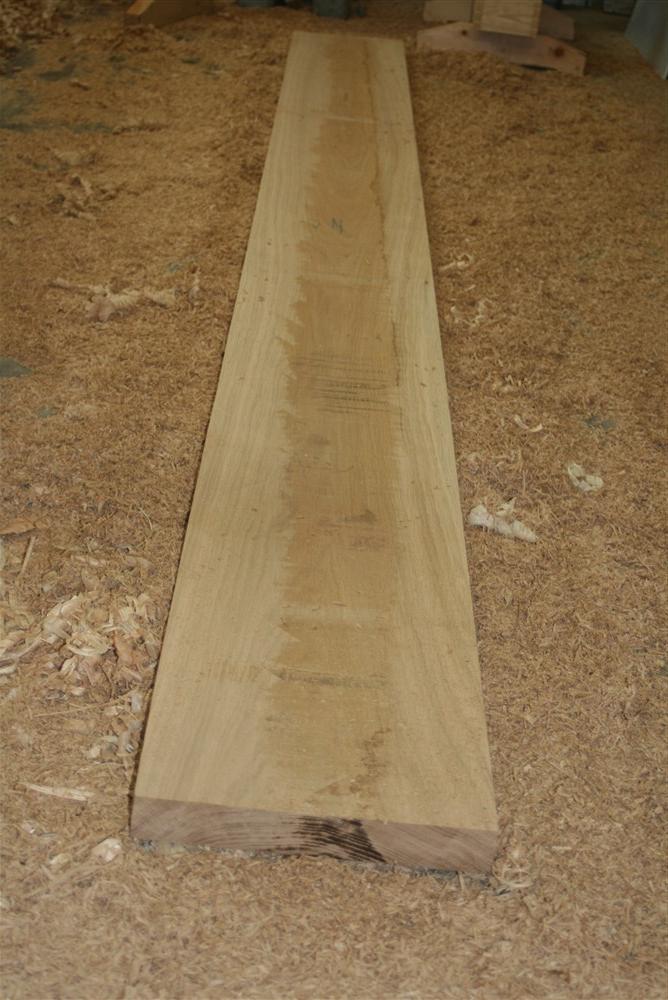
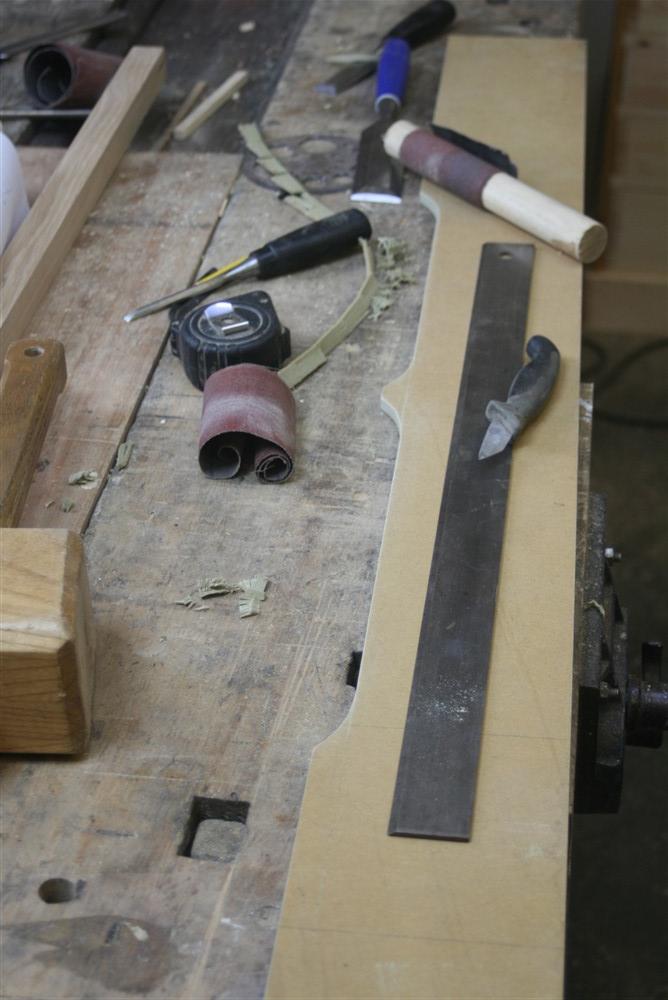
I used an electric hand held plane as a scrub plane, then followed up with a belt sander across the grain, then along the grain, then a number 6 hand-plane to flatten, then a belt sander to finish. It was hard work to clean up the two strings, but on each of them I only had to get to a finish on one side, and just flatten the other side to something like:
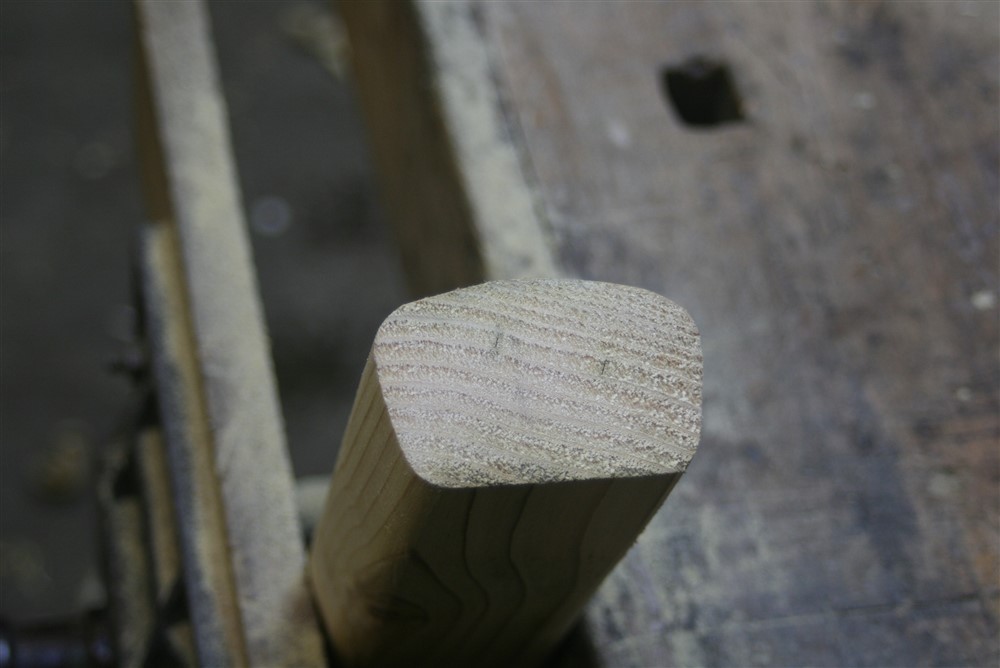
Proper joiners would no doubt make the strings first, but I was a bit nervous of cutting into these massive timbers, especially as I wasn't clear how to reference the cut-string side and the straight string side.....so I did a production run of ballusters:
..........and ground to a halt. 25mm was too skinny. So I raided my stores and came up with a whole heap of assorted bits:
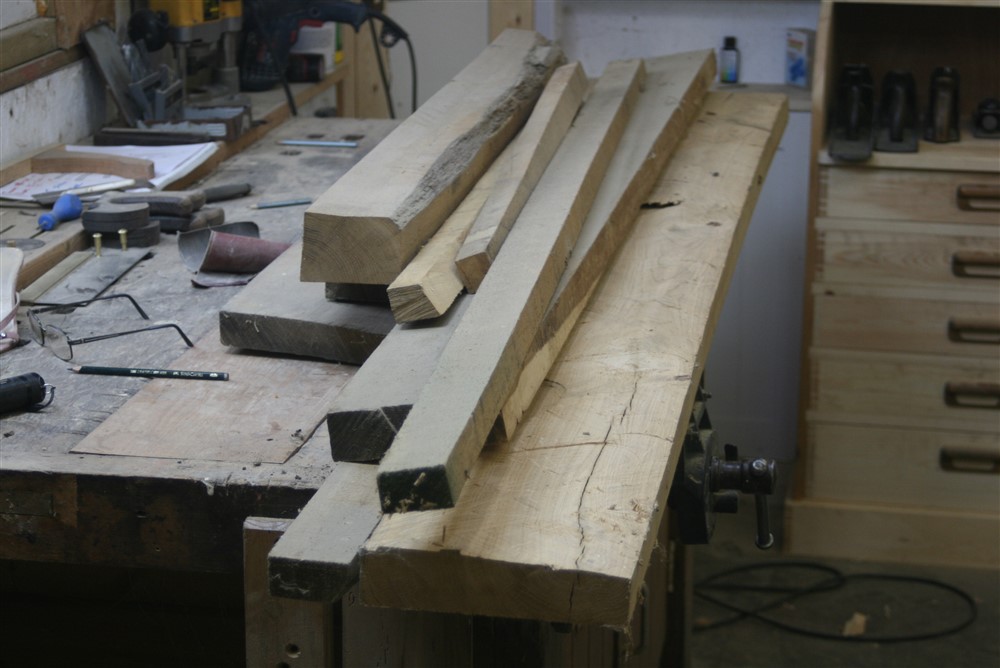
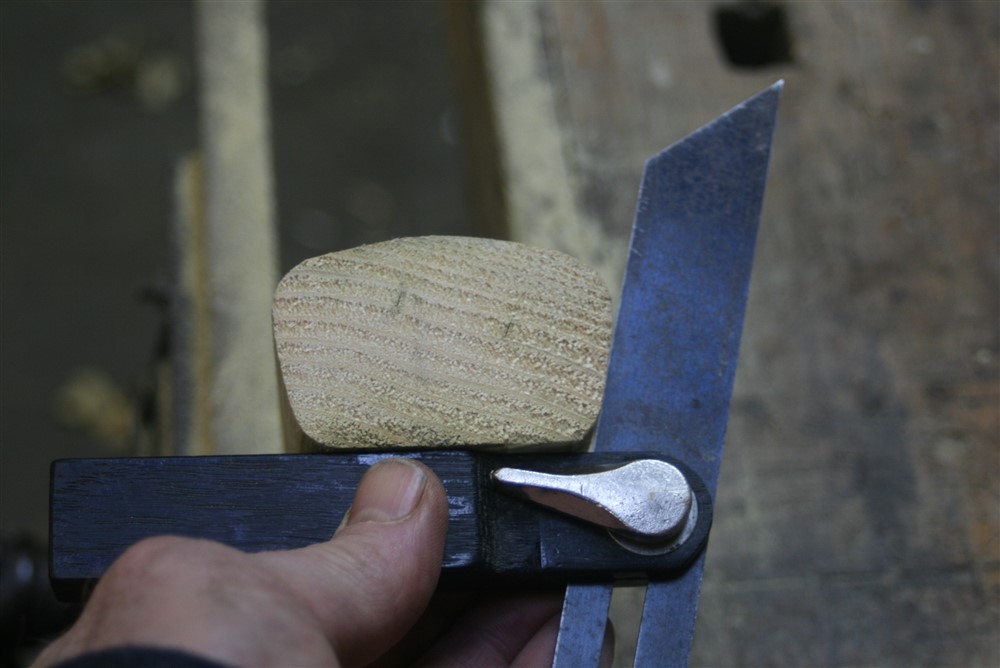
Thank goodness for a bandsaw and a planer thicknesser:
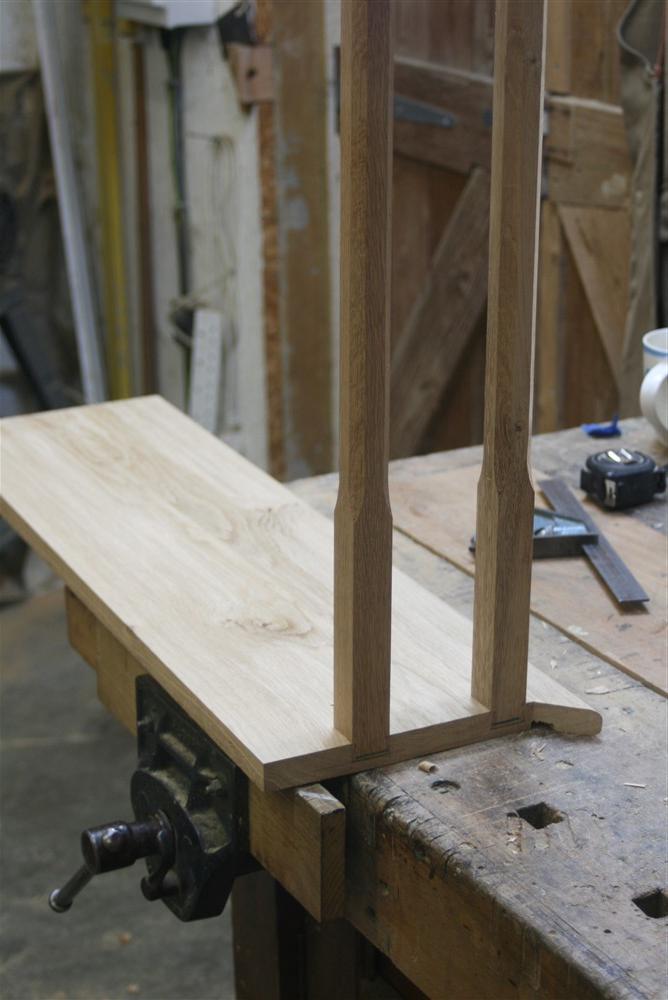
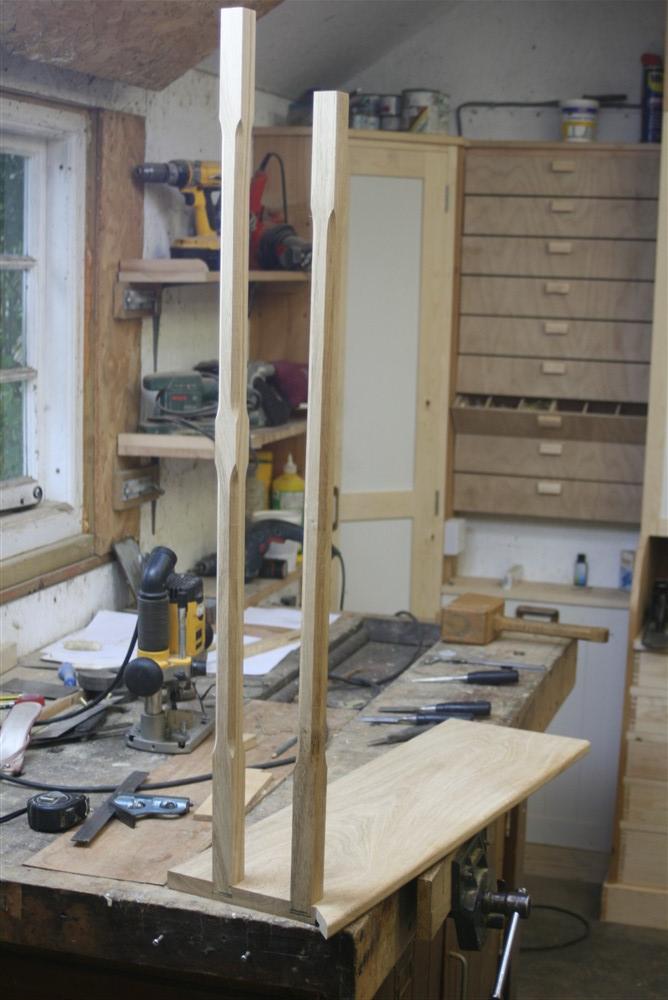
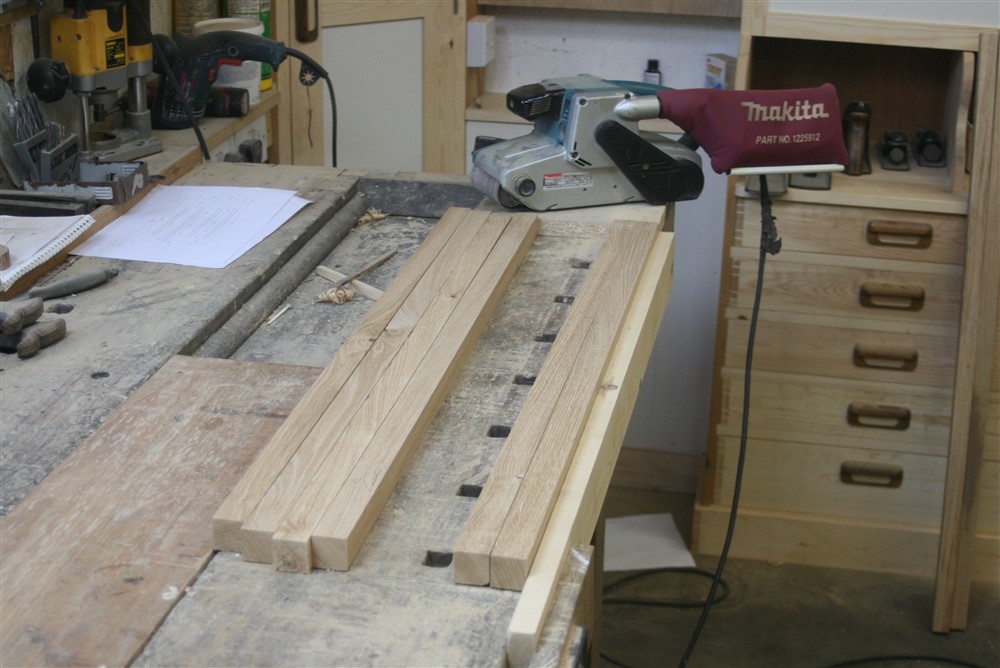
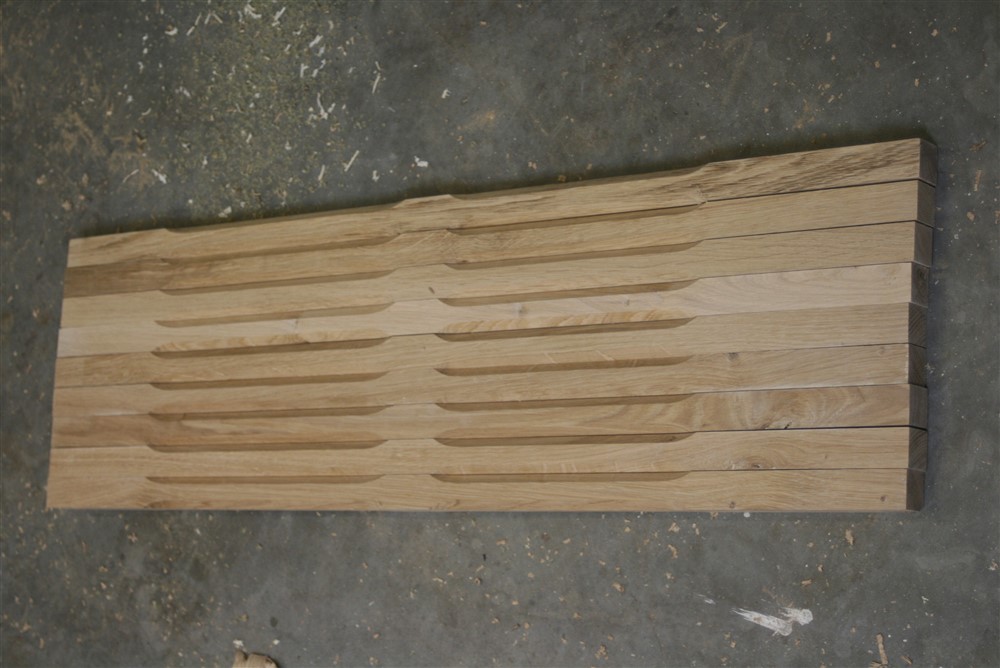
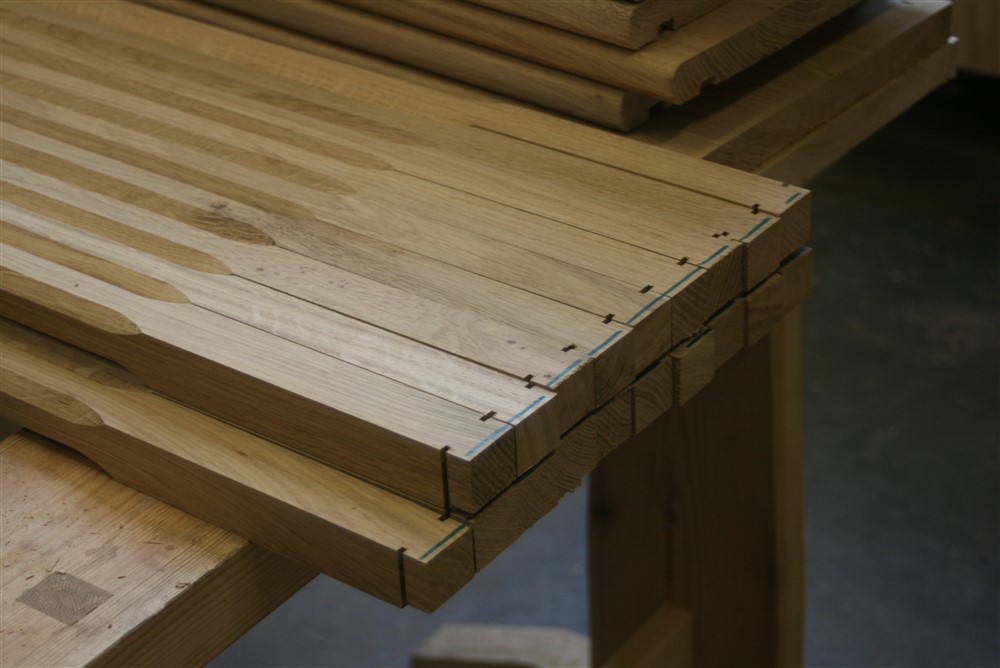
Thirty mm square was a whole lot better. I sanded them in pairs:
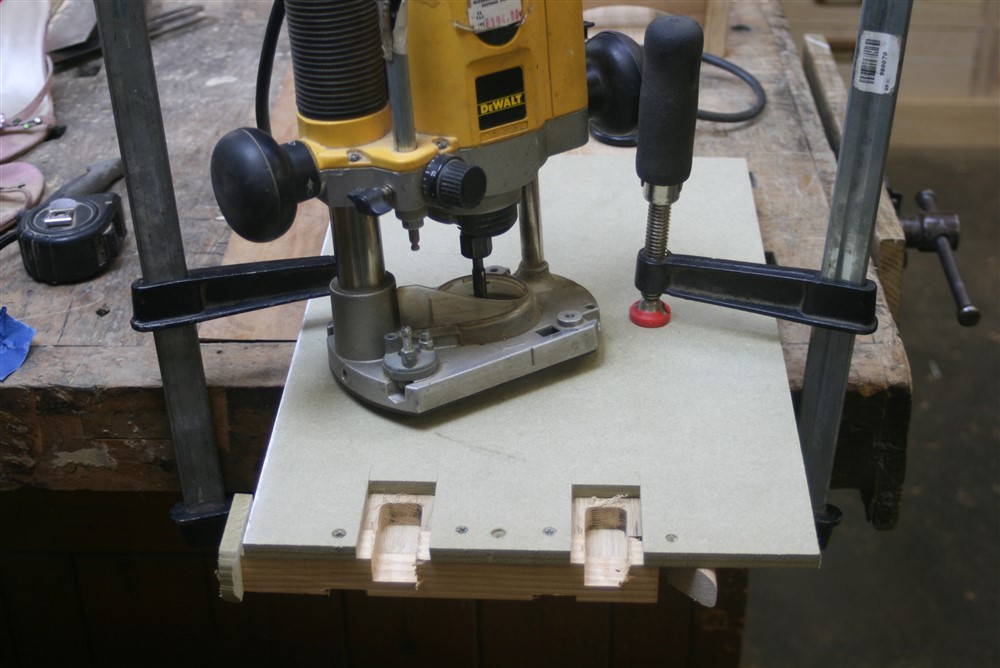
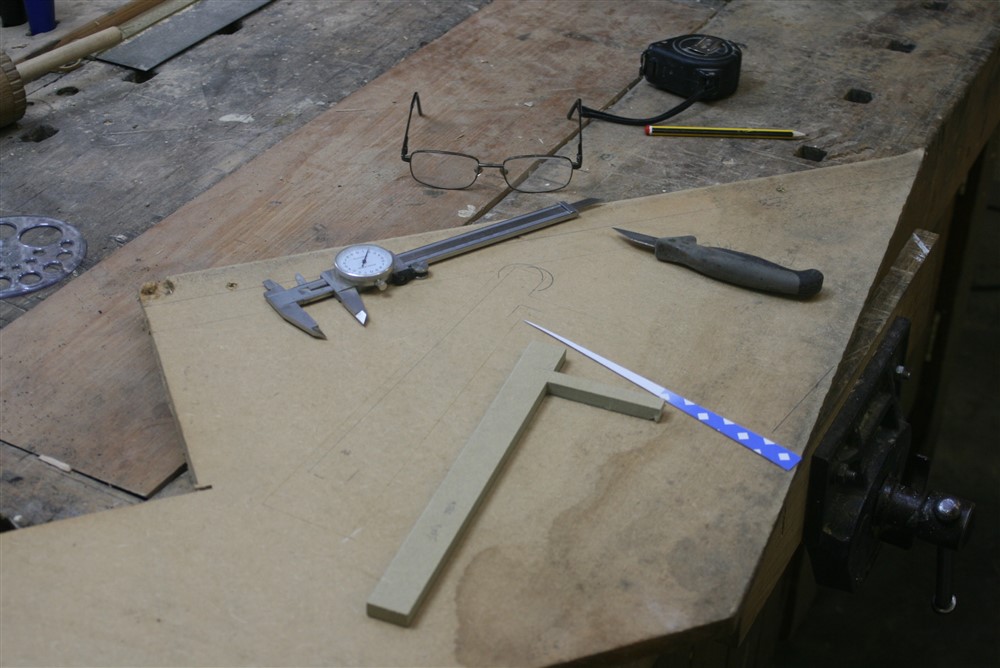
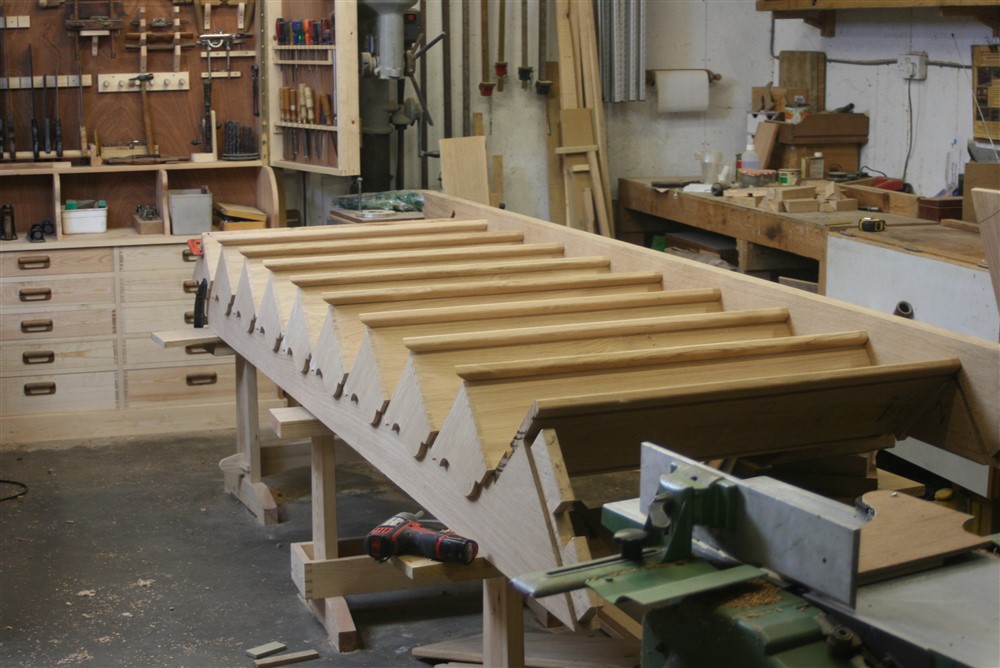
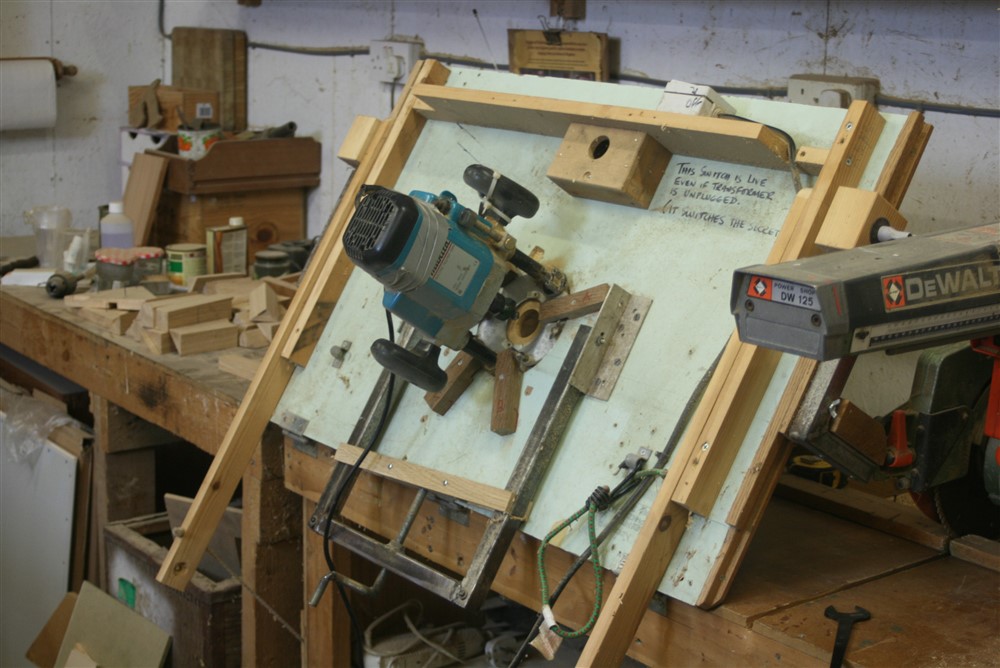
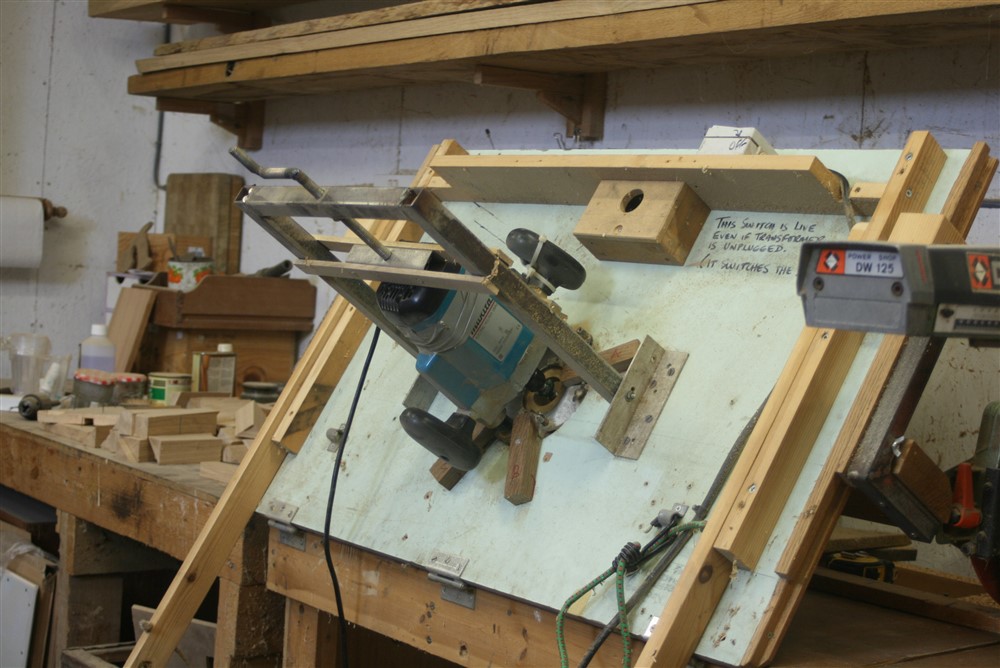
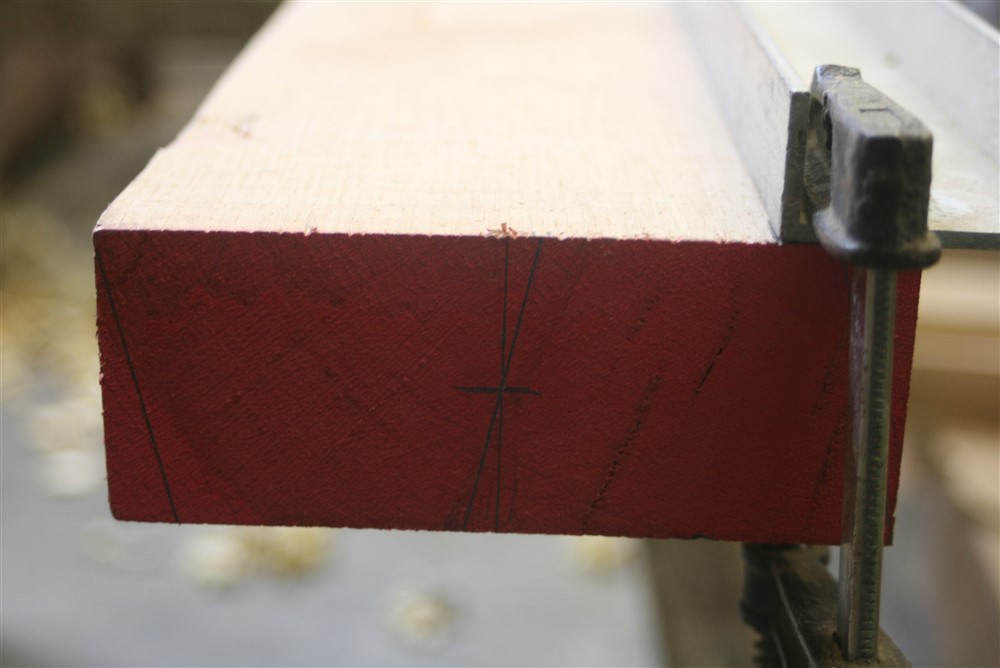
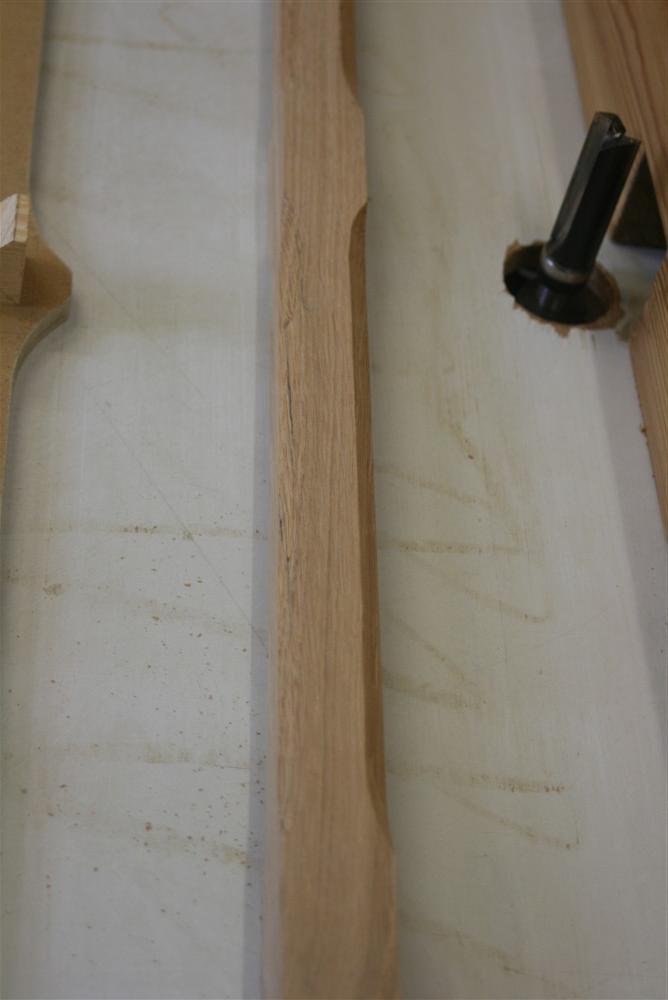
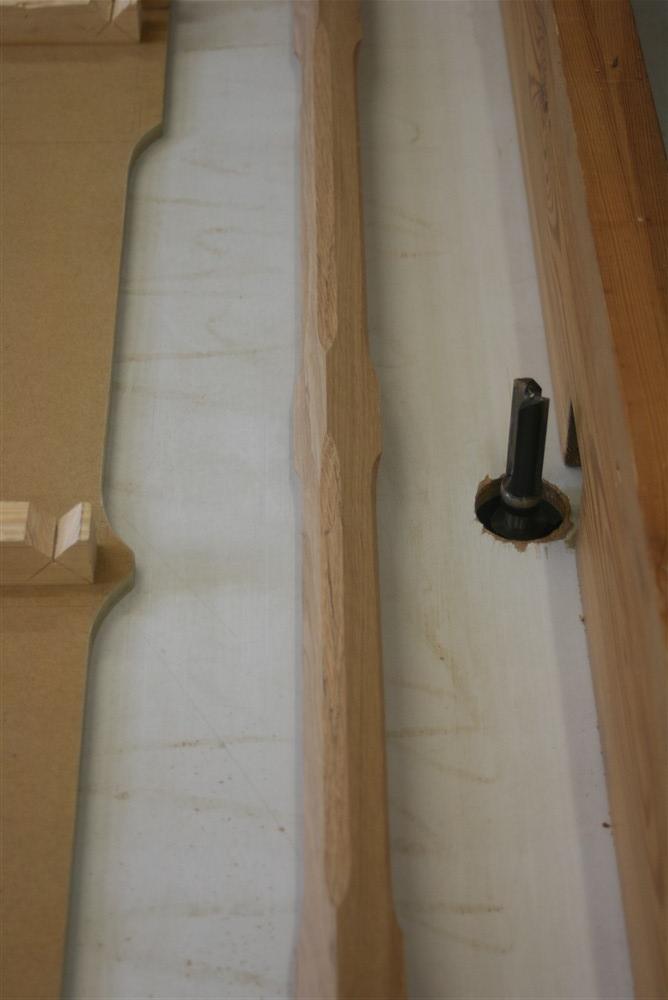
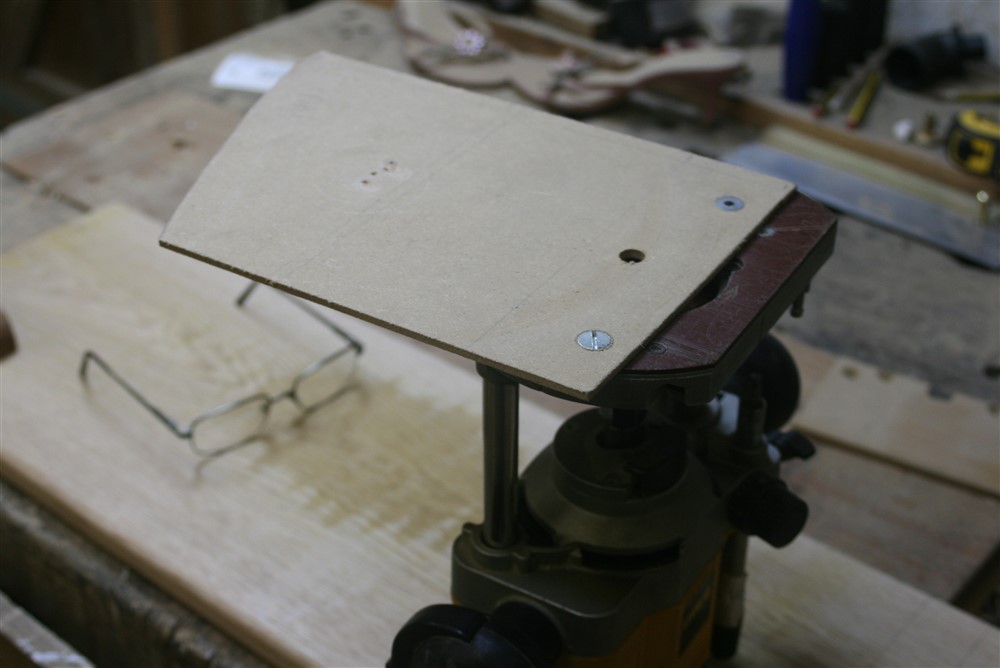
I wanted to have stopped chamfers, but I think I worked out this was over 300 stops, and I really didn't want to do those all by hand. I hate chamfers which stop in a burnt half-round feathery mess, and eventually, with a little help, came up with a plan involving a bearing-guided straight cutter and a jig or 3.
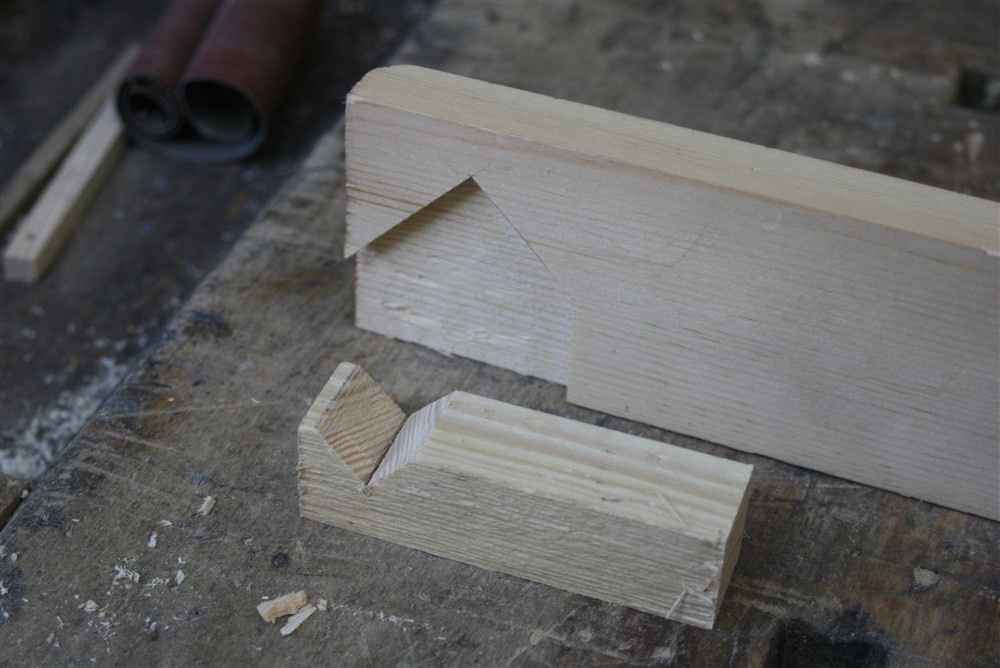

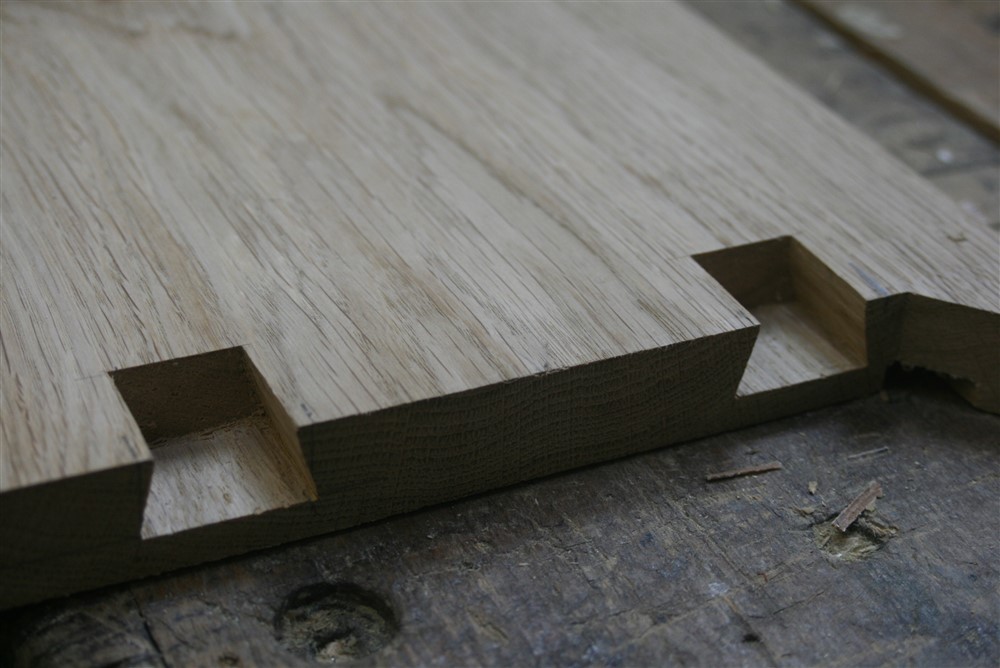
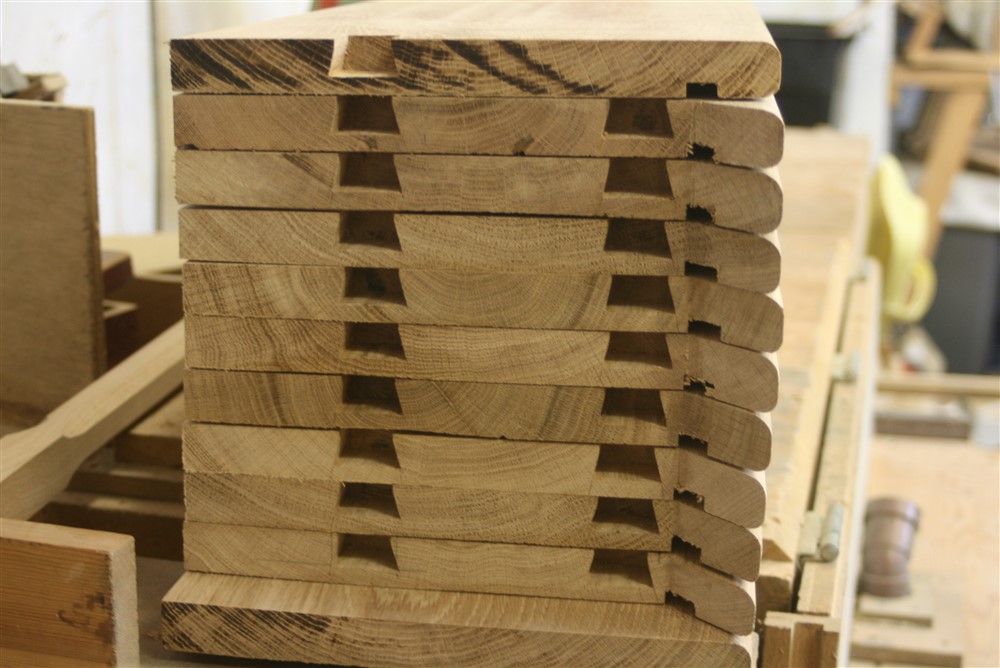
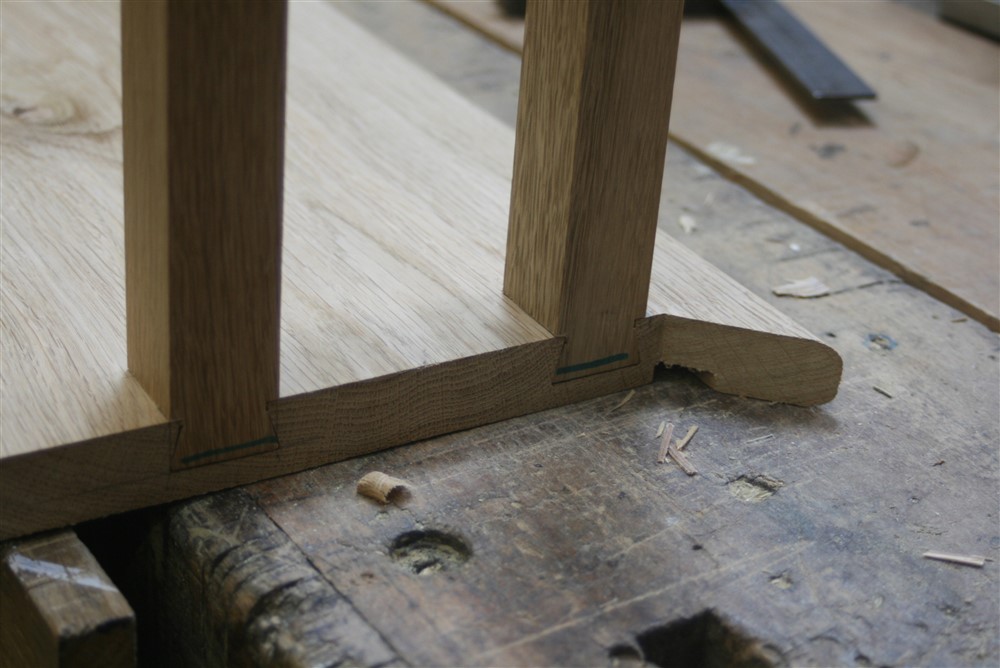
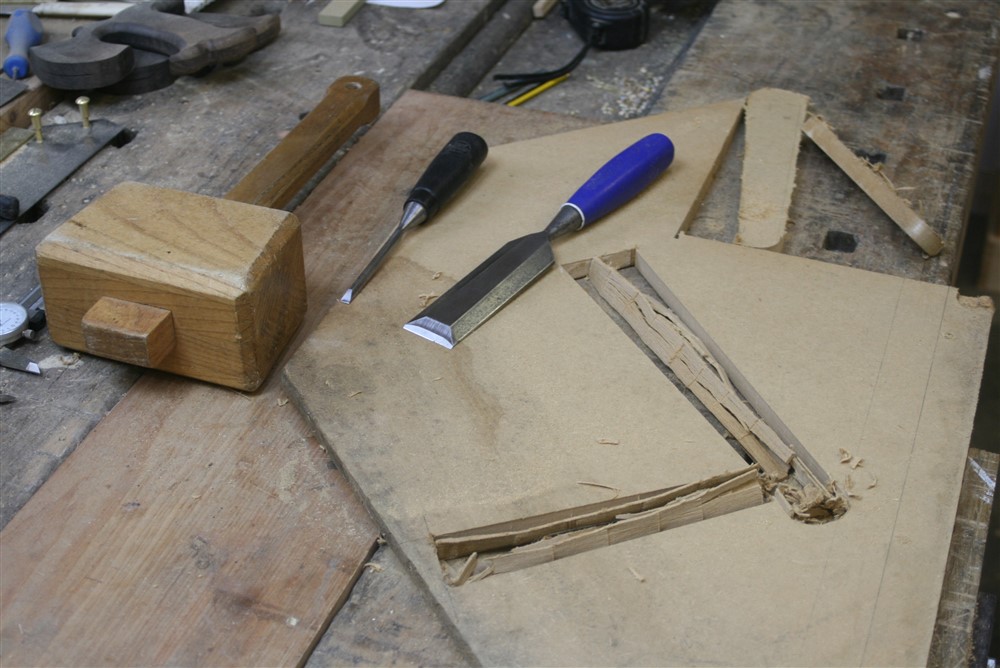
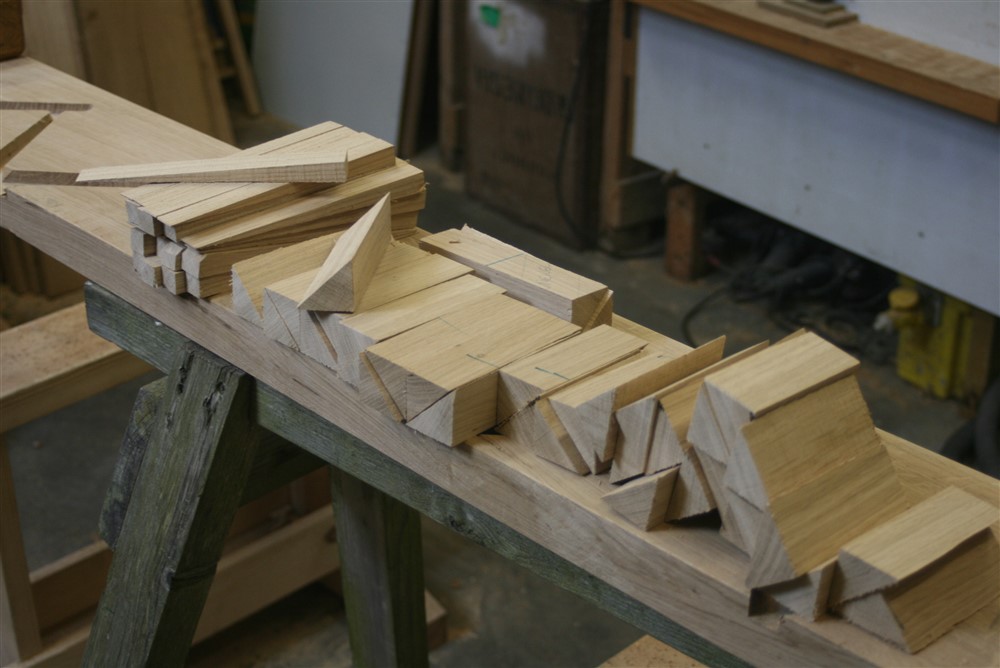
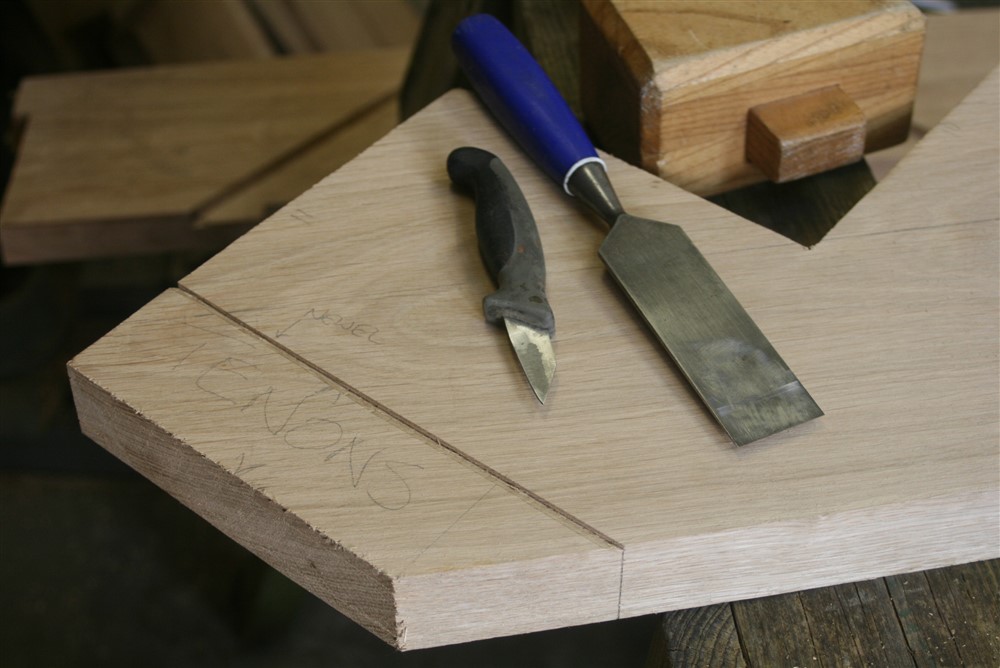
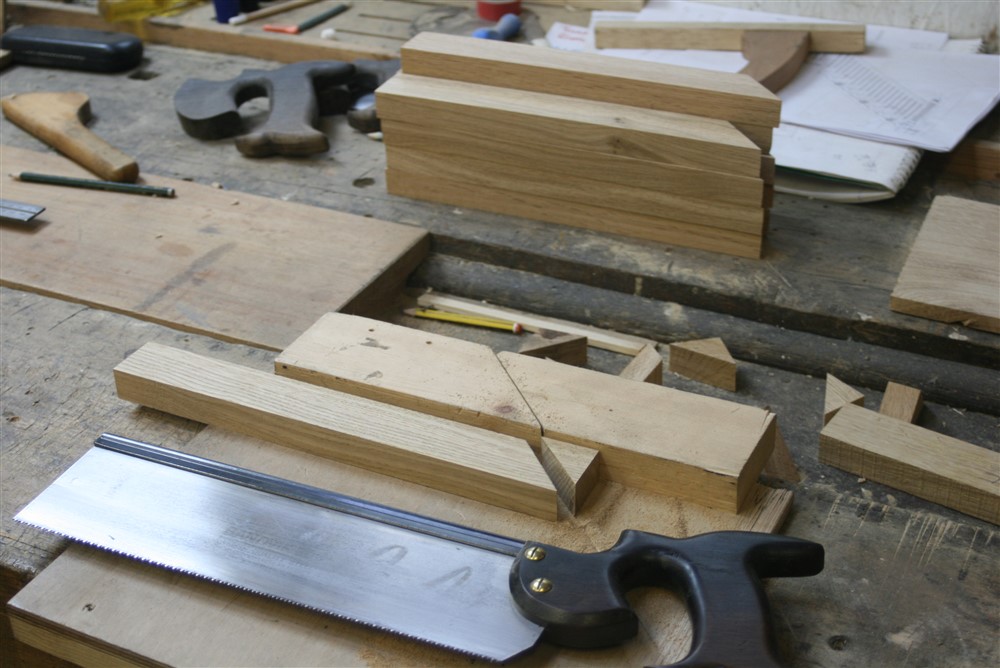
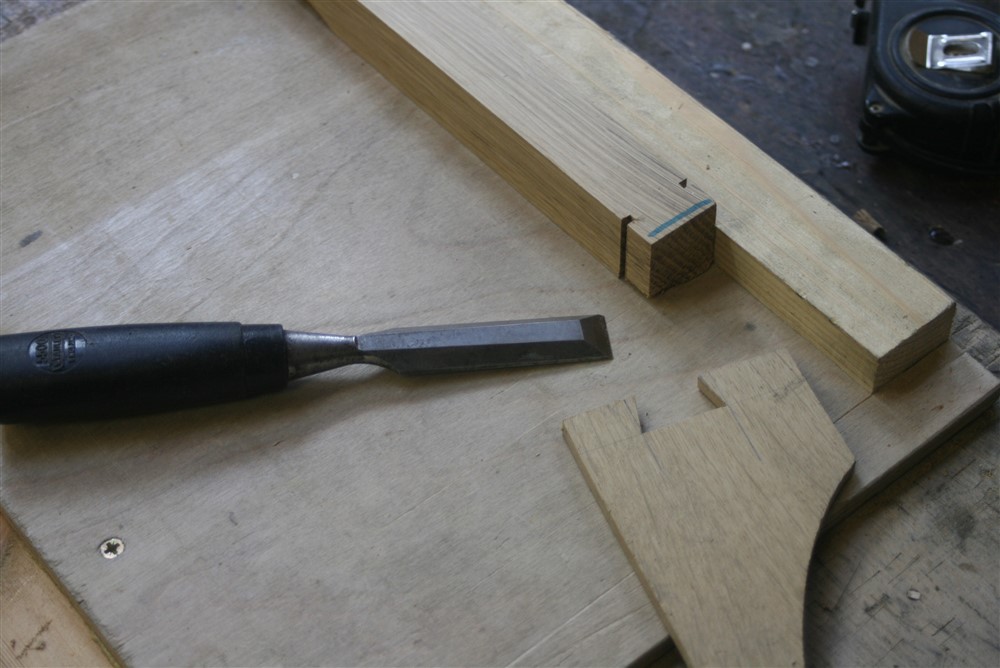
On the end of each of the stair ballusters (which are two different lengths) is a dovetail. For those used to me hand-doing most stuff, sorry:
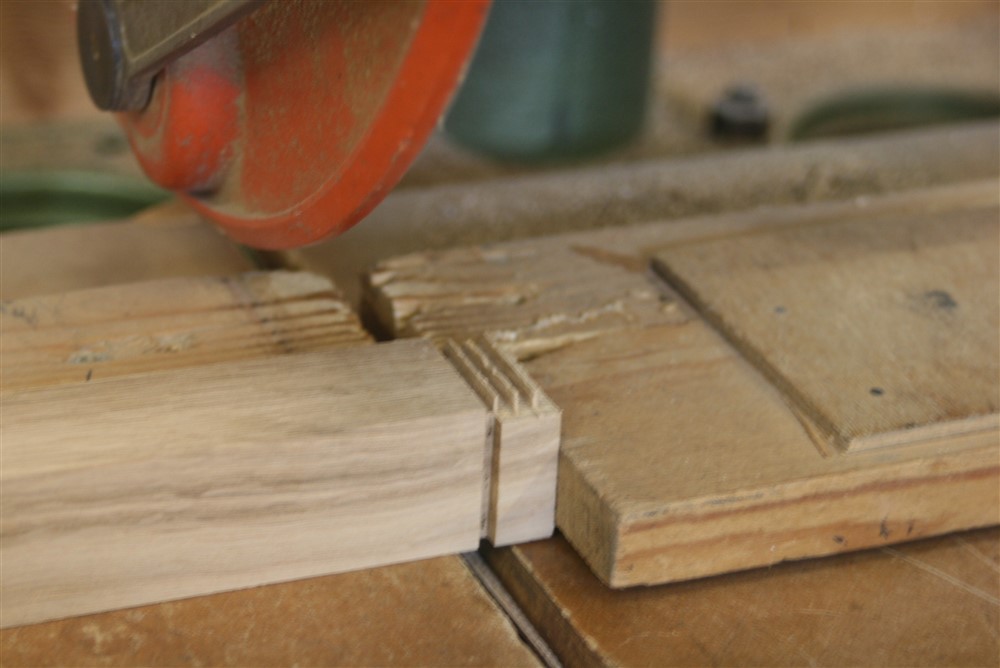
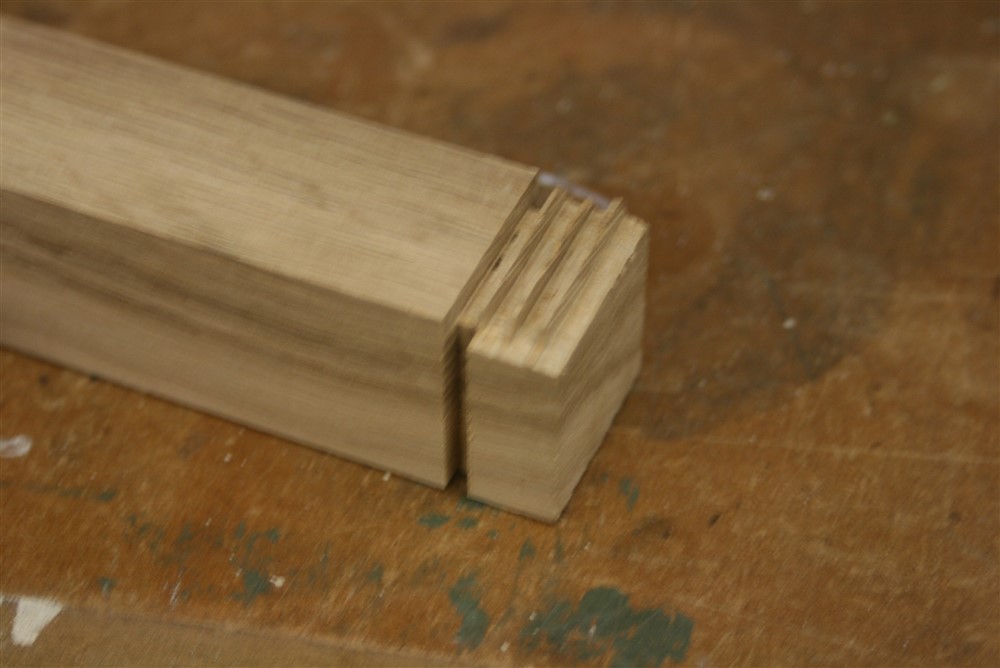
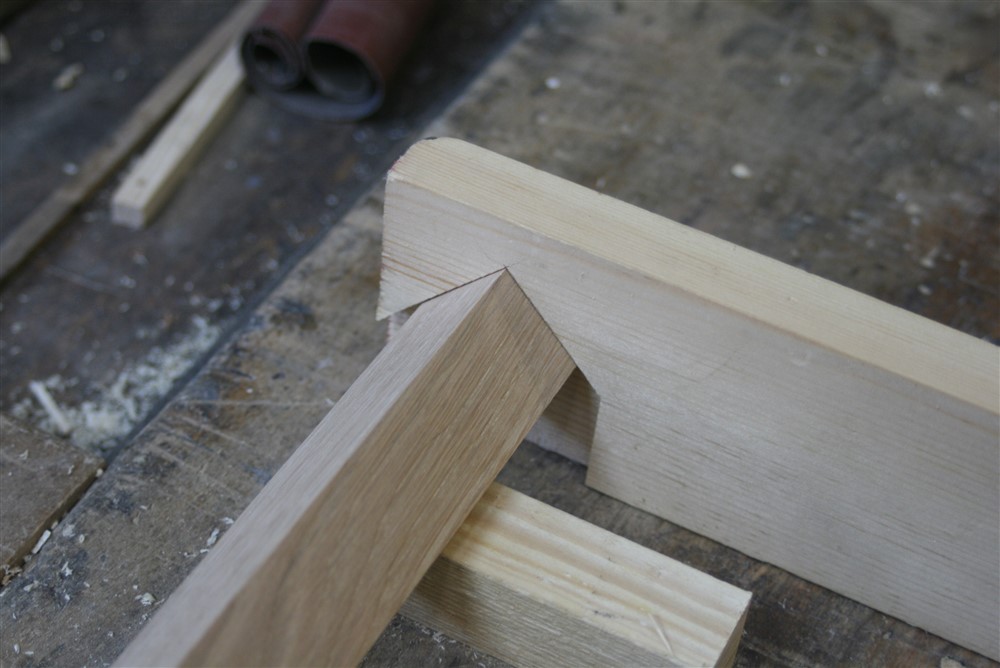
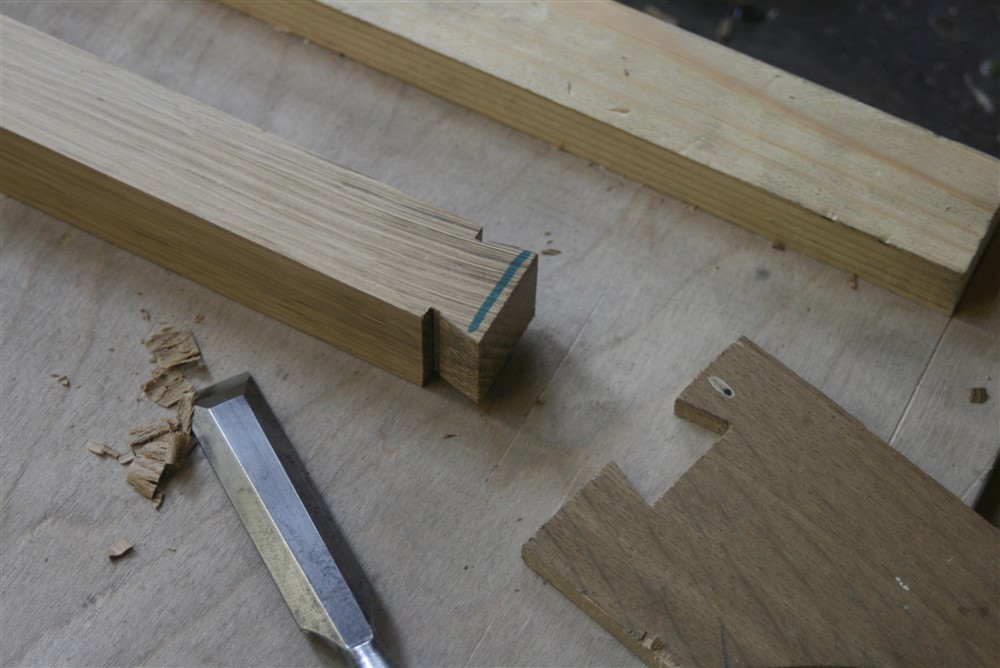
However, I did shape the dovetails by hand:

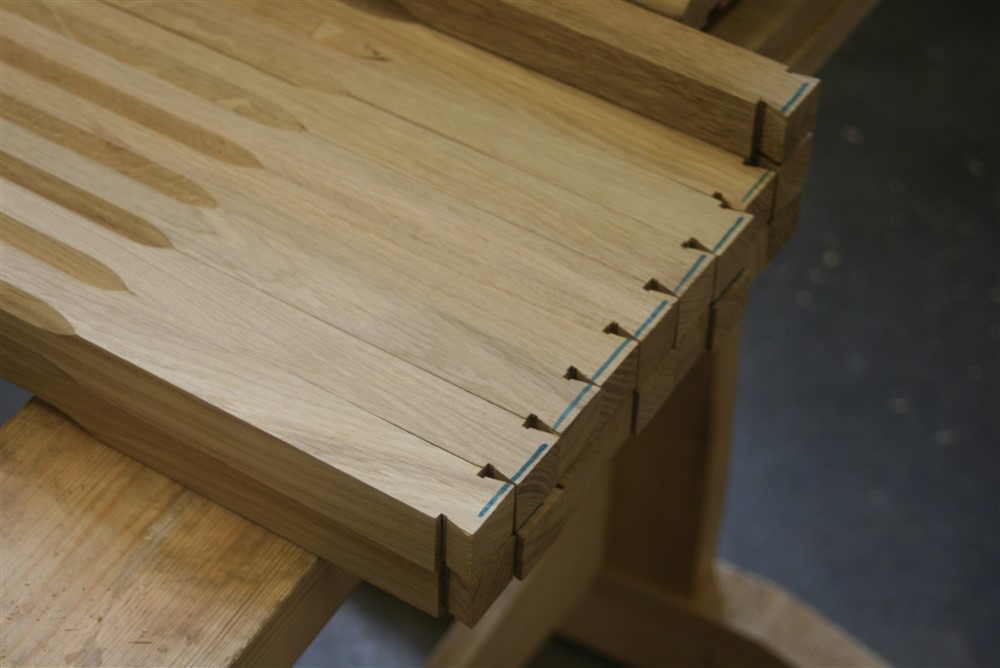
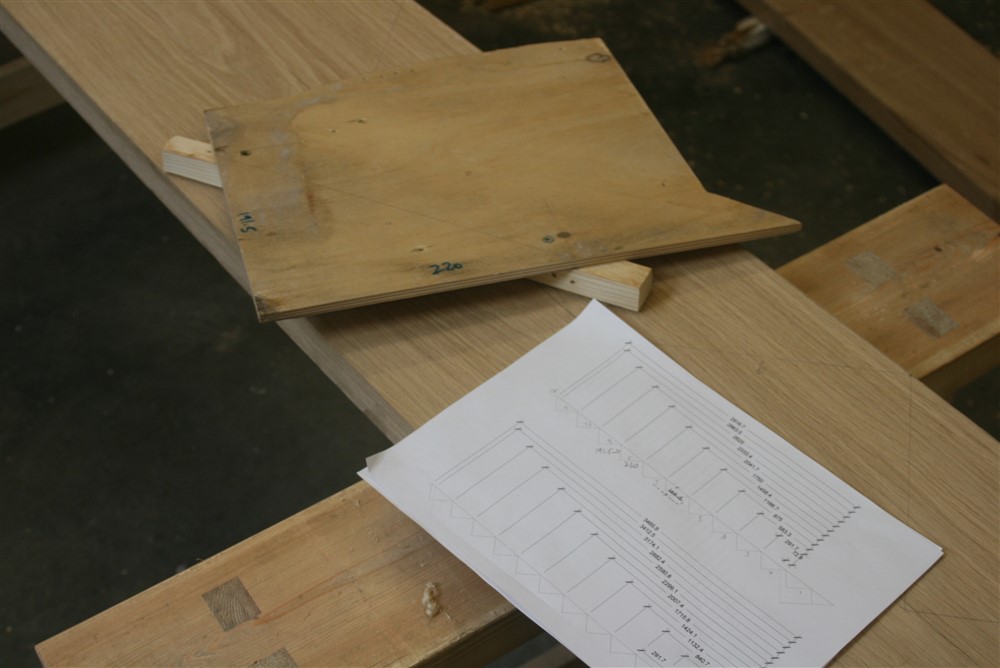
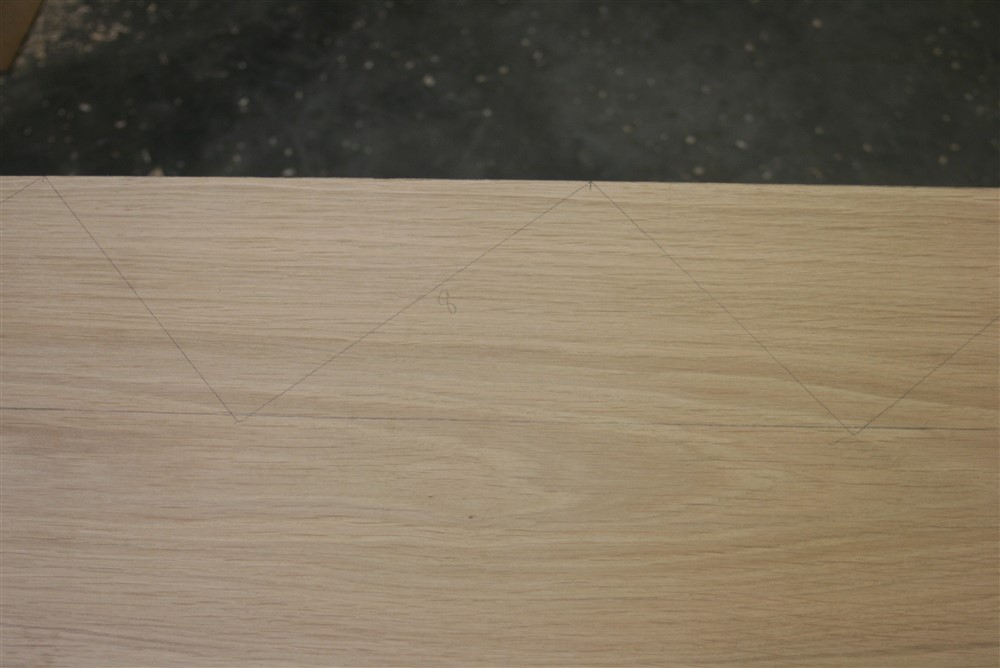
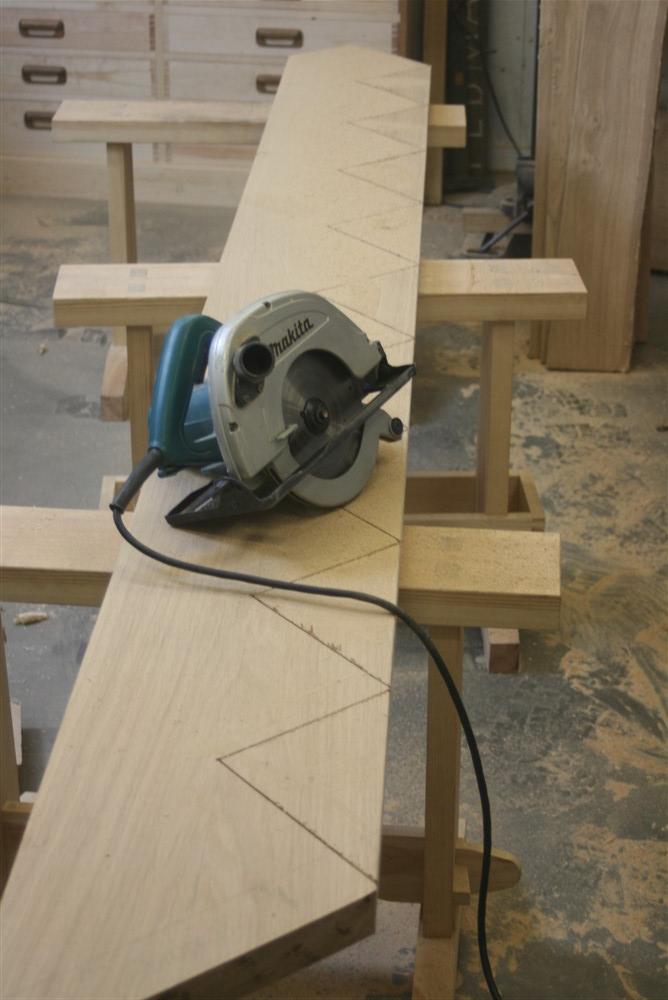
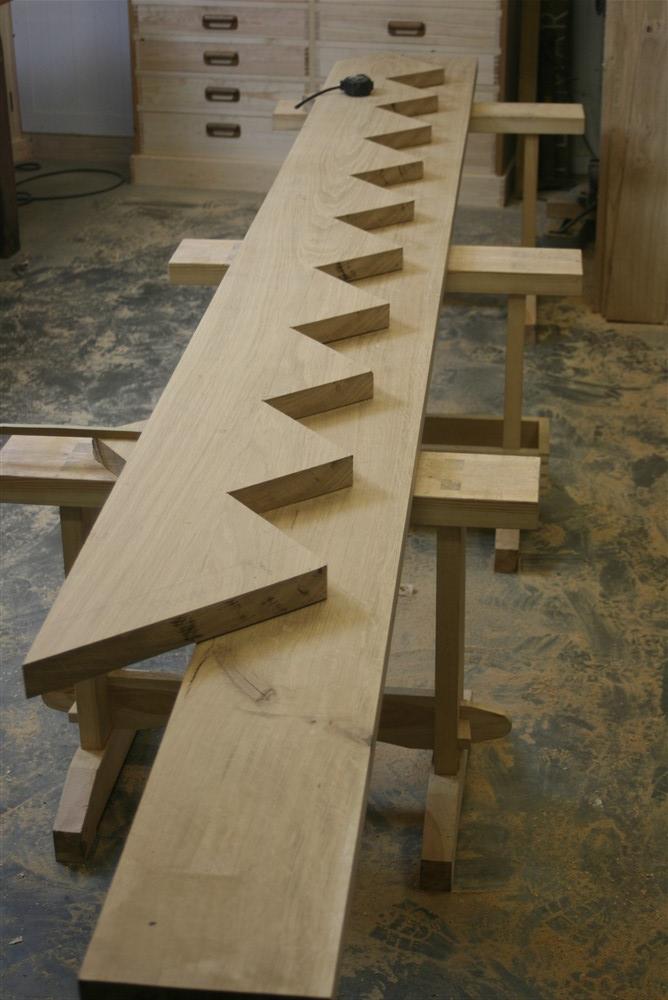
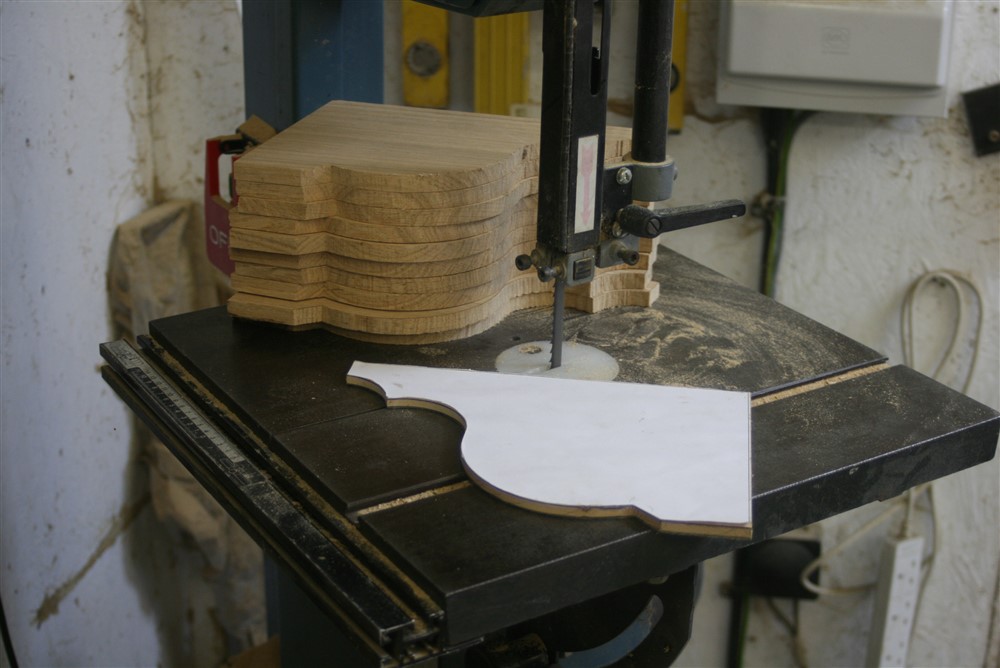
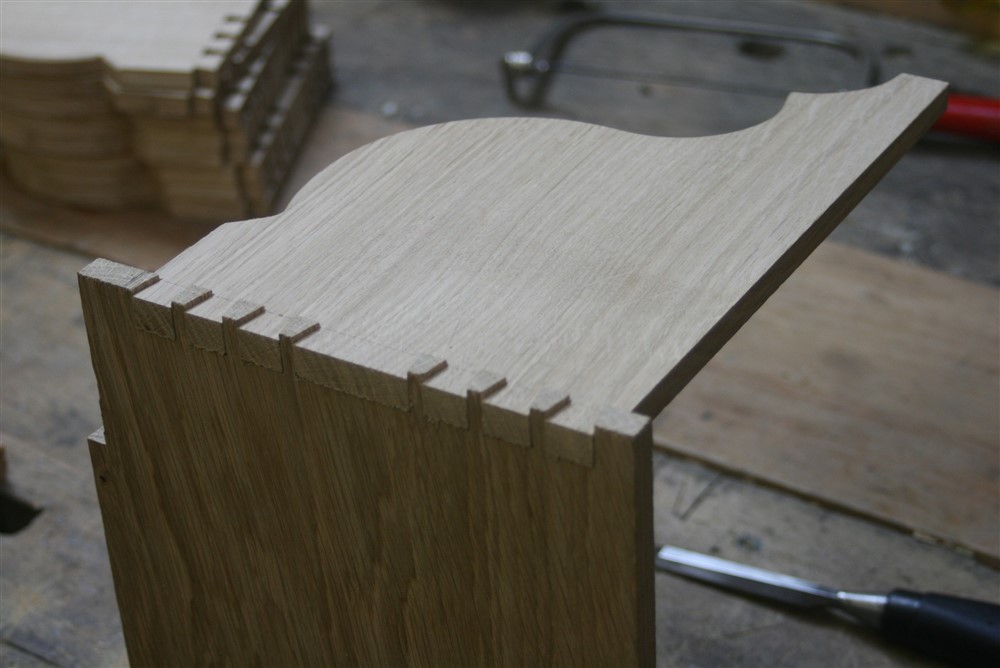
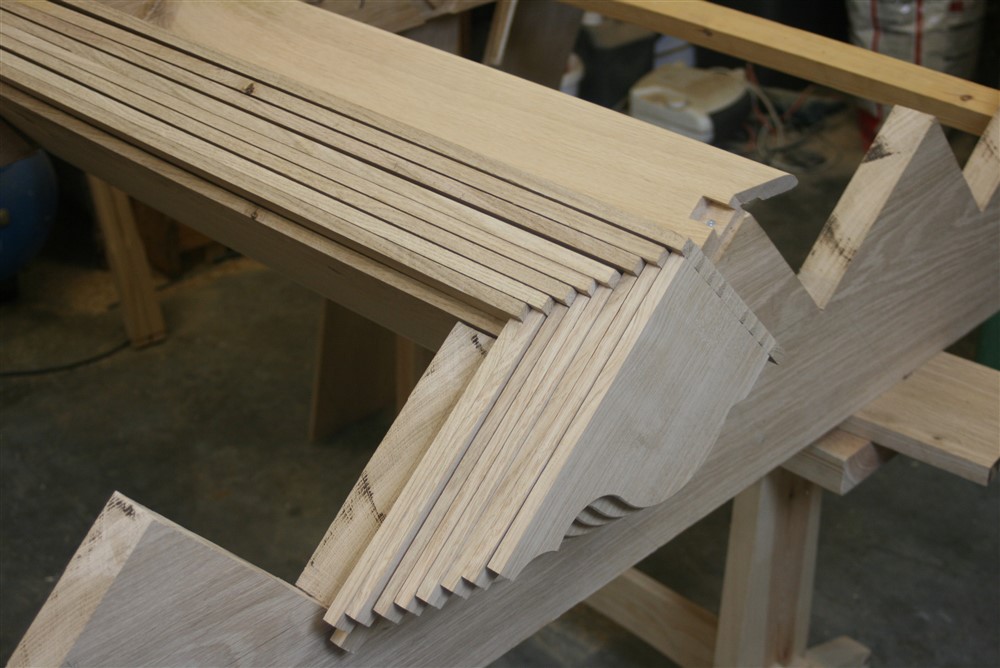
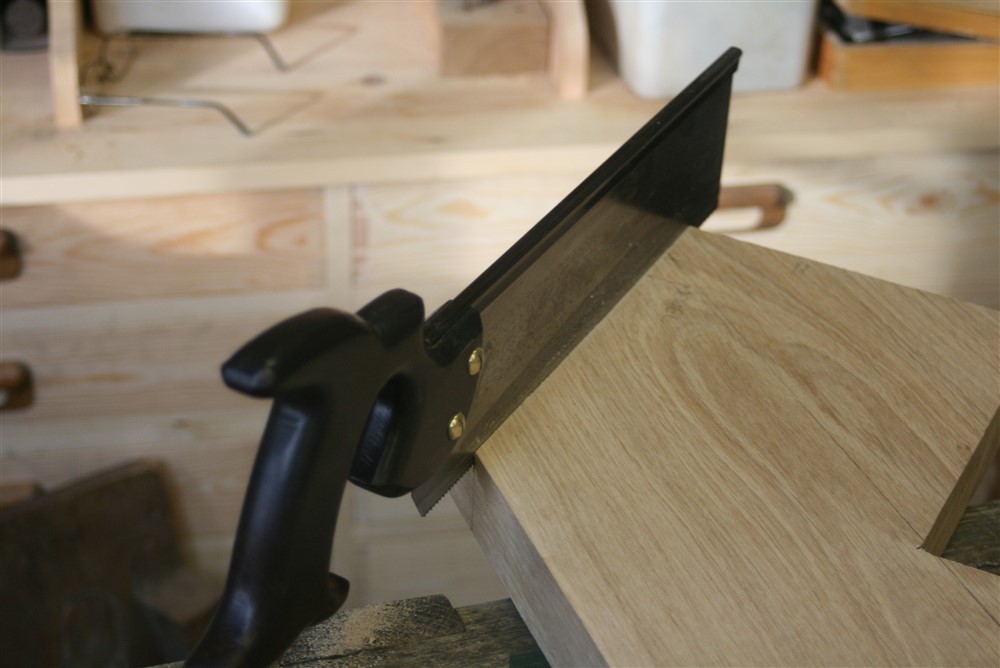
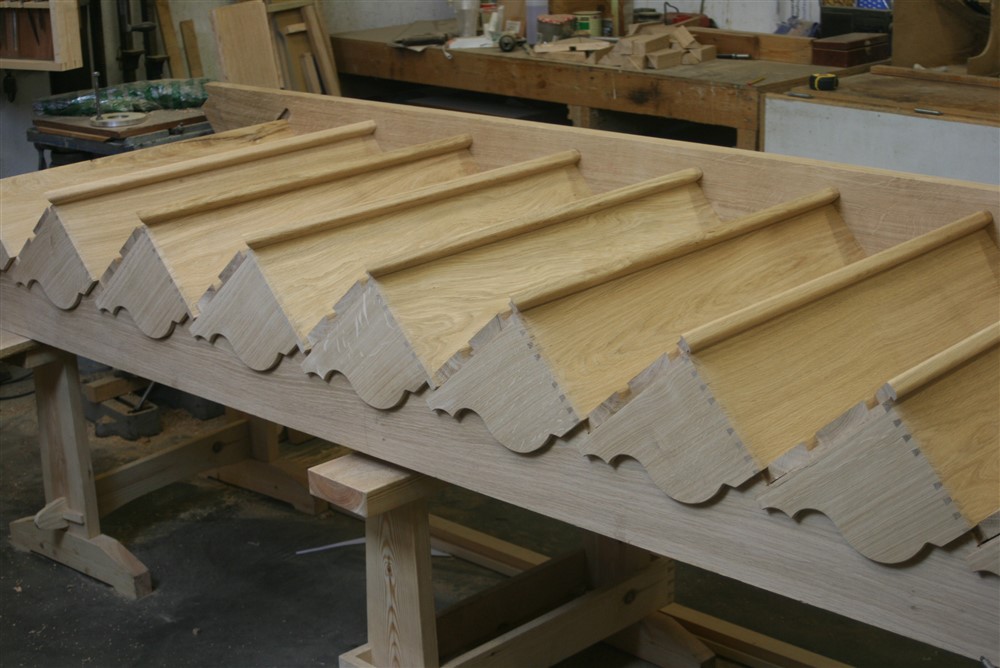
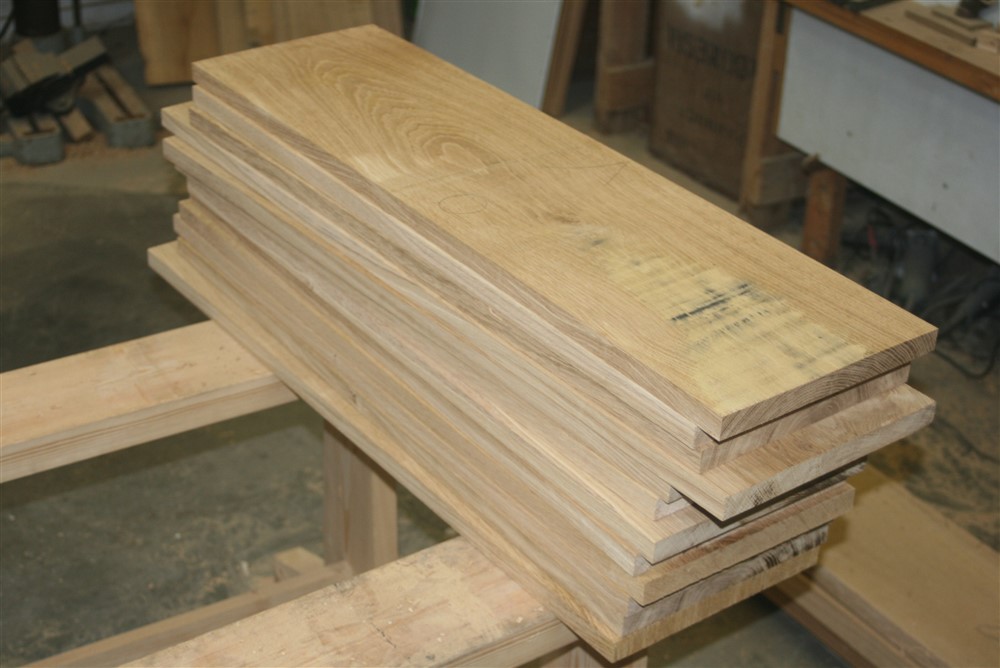
I also cut out the treads:
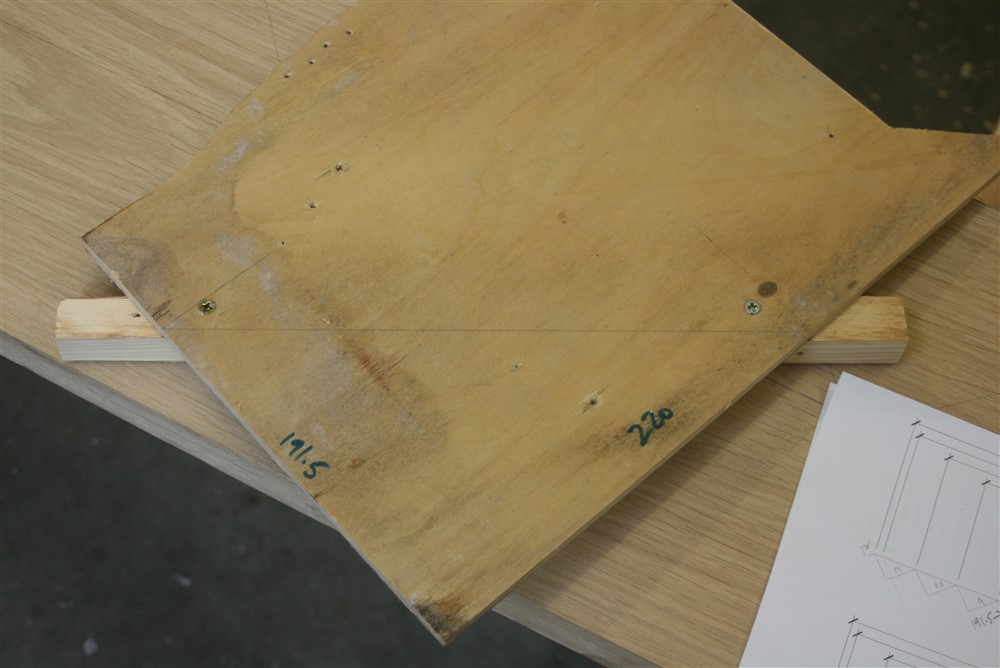
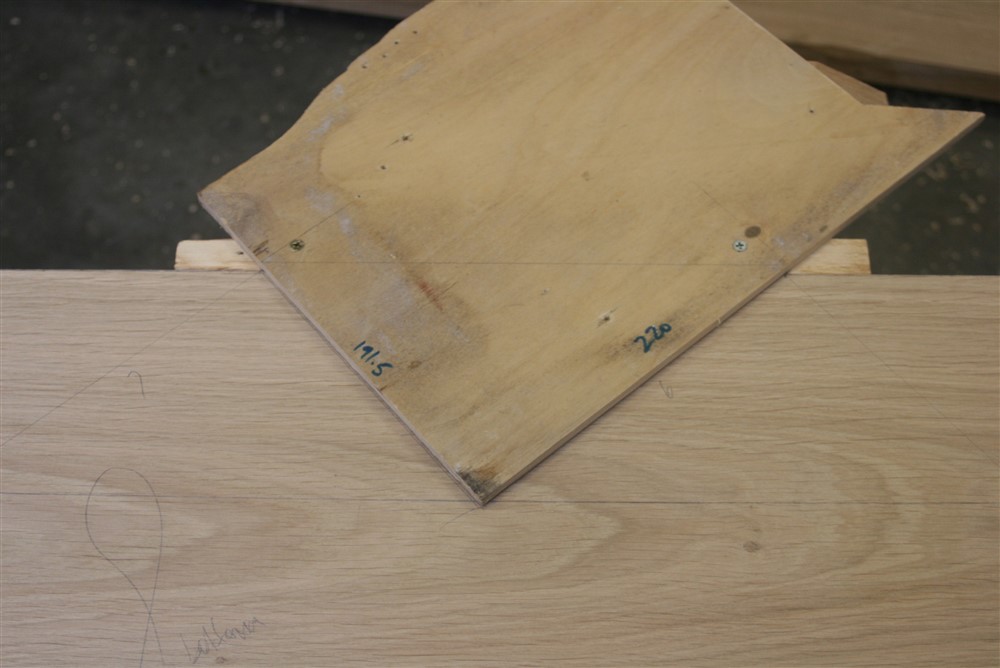
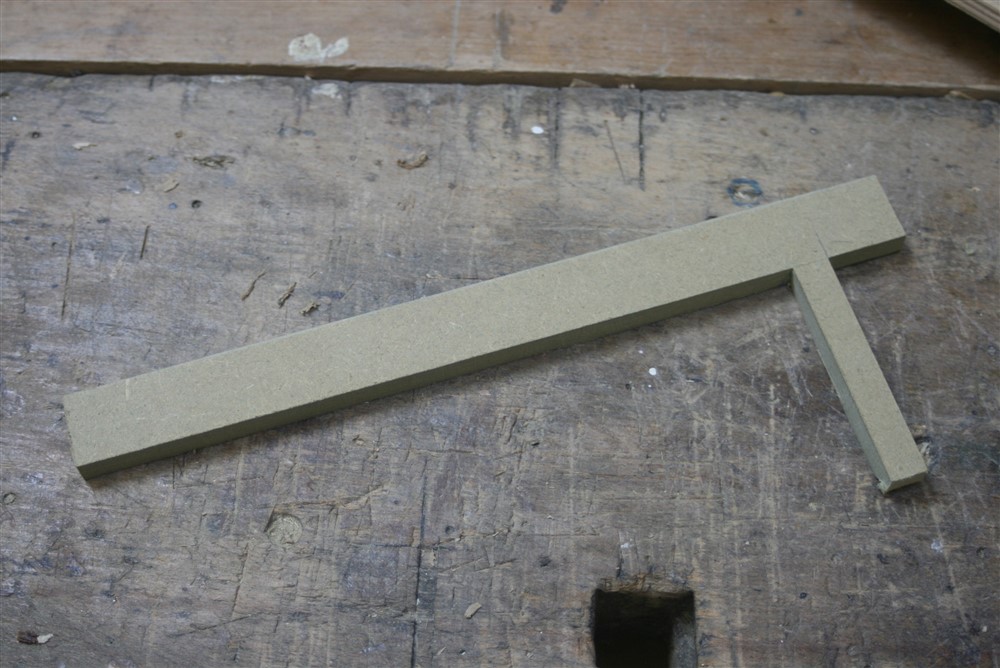
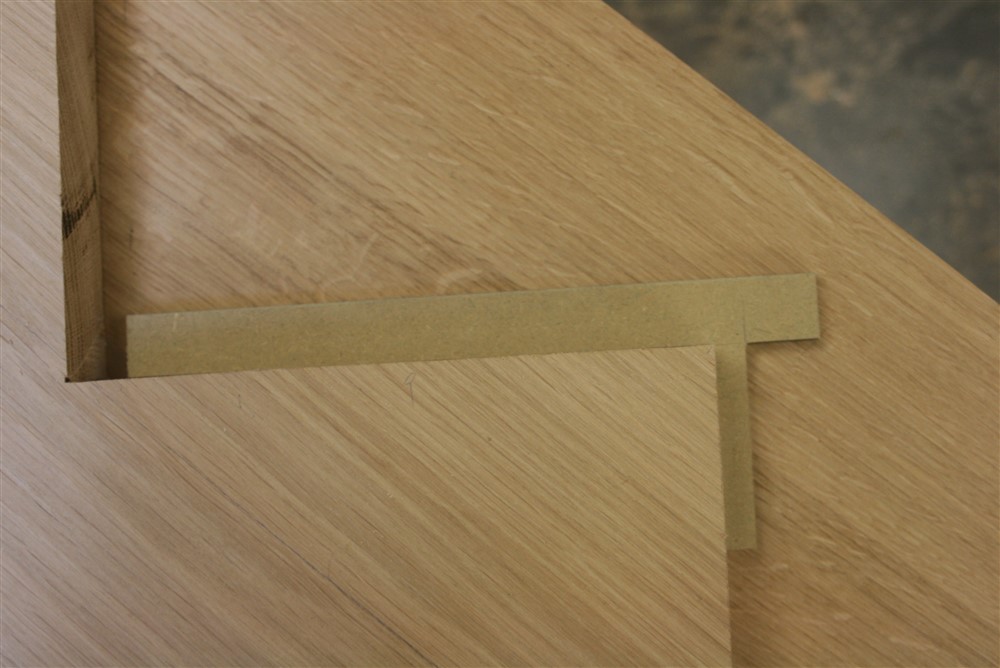
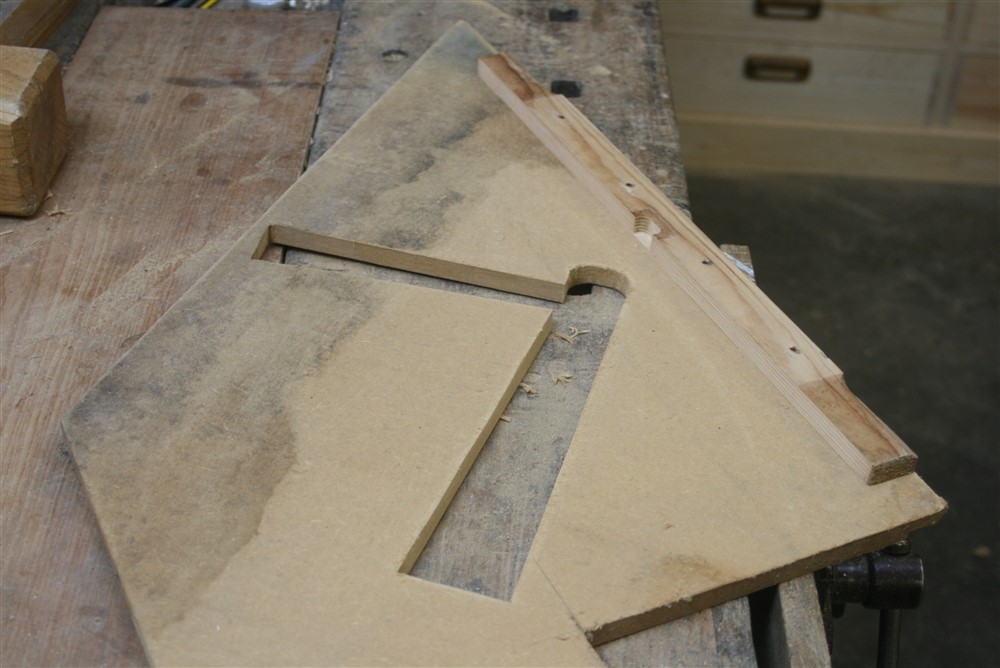
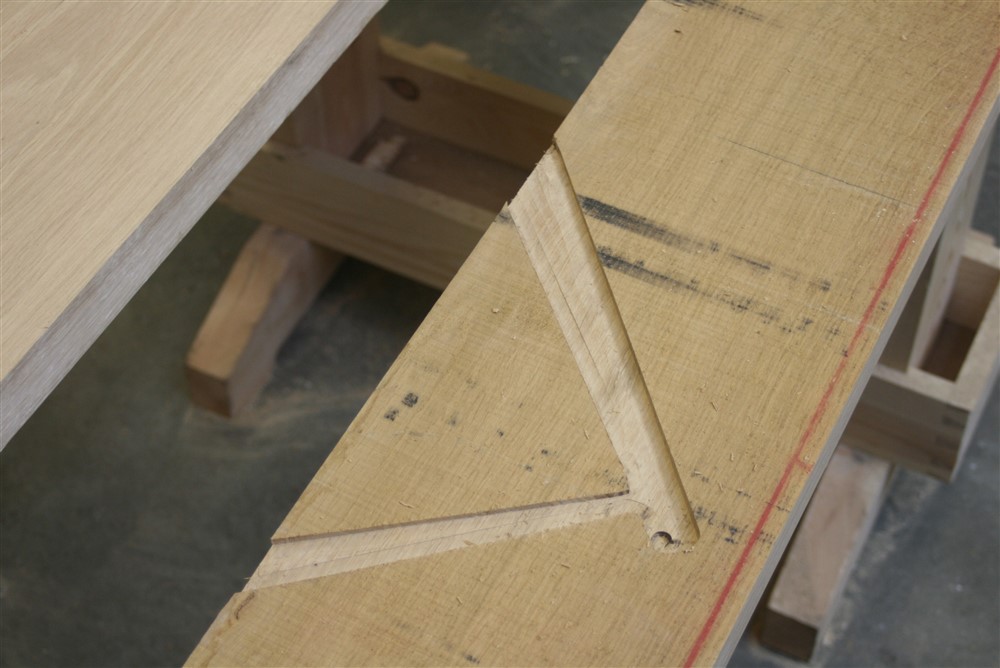
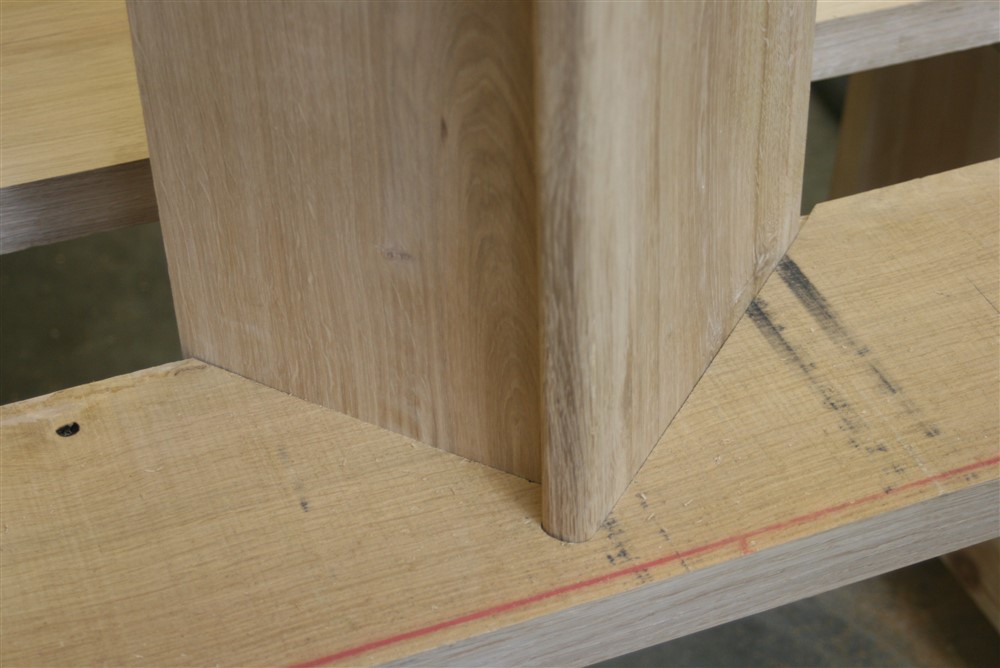
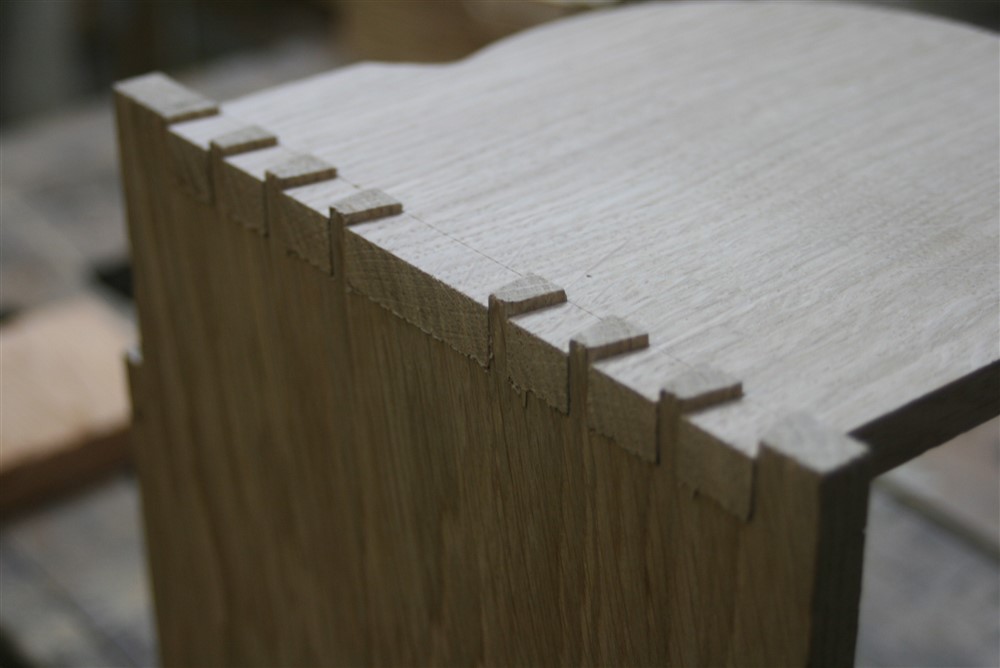
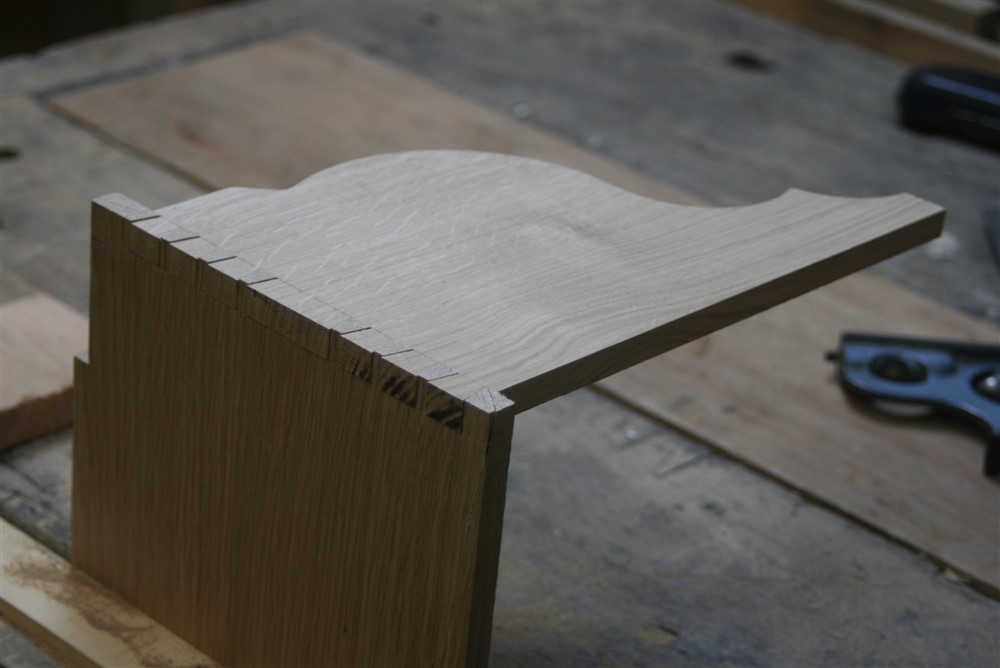
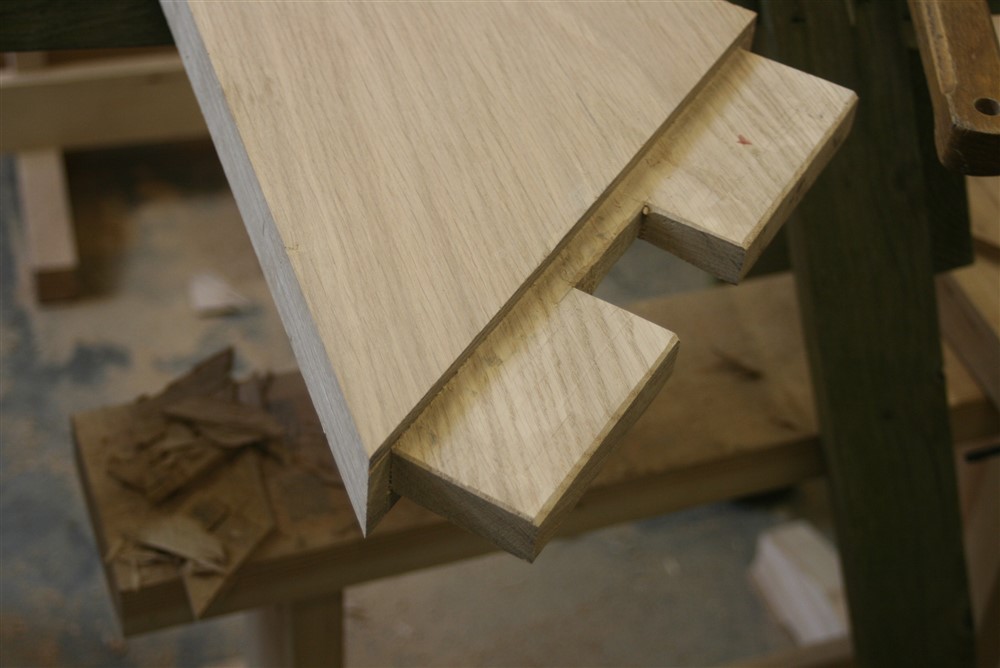
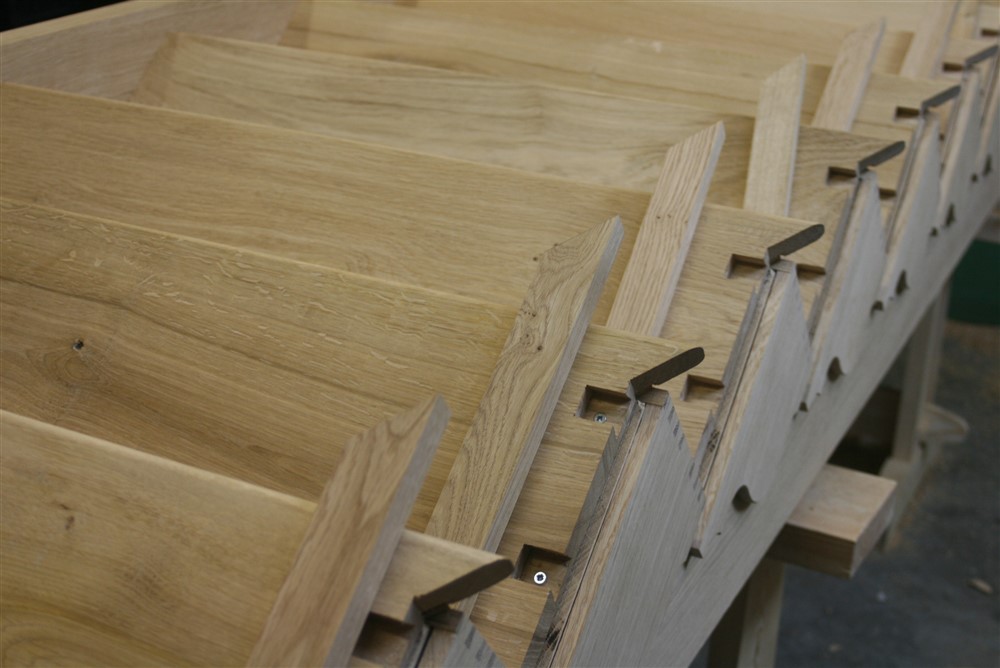
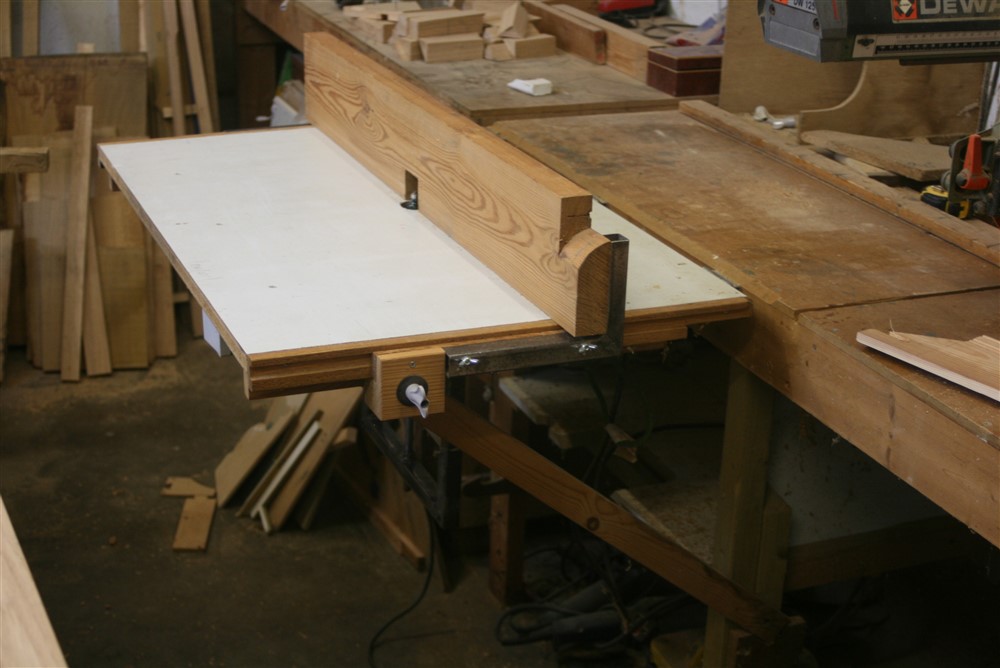
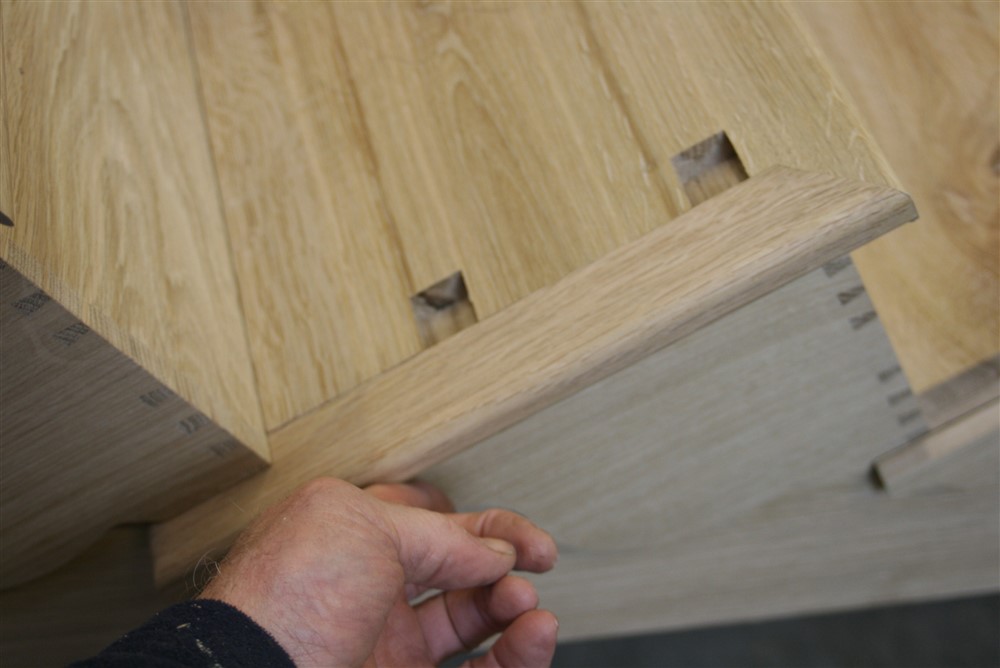
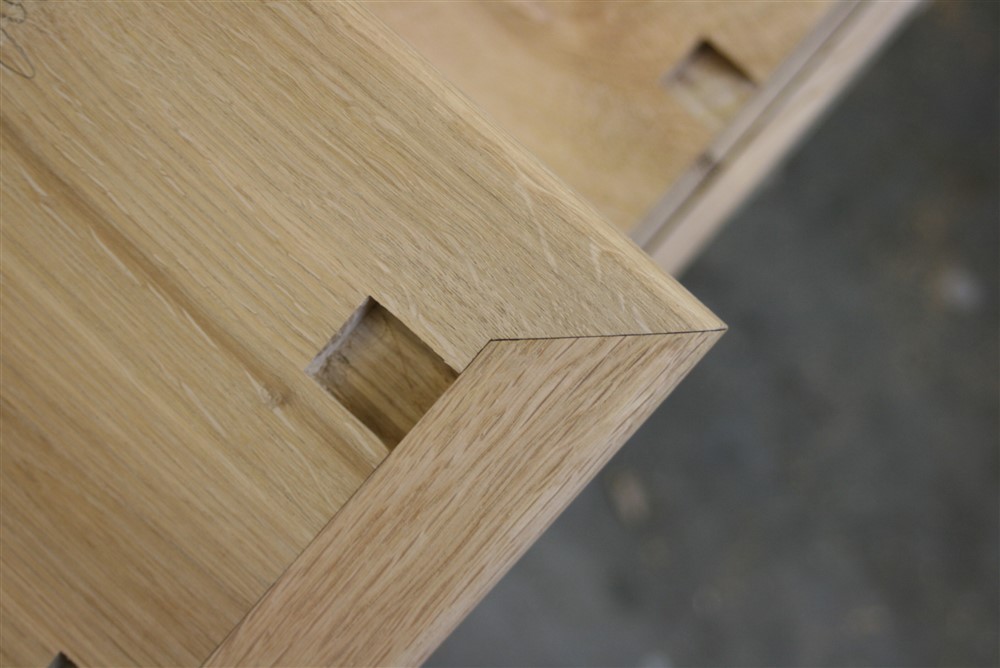
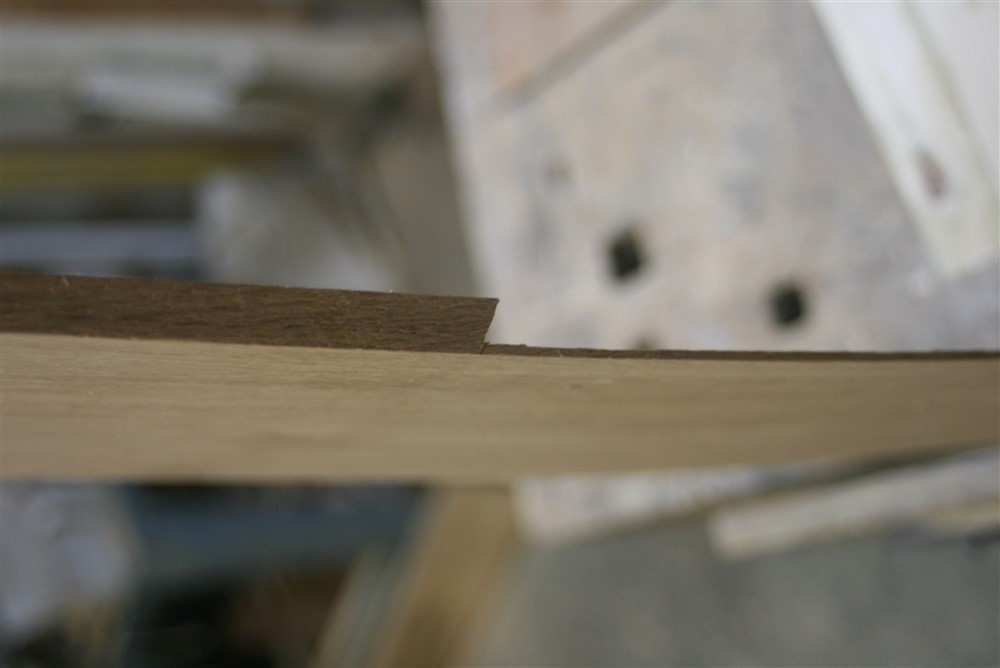
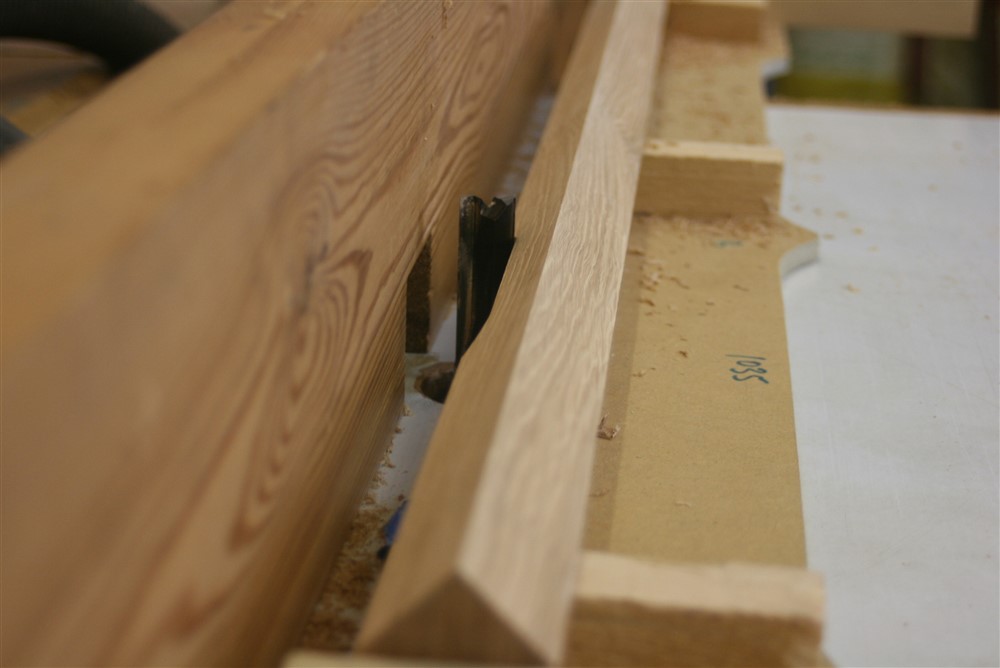
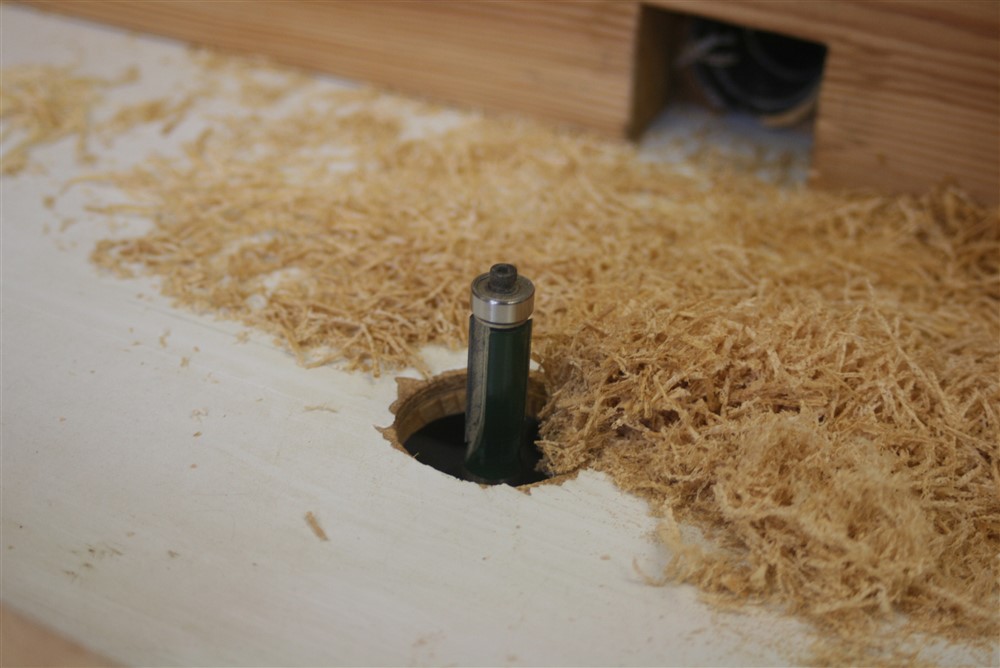
With a cut string, the end of the tread projects out past the string, but you don't see the end grain (normally). You mitre in a piece, which performs the job of trapping the ballusters in their dovetail mortice. Another job for the guided cutter and a pattern:
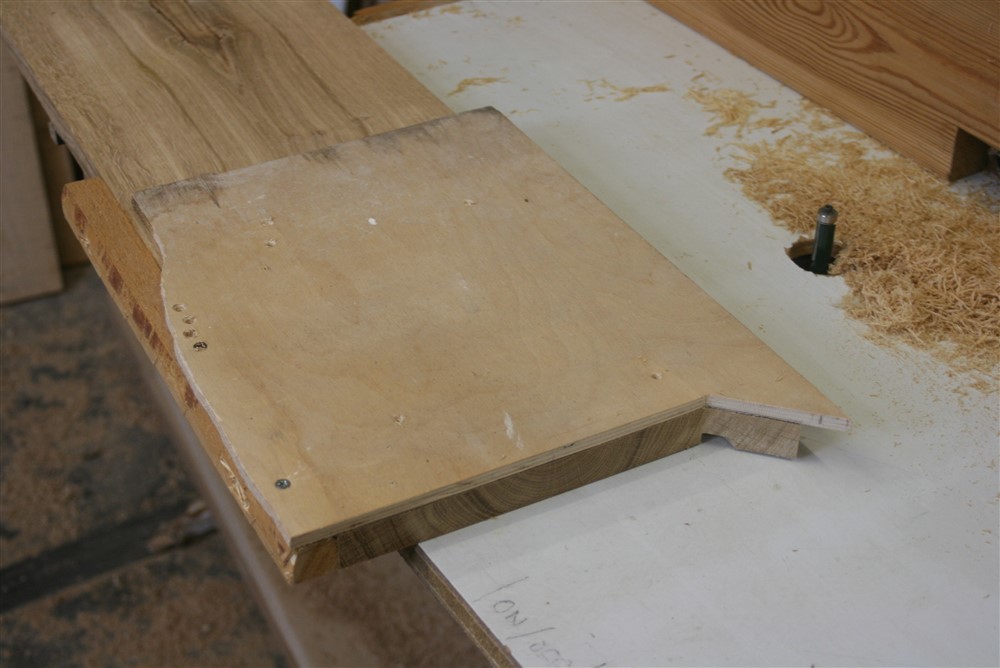
This time the guide was on the top:
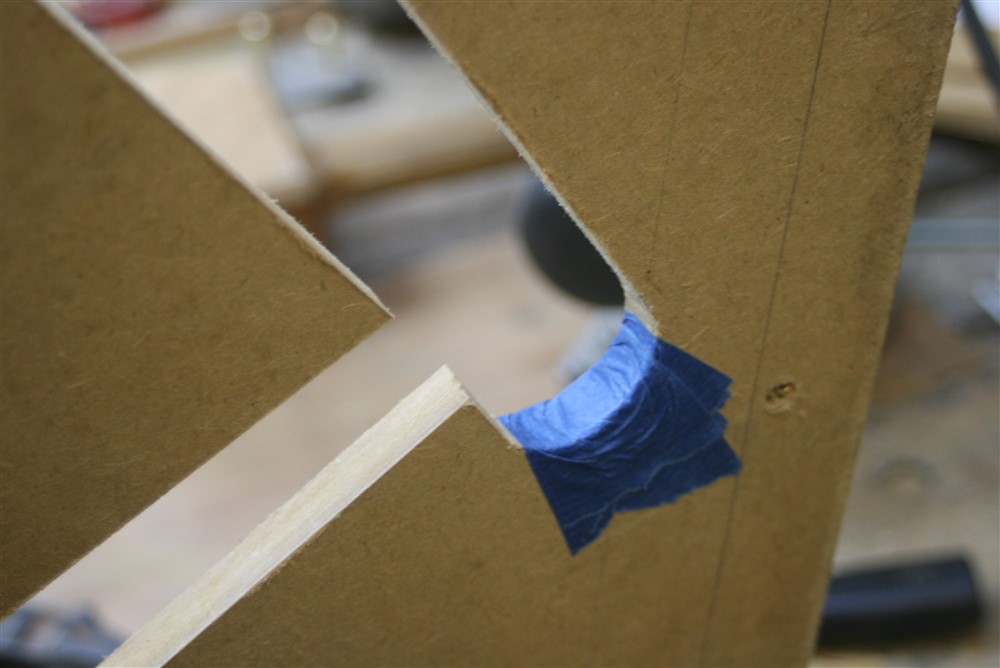
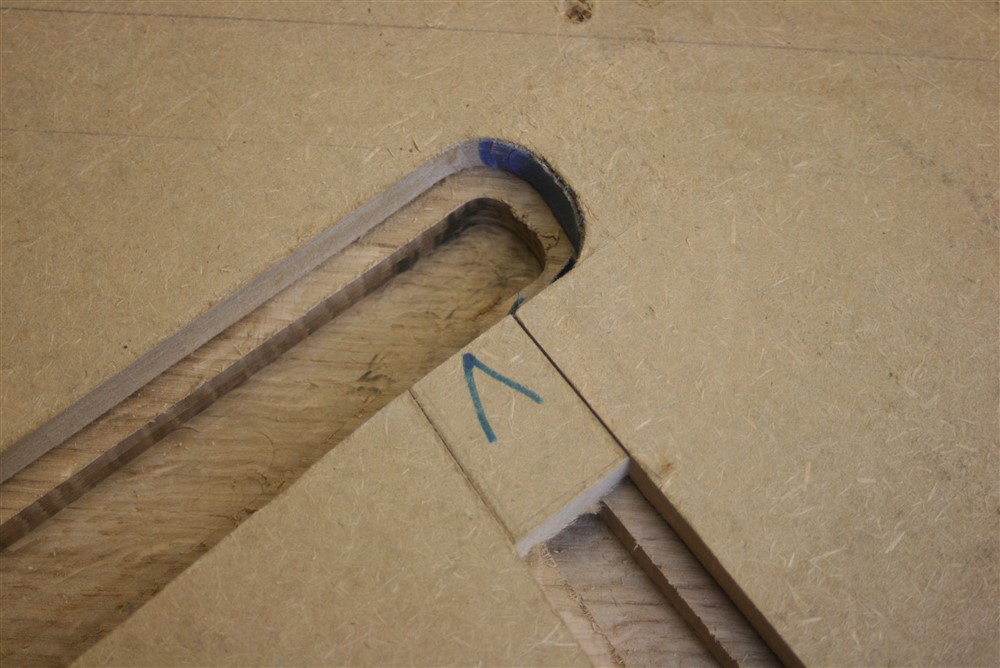
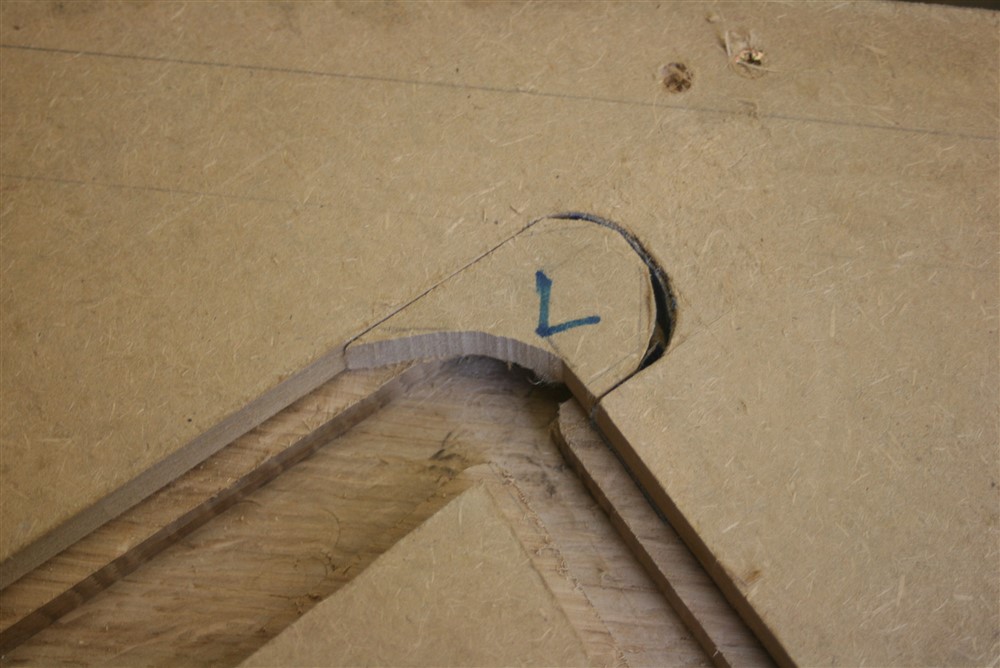
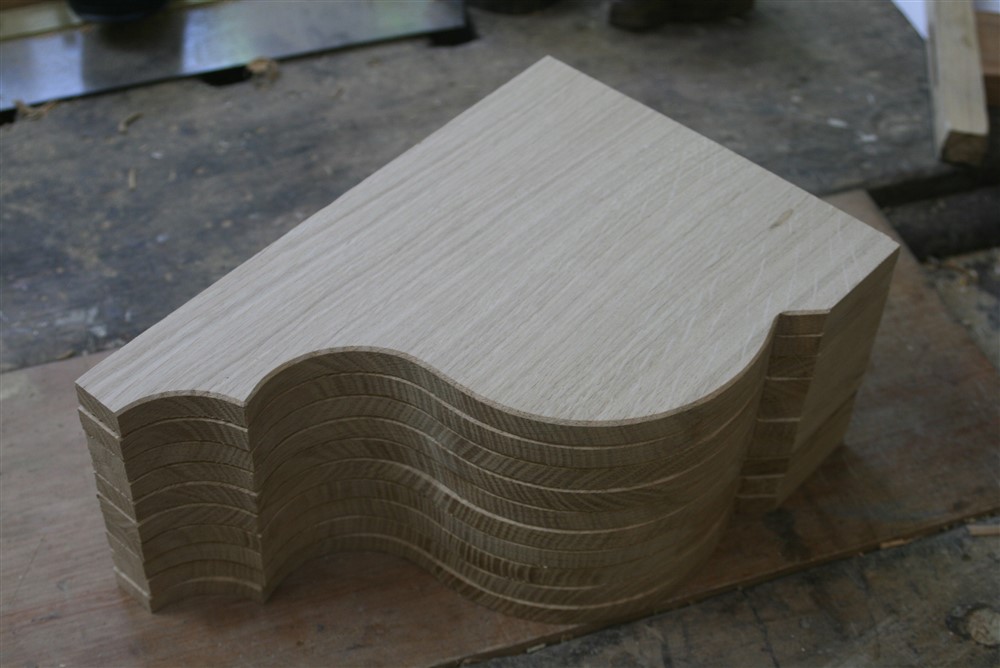
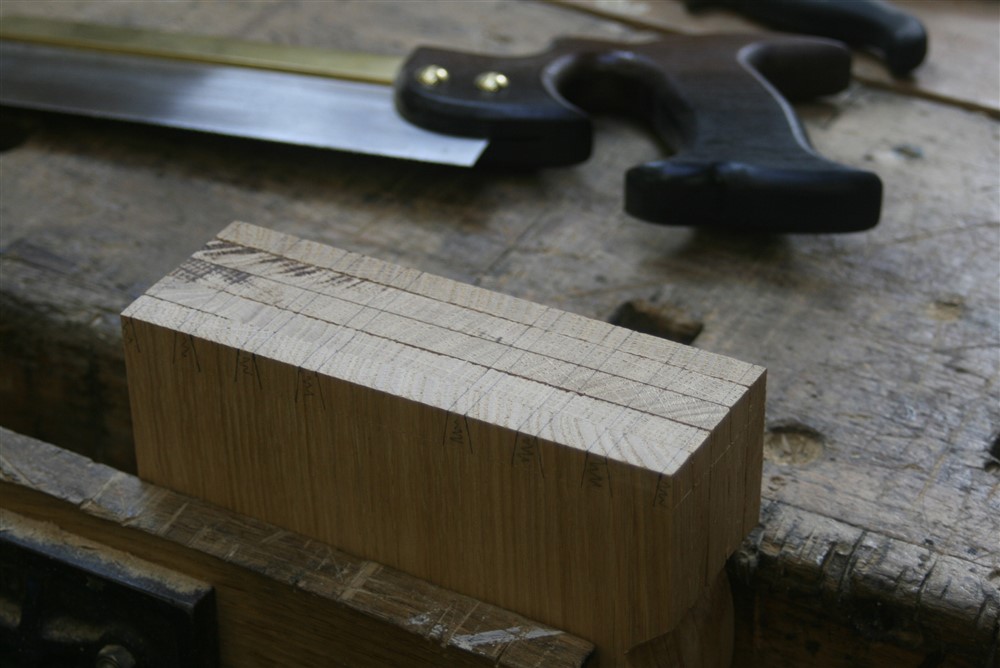
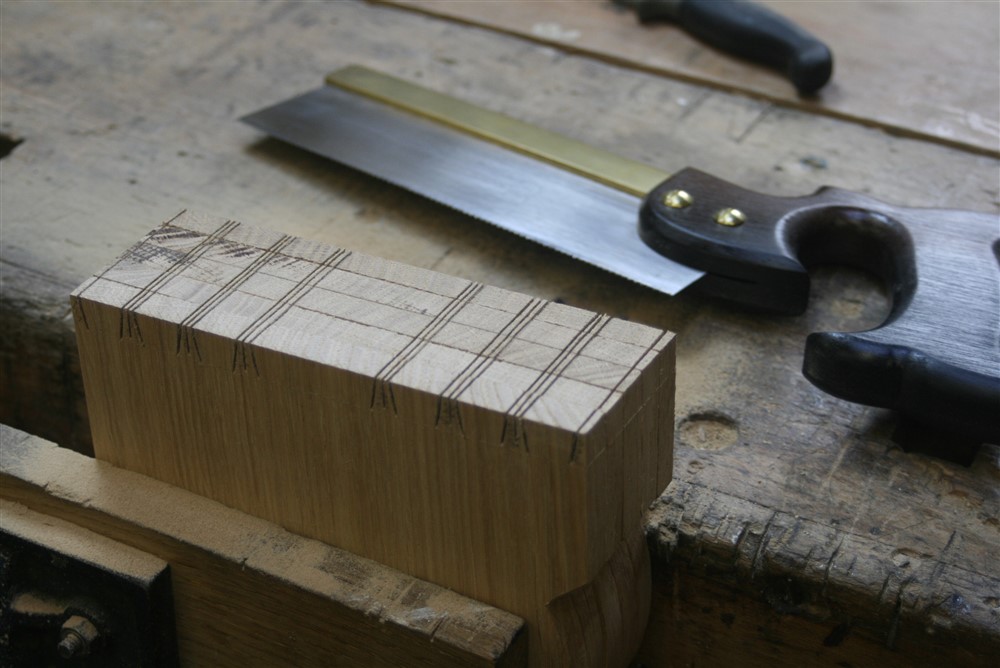
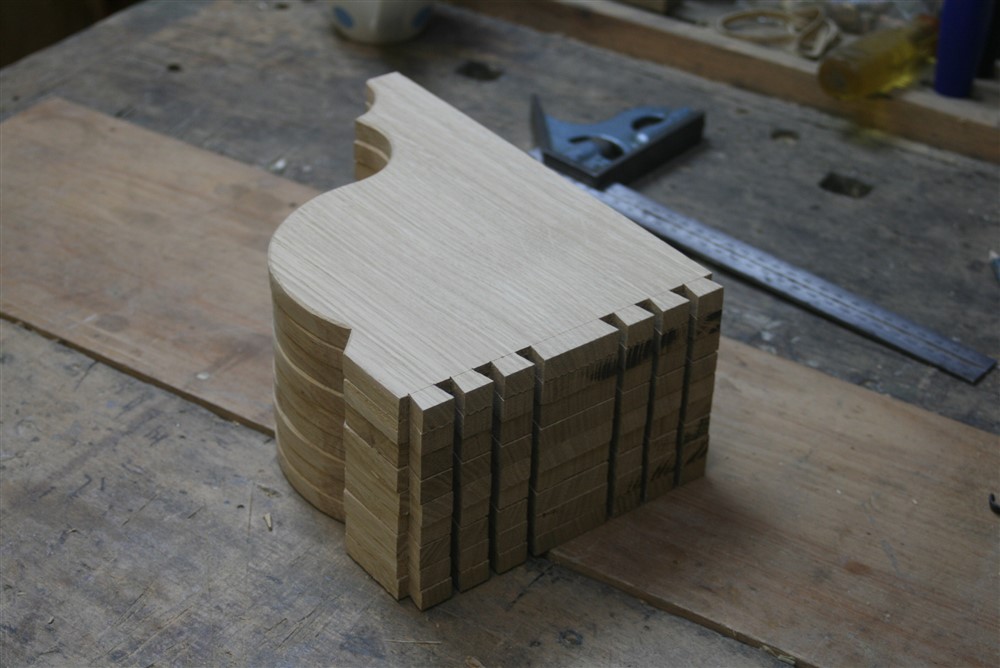
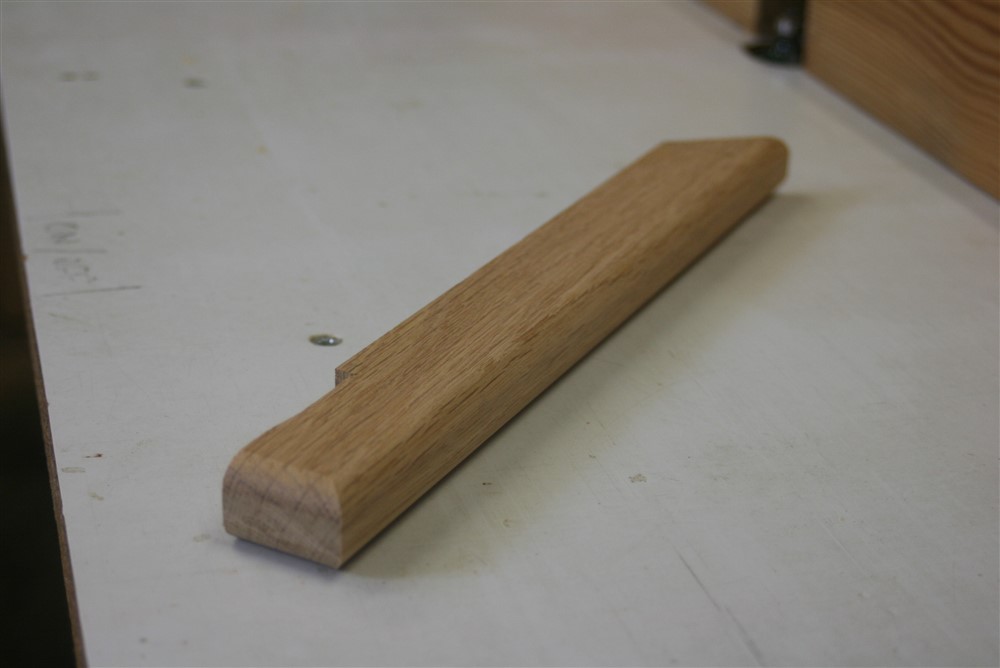
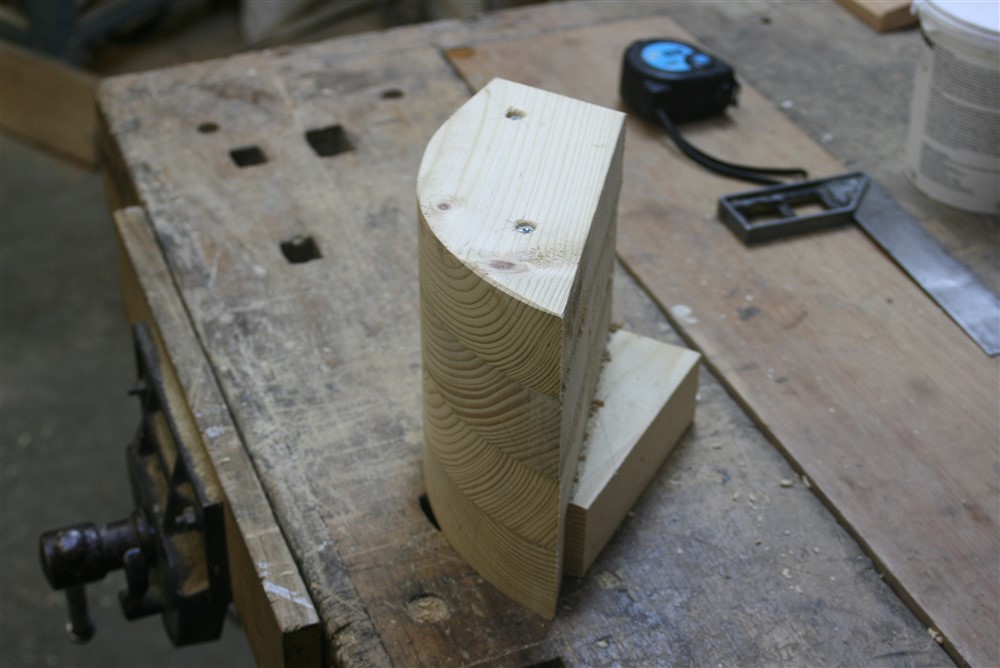
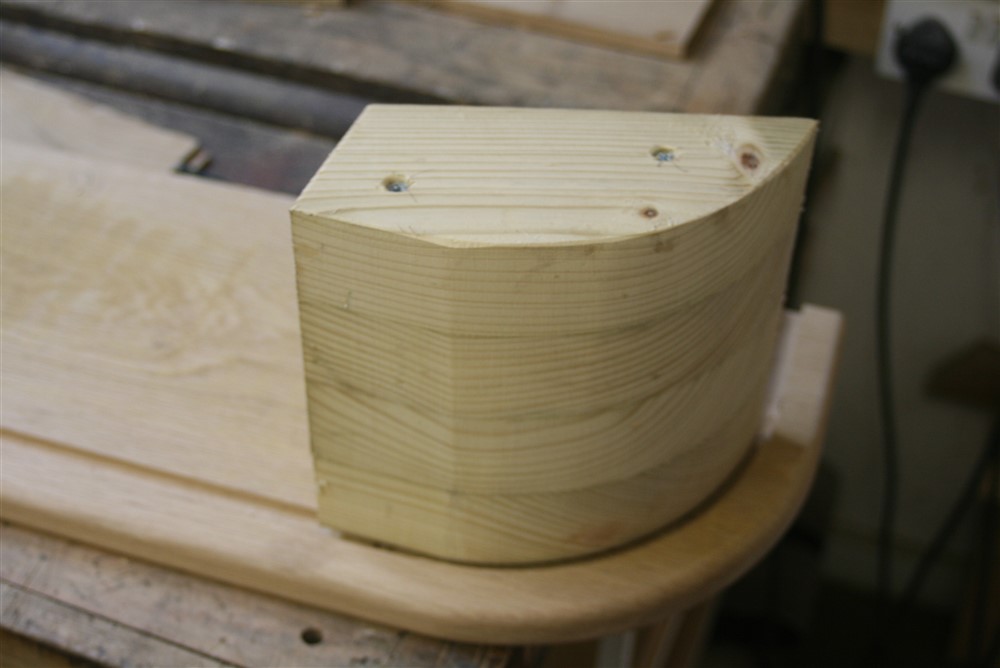
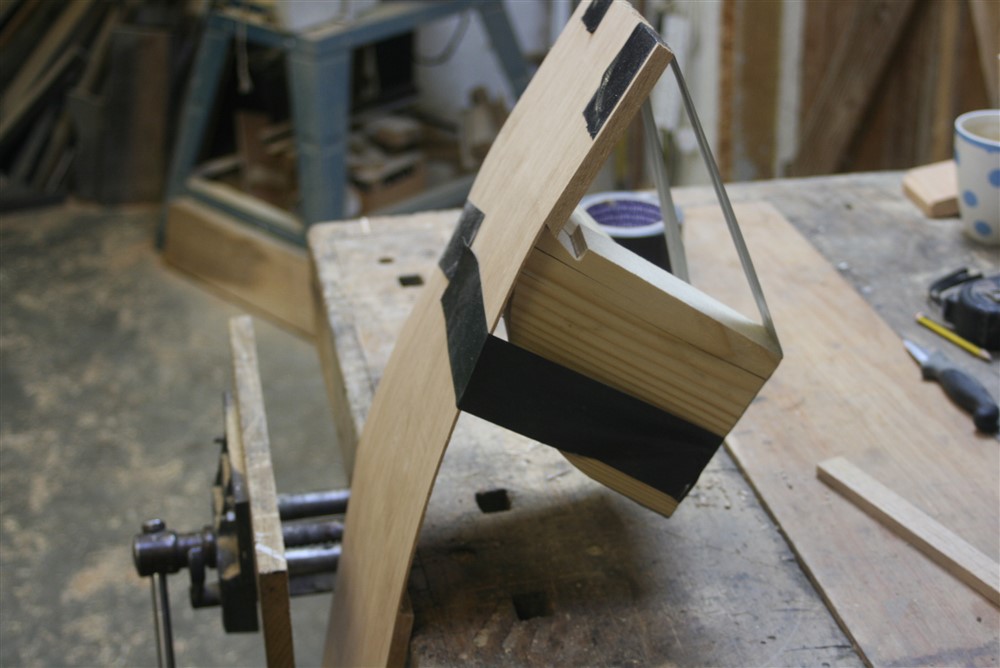
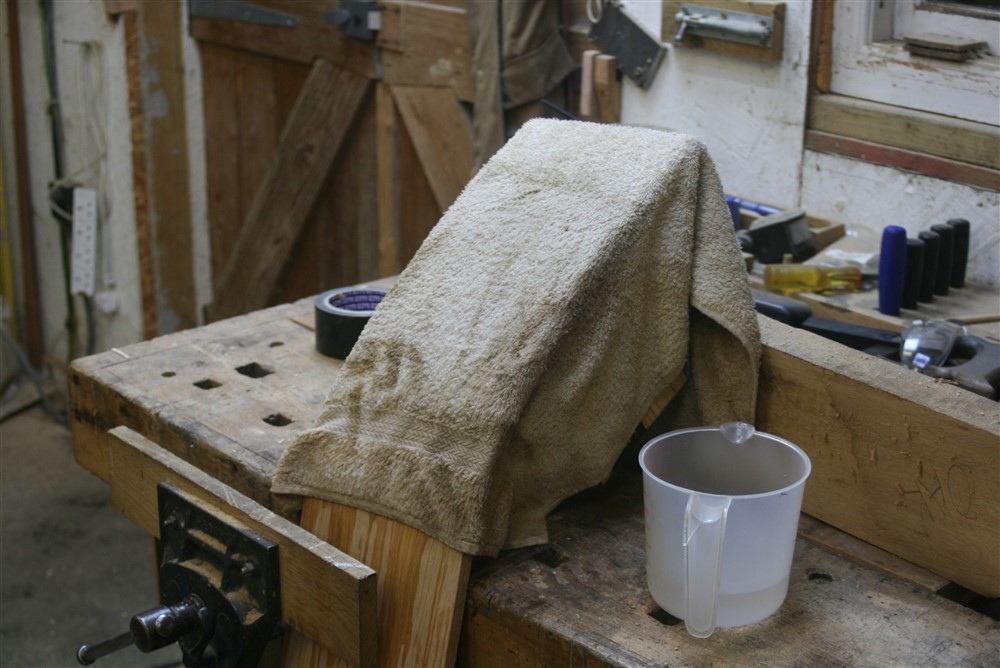
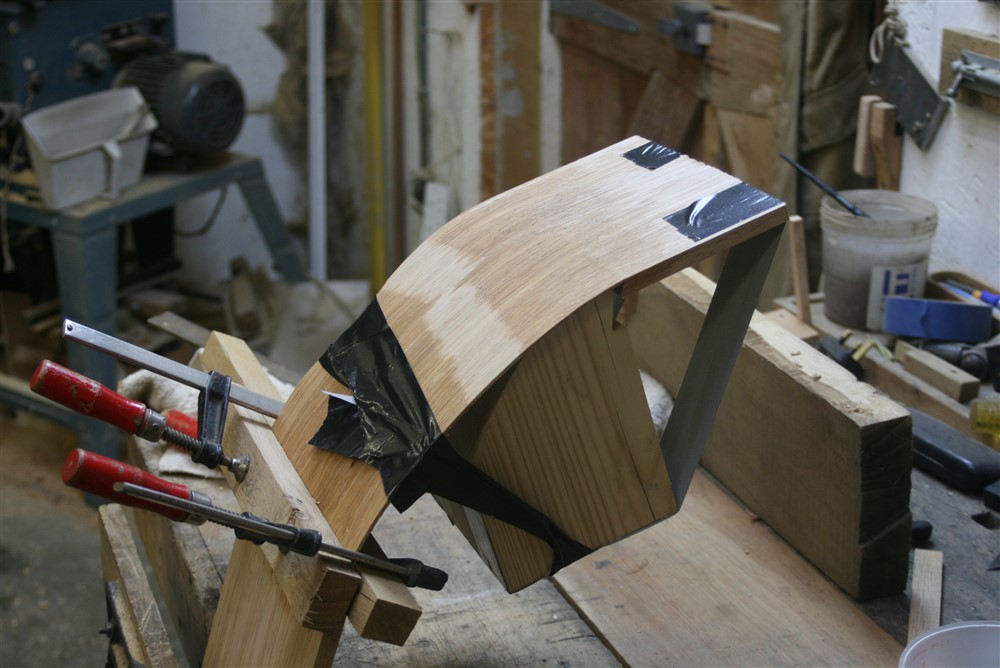
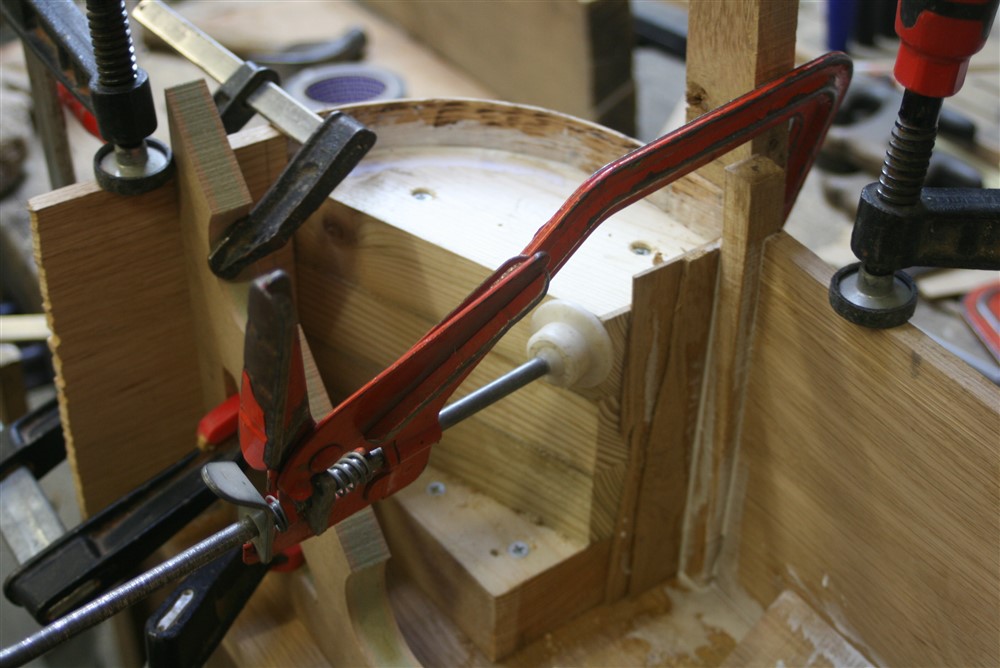
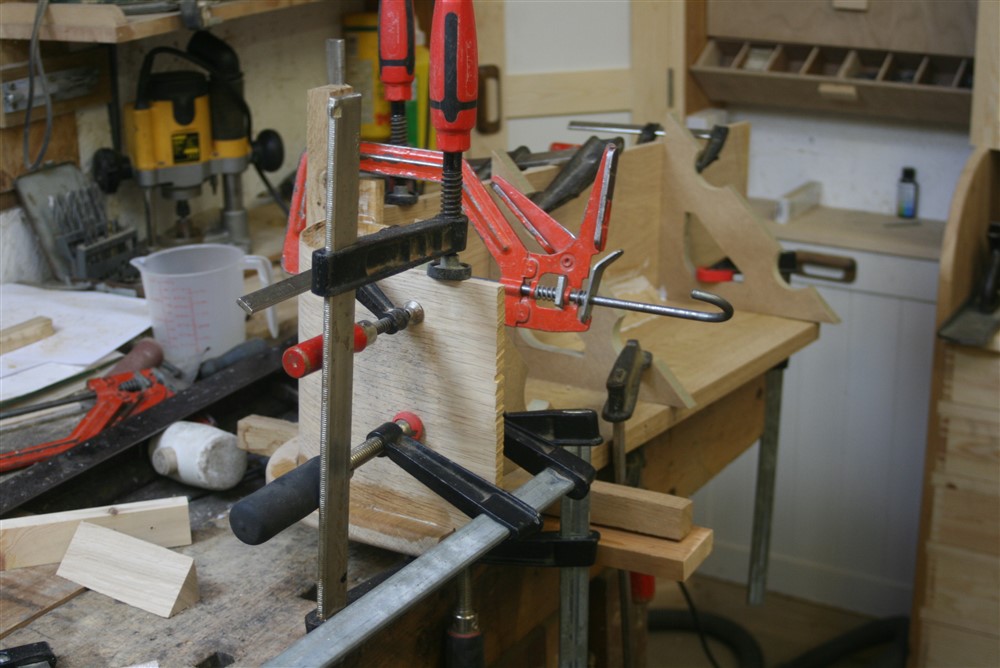
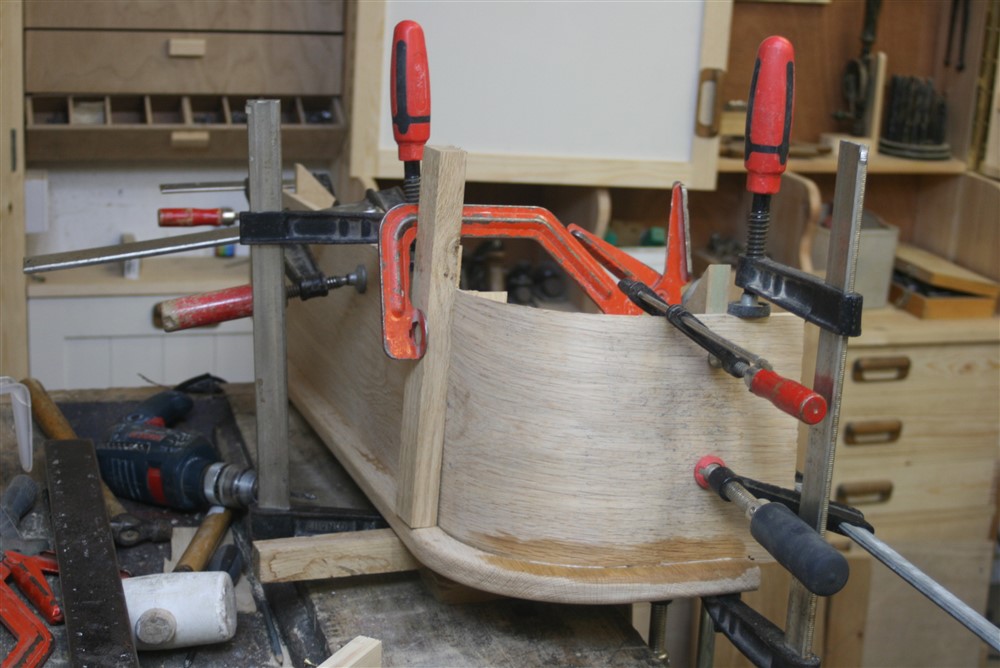
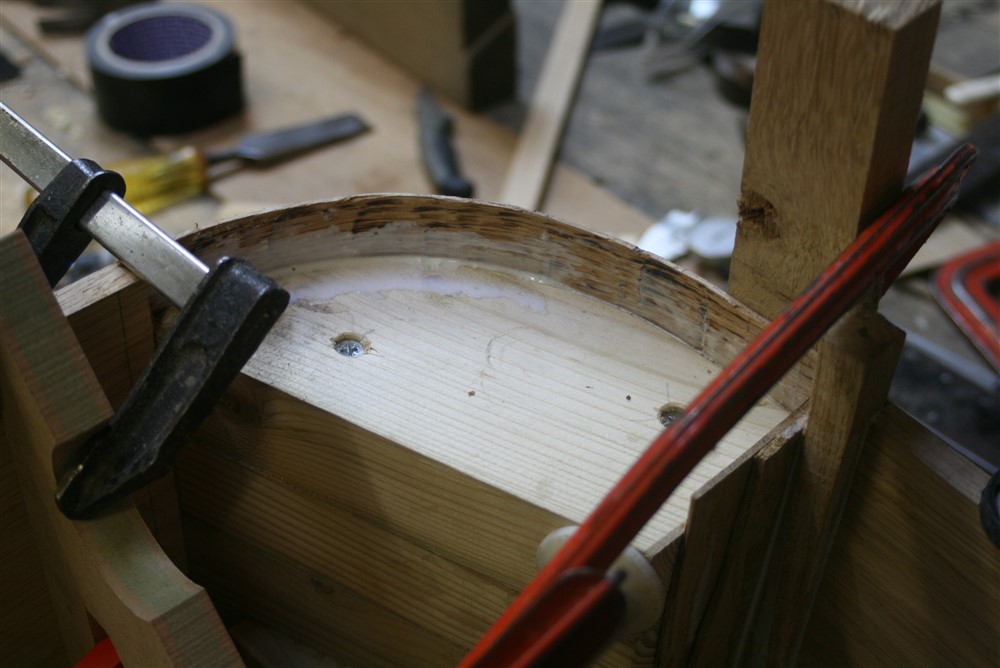
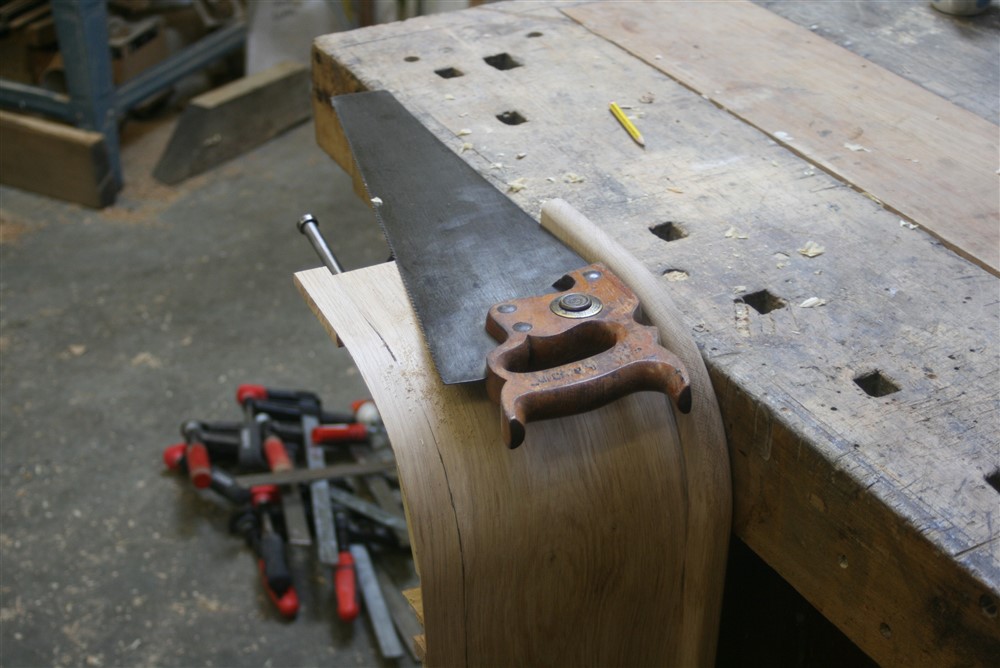
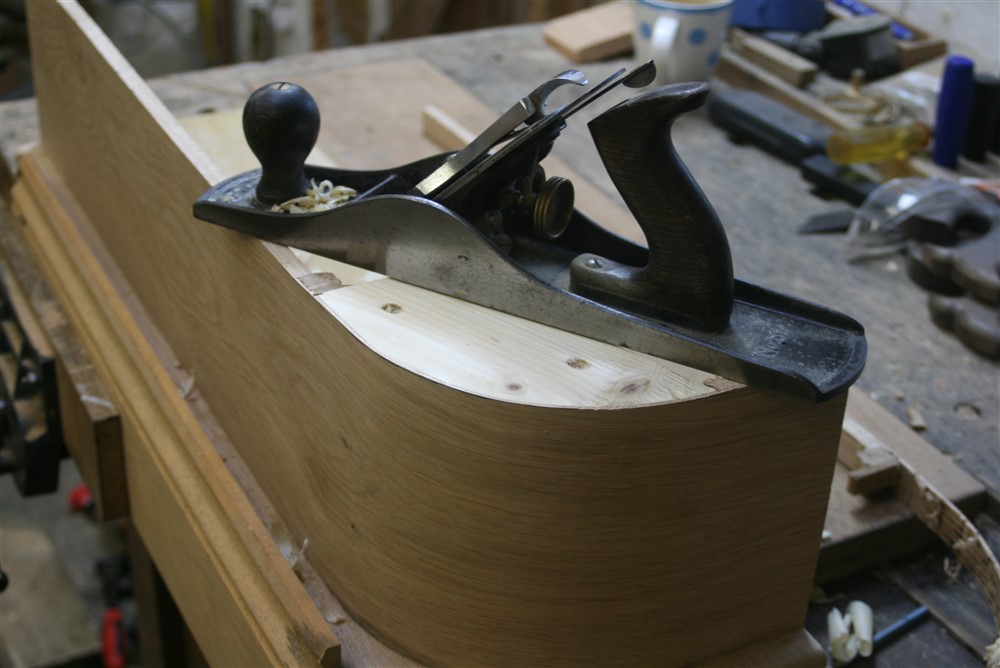
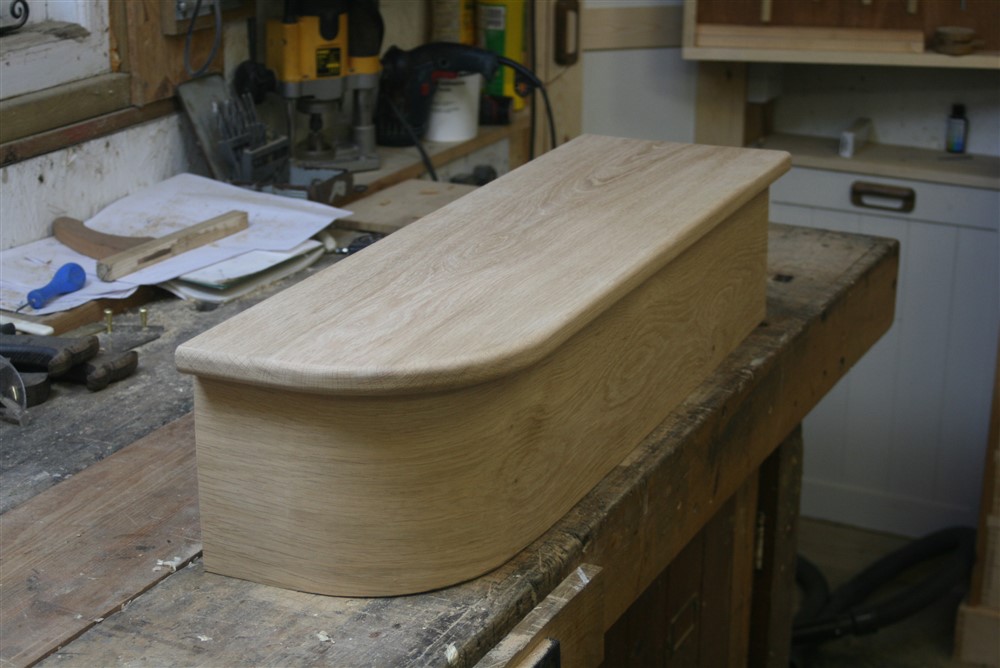
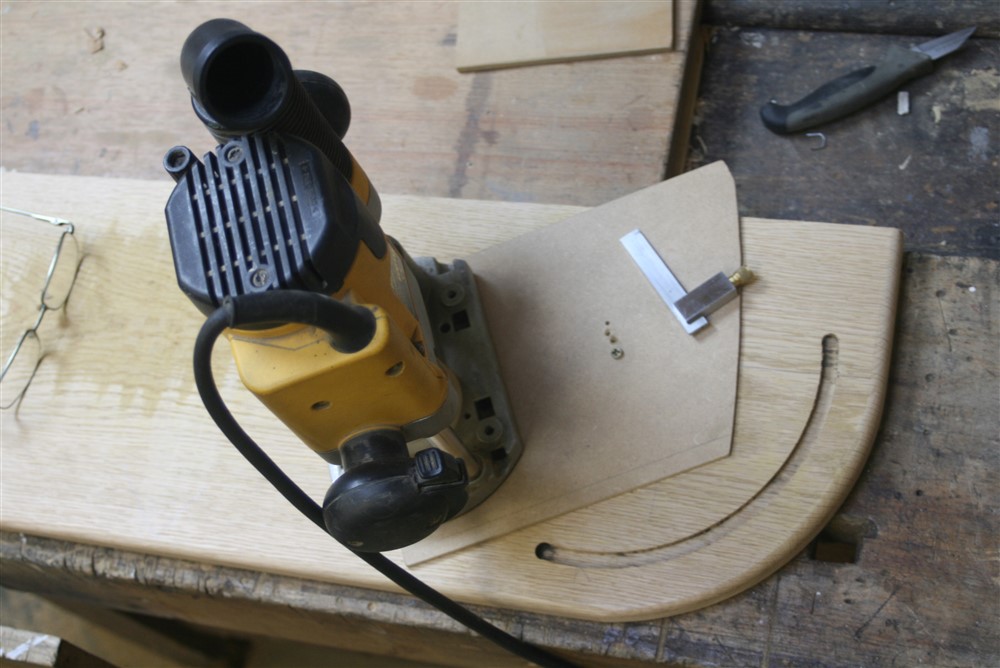
There was also the bullnose step at the bottom to deal with:
I haven't any photos of running the waney edge boards through a friends big planer thicknesser, because that's just dull. Two boards that I couldn't take with me, though, were the strings, because of their length and the position of his machine. So I had to clean those up by hand:
I used an electric hand held plane as a scrub plane, then followed up with a belt sander across the grain, then along the grain, then a number 6 hand-plane to flatten, then a belt sander to finish. It was hard work to clean up the two strings, but on each of them I only had to get to a finish on one side, and just flatten the other side to something like:
Proper joiners would no doubt make the strings first, but I was a bit nervous of cutting into these massive timbers, especially as I wasn't clear how to reference the cut-string side and the straight string side.....so I did a production run of ballusters:
..........and ground to a halt. 25mm was too skinny. So I raided my stores and came up with a whole heap of assorted bits:
Thank goodness for a bandsaw and a planer thicknesser:
Thirty mm square was a whole lot better. I sanded them in pairs:
I wanted to have stopped chamfers, but I think I worked out this was over 300 stops, and I really didn't want to do those all by hand. I hate chamfers which stop in a burnt half-round feathery mess, and eventually, with a little help, came up with a plan involving a bearing-guided straight cutter and a jig or 3.
On the end of each of the stair ballusters (which are two different lengths) is a dovetail. For those used to me hand-doing most stuff, sorry:
However, I did shape the dovetails by hand:
I also cut out the treads:
With a cut string, the end of the tread projects out past the string, but you don't see the end grain (normally). You mitre in a piece, which performs the job of trapping the ballusters in their dovetail mortice. Another job for the guided cutter and a pattern:
This time the guide was on the top:
There was also the bullnose step at the bottom to deal with:
")