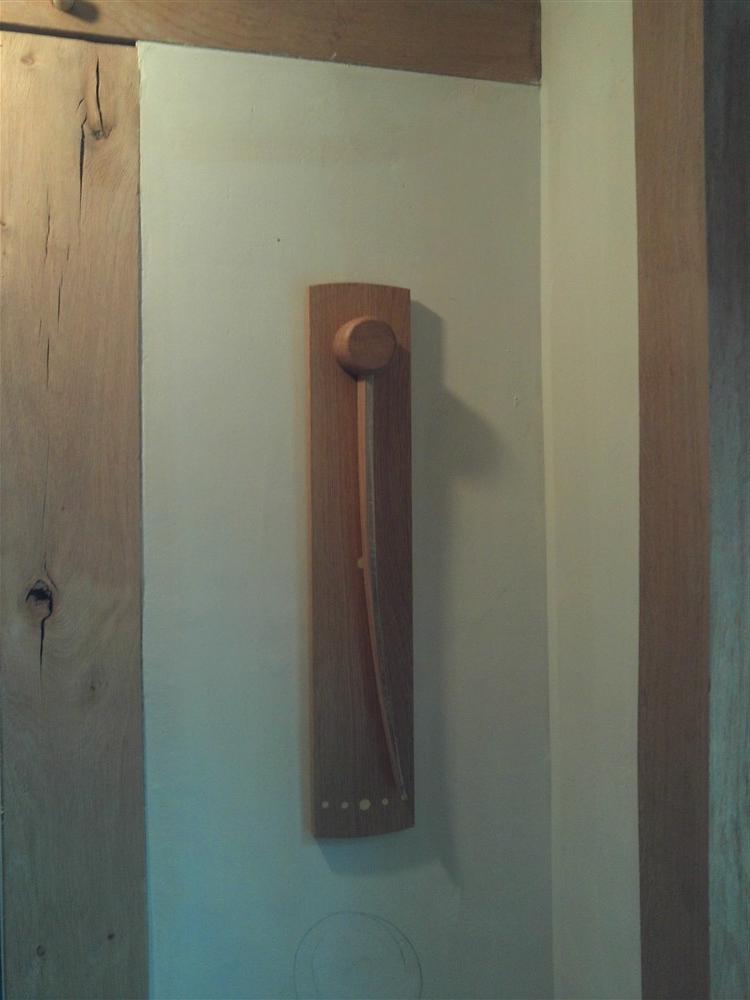
Wooden hygrometer

UKworkshop.co.uk

Help Support UKworkshop.co.uk:

This site may earn a commission from merchant affiliate links, including eBay, Amazon, and others.

MikeG.

Established Member
Joined
24 Aug 2008
Messages
10,172
Reaction score
703
Location
Essex/ Suffolk border
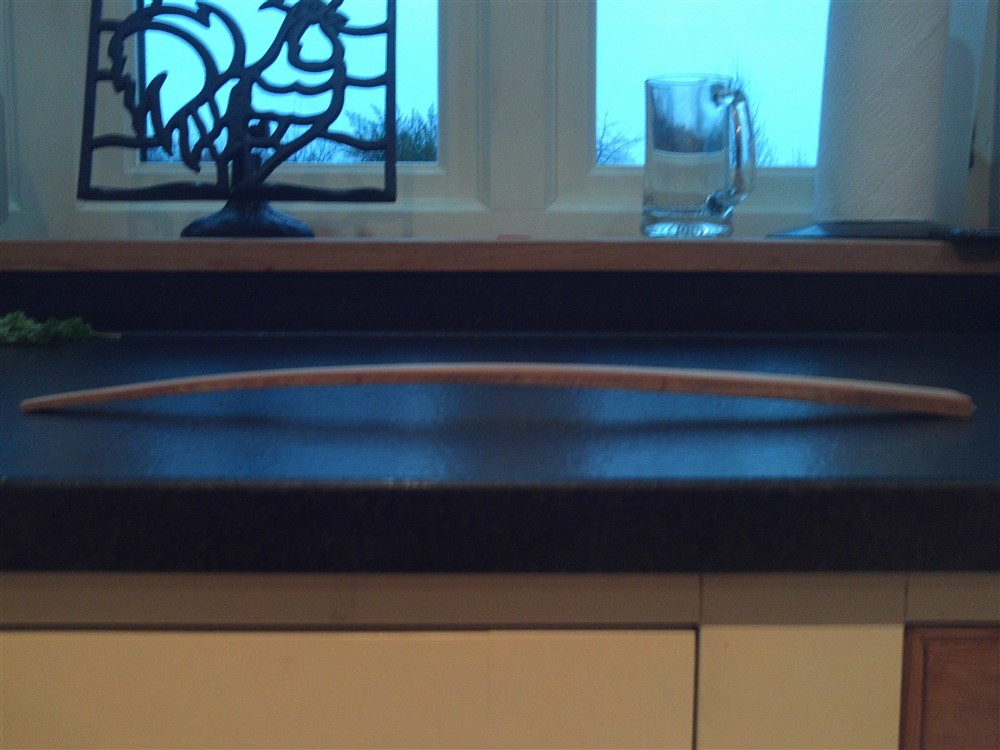
This is so quick and simple that there isn't much I could show in terms of a WIP. I glued some cross grain parana pine to a strip of long-grain parana pine, then planed it all down to a reasonable shape, and the long grain element to as thin as I dared. I took it in to the house, and this is what happened to it over an hour or so:
RvUohlW.jpg


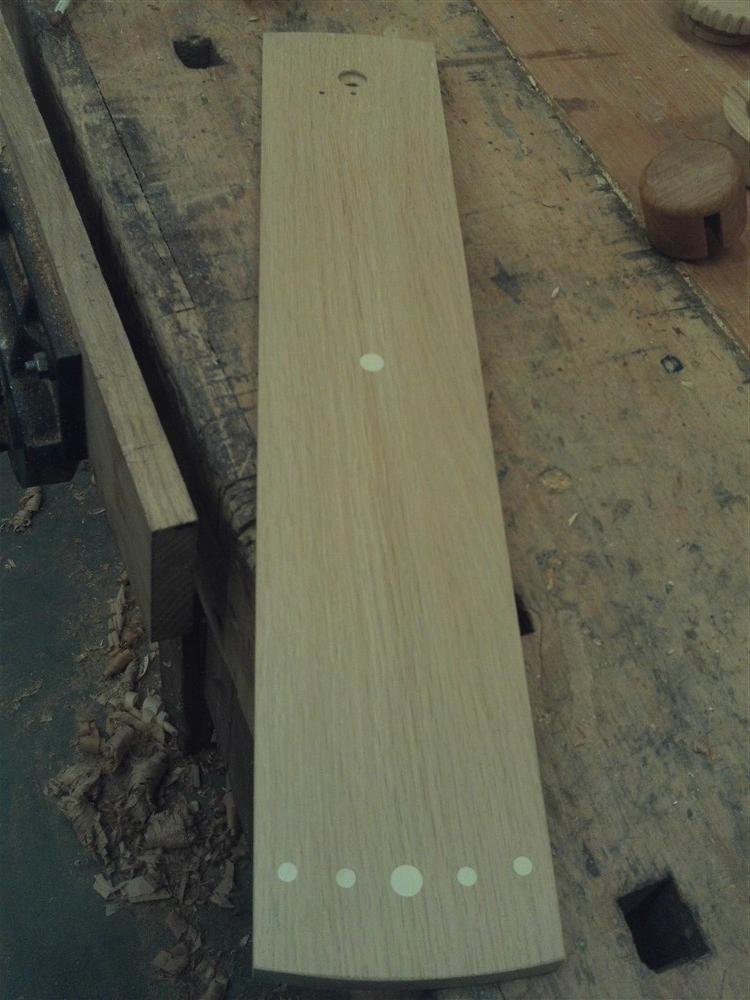
This was intended as a proof-of-concept model, but it worked so well that I decided to put it on a backing board. I found an off-cut of oak, shaped it quickly, and drilled out some holes to fill them with 2 part filler:
aBwYT69.jpg


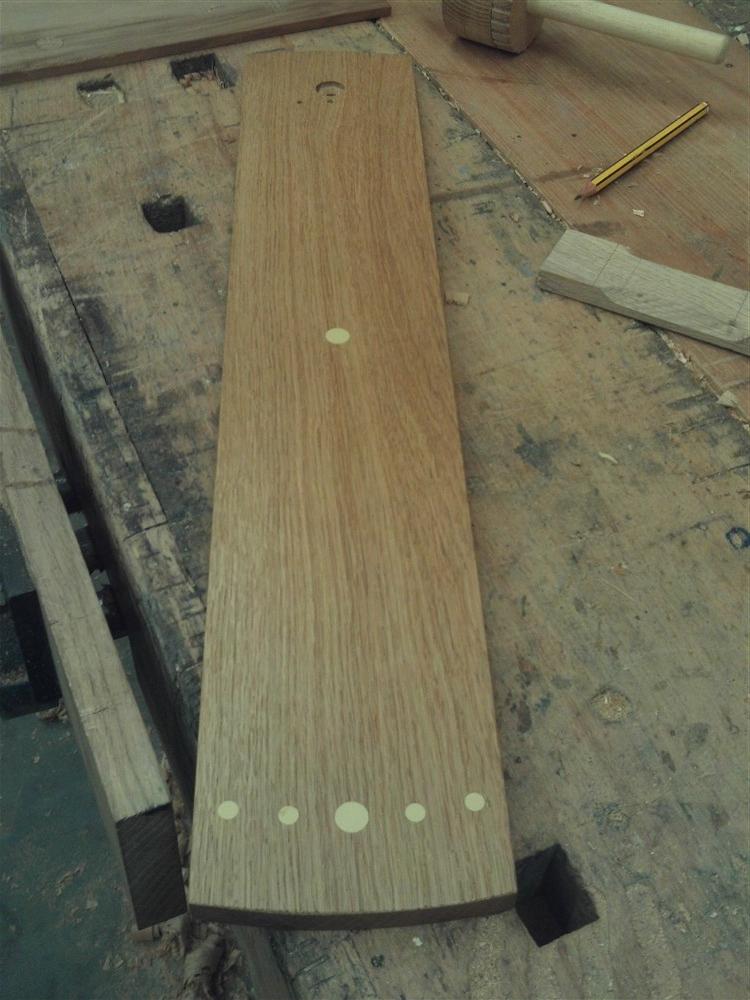
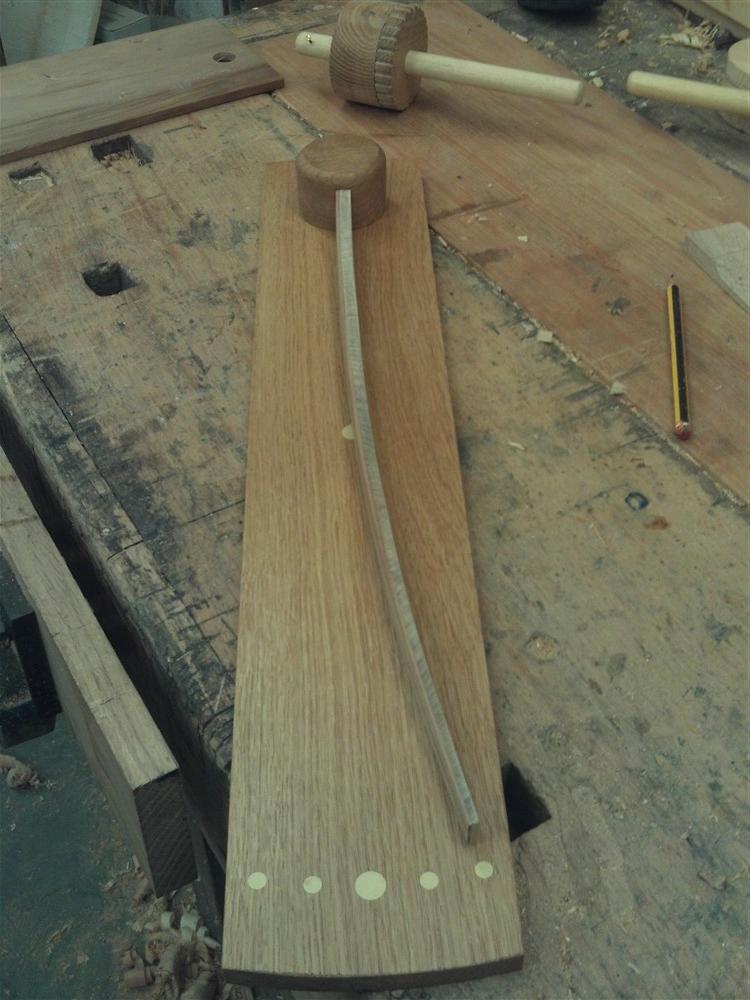
A few minutes with a bandsaw and belt sander, and I had a suitable mounting block for the indicator arm thingy, and after finishing everything with Osmo PolyX (I've got to try to use the stuff up), and some wax, I glued up:
xyuvMh5.jpg


TXjnOgG.jpg


Ss5zE2b.jpg


My wife thinks it's ugly, and it doesn't actually serve a purpose in the house, so I'll hang it on a wall in the workshop. If nothing else it will be a visual reminder of how much wood moves with humidity (it's been to its full extent the other way......at the moment it is showing "dry").

If any of you have 90 minutes to spare, have a go at one of these. It's better use of time than sitting watching football. :)
 
Make quite a good talking point with visitors, I remember Newt making a very delicate version way back in 2008 but unfortunately the images have gone the way of Flicker.
Perhaps one of the members who made similar at the time have some alternate version images.

Newts comments on wood acclimatising in the intended area of use during construction regarding calibration are useful.
 
CHJ":29anox9h said:
Make quite a good talking point with visitors, I remember Newt making a very delicate version way back in 2008 but unfortunately the images have gone the way of Flicker.
Perhaps one of the members who made similar at the time have some alternate version images.

Newts comments on wood acclimatising in the intended area of use during construction regarding calibration are useful.
Sadly, Pete Newton died in 2013; he was a very good pal and helped me out with a lot of stuff at the time. He had a very impressive career in the MoD, rising to become 'top dog' at Boscombe Down, just off the A303 at Amesbury. Paul Chapman and I attended his funeral; very sadly missed - Rob
 
CHJ":q6j76eev said:
......Newts comments on wood acclimatising in the intended area of use during construction regarding calibration are useful.

Indeed, and by sheer chance this is destined for the workshop, where the wood has been acclimatising for a couple of years, and where this was when it was glued up. Hopefully, therefore, this morning's humidity should be roughly the mid-point of the range of movement.
 
What is the starting point?
If its damp when you make it will that not affect all later movement?

But if its dry when you make it straight, how can it move to "drier"?
I really like it but am confused about the calibration.
 
sunnybob":285uojv7 said:
What is the starting point?
If its damp when you make it will that not affect all later movement?

But if its dry when you make it straight, how can it move to "drier"?
I really like it but am confused about the calibration.

That's why I built the holder-thingy at the top circular, and put a screw in the centre. If it is constantly on one side of the centreline I can just rotate the whole apparatus on the backing board. This was actually intended just as a test piece, but it looked nice enough, and curved quickly to show that it was working, so I cracked on with it without too much thought about its accuracy. I've since come up with a completely different design on the same principle which will be 100% calibratable (look, I made up a word!) without ever looking eccentric.

-

I should just add that the parana pine of the arm is untreated. Everything else is finished, but not the pointer.
 
Brilliant !
Whats the thickness of long to short grain.
From the photos my guess is
2mm long to 7mm short

Are the thicknesses parallel ?
Does type of glue matter?
 
I tapered everything towards the point. The long grain is probably 2.5 to 3mm at the top, and under 1mm at the bottom. The cross grain stuff is 6.5mm at the top and 3mm at the bottom (free end). None of it was marked or measured......I just planed away from much thicker material until I was uncomfortable taking any more (besides, it kept shooting off over my thinnest planing stop). It also tapers the other way, in height if you like, from about 23mm down to 13mm.

I dunno if the type of glue matters. I just used my normal PVA, and it seems to work. I think you'd probably have to be a bit more scientific about it if you wanted the thing to be absolutely centred around the straight line/ middle marker.
 
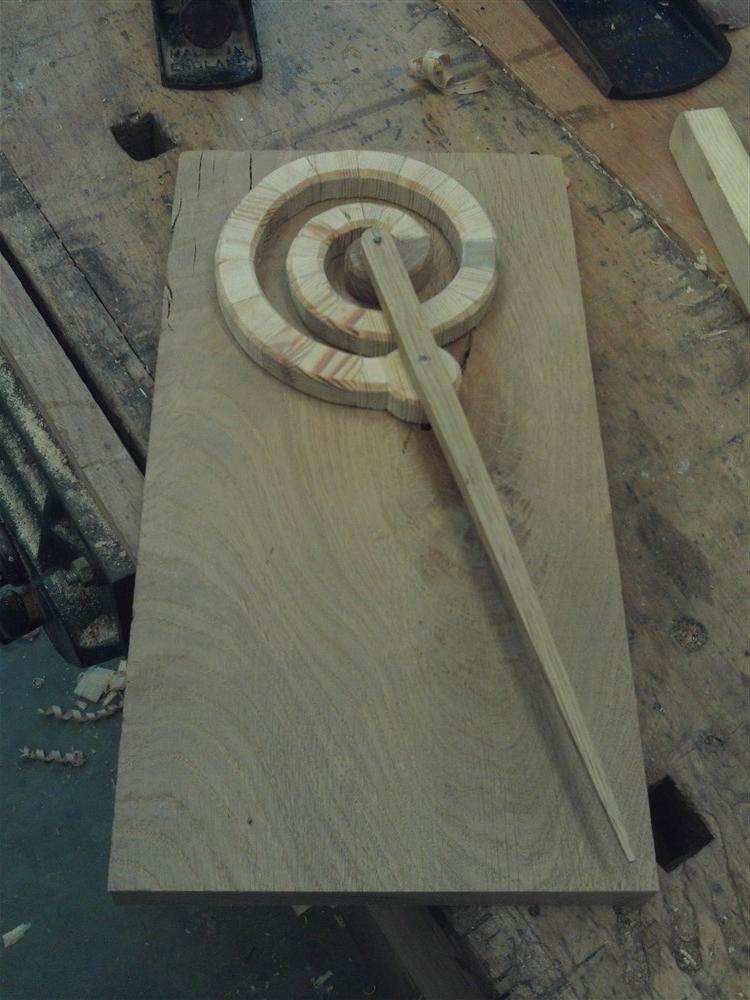
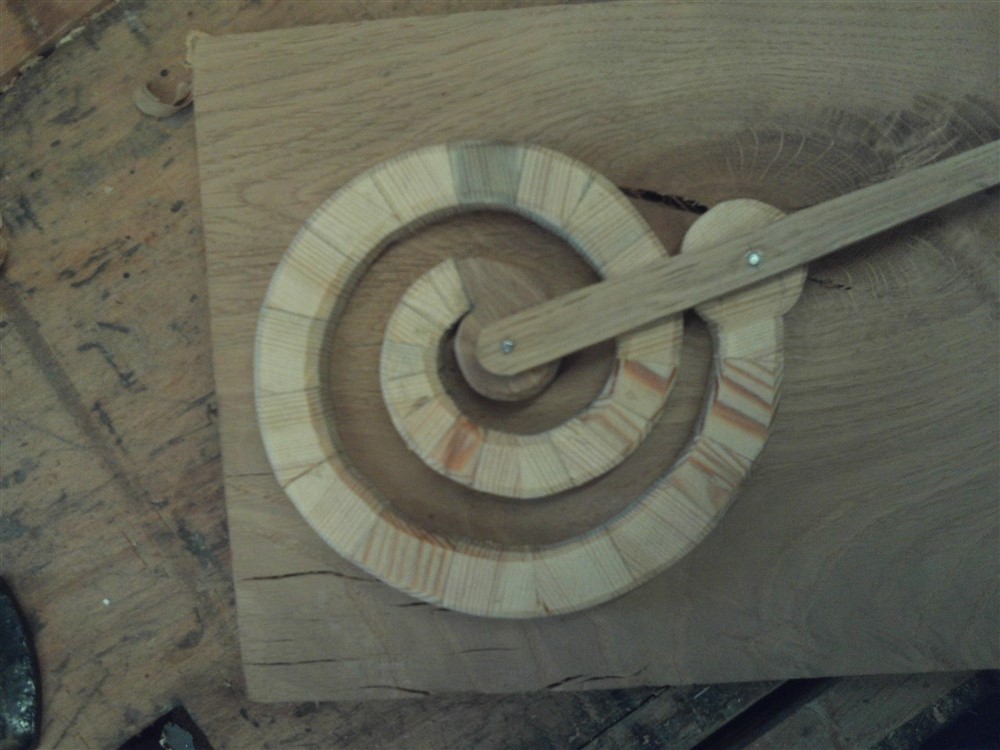
Here's a better idea. I made the spiral weeks ago, then forgot about it, but I've been plastering and thought a hygometer would be useful in giving me an idea when the room was dry. This is just a mock-up, not cleaned up or properly shaped, but it gives you an idea of what I am aiming at. This should be much more sensitive and fast acting than my previous version. Cross grain parana pine, with some scraps of oak, all unfinished:

u3OouV9.jpg


xkyK1ea.jpg


I laid out the spiral with a central nail and a piece of string. There's nothing sophisticated about this!!
 
Back
Top