


Ironballs
Established Member
This is this years evening class project, I knew that I wanted to do a cabinet on legs to store wine bottles in a Jim Krenov style and as usual I spent a lot of time looking for inspiration and was also armed with a couple of copies of F&C, one of which had a certain blokes cabinet in.
As you might expect I hadn't finalised the design by the time the course started, though I had bought the elm I wanted and bought it in lengths to fit with my stand and cabinet approach. That was mistake number 1 (well 1 and 2 actually). After arsing about for a bit I decided that I preferred a design that had full length legs and no separate stand, so I had the wrong timber. Mistake number 2 was the elm itself, even after a lot of acclimatising and careful machining it moved like John Travolta on a Saturday night in the 70s. That wood was moved to the sonofabitch area of the woodpile to be resurrected at a later date.
Quickly moved to a rod to speed things along and get the design resolved, cue a piece of painted hardboard that photographs really well....
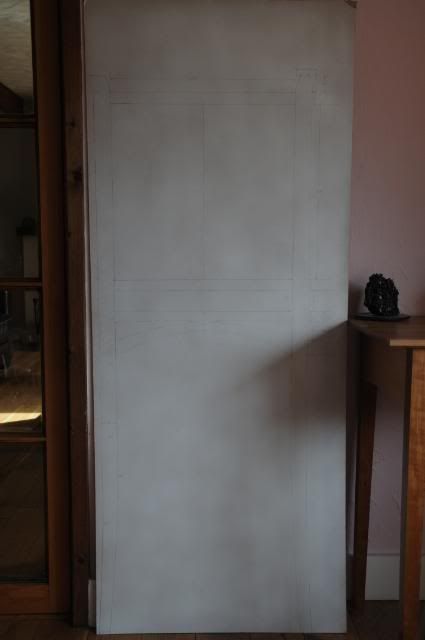
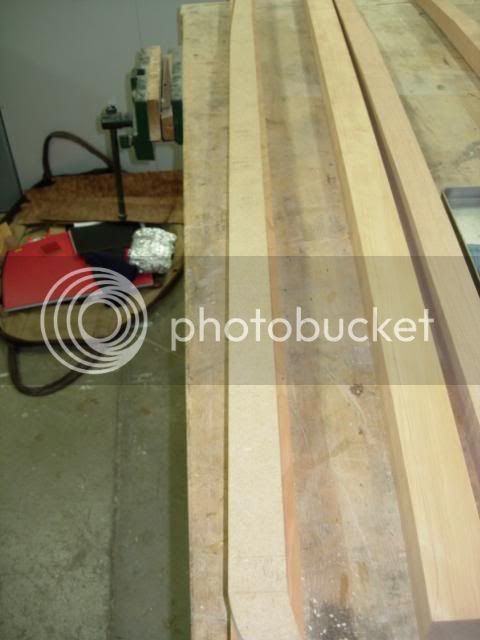
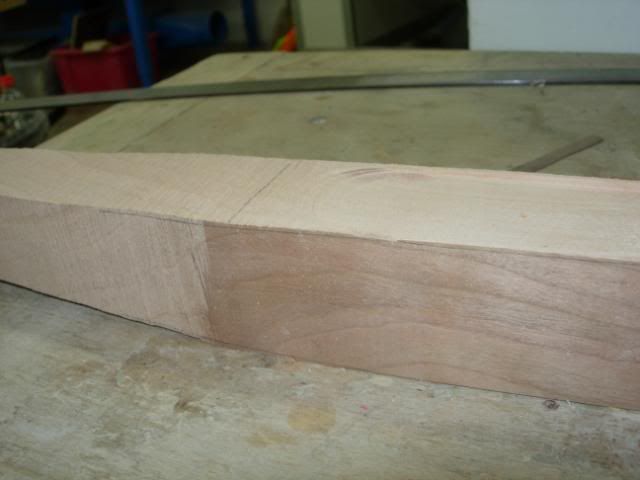
My chosen new wood was to be american cherry for the carcass with veneered panels. One of the reasons for choosing this project was that I have never done any veneering and wanted to give it a go. Life is never simple and to get the curves I needed in my legs I really pushed the useable width in my 2 inch boards, so much so that I couldn't get machined surfaces on each side and had to go with the bow in the boards. These fellas:
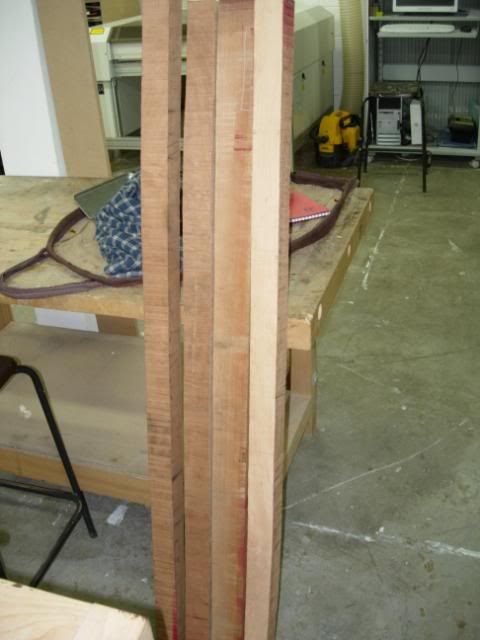
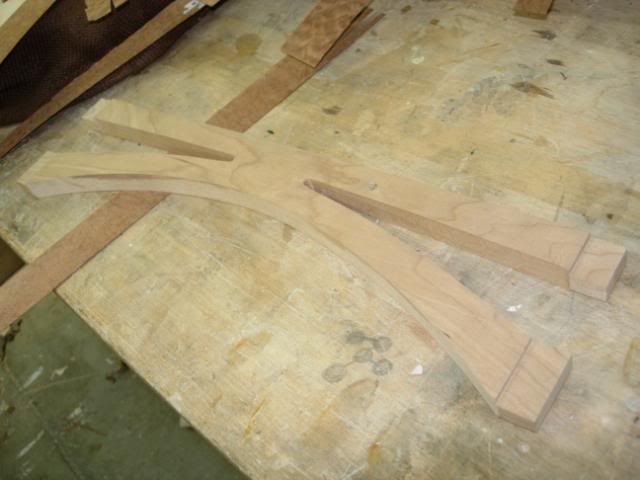
Made myself a little MDF leg template from the rod and marked up my leg blanks:
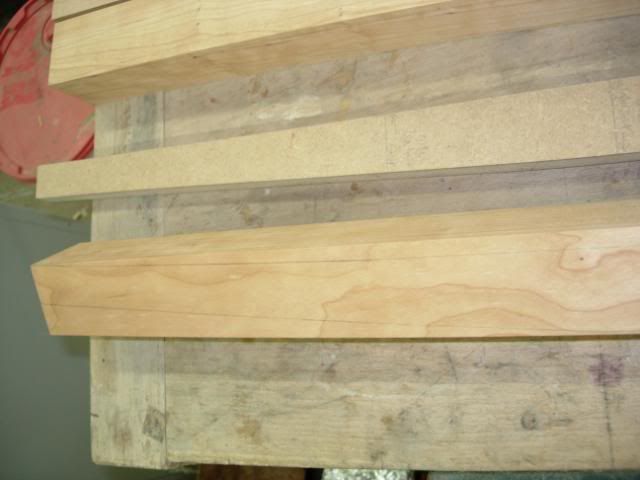
We'll skip the part where I forgot to think in 3D and made all the legs in the same pattern and had to go back to the timber yard for more 2 inch to redo 2 legs.
Some bandsawing later:
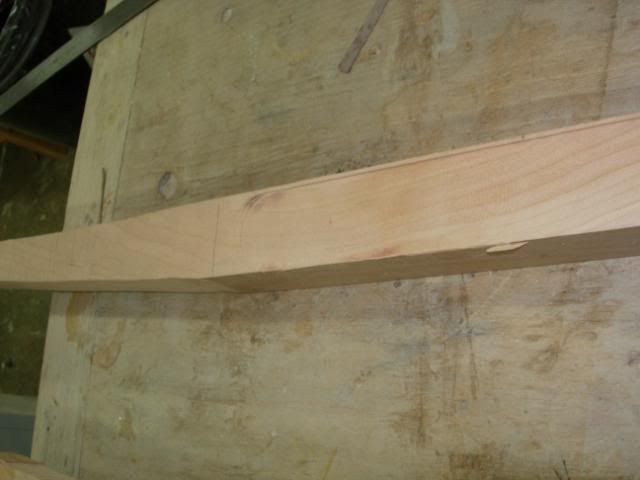
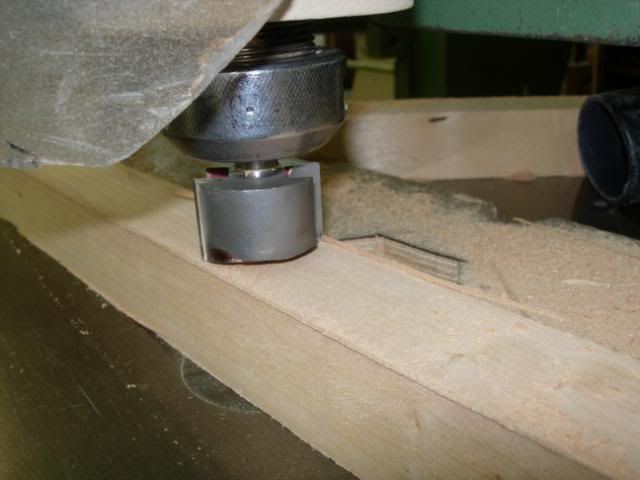
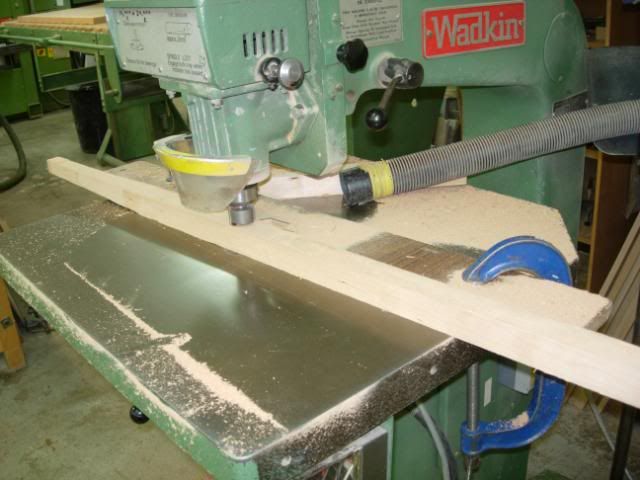
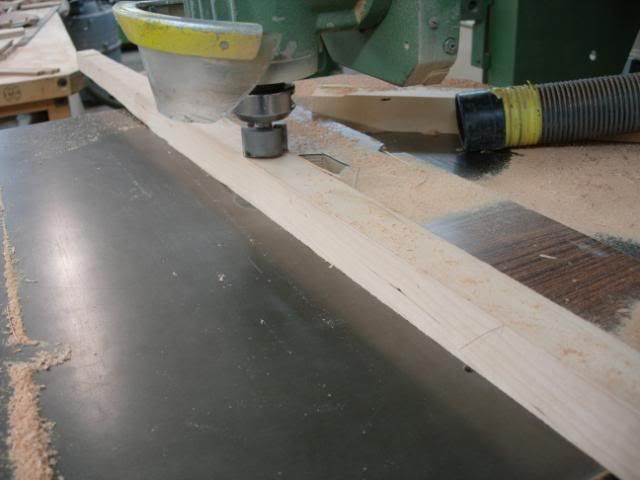
Then on to the overhead router to machine the flat section of the legs to get round the thickness/curve problem mentioned earlier:
Then out with the compass plane to sort out the curves

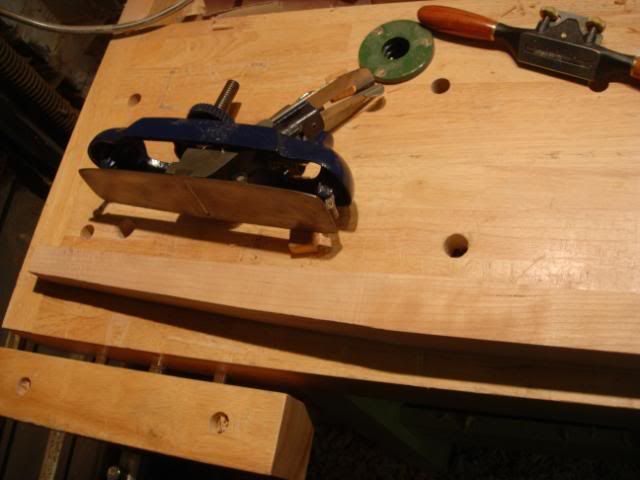
There is still some work to be done around the transitions and some fine tuning of the shape, but we're close enough to push on. Next up was the marking out of all the mortices, these were done in batch to ensure that the holes at least were lined up in the right spots. Mortices themselves were cut on the big Wadkin and fine tuned with a chisel. The tenons were batch cut on a large single ended tenonning machine. This allowed me to to a dry fit of the carcass to get exact measurements for the panels. Couple of photos, one with flash, one without.
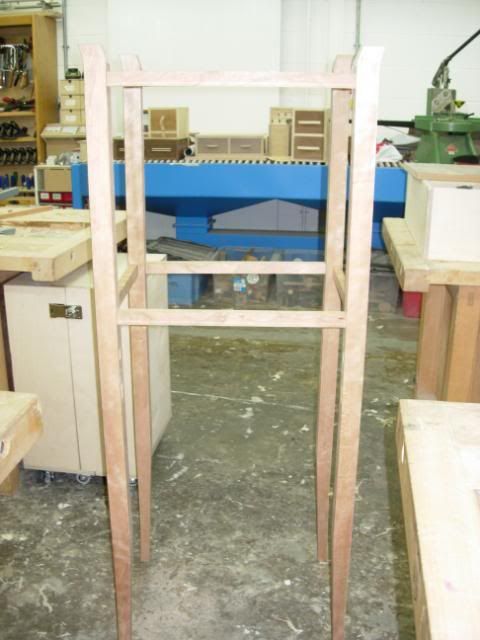
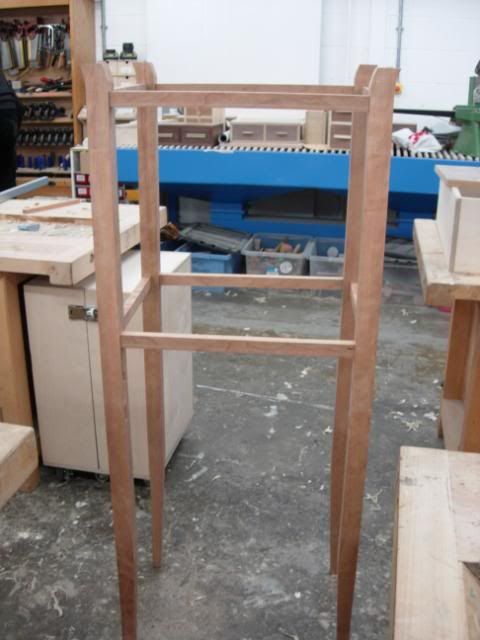
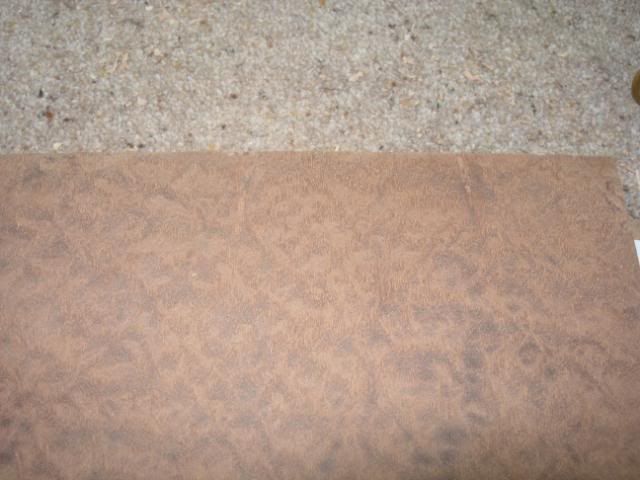
All the panels are 9mm MDF with the exception of the base which is 18mm ply, wanted more strength there as it will have 9 or 12 wine bottles in and they're not light fully laden. Veneers (courtesy of ebay) are pommelle sapele for the exterior and maple with a slight ripple on the inside - the wine rack inside will be made from ripple maple.
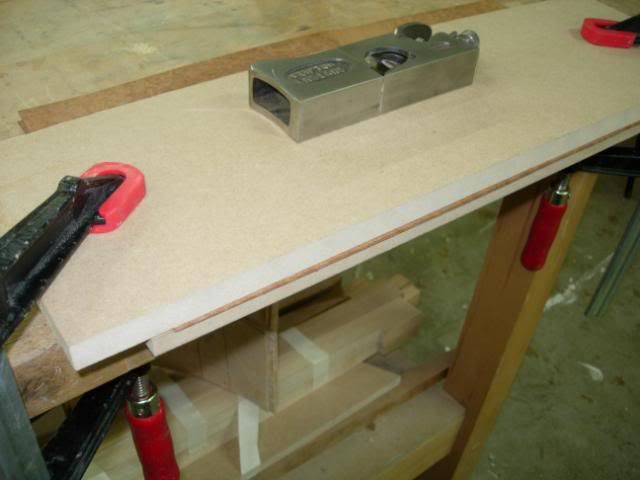
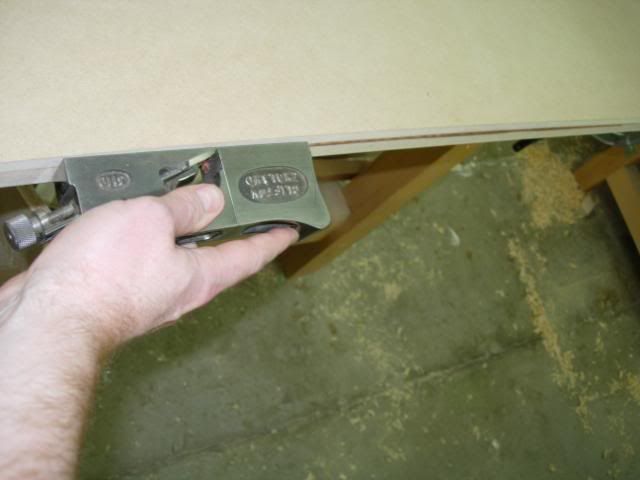
The veneers were book match cut using a large powered guillotine which was very good at creating rough edges that needed sorting out. This was achieved by clamping the book matched halves between 2 pieces of MDF and planning with the trusty 3110.
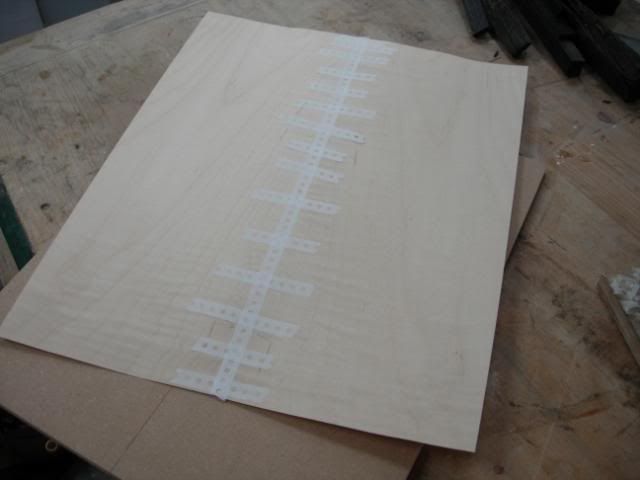
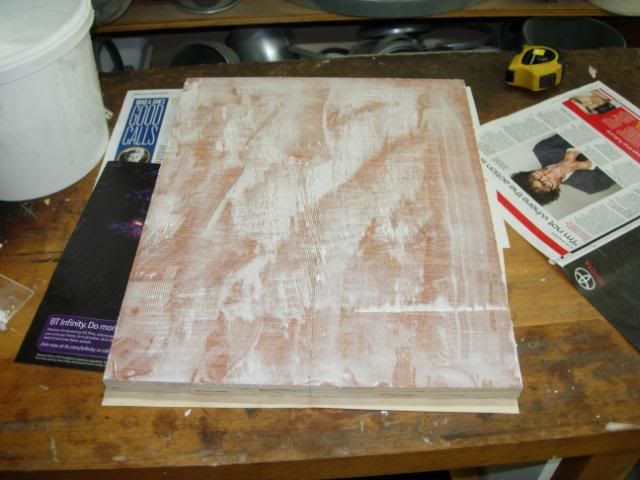
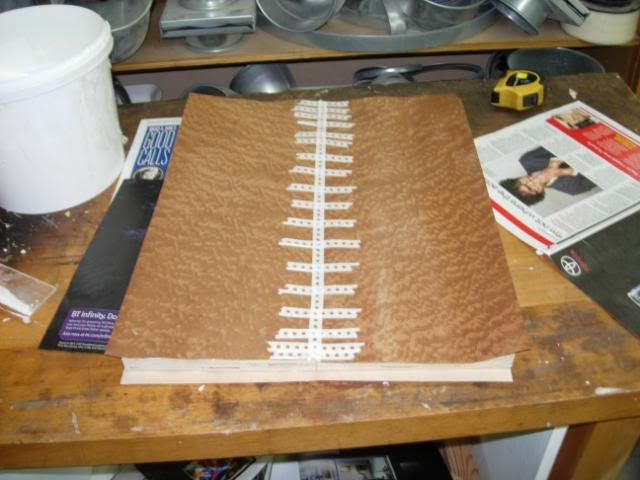
It's important to remember here that I am a 100% veneer virgin and perhaps should have asked to have my hand held before I started. Instead I asked for the advice I thought I needed and set about the job, first piece the top. Glued one side of MDF and then laid on my 2 halves of maple (very brittle maple) and ahem, set about taping them. I know, I know. Decided to get help when the maple had absorbed enough glue moisture to not stick and curl into u shapes. Tutor pineappled himself and helped me get it flat and taped then quickly into the press. After a quick dry it came out to have the other side done, much better but still too much glue.
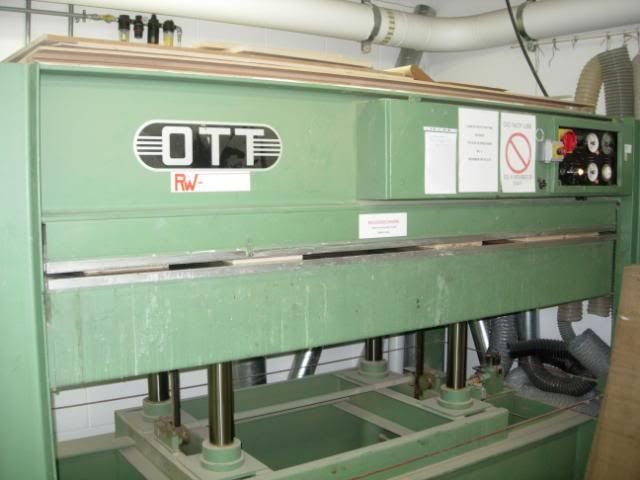
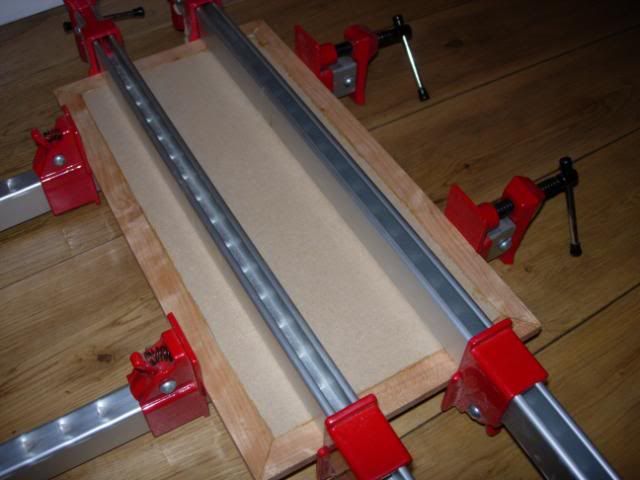
Now that's what I call a veneer press...
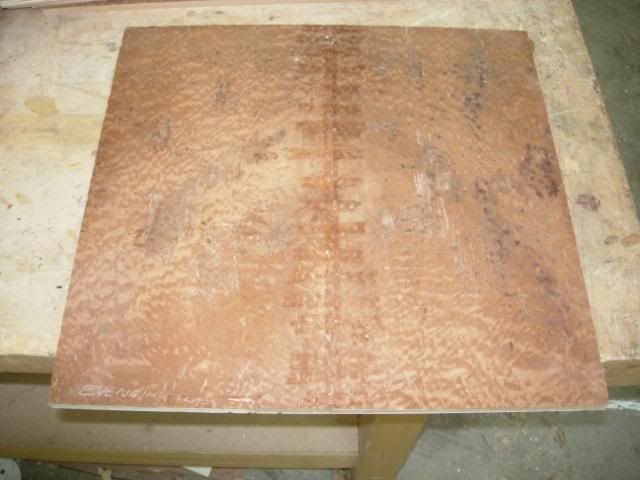
The top (the first piece) came out so badly I've done it again, it suffered some bad cracking probably due to the water we splashed on to level it out.
Next stage was clean up to remove the tape and the bleed through glue. Lots of scraping and sanding and quite surprisingly didn't go through once. Hard work and my thumbs weren't impressed.
Once piece had two small cracks in it which needed a repair, took a long time as it's hard to effect a clean V shape area when the veneer is well attached. Started with this
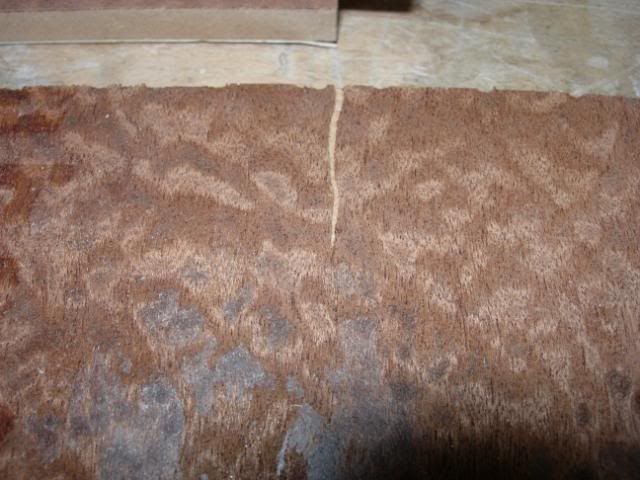
Cut in this
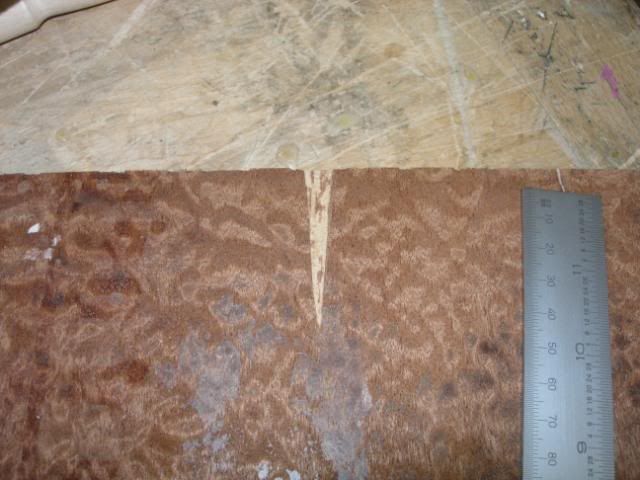
Glued and clamped in an insert and covered with clingfilm to avoid it sticking
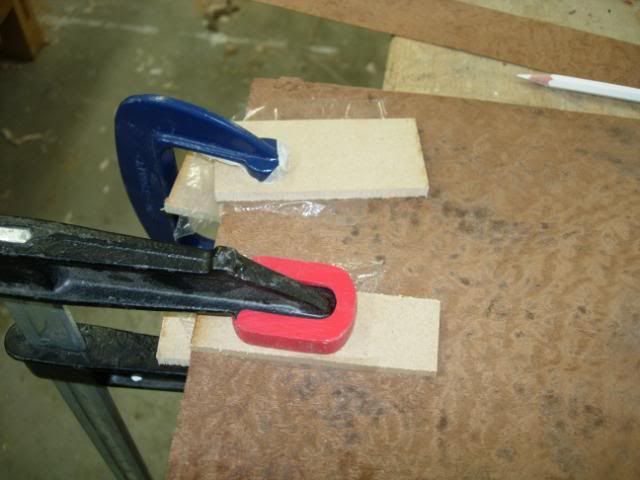
To leave me with this, not perfect but not too bad for a first attempt at this sort of thing
Hadn't got a picture of the stretcher before, here it is nearly finished just needs a little more sanding and the tenons cutting in
Next job was to do another dry assembly and take accurate measurements of all the panel gaps to get the correct rebates cut in. Marked in the rebates with a cutting gauge to try and reduce any splintering or rough edges.
Then off to the router table

To leave me with this, I imagine there will be some shoulder plane fettling yet
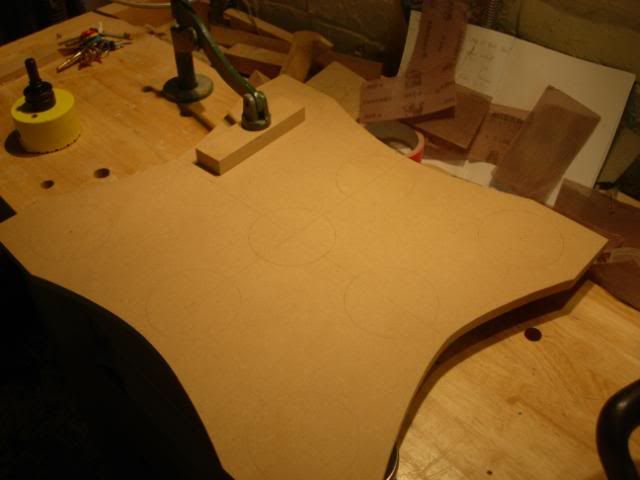
That's it with veneering for the time being, I won't bore you with the tedium of getting the panels in decent nick. More later. Next job was the mdf template for the rack itself, got the curves let in and here marking up the holes before cutting
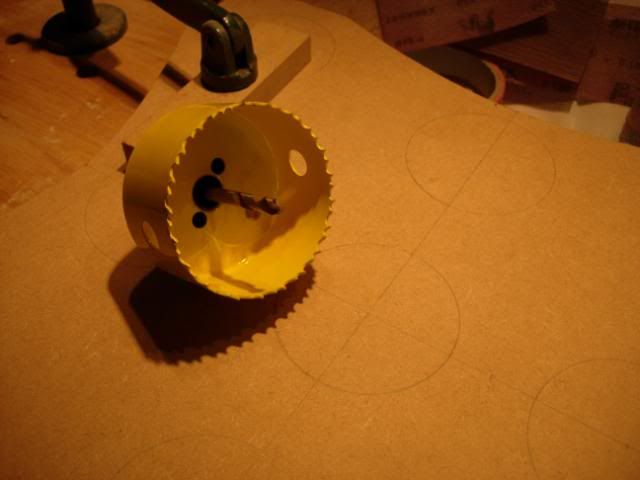
Thought about various ways of doing the hole, decided to buy an 80mm hole saw as it was simplest and most likely to give the best results. Here goes...
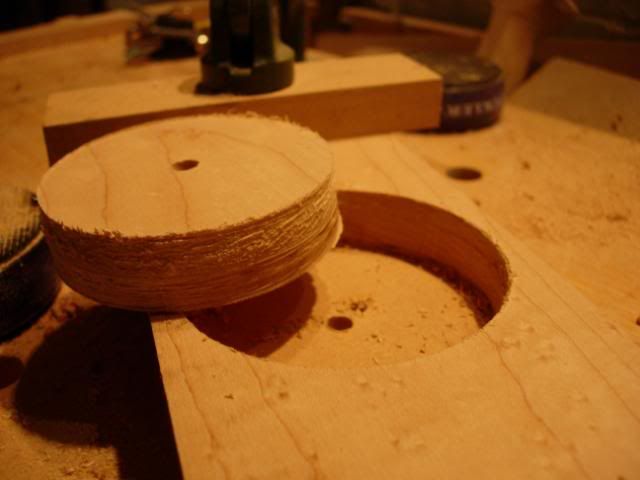
Not too shabby, gave decent results
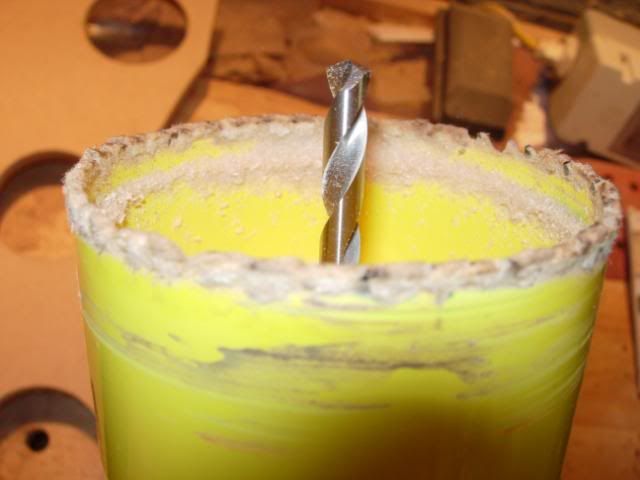
However, had to de-clog the saw twice for each hole. Took forever
Wondered how it would cut in maple and whether I could cut all the holes this way. Nearly ripped my smegging arm off and the edges were a bit ragged too, so I abandoned the idea.
Here's the template overlaid on the maple rack
With the outlines marked onto the wood, which you probably can't see
I'll be hacking that to pieces with a forstner and bandsaw and then finishing it off using a bearing guided router running off the template. The rear rack is a 3 piece maple board and the front a 2 piece rippled maple with some decorative dovetail keys. Routed in the keys with the boards paired together, had a practice run over some mdf first.

Forgot the rule about routing out most of the waste using a straight cutter first so ended up making a little bit of smoke. No lasting damage to the wood though.
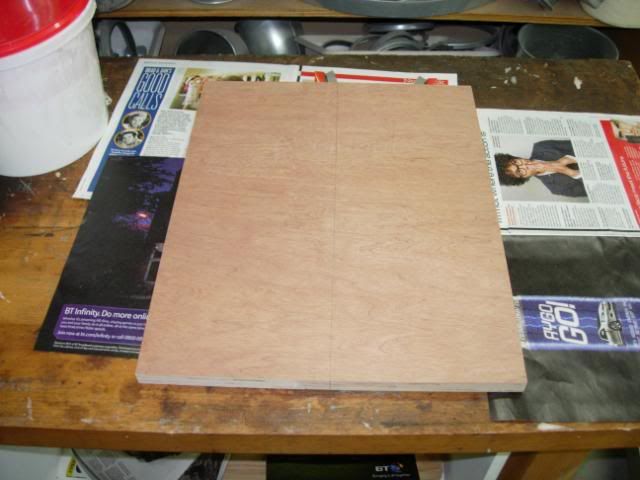
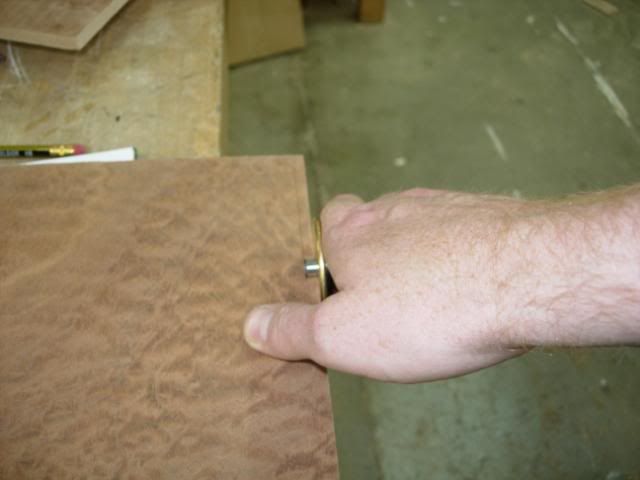
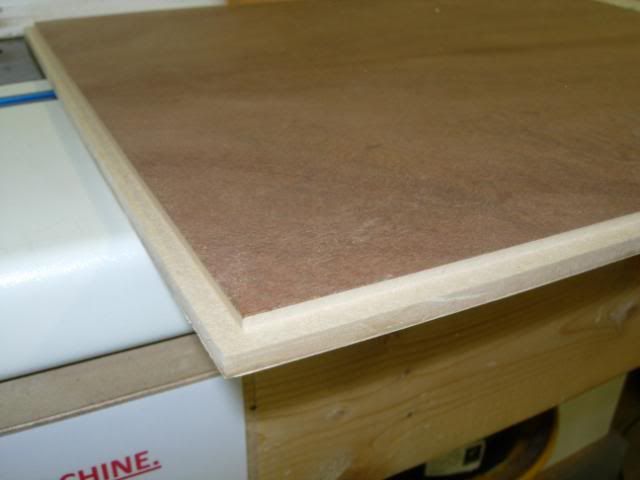
Back to the veneering, I had to make the doors these being mdf lipped with cherry, the cherry being deep enough to take the full depth of the hinge screws (and a bit more).
Attempt one at veneering was only a 50% success, the maple inners went on fine and matched up nicely, the sapele outers were a lesson in not thinking things through. I realised as I was merrily slapping on the glue that I couldn't line up the veneers precisely for a book match, but it was too late to stop now. First one came out okay and with a small crack in the veneer, the second came out with a big crack in the veneer and slightly skewhiff. Cue much swearing and self recrimination. Was one step away from showing them the bandsaw but decided that the inners were fine and I could sand off the outer. So I did

Took much more care in marking up the veneer this time, see below
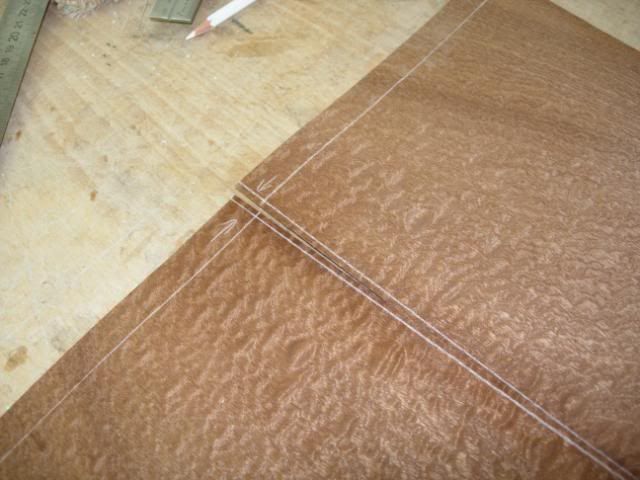
But the results were worth it, took precautions against end splits and also covered over some small splits in the veneer
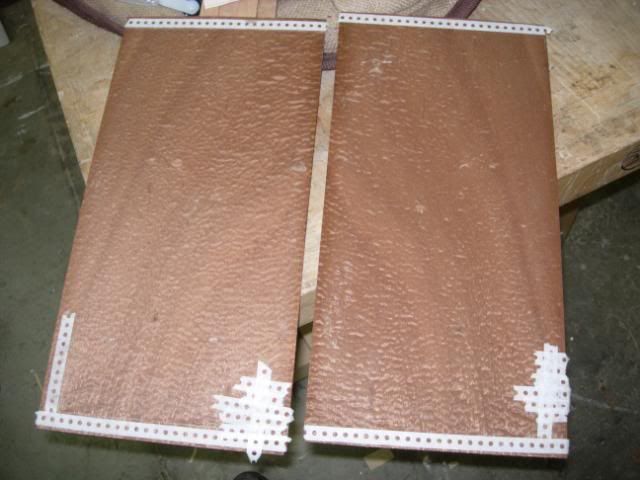
Class has finished for the year and sadly I didn't get it finished in time, so I'll have to complete it at home. Next job was to make the little dovetail keys, couple of pieces of black walnut should do the job. Once trimmed to size they were marked up by taking the angles direct from the cut holes.
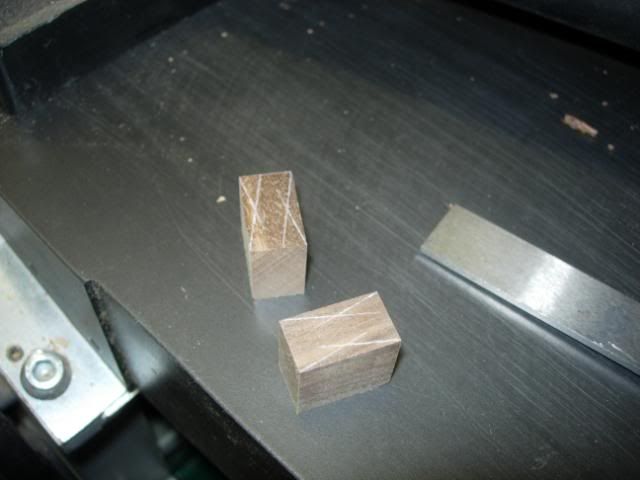
Initial cuts on the bandsaw

And then fettled with the shoulder plane
Nice little fit
Once glued up I marked out the parts to be cut, curves taken out with the bandsaw and waste from the holes with a forstner on the drill press. Then laid the template back on top and trimmed with a bearing guided router. A final sand will follow and the holes will be rounded over with a half round bit
As you might expect I hadn't finalised the design by the time the course started, though I had bought the elm I wanted and bought it in lengths to fit with my stand and cabinet approach. That was mistake number 1 (well 1 and 2 actually). After arsing about for a bit I decided that I preferred a design that had full length legs and no separate stand, so I had the wrong timber. Mistake number 2 was the elm itself, even after a lot of acclimatising and careful machining it moved like John Travolta on a Saturday night in the 70s. That wood was moved to the sonofabitch area of the woodpile to be resurrected at a later date.
Quickly moved to a rod to speed things along and get the design resolved, cue a piece of painted hardboard that photographs really well....
My chosen new wood was to be american cherry for the carcass with veneered panels. One of the reasons for choosing this project was that I have never done any veneering and wanted to give it a go. Life is never simple and to get the curves I needed in my legs I really pushed the useable width in my 2 inch boards, so much so that I couldn't get machined surfaces on each side and had to go with the bow in the boards. These fellas:
Made myself a little MDF leg template from the rod and marked up my leg blanks:
We'll skip the part where I forgot to think in 3D and made all the legs in the same pattern and had to go back to the timber yard for more 2 inch to redo 2 legs.
Some bandsawing later:
Then on to the overhead router to machine the flat section of the legs to get round the thickness/curve problem mentioned earlier:
Then out with the compass plane to sort out the curves
There is still some work to be done around the transitions and some fine tuning of the shape, but we're close enough to push on. Next up was the marking out of all the mortices, these were done in batch to ensure that the holes at least were lined up in the right spots. Mortices themselves were cut on the big Wadkin and fine tuned with a chisel. The tenons were batch cut on a large single ended tenonning machine. This allowed me to to a dry fit of the carcass to get exact measurements for the panels. Couple of photos, one with flash, one without.
All the panels are 9mm MDF with the exception of the base which is 18mm ply, wanted more strength there as it will have 9 or 12 wine bottles in and they're not light fully laden. Veneers (courtesy of ebay) are pommelle sapele for the exterior and maple with a slight ripple on the inside - the wine rack inside will be made from ripple maple.
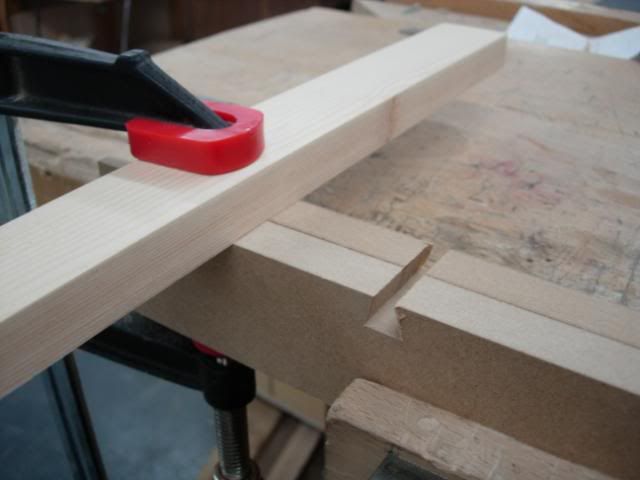
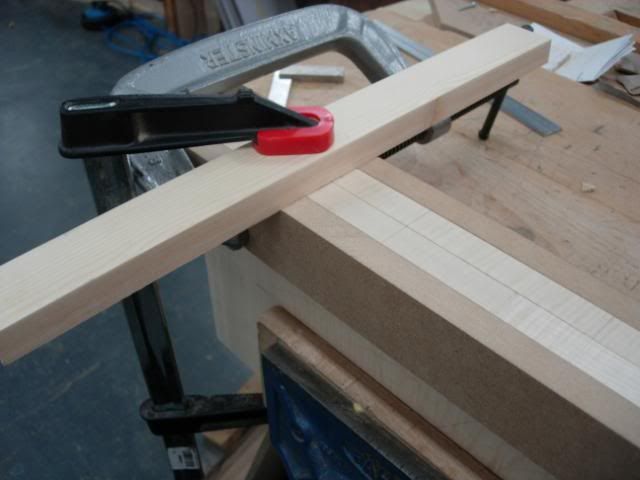
The veneers were book match cut using a large powered guillotine which was very good at creating rough edges that needed sorting out. This was achieved by clamping the book matched halves between 2 pieces of MDF and planning with the trusty 3110.
It's important to remember here that I am a 100% veneer virgin and perhaps should have asked to have my hand held before I started. Instead I asked for the advice I thought I needed and set about the job, first piece the top. Glued one side of MDF and then laid on my 2 halves of maple (very brittle maple) and ahem, set about taping them. I know, I know. Decided to get help when the maple had absorbed enough glue moisture to not stick and curl into u shapes. Tutor pineappled himself and helped me get it flat and taped then quickly into the press. After a quick dry it came out to have the other side done, much better but still too much glue.
Now that's what I call a veneer press...
The top (the first piece) came out so badly I've done it again, it suffered some bad cracking probably due to the water we splashed on to level it out.
Next stage was clean up to remove the tape and the bleed through glue. Lots of scraping and sanding and quite surprisingly didn't go through once. Hard work and my thumbs weren't impressed.
Once piece had two small cracks in it which needed a repair, took a long time as it's hard to effect a clean V shape area when the veneer is well attached. Started with this
Cut in this
Glued and clamped in an insert and covered with clingfilm to avoid it sticking
To leave me with this, not perfect but not too bad for a first attempt at this sort of thing
Hadn't got a picture of the stretcher before, here it is nearly finished just needs a little more sanding and the tenons cutting in
Next job was to do another dry assembly and take accurate measurements of all the panel gaps to get the correct rebates cut in. Marked in the rebates with a cutting gauge to try and reduce any splintering or rough edges.
Then off to the router table
To leave me with this, I imagine there will be some shoulder plane fettling yet
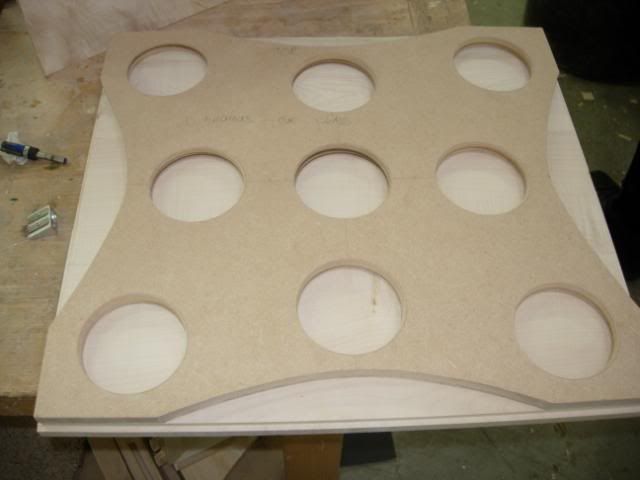
That's it with veneering for the time being, I won't bore you with the tedium of getting the panels in decent nick. More later. Next job was the mdf template for the rack itself, got the curves let in and here marking up the holes before cutting
Thought about various ways of doing the hole, decided to buy an 80mm hole saw as it was simplest and most likely to give the best results. Here goes...
Not too shabby, gave decent results
However, had to de-clog the saw twice for each hole. Took forever
Wondered how it would cut in maple and whether I could cut all the holes this way. Nearly ripped my smegging arm off and the edges were a bit ragged too, so I abandoned the idea.
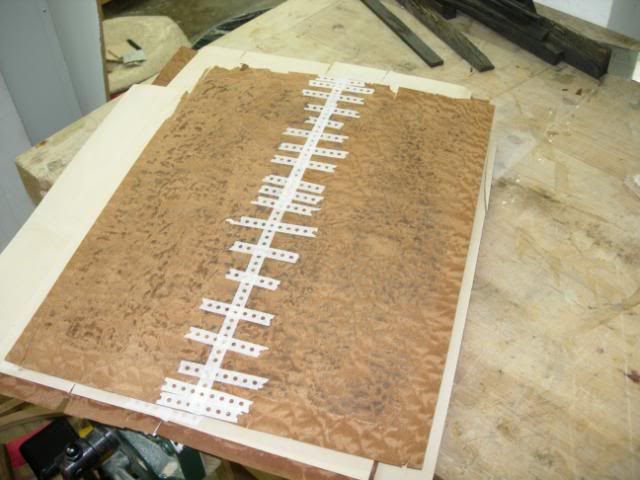
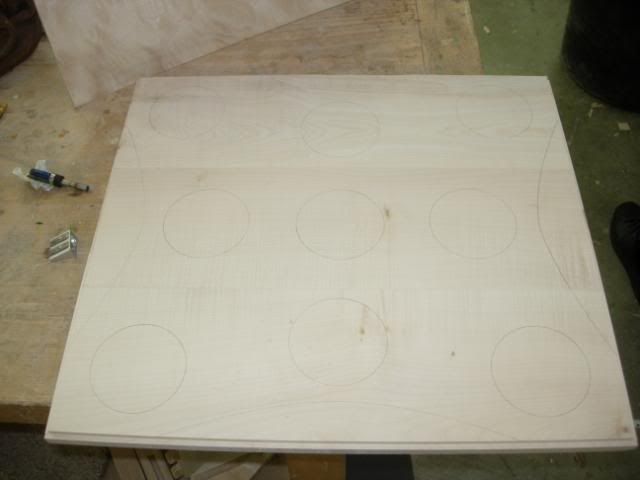
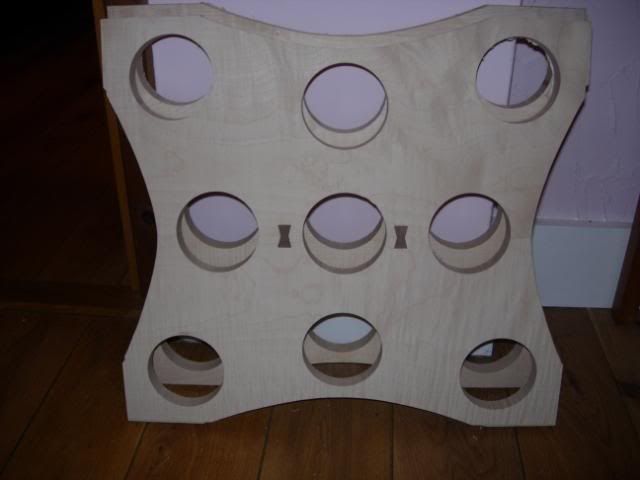
Here's the template overlaid on the maple rack
With the outlines marked onto the wood, which you probably can't see
I'll be hacking that to pieces with a forstner and bandsaw and then finishing it off using a bearing guided router running off the template. The rear rack is a 3 piece maple board and the front a 2 piece rippled maple with some decorative dovetail keys. Routed in the keys with the boards paired together, had a practice run over some mdf first.
Forgot the rule about routing out most of the waste using a straight cutter first so ended up making a little bit of smoke. No lasting damage to the wood though.
Back to the veneering, I had to make the doors these being mdf lipped with cherry, the cherry being deep enough to take the full depth of the hinge screws (and a bit more).
Attempt one at veneering was only a 50% success, the maple inners went on fine and matched up nicely, the sapele outers were a lesson in not thinking things through. I realised as I was merrily slapping on the glue that I couldn't line up the veneers precisely for a book match, but it was too late to stop now. First one came out okay and with a small crack in the veneer, the second came out with a big crack in the veneer and slightly skewhiff. Cue much swearing and self recrimination. Was one step away from showing them the bandsaw but decided that the inners were fine and I could sand off the outer. So I did
Took much more care in marking up the veneer this time, see below
But the results were worth it, took precautions against end splits and also covered over some small splits in the veneer
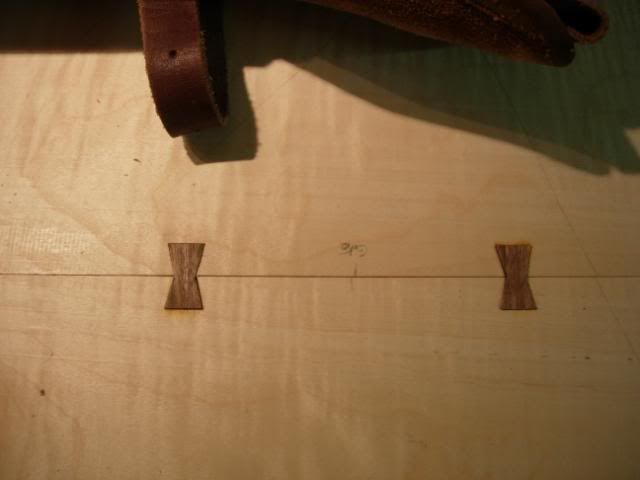
Class has finished for the year and sadly I didn't get it finished in time, so I'll have to complete it at home. Next job was to make the little dovetail keys, couple of pieces of black walnut should do the job. Once trimmed to size they were marked up by taking the angles direct from the cut holes.
Initial cuts on the bandsaw
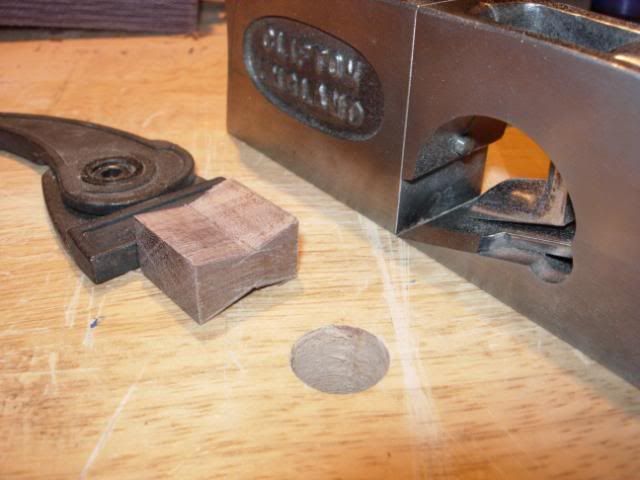
And then fettled with the shoulder plane
Nice little fit
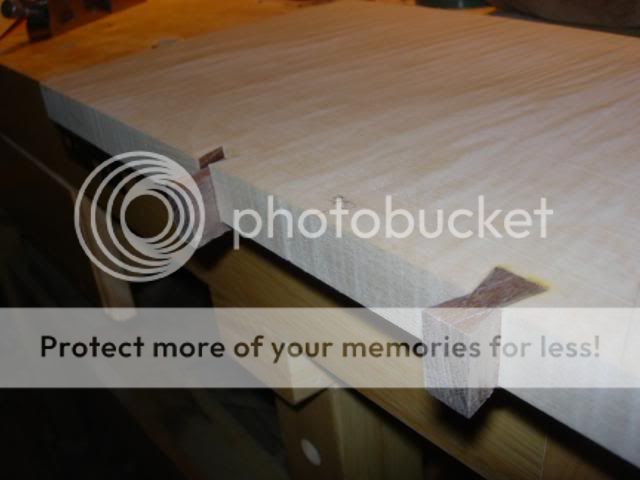
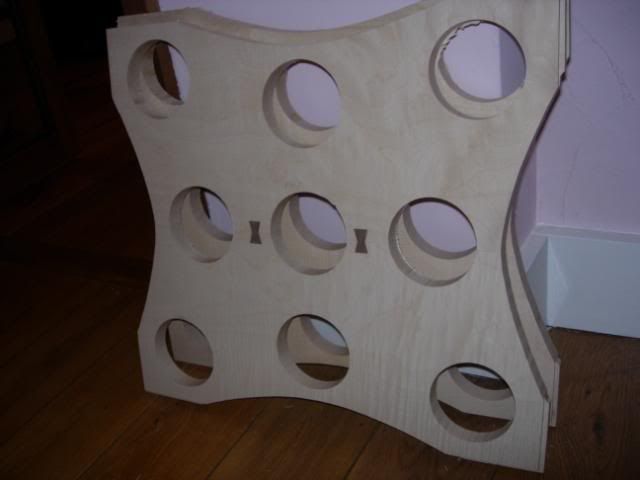
Once glued up I marked out the parts to be cut, curves taken out with the bandsaw and waste from the holes with a forstner on the drill press. Then laid the template back on top and trimmed with a bearing guided router. A final sand will follow and the holes will be rounded over with a half round bit
")