swagman
Established Member
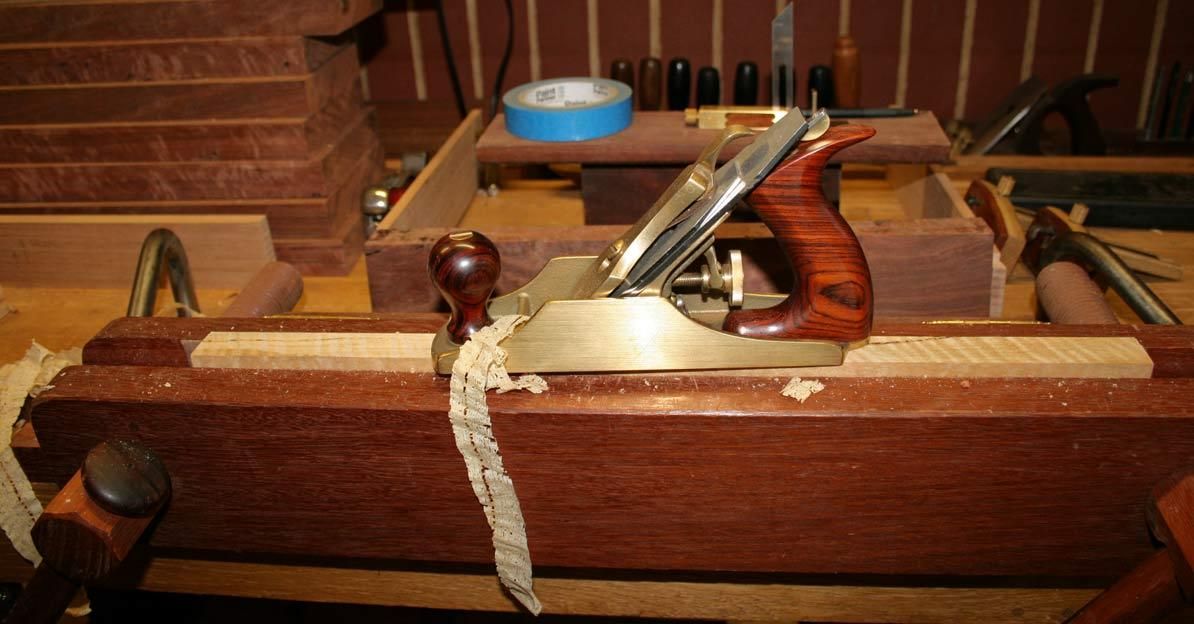
D_W":20rhcrcx said:The decision is easy, Stewie!! Common pitch plane with cap iron for everything!
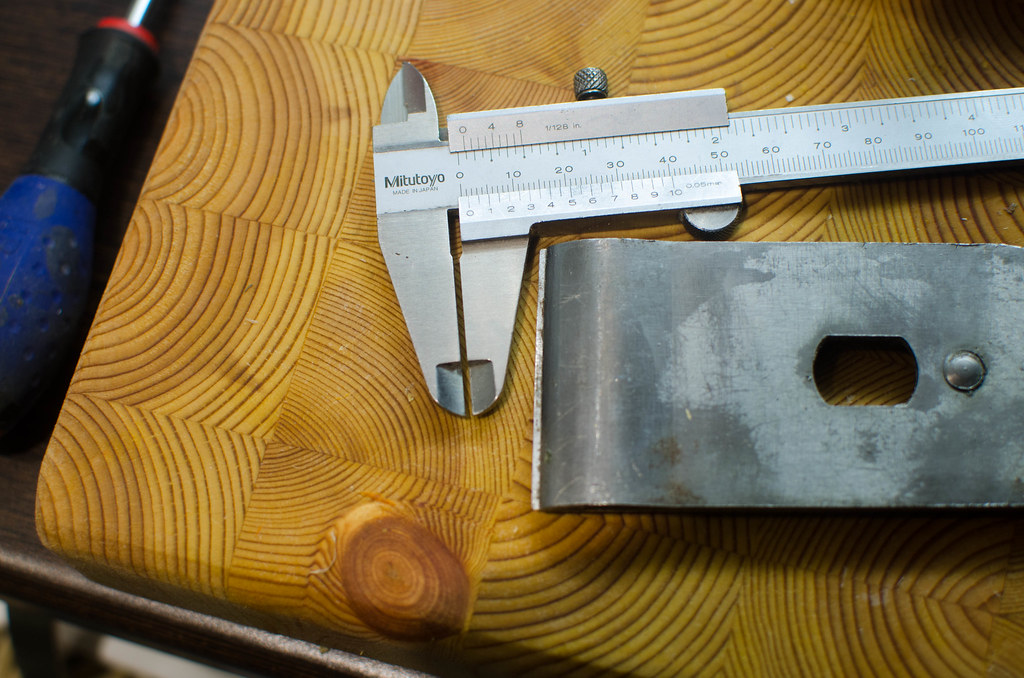
DW. Looks like Veritas disagree with you.
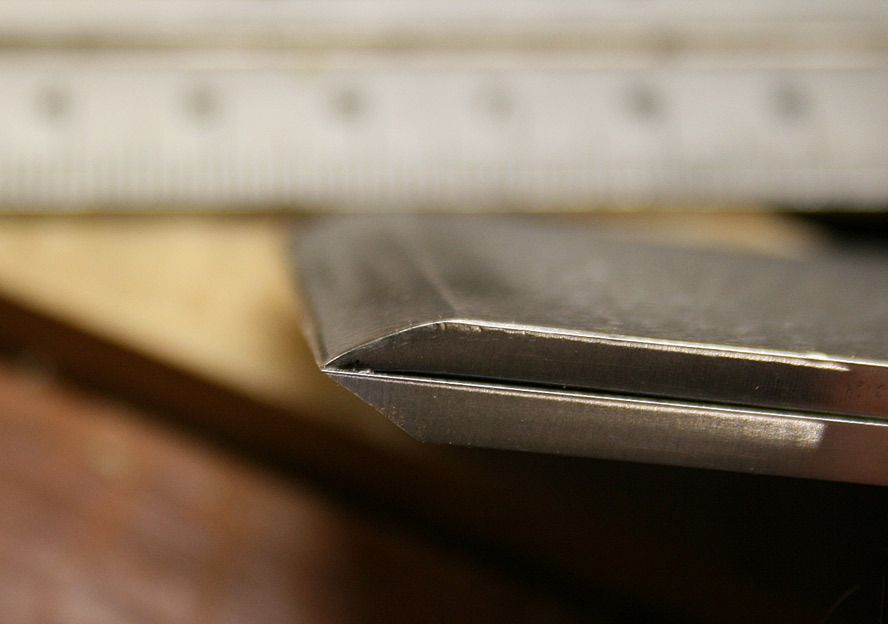
Figure 4: Blade with micro-bevel.
In a bench plane, the blade is used bevel down, so the bevel angle has no bearing on the cutting angle. This is determined by the angle of the bed which, in this case, is 45°. In the past when steeper cutting angles were desired, particularly for smoothing, special planes were produced with bed angles of 50° or 55°. However, the same net effect of altering the cutting angle can be achieved by introducing a back bevel on the face of the blade. In this way, a 5° back bevel will yield an effective cutting angle of 50° (commonly known as a York pitch). A back bevel of 15° will yield a cutting angle of 60° (see Figure 5); this will result in an entirely different cutting action from the standard 45°, producing what is known as a Type II chip (or shaving) as opposed to a Type I (reference: The Complete Guide to Sharpening). With this type of chip the wood shaving fails right at the cutting edge, eliminating tear-out and enabling the working of difficult grain patterns. This type of cutting action is similar to that produced by a scraper. The higher cutting angle increases the force necessary to propel the plane and is not required when working with the grain. However, when you have to work wood with widely varying grain (e.g., bird's-eye maple) it's handy to have a back bevelled blade at hand. Changing blades has the same effect as using a high-pitch plane.
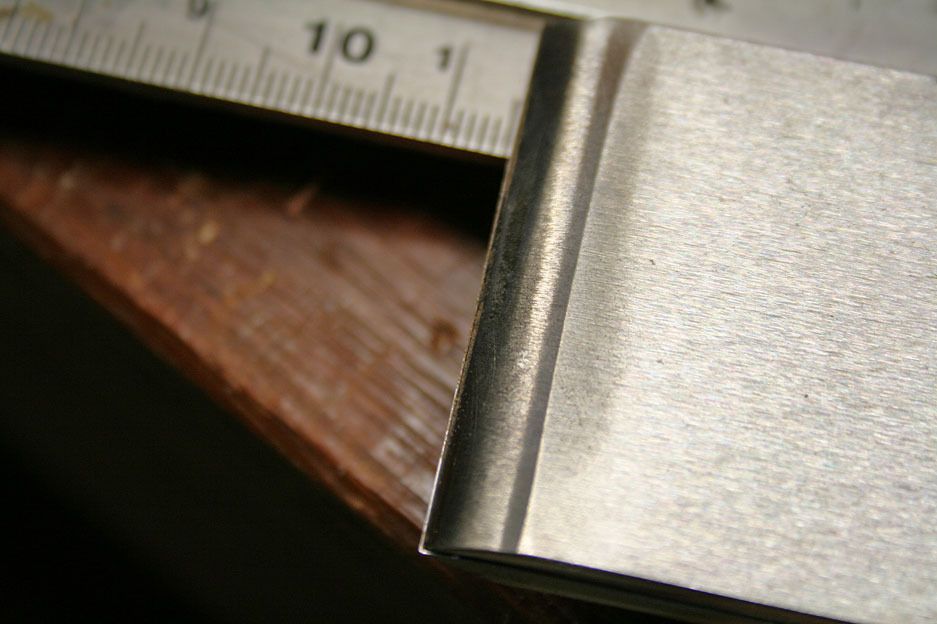
We recommend a back bevel of 15° to 20° for most difficult planing situations, which yields a cutting angle from 60° to 65°. Note that even within this range, there is a significant difference in how the plane performs. At 60°, the plane will cut well against the grain, except around knots and the more dramatic grain swirls. Increasing the angle to 65° will all but eliminate tear-out, even around knots and rippled grain such as found in bird's-eye or curly maple. The 5° increase will, however, make the plane noticeably more difficult to push. We therefore recommend beginning with a 15° back bevel to produce a 60° cutting angle, and only increase it by another 5° to 65° if you still experience tear-out. It is also important not to skew the plane in use when a back bevel is employed as described here as this has the effect of reducing the included angle. http://www.leevalley.com/US/Wood/page.a ... 48944&ap=1
Stewie;