wallace
Established Member
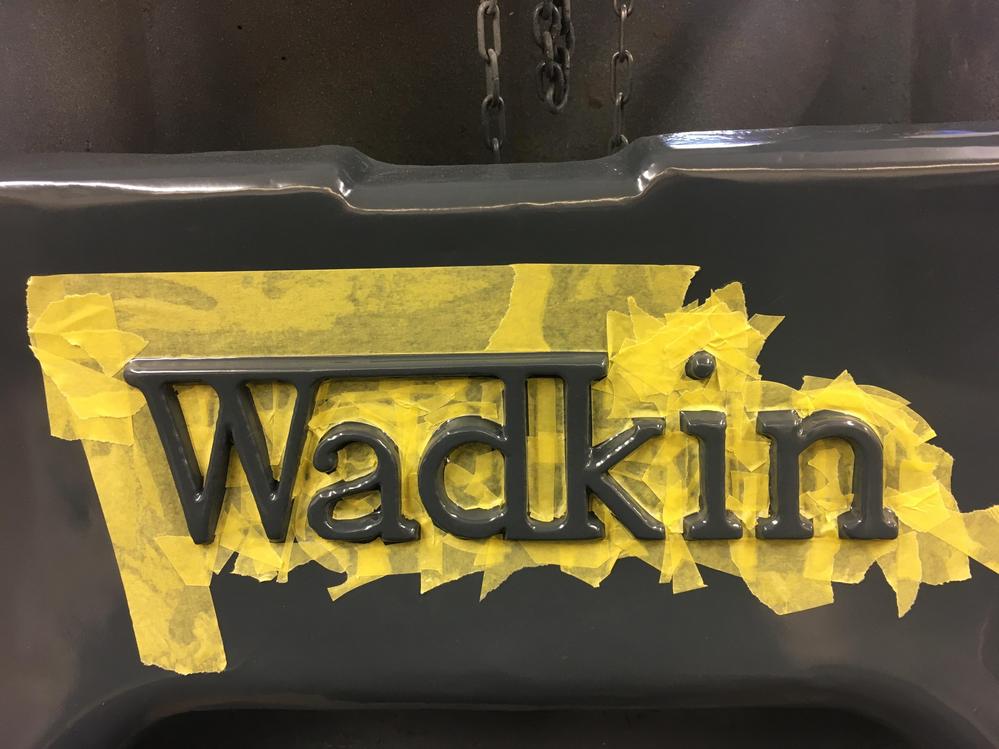
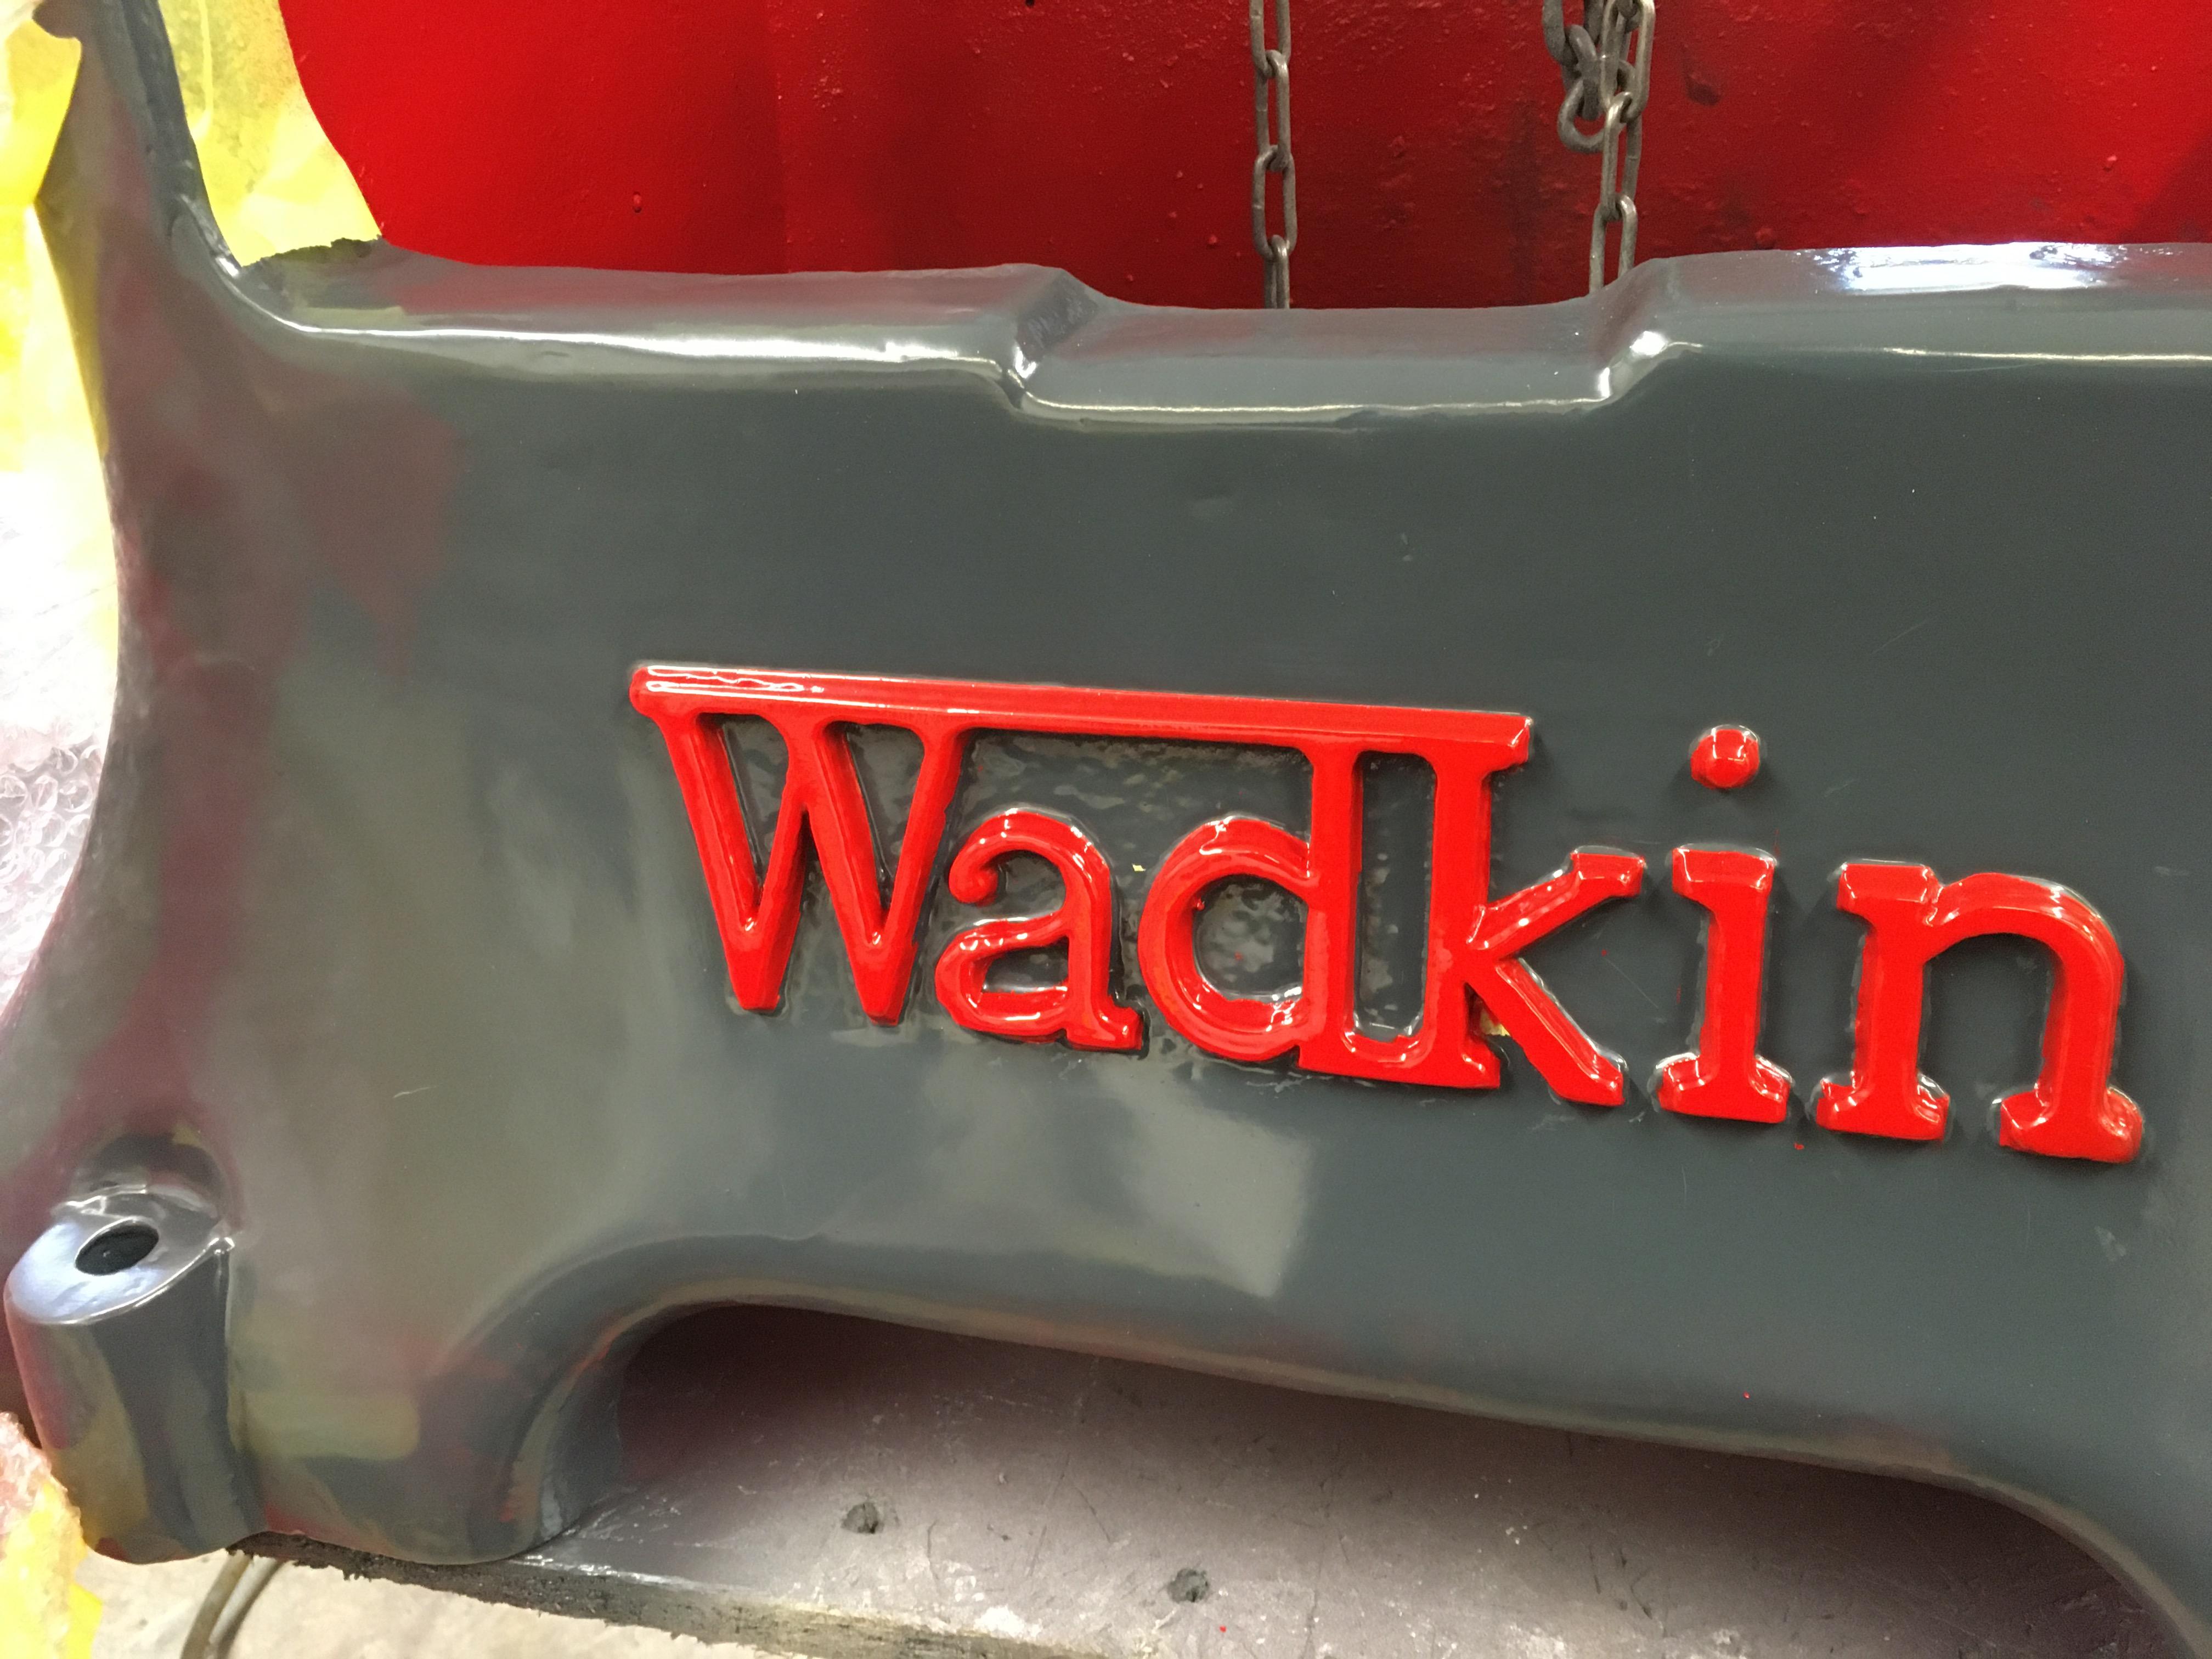
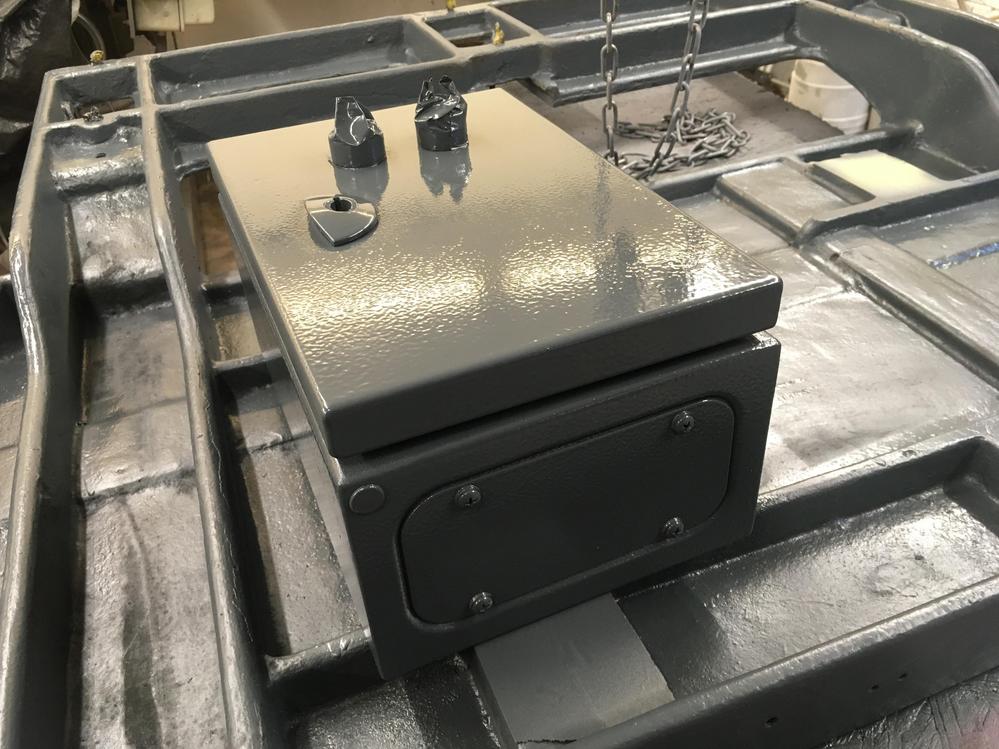
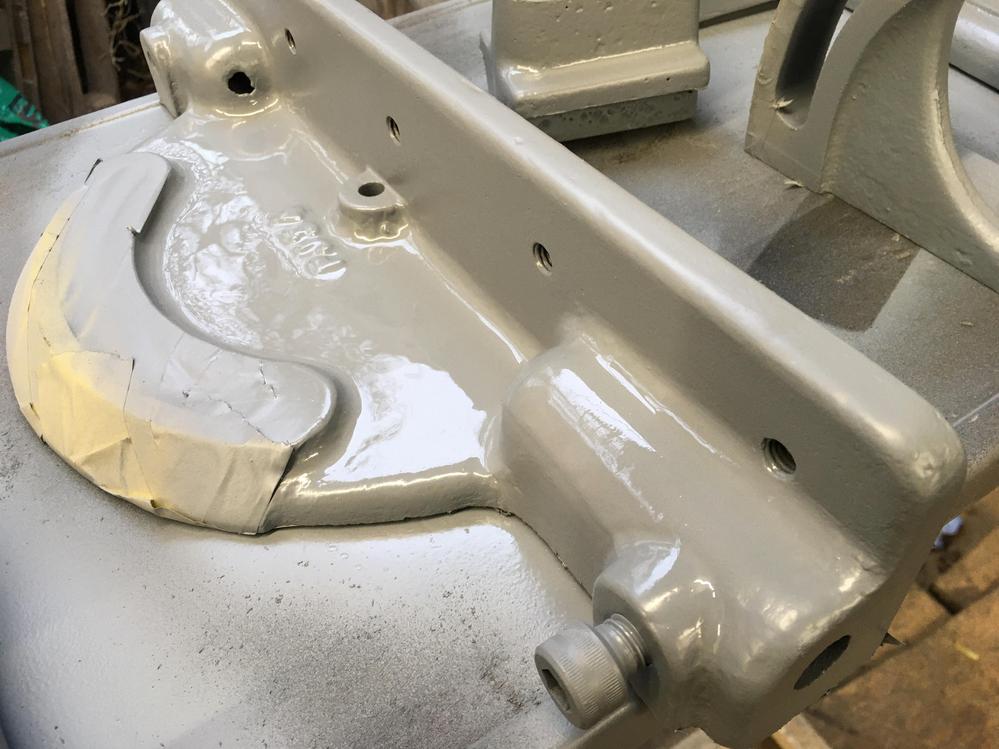
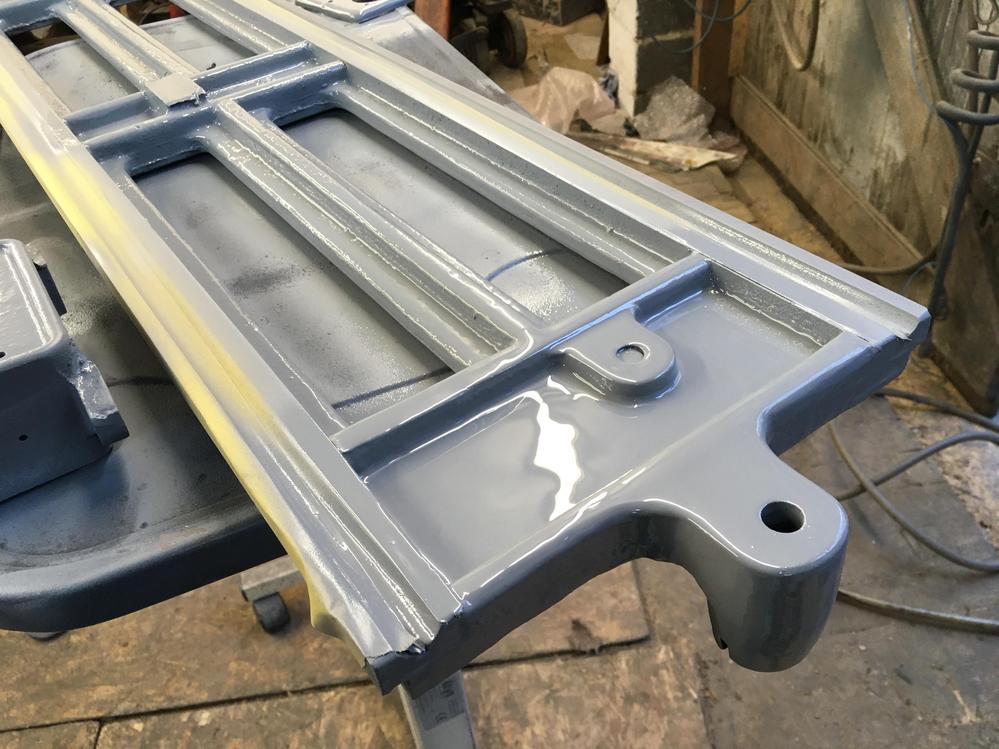
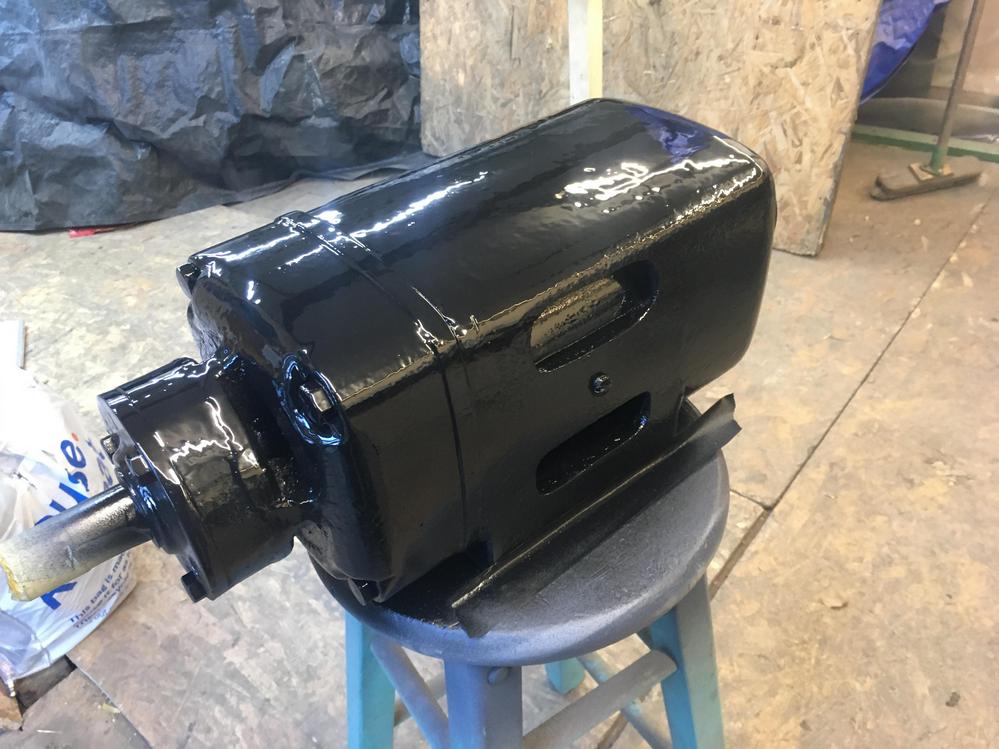
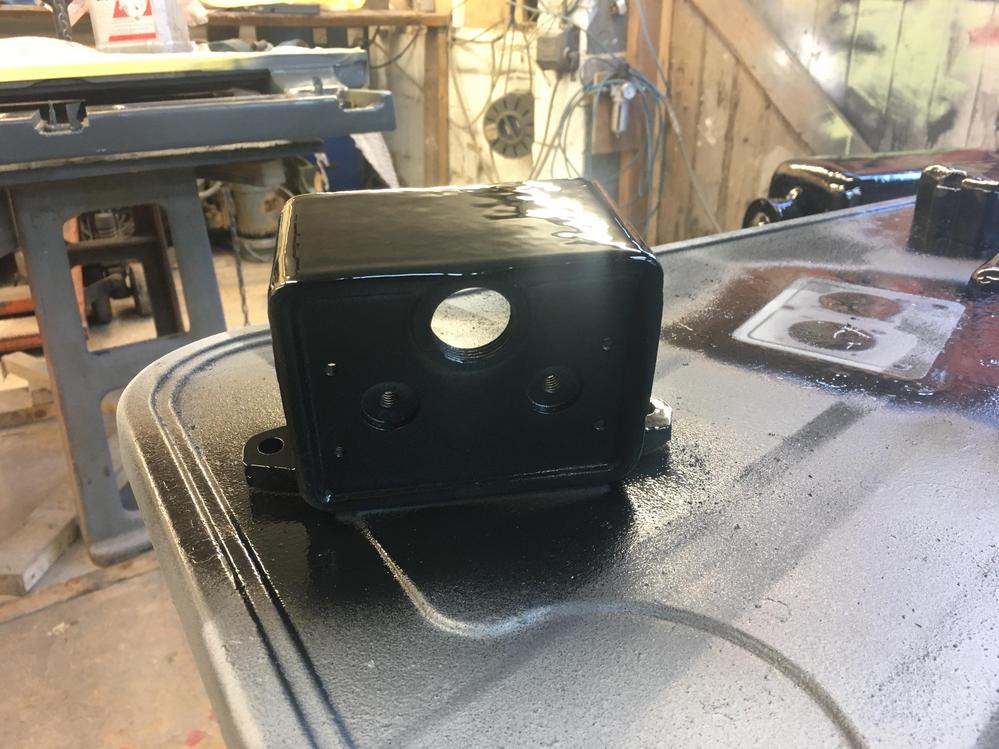
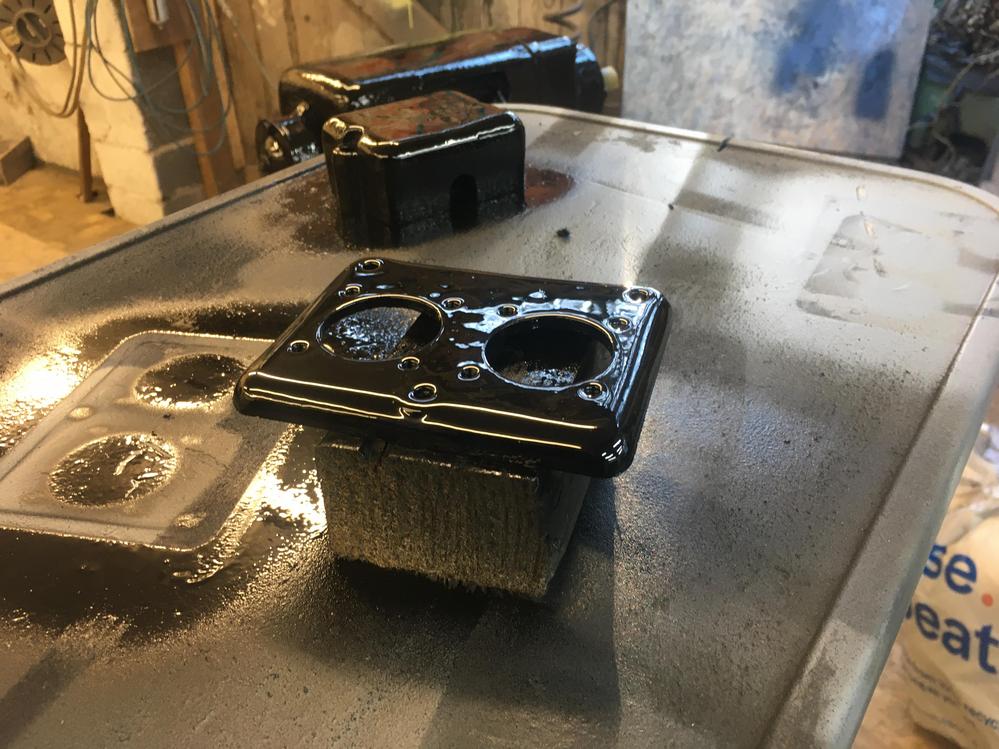
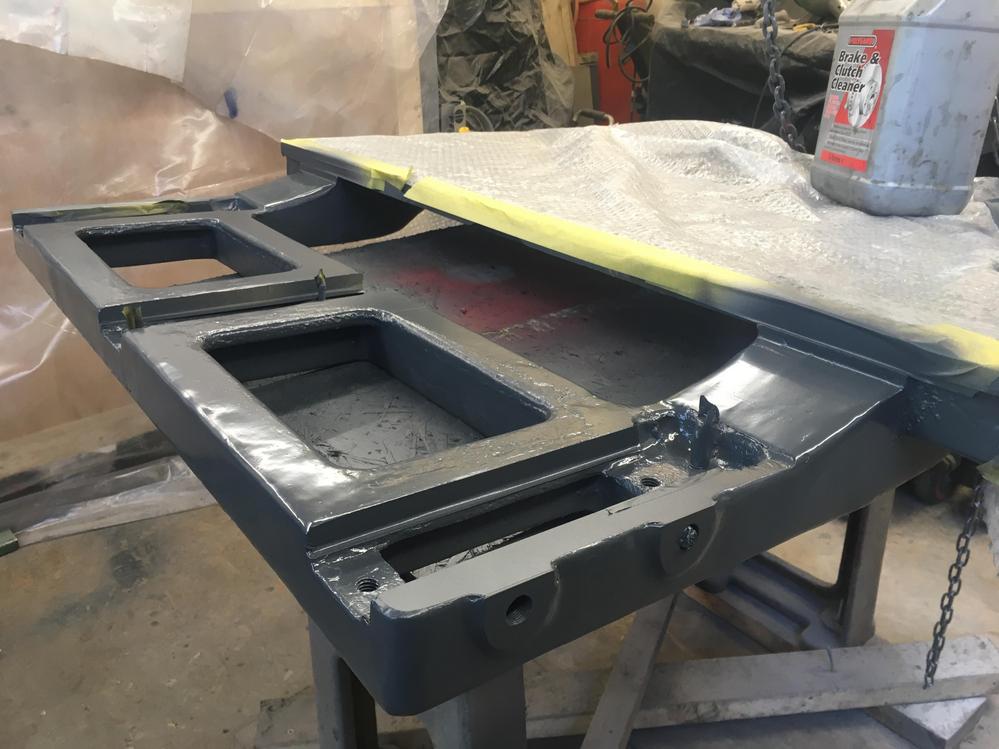
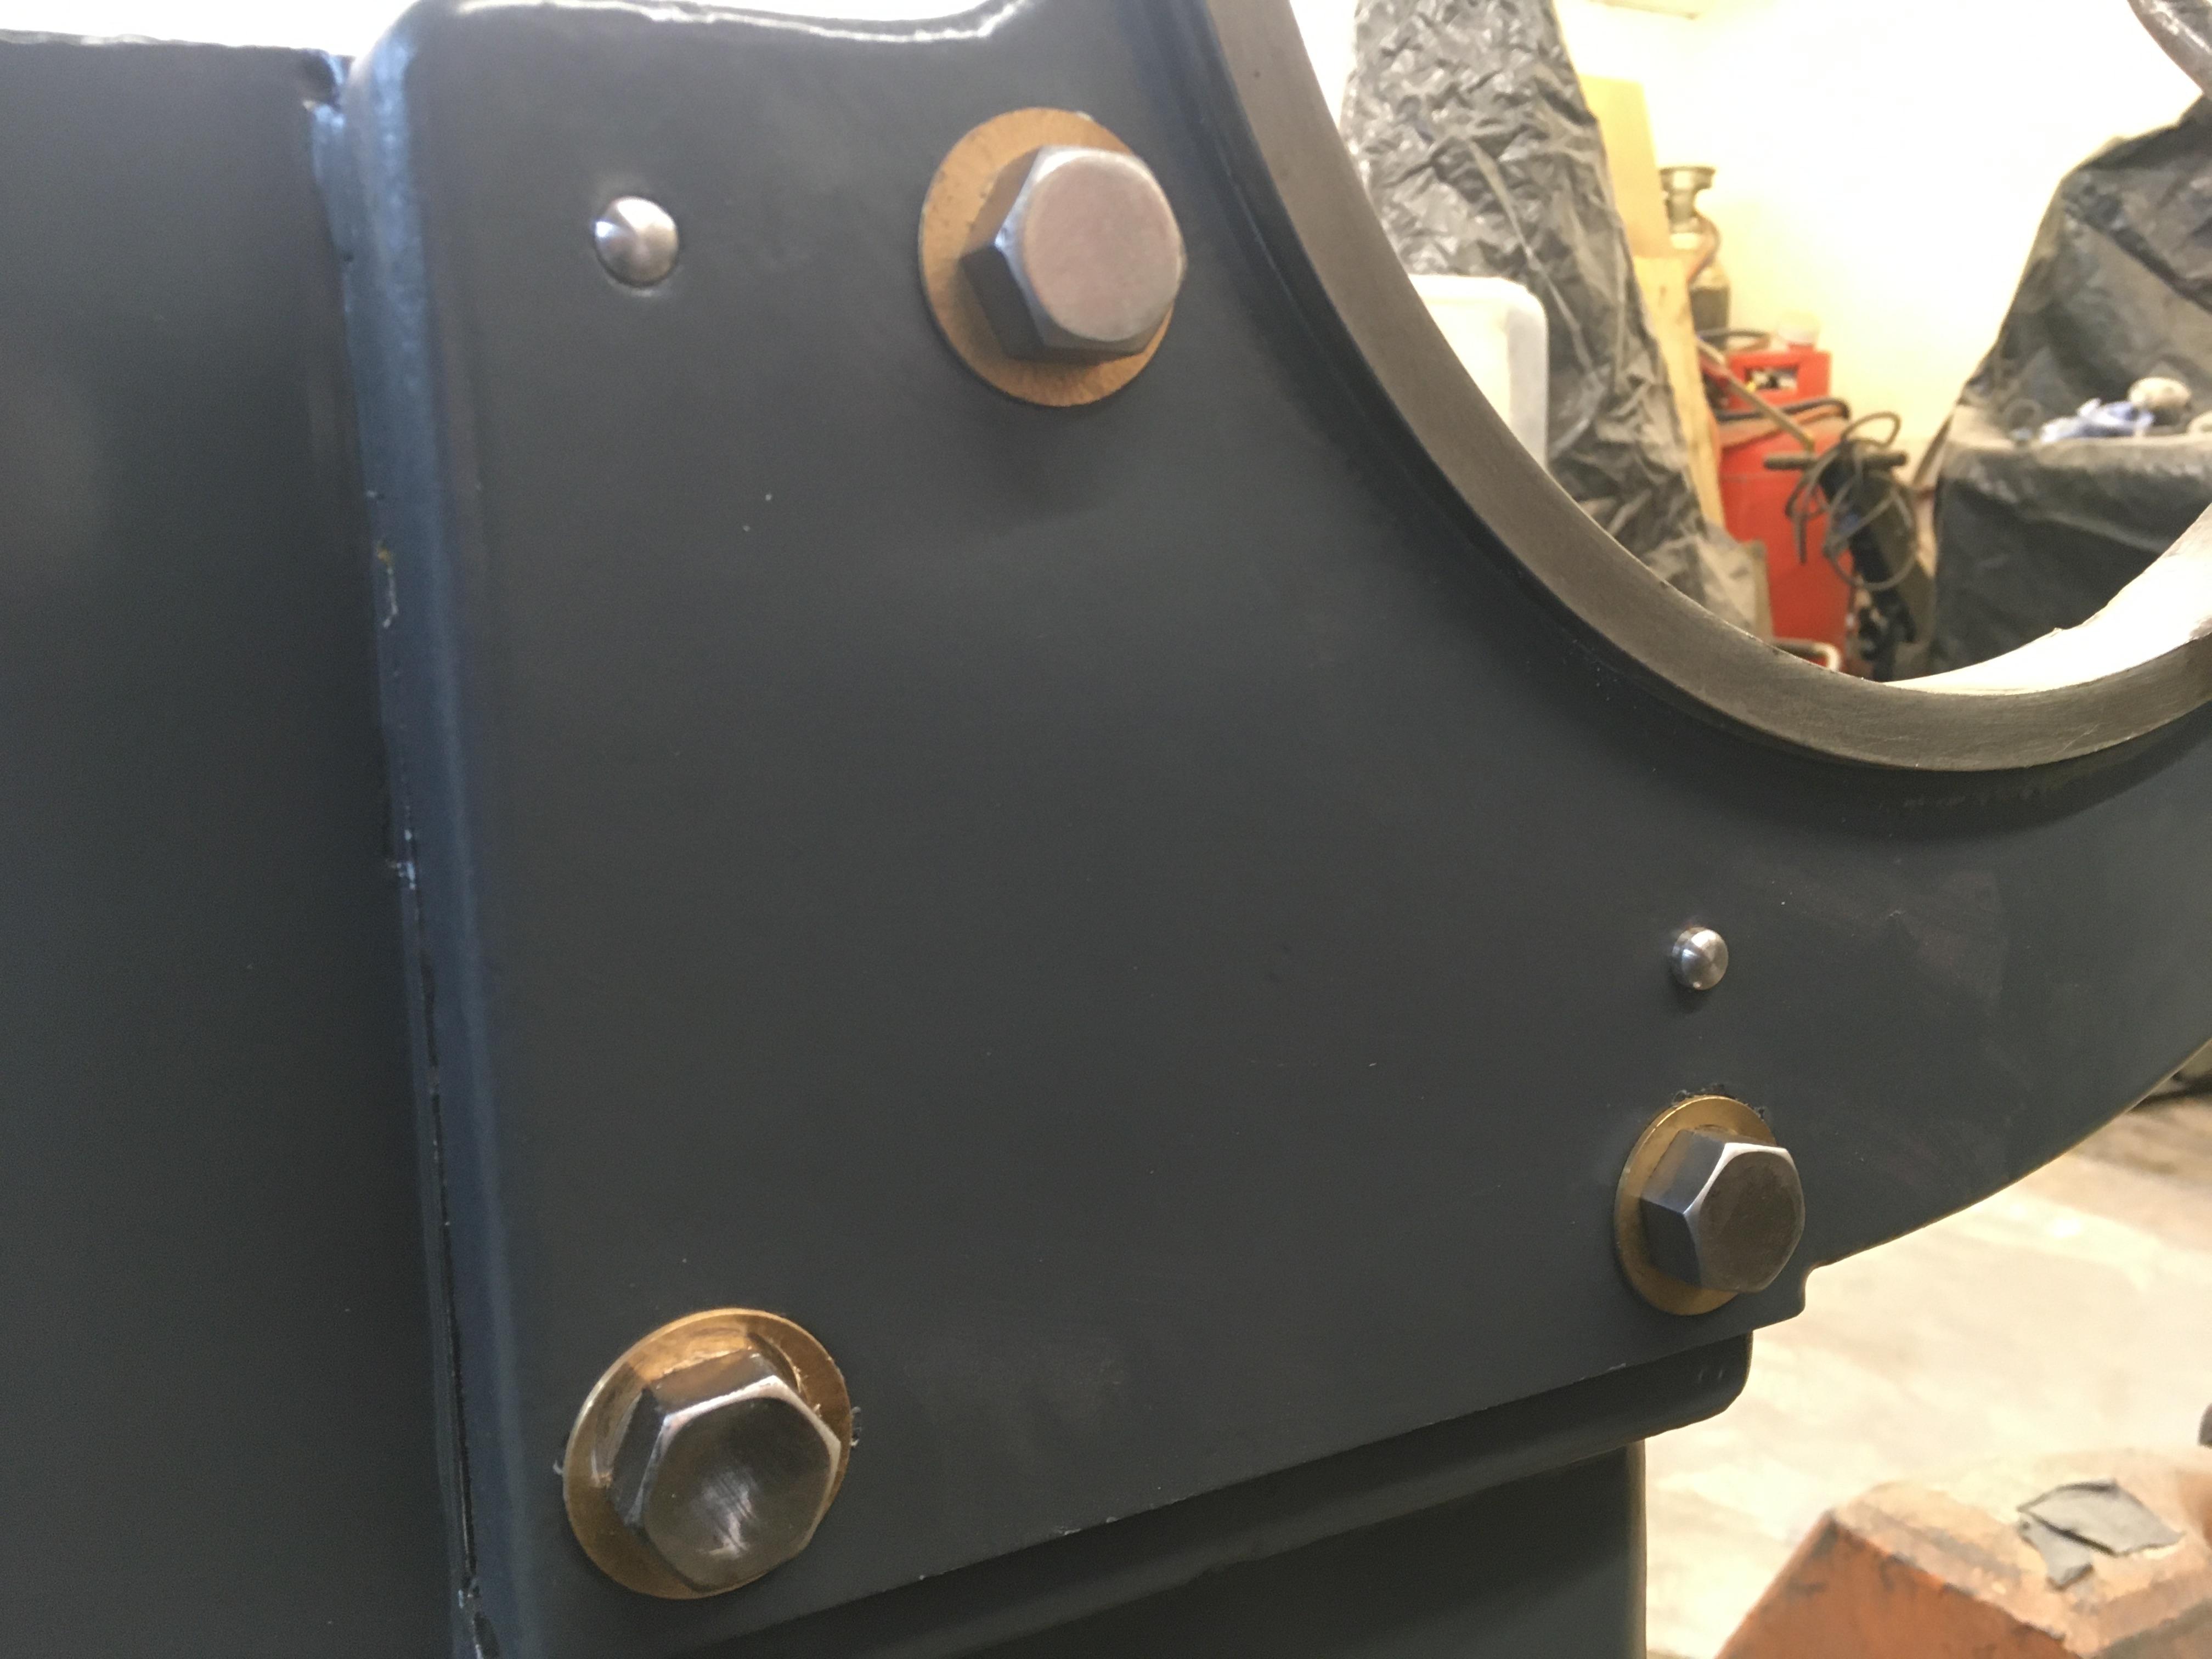
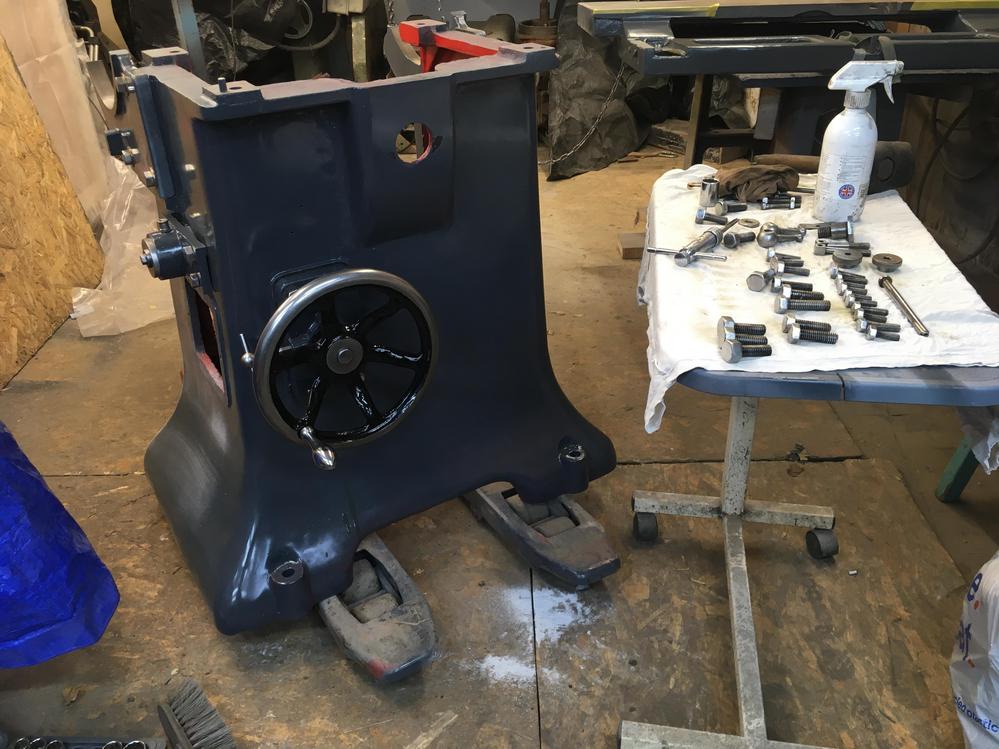
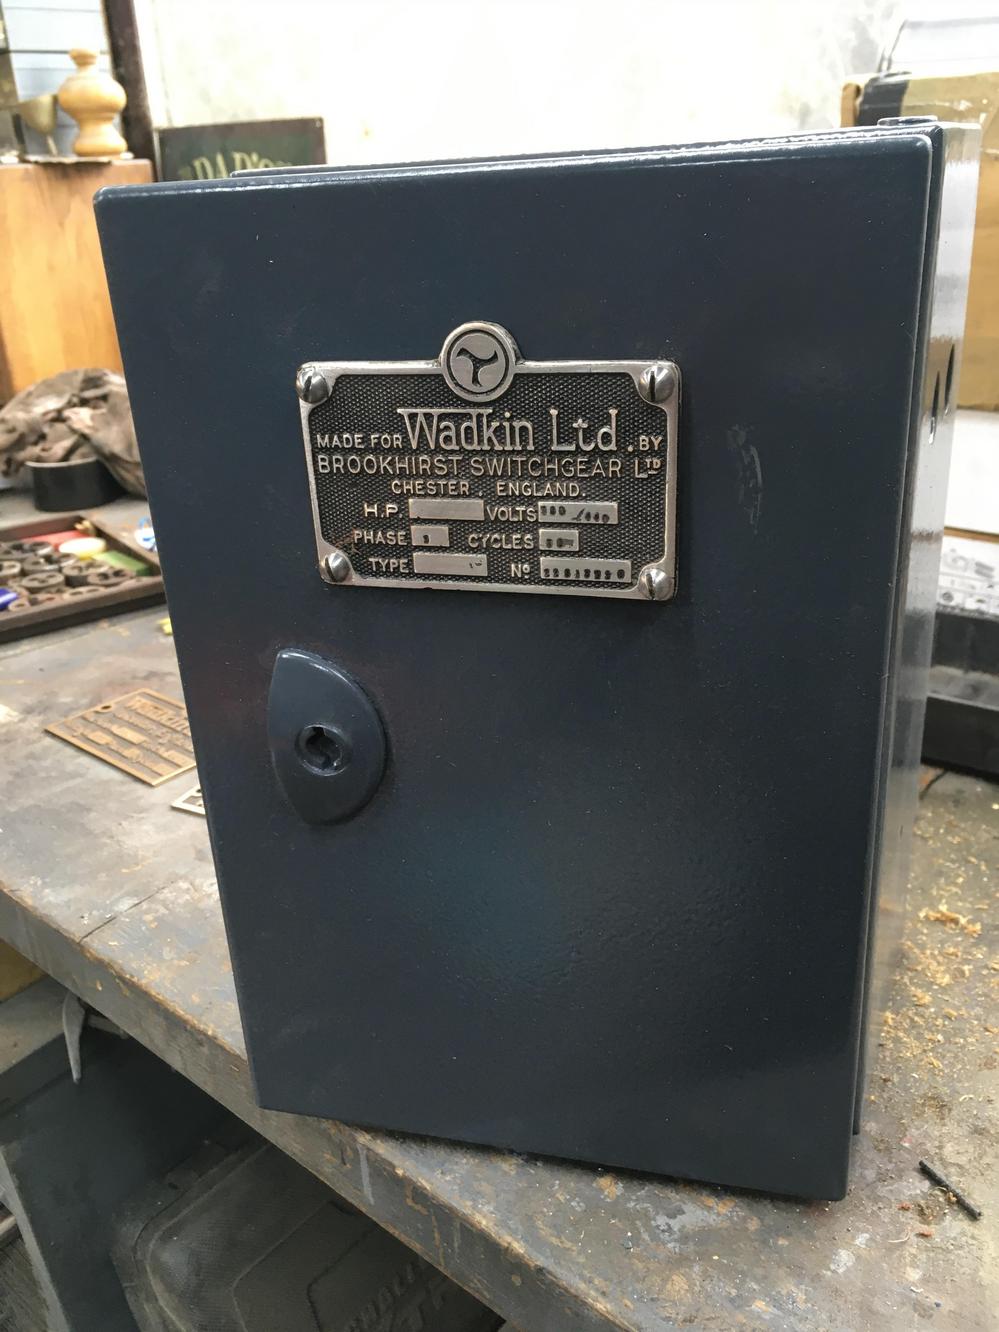
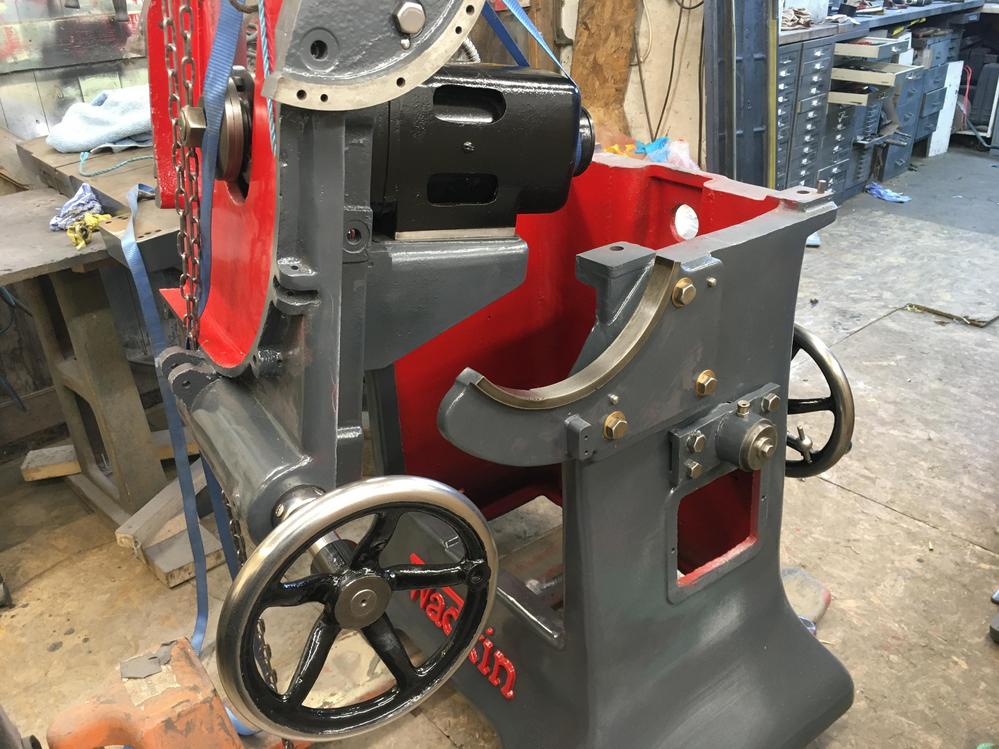
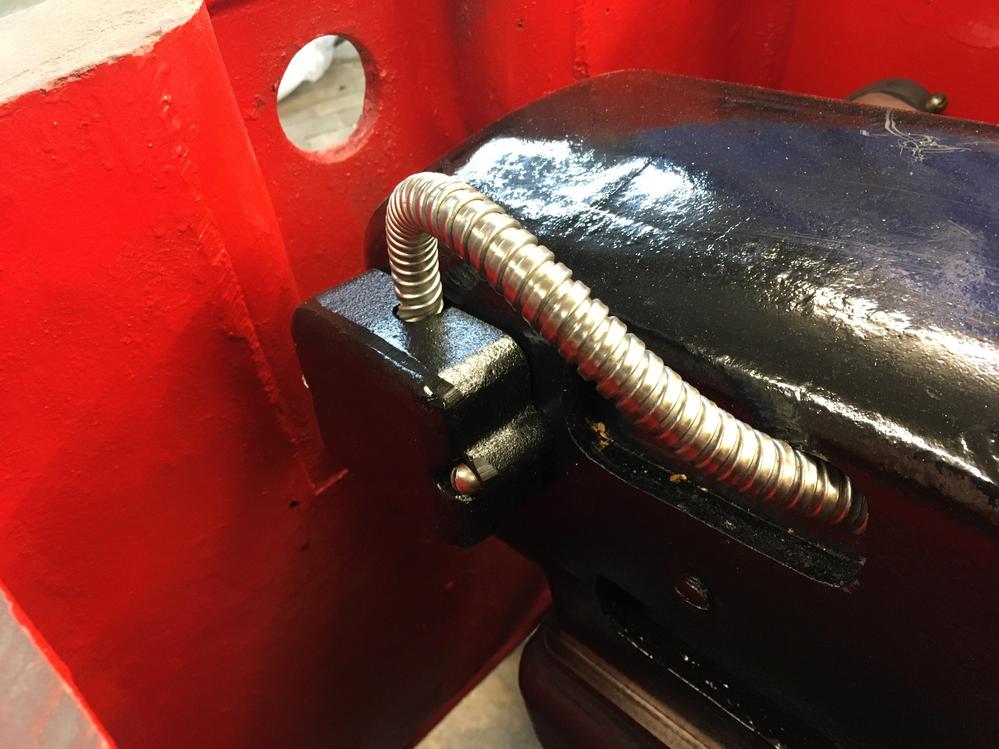
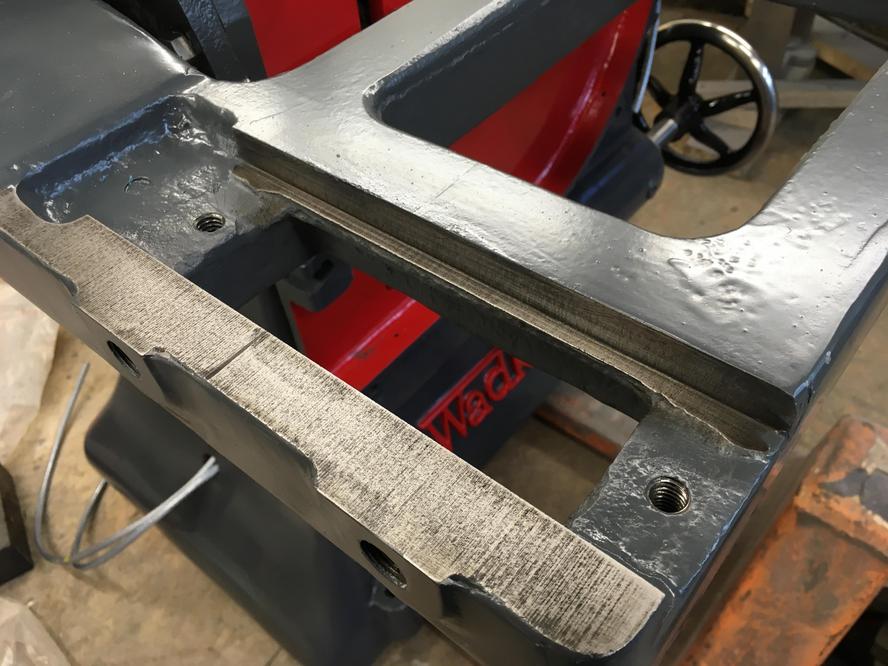
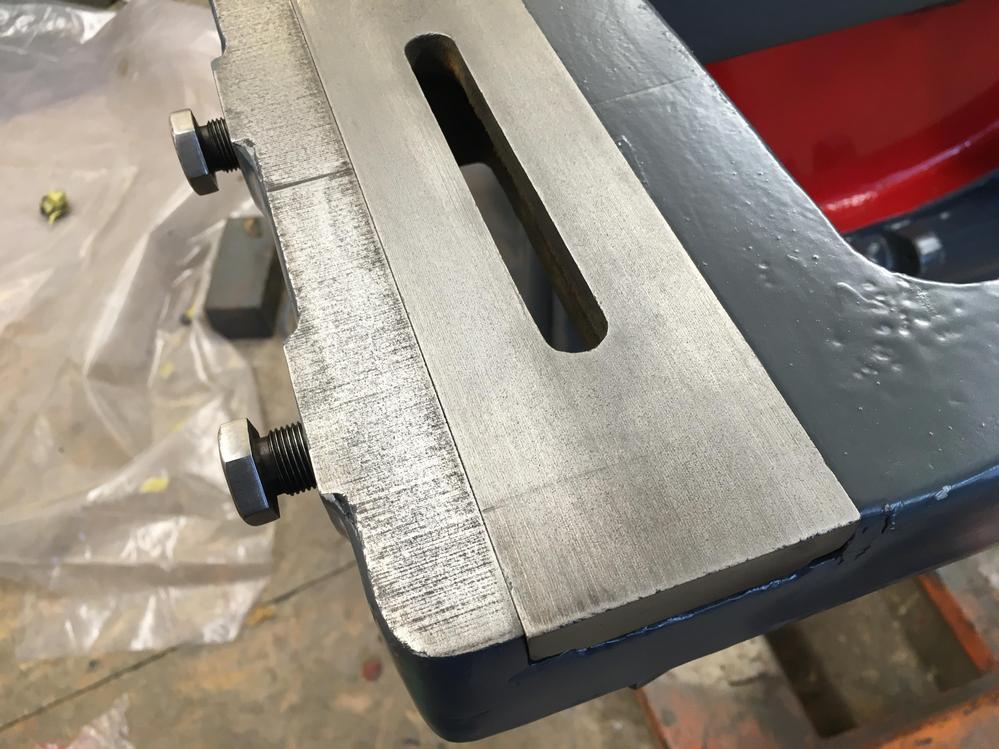
The writing has had spray primer then quite alot of normal primer. My first coat is always quite light and then I spray other stuff, by the time I've gone around the first bit is ready for another coat. I maybe give it 4 coats. If a surface is horizontal then you can really load the paint on. I do the same for the top coat by starting with light coats. This had 3 top coats.
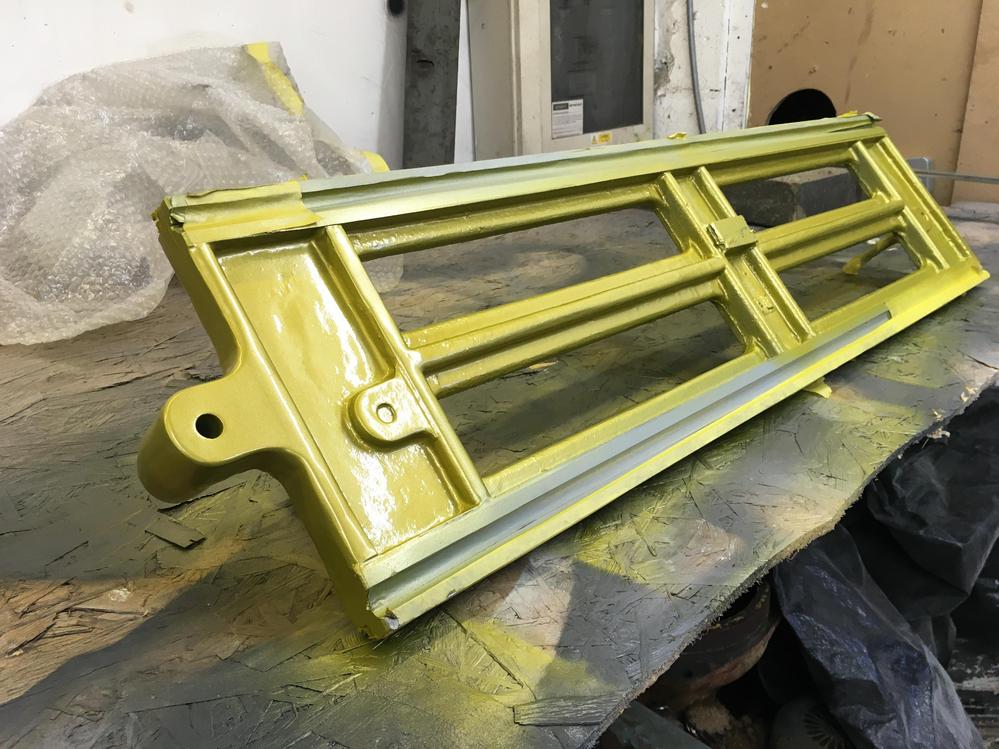
I usually give the place a good clean a couple of days before I'm spraying, I only spray at 18-20psi which helps not disturb dust.
I usually give the place a good clean a couple of days before I'm spraying, I only spray at 18-20psi which helps not disturb dust.
")