guineafowl21
Established Member
The front bearing was running a little warm, and the grease channel appeared to be blocked, so I thought I’d strip the motor down and, while I was in there, extract the star point to enable star/delta dual voltage use.
For some reason, I only have some pics of the reassembly, but hopefully it might be helpful to someone.
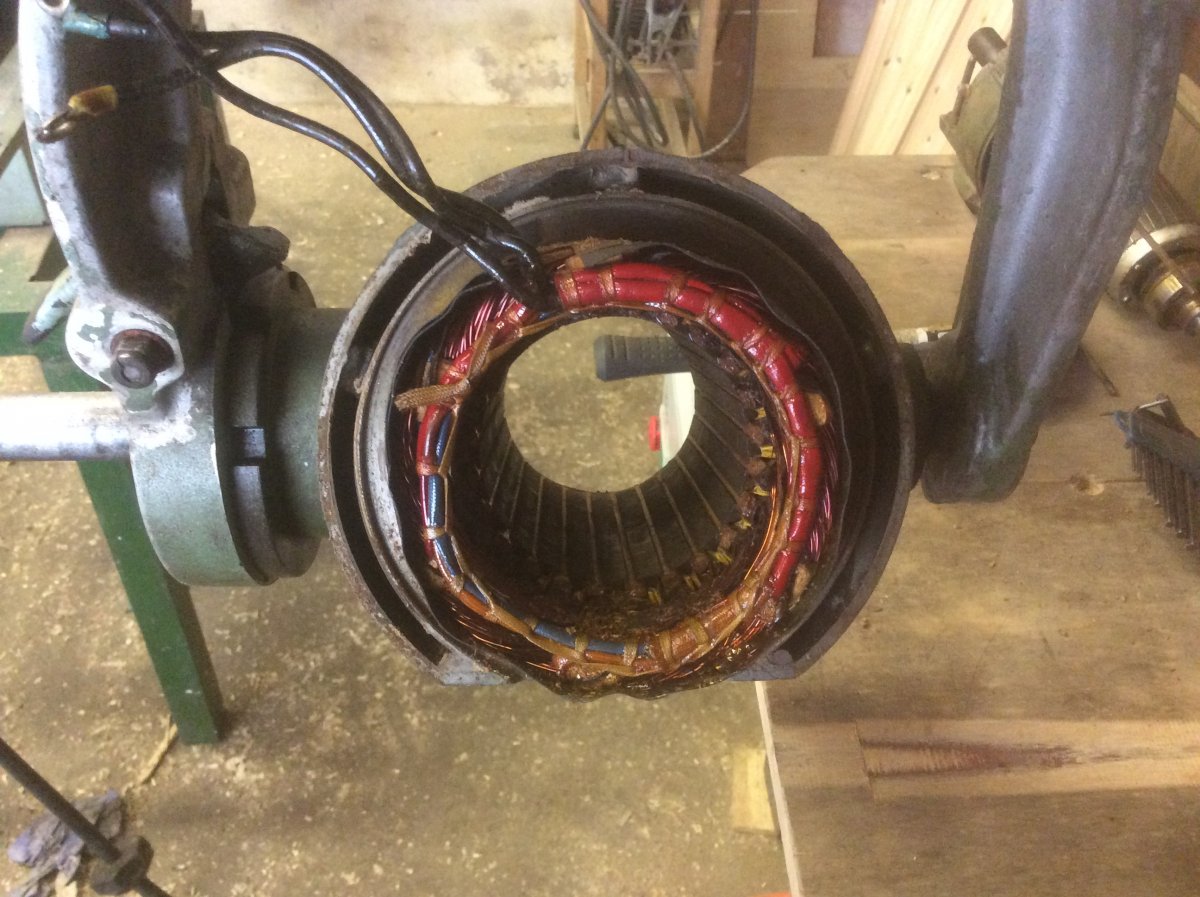
Here is the stator, rear end. The saw stirrup acted as a very handy rotating stand for this job:

I started by measuring the resistance between phase wires, with the meter zeroed:

I then carefully undid the tape where three wires appeared to meet:

Cutting away the insulation revealed a tri-connection:

Resistance between this and each phase wire was half of the phase-phase value, so I’m in the right place:

I cut the three wires apart, scraped away the insulation from each, and tinned with solder:

After soldering on some flex, I double-sleeved with heat shrink tubing and tied the wiring back as best I could, using butcher’s string and varnish:

For some reason, I only have some pics of the reassembly, but hopefully it might be helpful to someone.
Here is the stator, rear end. The saw stirrup acted as a very handy rotating stand for this job:

I started by measuring the resistance between phase wires, with the meter zeroed:

I then carefully undid the tape where three wires appeared to meet:

Cutting away the insulation revealed a tri-connection:

Resistance between this and each phase wire was half of the phase-phase value, so I’m in the right place:

I cut the three wires apart, scraped away the insulation from each, and tinned with solder:

After soldering on some flex, I double-sleeved with heat shrink tubing and tied the wiring back as best I could, using butcher’s string and varnish:

Last edited:


