


Derek Cohen (Perth Oz)
Established Member
These are final pictures of Stage One. "Stage One" - what does that mean? Well, the first step is to build the cabinet under the bench. The second stage will be to fit out the drawers for the tools. I plan to do some of the latter shortly, and some later. I will post these as they are done. For now, here is the underbench cabinet ...
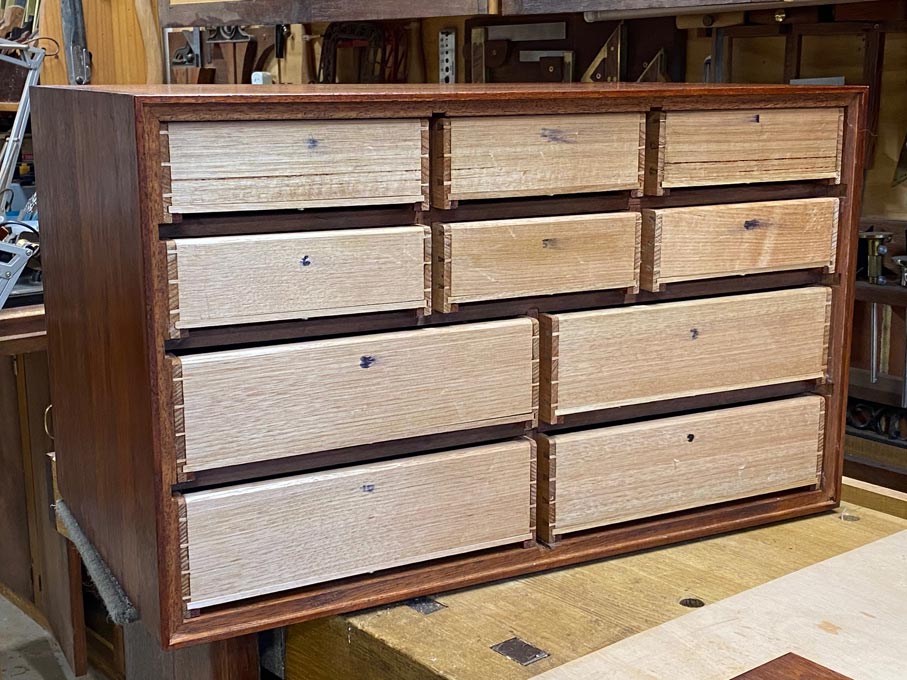
The rear, before the back was installed ...
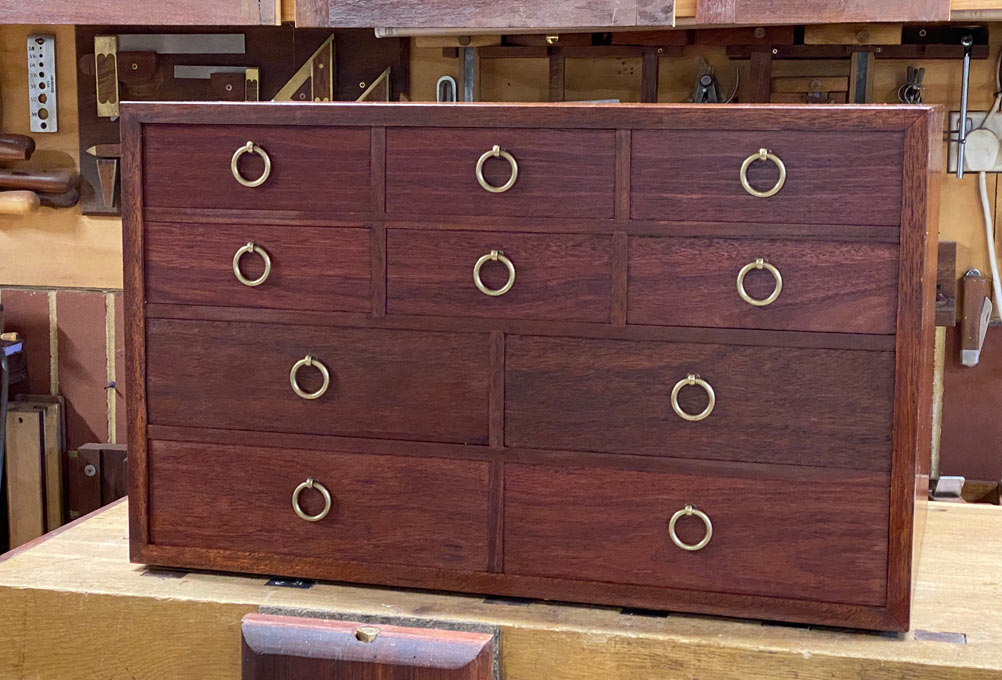
The front. The ring pulls are antiqued brass (they are not shiny). I need to work them a little more to remove the still-new look. These were chosen as they drop down and do not project out from the front of the cabinet ...
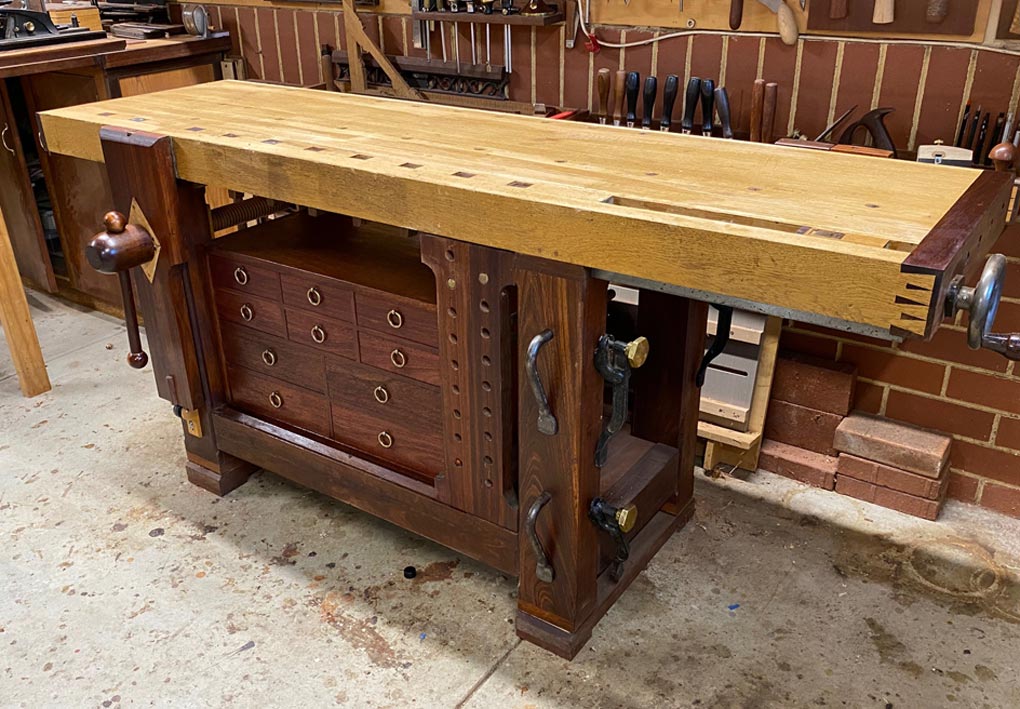
Under the bench ...
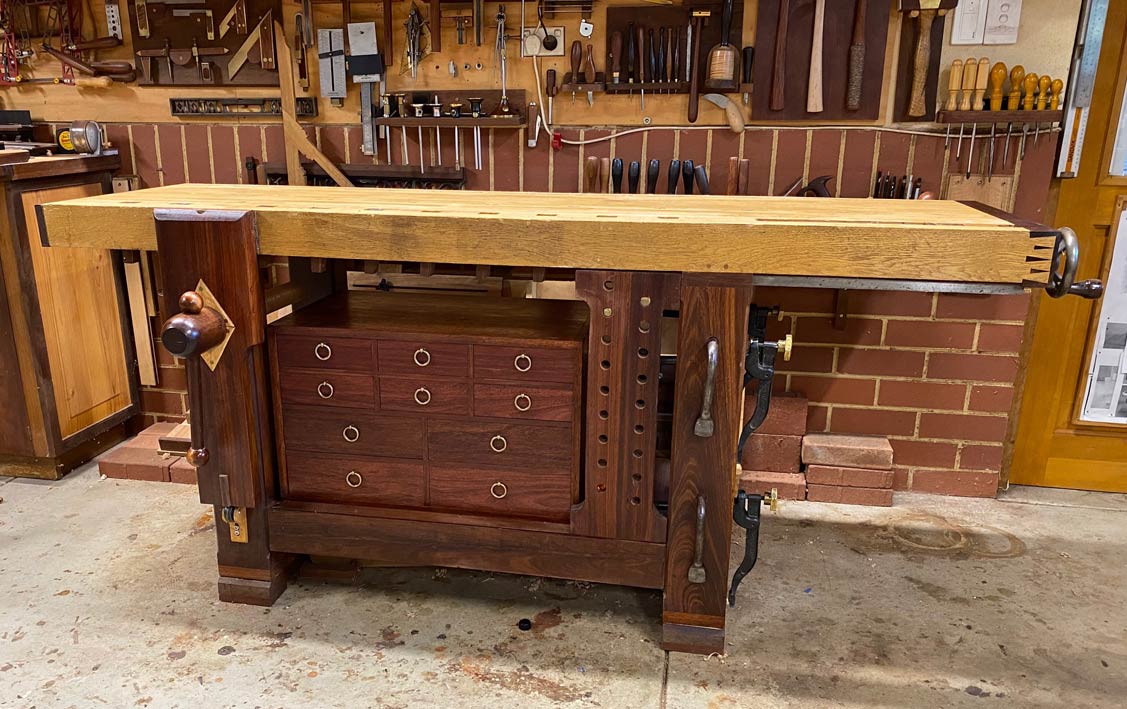
The bench top received a little flattening, and a single coat of danish oil ...
Someone is sure to ask why the cabinet is low. The answer is that there needs to be space for hold downs ...

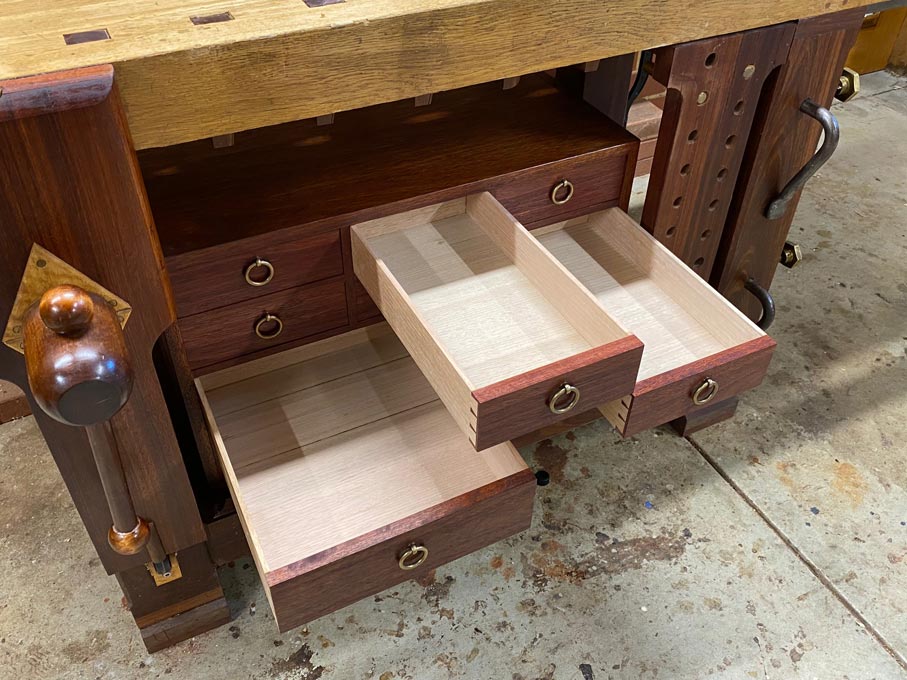
The drawers manage about 90% extension ...
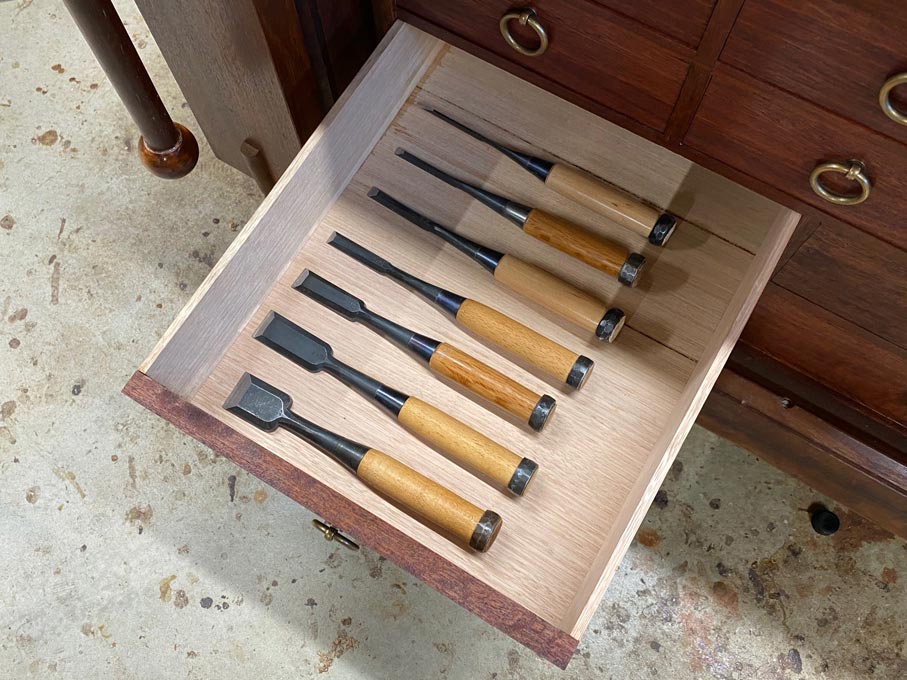
One of the first fit outs will involve this set of Kiyohisa bench chisels I have been collecting one-by-one (these are no longer available) ...
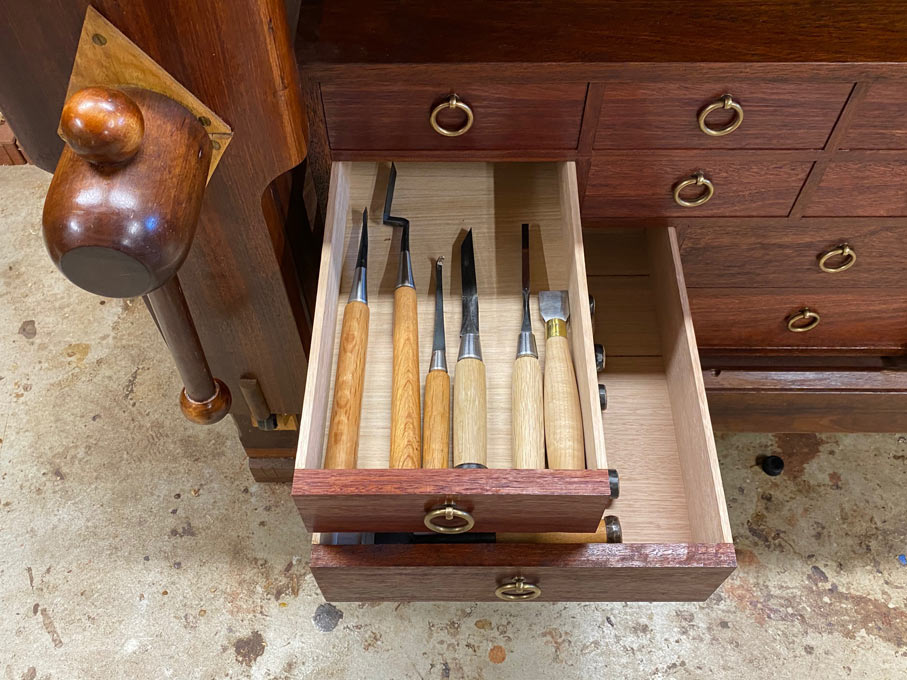
And here is one of the small drawers ...
Thanks for supporting the build to date. Hopefully there were some aspects that will prove helpful.
Regards from Perth
Derek
The rear, before the back was installed ...
The front. The ring pulls are antiqued brass (they are not shiny). I need to work them a little more to remove the still-new look. These were chosen as they drop down and do not project out from the front of the cabinet ...
Under the bench ...
The bench top received a little flattening, and a single coat of danish oil ...
Someone is sure to ask why the cabinet is low. The answer is that there needs to be space for hold downs ...
The drawers manage about 90% extension ...
One of the first fit outs will involve this set of Kiyohisa bench chisels I have been collecting one-by-one (these are no longer available) ...
And here is one of the small drawers ...
Thanks for supporting the build to date. Hopefully there were some aspects that will prove helpful.
Regards from Perth
Derek
")