Tissue box made differently this time

UKworkshop.co.uk

Help Support UKworkshop.co.uk:

This site may earn a commission from merchant affiliate links, including eBay, Amazon, and others.

devonwoody

Established Member
Joined
11 Apr 2004
Messages
13,493
Reaction score
25
Location
Paignton Devon
Lots of waste timber lying around again, so prepared these pieces to lengths of 300mm x 36mm wide and accepted any thickness.
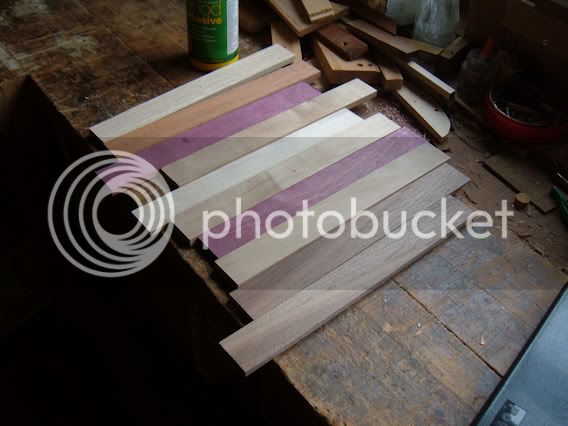
2012_0718res0005a.jpg


Glued up both sides using a cheap PVA glue which has being also laying around for some time.
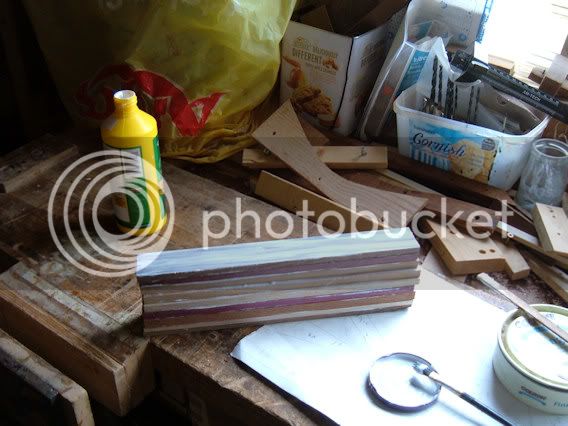
2w-32.jpg


Clamped them up in the vice over night.
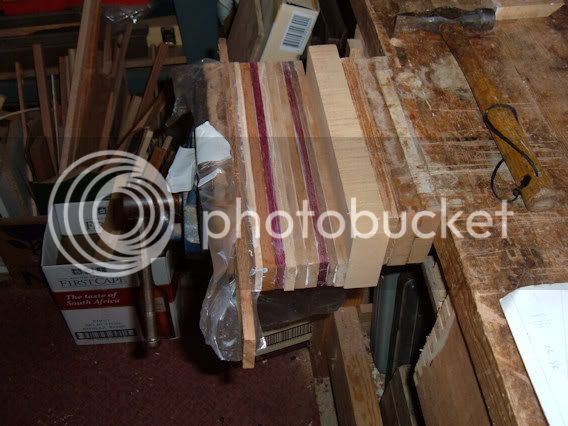
3w-33.jpg


With luck there should be enough bulk there to make a carcass which I am going to create hopefully by resawing the block.
 
Look forward to the build but how do you stop them sliding around all over the place when you clamp them?

I've tried to glue three pieces like that and it was like chasing the soap around in the bath!
 
I hit them with that hammer (the one laying on the bench, that slowed them down).

It took quite a long time gluing up that number of layers and I think the glue was starting to set and it took quite an effort to whack them into place.
 
The block came out oft the vice in good shape, and to clean up I laid the block on its side over a larger flat slab of timber and guided it through the thicknesser. I did not stand in front tho. I stood well to the side and held my breath but it planed it down really nice.

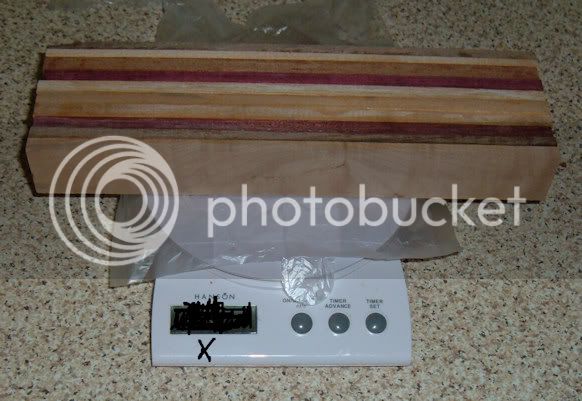
Before the above exerciser I put the block on the kitchen scales and was quite surprised how much it weighed, have a guess and post here.

300 x 35 x90 mm

4w-36.jpg


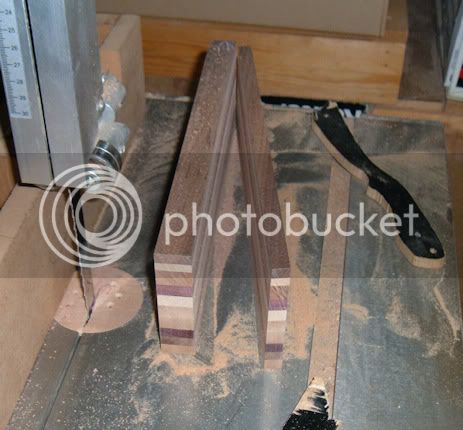
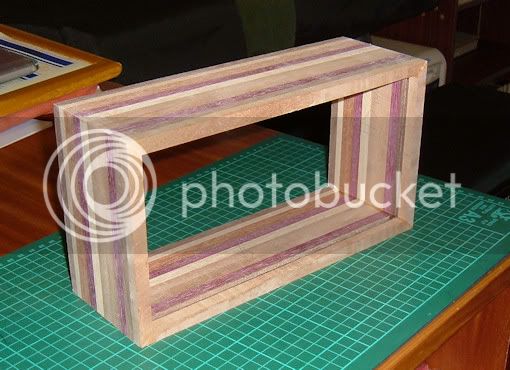
Put it to the bandsaw and got three slabs around 11mm thick.

5w-33.jpg


So that was what I did differently and it produces the pattern continuously doing it in this manner.

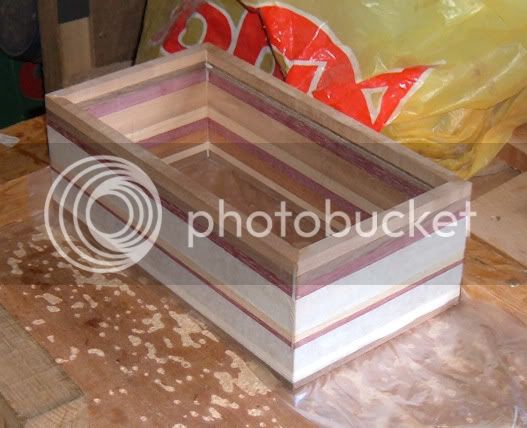
Box was glued up in the usual way using masking tape to hold whilst glue sets. (no clamps used)

6w-31.jpg


It has glued up well.

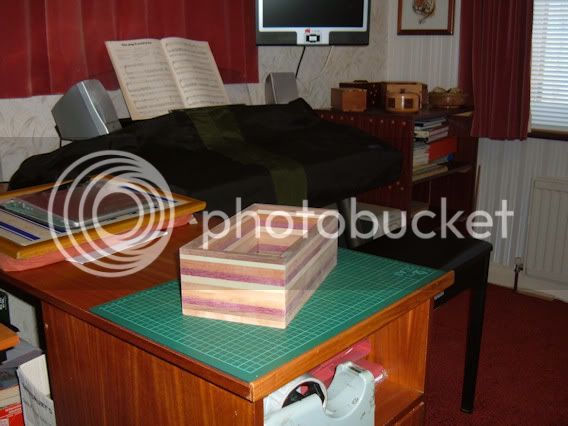
7w-32.jpg


8w-31.jpg


My first thoughts are to have a plane top, but what would be your view?
 
devonwoody":xufhlo9d said:
My first thoughts are to have a plane top, but what would be your view?

Definately reasonably plain I think. You could possibly pick up the other colours by having a small banding between halves, or make it from 4 triangles with a thin banding between pieces.
 
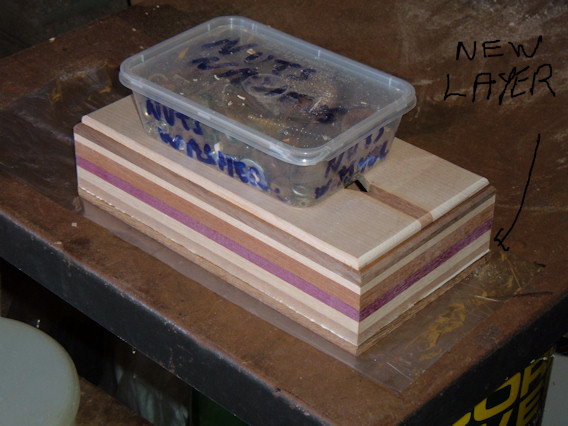
Went for a plainish maple top with a contrast sapelle stripe.

Picture shows lid being glued on together with another set of parts for another carcass. Quitted the workshop by 10am because summer has arrived and I knew it was going to get hot. (Went for a walk on our beach in the afternoon, never seen our beach so crowded in 40 years.

9w.jpg
 

Attachments

  • 9w.jpg
    9w.jpg
    88.3 KB
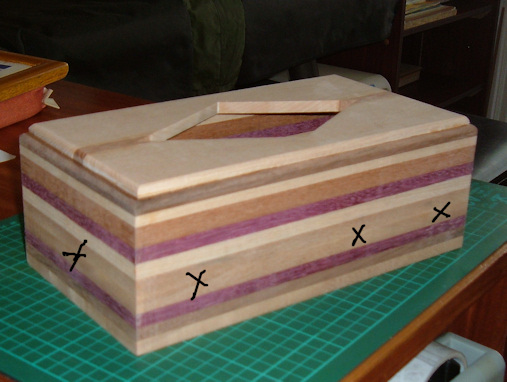
I am unhappy how the pattern as worked out this time, so I am going to cut through the carcass at the points marked and insert a darker contrast strip!

10w.jpg
 

Attachments

  • 10w.jpg
    10w.jpg
    79.7 KB
The cut has not gone well, I used a push stick pushing over the table saw blade and I know I had a couple of wobbles. At my age I dont trust myself holding timber with my hands doing anything like that.

12w.jpg


Anyway it has been reglued together and will need filler and a good sand down with a sanding machine to have any respectability.

11w.jpg
 

Attachments

  • 12w.jpg
    12w.jpg
    56.7 KB
  • 11w.jpg
    11w.jpg
    77.5 KB
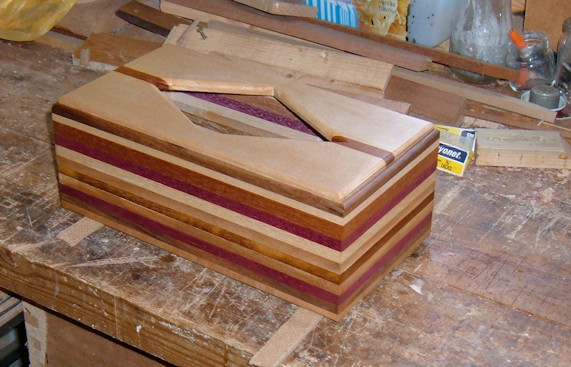
OK, I rescued it! I used my orbital sanders, 60 grit and 120 grit plus took the photographs whilst the shellac was still damp. :wink: :)


13w.jpg


14w.jpg
 

Attachments

  • 13w.jpg
    13w.jpg
    90.1 KB
  • 14w.jpg
    14w.jpg
    88.2 KB

Latest posts

Back
Top