thoughts on construction of a record cabinet

UKworkshop.co.uk

Help Support UKworkshop.co.uk:

This site may earn a commission from merchant affiliate links, including eBay, Amazon, and others.
reck123":scy1ruwc said:
Thanks Andy,

il continue to explore the range of iron on a stuff and maybe try a sample.

Back on topic. While always favouring solid wood lipping, you can make your own iron-on edge banding.

Cut your veneer strips slightly wider than needed.
Dampen the 'show' surface to reduce curling and flip over.
Using a mixture of 9 parts PVA glue (yellow or white) to one part water, brush on a coating and allow to dry.
(N.B. I always use distilled water for dampening and the glue/water mix to avoid getting the 'black spot' from the tannins in the oak.)
Once dry, lightly sand off the glued surface to get rid of nibs and re-coat with the glue/water mixture and allow to dry.
Ironing-on will reactivate the glue and once dry again the edging can be trimmed flush.

I have successfully used this method for edge banding a replica Victorian sewing table and after 15 years of constant use (SWMBO is a keen sewer :) ) it shows no sign of lifting.
Pete
 
sunnybob":2p60c3he said:
Eric, have you been to Washford near Minehead?
I expect so when it was a broadcasting station. Its a theme park and has a BBC museum among many other attractions. I expect you would feel right at home :shock: :lol: :lol:
You're half right: there was an aquarium and a broadcasting museum co-sited in the old BBC art deco transmitter building (same vintage as Droitwitch, Daventry, etc. I think). The museum has moved out into a former pub in the next village, but it hadn't yet reopened when I was last down that way in 2017 or 18.

It is a good collection though - I hope it survives Covid19.
 
Thanks all for your thoughts this has been a incredibly helpful resource to draw plans from.

@sunny bob. I see what you mean
There will be an extra 2-3 cm air above the records. Friend wanted this but also due to his height requirements I have to split the difference across all sections to keep it in aesthetic proportions.

Thanks for your thoughts @Owen and @Eric the viking. I have made a drawing based on your recceomendation. So carcus is biscuit jointed but shelves rebated in. Is this what you meant?
rebate jointed shelf.png


Here is the other version based of @mike G's board positioning for building just with biscuits.
biscuit jointed.png


Personally I prefer the look of the all biscuit jointed version and its speed of construction over the rebate version. But understand rebated versions merits of perhaps more strength for the shelving.


I checked out the local range of edge banding stuff in my local store. And it good quality and real veneer and not decor stuff.
Here is the manufactures (also in English)
https://www.h-heitz.de/sitesengl/index.html

will do a test piece and see how I feel about it.


@sunny bob.
Embarrassingly I didn’t think about a backing material for bracing. Do you think this is absolutely necessary? Would be quite costly to get another sheet of veneered oak just to cover the back.
Would you just reccomend rebating this into the back?

I discovered a sheet good here in Germany called ‘tischlerplatte’ (translates to carpenters sheet). Which essently has a solid wood core made up of pine or something like that then then covered with oak veneer. Seems to pretty common here for furniture building and praised for its stability/ strength and flatness.

Ill insert a picture. Not sure if there is anything similar to this in the uk.
tischlerplatte.png


Thank you all and looking forward to your final thoughts before I pull the trigger.

Best regards from Berlin,

Nick
 

Attachments

  • rebate jointed shelf.png
    rebate jointed shelf.png
    595.3 KB · Views: 152
  • biscuit jointed.png
    biscuit jointed.png
    630.1 KB · Views: 154
  • tischlerplatte.png
    tischlerplatte.png
    168.6 KB · Views: 154
A back is a really good idea but if it's hidden by the records it doesn't even need to match. Lower grade ply is fine. 3 - 6mm thick.

Your sheet material looks like blockboard. It used to be common here till about 80s/90s when MDF arrived and displaced it. Good useful stuff.
 
Thanks Andy,

Will go ahead and rebate a 6mm back in to the biscuit jointed version of the cabinet I think then.

just googled it. yep looks like the same stuff.
 
An old friend, a record collector, famously had to move from his Clifton flat, when his landlady realised the floors might collapse under the weight of records. Don't underestimate the mass involved. I know square openings (or golden ratio, etc.) look aesthetically pleasing, but personally I would have more uprights, so the unsupported spans of the shelves are shorter - quite a lot shorter in fact. And yes, housings (the slots) are a good way to add strength while keeping it all neat.

Remember, though, that biscuits aid alignment, but really don't add any strength. If you look on YouTube you will find a number of popular woodworkers have experimented (Matthias Wandel is probably the most high-profile one), and proven this.

A back is a very good idea. It stops racking, and it also stops dust getting into the sleeves from behind. If you want a very secure fixing, cut battens to line up with the uprights, and screw through those, with the back as the "jam" in the sandwich. Panel pins and similar arrangements are purely for cheap knock-down furniture. On every bookcase we've owned with that sort of back, it has come loose in use. At that point the shelves are usually fully loaded, and weakened - not good.

Finally, in the libraries of several National Trust properties, I've noticed that the shelves have thin leather or fabric "dust falls", hanging down from the front of the shelf above, to discourage dust and sunlight getting to the tops of the books. There's a paper on the problem here. I haven't seen this done for LPs anywhere, but it would be a pretty good idea, especially if the room has a carpet.
 
sunnybob":nnfi0d1v said:
Way beck when I had a record collection, I had a Garrard 401 deck with an SME 3009 arm holding a Shure V15E cartridge
Just how old does that make me? :roll: :lol: 8)

That’s pretty much the set up I have now...

A7-EF18-C3-57-AB-4602-AD35-4132-E401-D5-E9.jpg

21-A74230-FB7-F-4519-8-F06-346-EFCD0-C783.jpg
 
Eric The Viking":35b8a41m said:
An old friend, a record collector, famously had to move from his Clifton flat, when his landlady realised the floors might collapse under the weight of records. Don't underestimate the mass involved. I know square openings (or golden ratio, etc.) look aesthetically pleasing, but personally I would have more uprights, so the unsupported spans of the shelves are shorter - quite a lot shorter in fact. And yes, housings (the slots) are a good way to add strength while keeping it all neat.

Remember, though, that biscuits aid alignment, but really don't add any strength. If you look on YouTube you will find a number of popular woodworkers have experimented (Matthias Wandel is probably the most high-profile one), and proven this.

A back is a very good idea. It stops racking, and it also stops dust getting into the sleeves from behind. If you want a very secure fixing, cut battens to line up with the uprights, and screw through those, with the back as the "jam" in the sandwich. Panel pins and similar arrangements are purely for cheap knock-down furniture. On every bookcase we've owned with that sort of back, it has come loose in use. At that point the shelves are usually fully loaded, and weakened - not good.

Finally, in the libraries of several National Trust properties, I've noticed that the shelves have thin leather or fabric "dust falls", hanging down from the front of the shelf above, to discourage dust and sunlight getting to the tops of the books. There's a paper on the problem here. I haven't seen this done for LPs anywhere, but it would be a pretty good idea, especially if the room has a carpet.


Thanks for that Eric. since you put it that way. maybe I am massively underestimating the weight of the records.

I like the clean appearance of the mating edges in the biscuit version. guess a domino would be great in this situation.

would the regular shelf pins(never used them) suffice or better in this instance to go more bombproof with the rebate housings for the shelves of the verticals.

so I think i might then in that case go with the housing method you suggested.....
rebate jointed shelf.png


biscuit the top and bottom long panels (bottom panel supported underneath by cross members) and verticals. . then router slots in the sides of the verticals and slide the shelves in.

Am I right in saying that using this housing method for the shelves not only increases the weight capacity but will also will add more rigidity to the cabinet overall?

my veneered blockboard material is 19mm thick. what do you think the minimum depth for the rebates should be? 4-5 mm?

thanks again. This has been very helpful in helping me put a solid plan together before I get started.
 

Attachments

  • rebate jointed shelf.png
    rebate jointed shelf.png
    595.3 KB · Views: 129
At the start of lockdown I had to upgrade the shelf supports on our library-strip bookshelves, as we had a few of the brass ones snap, sending stuff crashing down from quite a height. Unless your client wants to use the same shelves for books, ornaments, etc., all the shelves need to be around the same spacing - say 13" or 14", as LPs don't vary in height, unlike books. When we changed them out, we found a lot of the original shelf clips had fractured but not given way completely.

I'm not sure about the rebates - it all depends on the shelf width, I guess, along with how thick the uprights are and if you intend to secure the shelves to the back as well - that would help with sagging. Someone who does more of this than I do will be along in a minute, I guess.

Ask your client to put, say, a 12" stack of LPs gently on the bathroom scales to see how much they weigh. That will give you some idea. The problem is they will be equally heavy all the way across the shelf. If, for example you put a hi-fi separate, say a tuner or amp, in the space, the feet would keep the weight close to the ends of the shelf, but not so with a group of LPs held vertically. As I said narrow compartments will be much stronger than wide ones.
 
Eric The Viking":1ohsu9q9 said:
Ask your client to put, say, a 12" stack of LPs gently on the bathroom scales to see how much they weigh.

The first ten LPs off my shelf (including, to be fair, a Sandy Denny double album) weight about 2.3kg on my kitchen scales.
 
Thanks both.

I have told my friend about the back panel. who is very against it and wants to keep it open.

I have now weighed a a 30cm stack of records and my mind Is blown 21kg. my shelf span at the moment is 47.6.

I now think I ought to add another row of compartments to reduce this length.
also in terms of sagging what about if I used solid oak panels for the shelves rebated in to the block board.
 
Hi Again all,

I wanted to chime in again on my progress with the record cabinet and ask a few questions again.
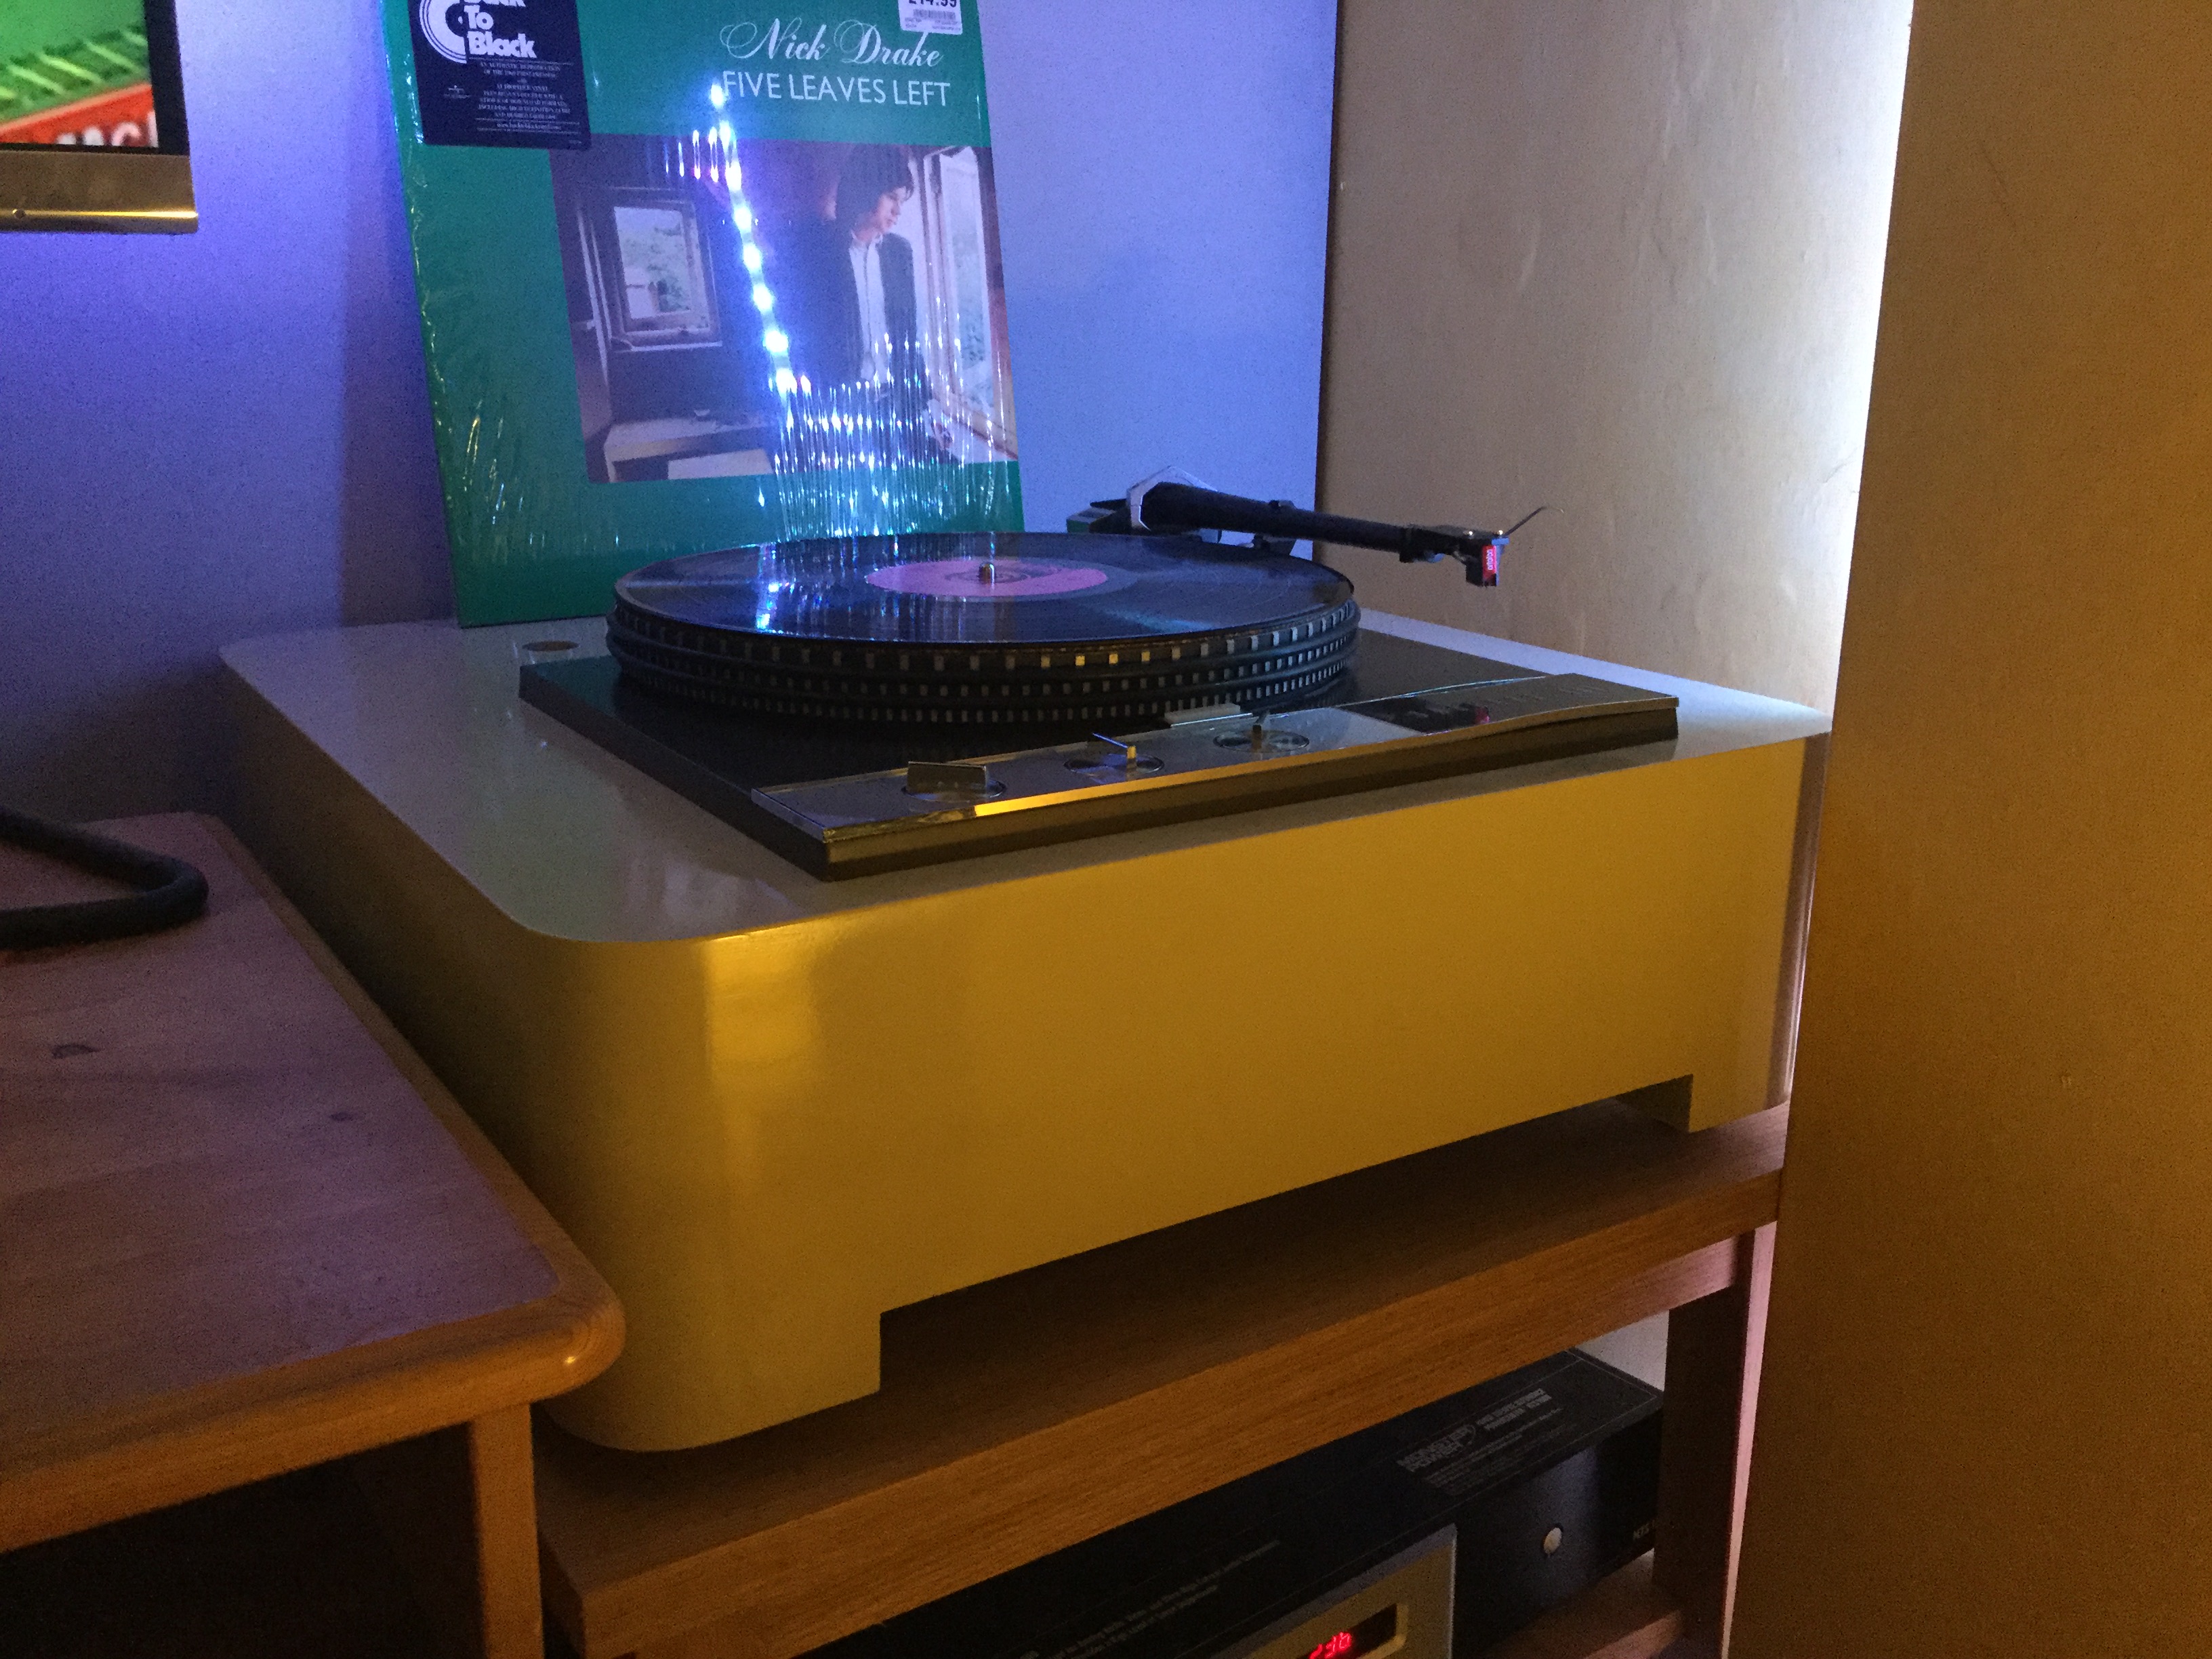
I ended up using 19mm oak veneered blockboard.

At first I tried out some of the 1mm iron on edge banding stuff and whilst it looked really convincing I thought it felt pretty delicate and Im not used to not being able to profile the edge and since this cabinet is fairly basic in terms of design a few chamfers wouldn't go amiss I thought. I have now added solid oak lipping on all the panels which I feel was time well spent and brought the quality up a notch.

So far I have completed the easy biscuit joinery (dry fitted) for all the carcass of this project and added a recess for the back. (5mm oak veneer plywood)

recordcabinet.jpg


now just need to build some quick supports for the kick board area underneath and finally the shelving.

As advised in this thread I am going to try doing some stopped rabbits/housing to fix the shelving in place.
I understand this has significant strength benefits for heavier items such as records.
I am pretty daunted by the process at the moment and would obviously rather biscuit the shelves in or use shelf pins to play it safe.

my concerns are as follows. with the material only being 19mm thick and the need for parallel housings on both faces of some panels what amount of material can I get away removing?

I thought 5mm depth seemed a reasonable amount leaving 9mm in the middle of the panel which seems a bit fragile although I guess once the shelves are in and glued that won't be an issue any more.

next is the method.

I have found several youtube videos for making exact fitting rabbit/ housing jigs involving sandwiching and clamping two pieces of mdf or template material either side of the stock removing the piece leaving the desired width and placement, then using a top bearing guided flush mortising bit to clear out the waste leaving behind the exact area of groove recessed.

I experimented with this last night on some test material and only had a flush top bearing guided bit with quite a bit of cutting depth meaning I had to use 25mm material for a template to get the shallow depth I need.

the thicker 25mm template stock was not ideal and made it hard to make small adjustments and the router could easily clip and damage the template when plunging.

my first few results were pretty rubbish resulting in a sloppyish fit and visisible gaps on the edges.
my last attempt I clamped a bit tighter and got an exact thickness replica.
I had to bash the test shelf in to position/submission.

I guess with a bit of sanding this would help and the veneer was quite brittle when hammering the piece home.
I guess what I am most worried about is I when try to insert the shelves once the biscuit jointed carcuss has been glued and the fit of the adjacent housings being slightly off

it seems the room for error of tolerances seems to be none if the opposite housing is half a mm out of from the other them I'm going to have a hard time squeezing the shelves in unless the housing is made intentionally a little lose.

my notches were pretty rubbish but this is something I can work on in pratice.

I have since ordered this bit from cmt with a much shorter cutting area and more suited for this job and removing hinge areas. I will do a few more tests with this piece.

Screen Shot 2020-09-10 at 17.08.41.png


If anybody has any advice from doing this sort of operation or advice in general thatI would be greatly appreciative. so far this forum has been such a great pool of knowledge to draw from.

best regards,

Nick
 
The usual approach for housings like that with a router is to either fit a guide bush, or just arrange your template guide so that the edge of the router base rides against it. Then you can use a regular straight cutter set to whatever depth you need without worrying about the bearing height.
 
thanks for your input sub.

in terms of glueing this whole thing I guess it would make sense to glue it up it up in stages otherwise I feel like if I attempt the whole thing at once the glue will setup to fast and I'm screwed. plus I think I'm one or two long clamps short.

I thought I would start of glueing the two side panels to the lower long base panel first and clamping everything square.

then add the vertical dividers (with housing routered) and top piece and glue then come back and trim the shelf pieces to correct width and fingers crossed slide them in to their respective slots successfully.

or does it make more sense to slide the shelfs in to the vertical panel dividers whilst glueing in those and the top piece so everything lines up fits together as it should.

thanks,
Nick
 
Last edited:
I’d always opt for a solid timber face frame. I prefer to use a 25mm - 30mm solid timber face. Build the carcass in ply first and then cut in and fit the face frames after, as I like the lower frames to be flush with the inside edge, top frame to be flush with the outside edges and central frames to be central. This does of course give a small lip but I accept that. I simply cannot stand flush trimming. Never seems to go well for whatever reason - probably lack of patience.
 
thanks for your input lbcarpentry although I'm not quite sure what you mean?

I have already lipped each piece/panel with solid oak and routed/planed flush before sizing parts for assembly
 
thanks for your input sub.

in terms of glueing this whole thing I guess it would make sense to glue it up it up in stages otherwise I feel like if I attempt the whole thing at once the glue will setup to fast and I'm screwed. plus I think I'm one or two long clamps short.

I thought I would start of glueing the two side panels to the lower long base panel first and clamping everything square.

then add the vertical dividers (with housing routered) and top piece and glue then come back and trim the shelf pieces to correct width and fingers crossed slide them in to their respective slots successfully.

or does it make more sense to slide the shelfs in to the vertical panel dividers whilst glueing in those and the top piece so everything lines up fits together as it should.

thanks,
Nick

What glue are you using? The setting time, and the way it behaves when half set, makes a huge difference. With something like Titebond 2, for example, while you've only got 3-5 minutes to get the glued pieces together (open assembly time), you've got a further 10 minutes or more where the glue's still flexible and you can nudge them into position (closed assembly time).

I think the way I'd approach that, if you're happy with the alignment of everything on a dry fit, would be to glue all the vertical pieces into the base, then while you're still in that 10 minute closed time glue the top on, then get everything squared up in the clamps. At that point you can let it set before sliding the shelves into the housings from behind and gluing them in place. If you've done the dry fit and have all the pieces, clamps and any clamping aids you need laid out and ready to hand, the actual glue up can go quicker than you think.
 
thanks for that sbp,

I actually bought some titebond 2 extend glue for this which apparently has a slower open time. seems a bit on the runny side but will test it out.

yes I think that seems to be the most sensible approach.

I will do that first initial glue up shown below and as I need to join two clamps together to get the length to clamp that horizontal piece ( maybe make some clamping squares out of mdf) . then go ahead and add the top and verticals on the second glue up.
Screen Shot 2020-09-10 at 23.30.22.png


will practice my rabbet skills over the weekend.
any thoughts on the groove depth on my 19mm material is welcomed.
I thought 5mm as having another 5mm groove in the other side leaves me with 9mm material in the middle and this feels like the minimum I should leave behind.
Screen Shot 2020-09-10 at 23.45.14.png
 
Last edited:
Back
Top