


engineer one
Established Member
ok so having made the first one, it was time to move along.
have used the cheap wood again, only because i had it lying around
you know waste not want not :lol:
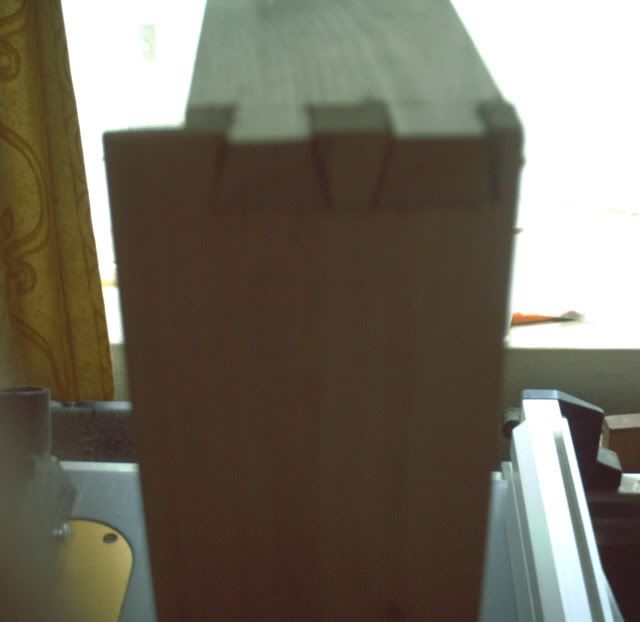
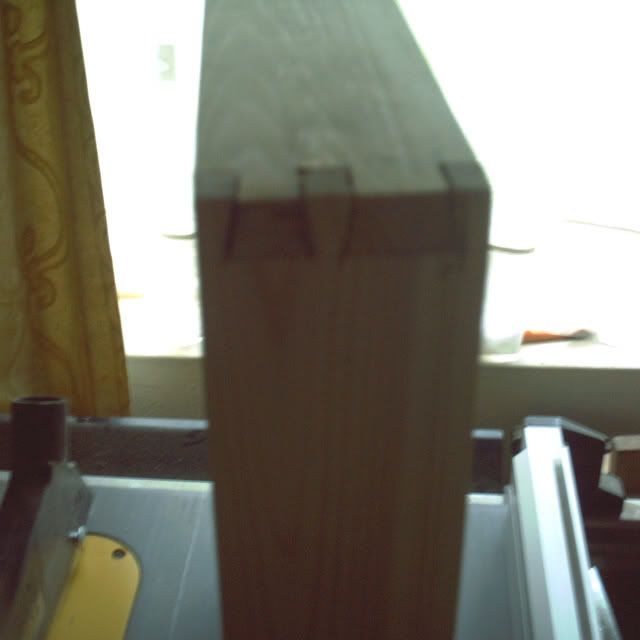
slightly less deep so i put three pins and two tails.
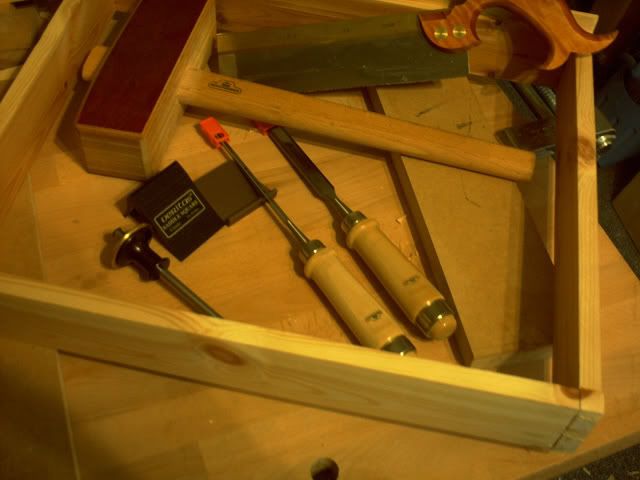
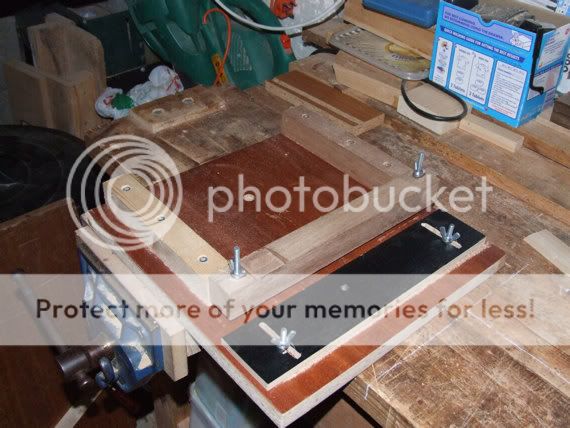
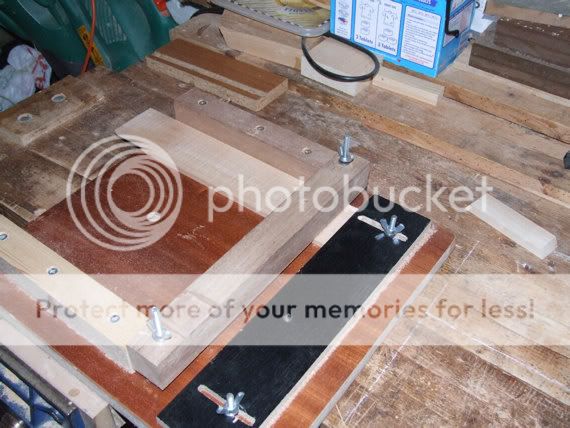
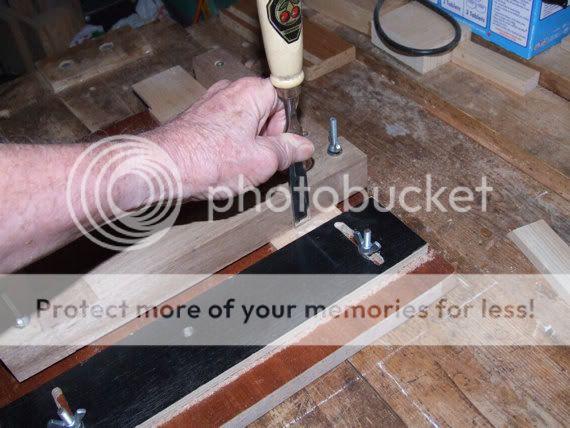
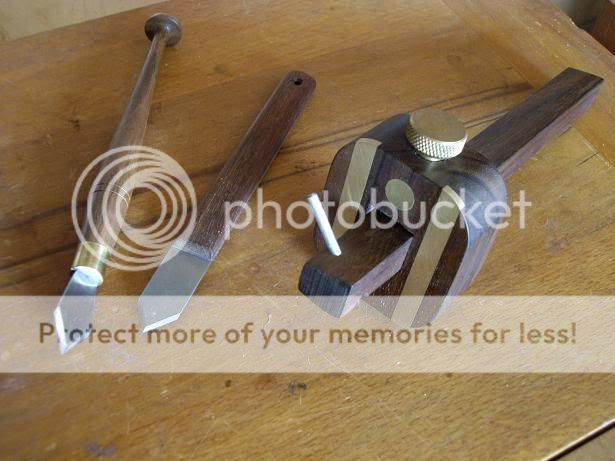
the first couple of pictures show the tools i used.
LN dovetail saw, veritas marking gauges, and of course my chisels and wacker from the dutch :roll:
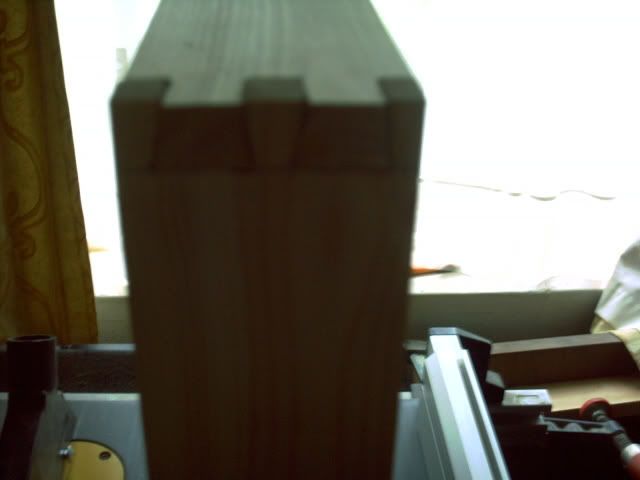
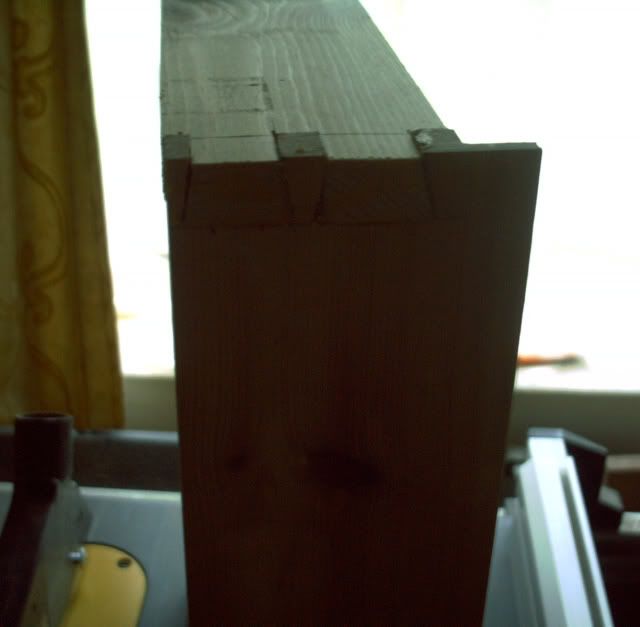
the others show each corner. still not perfect, but getting better.
 [/url]


so my method this time. cut all pieces slightly over length, about 2mm.
mark width plus overlap so 15mm gauge marks all round.
use the veritas dovetail layout guide, and remember which way round the slope goes :? fortunately there was enought room left :lol:
thicken lines with pencil, and use the saddle square for the straight lines.
having checked philly's idea, i in fact held the wood upright and cut with the blade at an angle. for me somewhat easier.
chop out waste with a chisel. small chips from both sides. still not sure of the best way to do the bottom.
then layout the tails from the pins, using a pencil, and cut just inside line.
same deal with removing waste. saw down on outside, and then chisel inner ones. lines are getting straighter, and more accurate.
so as you can see i did quite well 50 % good tight fit, 50% less so :roll:
so now comes the really tricky part which i am still working on.
gluing up and keeping the sides both square, parallel and flat. by that i mean ensuring that the four sided box does not rock, and the diagonals are ok. still working on getting the diagonal measurement right, but have some other veritas bar clamps, so will check those out.
i use bessey clamps to hold it whilst the titebond hardens, but i wonder whether it is a good idea to have clamp blocks which have the dovetails cut out to give greater pressure and more accuracy.
so, final stage is to fill the gaps, and clean up, then i'll put the bottom on, and fix it to the runners.
what have i learnt this time.
using the LN dovetail saw freehand after using the layout blocks, seems quicker and more simple.
i need to improve my sawing technique for the level lines, and figure out the best way to ensure a neat square edge at the bottom of the cut outs.
i have used the marking knife to ensure that the lines are deep enough,
and the wheel marking gauge makes it easier to not follow the grain direction. :twisted:
didn't mean to plug veritas products quite so much, but i bought them back in the day when i was still building up my toolbox, and felt the need for
accurate marking tools, but for those starting out and without training i think they are quite valuable.
anyway hope you think i am progressing
:roll:
paul :wink:
[/img]
have used the cheap wood again, only because i had it lying around
you know waste not want not :lol:
slightly less deep so i put three pins and two tails.
the first couple of pictures show the tools i used.
LN dovetail saw, veritas marking gauges, and of course my chisels and wacker from the dutch :roll:
the others show each corner. still not perfect, but getting better.
so my method this time. cut all pieces slightly over length, about 2mm.
mark width plus overlap so 15mm gauge marks all round.
use the veritas dovetail layout guide, and remember which way round the slope goes :? fortunately there was enought room left :lol:
thicken lines with pencil, and use the saddle square for the straight lines.
having checked philly's idea, i in fact held the wood upright and cut with the blade at an angle. for me somewhat easier.
chop out waste with a chisel. small chips from both sides. still not sure of the best way to do the bottom.
then layout the tails from the pins, using a pencil, and cut just inside line.
same deal with removing waste. saw down on outside, and then chisel inner ones. lines are getting straighter, and more accurate.
so as you can see i did quite well 50 % good tight fit, 50% less so :roll:
so now comes the really tricky part which i am still working on.
gluing up and keeping the sides both square, parallel and flat. by that i mean ensuring that the four sided box does not rock, and the diagonals are ok. still working on getting the diagonal measurement right, but have some other veritas bar clamps, so will check those out.
i use bessey clamps to hold it whilst the titebond hardens, but i wonder whether it is a good idea to have clamp blocks which have the dovetails cut out to give greater pressure and more accuracy.
so, final stage is to fill the gaps, and clean up, then i'll put the bottom on, and fix it to the runners.
what have i learnt this time.
using the LN dovetail saw freehand after using the layout blocks, seems quicker and more simple.
i need to improve my sawing technique for the level lines, and figure out the best way to ensure a neat square edge at the bottom of the cut outs.
i have used the marking knife to ensure that the lines are deep enough,
and the wheel marking gauge makes it easier to not follow the grain direction. :twisted:
didn't mean to plug veritas products quite so much, but i bought them back in the day when i was still building up my toolbox, and felt the need for
accurate marking tools, but for those starting out and without training i think they are quite valuable.
anyway hope you think i am progressing
:roll:
paul :wink:
[/img]
")