The Angel of the Forum

UKworkshop.co.uk

Help Support UKworkshop.co.uk:

This site may earn a commission from merchant affiliate links, including eBay, Amazon, and others.
Thanks for the clarification Richard...and I have spent many an hour when I should have been a-kip...working my way through your most excellent website...

If anyone is interested...Richards website can be found HERE

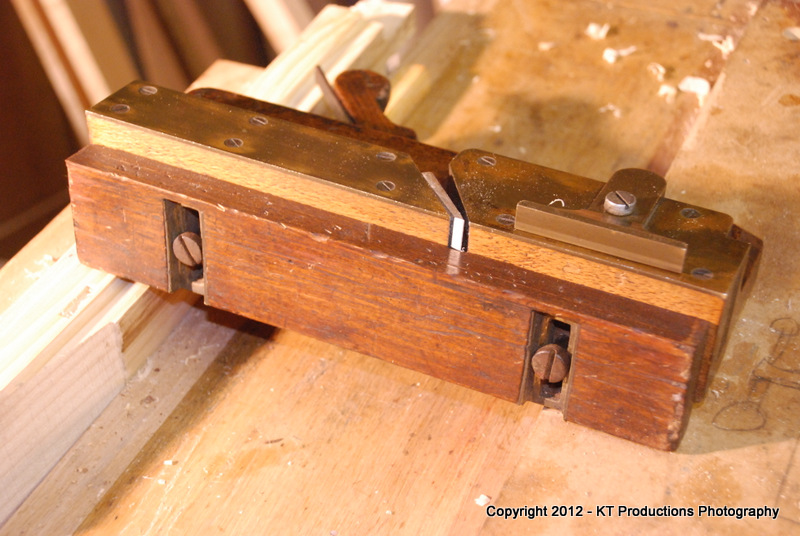
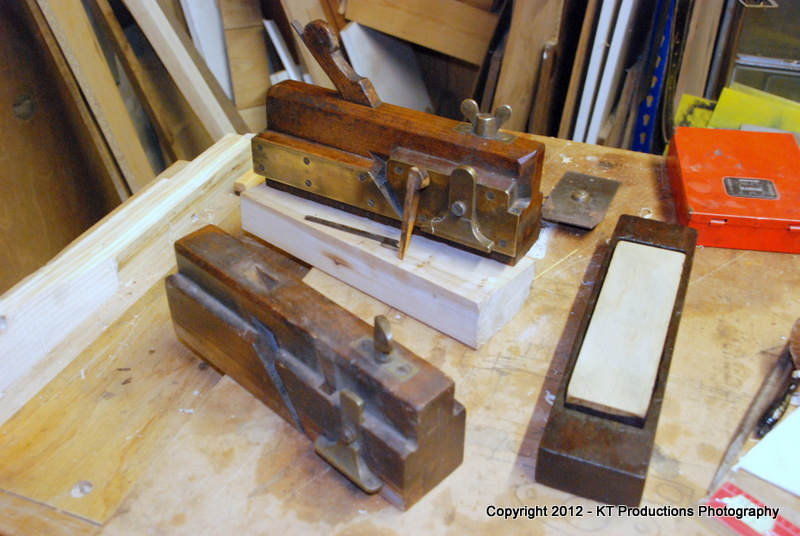
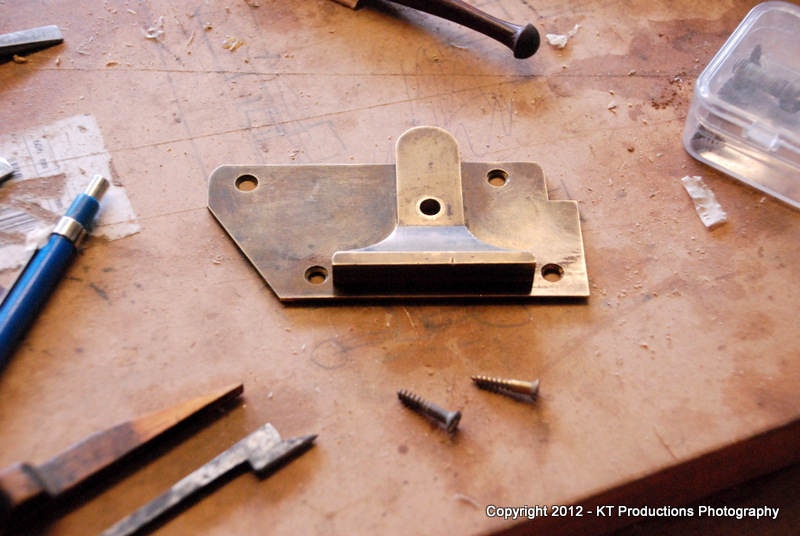
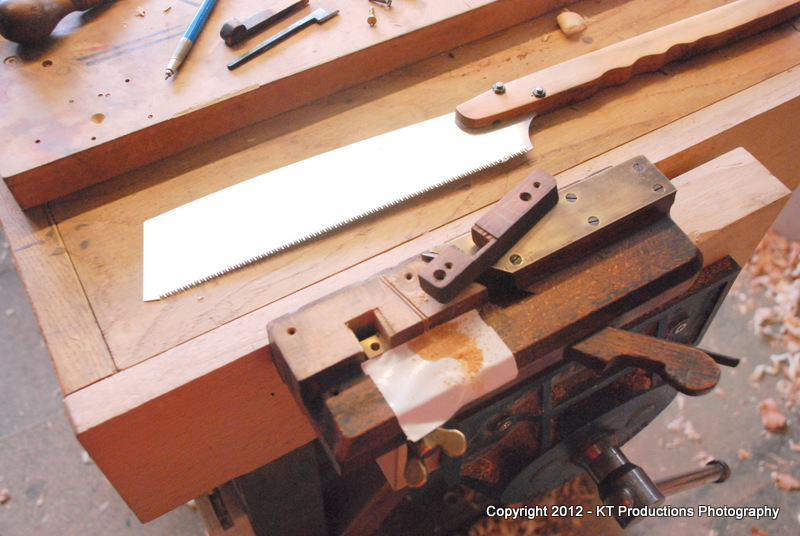
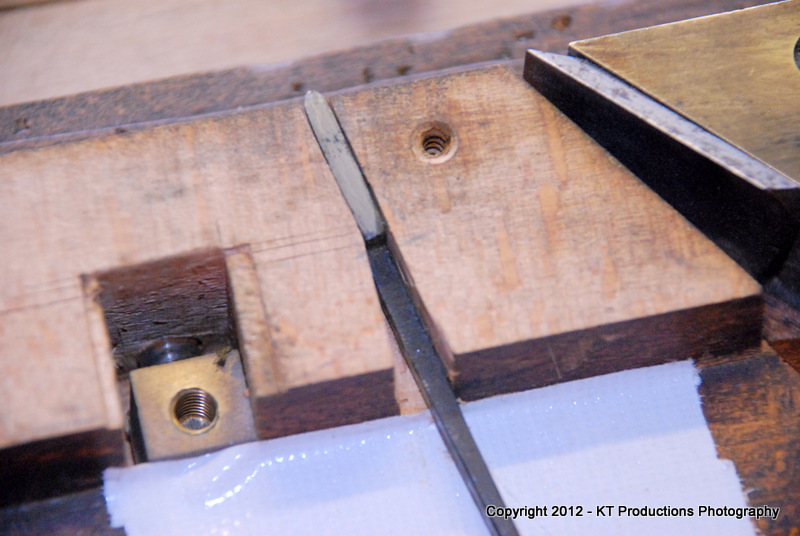
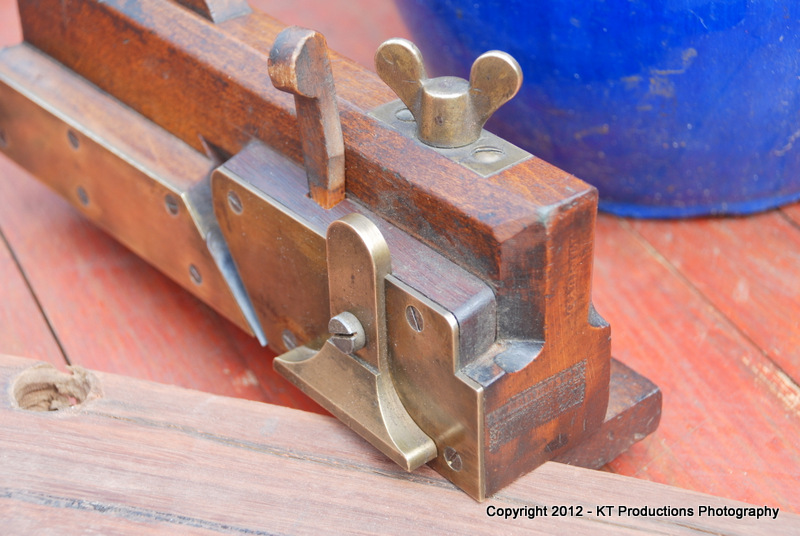
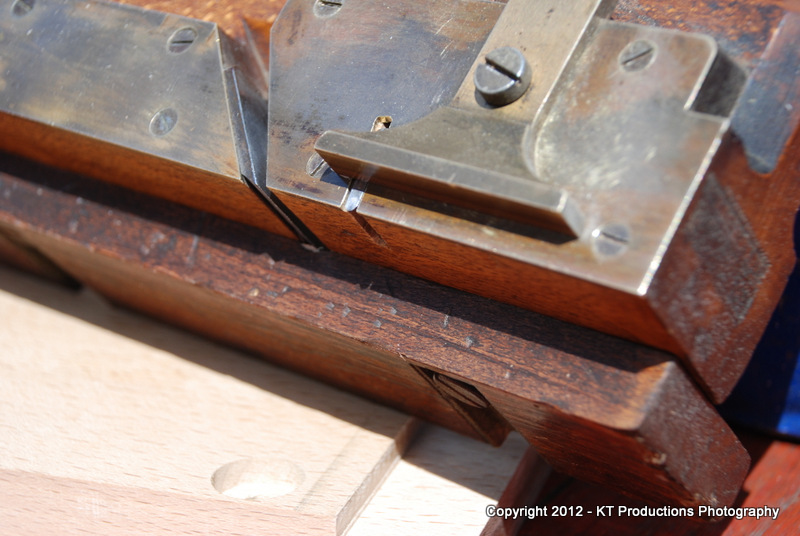
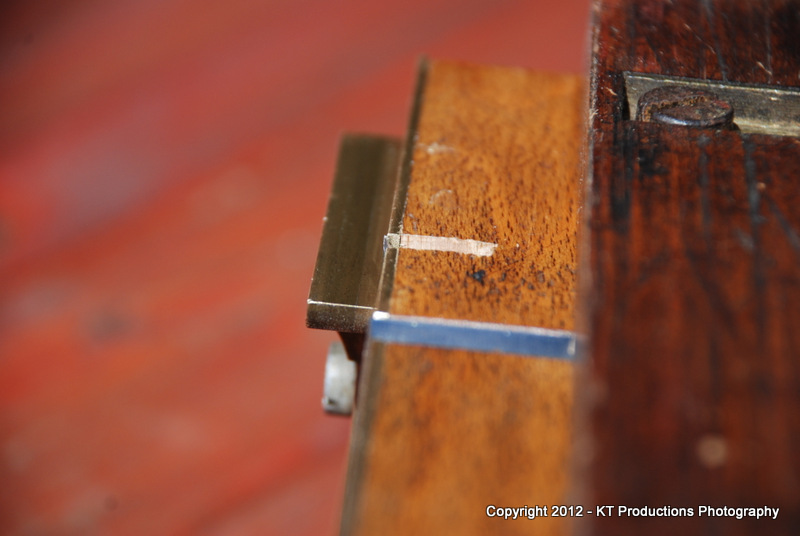
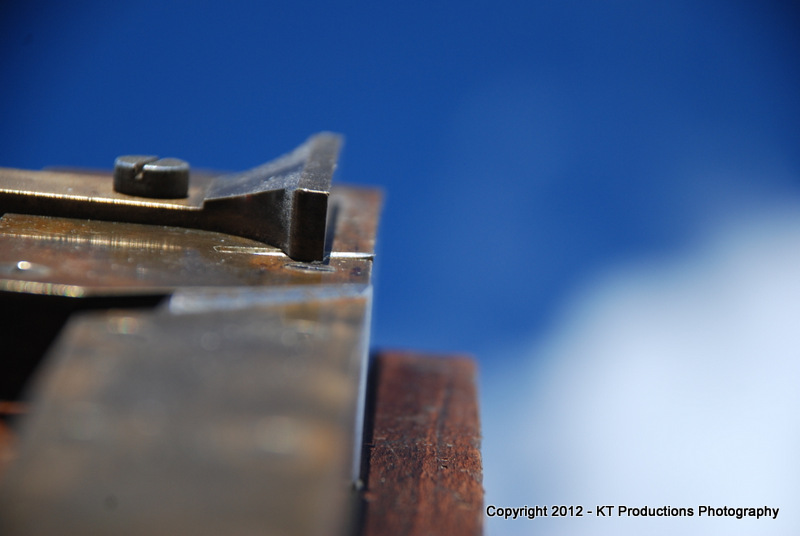
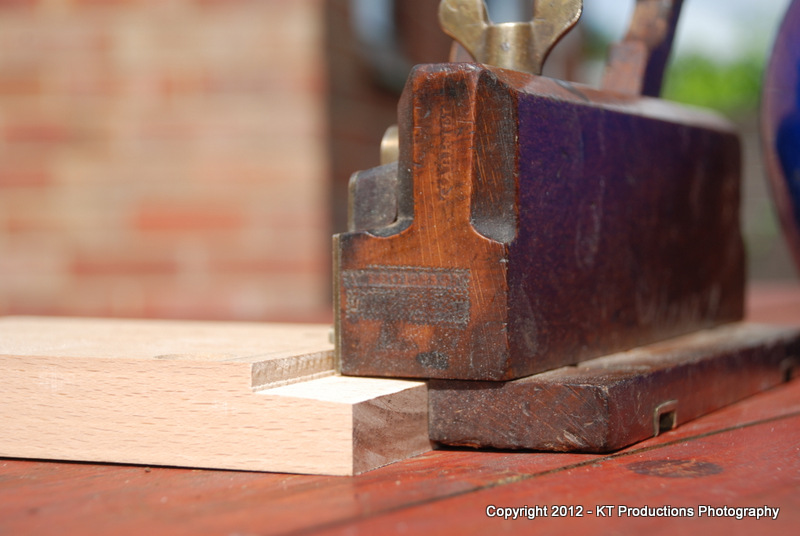
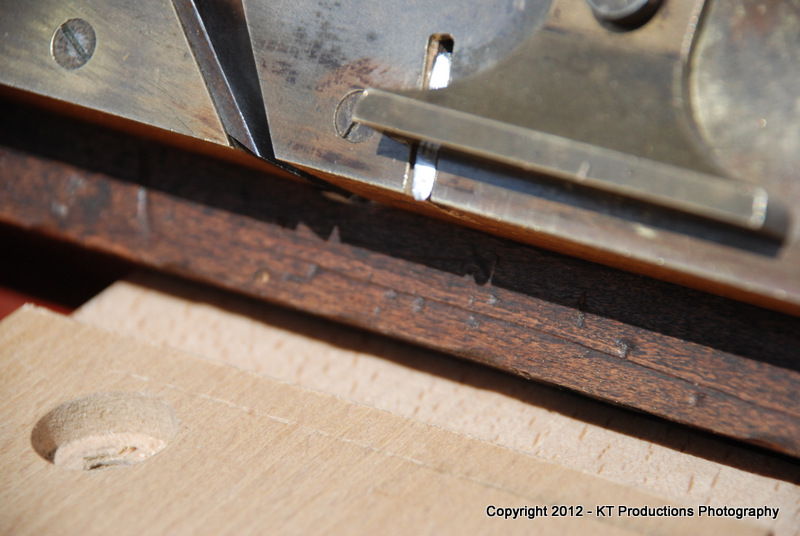
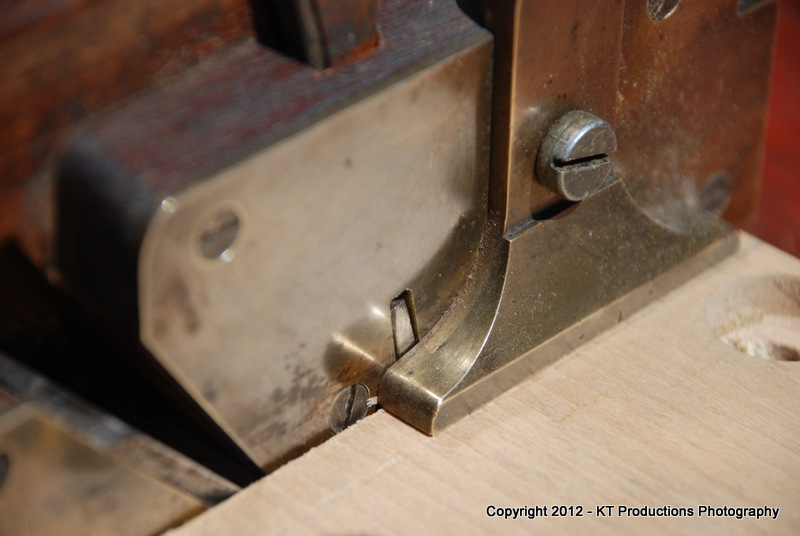
On the subject of the fence...I am going to spend a lot of time on here and trawling the research sites...to get the proper information before I decide to add a fence to this old lady. I want to make sure that I can do it justice...I want to get it back working again...clearly it had a small fence simply tacked on to do one job....and I would dearly love to make it adjustable.

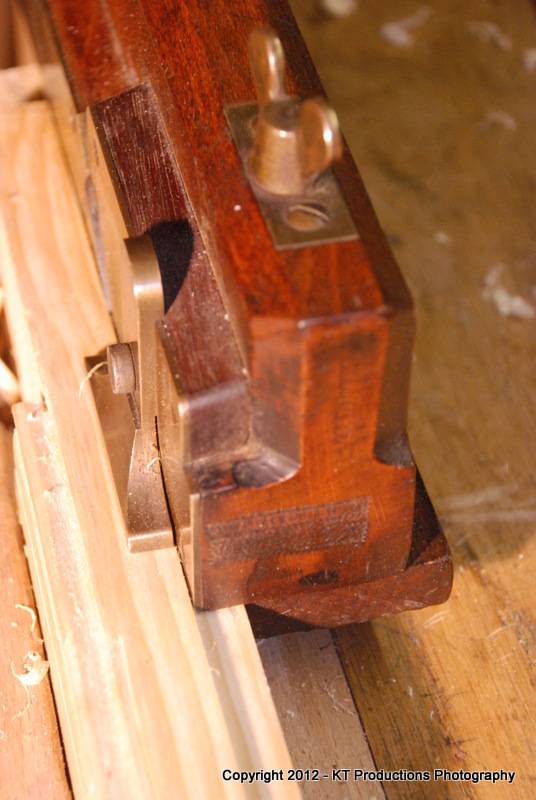
To do this with a pre-War Stanley is one thing...to attempt it with something I happen to revere...is something quite different and will take a bit of guts before I even consider whether to embark on it.

Jim
 
Just a thought, Jim - if modifying the original is rather daunting (and I could well understand that), another approach might be to build a replica and add a fence to that.
 
Here's a thought to "help" you Jim - Richard's Gabriel fillister has a fence with a big slot going halfway across it. This means that you can remove the iron without removing the fence, but probably means it will have three screws to hold it.

Mine just has a little notch on the top surface (to clear the edge where the fence covers it) and has only two screws. I've no reason to think it's not original and there are only two screw holes in the sole of the plane.

So one of your decisions will be to decide which style to go for!

And by the way I'd look on it as completing the conversion from moulding plane to moving fillister, so you're not abusing anything, just helping it on its journey through life.
 
It's been niggling me that i had another Gabriel fillister on the shelves somewhere, and i was right. I just hadn't got round to photographing it yet, so in between the showers i have just got some images of it. This is yet another variation with a simple wooden depth stop this time. These were originally a friction fit, but they often became loose, hence the ancient coach bolt to keep it tight!!!.
i've also added another fillister to the images. This one is really early, and really off the wall. Its by Richard Small of London (1749-1775). Check out the crazy lignum wear strips in the sole. This is always accociated with Birmingham makers, but it just goes to show the London boys tried it as well

004-1.jpg

002-2.jpg

003-2.jpg

004.jpg

005-1.jpg
 
Very interesting indeed Richard...really appreciate you taking the time to photograph these pieces of art.

The Gabriel is interesting to me because it gives me some idea of how to approximate the fence on the one you gave me.

If you get another break in the weather, could you possibly photograph the bottom slides. I know it will be very close to Andy's one but it's worth having as many reference pictures as possible.

The Richard Small one is lovely. I am a huge fan of Lignum Vitae as you may know...wonderful wood in so many ways an that one is very special indeed. One can easily see how this woody collecting bug can become quite serious...there are so many wonderful examples from a time long gone.

Thanks my friend

Jim
 
Took this shot in between the showers for you Jim.
It's interesting to see the variations between different makers. This is a prime example of why i'm trying to create a working reference library of planes that everyone has access to for study.

The planes are, from left to right- C Gabriel, C Gabriel, I Barratt? (unrecorded maker, possibly from Birmingham), William Tracey of Winchester, William Mofs of Birmingham, Richard Small of London, and Robert Fitkin of London
016-1.jpg
 
So many variations. Thanks for posting that Richard - it's made me look again at my two. What I had not realised before is that the Mathieson plane is skewed the "wrong" way round! It works just fine though. What was it with those crazy Mathieson boys? I have a Mathieson dado plane which is all back to front too. Looks like at least one of yours is straight across. Do you think there are times when that would be desirable, or would it just have been to make it a few pennies cheaper?
 
Thanks for posting the variants there Richard.

Basically the same but slight differences.

I think I must obviously choose one of the two Gabriels and I am leaning towards the encapsulated one....just from a position of strength....but another factor is which of those two is the closest in age to my one?

Cheers

Jim
 
I finally bit the bullet today when I received a donor fillister with a suitable fence.....

We spoke about this at MAC Timbers Andy and thanks for your kind offer of potential bits...but as I said...I had that very morning won a suitable plane on FleaBay...bad timing methinks...very generous of you though!

Ok...so you don't want to see me drilling two holes and planing down and distressing the donor fence...so I'll skip to the finished article:

DSC_2163.JPG


With the fence added...it radically transforms the plane and particularly the ease of using it for what it was designed...

DSC_2155.JPG


It matches perfectly...and considering it came from a skew fillister some 1 1/2 times wider....I was able to fit it perfectly!

DSC_2156.JPG


So...we're getting there..now...question is...

DSC_2168.JPG


...do I go for cross-grain with the spare nicker I seem to have acquired! :mrgreen:

Here she is with the donor Spear and Jackson fillister....a totally different quality altogether!

DSC_2172.JPG


She is certainly looking the part now...but am I up to cutting out that nicker bed...mmmm :?

Jim
 
jimi43":246qxua0 said:
She is certainly looking the part now...but am I up to cutting out that nicker bed...mmmm :?

Jim

My thoughts are that you could try it - but only if the extra bit that the previous owner added to make yours into a fillister plane is removable. It might be - but you'd have to take all the screws out that are holding the brass on, without damaging the heads. My guess is that there would then be some more screws under the brass to hold wood to wood.

Potentially, there would be the advantage that you could cut some of the mortice for the nicker from the back of the extra wood, and then put it all back together looking as good as it does.

Or you could mortice into the wood in one go.

On the other hand, (and this is what I would do) you could use this plane for rebates with the grain, and watch out for another moving fillister in good working order to use for cross-grain cuts. I've just been using one on the step chair working cross-grain, and it worked really well. (Update pending!)

As you know, and as Richard's 'working reference library'* shows, having more than one of a tool is always a good idea.


[* good phrase that - I may be borrowing it from time to time!]
 
It worries me a bit Andy that we tend to work through the problem the same way....am I becoming a mini-Prof! :mrgreen:

Ok...so...simultaneous to your astute deliberations and discovering that you were indeed correct when you surmised that beneath the plate would be more screws...holding the filler block in place and the brass plate had small steel screws...so they came out fine...

DSC_2176.JPG


As you say...cutting the mortice is now a breeze...with a saw and just tidy up with a Japanese chisel and a fine mortice one.

DSC_2178.JPG


I set the bed of the nicker at the same angle as it came out of the donor...

DSC_2182.JPG


Refitting the filler block enabled me to accurately mark the position of the wedge mortice cut-out...

DSC_2184.JPG


I then refitted the block about three or four times each time checking the wedge fit...trimming it to be perfect...

DSC_2187.JPG


Once this was done it was just a case of refitting the plate!

DSC_2190.JPG


The nicker protrudes at the perfect angle...

DSC_2193.JPG


Just a bit of bedding in and colouring to do...

DSC_2191.JPG


I have to shoot of to work now...but I will try it tomorrow...I am off now for about a month...so should have enough time! :mrgreen:

Cheers for the help mate!

Jim
 
Hi Jim - nice tidy job as ever - BUT it's not right yet. The nicker needs to line up with the outside corner of the main cutting iron, and at the moment it lines up with the inside of the brass. So it needs to be the thickness of the brass + a tiny bit further over.

I can see three ways to do this.

1 Cut a little window in the edge of the brass, so the nicker can tilt over a few degrees and line up further over. (You'd need to adjust the mortice a bit to make the nicker lean over a bit to the left, as viewed from above.)

2 Grind away a step towards the end of the nicker (but not at the working tip) so it can move across by the thickness of the brass. This has the advantage that the cutting edge will stay vertical, but the disadvantage that it won't be easy to retract the nicker when it's not needed.

3 Some other clever dodge of your own devising!

I'm sure you will find a way.
 
AH! DOH! (homer)

Of course...silly me....that's what comes of rushing things.

At this point in time I can only see that option 1 will work traditionally....option 2 is not viable owing to the retraction most of all but also the fragility of the tip in doing so.

I'm going to have to sleep on this one a bit...I am sure there is a solution and that the existing mortice will work. I think the simplest solution would be a very neat slot...following the line of the nicker iron and play in the mortice more than there is now.

Mmmmmm..... =P~

Jim
 
This might be a bit of a wild-card solution to the problem, but for what it's worth, here it is.

1) Make a new nicker iron identical to the existing one, except in the width at the foot end. Make it wider by the the thickness of the brass facing.

2) Cut a slot in the brass facing to accept the iron, and adjust it to a nice sliding fit on the new iron.

3) Gilding the lily slightly, make a new wedge from a scrap of box or beech.

The incidental advantage to this approach would be that the donor nicker iron and wedge could return to the donor plane, which given a new wooden fence and a couple of screws would be back in full working order, giving you a pair of moving filisters - one workaday, and one a bit special.
 
Right....there was only one shot at this and so I bit the bullet this morning and took hacksaw and file to the old modification...

DSC_2197.JPG


I have a feeling that this plane is blessed as everything went perfectly...almost straight of the two cuts with the saw. Anything and everything could go wrong and it didn't!

DSC_2202.JPG


...the nicker sitting absolutely perfectly...just inward of the edge of the iron as you can just see. This is incredibly difficult to get the depth of field right...I will work it out later on manually but you can see it sits fine....

DSC_2203.JPG


And how did it cut...well this is cross grain beech....

DSC_2198.JPG


Ok...there are one or two things to sort out mostly with the silly person pushing it ...... :mrgreen: and it would have helped if I had started with a square end but you get the idea. The nicker cuts down perfectly...until I screwed up at the final fence (pun intended)....but I was a bit impatient to try it out...

DSC_2201.JPG


I would like to point out to collectors and purists again...this was modified by someone many moons ago from a moulding plane...to a fixed fence fillister and only then by me to a moving fillister to one with a nicker..... so whilst I wouldn't dream of hacking up an original as old as this...

DSC_2200.JPG


...it has been a true pleasure to finish this one off...not feel guilty at all and end up with something which I will keep and use with pride and pass on to the next generation...to someone else who will love using it too!

Thanks Andy..CC and especially Richard for helping me gain the confidence to finish it...and point out my many errors! :oops:

Now...about those 64 hollows and rounds...... :mrgreen:

Jim
 
Well done Jim. It's so heart warming to see the plane back in action doing what it was born to do. This is what it is all about for me. Not just collecting these old woody's, or even researching there history, but actual putting them back into use, and learning so much from the experience. Thank you for posting this planes journey
 
Well done. Ain't these fillisters a joy to use? I've got a much later continental version with a brass fence. It's a bit quircky to set up, but when it is, it makes short work of all rabets. It has a skewed iron which helps in crossgrain cuts and it helps to clear the escapement.

DSC01617.jpg
 
Cheers Richard...I think we are on the same wavelength... :wink:

Do you instinctively know when a tool reaches the status of museum piece....don't touch? I don't think there is a point at which this is reached...but I was glad with this one that I didn't have to make that decision! :wink:

Corneel...you ain't kidding there mate! The slope on the shelf there was not because I had a wonky end...nor my planing skills....it was down to a slight skew in the iron...now corrected.

I have since been also fiddling with the amount that the nicker protrudes which is also very critical. Too much and you get an unwanted groove...to little and you don't slice the grain before the cut...ending in a ragged edge.

Fortunately...once set, the only thing that it is necessary to adjust is the fence! :mrgreen:

Andy...your guidance was vital. As you know I am very new to this woodie thing and what seems natural to some is not immediately evident to yours truly! :oops:

Jim
 
Excellent result, Jimi! That looks like a capable and competent plane now, and one with more than a little character and history, too.

It's very interesting to see the family resemblance with Corneel's continental filister, too. The details may differ slightly, but not the principles, which just shows how 'right' the general design of this type of plane is.
 

Latest posts

Back
Top