OPJ
Established Member
Recently, I asked for some advice on making a ledge-and-brace gate with tongue-and-groove boards that would need to fit in to a tapered opening, where the distance between the walls increased by 20mm from ground level up to the 2m mark, which is approximately where the top of this gate would finish. JasonB provided some excellent advice, there - see this thread, in case you missed it.
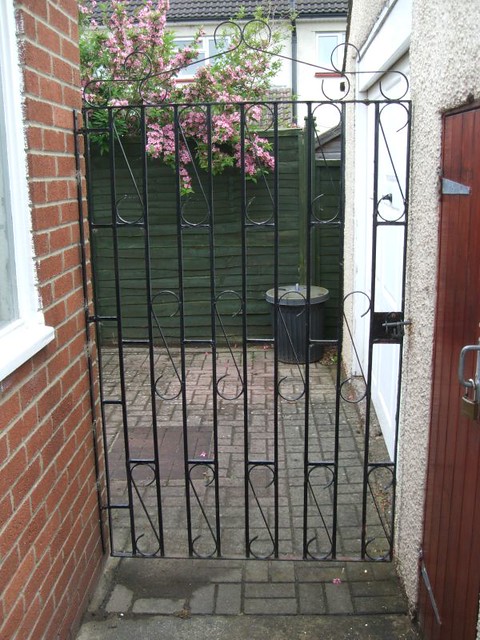
So, it's out with the old, which my mother has never liked for the lack of privacy and draught-proofing:
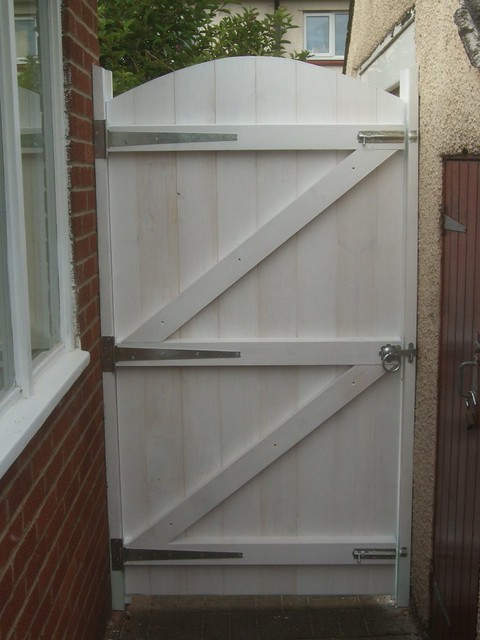
And, in with the new...
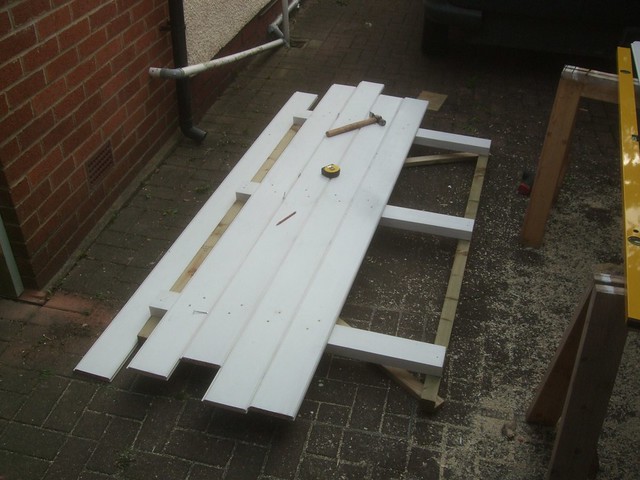
I originally bought (most of) the timber for this job back in October or November last year! So, it's been hanging around for some time, relocating to a new "storage space" every other weekend...
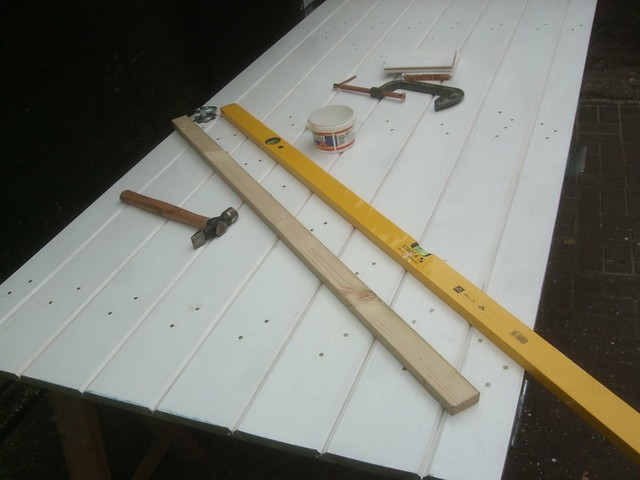
We're only required to work half a day on Fridays so, with the afternoon to spare yesterday, I got going on setting out a plumb opening, which would give me the measurements needed to calculate the width of this gate.
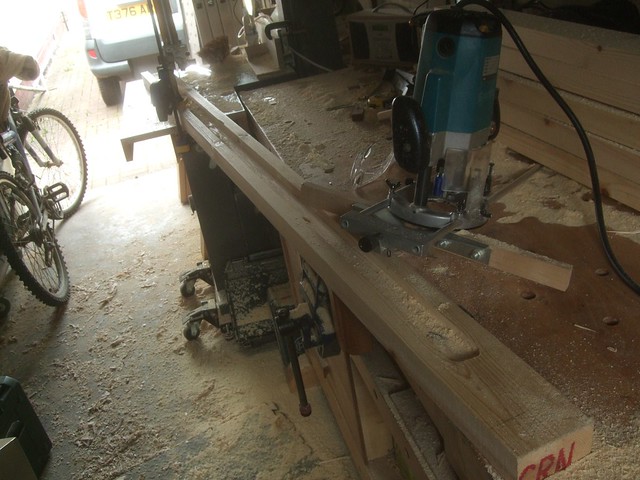
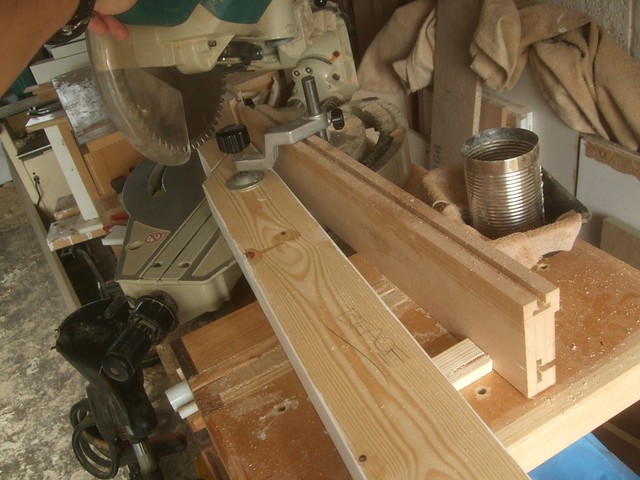
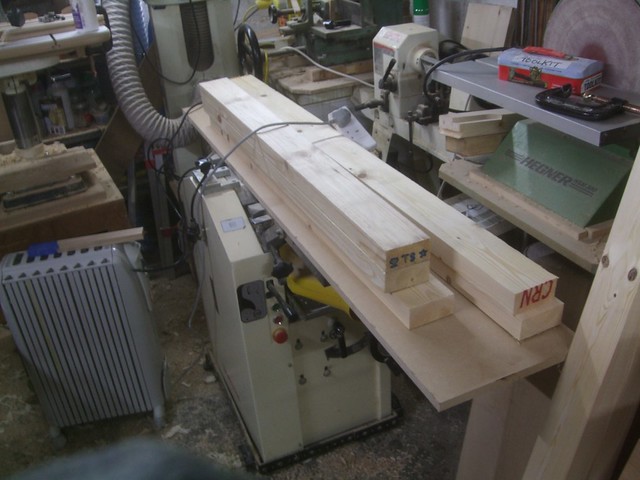
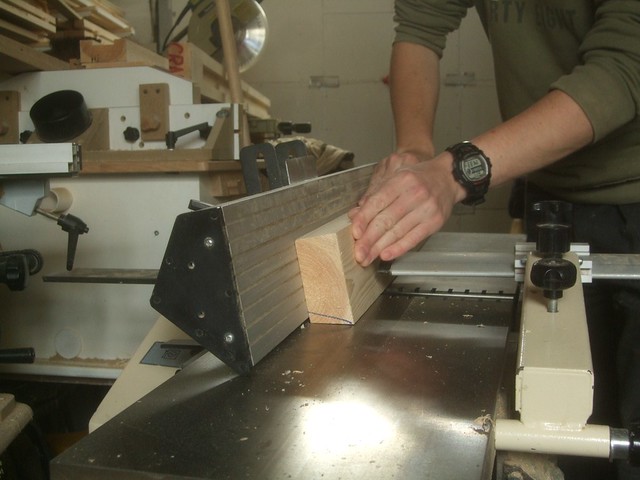
Following Jason's advice, I ploughed a wide groove in to the back face of each wall plate or hanging post (94mm x 44mm). I stopped them short at the top but, when I came to scribe and fit these, I realised it was actually the top from where I would need to remove the most material. :roll: So, I continued the grooves right through to the end, at a depth of just slightly more than the necessary allowance for a good scribe (one wall needed 13mm taking off!!).
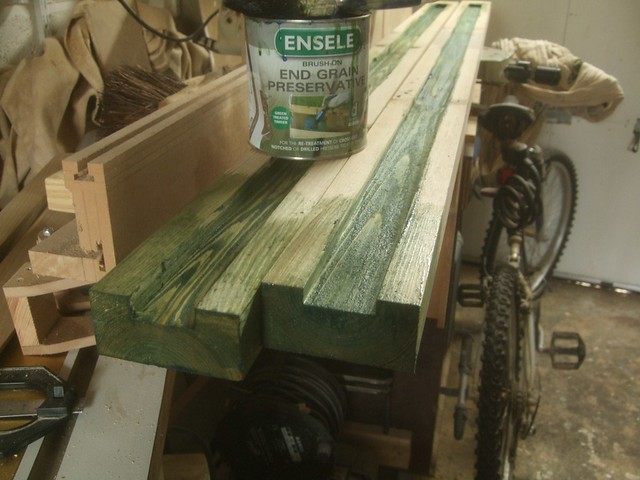
I've only treated the first 6in or so of the bottom end of each, as I believe (whether wrong or right) that pressure treated timber is only really "essential" in areas of ground contact or high exposure to moisture and damp. If we can put a little more thought in to the design of our exterior woodwork - and, perhaps most importantly, look after and maintain the timber, as the years go by - then, I see no reason why "untreated" softwood cannot last on a project like this. Only time will tell, I guess! ;-)
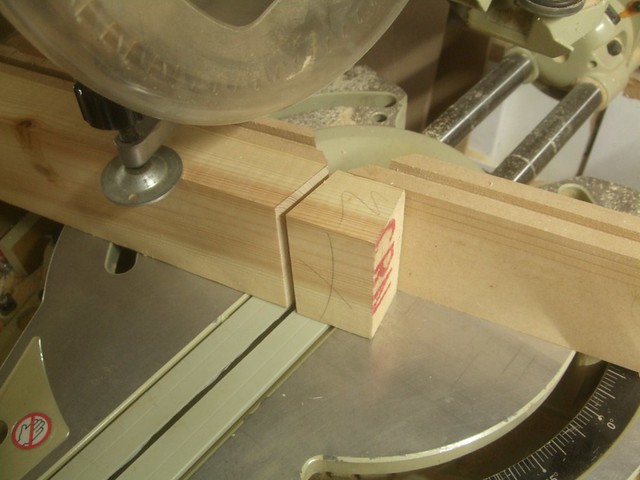
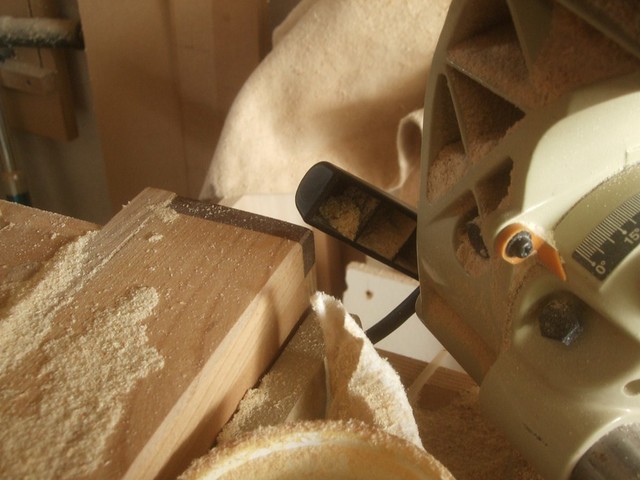
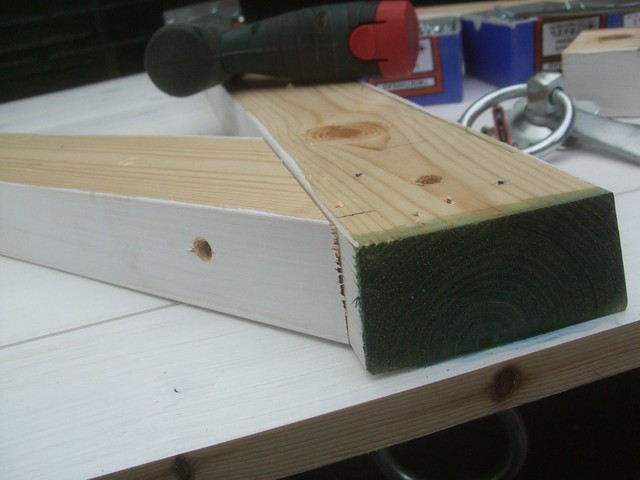
That's why I bevelled the ends on top of each post...
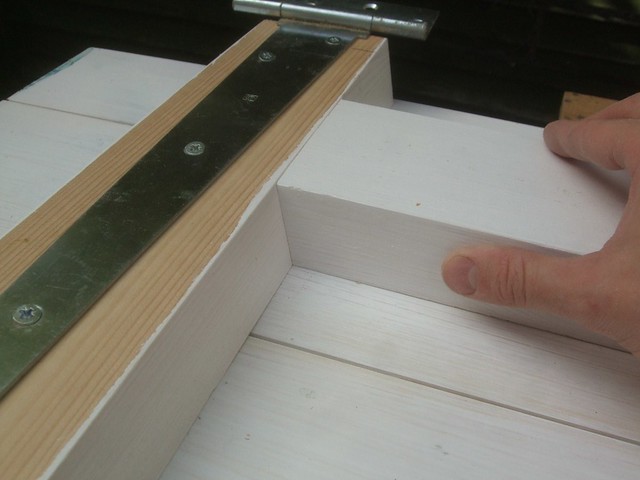
...And also, planed a bevel along the full length of each of the rail's top edges.
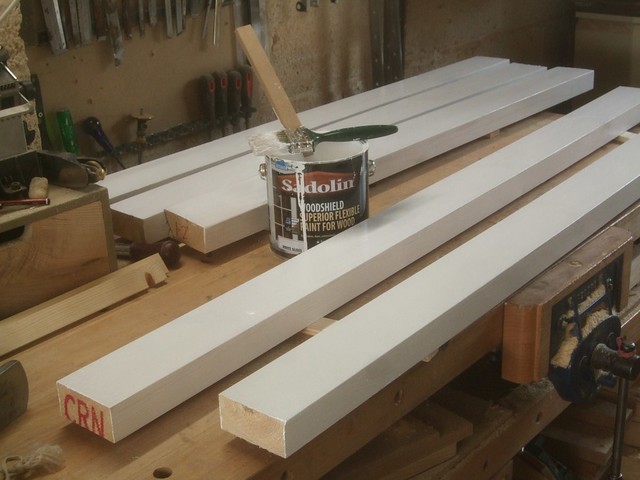
All of the timber was given a single coat of Sadolin Woodshield (available from Homebase), which doesn't appear to have had may bad words said against it. It's important to get all the tongues coated, as the boards are likely to shrink later on and this would otherwise expose dark lines or voids in your "finished" paint job. Also, I wanted to get a coat on to all of the unseen surfaces for protection (back face of each rail and brace, etc.).
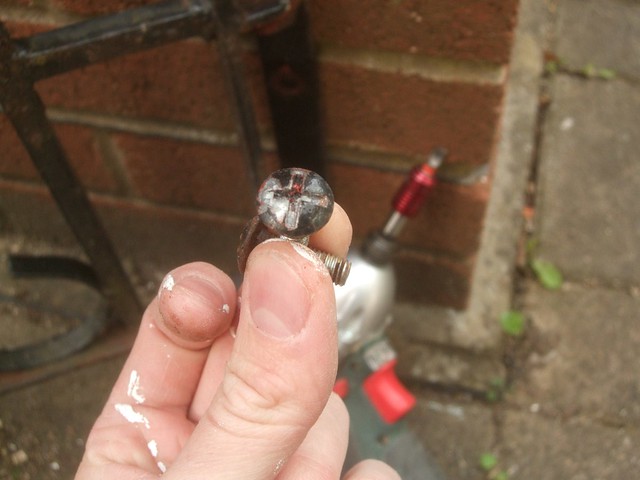
Removing the old gate wasn't easy, as these bolts (possibly roofing bolts?) had very large threads and, without a screwdriver bit of the right size to fit in my cordless drill, they were very difficult to remove. Not only that but, they'd all pretty much seized up in their sleeves and weren't prepared to budge. I gave each a good soaking with penetrating oil and, later on, my little impact driver did the rest. There was only one resilient so-and-so left and, after drilling the head off with a 6mm cobalt bit, I had to remove the remaining stud with a cold chisel! :twisted:
After scribing my lines down both edges of the wall plates (I used an 8mm drill bit on one wall), I found my power planer was the most effective way of quickly working down to my lines. I eventually fixed them in place with hammer fixings and, I'm very pleased to say, that the discrepancy in width of the opening is now less than 3mm... I did try using frame fixings (very similar) but, despite drilling my holes 10mm deeper and trying to remove most of the dust with a screw, I couldn't get the sleeves or screws to drive home properly, even after countersinking the timber.
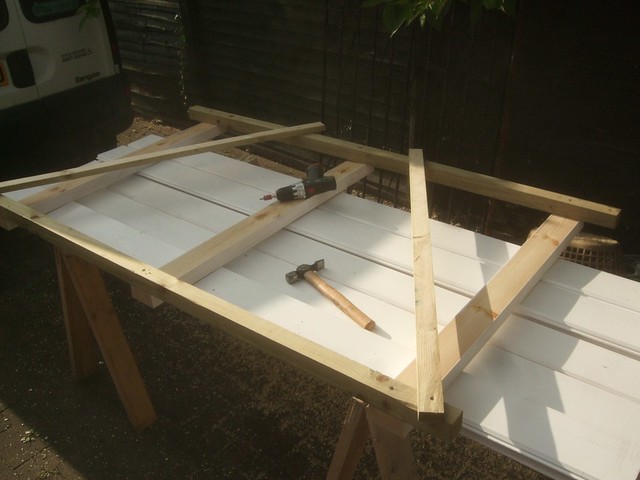
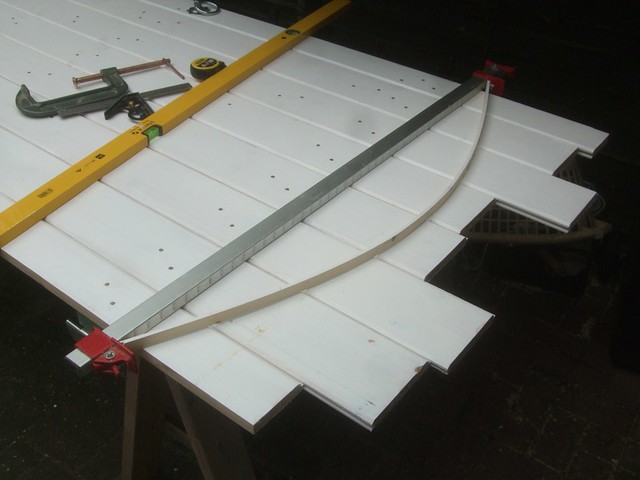
Without building a jig for this single purpose, I wasn't quite sure of how else to tackle this next step so, I resorted to temporarily screwing and bracing the frame components together using some odd 2x2ins I had. As this gate is being painted, I'm not at all concerned about extra screw holes.
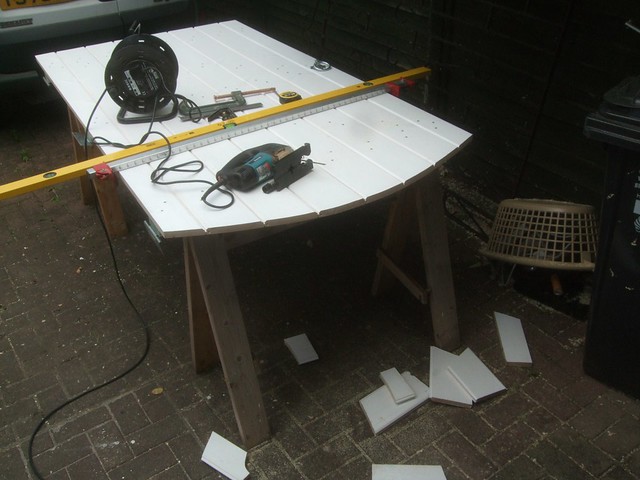
It worked out well in the end, though and I was soon nailing the boards in to position. If I'd have had more time to spare that afternoon, I'd have also fitted the braces at this point, as it would've been a simple task to mark the mitre angles directly on to the wood. But, I'm no fast worker and time was running out. That old metal gate was an incredible amount and, with a need to re-secure the premises before I left that evening, I had to get 'something' up and in to the opening...
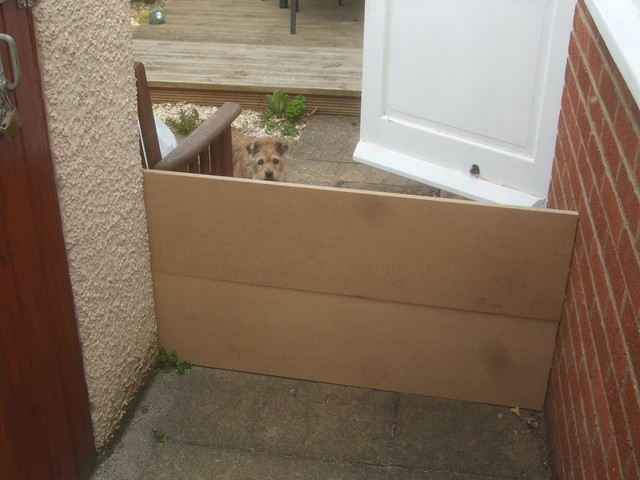
That's my dog, who was glad to get out of the house for the afternoon, even if she was to spend the afternoon barricaded in my mum's garden behind two sheets of 18mm MDF! :-D The two dogs that live here are much bigger and may've quite easily found a way over that obstacle.
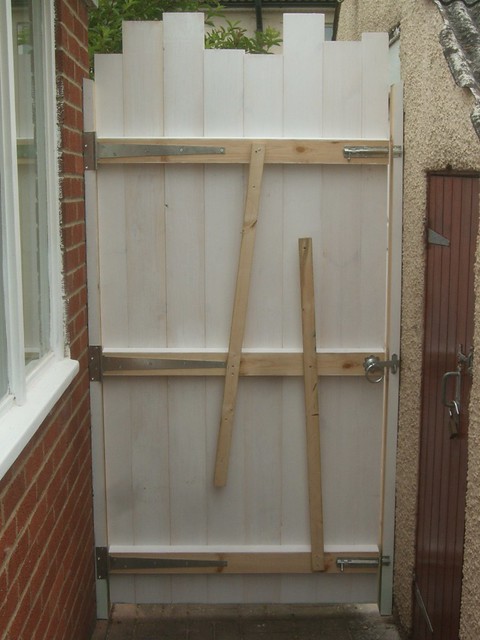
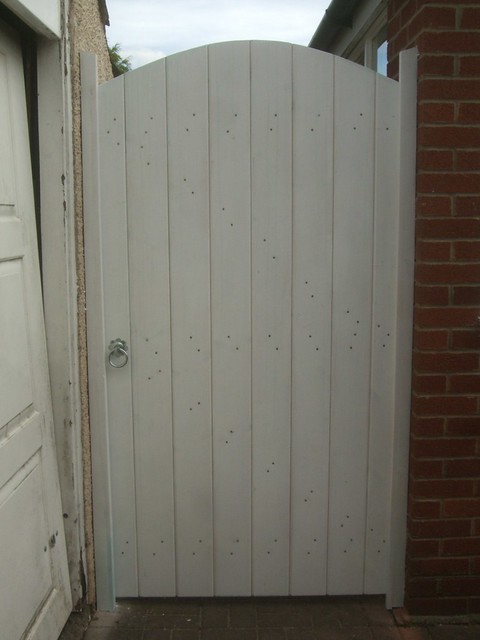
...That was how it looked last night - minus the latch, which I only got around to fitting this morning as I needed to trim it. Both bolts were in place though so, it was reasonably secure.
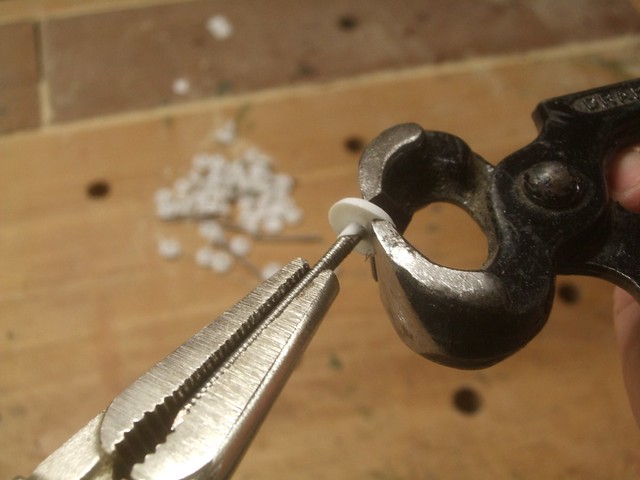
I deliberated for some time over which screws to use. I knew that annular ring shanks would offer the best in strength and retention but, packs of these nails in stainless steel can be hideously expensive. Lost heads may have looked tidy but, it is still possible that the boards could curl away from the rails as they shrink and cup. So, my thanks go to DougB for his suggestion to use Polytop nails (which are, essentially, stainless steel ring shank nails) and carefully prise the plastic caps from each of the heads. It's a time-consuming task on a gate of any size but, they're ideal for the job and so-much cheaper than other options.
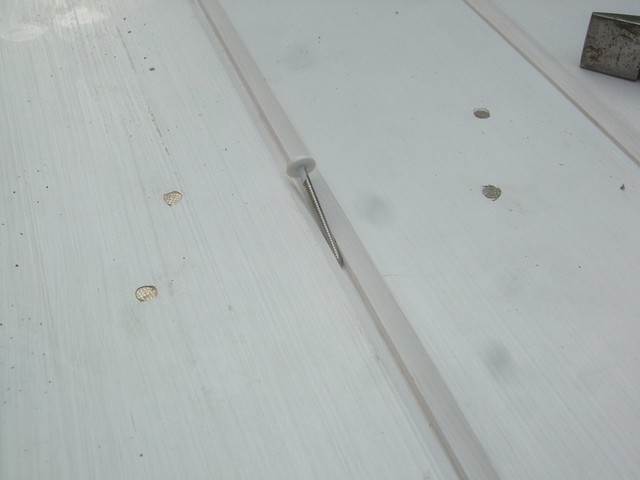
They leave a 7mm diameter head on show but, that's not the end of the world on a project like this. I also used these nails as spacers when fixing the boards. A lot of people say that you should leave a small gap (2-3mm) between each board to allow for expansion during the winter months. Otherwise, it can react havoc on the construction and fitting of your gate. On the other side of the coin, some seem to think that timber which has been reasonably kiln-dried won't leave you with anything to worry about.... I decided to play it safe and, I also hope it may allow some of the rain water to escape from these nooks between boards.
For an opening post, this one's going on a bit so, I'll leave it here for today. More progress has already been made and I have the photos to prove it so, with hope, I'll be back here tomorrow with the second instalment on this project.
Thanks for reading so far.
So, it's out with the old, which my mother has never liked for the lack of privacy and draught-proofing:
And, in with the new...
I originally bought (most of) the timber for this job back in October or November last year!
So, it's been hanging around for some time, relocating to a new "storage space" every other weekend...
We're only required to work half a day on Fridays so, with the afternoon to spare yesterday, I got going on setting out a plumb opening, which would give me the measurements needed to calculate the width of this gate.
Following Jason's advice, I ploughed a wide groove in to the back face of each wall plate or hanging post (94mm x 44mm). I stopped them short at the top but, when I came to scribe and fit these, I realised it was actually the top from where I would need to remove the most material. :roll: So, I continued the grooves right through to the end, at a depth of just slightly more than the necessary allowance for a good scribe (one wall needed 13mm taking off!!).
I've only treated the first 6in or so of the bottom end of each, as I believe (whether wrong or right) that pressure treated timber is only really "essential" in areas of ground contact or high exposure to moisture and damp. If we can put a little more thought in to the design of our exterior woodwork - and, perhaps most importantly, look after and maintain the timber, as the years go by - then, I see no reason why "untreated" softwood cannot last on a project like this. Only time will tell, I guess! ;-)
That's why I bevelled the ends on top of each post...
...And also, planed a bevel along the full length of each of the rail's top edges.
All of the timber was given a single coat of Sadolin Woodshield (available from Homebase), which doesn't appear to have had may bad words said against it. It's important to get all the tongues coated, as the boards are likely to shrink later on and this would otherwise expose dark lines or voids in your "finished" paint job. Also, I wanted to get a coat on to all of the unseen surfaces for protection (back face of each rail and brace, etc.).
Removing the old gate wasn't easy, as these bolts (possibly roofing bolts?) had very large threads and, without a screwdriver bit of the right size to fit in my cordless drill, they were very difficult to remove. Not only that but, they'd all pretty much seized up in their sleeves and weren't prepared to budge. I gave each a good soaking with penetrating oil and, later on, my little impact driver did the rest. There was only one resilient so-and-so left and, after drilling the head off with a 6mm cobalt bit, I had to remove the remaining stud with a cold chisel! :twisted:
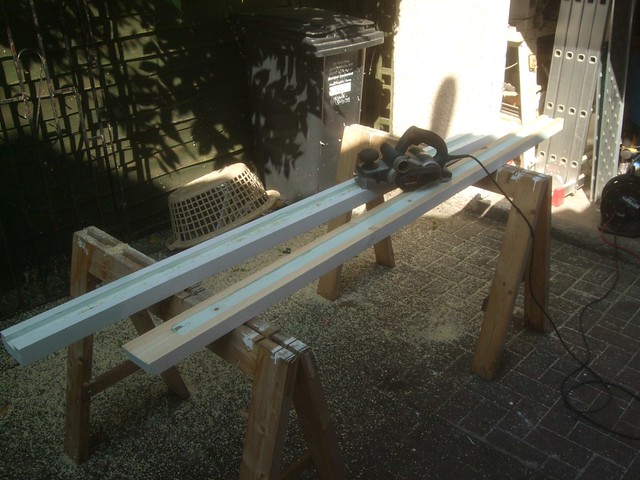
After scribing my lines down both edges of the wall plates (I used an 8mm drill bit on one wall), I found my power planer was the most effective way of quickly working down to my lines. I eventually fixed them in place with hammer fixings and, I'm very pleased to say, that the discrepancy in width of the opening is now less than 3mm...
I did try using frame fixings (very similar) but, despite drilling my holes 10mm deeper and trying to remove most of the dust with a screw, I couldn't get the sleeves or screws to drive home properly, even after countersinking the timber.
Without building a jig for this single purpose, I wasn't quite sure of how else to tackle this next step so, I resorted to temporarily screwing and bracing the frame components together using some odd 2x2ins I had. As this gate is being painted, I'm not at all concerned about extra screw holes.
It worked out well in the end, though and I was soon nailing the boards in to position. If I'd have had more time to spare that afternoon, I'd have also fitted the braces at this point, as it would've been a simple task to mark the mitre angles directly on to the wood. But, I'm no fast worker and time was running out. That old metal gate was an incredible amount and, with a need to re-secure the premises before I left that evening, I had to get 'something' up and in to the opening...
That's my dog, who was glad to get out of the house for the afternoon, even if she was to spend the afternoon barricaded in my mum's garden behind two sheets of 18mm MDF! :-D The two dogs that live here are much bigger and may've quite easily found a way over that obstacle.
...That was how it looked last night - minus the latch, which I only got around to fitting this morning as I needed to trim it. Both bolts were in place though so, it was reasonably secure.
I deliberated for some time over which screws to use. I knew that annular ring shanks would offer the best in strength and retention but, packs of these nails in stainless steel can be hideously expensive. Lost heads may have looked tidy but, it is still possible that the boards could curl away from the rails as they shrink and cup. So, my thanks go to DougB for his suggestion to use Polytop nails (which are, essentially, stainless steel ring shank nails) and carefully prise the plastic caps from each of the heads. It's a time-consuming task on a gate of any size but, they're ideal for the job and so-much cheaper than other options.
They leave a 7mm diameter head on show but, that's not the end of the world on a project like this. I also used these nails as spacers when fixing the boards. A lot of people say that you should leave a small gap (2-3mm) between each board to allow for expansion during the winter months. Otherwise, it can react havoc on the construction and fitting of your gate. On the other side of the coin, some seem to think that timber which has been reasonably kiln-dried won't leave you with anything to worry about.... I decided to play it safe and, I also hope it may allow some of the rain water to escape from these nooks between boards.
For an opening post, this one's going on a bit so, I'll leave it here for today. More progress has already been made and I have the photos to prove it so, with hope, I'll be back here tomorrow with the second instalment on this project.
Thanks for reading so far.