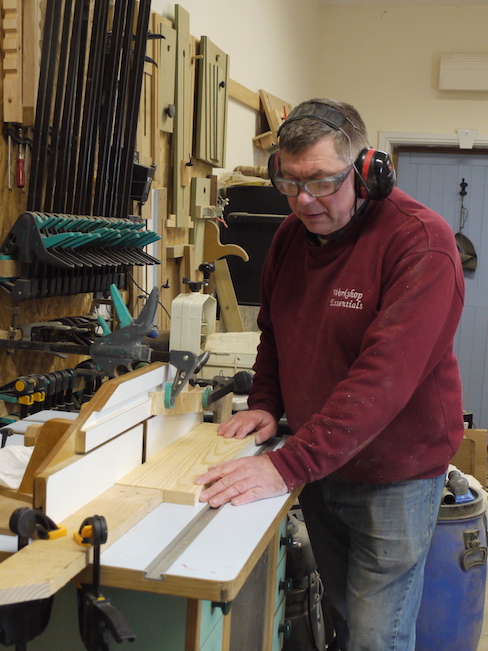
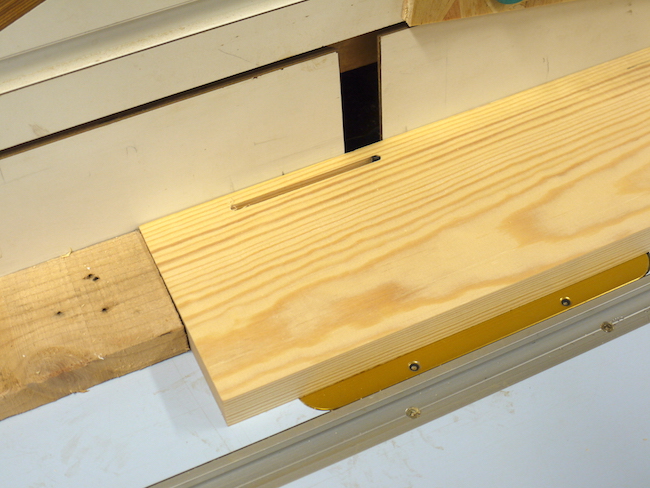
Stopped grooves on the router table

UKworkshop.co.uk

Help Support UKworkshop.co.uk:

This site may earn a commission from merchant affiliate links, including eBay, Amazon, and others.
Joined
13 Jul 2015
Messages
2,924
Reaction score
148
Location
Wales
I generally cut these with a handheld plunge router, but the setup for each cut can take forever when you have a lot to do. I see lots of people doing them with the router table, where you drop the piece onto the cutter, move, and then lift up again. This seems so much quicker, as there is no clamping to setup, but it looks rather scary. What could potentially go wrong? could the piece be snatched as you're lowering it? could it be made safer?
 
This is one of those scenarios that makes the overhead router a relevant piece of equipment, not much could beat it for speed when it comes to stopped grooves.

It really depends on the size of your workpiece and depth of cut, if it’s large enough that you’ve got plenty of control and your fingers aren’t in danger it’s a fairly safe procedure. But if you’re working with small parts that are fiddly it can go wrong quite quickly and the piece could get grabbed and thrown and your fingers could be at risk.

Common sense above all, if it feels unsafe and dodgy it probably is and you need to rethink.
 
I've done this before. The router will want to move the work piece, so you will need to have enough grip to just ensure it is lowered in a controlled way - i.e. don't drop it on. After lowering, it's the same as just moving any piece along the router table.

What is your depth of cut? if it is deep, you may need two passes if it feels safer to you.
 
transatlantic":2i6en052 said:
What could potentially go wrong? could the piece be snatched as you're lowering it? could it be made safer?

You need to be decisive when you do it, the risk of snatching increases if you dither.

Dropping on is frowned upon in industry so the job is sometimes done pushing from the side rather than dropping onto the cutters. When done this way there are jigs and aids that can hold the work safely. Aigner do one for a spindle moulder, you could look at that and see if you can build something similar.

One of the big problems is sawdust building up by your stops which leads to inaccuracies. Even cutting a chamfer on the underside of the stop won't always be sufficient. I once saw a very ingenious method of incorporating dust extraction into a stop on a router table (the copper tube is attached to a vac),

Router-Table-Stop.jpg
 

Attachments

  • Router-Table-Stop.jpg
    Router-Table-Stop.jpg
    53.5 KB
It doesn't have to be scary, but, as custard says, you do have to be decisive. And take it easy. This is my setup:

P30.JPG


There are two stops. The one on the right is shaped like a hook, so that it is lower than the RT top. The one on the left tells me when to stop. In operation, the workpiece is held firmly against the RH stop, so that it cannot be kicked back, then it is gently lowered onto the cutter and pushed forward.

P31.JPG


P32.JPG


P33.JPG


With a 1/4" cutter I would take just 3mm or so at a time.
 

Attachments

  • P30.JPG
    P30.JPG
    177.5 KB
  • P31.JPG
    P31.JPG
    247.5 KB
  • P32.JPG
    P32.JPG
    248.7 KB
  • P33.JPG
    P33.JPG
    209.6 KB
I start and stop a little inside the outline on the first run, just in case my measurement isn't correct. 3 mm maximum first cut. Do not "drop" the piece, it will fly. Hold the far end down tight to the table. Hold the end to be lowered firmly, and lower it firmly and hold it in position for a couple seconds, then FIRMLY slide the piece to the other stop end.

Airy fairy handling will cause early bowel movements. :shock:
Then you can either keep pushing down and turn the router off and wait till it stops spinning' or firmly lift up the end nearest the cutter.
Adjust the stops by how much your cut didn't reach the marked line, and repeat the cut. Once youre happy with the length, add anther 3 mm to the cutter and repeat
 
Thanks guys. Give me some credit, ...I didn't mean 'Drop' in the literal sense :)

The the piece I was using the plunge router with was 44x44mm by about 400mm. I needed a 12x8mm groove along it's length, stopping about 40mm from each end.
 
Back
Top