bugbear
Established Member
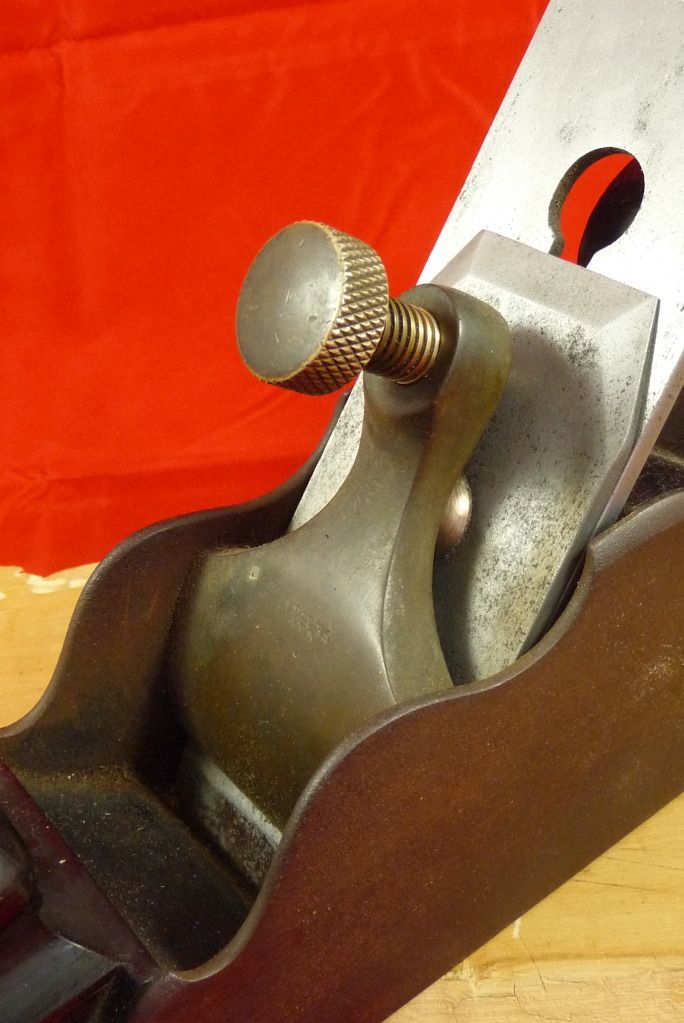
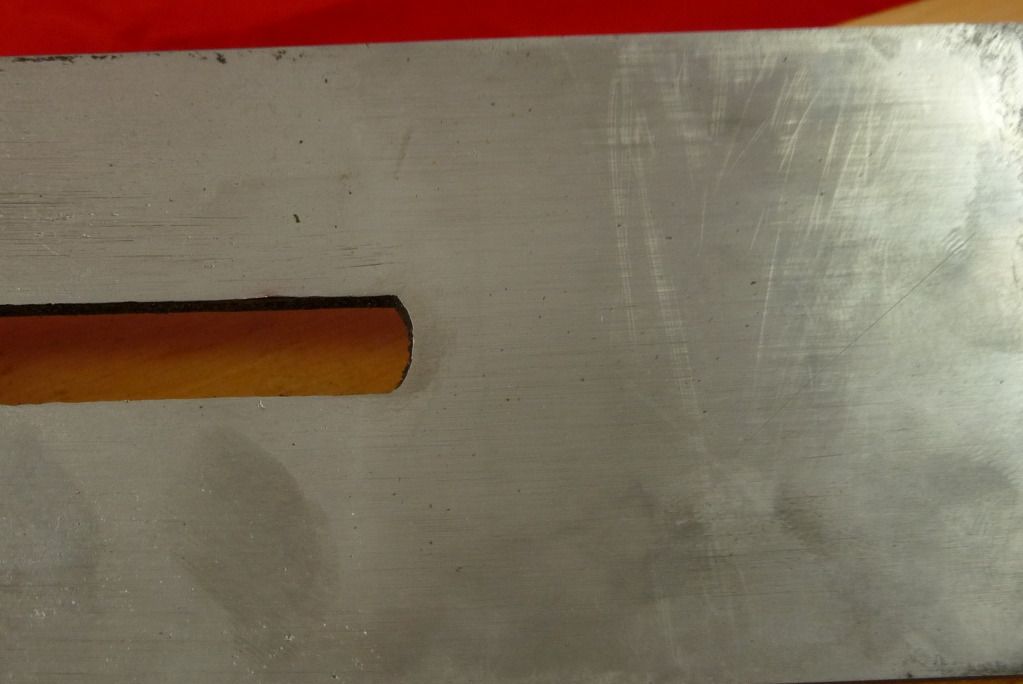
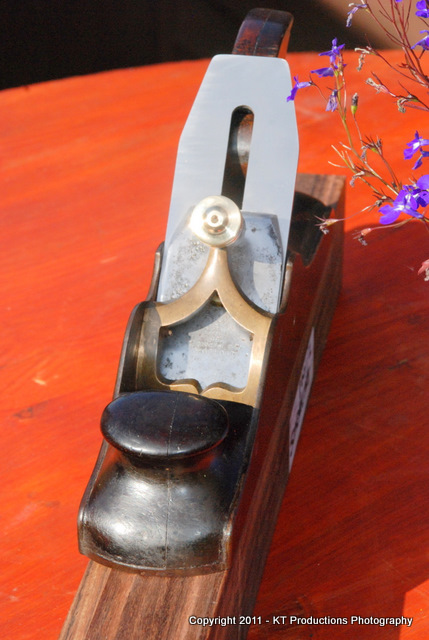
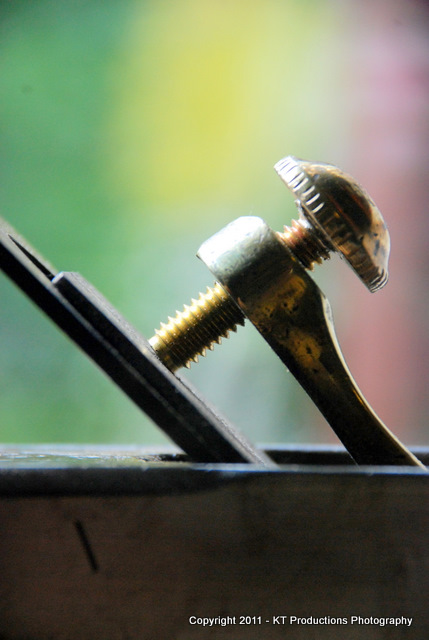
jimi43":nhko7wmd said:The transition to a lever cap meant that the locking of the iron relied not on wedge interlock but rather two contact points...the front of the lever cap and the screw point. Therefore a parallel iron could be used.
Whilst the screw point might be a point contact (nearly) the front edge of the lever cap is most definitely a line contact.
BugBear
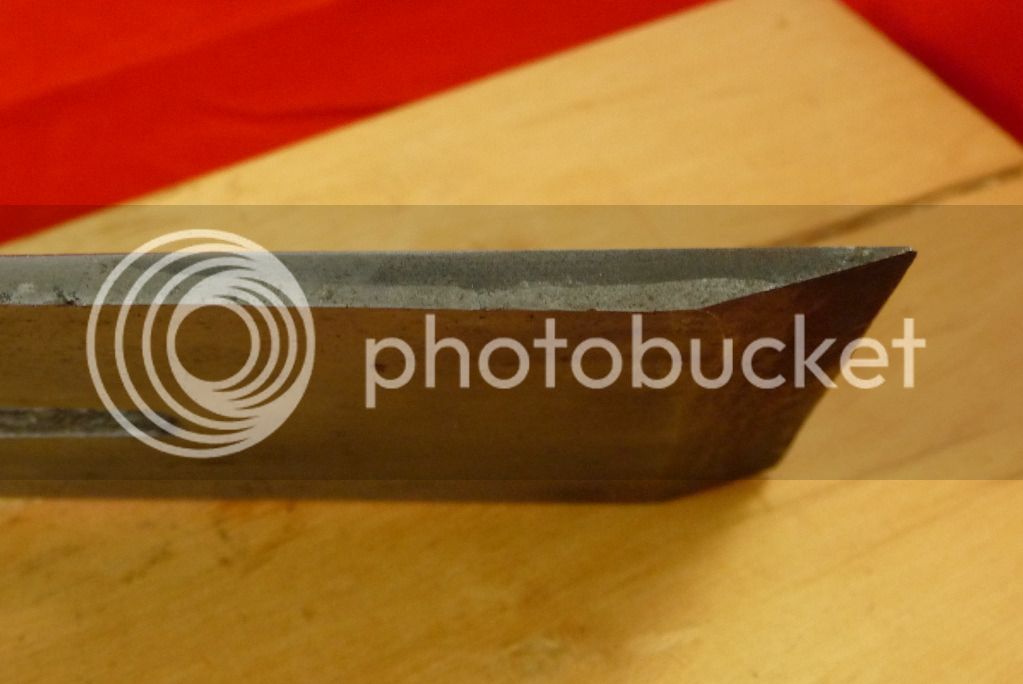
") And a very straight one at that.
And a very straight one at that.