Scarf Jointng

UKworkshop.co.uk

Help Support UKworkshop.co.uk:

This site may earn a commission from merchant affiliate links, including eBay, Amazon, and others.

Argonaut

Established Member
Joined
5 Apr 2010
Messages
75
Reaction score
2
Location
Neath
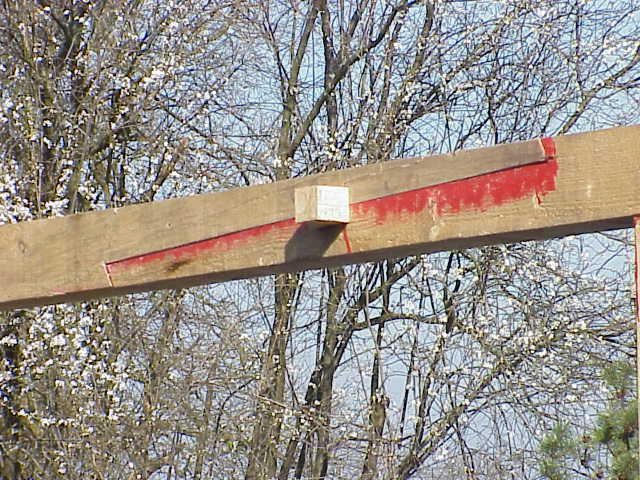
As part of an external woodwork project, I need to lengthen a number of 150 x 50 beams ... ( final length >11m)
I don't want to use gang plates as they look .. well awful.

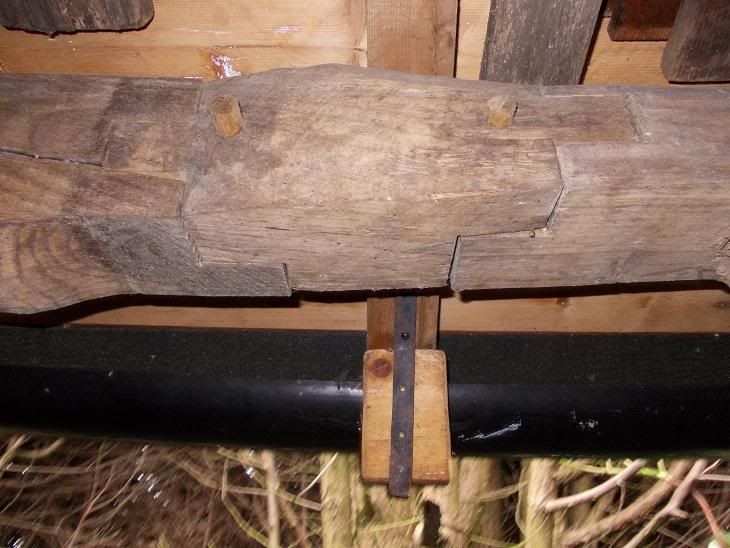
The practical way would seem to be a fairly simple half-Lap scarf joint ... couple of Q's on this .... is there an optimum length of overlap on scarf joints ? ... I have previously gone for length of overlap matching depth of timber ... so in my case it would be 150mm ........ giving reasonably large glue area (separate Q on Glue)

I found one source on line that says scarf should be 4 x the depth of timber ... ? that would make scarf joint 600mm long ... way too much it seems to me.

I could simply use a couple of M12 x 75mm coach bolts through the overlap ... along with glue should do the job ...
 
I believe that the 4-times is a good guide, but what type of load? Is the beam mainly in tension or bearing load from above, or compression.... The bolted half-lap may well be enough but the true scarf is stronger due to the progressive transition of stresses from one piece to the next. In the half-lap almost all the stress concentrates at the step. But if the load is modest relative to sections used it may well be fine. Also a really neat scarf is trickier to make, of course! (Another thought is turn the half-lap through 90 degrees so it's vertical, then bolt that... again it depends on where the load is coming from.)
 
I will be using 100 x 100 posts, at the top will use 150 x50 either side of posts (and thru bolted) giving me a pair of horizontal Beams.
Compression loading from above is only weight of the 150 x 50 cross rafters. No other compression loading.
So most of load is tension between each post.
 
If you felt like getting more complex about it ( and medieval) you could try the face or edge half scarf .

DSCN0485s.jpg


Very strong but lots of work especially when knocked out by hand in dry Ash like this one was.
 
1:5 is really the norm but I have seen 1:8 you can see mine here, not only did I scarf it.
I went ott and made it a keyed scarf with folding wedges and pinned it with 25mm wooden nail !
{ broom handle :) }

76timberframe.06.jpg


105.jpg
 
I was thinking of that method ... but pinned as drawing #218
http://www.gutenberg.org/files/21531/21531-h/21531-h.htm#THE_SCARF_JOINT

On a practical point is there a 'sequence' to the technique to get the angles and stops a good fit ... or just a question of marking out, undercutting and then adjust until it's a good fit.

Anybody want to list the steps ? ... never done one of these.

Do people buy the hardwood wedges, of just cut them out of some spare stock.
 
I find putting a few biscuits along the glued face keeps everything in line when cramped up prior to dowels,bolts
 
Carlow52":199672ix said:
I find putting a few biscuits along the glued face keeps everything in line when cramped up prior to dowels,bolts


Do you mean this with a standard half lap scarf joint ? .............. I could easily add these.
 
Argonaut":2k4sl9y0 said:
I was thinking of that method ... but pinned as drawing #218
http://www.gutenberg.org/files/21531/21531-h/21531-h.htm#THE_SCARF_JOINT

On a practical point is there a 'sequence' to the technique to get the angles and stops a good fit ... or just a question of marking out, undercutting and then adjust until it's a good fit.

Anybody want to list the steps ? ... never done one of these.

Do people buy the hardwood wedges, of just cut them out of some spare stock.

That's the method I've used in the past. Use the cut end of one piece to mark out the other, which means that the angle isn't particulary critical as both should end up the same. Similarly make your sliding wedges by cutting a suitable rectangle from a suitably sized and truly squared piece of hardwood, then slice that across the face from about corner to corner (I don't go right to the corners) then you make sure that you keep the wedges as matched pairs. I leave the ends of the wedges slightly proud in case you need to tighten the joint if it works slightly loose due to possible racking in the future
 
Argonaut":ny7la1ka said:
Carlow52":ny7la1ka said:
I find putting a few biscuits along the glued face keeps everything in line when cramped up prior to dowels,bolts


Do you mean this with a standard half lap scarf joint ? .............. I could easily add these.

yes, a couple each side along the joint will avoid the 'steps' in the joint shown in the pics by houtslager above

04/06/2012: the steps refer to the mis-alignment between the 2 pieces: see next post.

U can clamp the joint well and then be relaxed about the bolts/dowels with a reduced risk of any movement when drilling, especially if glue still wet
 
Carlow52":3cw9u70l said:
[yes, a couple each side along the joint will avoid the 'steps' in the joint shown in the pics by houtslager above

According to Charles Hayward in "Woodwork Joints" the "steps" reduce the stresses that occur in the corners of a conventional lap joint.
 
Tony Spear":nawwdkni said:
Carlow52":nawwdkni said:
[yes, a couple each side along the joint will avoid the 'steps' in the joint shown in the pics by houtslager above

According to Charles Hayward in "Woodwork Joints" the "steps" reduce the stresses that occur in the corners of a conventional lap joint.


Sorry didnt mean the steps, meant the mis-alignment between the 2 pieces.

Clearly the steps are an integral part of the joint

Thanks for heads up
 

Latest posts

Back
Top