


NickN
Established Member
Nothing particularly out of the ordinary here, but the first time I've deliberately bought an old hand saw with a view to giving it a bit of a makeover, and I am quite pleased with the result, certainly compared to the initial condition anyway. I used only elbow grease and hand tools, no electricity required for this one. Sharpening the blade will come later, after my Paul Sellers saw and plane workshop in a couple of weeks.
So... the saw came to me looking like this, missing its medallion and with a rather grotty handle:
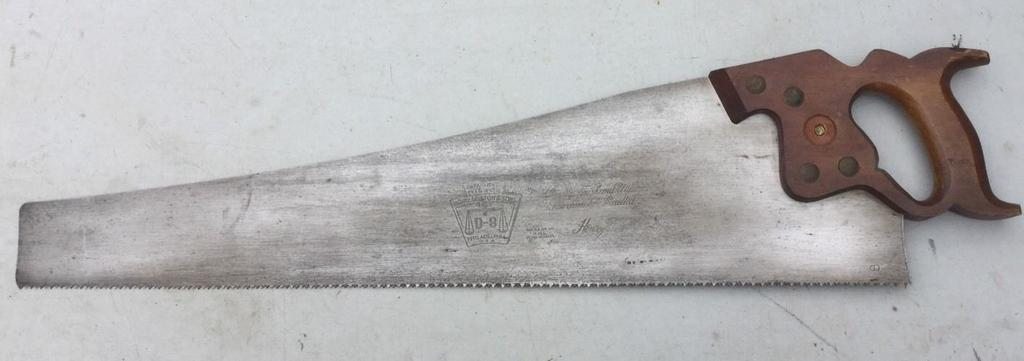
Even before it arrived though I could see it was a nice 26" Disston which even without the medallion is possible to date to the period 1928 - 1947, due to the style of 'D8' on the etching and the handle made of apple wood. This also means that the medallion it would have had must have been either a last 'Phila' or first 'USA' brass type - luckily I had one of the former as a spare, and as it fits like a glove into the recess left by the old one, I imagine it is correct.
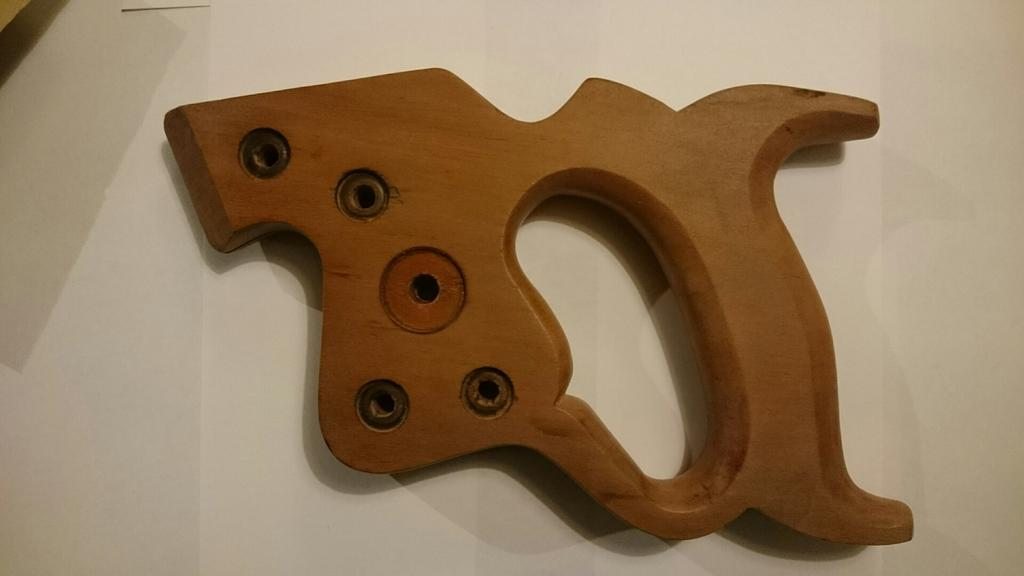
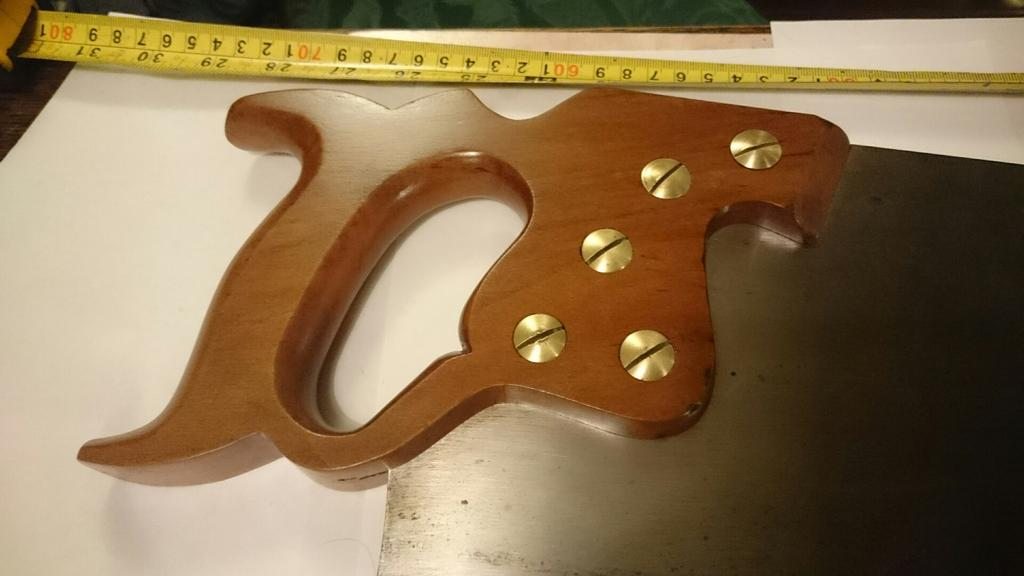
To start with I used a scraper (the sort for removing paint) to remove as much of the cracked lacquer (most likely shellac) as possible. Then a lot of work with sanding pads, being careful to retain as much of the detail and curves of the handle as I could. Eventually, the handle after sanding but before any finishing applied - looks already very nice just like this:
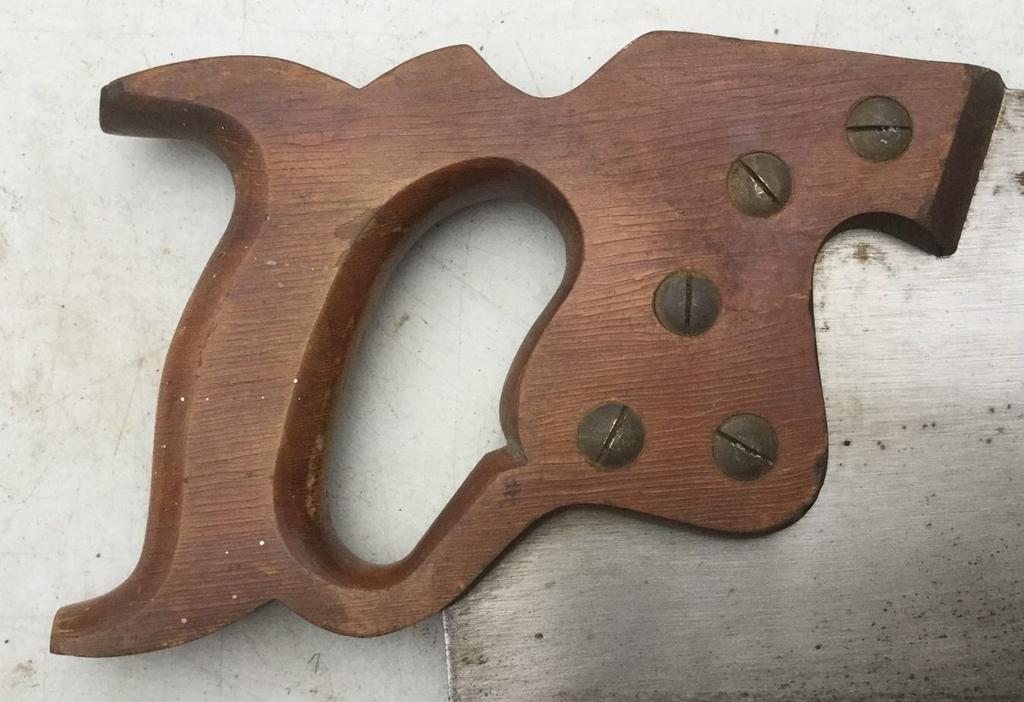
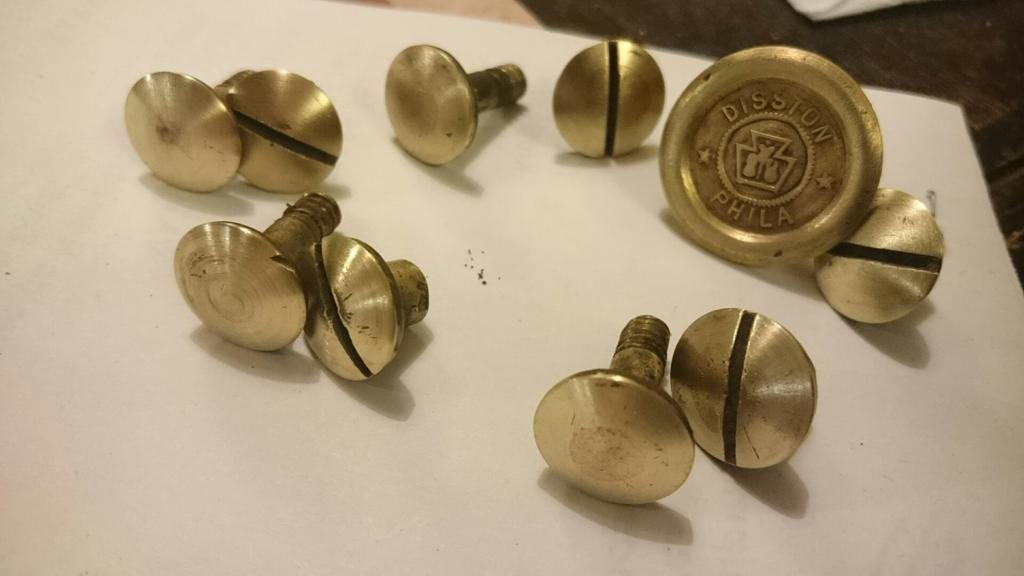
Saw nuts after a spot (ok, several spots) of TLC with a soaking in white vinegar followed by scrubbing with a maroon Scotchbrite pad and a hand drill:
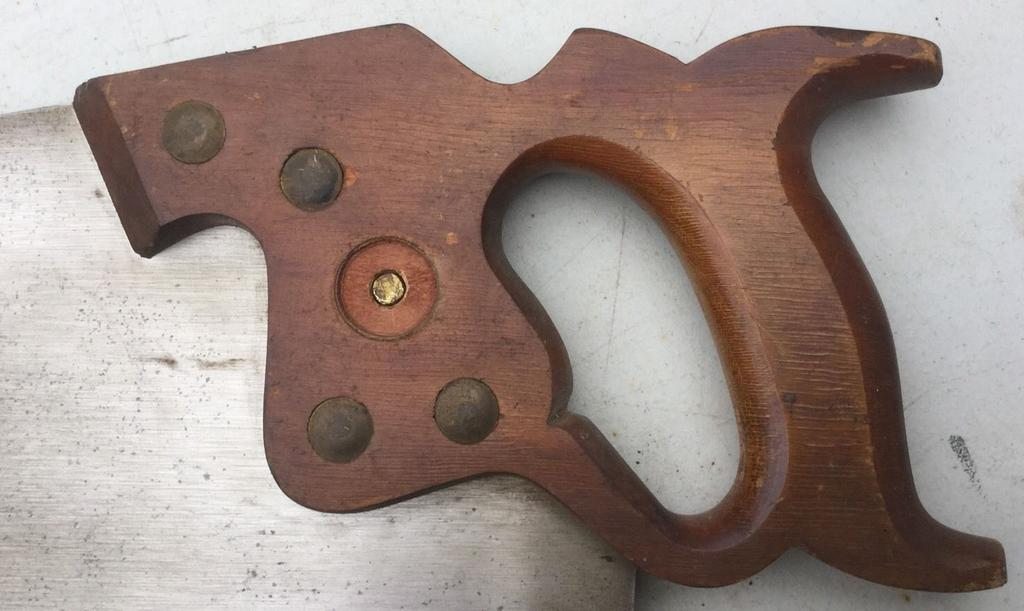
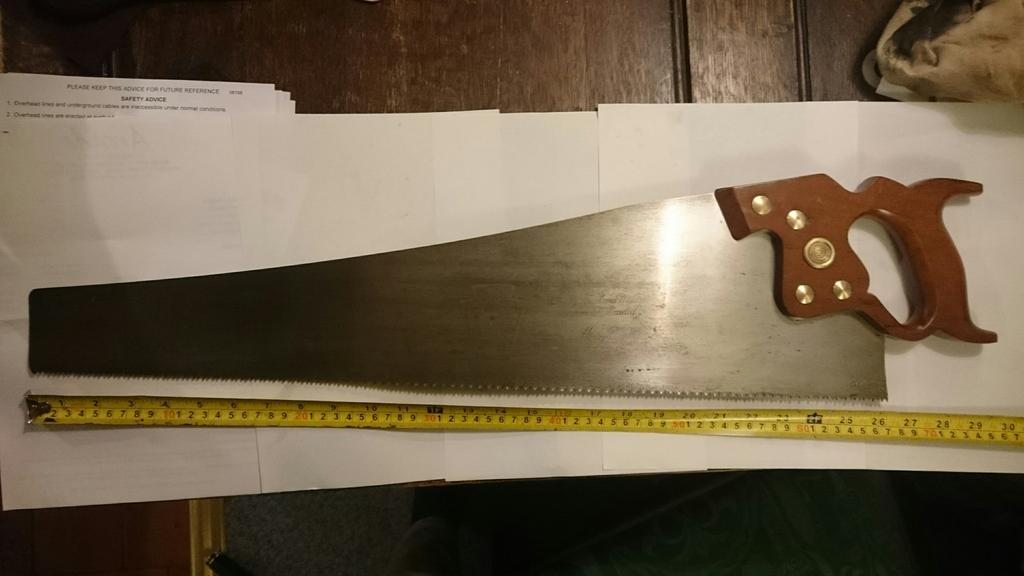
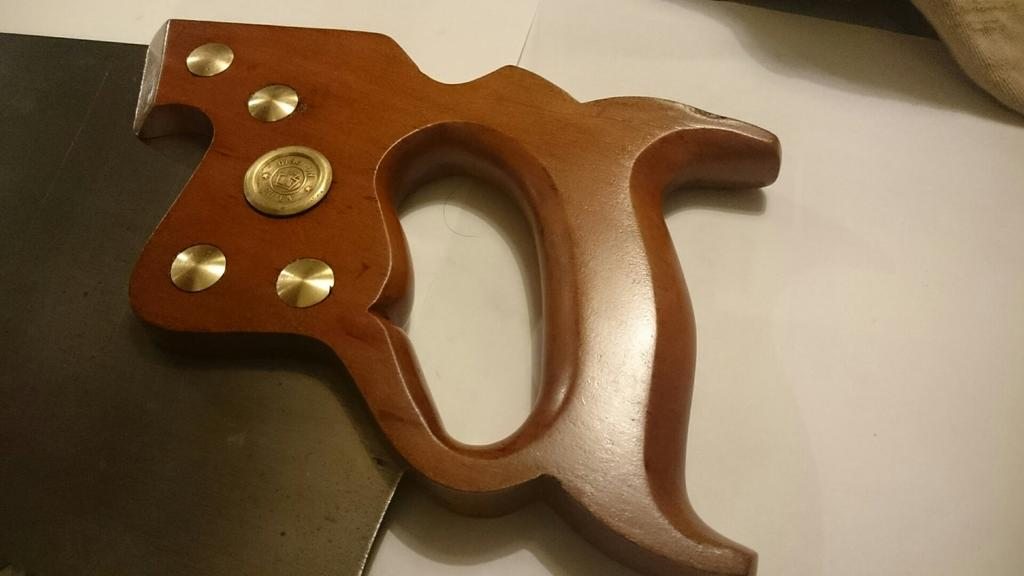
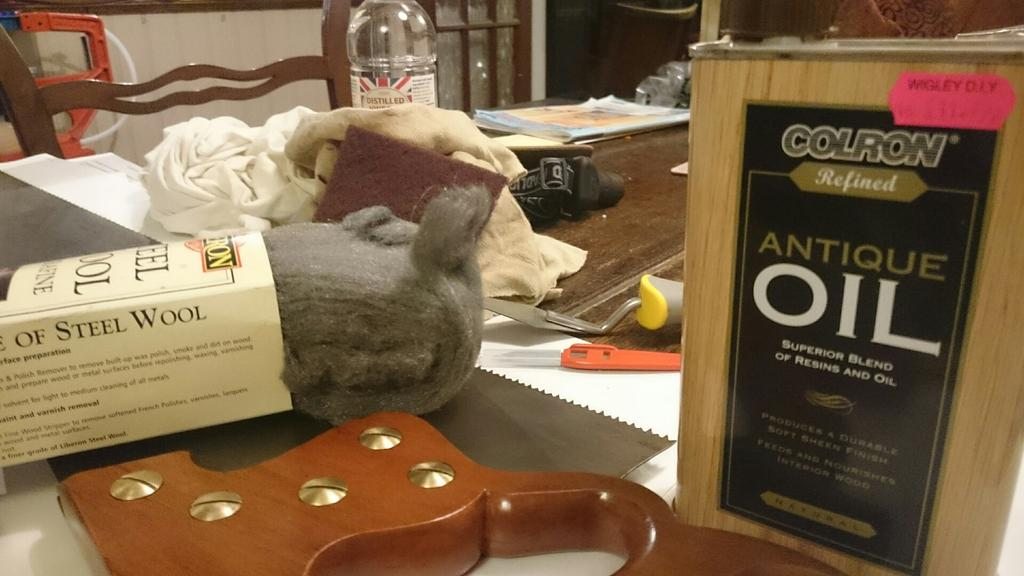
Over the course of a week I applied a total of six thin coats of Colron Antique Oil (a blend of tung oil and other resins) by rag, wiping off after 30 minutes and buffing lightly, allowing to dry overnight each time, then sanding down between the last couple of coats with 0000 steel wool. The final result looks like this:
It feels so much nicer to hold now, and looks great, without, imho, looking plasticky or brand new either. This pic shows some of the items used in the refurb:
So... the saw came to me looking like this, missing its medallion and with a rather grotty handle:
Even before it arrived though I could see it was a nice 26" Disston which even without the medallion is possible to date to the period 1928 - 1947, due to the style of 'D8' on the etching and the handle made of apple wood. This also means that the medallion it would have had must have been either a last 'Phila' or first 'USA' brass type - luckily I had one of the former as a spare, and as it fits like a glove into the recess left by the old one, I imagine it is correct.
To start with I used a scraper (the sort for removing paint) to remove as much of the cracked lacquer (most likely shellac) as possible. Then a lot of work with sanding pads, being careful to retain as much of the detail and curves of the handle as I could. Eventually, the handle after sanding but before any finishing applied - looks already very nice just like this:
Saw nuts after a spot (ok, several spots) of TLC with a soaking in white vinegar followed by scrubbing with a maroon Scotchbrite pad and a hand drill:
Over the course of a week I applied a total of six thin coats of Colron Antique Oil (a blend of tung oil and other resins) by rag, wiping off after 30 minutes and buffing lightly, allowing to dry overnight each time, then sanding down between the last couple of coats with 0000 steel wool. The final result looks like this:
It feels so much nicer to hold now, and looks great, without, imho, looking plasticky or brand new either. This pic shows some of the items used in the refurb:
