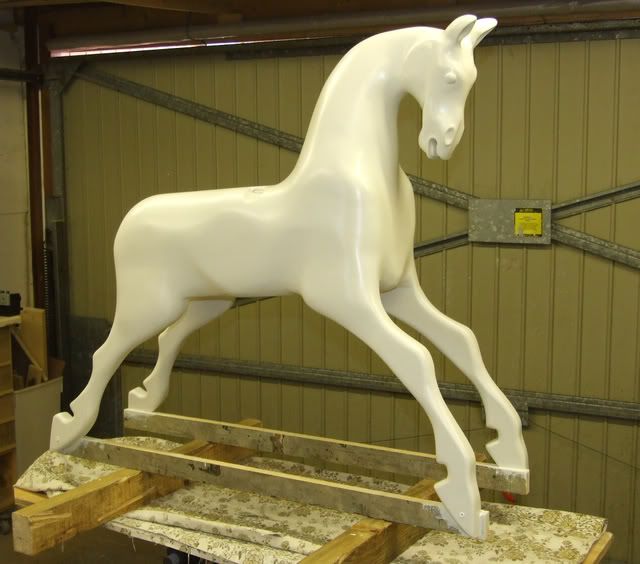
Latest update on the horse is-
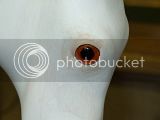
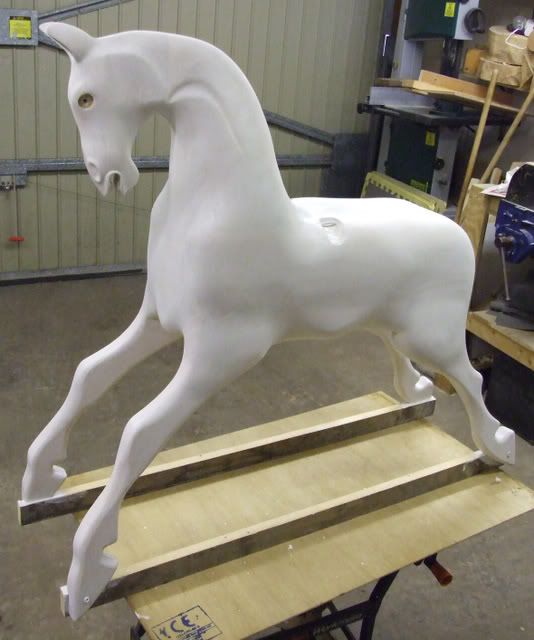
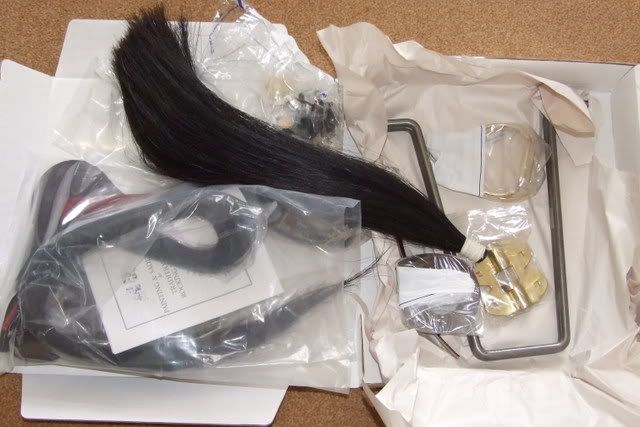
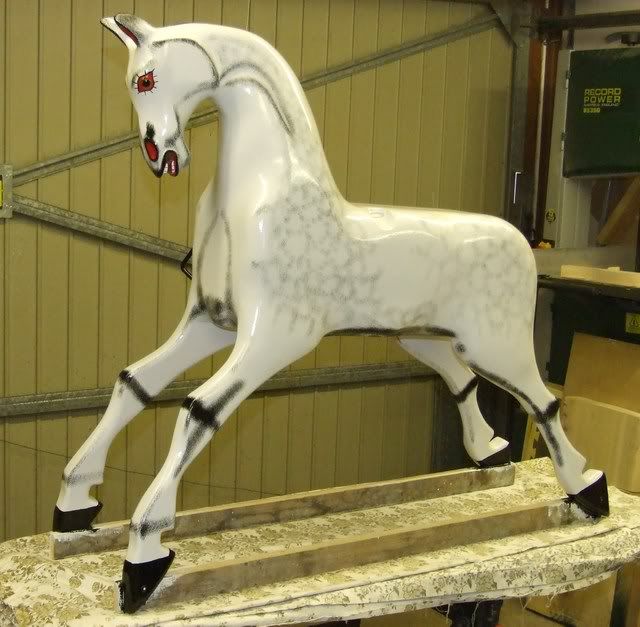
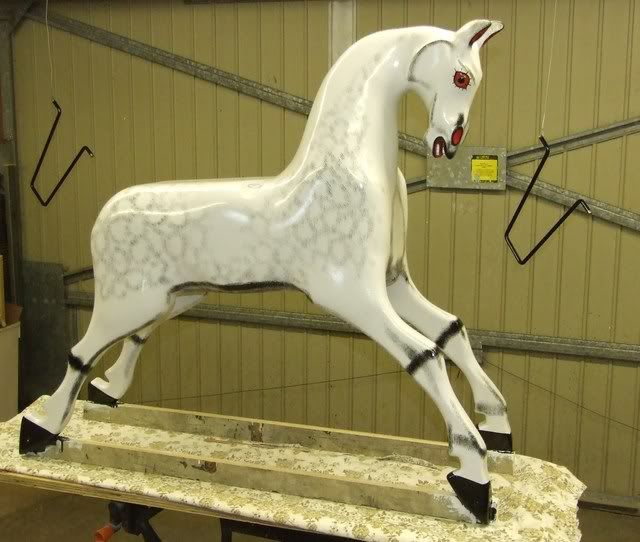
that i have now glued the eyes in using a two part filler and managing to get the eyelids by squeezing the eye in just enough for the filler to squeeze out creating the eyelid,just need to sand it carefully without scratching the glass eye :roll:
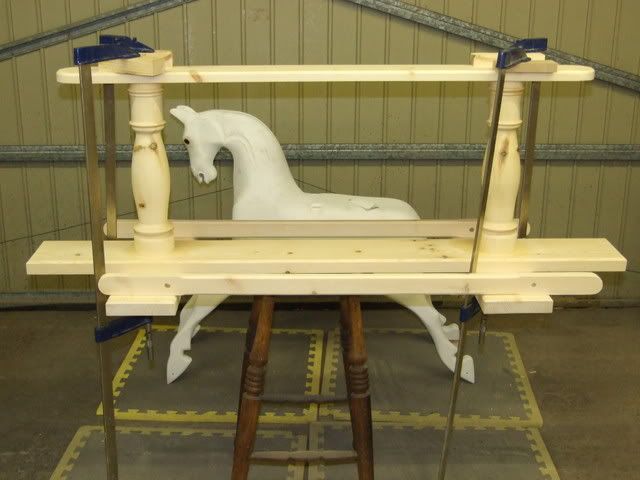
Then i turned my attention back to the stand.Thought i'd do all the routing and sanding before i start to give the horse it's final coats of paint.
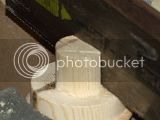
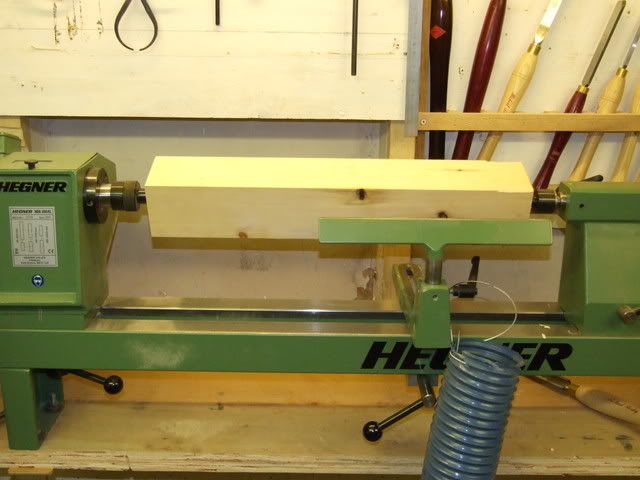
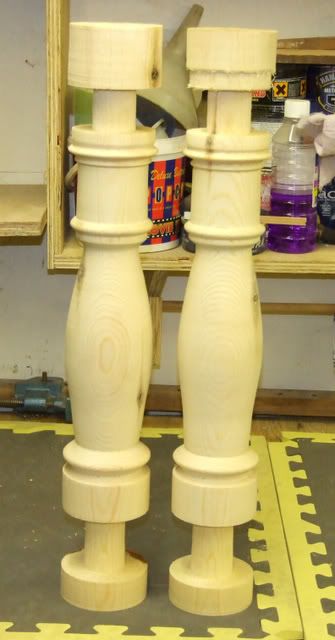
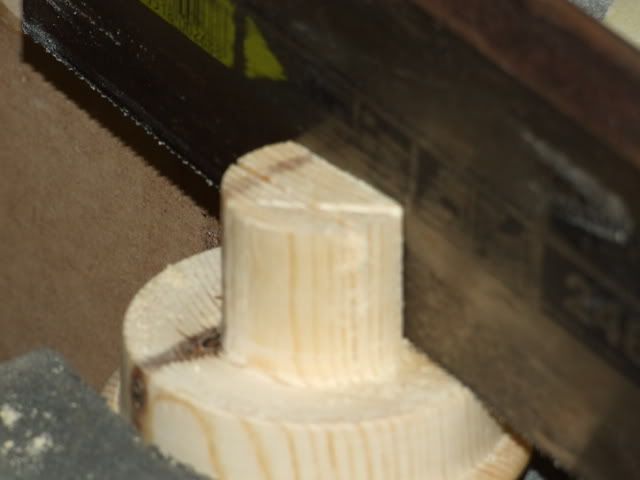
I finished off the two pillars on the lathe,and cut the tenons down leaving about 6mm over.
Cut all the stand parts to size,bevelled the edges,with a router where needed and sanded nice and smooth.
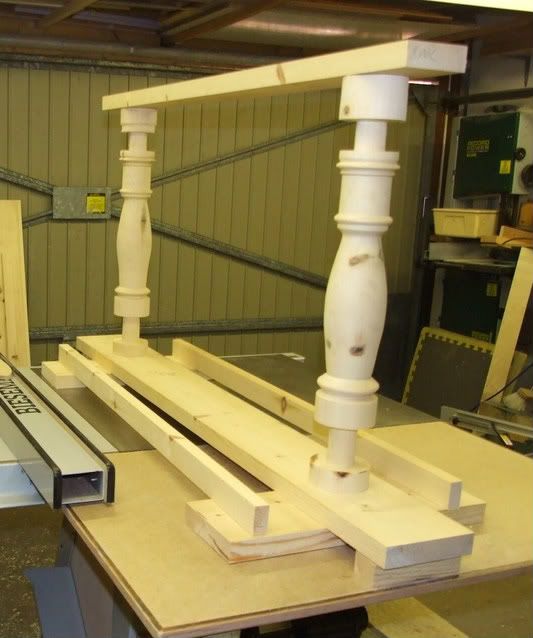
The two cross pieces were glued and screwed to the bottom rail,with the two pillars placed in to keep the two pieces central to each other.
Sorry for the lack of piccys here,but the stand is the part where you have to move quick with the glue up as there are eight wedges to be knocked into the pillars,which will be shown later when finished,so it all gets a bit hectic :roll:
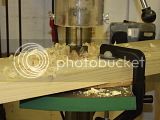
Here i am drilling one of the four holes that will take the pillars.Two in the bottom rail and two in the top rail.I used a 35mm forstener bit for this.
Here i am sawing two slots to take the wedges in the pillars.
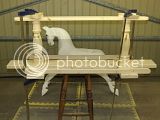
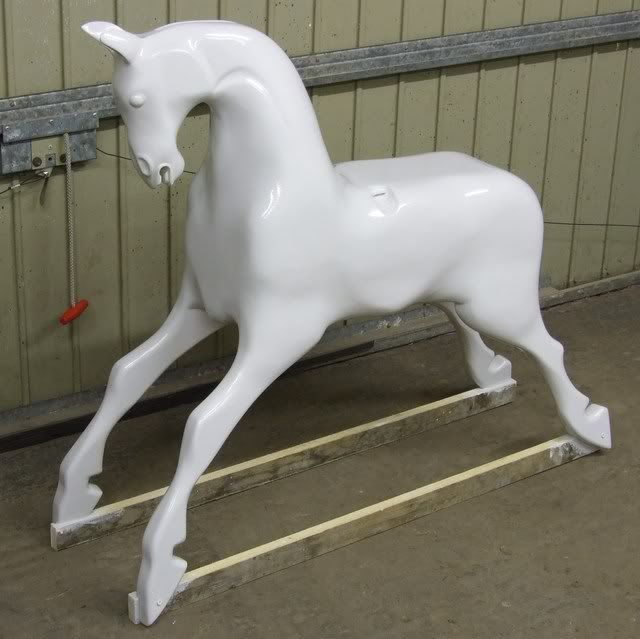
And here is the stand assembled.
I will just give a quick coat of varnish to keep it clean ready for it's final coats,when it's dried.
 click on images
Then i can have a good clean up of the shop to get rid of as much dust as i can,ready to paint the horse


 click on images
 Click on images
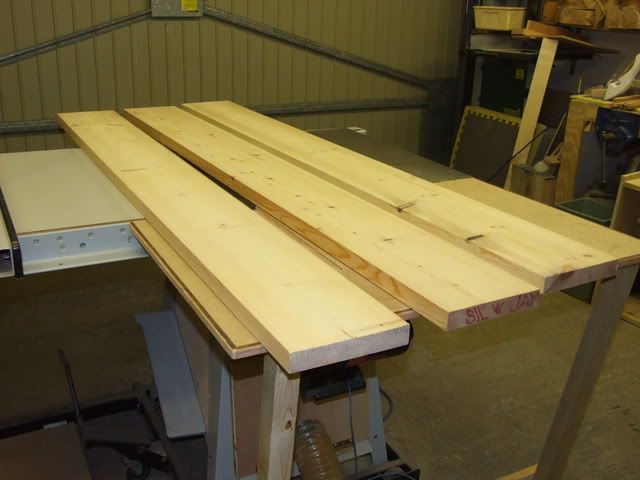
 Click on images
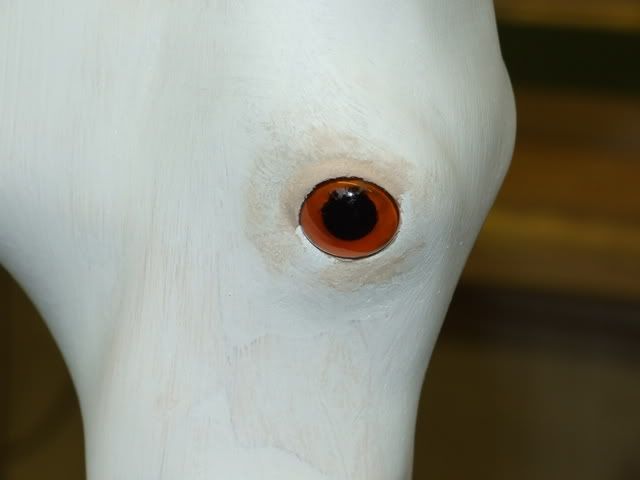

 click on images
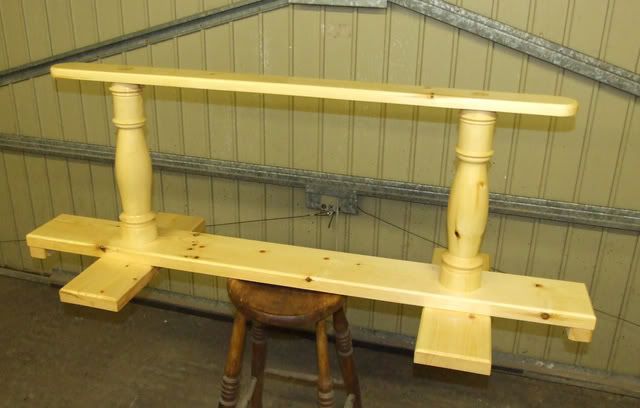
 Click on images.