Rocking Horse build-WIP-FINISHED.

UKworkshop.co.uk

Help Support UKworkshop.co.uk:

This site may earn a commission from merchant affiliate links, including eBay, Amazon, and others.
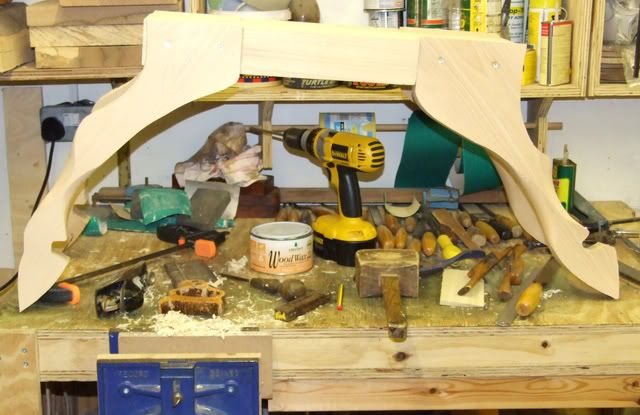
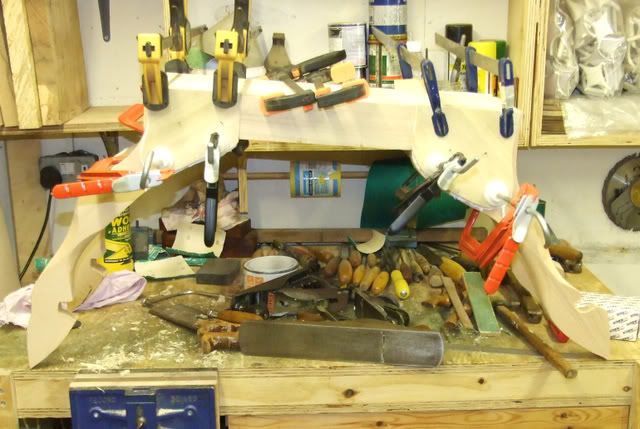
Now i am starting to get nearer to doing the main bit of carving on the body and legs,i have now swapped the bench position with the tablesaw in the shop,so glad that they are both mobile.
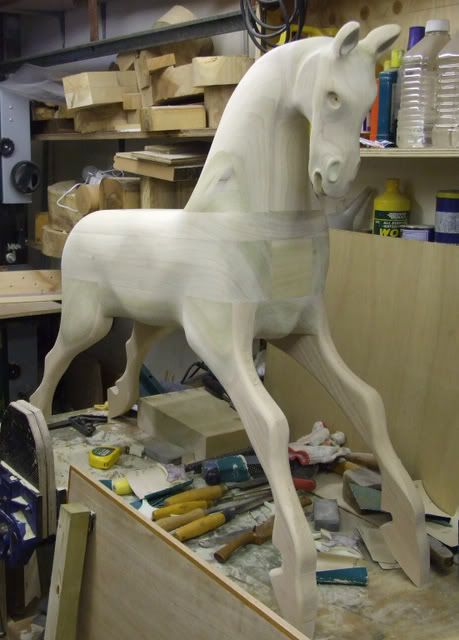
This will now give me more room to handle the whole horse when it is all assembled,which isn't far off now :D

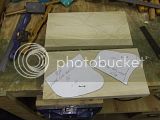
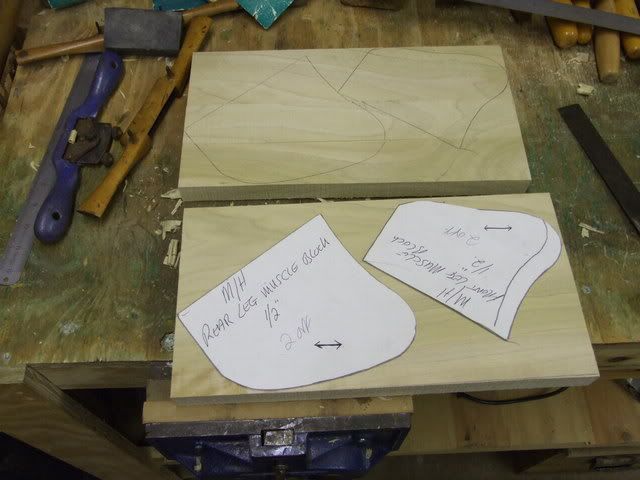
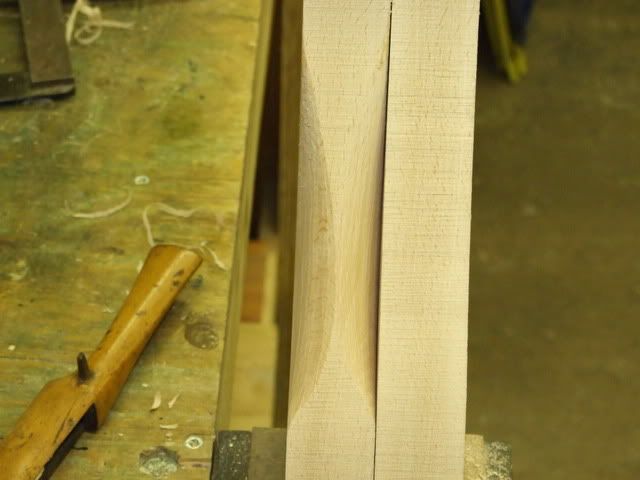
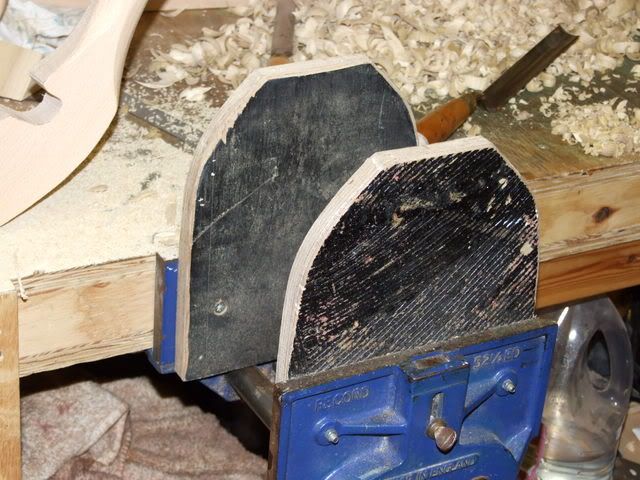
Started off by marking and cutting out the last four pieces,which are the front and rear leg muscles.
These were cut from off cuts of the resawing,and managed to get all four from the one piece :D all 1/2" thick.
Again note the arrow on the card for the grain direction.


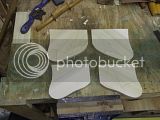
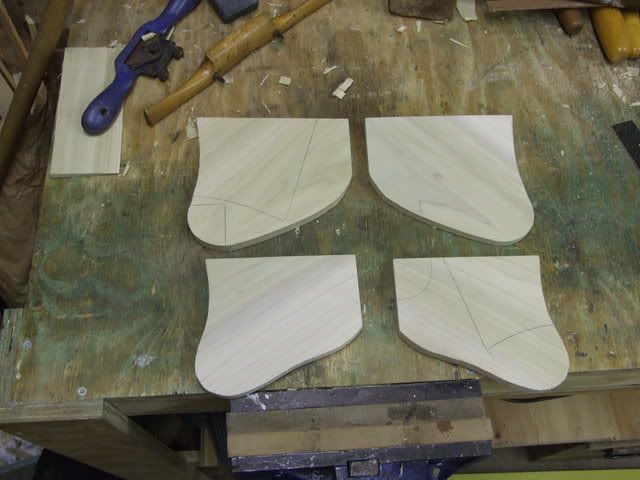
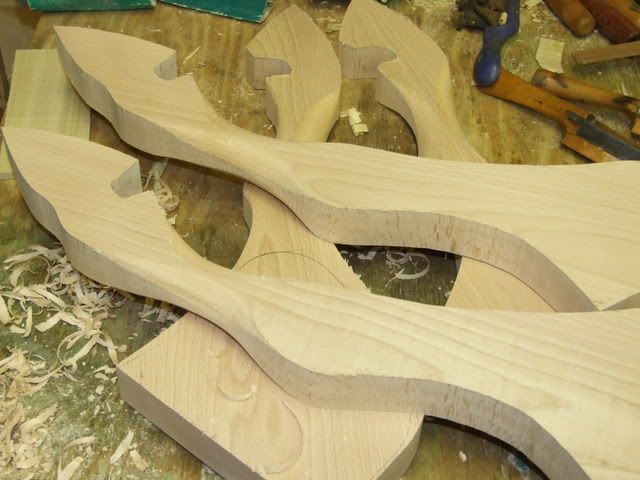
All four leg muscles cut.


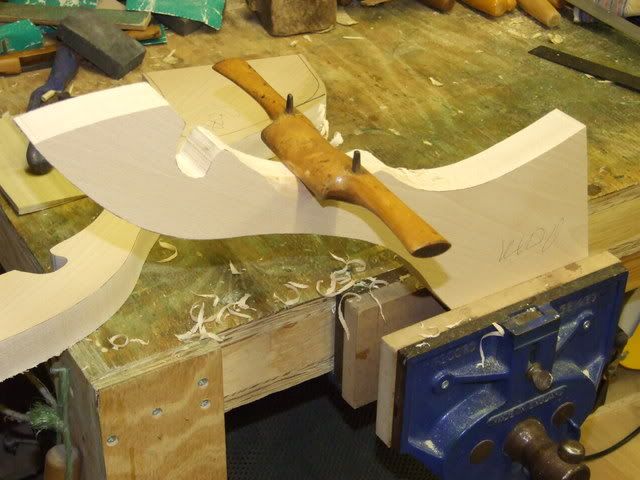
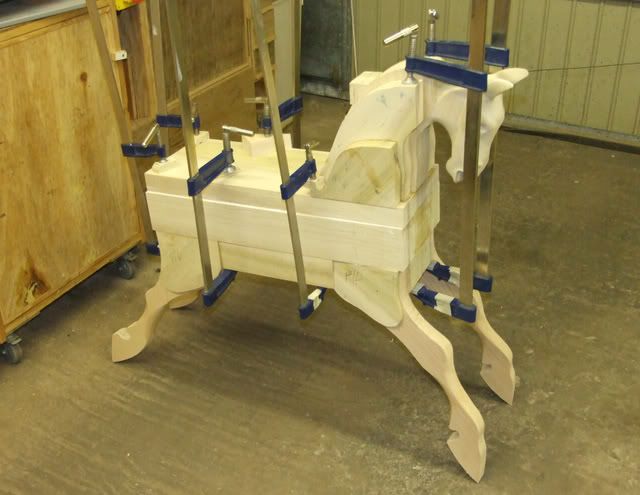
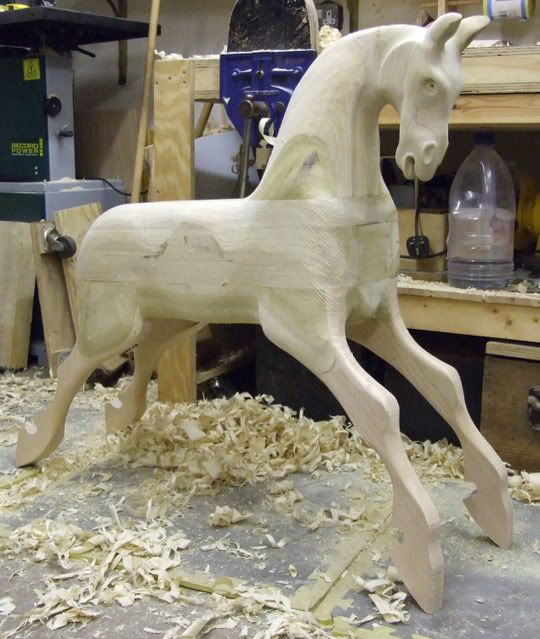
Now i have turned my attention to the legs.
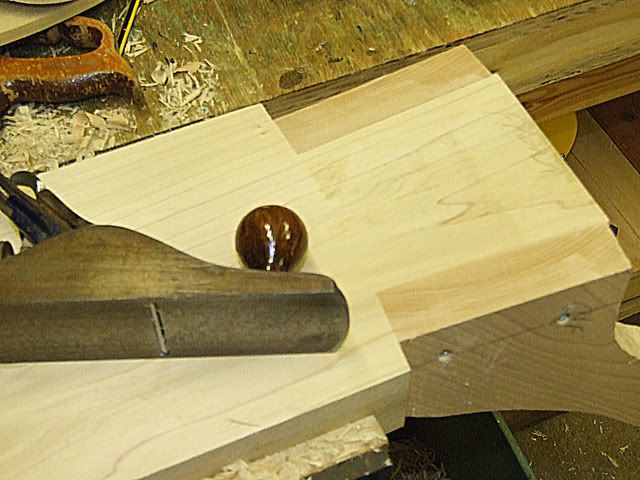
These need to be thinned slightly just below the knee area,back and front,before been fixed to the horses body.It's easier doing it this way.
I was using an old wooden spokeshave with a curved face.


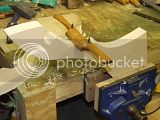
This is just showing the amount taken off.


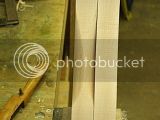
Here are all four legs shaped ready for fitting to the lower body.
Just got to drill and counterbore two holes in each for fixing with screws.
When they are fixed i also need to plane off the angle which will be on top of the legs when fixed to the lower body.
 
Paul.J":2pzkx3i8 said:
i seem to get carried away with what i'm doing and forget to take the pictures,but i will try and do my best with this one :roll:
I know what you mean Paul :oops: :oops:
Looks like a lot of hard/time consuming work involved there.
So who's the lucky recipient going to be ??
Cheers,
Gary.
 
GaryM wrote
So who's the lucky recipient going to be ??
It is actually for a friends,friends Granddaughter.
I've got till June to finish it,but it will be finished early and kept at my friends house till the time is ready.
 
Managed to get the legs fixed on.
These were fixed with glue and two 2-1/2" screws in each leg,after i made sure that they were fitting well into the cut out recess.
All four legs sat flat :shock:


Then i planed :shock: the top of the legs flat and level with the lower body top surface.


Then glued and clamped all four leg muscle pieces on.
These were held in position with a couple of nails while i got the clamps on.The nails will be pulled out when the glue as dried and the holes filled.


So i should next be able to get the middle section fixed on and the top body on so it will all be fixed together :D
 
Moving along quite quickly Paul, your accuracy at marking and cutting is making a tricky task look easy.
 
Thanks for the comments.
You are right Andrew.You can never have enough clamps
I will just have to get some decent ones.Though these have served me well :D

Finally got the all the horse assembled today :shock:

Started off by gluing the middle section together.Making sure i kept it as flat and even as possible,to save on the planing.


Then planed both sides flat/ish ready to take the lower and upper body sections.These are drilled to take a couple of dowels each side and glued.


And here is the horse fully assembled.


Now comes the back breaking part of having to lift it when all the carving starts :roll:

So that's it for now.Hooray i hear you say.
I will just post the odd piccy now and then to show how the shaping takes place.
 
Got back on the Horse again yesterday,not literally :lol: for a few hours,so just an update.

Put my jaw extensions in the vice.These help to hold the horse nice and secure while it's been carved.The horse is held in the jaws by the middle body while the head rests on the bench.


Jumped the gun a bit here.You need to mark center lines all round again,mark in where the rump is to be sawn off,and mark the belly area central.This is to show the the widest part of the horses belly.


Here you can see how the two neck muscle blocks are shaped into one,and how i will eventually round them into the front chest area.


Here you see the difference in both sides of the neck muscles,which will be symetrical when finished,i hope :?


Click on images.
 
Shaping up nicely now Paul, must admit when I saw it at the glued up stage I did not envy you the ensuing shaping chores.
However you seem to be moving at a fair pace and with far more confidence than I would have.
 
PaulChapman wrote
That's looking great, Paul. A lot of work

Thanks Paul.Yes a lot of work,and blisters :( but very rewarding when it's complete :D

CHJ wrote
must admit when I saw it at the glued up stage I did not envy you the ensuing shaping chores.
Neither do i Chas :roll:
 
Thanks Woodchip :D
Here is the progress i've made so far.
Started rough shaping the body,losing all the square corners,blending all the muscle blocks etc into each other.You can now see also how the stomach area is shaped,and the chest area.
Will hope to have the body shaped and finished next week,all been well :roll:


Click on piccy.
 
CHJ wrote
Aye-Up Paul, it'll be out the door if you give it a chance.
I was hoping to get it finished for todays Gold Cup Chas :wink:
 
Thanks Chris.

Well here is the horse at it's latest stage,sanding :roll:
Didn't get as far as i thought with it but it as sanded up well just using 40-60 grit paper,and with a little more shaping along the way.I won't be using Gesso so a smooth finish is required on the wood.
It is almost ready for it's first coat of paint,primer,but i will wait till it is a little warmer for that.
So next stage will be to fit some temporary hoof rails to mark out where the permanent ones will fit on the hooves,mark and cut out the position for the giant staples to hold the stirrups on,and then start turning the pillars for the stand :D :D some turning at last.

Click on piccy.
 
Back
Top