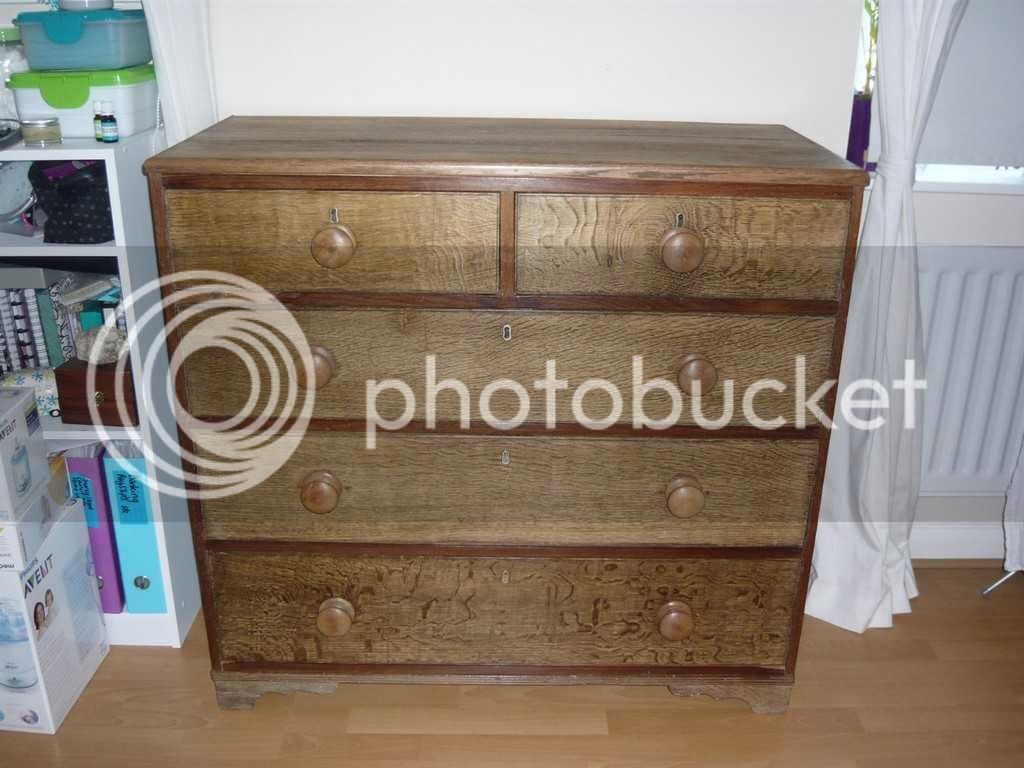
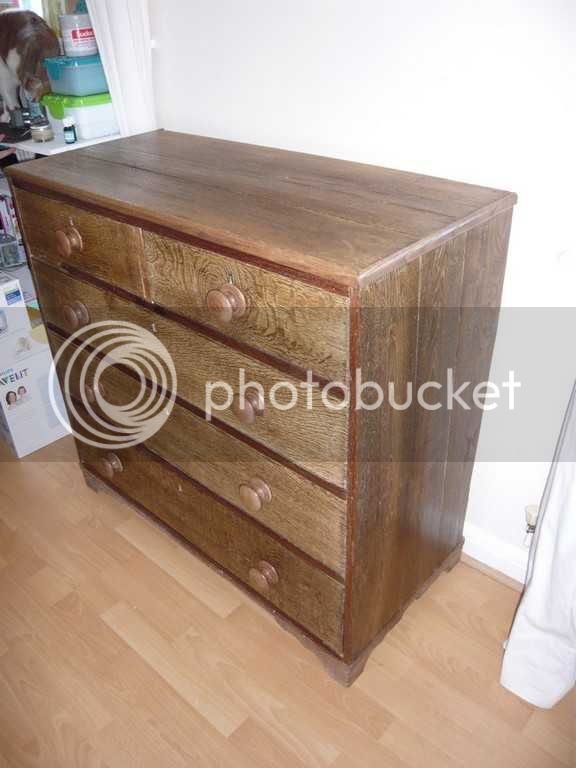
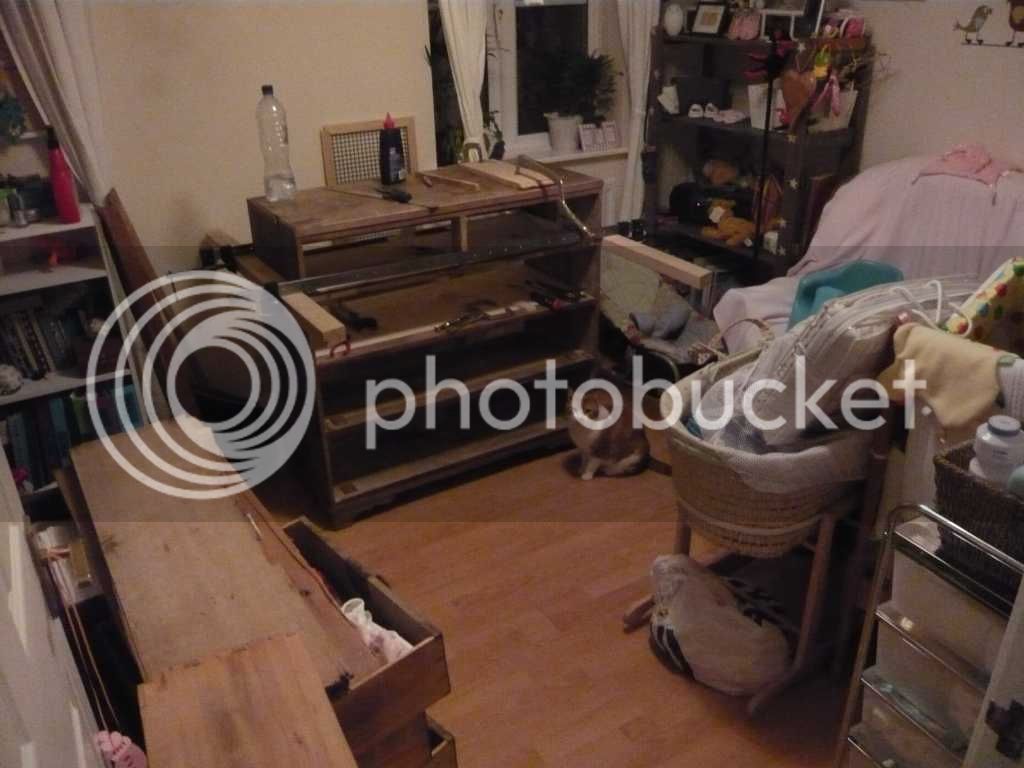
Restoring/Reconditioning A Chest of Draws

UKworkshop.co.uk

Help Support UKworkshop.co.uk:

This site may earn a commission from merchant affiliate links, including eBay, Amazon, and others.
Benchwayze":1n80t8w9 said:
Come on now! Mustn't work on Sinday!

It's raining on you because you are being 'norty'! :lol:

Ha ha, Sinday, ah I have work work stuff to do but cant log on as the server is down. Also my girlfriend is due to have our baby March 20th, due to her blood pressure they may induce her so little one could be here next week if the doctor decides its best, and so why I'm out in my cold garage (well will be again once I've put a casserole on) working out how to replace the slides on the draws. I'm having fun so its all good :D
 
Jacob":3drnicfo said:
19ninety":3drnicfo said:
I wonder if books work on the basis that your operating in the perfect text environment,.......
In the country of the blind the one-eyed man is king (as Ed said in the pub!).
So if somebody says "this is how you do it", he may be believed by default.

True I guess, monkey see, monkey do. Mine dont have any screws holding the bottoms in place, they do however have nice strong glue holding the old slides in place and its proving a bit of a mare to get them off ... but I've worked out a way and its going ok so far... well, one draw is...
 
19ninety":1yjdicwt said:
Benchwayze":1yjdicwt said:
Come on now! Mustn't work on Sinday!

It's raining on you because you are being 'norty'! :lol:

Ha ha, Sinday, ah I have work work stuff to do but cant log on as the server is down. Also my girlfriend is due to have our baby March 20th, due to her blood pressure they may induce her so little one could be here next week if the doctor decides its best, and so why I'm out in my cold garage (well will be again once I've put a casserole on) working out how to replace the slides on the draws. I'm having fun so its all good :D


Ok Forgiven!

Congrats and best of Luck :D
 
Jacob":1qt9djg0 said:
19ninety":1qt9djg0 said:
........ my draws have very neat dove tails on the front but non of the rears are the same size, on one corner alone there are four different sizes and with no logical pattern, though the rear dove tails are for the most part much bigger than the fronts, logic says that this is because the pine sides and rear are thinner than the oak front? .....
That's it - the backs are thin so the DTs need to be fatter for strength and to make up for the smaller glued area. They are out of sight so appearance not so important. A lot of this stuff is like that - the highest quality on the top and faces, maybe only veneer deep, and the knobs, but everything else cheaper. Softwood, nails etc. Fur coat and no knickers!
Also, bigger, but fewer tails = less work when done by hand.
Mine are always done thus, both for this reason and to ring the changes between mechanised and hand work. I think the difference makes the drawer look nicer when it's taken out too.
 
Jacob":11fvva52 said:
Another thing is how the bottoms are fixed. There's a popular detail* which shows a screw in an expansion slot into the back. I think this is cr@p .......................

*This detail appears in several popular books. Just goes to show how unreliable some of them are!

I see why this is a bad idea:

12.jpg


I think these slips have replaced the originals, they are glued to the draw base which has split in the middle. Bit of a learning curve this, perhaps I should change the title to Patching up a chest of draw, I think the title is a little deceiving to forum members skill level :lol:

I've replaced one pair of slips now, and planed them do the draw is sitting square in the hole.

Once the little one is born I might try to get my hands on another chest of draws and "properly" recondition it using a little more time and skill and a little less PVA!!
 

Attachments

  • 12.jpg
    12.jpg
    49.3 KB · Views: 34
19ninety":3nrlclu2 said:
Jacob":3nrlclu2 said:
Another thing is how the bottoms are fixed. There's a popular detail* which shows a screw in an expansion slot into the back. I think this is cr@p .......................

*This detail appears in several popular books. Just goes to show how unreliable some of them are!

I see why this is a bad idea:

View attachment 12

I think these slips have replaced the originals, they are glued to the draw base which has split in the middle. ...
Yes it's pinned at the back and probably glued all round. So any shrinkage will cause a split in the middle. If it had been glued into the slot and unfixed elsewhere it would have been OK - unless it's thin ply, which might need fixing at the back, but would then bend in the middle instead of splitting.
 
19ninety":1afc9kz8 said:
Jacob":1afc9kz8 said:
Another thing is how the bottoms are fixed. There's a popular detail* which shows a screw in an expansion slot into the back. I think this is cr@p .......................

*This detail appears in several popular books. Just goes to show how unreliable some of them are!

I see why this is a bad idea:

View attachment 12

I think these slips have replaced the originals, they are glued to the draw base which has split in the middle. Bit of a learning curve this, perhaps I should change the title to Patching up a chest of draw, I think the title is a little deceiving to forum members skill level :lol:

I've replaced one pair of slips now, and planed them do the draw is sitting square in the hole.

Once the little one is born I might try to get my hands on another chest of draws and "properly" recondition it using a little more time and skill and a little less PVA!!
What seems to have happened there is that the bottom was glued into the front and fixed with nails at the back: unable to move at all, all the bottom could do was split.
I've sometimes wondered about the efficacy of expansion slots at the back myself, but can't think of a viable alternative which appeals. These seem to be: (i) leaving them unfixed altogether and risking sagging in the middle. (ii) Screwed without slots at the back, but unglued in the front groove (this works provided you don't mind an annual maintenance job of unscrewing and adjusting according to movement).
Unless anybody as other suggestions?
 
Make the bottoms thick enough so that they don't sag at the back. That's how it's done traditionally. That's why they are fielded - so that a thick panel can fit in a thin slot.
If that's not stiff enough the next thing is to fit a muntin and divide the panel into two.
After that its an extra middle runner, with or without a muntin in the panel.
 
Jacob":v09re3sb said:
If that's not stiff enough the next thing is to fit a muntin and divide the panel into two.

When a muntin is fitted, is the panel literally divided in two and slotted into the muntin? Or does the one piece panel just sit on top of it?
 
The ones I've seen are made up as two panels. Typically the wide drawers at the bottom of a chest of, or a wardrobe.
The muntin could match the slip details e.g. if slips are flush or moulded then edges of muntin would be too.
I suppose it'd work OK as one panel over a muntin as you suggest, but I can't say I've seen this. Well you wouldn't from the top anyway!
nb not sure if muntin is the right word for this.
 
Jacob":3ceovn85 said:
nb not sure if muntin is the right word for this.
It is, and as you say, the panels panel (drawer bottoms) fitted in to a groove on the two edges of the muntin. Typically the muntin edge matches the profile of the slip if there is a slip. If there is no slip then the muntin's edge profile can be whatever is appropriate. Muntins are generally carcase dovetailed into the back face of the drawer front and reinforced with glue and a screw driven up through the dovetail into the drawer front. And the back end is notched to fit under the drawer back, with this notch too being glued and screwed up into the back's bottom edge. Slainte.
 
Jacob":fldj38iz said:
Make the bottoms thick enough so that they don't sag at the back. That's how it's done traditionally. That's why they are fielded - so that a thick panel can fit in a thin slot.
If that's not stiff enough the next thing is to fit a muntin and divide the panel into two.
After that its an extra middle runner, with or without a muntin in the panel.

I didnt ask though I had thought and assumed this was the reason the draw bottoms in mine were tapered out at the edges:

13.jpg


Well, worst draw is nearly finished, just have to add slips to the bottom, there is a couple of inches missing off the top of one of the sides but I have enough salvaged wood from the removed duastboards to repair it at a later date .... time critical now as girlfriend is in hospital and due to be induced Saturday so have to get this all finished quickly.

14.jpg
 

Attachments

  • 13.jpg
    13.jpg
    53.1 KB · Views: 41
  • 14.jpg
    14.jpg
    67.5 KB · Views: 41
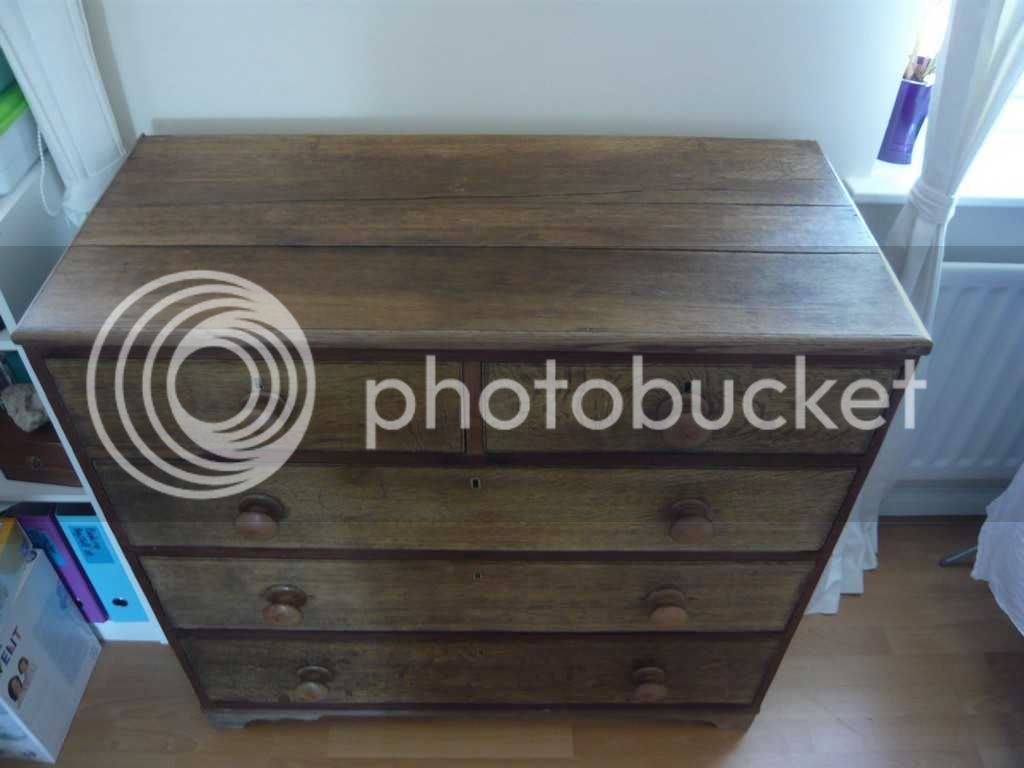
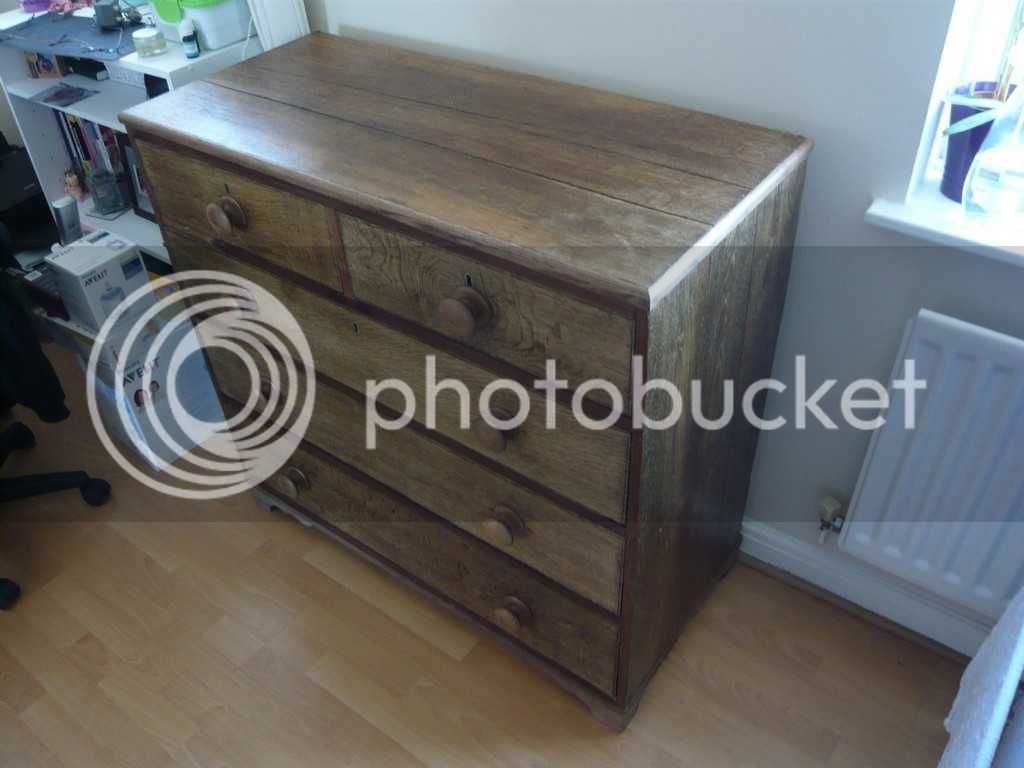
Well, two updates, our daughter was born on March 10th and I have finished the chest of draws!
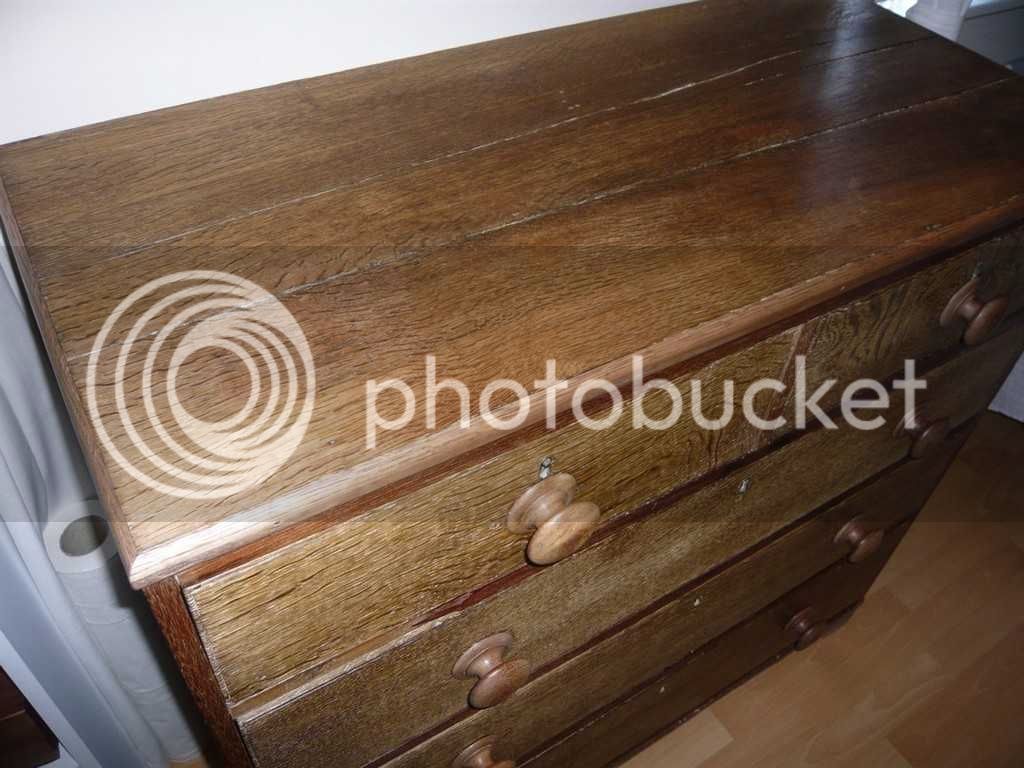
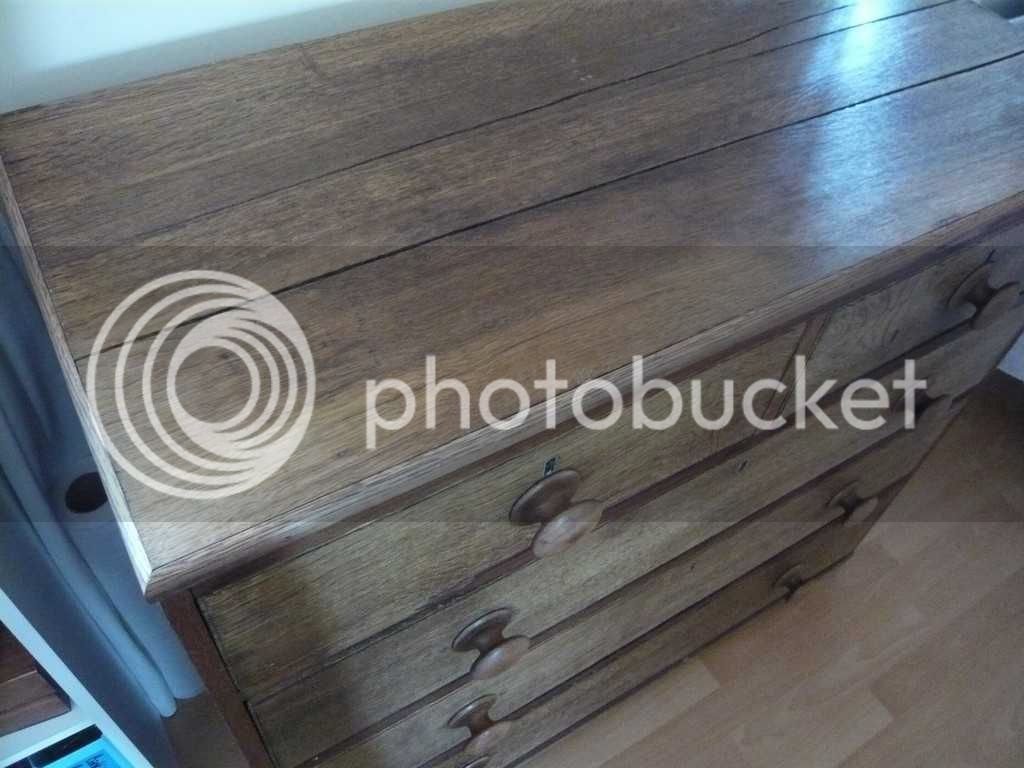
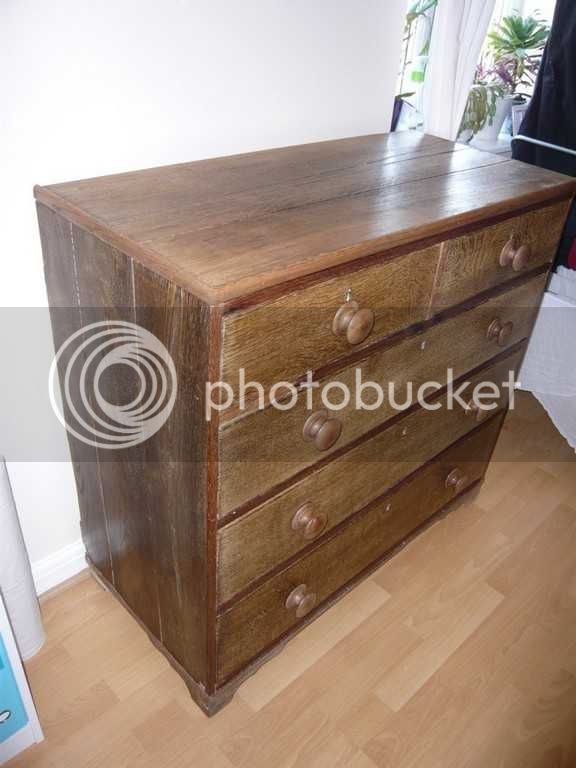
I have replaced the top molding/beading with a new hardwood one. The original had been replaced in areas with random bits, so repaired the bottom molding using the top one and bought some hardwood molding from Wickes and treated with Colron American Walnut wood dye (closest thing I had colour wise to the dark aged oak).
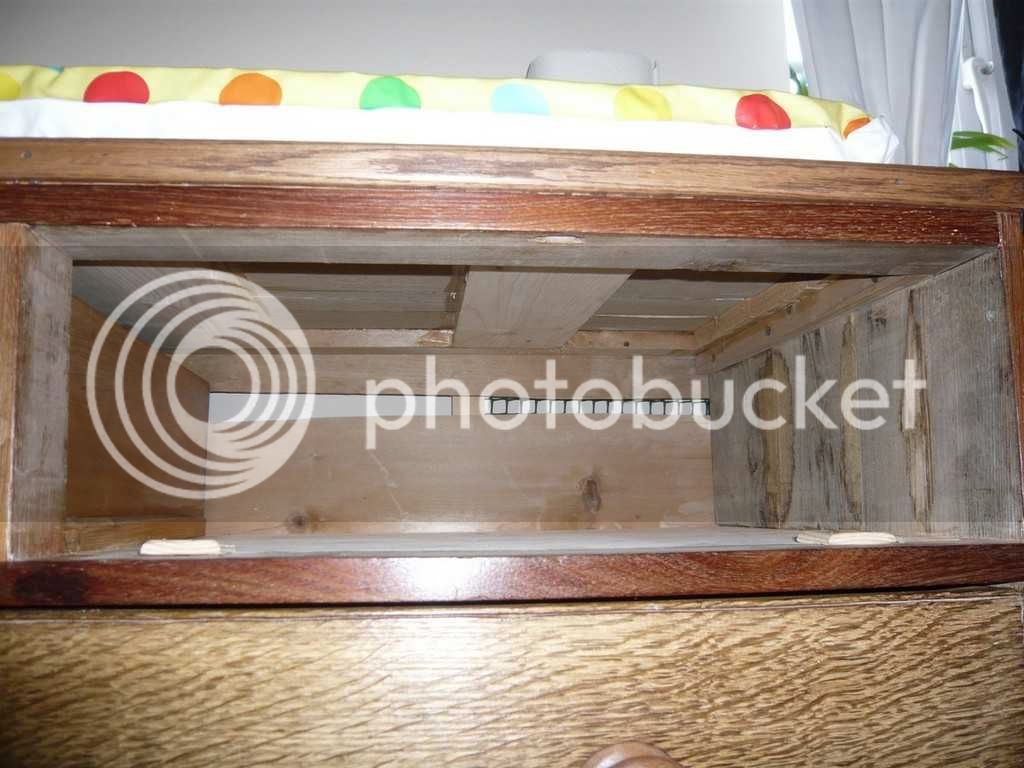
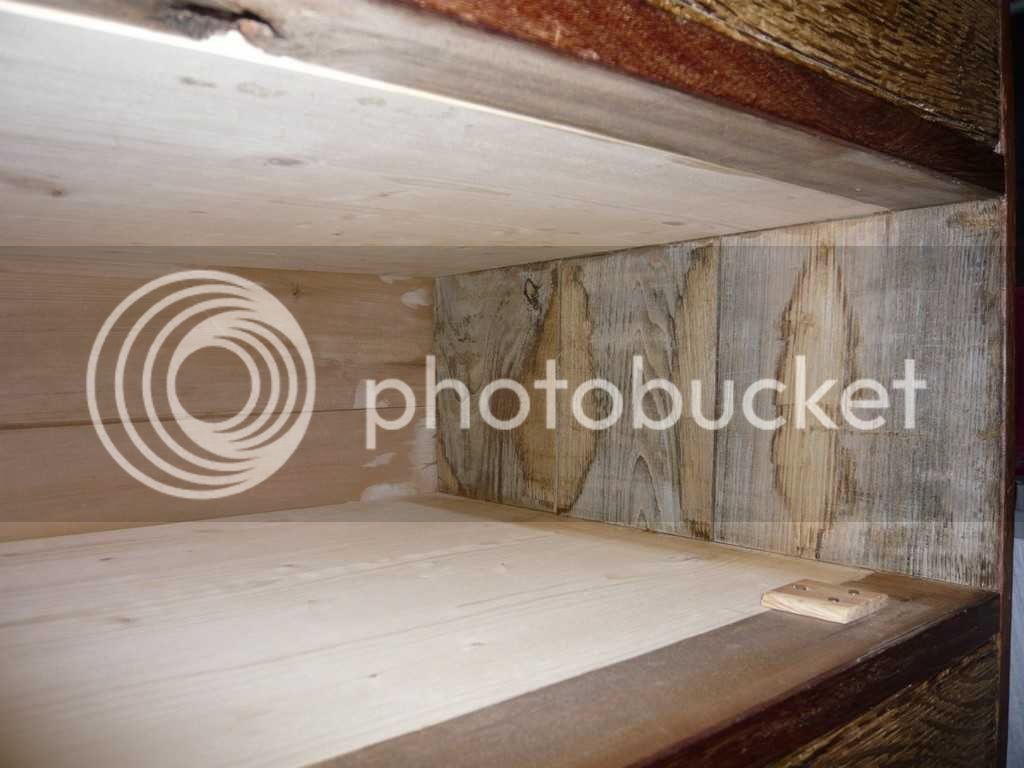
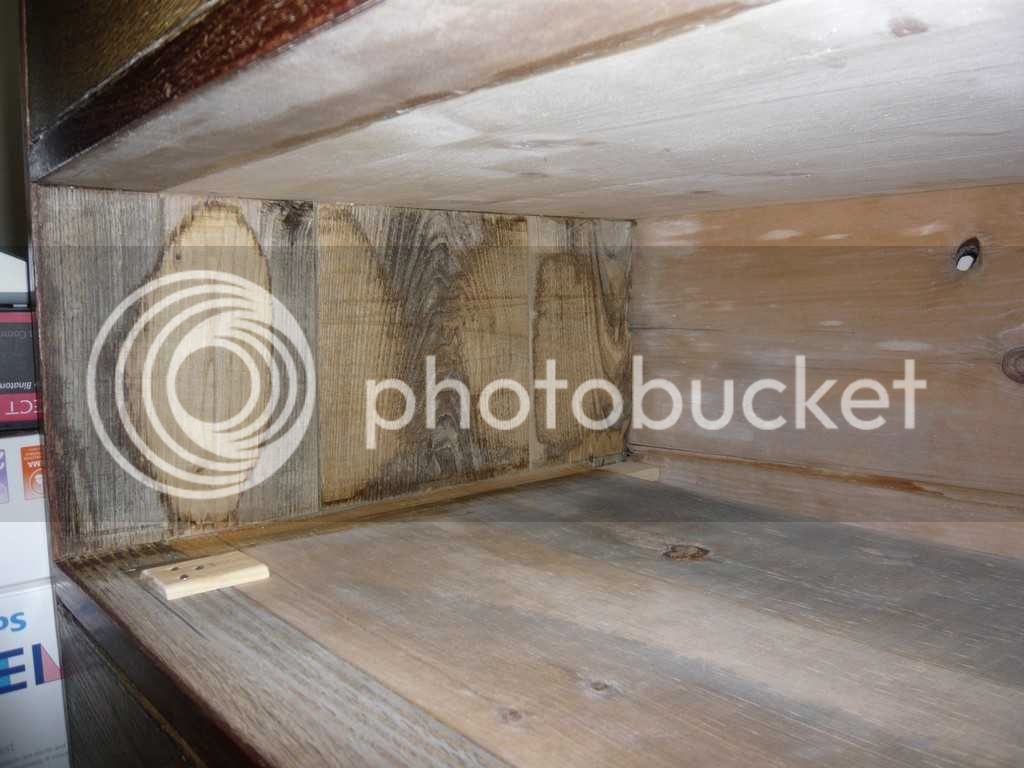
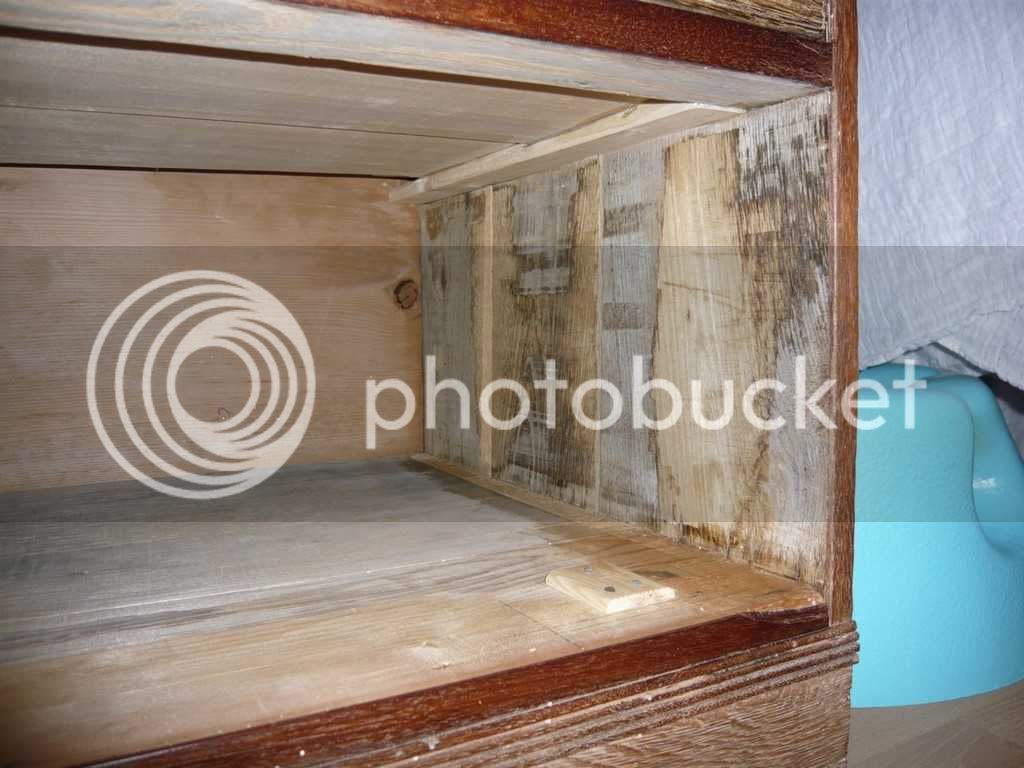
Where the dust draws were replaced I PVA'd them in to the groves for two reasons: the side boards were bowed out and distorted and also to add strength to the whole thing. As the boards are warped the insides needed to be planed down so the draws would fit again.
There was a heavy build up of old wax and polishes, all removed with wax remover and wire wool.
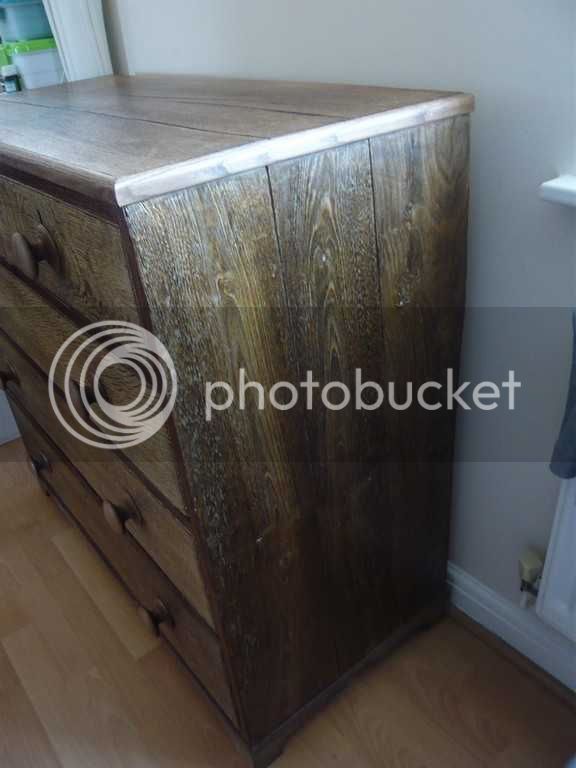
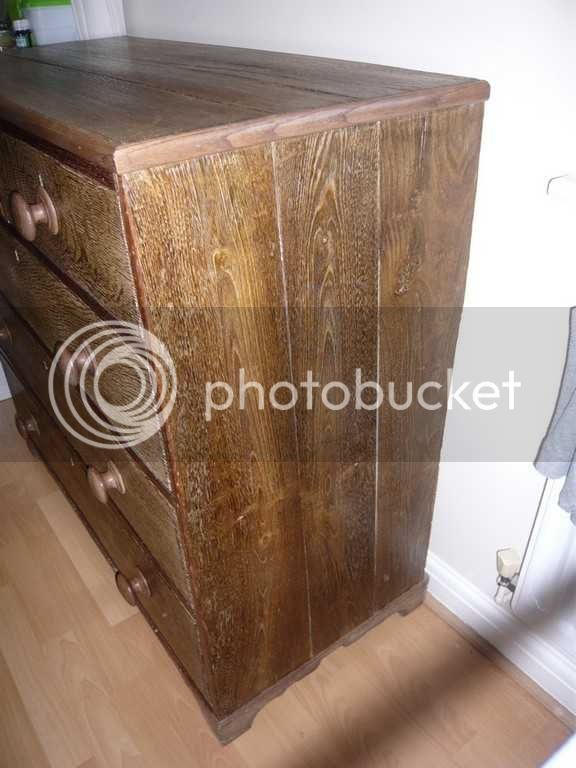
The top and sides were all sanded back lightly with 120grit (as wood appeared stained/dirty) and then wire brushed (to get as much of the whitewash out the grain and also to give some texture to the wood) and then bladed ready for waxing.

The whole thing is finished in Beeswax and it looks a LOT different than when I first got it colour wise. There appears to be a thick veneer on the front surrounding the draws, I think this may be teak? Its quite dark and red now waxed. The sides of the chest of draws are very dark in colour and when working them were noticeably harder too.

All in all its taken a fair few weeks of doing bits here and there but its been well worth it and has been a lot of fun learning along the way!!

Lots of photos:

124.jpg

123.jpg

122.jpg

120.jpg

119.jpg

118.jpg

117.jpg

116.jpg

115.jpg

114.jpg

113.jpg

19.jpg

17.jpg

16.jpg

15.jpg

14a.jpg
 
Congratulations on the birth of your daughter!

Nice chest of drawers. Just the right height for the baby changing mat!
 
Back
Top