Restoration? Let's talk chisels

UKworkshop.co.uk

Help Support UKworkshop.co.uk:

This site may earn a commission from merchant affiliate links, including eBay, Amazon, and others.
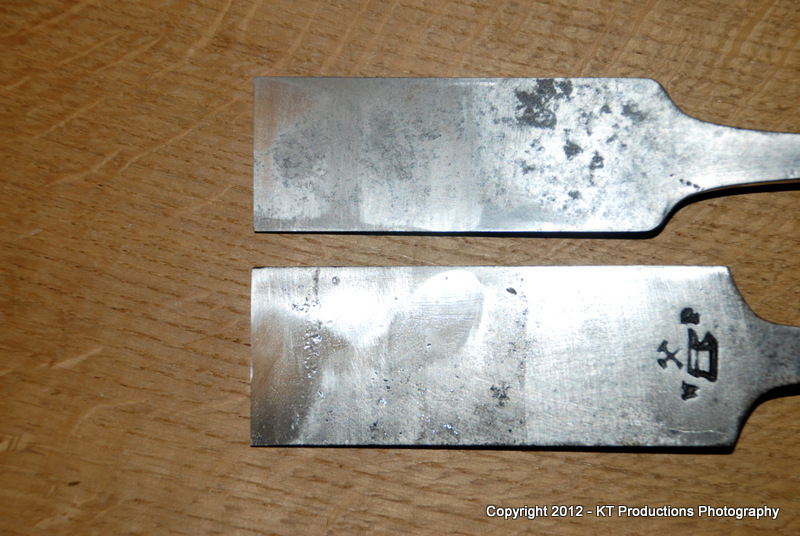
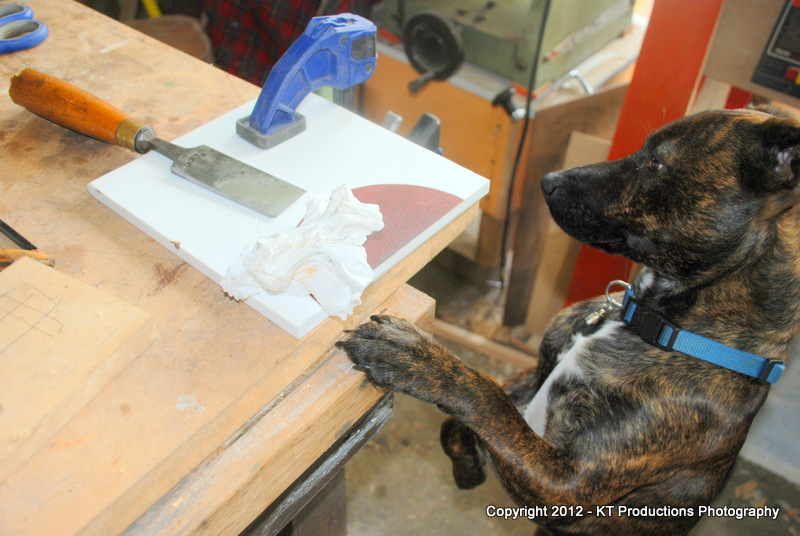
Today I decided to see if this old Marples steel was up to scratch...and so I set about sharpening the bevel.

Now there are probably as many views on how to sharpen bevels as there are chisels so I won't go into the best way of doing this...rather just show how I choose to do it and the results.

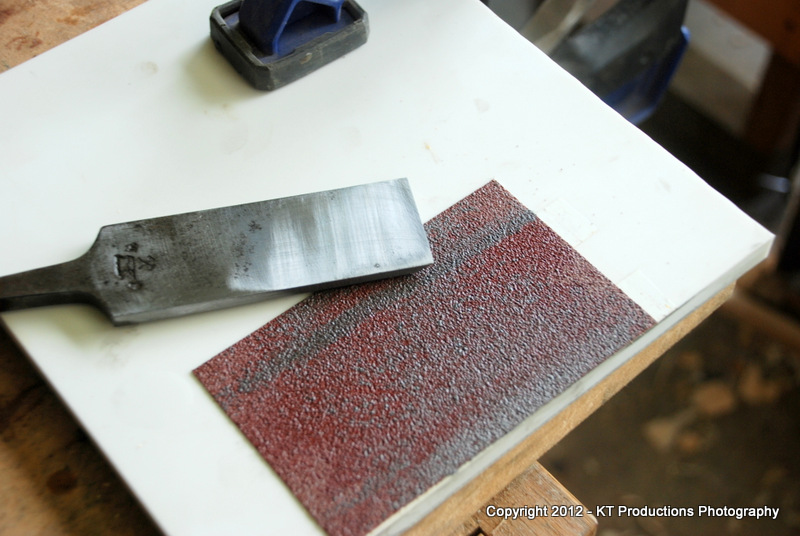
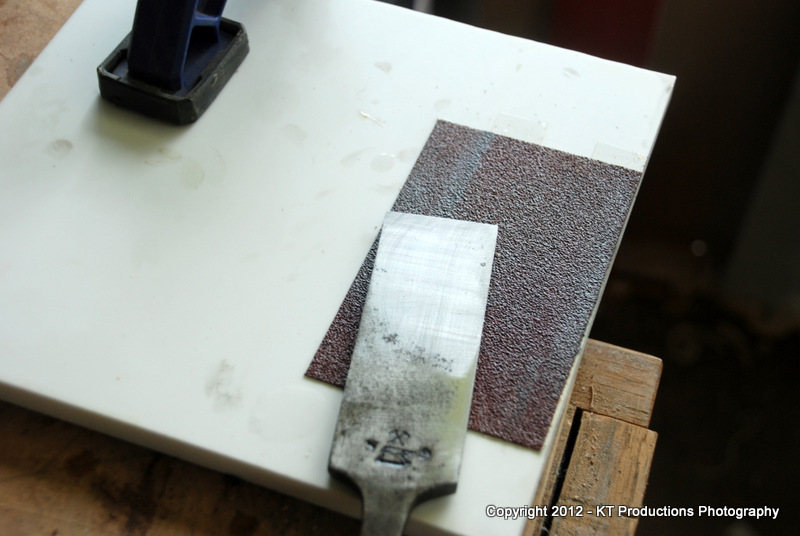
After roughing out the bevel on the side of the Tormek...just rolling it flat...I polished it on a flat piece of MDF with some MAAS as the abrasive.

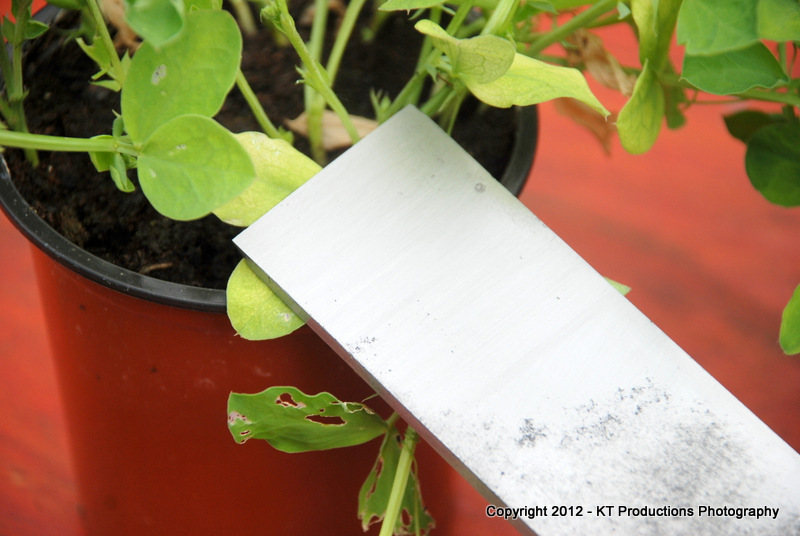
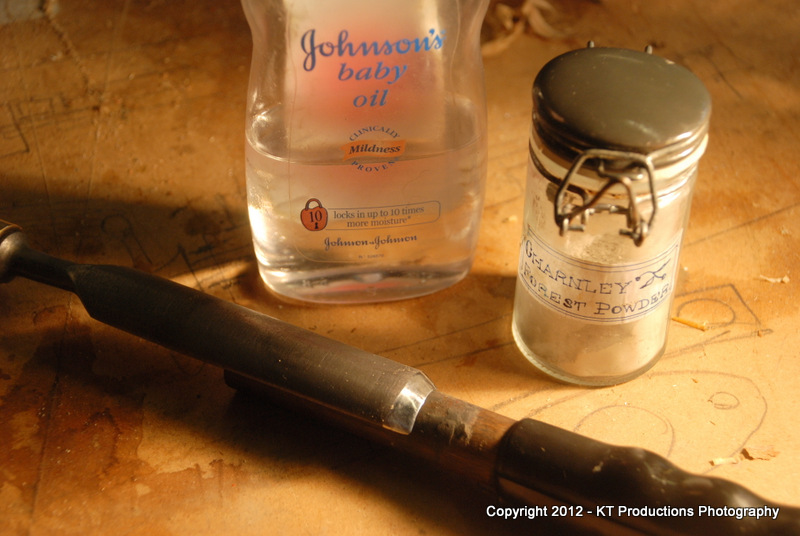
Then for the important bit...the inside of the gouge. I have been meaning to find a suitable candidate to test a new honing idea I picked up from the Sweeney Todd brigade...that is using the powder from a hone flattening session to create a lapping paste. I came up with this kit:

DSC_1143.JPG


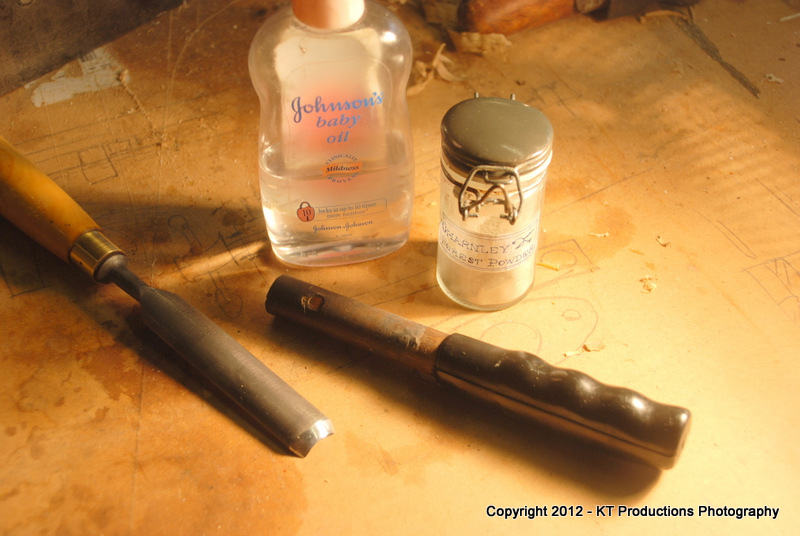
Using the theory that any old carrier fluid/paste will do I chose Baby Oil because it was handy (and as others say, smells nice!). I placed a pinch of powder into the gouge near the edge...added a few drops of oil to the (suitably sized) dowel and mated the two....

DSC_1141.JPG


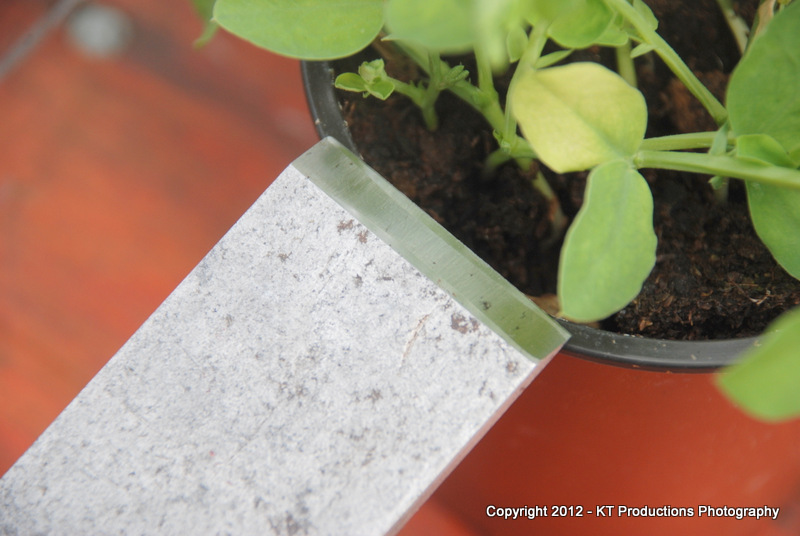
Rubbing back and forth whilst taking care to keep the dowel flat created a very sharp edge indeed.

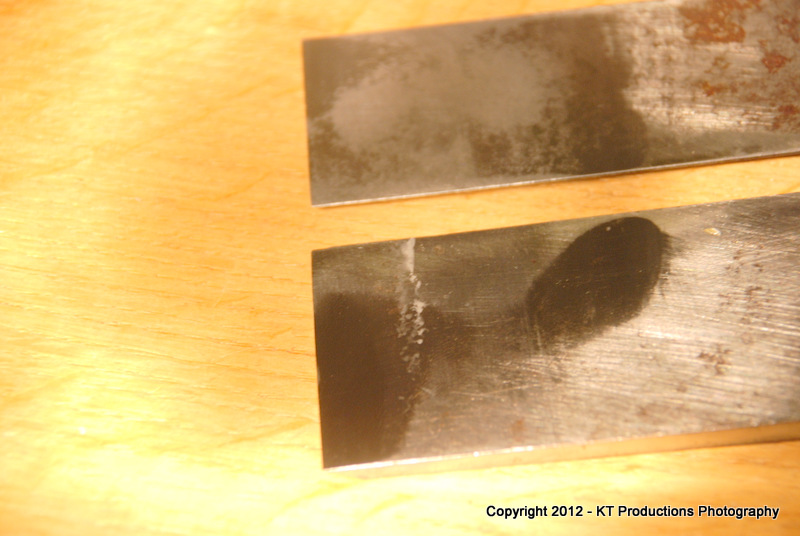
You can just see the highly polished band here:

DSC_1137.JPG


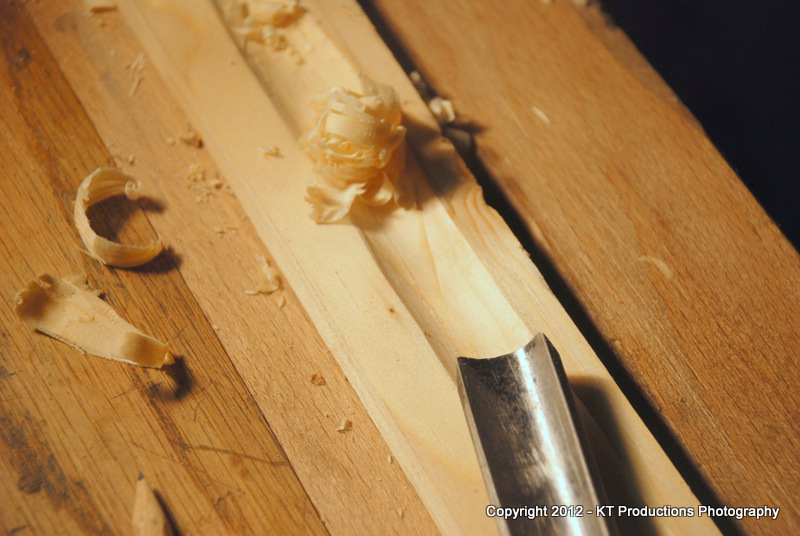
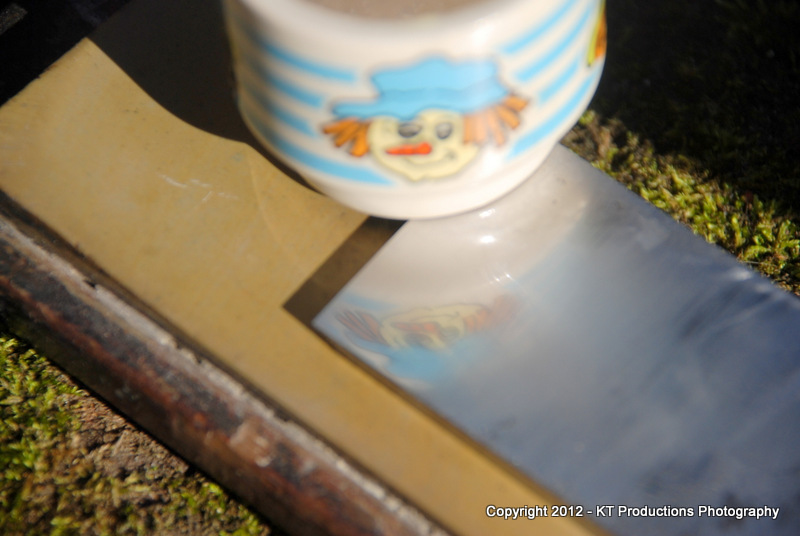
...and following two pencil lines, the gouge made a nice job of this softwood. It was very controllable and needed just hand pressure...no tapping at all....

DSC_1136.JPG


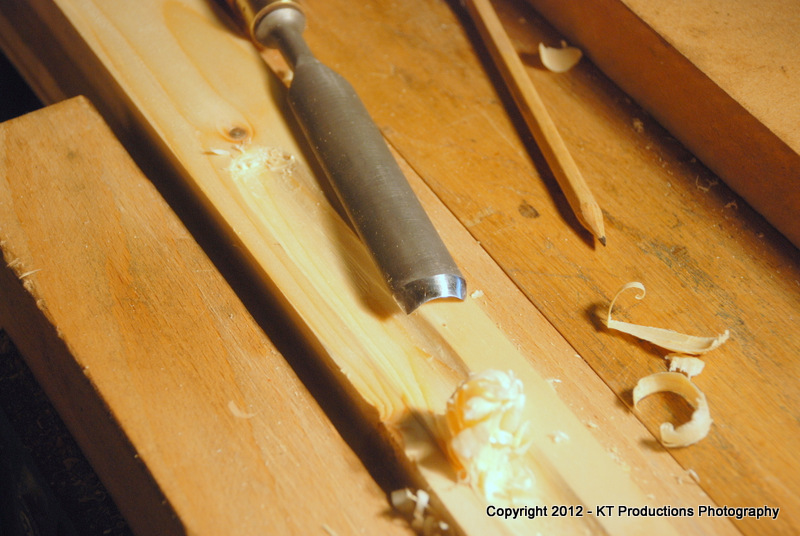
I'll test it on some hardwood but I have no doubt that it will be fine. After this workout, the edge was just as sharp and so holds up well.

Jim
 
.

Wonder Jallop indeed,

But going back to the original post and the impressive results obtained with that rusty old chisel, I’m tempted to ask where rust ends and invasive corrosion begins.

It doesn’t appear to me that it can get to grips with serious pitting that may be lurking unseen beneath a layer of relatively benign rust.

Any observations on that one?


.
 
Argus":3hd544gf said:
.

Wonder Jallop indeed,

But going back to the original post and the impressive results obtained with that rusty old chisel, I’m tempted to ask where rust ends and invasive corrosion begins.

It doesn’t appear to me that it can get to grips with serious pitting that may be lurking unseen beneath a layer of relatively benign rust.

Any observations on that one?


.

If the pitting is clear of the cutting edge, it probably doesn't matter much. If it can be ground out of a cutting edge without too much work, ditto. If it's a really heavy infestation all around the cutting edge - scrapper.
 
Argus":3ebfor8y said:
.

Wonder Jallop indeed,

But going back to the original post and the impressive results obtained with that rusty old chisel, I’m tempted to ask where rust ends and invasive corrosion begins.

It doesn’t appear to me that it can get to grips with serious pitting that may be lurking unseen beneath a layer of relatively benign rust.

Any observations on that one?


.

In actual fact Argus...the key is to have a look at the business end when you are checking out rusty examples at a bootfair. I usually run the edge of a coin or something like that across the edge to see if there is serious pitting which extends back a way.

This is generally an indication of a chisel worth avoiding...you will not be able to recover it without seriously cutting back the bevel and on the flat side, if serious pitting extends far back this will always form the "edge" and will lead to a poor cutting edge...however far back it is ground.

Surface rust on the flat side is nothing...it will probably need to be flattened anyway. I'm not saying that you cannot grind down both sides to get to clean metal..you almost certainly can...but it's just not worth it with so many good examples available for next to nothing.

Jim
 
Just a thought, you could try filtering your used chemical through some fine aquarium filter wool/floss to remove the debris/rust. Assuming it doesnt dissolve it (?) it should save throwing some away. Maybe an old tea strainer would be a good floss holder.
 
Jimi,

I have a Maples boxwood handled, 1.25" chisel that has 'warts' on the face. I am scratching my head as to how I can flatten this. A water stone wouldn't touch it, and my wet-stone grinder isn't coping well either; plus it isn't comfortable using the side of the wheel. I can't really see any point in honing it, until the face is flat, so I thought of getting a dreadnought file, to see if that would remove these 'warts.

I have often seen pits in a chisel, but this is the first time I've come across raised lumps that I can't describe any other way, than as warts! :mrgreen:

Any experience on this? I thought I might find that for some reason the metal hadn't been forged properly and was separating somehow, in which case it would be scrap. But Marples are such a reliable brand, I am persevering. So far, btw, I haven't come across anything disastrous underneath these lumps and the chisel is in otherwise excellent condition; probably dates from the 1940s/50s.

If it's anything half as good as the 2" Marples I got from the same place, it will have a place of 'honour' on my chisel rack!

So should I invest in a dreadnought file, or wouldn't that touch it?


:D
 
Hi John

From your excellent description...I can only assume that there was an impurity in the steel which is always the centre of growth for oxidization. Over time this has grown outwards as a "wart" as you so eloquently describe it.

These are likely to be very hard oxides of iron which will be difficult to remove. My suggestion is to try to knock it off to the surface as much as you can with a hard piece of steel...bearing scraper or HSS tool of some sort. If it's way back from the edge I would then leave it. Whatever you do will only be cosmetic...and as long as the wart is excised at or below the level of the surrounding steel...it will not interfere with the function of the chisel.

If that doesn't work a grinder on a Dremel might do the job.

The corroded or damaged part will not come into play and cause problems until grinding of the bevel recedes the edge so much as to approach that area..so I wouldn't worry about it.

A picture would be a great help though.

Cheers mate

Jim
 
jimi43":1b82hr9d said:
Hi John


A picture would be a great help though.

Cheers mate

Jim

Thanks for the aid Jimi.
I'm not very good with pictures, I have to take them out of my gloomy shop, into the light and the neighbours think I am a lunatic, photographing bits of wood and tools! :mrgreen:
Mind you in the words of the Prophet... (See your signature!) S*d 'em!. I'll do me best!

:D
 
If it's hard enough John. I wouldn't risk any good file on it. Dreadnoughts are very good for shifting lots of metal quickly but only soft metal.

When I have major re working on hard blades to do I stick rough emery cloth to a flat board and merrily while the evening away ... changing cloth several times in some cases ...
 
Richard T":24edpziw said:
If it's hard enough John. I wouldn't risk any good file on it. Dreadnoughts are very good for shifting lots of metal quickly but only soft metal.

When I have major re working on hard blades to do I stick rough emery cloth to a flat board and merrily while the evening away ... changing cloth several times in some cases ...

I started to suggest this too Richard and then stopped because I think John is talking about only one spot...and that should be solved by just knocking it off or maybe grinding a tad below the surface to get the flat back again.

Whilst rubbing the whole back through the emery flattening process will undoubtedly work...I think it is probably a bit extreme for this occasion and would warrant progressive work through the grits to get the flat back again..with all the inherent dangers we know that can result very easily. :oops:

If you could just grab a shot John, I think we can give better advice on this specific problem.

Jim
 
Hi Jim, Richard,

Here's a pic. Hope it's okay to see the state of the face.
Excuse the old bench please! And my shaky writing. I don't have a 'tablet' and pen-mouse.

:D :D
 

Attachments

  • Chisel.jpg
    Chisel.jpg
    160.3 KB · Views: 870
  • Chisel002.jpg
    Chisel002.jpg
    107.5 KB · Views: 868
Thanks for the pictures John...makes things far more easy to advise.

I would say that the back of that is in pretty good nick overall. I can now say I would do as Richard suggests....flatten the back completely starting with fairly coarse wet and dry and working up the grits to take out the high spots and even everything out. I would also grind the bevel back beyond the damage to the edge.

I have two that are in far worse condition and ultimately will become fairly unusable but are worth saving as they are so beautiful....

DSC_1147.JPG


Notice how the first inch back from the edge needs little further work...beyond that...is badly pitted. The Ward and Payne one (bottom) is especially worth saving as the steel is gorgeous and even with this initial work...is razor sharp.

At first I thought that the edge would be flat all the way across but there is a very slight dip near the top of the edge in this picture as you can see....otherwise....

DSC_1150.JPG


...it is now as flat as a pancake. I'm going to start again and take it right down...then refinish to a fine edge.

As you can see...the pitting beyond that is extensive and once the grind gets back to that part...a decision will be made as to whether to take more drastic action.

Notice also on the Ward...the high spot that is coming down at the same time as the edge...this is where most of the work will be...

The key to flattening is to make absolutely sure that the back is flat on the abrasive and the abrasive is on something flat like plate glass or MDF....Corian is also wonderful for this.

Make sure that pressure is put on the chisel further back as well as the edge you are flattening as it is remarkably easy to lift the blade and create a back bevel which is a nightmare to get out!

Above all...do not worry at all about hollows behind the edge...Japanese chisels are made like this....it makes flattening far easier.

Hope this helps.

Jim
 
Aha ... a picture is worth a thousand words and if the neighbours don't understand, well .... y'know.

Yes, this looks like the many, several chisels (not to mention plane irons ....they're wider and worse usually) that I have spent many hours on getting that flat side into a flat, shiny condition. Rust pitted usually. There are doubtless several ways but as I have said, rough emery, stuck down hard to a flat surface is what I use. Then you can stone, with whichever stone, in the normal manner.
The area marked "yuck!" and maybe slightly encroaching into that marked "hollow" is all you need to worry about getting flat though ... as Gazpal has stated before - you don't need the entire back flat; just enough to be flat behind the edge. This will increase every time you sharpen and take off the burr on the flat side. So by the time you get to the area marked "pit" the year will be 2095 and we will all be driving flying cars.
Looks like a damn good'en btw.

Err... what Jim said.
 
Thanks Jimi and Roger.

Errr... What you both said Gents! :lol:

It seems my Tormek did a better job on the warts than I recalled! As you say Richard the chisel is a good'n. The steel has that lovely grey cast to it, and it just 'feels' proper. Can't explain it any better than that. I just know that the steel actually 'feels' different in texture to new chisels.

BTW, it's a beech handle I think, not box. I was getting confused with my trusty old 1" Marples.

What you can't see here is the other side of the handle. Sometime in the past a couple of wedged splits got filled with something cream in colour (Could be Brummer or some kind of resin/epoxy) But as it was neatly done and well smoothed out, it's just cosmetic. I think I'll leave it as part of the chisel's chequered past, and not use this particular one for jobs that require more than a tap with a malletr. (Not that I indulge in heavy 'malleting' with my bevel-edegd chisels anyway!) As I said, if this one is half as good as its slightly larger brother, it's a keeper/user! (Got it from a site that specialises in oldtools. :wink: )

Thanks again for the excellent advice. I'll post some results asap. :D
 
I just thought I would give you some encouragement John....given that my lovely old Ward was much further gone than yours...

First you start with some pretty coarse paper...the key is always to keep the paper flat..and stuck down as it mustn't rumple up and the substrate must be as flat as Twiggy. :mrgreen:

So..off we go..you can't get rougher than coarse belt sander stock...

DSC_1160.JPG


Some 60G just because that's what I picked up for pence at a bootfair...cut up because I don't have a sander that size!

See how after only a minute or two a vast amount of steel has been removed...so much in fact that even that pitting just back from the edge has disappeared. But look how undulating the back is...probably was from day one! The edge has certainly been rounded over at some point...but not enough to worry about...remember...keep the steel flat!

There is a very hard oxide lump on the right...you can see it in this light...

DSC_1161.JPG


It is so hard it acts as a little mountain of obstinate material...the abrasive won't touch it, but it's so far back I think I will just leave it.

Note how the Corian substrate is firmly clamped down...

DSC_1154.JPG


Bench dogs are not much use here! 8)

Going down the grits...I go across the edge when flattening...eventually gets it all down to the same level....

DSC_1162.JPG


Note that the pip is still there creating a little island!

I went as far as going to Mr Charnley.....but you don't have to...it was soddin' sharp at 120G and there are those who think that polished is a waste of effort...

DSC_1167.JPG


I decided to go that far as I wanted you to see the difference...and most importantly...how flat it is! There is no distortion in the reflection!

On the bevel side...I am a great advocate of just following the bevel to hone...

DSC_1164.JPG


You can see how the bevel curves slightly...the hone reflection thins out at the extremes. By the way...that's a bit of compost on the bevel...not rust...stupid backdrop that was!! :oops:

Hope this helps...I have put Mr Ward away somewhere safe...it is blinkin' sharp! :shock:

Jim
 
Thanks Jimi.

Assistance over and above the call of friendship even!
Next time I have the camera in the shop, I will take a pic of the way in which I keep chisel edges from accidental contact with flesh. I save old leather wallets to help me here! (Of course old wallets have plenty of uses in the shop anyhow!)

Thanks again Jimi and take care :)

Here's the best chisel in my box.
Just to illustrate the means of avoiding nasty encounters with a razor sharp edge.

Hence the collecting of old wallets!
 

Attachments

  • Chisel003.jpg
    Chisel003.jpg
    209 KB · Views: 801
Thanks for posting this Jimi, inspired me to dig out a few chisels my grandfather gave me last year, and a bottle of Shield 'Restore' rust remover from Secret Santa 2010. I've got a bit of pitting to remove (need to get some coarser paper) but I'm hopeful that I can get some use from a couple of box handled firmers, one by R.Melluish of Petter Lane EC4 and one by R.Sorby. Any tips on handle repair - both have missing bits around the butt from heavy hammer use...
 
Back
Top