(trying to stay just about 'on-thread' here as it's about not having joint gaps to disguise in the first place :shock: )
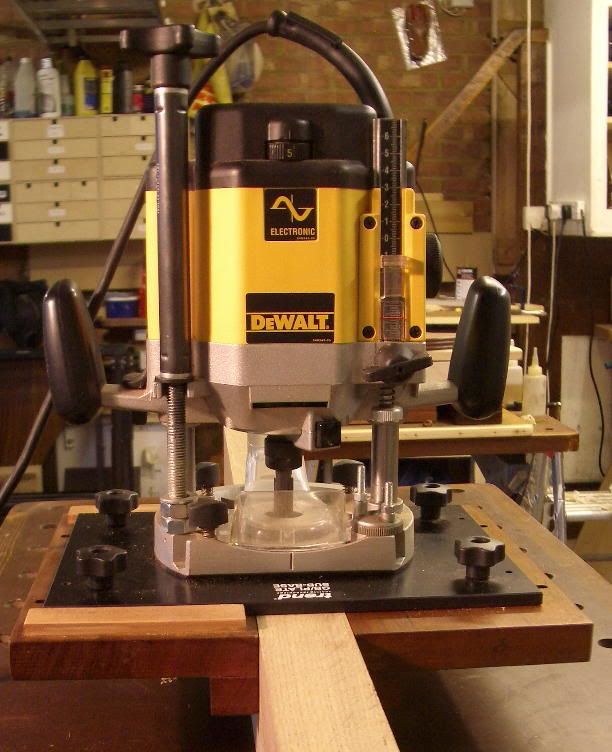
If I had the nerve I might use the router more for this kind of thing, but I feel that a mistake with a router will tend to be a big one, and also set-up time is longer (fine if you are doing quite a few).
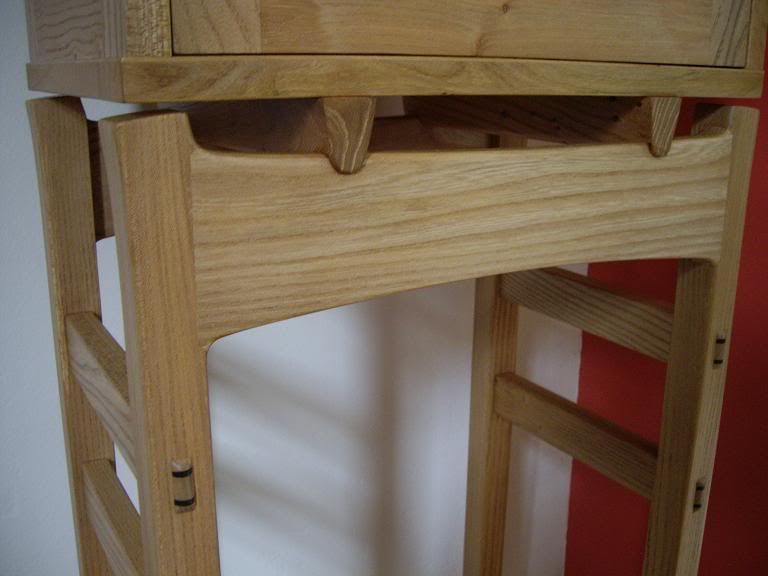
I'm aware how rarely I use pig stickers for morticing, particularly in more precise work - but I would probably scribe the final line and one a little inside of that (or just don't work right up to it), get the bulk out then a bench b/e to clean the ends and then paring chisel to clean the sides. Also absolute accuracy of mark-out both sides is imperative. I did a small table recently with legs through tenoned - a fair challenge as the mortices must be very clean edged but also the 4 have to be positioned exactly relative to each other. The final challenge is possible break-out as the tenons emerge on the face. Another thing is marking tools that make it easy to start and stop a line bang-on, and many marking and cutting gauges aren't great for that I find.
Certainly not saying this is 'the' way, just a way. Very happy to consider others.
But the point about incorporating details that manufacturing can't do (not economically anyway) is of real interest to me - worth a thread in itself I reckon.