Post a photo of the last thing you made

UKworkshop.co.uk

Help Support UKworkshop.co.uk:

This site may earn a commission from merchant affiliate links, including eBay, Amazon, and others.
Only half finished, but the major components are ready. It's gonna be a tilting router lift:
15738479113_a689b576ee_c.jpg
 
Interesting, I would like to have something like that to do mouldings for picture framing.

(Any one here at this forum got a moulding plane machine?)
 
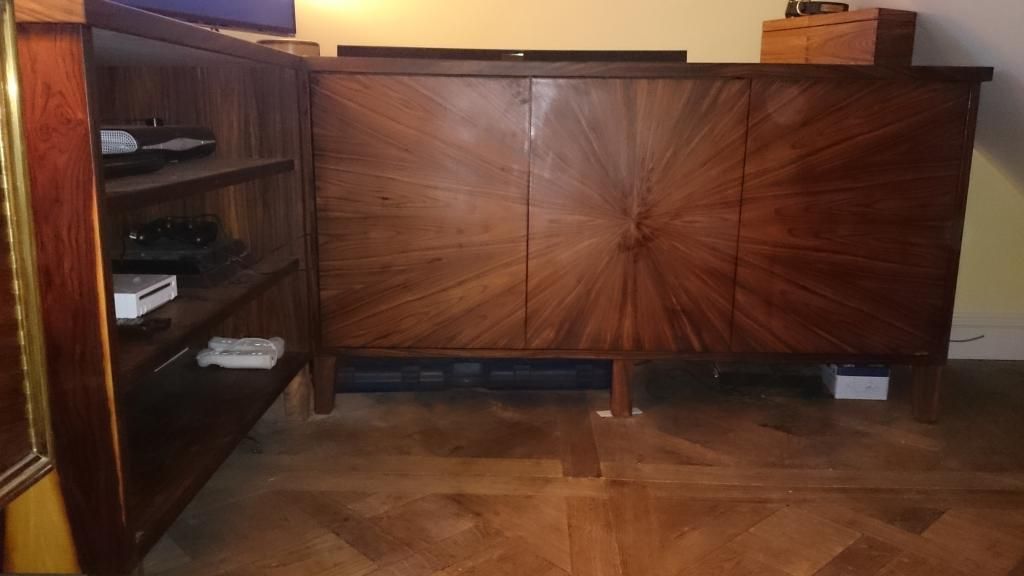
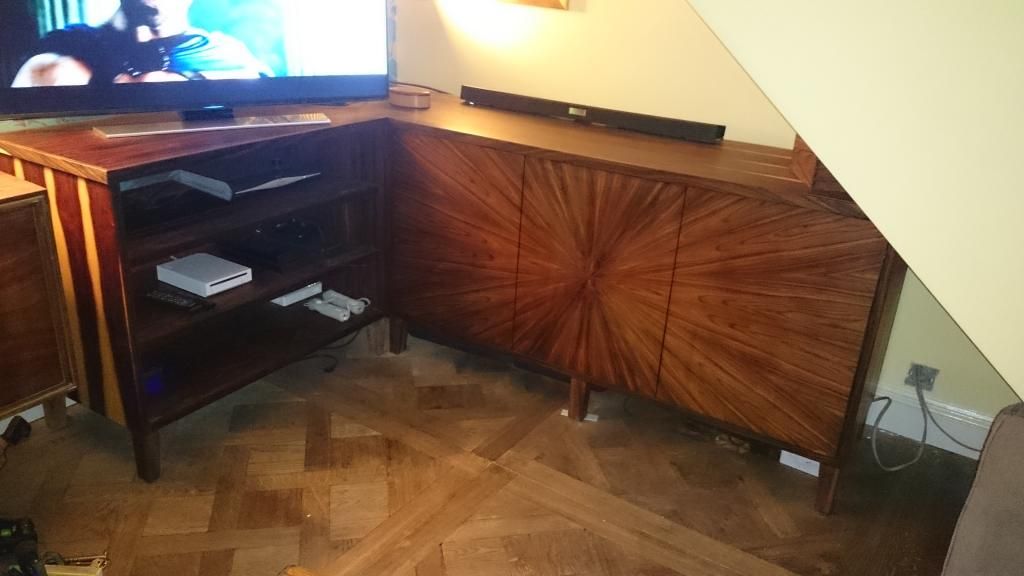
Hi, here is a picture of a media unit and sideboard I just completed for my house. It's Rosewood & cocobolo veneer. I would like to be able to say I did the veneering, but it's a bit beyond me and my set up here, so Shawyers did it for me. I did all the lipping and finishing and everything else however.


Cheers Mark
 
markturner":215lju4w said:
Shawyers did it for me. I did all the lipping and finishing and everything else however.

Stunning job too, very nice. Could do to trim that bit of cardboard packing the middle leg though :wink:
 
Thanks, yes, its not quite finished yet, I need to find a permanent solution to raise the centre leg and apply another coat of oil and wax etc. I just grabbed some quick photos on the phone after I got the doors on, will try and get some posher ones when totally finished, also showing the top, which is lovely.

PS, I meant Shawyers did just the veneering, I did everything else, designed, made all the panels & doors, lipped, cut to size, jointed etc
 
Mark, the visual impact of that veneer is stunning =D>
Was the way in which it has been done your choice ?
 
No worries, I realised that mate!
We have a 1920's french deco sideboard next to it with sunburst veneered doors, so I wanted to make something similar, but different.....
So yes , I spent much time figuring out the design and choosing the veneers.

cheers, Mark
 
First big thing I have done in my new workshop. Library steps... in sycamore with ebony inlays / trimmings.
The was done by glueing up 2 x 35x70x1500mm pieces, then when dry cut square to 65 x 65mm, then made octagonal, then 16 sides, then 32, then I had a moment of inspiration - due to not having a 5 foot long lathe bed. My lathe is a very heavy old coronet major - so I drilled a 6.5 mm hole in the end of the pole, then screwed a 6mm short bolt with the end cut off into the wall at the same height as the lathe spindle. Then mounted the pole and had it turning on the slowest speed. It was quite stable so I just sanded it - starting with 80 grit and ending up with 600 - it worked very well. The ebony ball I made from some odd pieces of 32x32mm, glued up with CA glue, then turned gently using a cardboard semicircle as a guide. The 6 curved rails were laminated in a former 2 at a time from 6 x 3mm thick strips of sycamore
Here's the lathe setup
IMG_1963.JPG

And the ball:
IMG_1966.JPG

And here are the steps virtually done - a couple more coats of hardwaxoil needed
IMG_1975.jpg

Comments welcome - thanks for looking
Mark
 

Attachments

  • IMG_1963.JPG
    IMG_1963.JPG
    193.5 KB · Views: 217
  • IMG_1966.JPG
    IMG_1966.JPG
    189.4 KB · Views: 217
  • IMG_1975.jpg
    IMG_1975.jpg
    236.4 KB · Views: 218
Now that's clever!
And really good planning when you positioned the lathe that distance from the wall!

The steps look good too and the ebony ball looks like you nicked it from a snooker table...
 
I pen turned from Olive wood - it smells lovely when it's being turned!


And a combination corkscrew/bottle stop also made from Olive wood


A couple of different Oak pens

 
A pair of sapele boxes for some friends' birthdays. The one on the left is as yet unfinished, the one on the right has had a few coats of danish oil.

DSC_4315.jpg
 
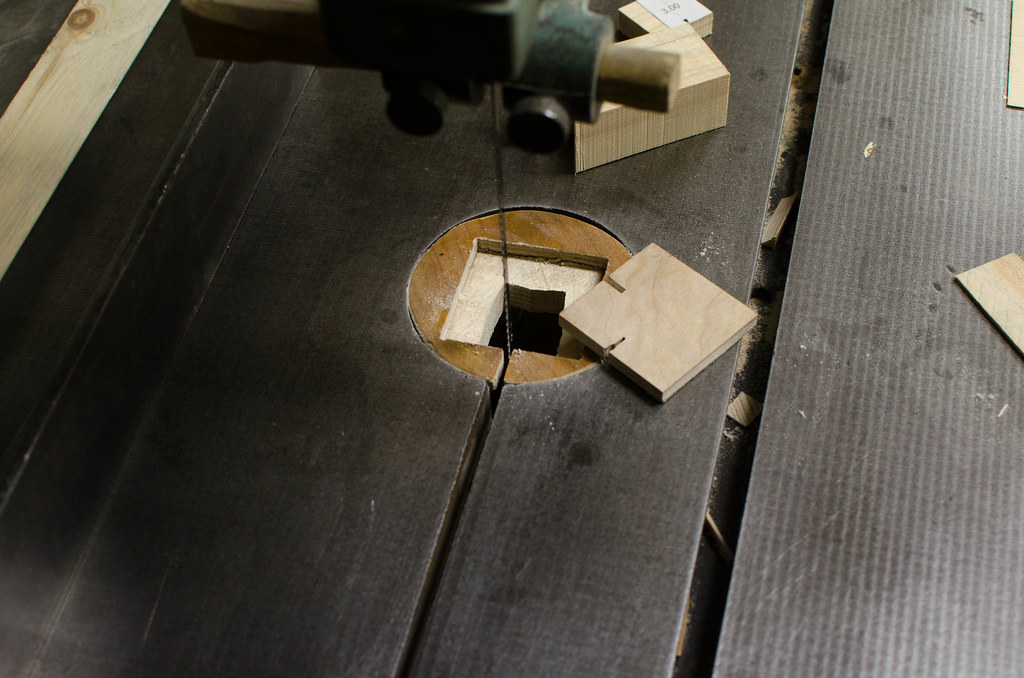
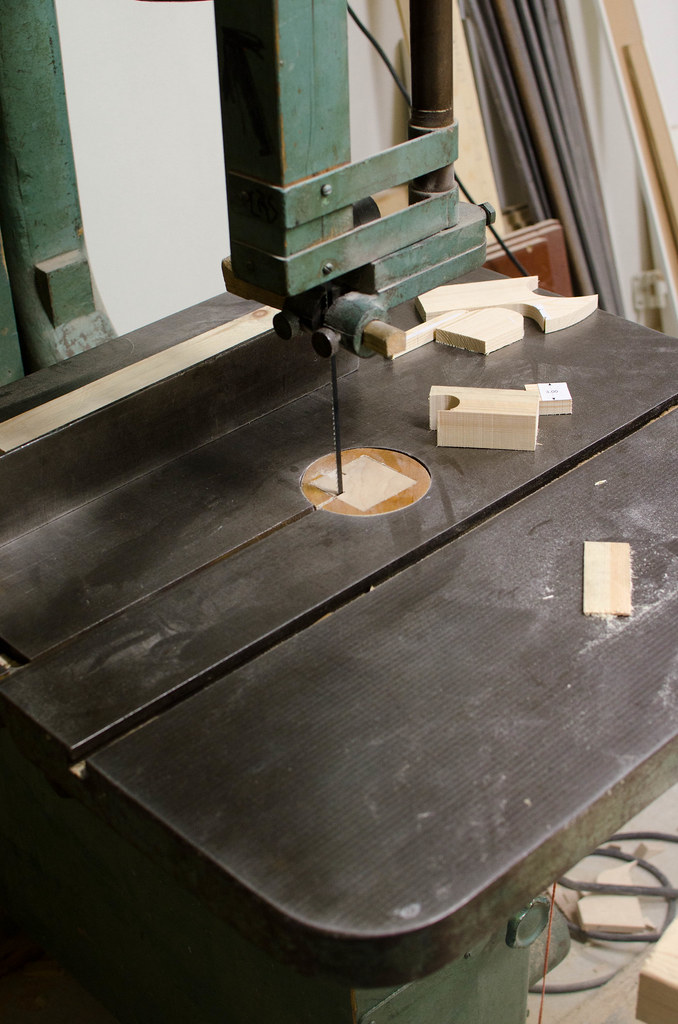
New insert plate for my bandsaw table. I didn't like the round shape as it makes it harder to cut a new insert for the saw, but it came with a round one. So I made a new round insert but with a ledge, then I and put a square cutout in it:
16211234337_28e8f40c29_b.jpg


I messed up a bit on my first cut so there's two in the insert but whatever it works fine and a new one is easy to make now.
16209495218_26d7a4535c_b.jpg
 
Hi all,

I'm in to making small things in my miniature workshop.

The last things I made were for my wifes children centre were

After cutting

20150118_141530 (Copy).jpg


Before painting

20150118_141623 (Copy).jpg


After painting

20150121_201507 (Copy).jpg


Complete with wheels

20150122_203515 (Copy).jpg
 

Attachments

  • 20150118_141530 (Copy).jpg
    20150118_141530 (Copy).jpg
    197.9 KB · Views: 433
  • 20150118_141623 (Copy).jpg
    20150118_141623 (Copy).jpg
    167 KB · Views: 433
  • 20150121_201507 (Copy).jpg
    20150121_201507 (Copy).jpg
    178.9 KB · Views: 433
  • 20150122_203515 (Copy).jpg
    20150122_203515 (Copy).jpg
    180.1 KB · Views: 433
Back
Top