I had a load of 2" boards that were around 12" wide. It's hard to see the sap on some of the boards without cleaning them up and this one was a left-over from the job. To be honest, it wasn't that big a section of the plank so I decided to make use of it instead.How wide was that board originally? That is some damn wide sapwood or very good slip matching to get that grain line up
Sorry but I gotta ask, does it oscillate?A tiny belt, dome, and disc sander for intarsia pieces. It's powered by a 60W motor from a floor-standing fan and works surprisingly well.
View attachment 28263
View attachment 28264
View attachment 28265
As mentioned in an earlier post, I’m making a second box and said I would take a photo of the breadboard joinery.The plinth is there principally to deal with the base of the box. The box has a plywood base (so I don't have to worry about wood movement). I could have put it in a slot or in a rebate in the sides, but it's not very easy to cut those when you have through dovetails (you need to do stopped grooves/rebates so they don't show on the outside). My solution (and I've no idea if it's the right one!) was to simply glue and pin the ply base to the bottom of the sides and then add the plinth to cover it all. The plinth extends underneath so it covers the pins underneath as well (picture of the box bottom below). It's a bit of a faff to make the plinth to be honest but I quite like the look of it.
View attachment 95127
The dowels are part of the "breadboard ends". If the lid was made just with a single piece running all the way across the box, there would be a strong possibility of that warping (twisting or cupping). Breadboard ends are designed to keep it all flat. The centre piece has three tenons on each side running into mortises on the end pieces. The dowels run through the ends and the hidden tenons. The centre tenon has a snug fit and is glued in and the dowel also fits snugly in the hole in the tenon. The two outer tenons are not glued, have oversized mortises, and the holes for the dowels are elongated to for wood movement.
I hope this explanation is clear without going into masses of detail. I'm making another lid at the moment and will try to take some pictures as I go along. If you google breadboard ends you'll find some more fulsome explanations.
Hi, I went for a 60 : 40 ratio of reflection to absorption. These panels will form part of an array which are hung from the ceiling at a 12 degree angle as per the 3d model below. There is an aesthetic appeal to this design also.interesting, how did you calculate the hole sizes? as in the perforation percentage? and why did you use MDF out of interest? say instead of plywood or solid wood slats?
that looks good, so you're building QRD diffusers then? I build one this year and it was a hell of a challenge, mainly because I did it with hand tools, I was actually surprised at how difficult it was and how time consuming it is but boy do they make a difference.Hi, I went for a 60 : 40 ratio of reflection to absorption. These panels will form part of an array which are hung from the ceiling at a 12 degree angle as per the 3d model below. There is an aesthetic appeal to this design also.
Thanks for showing this, I followed your direction to look on google but its much better to see as work in progress.As mentioned in an earlier post, I’m making a second box and said I would take a photo of the breadboard joinery.
You can see the oversize mortises and dowel holes for the outer tenons. These allow for wood movement.
View attachment 95195
View attachment 95196
No, sorry. I’m not a maker other than what I’ve shown above.Please tell me that this is your second piece of furniture, but you're a professional musical instrument maker or I might as well give up now!
Well done, It looks great.
Lovely work. It looks great.Here is my contribution. My wife needed a hall or console table and this is what I came up with. The wood is all elm, except for the drawer sides and runners. It is my third piece of furniture and I was looking to match the grain. What I have learned so far is that a beautiful piece of wood takes the eye off not quite so beautiful joinery. But my wife likes it so job done.View attachment 95425
Cheers.Hi Blackteaonesugar, very nice work, love the way you angled back to plywood edge around the drawers.
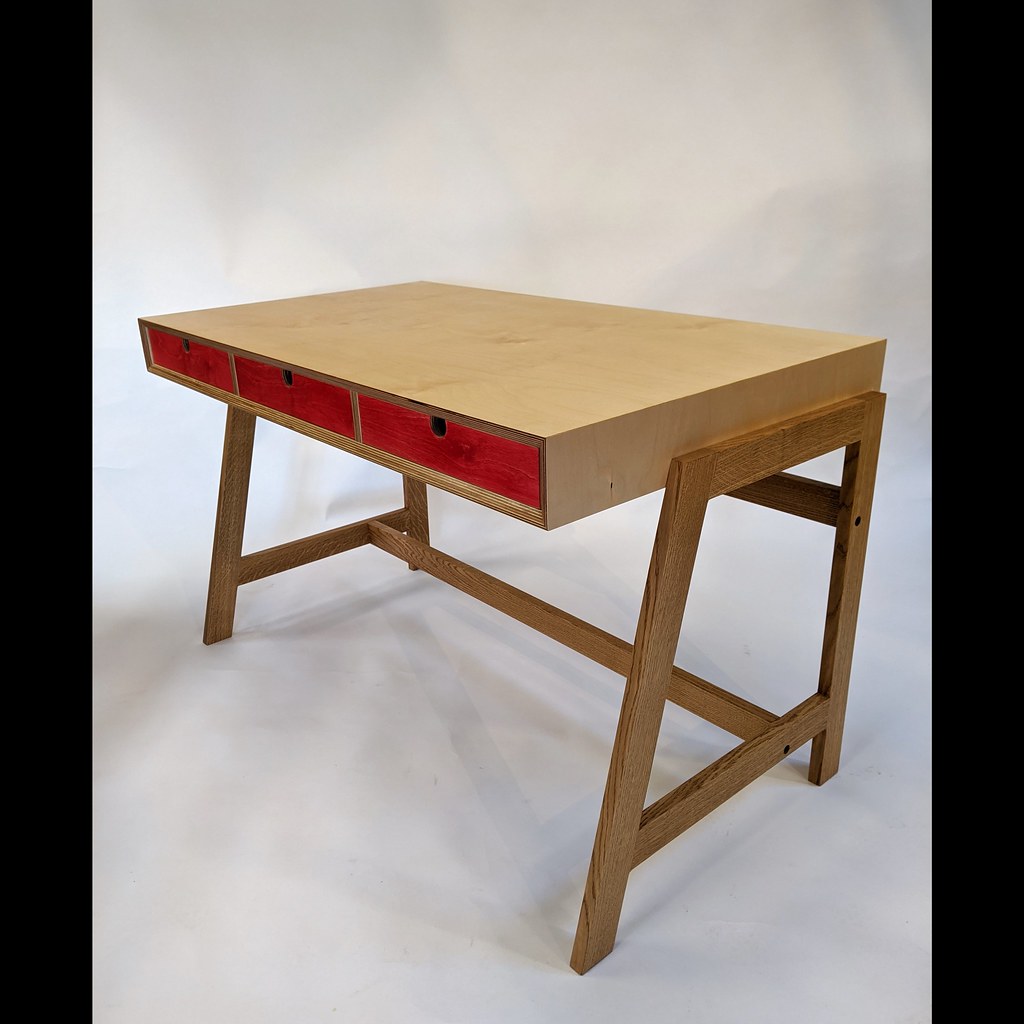
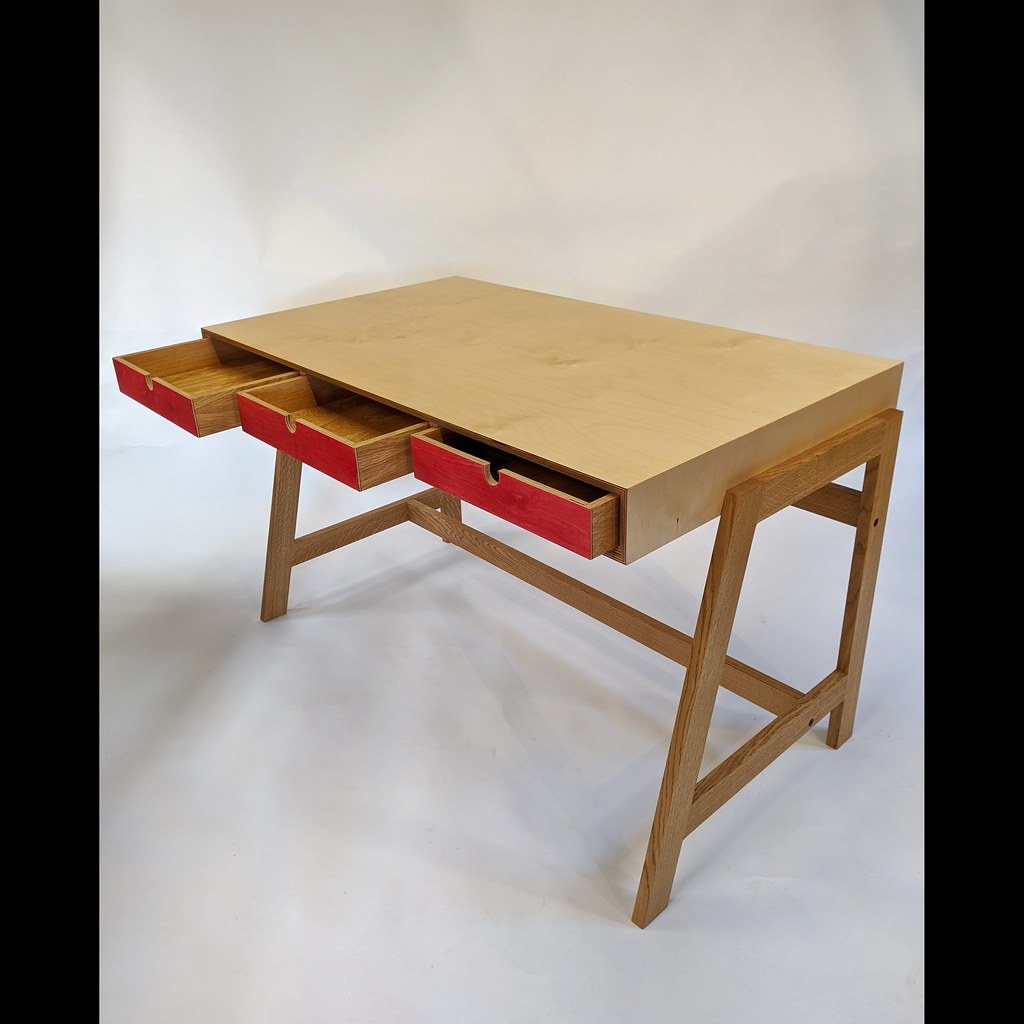
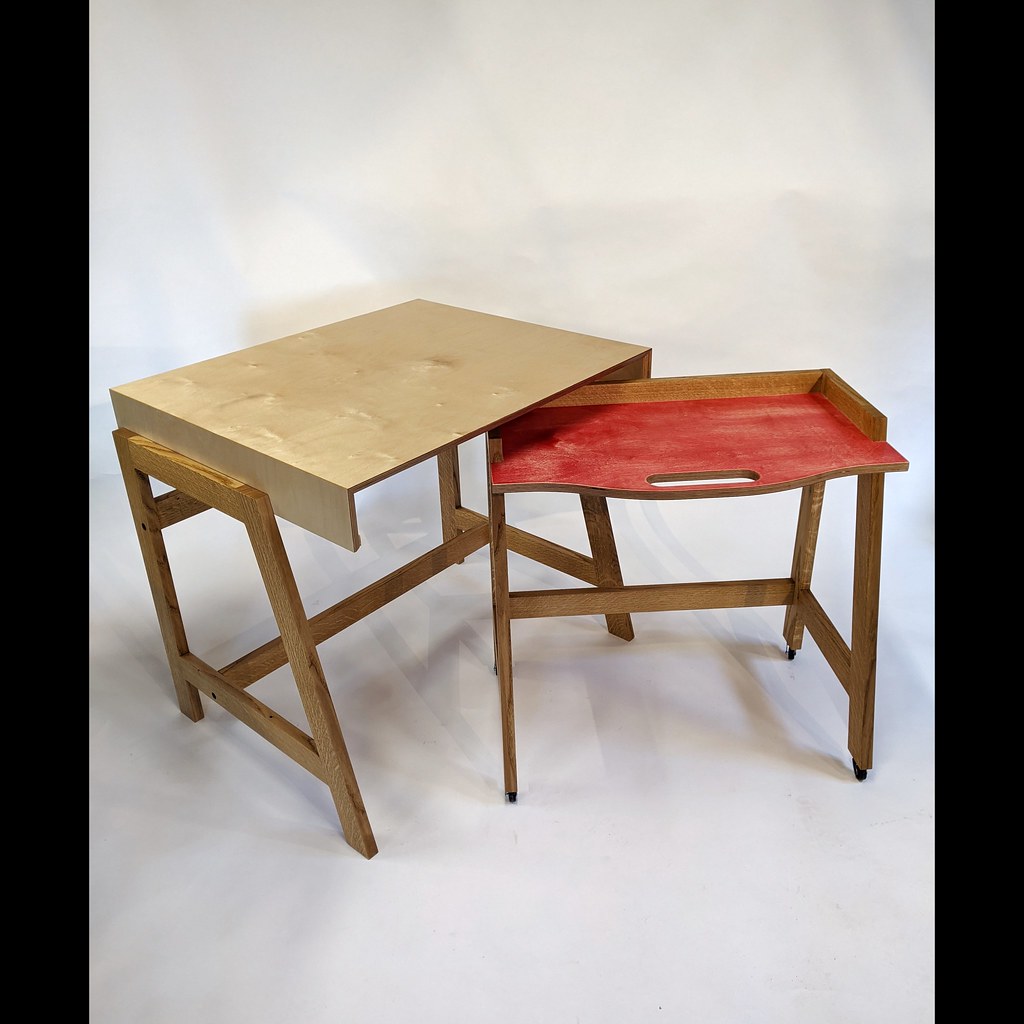
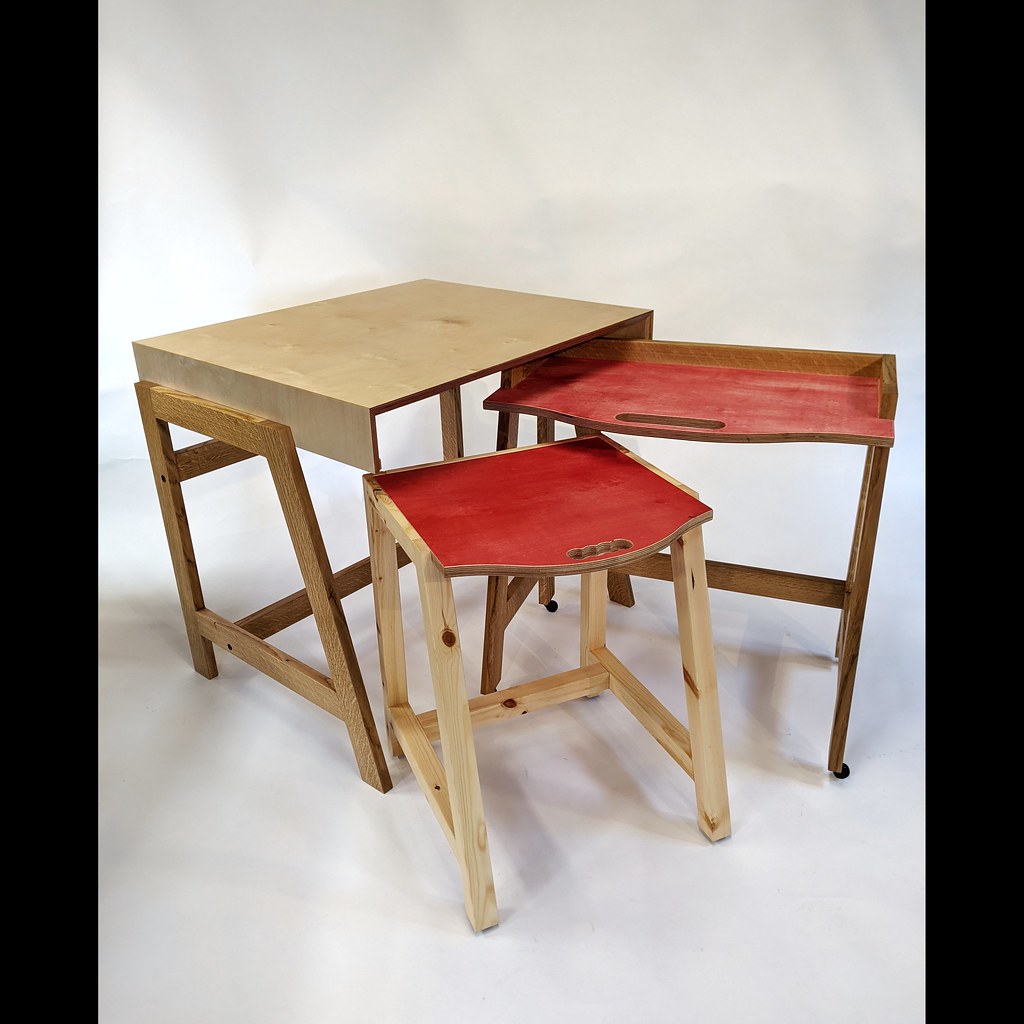
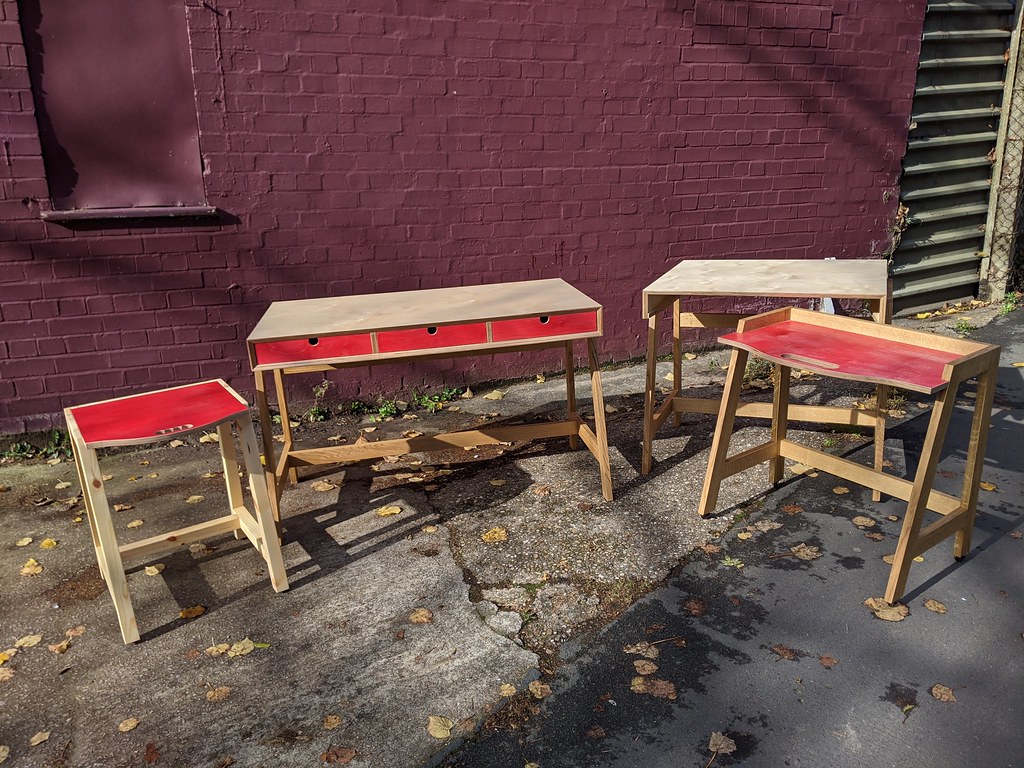
What did you use to dye it red please? I can see dads desk with the three drawers and then I can see the smallest unit for his boy, what is the one in between used for with the pull-out tray arrangement ?