


johnny.t.
Established Member
Thought I'd do a WIP on my latest one of these to show the steps of how I do them. I'm not saying this is the right or only way to do something but thought it may help newbies get an idea(and I like WIPs :lol: )
Firstly a lump of Elm is mounted between centres
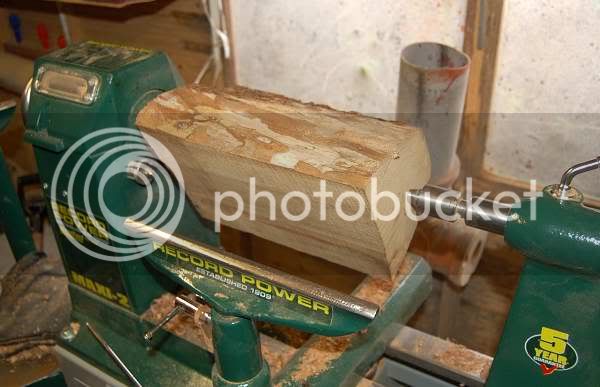
I rough it into round using a 1/2" long grind bowl gouge,a 3/8 would do also but I find with this big one I can be a bit more heavy handed and loose the unwanted wood quicker :lol: When the cylinder is formed I square off the end by putting the short rest parallel with them and using the same bowl gouge. A tenon is then formed and dovetailed at the tailstock end leaving the hole from the revolving centre in the middle of it(this is important for reversing later) I then take out the drive centre put on the chuck and mount the cylinder,once again using the tailstock for support and square up the other end..
I get nice big shavings from the roughing,theres a 10p for scale

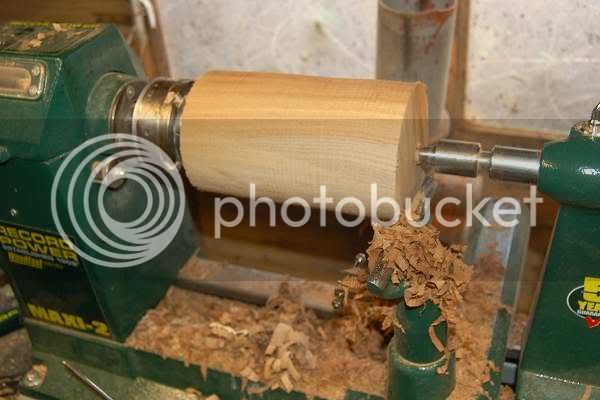
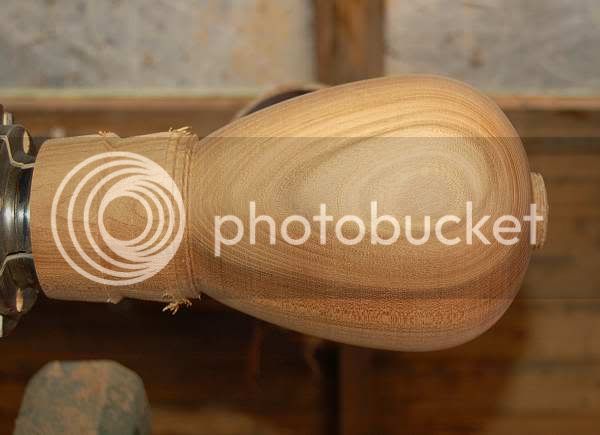
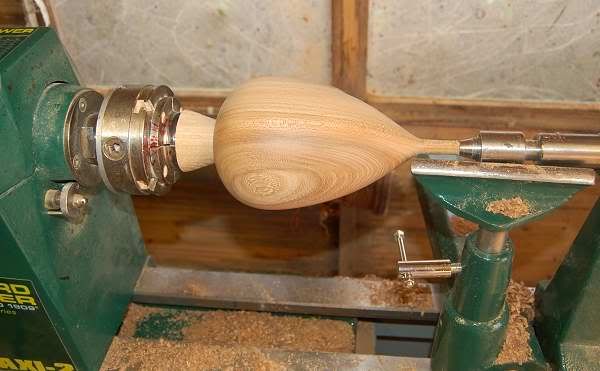
I then using a 3/8 long grind gouge, rough out to closer to the shape I want with the basic curve of the top and the start of the curve on the sides.
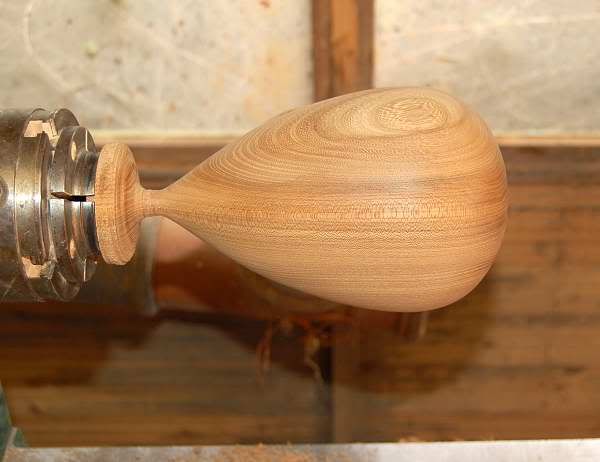
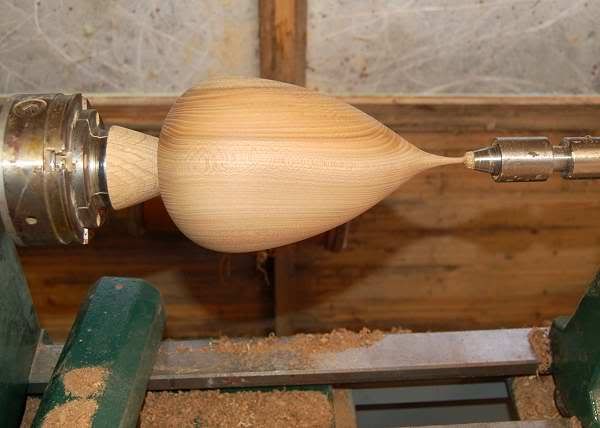
Then roughly blend the two into one curve.
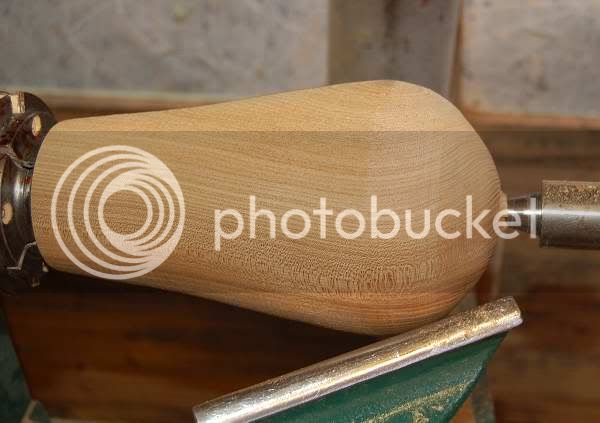
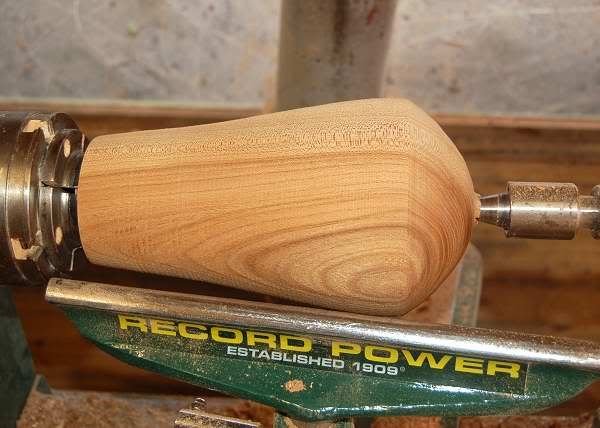
I then refine the shape a bit but leave plenty of wood at the base end for strength as the top is hollowed.
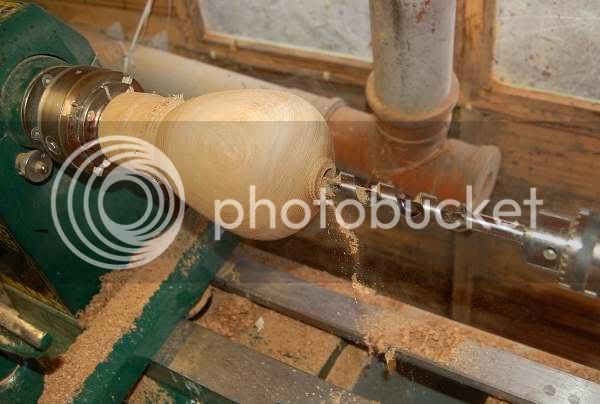
Then its drill time!! So the Jacobs chuck goes in the tailstock end and a 20mm auger bit in that. I usually put a bit of tape round the bit at the depth I want to drill to but in this case the end of the drill was the same depth as I wanted to go.
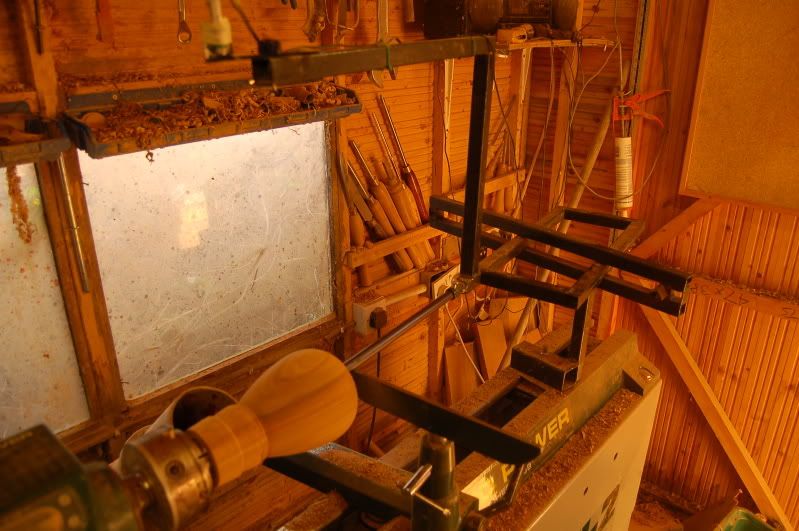
Next I hollow out the innards! down to where the red dot is(you can just see it!) at a constant thickness.
It takes a lot less effort with my home made hollowing rig
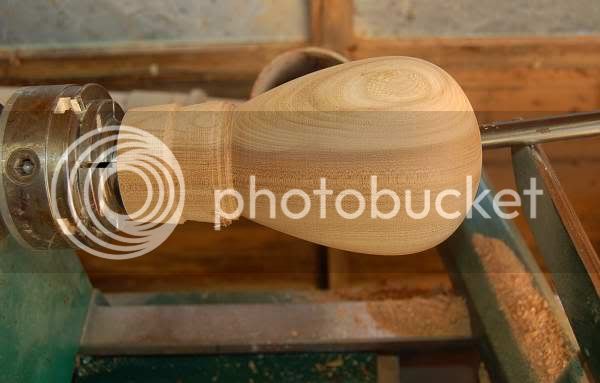
The end is then shaped up a bit more still leaving it an inch or so wide and the last bit hollowed out, then the end is thinned down to leave it ready for reversing.
The tenon can be turned away with light cuts with the piece mounted on a friction drive and the base held using that previous tailstock mark.The tailstock isn't overtightened as I dont want anything to break as it gets thinner!
Then its time to turn it as thin as I dare using very light cuts and a 1/4" fingernail spindle gouge!
Then its sanded to match the rest, taken off the lathe,then the end of the spike then has to be trimmed up with a chisel and finished by hand.
I will post the finished piece later as I have to make a lid and apply a finish (hammer)
Hope you enjoyed it
JT
Firstly a lump of Elm is mounted between centres
I rough it into round using a 1/2" long grind bowl gouge,a 3/8 would do also but I find with this big one I can be a bit more heavy handed and loose the unwanted wood quicker :lol: When the cylinder is formed I square off the end by putting the short rest parallel with them and using the same bowl gouge. A tenon is then formed and dovetailed at the tailstock end leaving the hole from the revolving centre in the middle of it(this is important for reversing later) I then take out the drive centre put on the chuck and mount the cylinder,once again using the tailstock for support and square up the other end..
I get nice big shavings from the roughing,theres a 10p for scale
I then using a 3/8 long grind gouge, rough out to closer to the shape I want with the basic curve of the top and the start of the curve on the sides.
Then roughly blend the two into one curve.
I then refine the shape a bit but leave plenty of wood at the base end for strength as the top is hollowed.
Then its drill time!! So the Jacobs chuck goes in the tailstock end and a 20mm auger bit in that. I usually put a bit of tape round the bit at the depth I want to drill to but in this case the end of the drill was the same depth as I wanted to go.
Next I hollow out the innards! down to where the red dot is(you can just see it!) at a constant thickness.
It takes a lot less effort with my home made hollowing rig
The end is then shaped up a bit more still leaving it an inch or so wide and the last bit hollowed out, then the end is thinned down to leave it ready for reversing.
The tenon can be turned away with light cuts with the piece mounted on a friction drive and the base held using that previous tailstock mark.The tailstock isn't overtightened as I dont want anything to break as it gets thinner!
Then its time to turn it as thin as I dare using very light cuts and a 1/4" fingernail spindle gouge!
Then its sanded to match the rest, taken off the lathe,then the end of the spike then has to be trimmed up with a chisel and finished by hand.
I will post the finished piece later as I have to make a lid and apply a finish (hammer)
Hope you enjoyed it
JT