jimi43
Established Member
I work at a local hotel and a recent refurbishment meant the 15 year old oak doors were to be skipped. Well...being a person who grew up with a mother who preached recycling...I simply could not waste that matured oak now could I? 
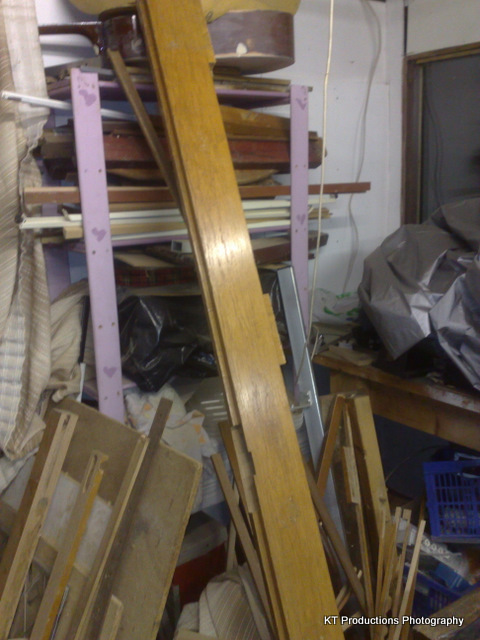
So started the OAK WORKBENCH project which I am posting here to encourage others with ideas that reuse what others see as rubbish...here is the raw material...
The first part of the project was to remove all the glass and after checking for old screws and nails...run them through the table saw....
BOY is this old oak tough and VERY heavy. I rough cut them up with my trusty RYOBI portable circular saw (what a WONDERFUL tool that is!)
So I ended up with four long bits 80" long and six shorter bits just over 24" long.
Once they were rough cut they were easy to run through my Scheppach....exposing how really beautiful the underlying wood was...
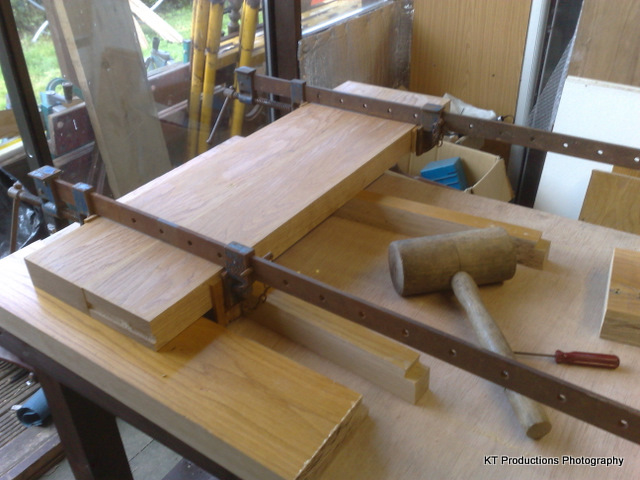
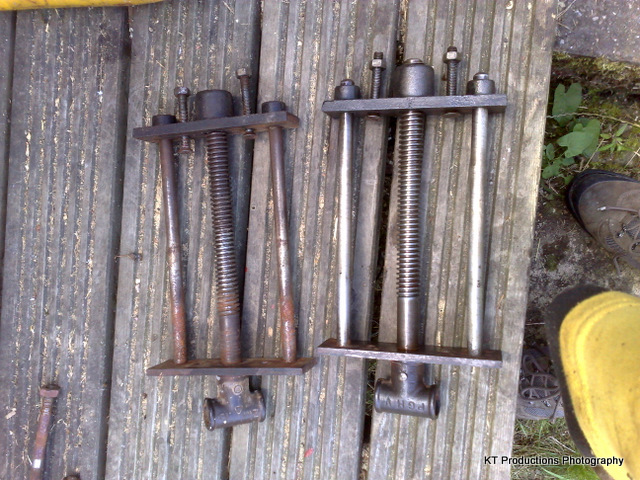
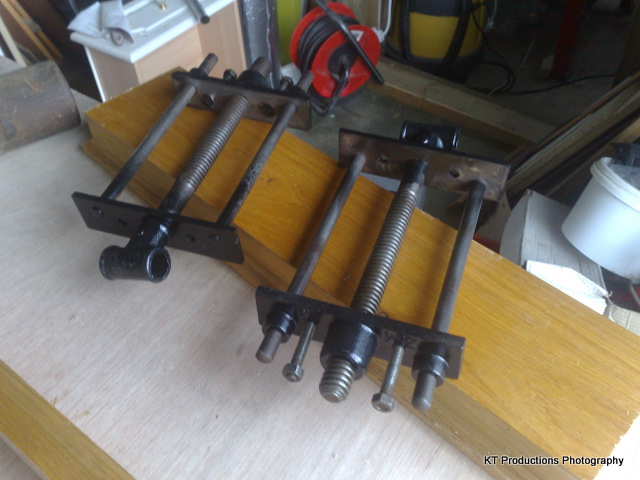
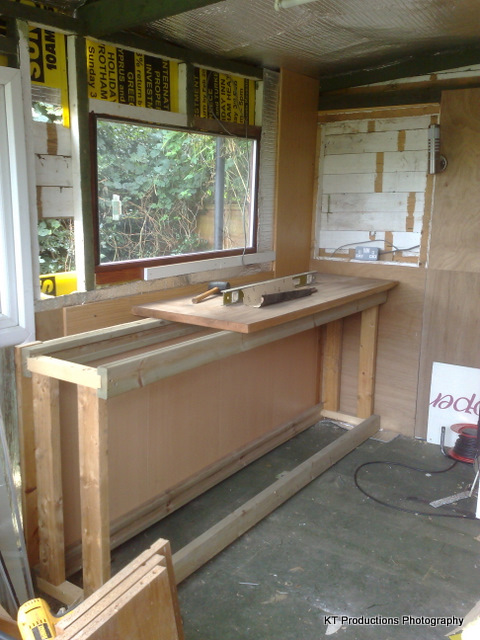
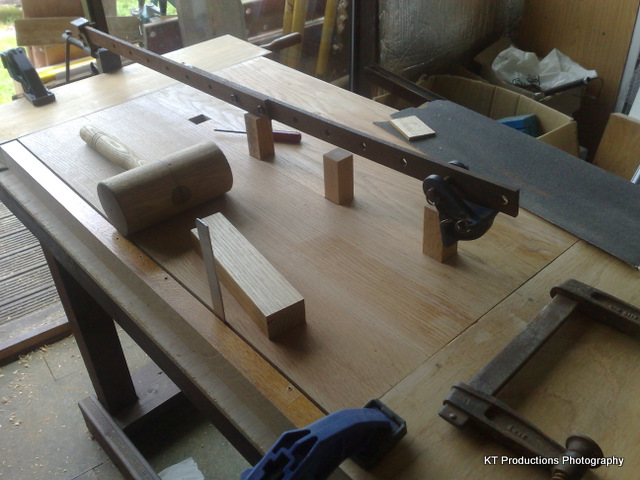
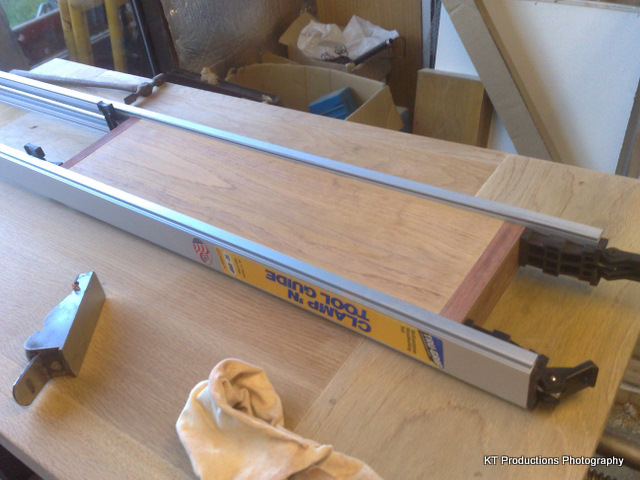
Clearly there were loads of mortise holes with residual tenons...and I tried to make sure these were on the inside. My idea was to build a very bulky softwood (pine) base....alas I had no 4x4 oak....and then use the oak to make a very heavy top. I ALWAYS use TITEBOND ORIGINAL when joining the wood...as shown clamped...and I joint the sides with an old No.7 plane first...along a shooting board....small amount of light there but later I shall plane the top...

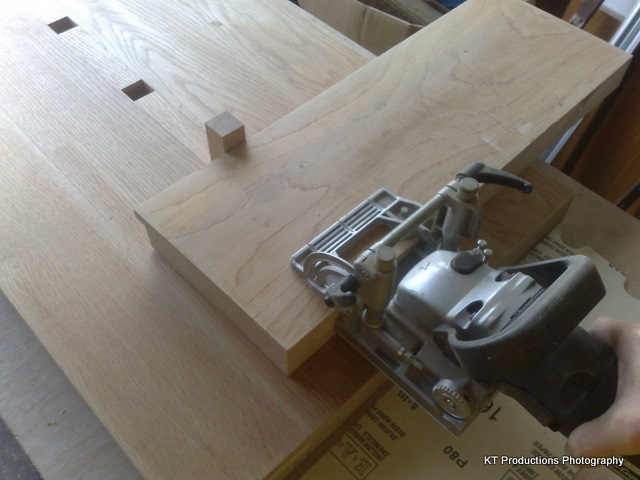
I am not a great fan of power tools for the sake of it but I ALWAYS wanted a biscuit jointer...but never had the money or the justification...but this little ATLAS COPCO (Milwaukee Tools) baby was £20 at a bootfair so I grabbed it...it was WONDERFUL for jointing the boards..
I highly recommend these things but get a good secondhand one...not the rubbish cheap ones...I don't think the fences will be good enough for accurate biscuit placement. Anyway....enough of them big boys toys...
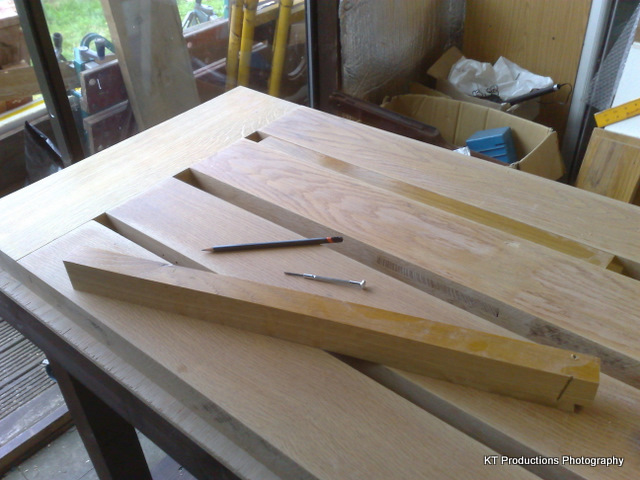
The dimensions I needed for the whole top precluded just planking boards and this led me to take a more artistic route...with problems being turned into useful shortcuts as you will see later...
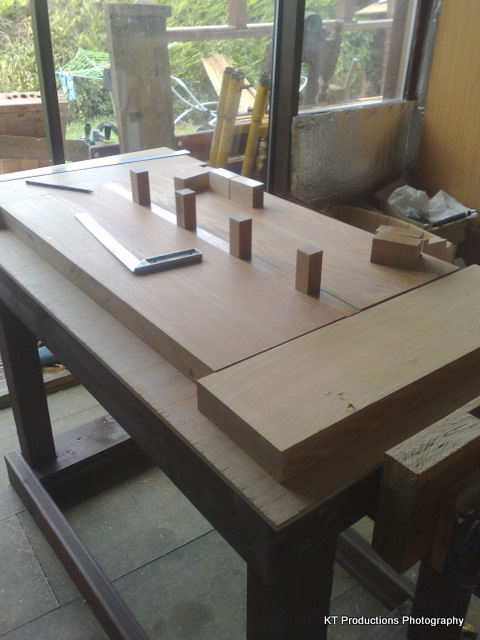
My original plan seen below was to include lots of gaps to be filled with smaller pieces...so that I could make square dog holes but after a rethink...I decided against this as I only needed a row of dogs in the centre (I build guitars)...
Therefore moving all the long pieces in I came up with this configuration...
The plan (not yet done) is to have cams operated from the side which raise these dogs in their holes and when not in use they sit flat...I like that idea a LOT!
....not QUITE the width I needed.....so rethinking....I had some trim bits...
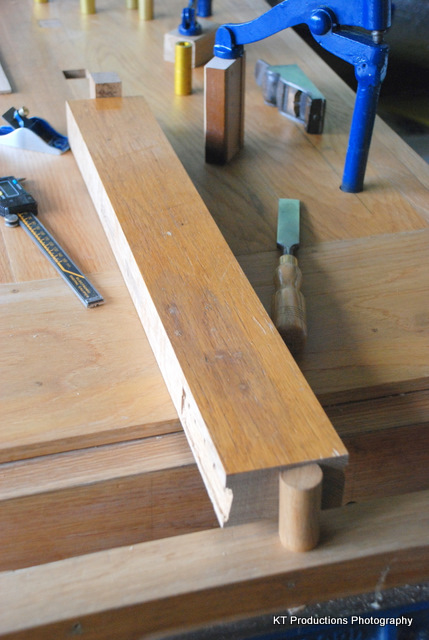
These would pad out the width and more...cut up and spaced with the dogs...would form the dog track....

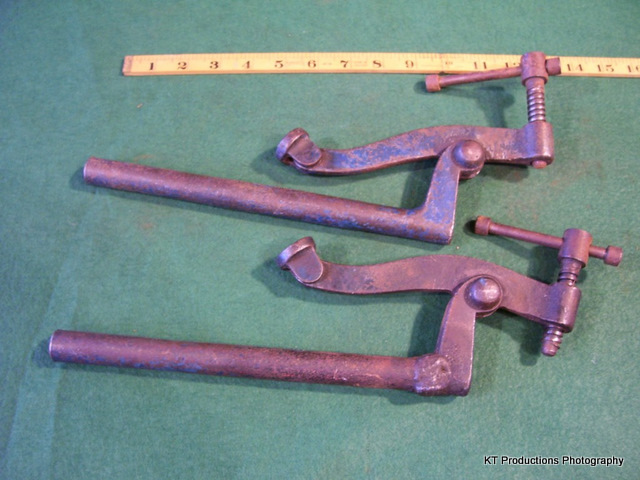
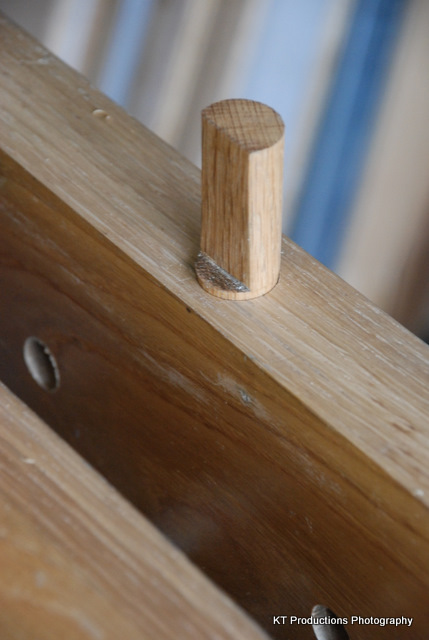
From the side you see how the end bits are now glued into place...a nightmare since I did not have a sash cramp that long!!! Use the dogs you fool!!!!
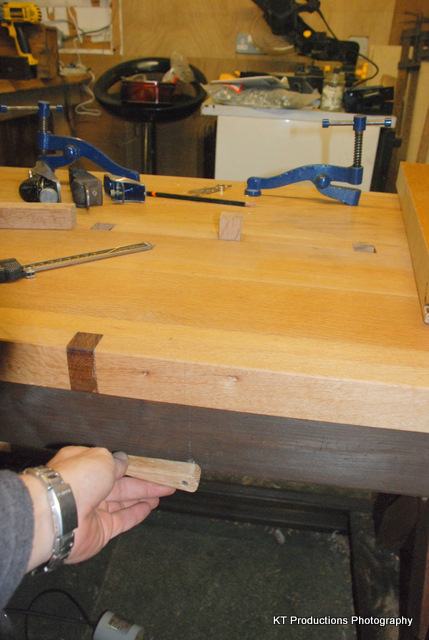
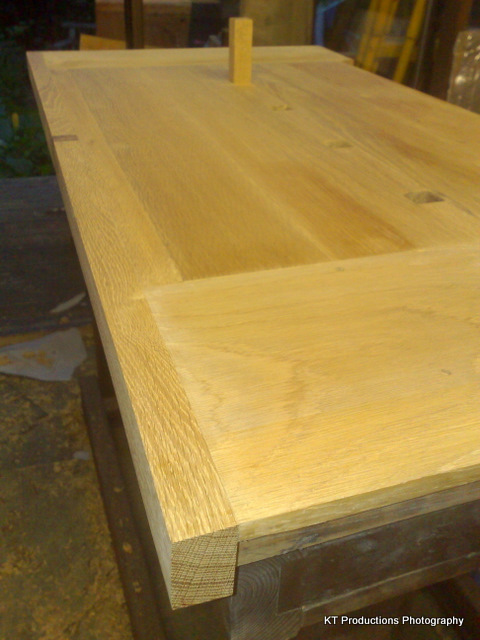
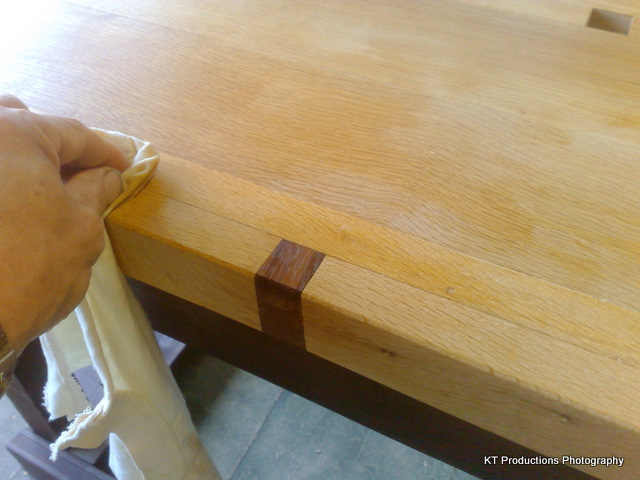
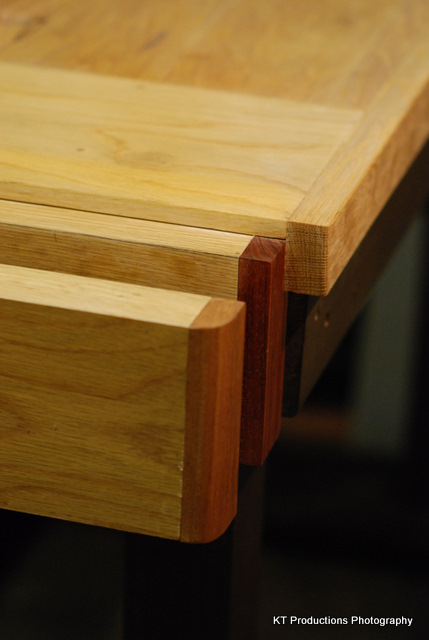
After this set up I then added ANOTHER trim strip but again...not long enough pieces of wood so I wanted to join them in a unique way...so a small piece of mahogany fulfilled that purpose...making a feature out of lack of length!
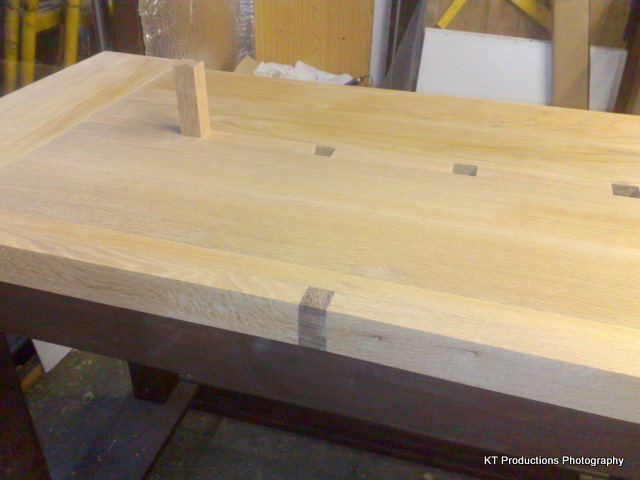
Later you will see how well this matched the dog holes and once the finish was applied...I wanted to add MORE "errors"!
Also here we see the old RECORD 15 1/2 vise that I picked up for a tenner at a bootfair...bit of a tatty beast but later it goes SO beautifully with the bench and will have a moving revolving dog....
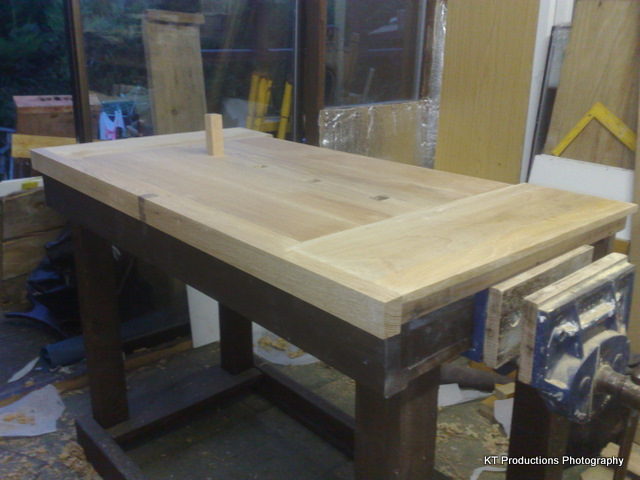
NOW...I have the overhang I need....
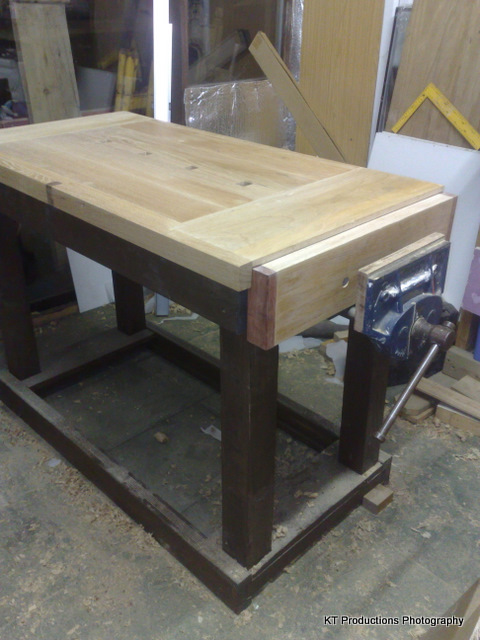
SO...now that the top with the dog holes is set up...I moved on to that vise I mentioned earlier. My plan is to make this multi-functional for what I do when I build a guitar....but first off it needs to be WIDE.....here I use another cross member from the door which again...was not quite long enough so I added more mahogany on the ends for decoration and to compliment the other touch...
Here we see the static piece fitted to the vise....NIGHTMARE lining the close tolerance holes up...but worth it to stop it moving. Here we see the second function this vise performs. A clampable shooting board. Note how it is slung lower than the top to form a square (yes I made it square) ridge....which will guide a plane of any size from tiny right up to huge No.7...
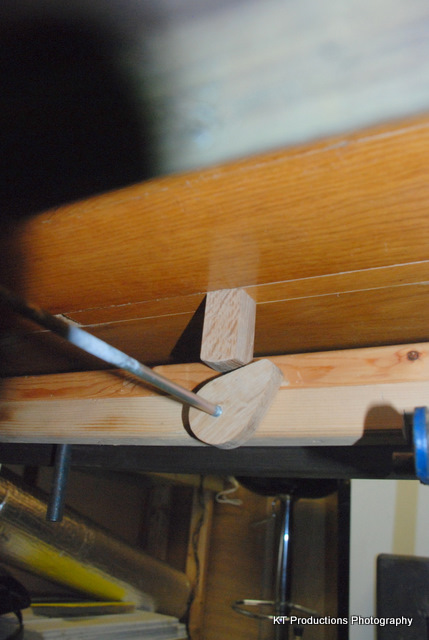
I almost immediately put this into action to bevel off the other side trims on the moving part....I HATE banging my thigh on those sharp edges!
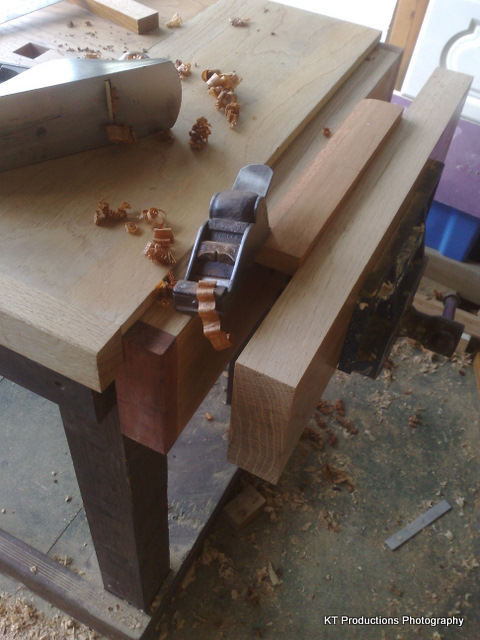
Using my darling little Issac Greeves....it is guided by the lip and produces an absolutely perfect bevel....
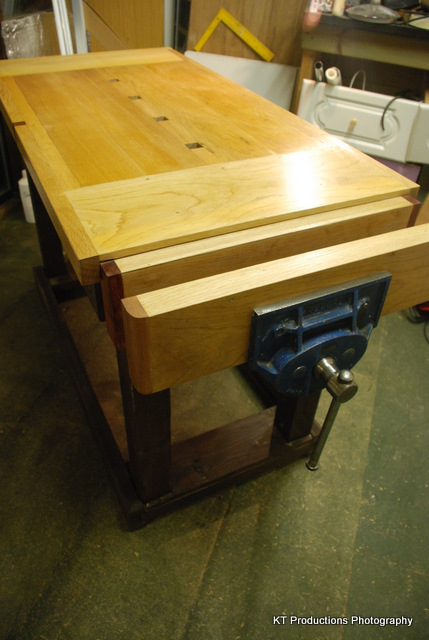
So gluing this up and attaching it to a newly restored RECORD body...we have a super-wide two function device....
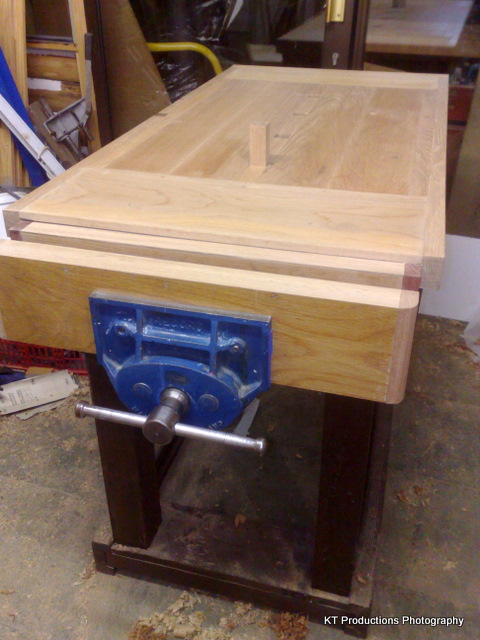
Later I will add a circular hole in the centre....this will house a removeable round dog with a flat flange edge....so that it will run up and automatically line up with any shape it encounters....
SO...now to the finish...well I simply LOVE "TRU-OIL" which is used in gunstocks....
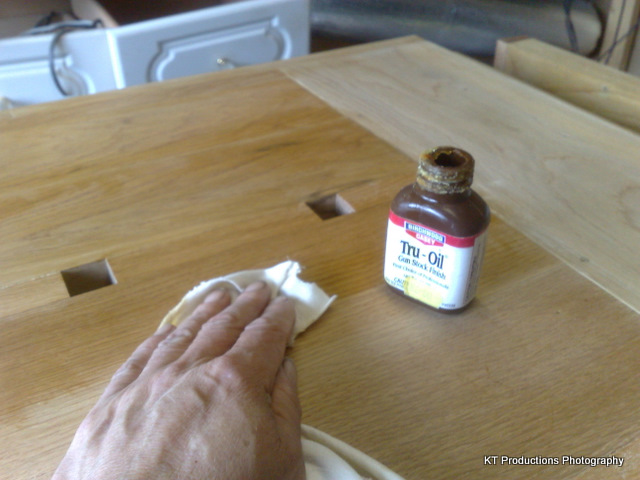
It is basically polymerised linseed oil but it is SO tactile and can be added to over and over again to retouch marks and dings...I love this stuff!
You simply wipe it on and buff it up to whatever finish you want...I like satin
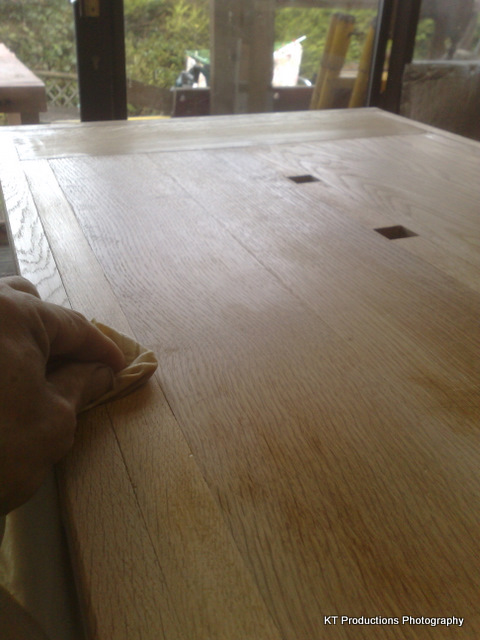
Now look how beautifully it brings up that little mahogany block...
The ends of the vise are likewise treated one at a time...
So there you have it....
I hope this thread gives a little insight into the benefits of recycling...and the added bonus of being able to purpose build your bench....
If anyone needs any other information or photos let me know....I tried to put in all the steps...
Cheers recyclers!
Jimi
So started the OAK WORKBENCH project which I am posting here to encourage others with ideas that reuse what others see as rubbish...here is the raw material...
The first part of the project was to remove all the glass and after checking for old screws and nails...run them through the table saw....
BOY is this old oak tough and VERY heavy. I rough cut them up with my trusty RYOBI portable circular saw (what a WONDERFUL tool that is!)
So I ended up with four long bits 80" long and six shorter bits just over 24" long.
Once they were rough cut they were easy to run through my Scheppach....exposing how really beautiful the underlying wood was...
Clearly there were loads of mortise holes with residual tenons...and I tried to make sure these were on the inside. My idea was to build a very bulky softwood (pine) base....alas I had no 4x4 oak....and then use the oak to make a very heavy top. I ALWAYS use TITEBOND ORIGINAL when joining the wood...as shown clamped...and I joint the sides with an old No.7 plane first...along a shooting board....small amount of light there but later I shall plane the top...
I am not a great fan of power tools for the sake of it but I ALWAYS wanted a biscuit jointer...but never had the money or the justification...but this little ATLAS COPCO (Milwaukee Tools) baby was £20 at a bootfair so I grabbed it...it was WONDERFUL for jointing the boards..
I highly recommend these things but get a good secondhand one...not the rubbish cheap ones...I don't think the fences will be good enough for accurate biscuit placement. Anyway....enough of them big boys toys...
The dimensions I needed for the whole top precluded just planking boards and this led me to take a more artistic route...with problems being turned into useful shortcuts as you will see later...
My original plan seen below was to include lots of gaps to be filled with smaller pieces...so that I could make square dog holes but after a rethink...I decided against this as I only needed a row of dogs in the centre (I build guitars)...
Therefore moving all the long pieces in I came up with this configuration...
The plan (not yet done) is to have cams operated from the side which raise these dogs in their holes and when not in use they sit flat...I like that idea a LOT!
....not QUITE the width I needed.....so rethinking....I had some trim bits...
These would pad out the width and more...cut up and spaced with the dogs...would form the dog track....
From the side you see how the end bits are now glued into place...a nightmare since I did not have a sash cramp that long!!! Use the dogs you fool!!!!
After this set up I then added ANOTHER trim strip but again...not long enough pieces of wood so I wanted to join them in a unique way...so a small piece of mahogany fulfilled that purpose...making a feature out of lack of length!
Later you will see how well this matched the dog holes and once the finish was applied...I wanted to add MORE "errors"!
Also here we see the old RECORD 15 1/2 vise that I picked up for a tenner at a bootfair...bit of a tatty beast but later it goes SO beautifully with the bench and will have a moving revolving dog....
NOW...I have the overhang I need....
SO...now that the top with the dog holes is set up...I moved on to that vise I mentioned earlier. My plan is to make this multi-functional for what I do when I build a guitar....but first off it needs to be WIDE.....here I use another cross member from the door which again...was not quite long enough so I added more mahogany on the ends for decoration and to compliment the other touch...
Here we see the static piece fitted to the vise....NIGHTMARE lining the close tolerance holes up...but worth it to stop it moving. Here we see the second function this vise performs. A clampable shooting board. Note how it is slung lower than the top to form a square (yes I made it square) ridge....which will guide a plane of any size from tiny right up to huge No.7...
I almost immediately put this into action to bevel off the other side trims on the moving part....I HATE banging my thigh on those sharp edges!
Using my darling little Issac Greeves....it is guided by the lip and produces an absolutely perfect bevel....
So gluing this up and attaching it to a newly restored RECORD body...we have a super-wide two function device....
Later I will add a circular hole in the centre....this will house a removeable round dog with a flat flange edge....so that it will run up and automatically line up with any shape it encounters....
SO...now to the finish...well I simply LOVE "TRU-OIL" which is used in gunstocks....
It is basically polymerised linseed oil but it is SO tactile and can be added to over and over again to retouch marks and dings...I love this stuff!
You simply wipe it on and buff it up to whatever finish you want...I like satin
Now look how beautifully it brings up that little mahogany block...
The ends of the vise are likewise treated one at a time...
So there you have it....
I hope this thread gives a little insight into the benefits of recycling...and the added bonus of being able to purpose build your bench....
If anyone needs any other information or photos let me know....I tried to put in all the steps...
Cheers recyclers!
Jimi