OldSchoolTools
Established Member
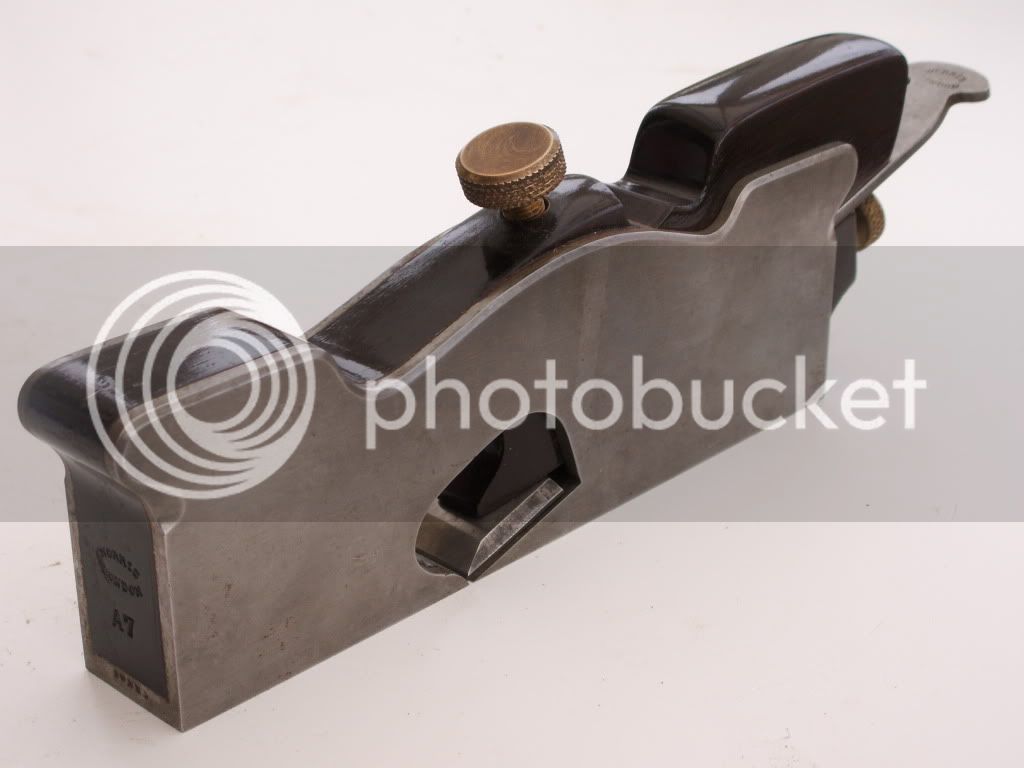
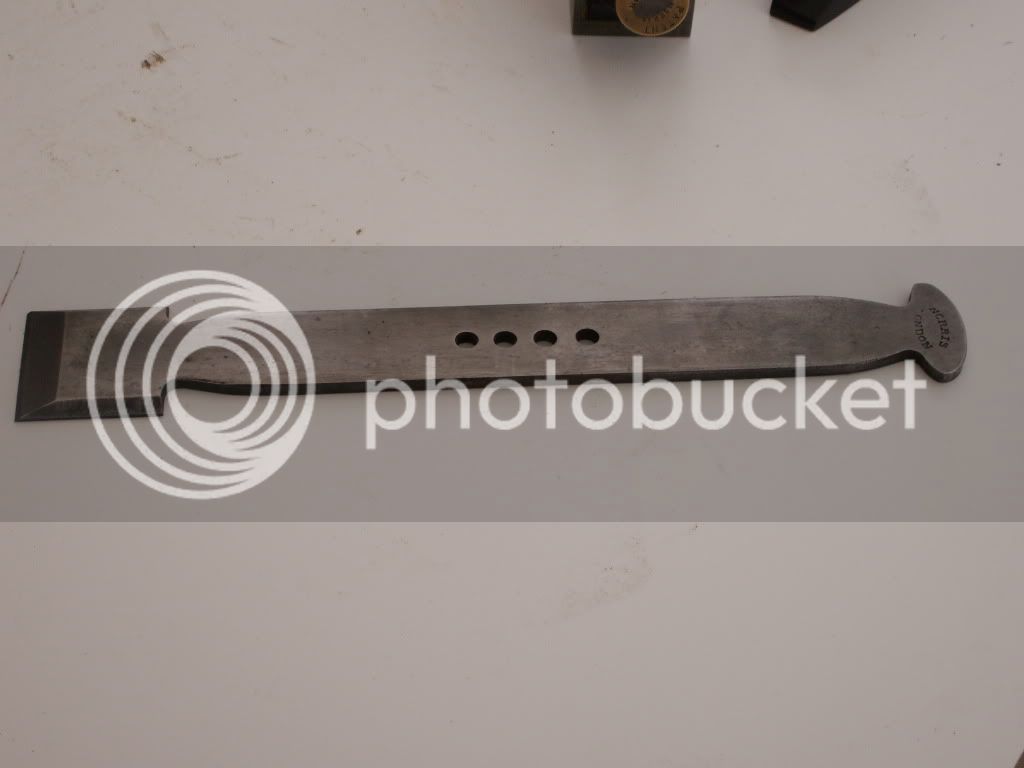
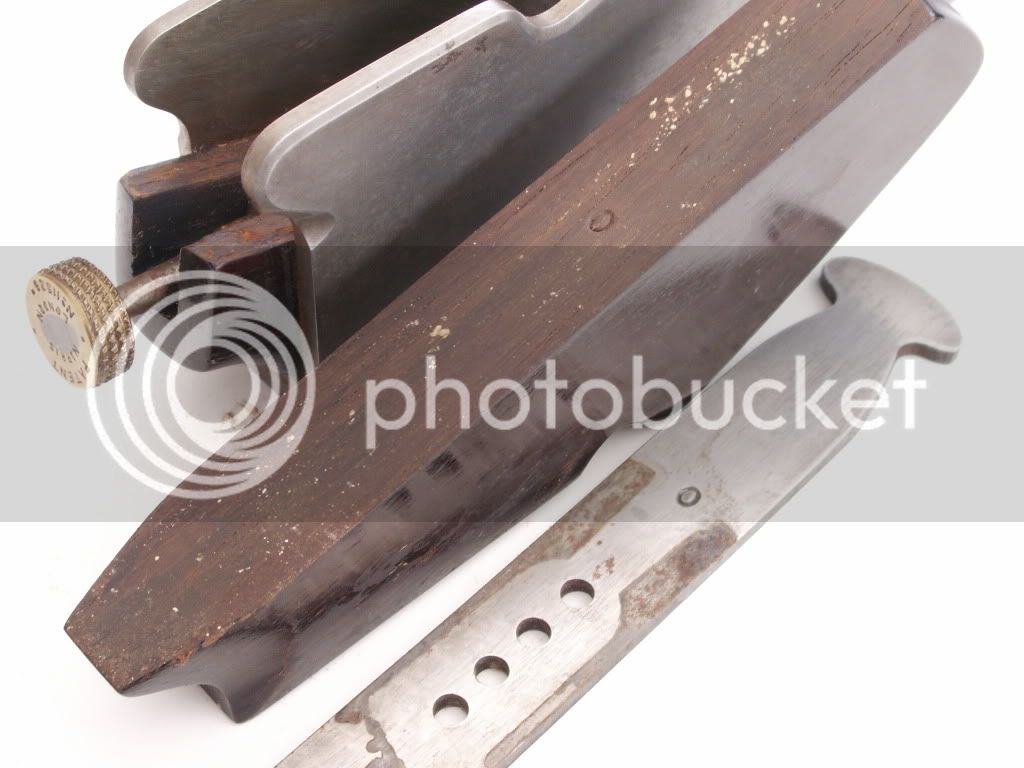
I read a few old threads from a while ago with regards to how the adjuster to this type of plane works, also had a member off the forum pm me to see if I knew, so have decided to upload a few photogaphs of mine, the iron unlike the iron in a normal shoulder plane has a number of holes drilled through, this for settings as the iron wears.
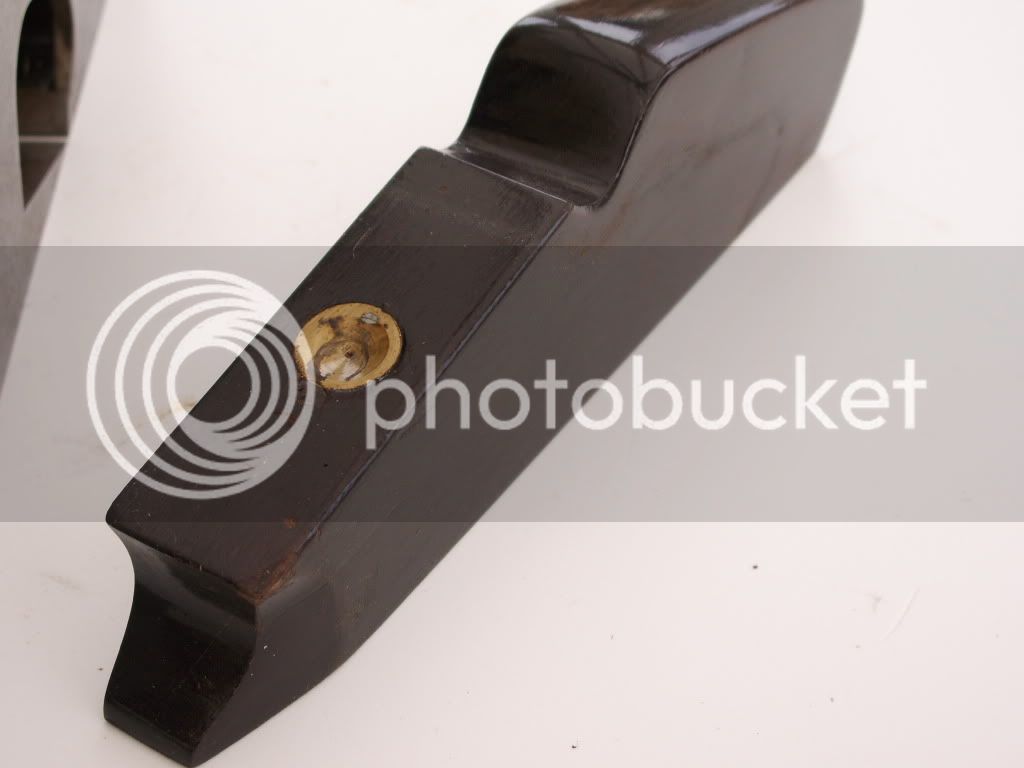
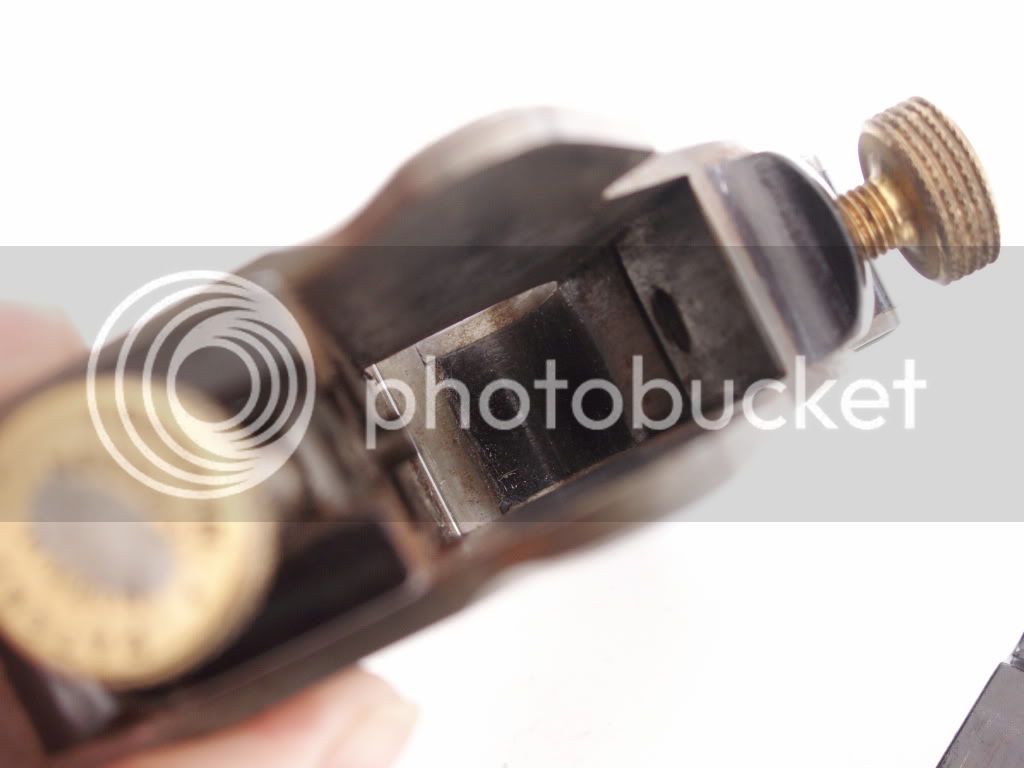
The wedge has a brass hollowed out disk in the top this is for the top infill to screw down into to hold the iron secure.
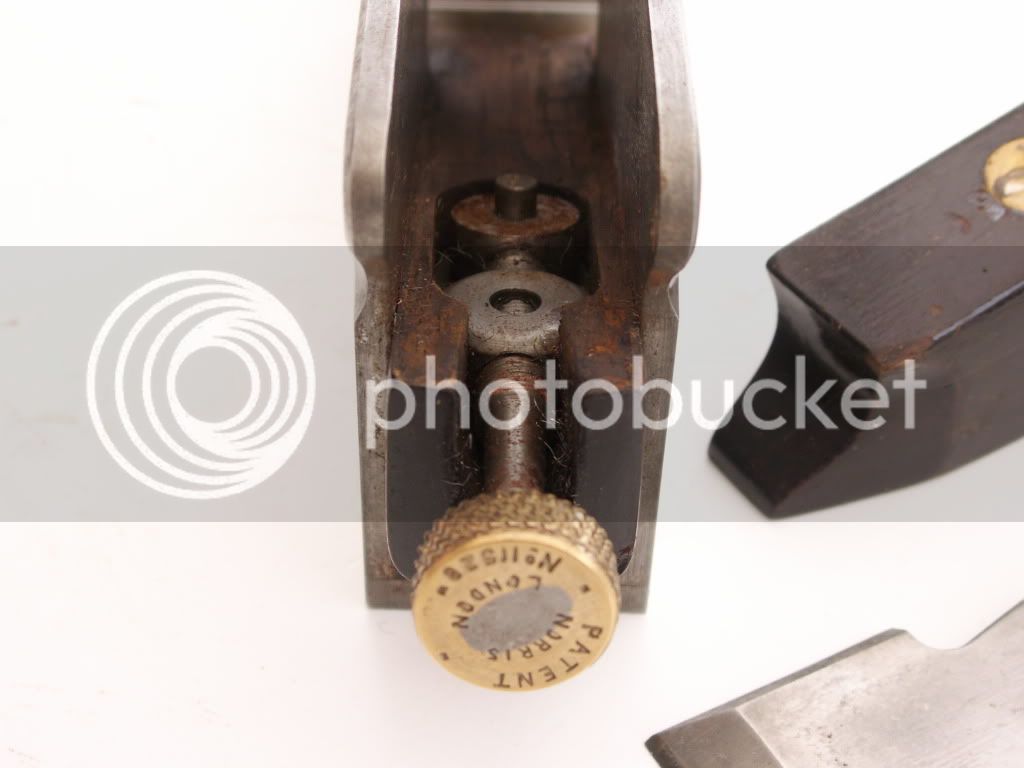
these irons are so much more desirable to look at than those of a standard shoulder plane iron you can apprciate the craftsmanship that has gone into making the iron, obviously comes at a price, the adjuster itself is simple only a couple of inches long overall, a shorter version to that found on your smoothers or jointer planes.
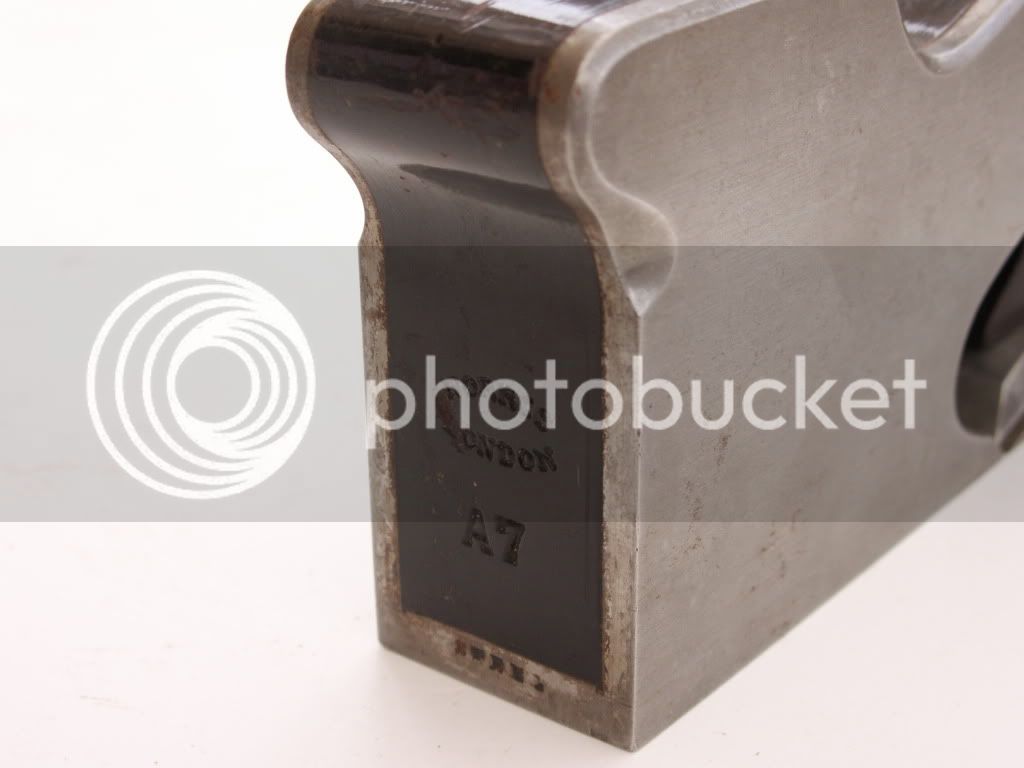
Note all the parts have the same number 0 in this planes case prooving all original the 0 on the plane itself is on the heel below the adjuster. I have lost of shoulder planes but none have the features of this norris. Hope the pictures explain to those that have asked me to show.


