


EssexChris
Established Member
Hi,
I’m not too sure how to start this as I have never posted before but here goes.
Following a long illness (me/cfs) I was trying to find work that would suit my energy levels and the ability to work when I could rather than set hours. However in this economic climate that sort of thing is almost non existent. Then following the opportunity for some work, I took the plunge to get back into work for myself.
I eventually found a workshop and have spent the last few months getting set up. It’s been and still is a struggle, with little or no budget to get started. I acquired some machinery from a company closing its UK manufacturing and have been slowly getting it rebuilt and setup.
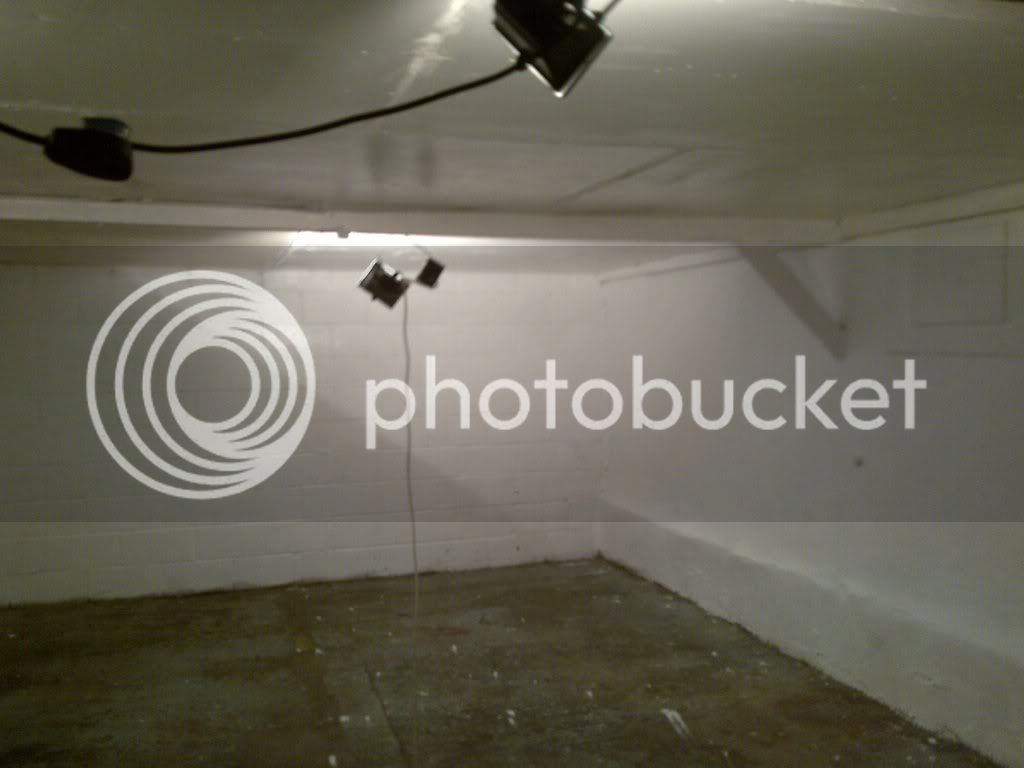
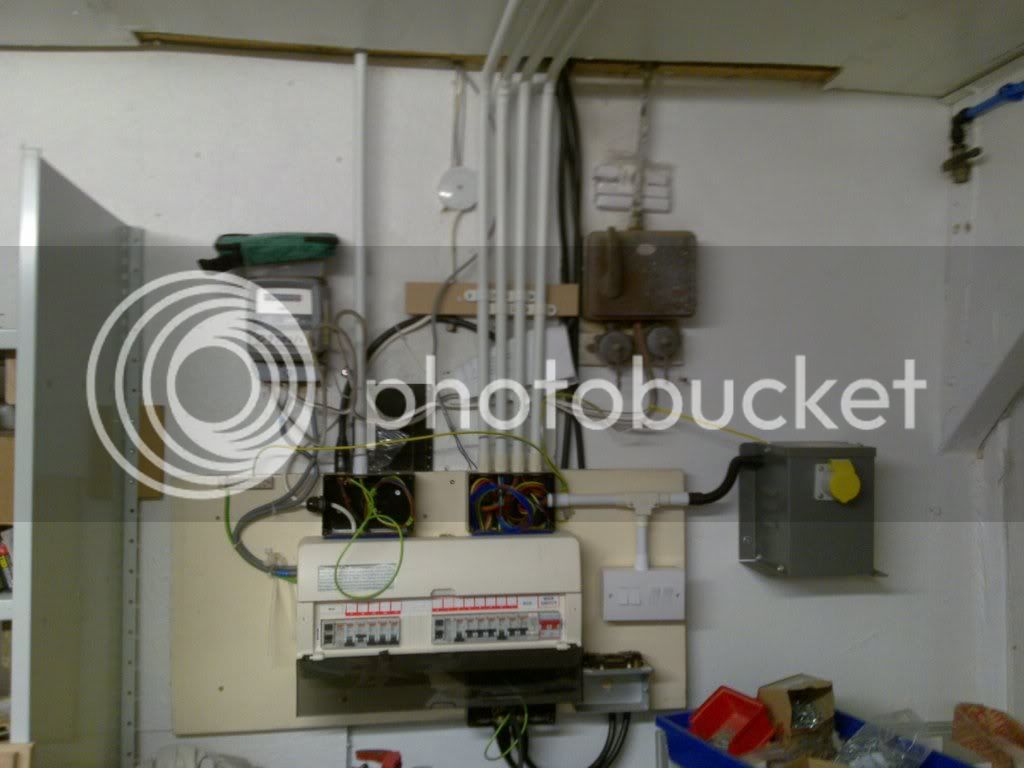
When I first got the keys to the workshop it needed a full rewire, with live wires hanging from the walls the main switch was the only way to turn the lights on and a quick test revealed some sockets had the live and neutral reversed. There was a huge pile of rubbish lots of evidence of rats and about half inch thick of oil soaked sawdust covered most of the floor
The doors were falling off and wouldn’t shut properly.
Once the rubbish was cleared the only salvageable items were some metal shelving minus any fitting to hold it together. All the power was ripped out and a temporary RCD put up to power some flood lights and tools
The next job was to jet wash the floor, after three attempts to get the worst off it was a case of scrubbing brush a square at a time.
Once we started the painting we realised just how damp the walls were with the paint taking days to dry, in places becoming wet and running after heavy rain.
It was only this week I was able to gain access to the rear of the building to discover no guttering and very little of the exterior ship lap timbers remain.
I will post photos and updates as work progresses, I thought I had quite a few photos of the workshop taken on my phone but most aren’t good enough quality. Will now have to keep a camera handy.
Still have lots to do I intend to post updates as work progresses, jobs still to do:-
Build and fit new doors.
Rebuild Sedgwick planer thicknesser.
Build and fit cupboards and draws under bench.
Build a mitre saw station.
Finish partitioned room for spraying & fit filters.
Setting up and modifying Axminster AW10BSB2.
Re cladding outside back and front walls & fit guttering.
Finish wiring and fit alarm.
Placing DX outside and running ducting.
Sorry to ramble on, here goes.
With money being tight I decided on a long bench built out of CLS with 25mm MDF and a hardboard top.
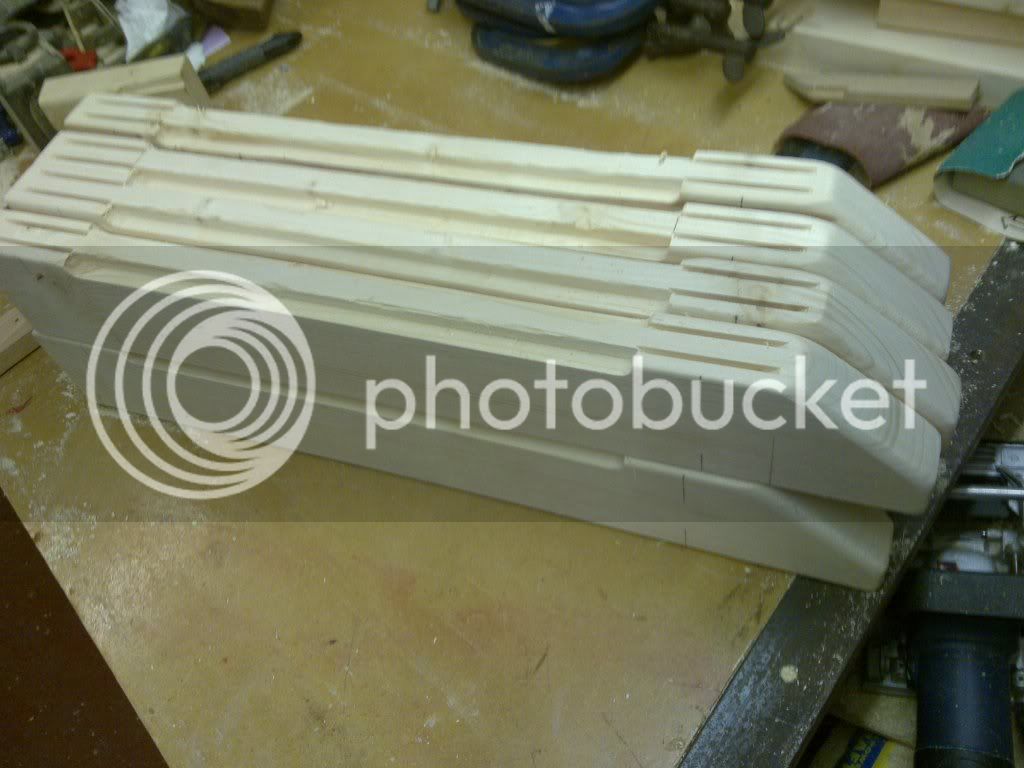
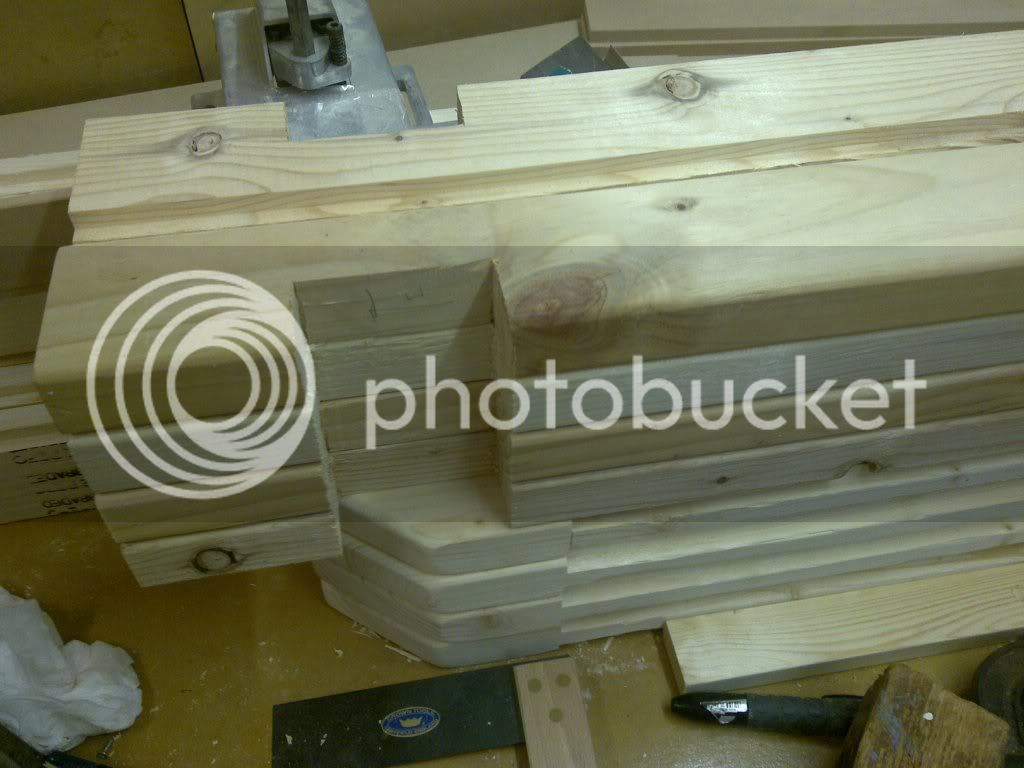
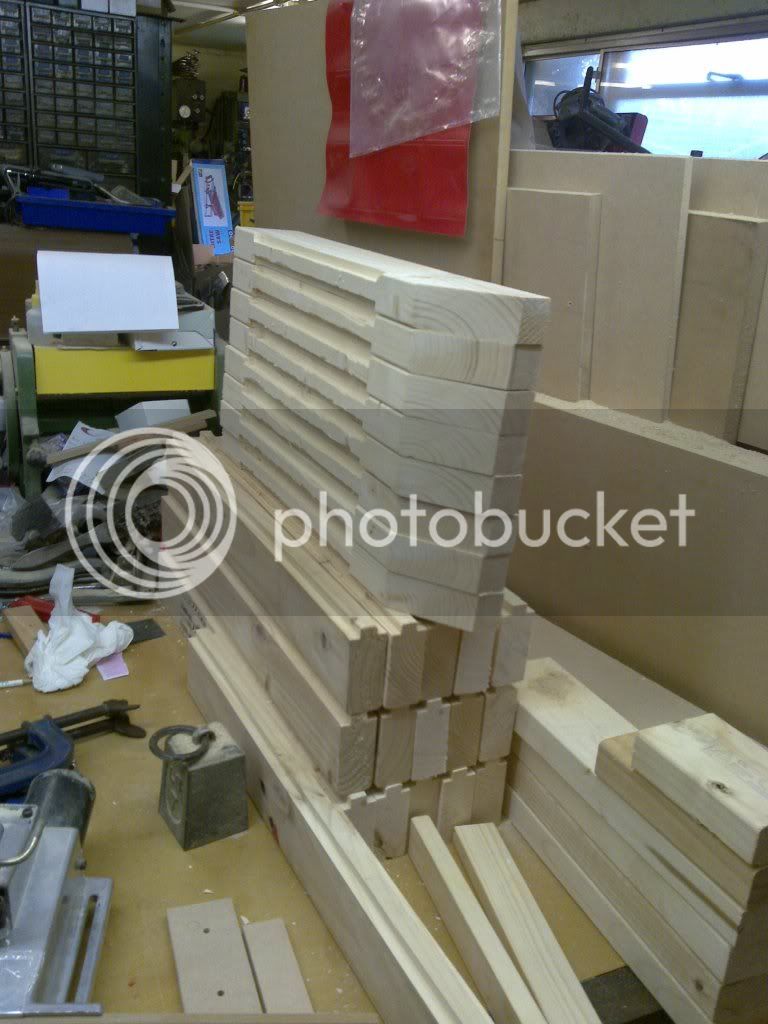

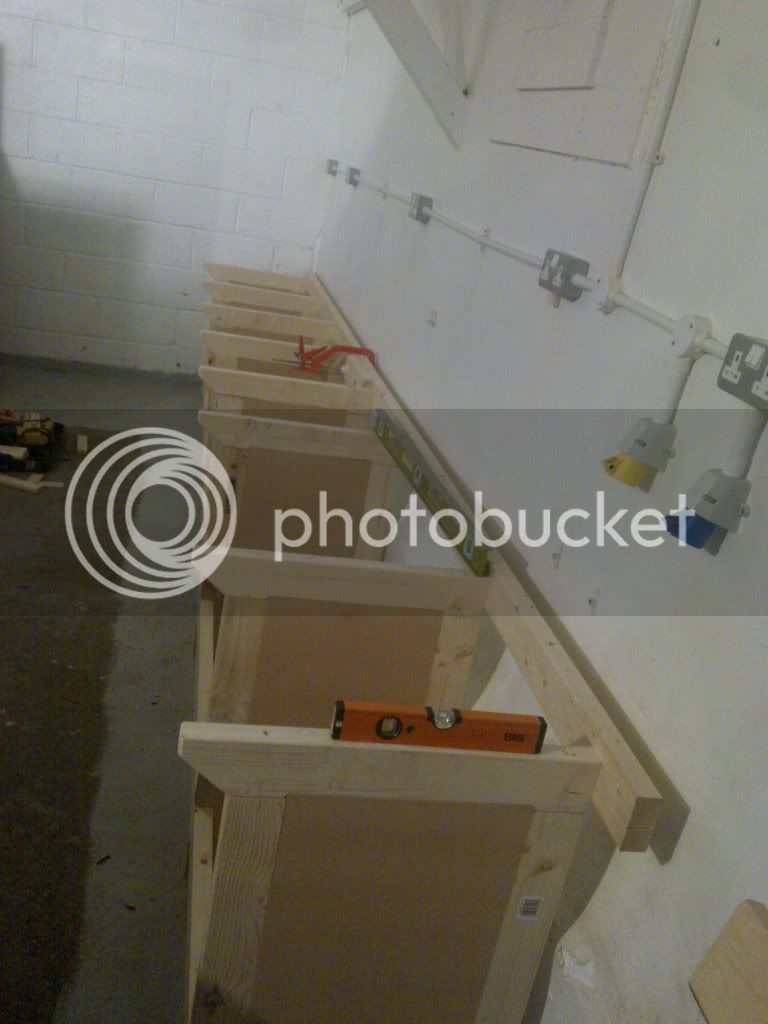
I machined up the CLS to take 9mm MDF panels to give the frames some strength and allow me to fit runners and battens for shelves.

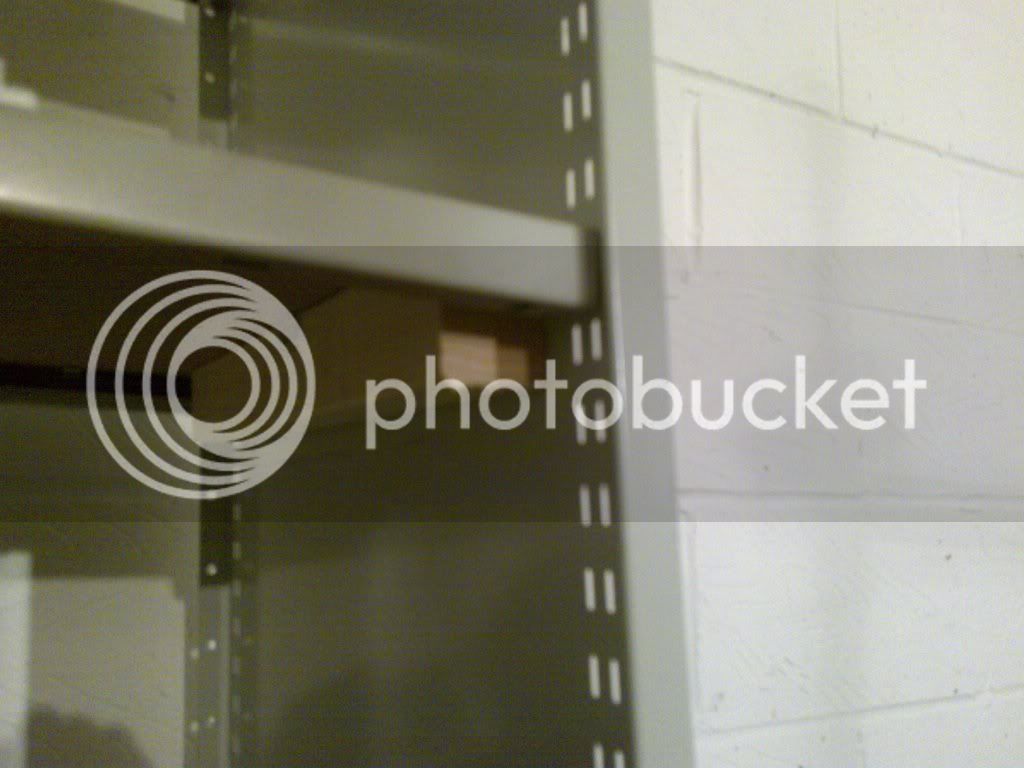
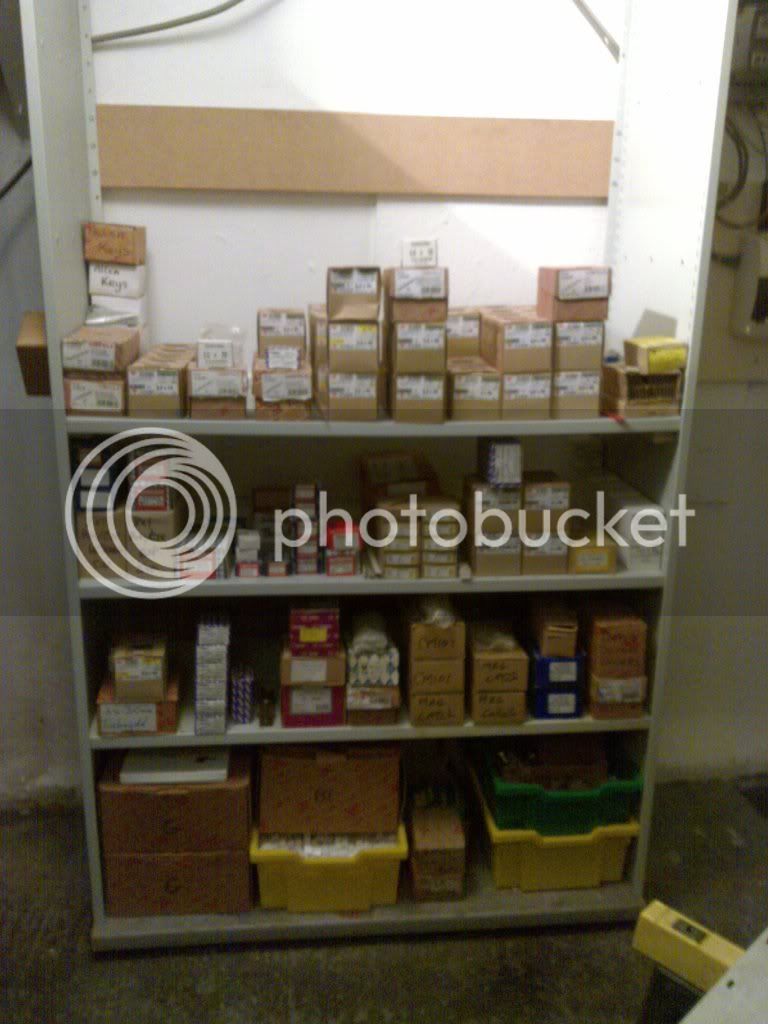
I decided that I could make use of the steel shelving if I could just find a way to fit the shelves to the side panels.
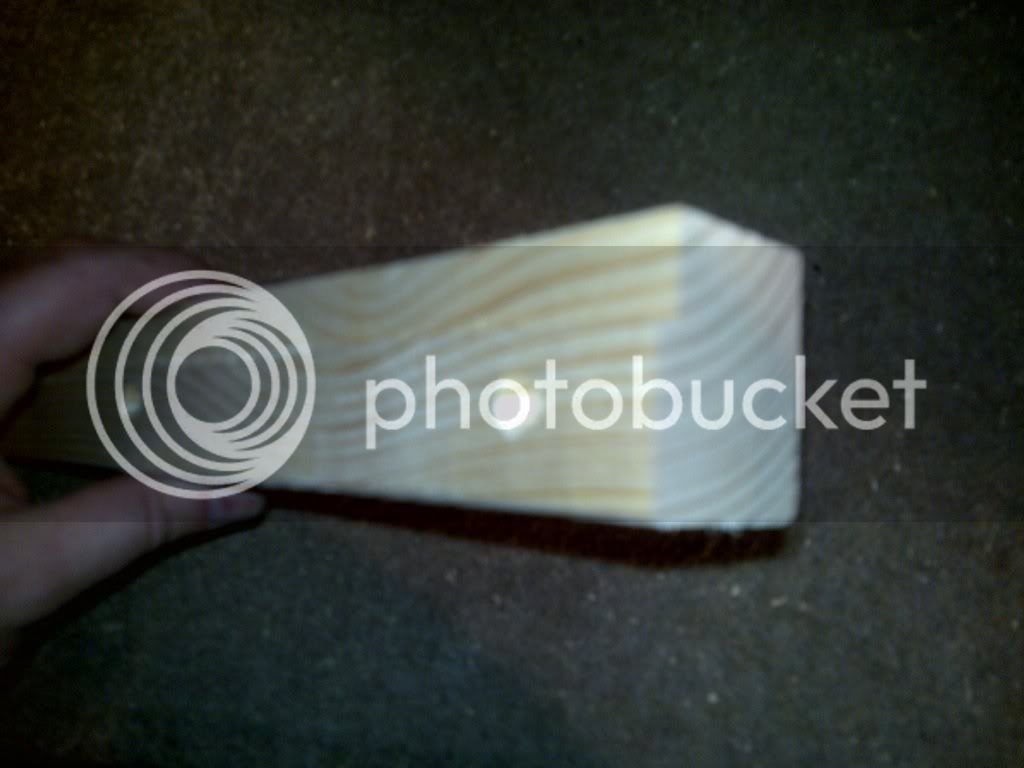
Solution more CLS to the rescue. Just a cast of putting a rebate down one edge to allow the lip on the end of the shelf sit inside.
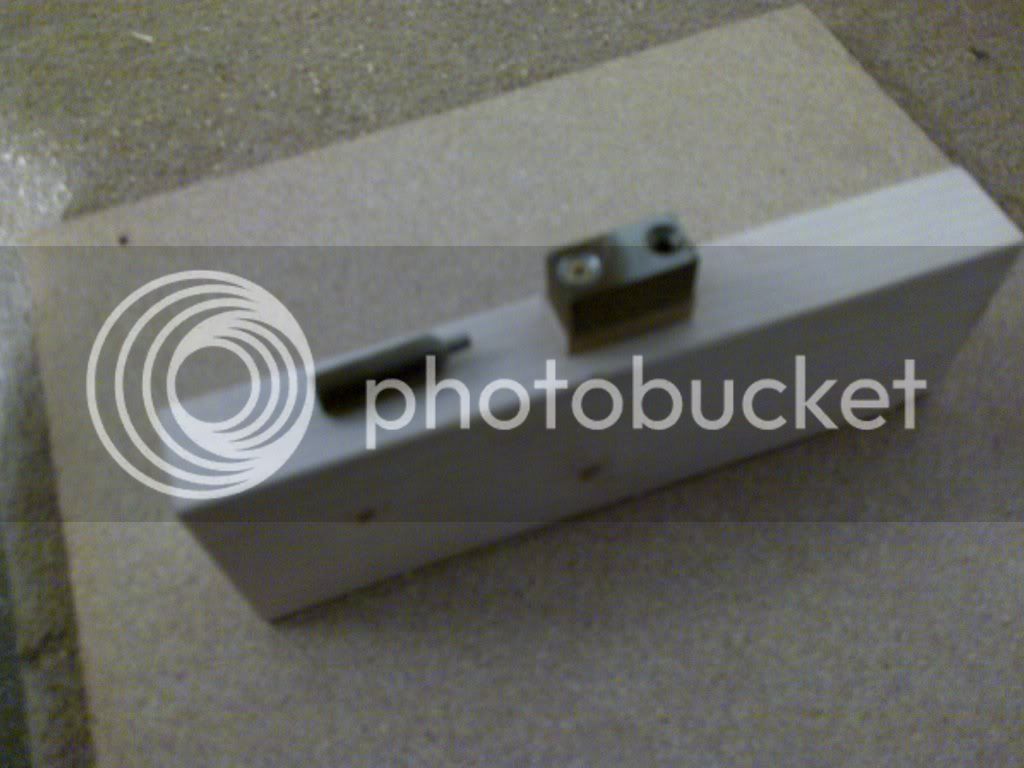
Then screwed the CLS rails to the sides, I got my father to machine up a basic punch and die to form a countersunk indentation in the side panels to take the screws.
As the re wiring progressed re claimed fittings were used when possible along with a big helping of dads supplies of conduit, cable and fitting that I am sure were just taking up valuable space in his shed.
I’m not too sure how to start this as I have never posted before but here goes.
Following a long illness (me/cfs) I was trying to find work that would suit my energy levels and the ability to work when I could rather than set hours. However in this economic climate that sort of thing is almost non existent. Then following the opportunity for some work, I took the plunge to get back into work for myself.
I eventually found a workshop and have spent the last few months getting set up. It’s been and still is a struggle, with little or no budget to get started. I acquired some machinery from a company closing its UK manufacturing and have been slowly getting it rebuilt and setup.
When I first got the keys to the workshop it needed a full rewire, with live wires hanging from the walls the main switch was the only way to turn the lights on and a quick test revealed some sockets had the live and neutral reversed. There was a huge pile of rubbish lots of evidence of rats and about half inch thick of oil soaked sawdust covered most of the floor
The doors were falling off and wouldn’t shut properly.
Once the rubbish was cleared the only salvageable items were some metal shelving minus any fitting to hold it together. All the power was ripped out and a temporary RCD put up to power some flood lights and tools
The next job was to jet wash the floor, after three attempts to get the worst off it was a case of scrubbing brush a square at a time.
Once we started the painting we realised just how damp the walls were with the paint taking days to dry, in places becoming wet and running after heavy rain.
It was only this week I was able to gain access to the rear of the building to discover no guttering and very little of the exterior ship lap timbers remain.
I will post photos and updates as work progresses, I thought I had quite a few photos of the workshop taken on my phone but most aren’t good enough quality. Will now have to keep a camera handy.
Still have lots to do I intend to post updates as work progresses, jobs still to do:-
Build and fit new doors.
Rebuild Sedgwick planer thicknesser.
Build and fit cupboards and draws under bench.
Build a mitre saw station.
Finish partitioned room for spraying & fit filters.
Setting up and modifying Axminster AW10BSB2.
Re cladding outside back and front walls & fit guttering.
Finish wiring and fit alarm.
Placing DX outside and running ducting.
Sorry to ramble on, here goes.
With money being tight I decided on a long bench built out of CLS with 25mm MDF and a hardboard top.
I machined up the CLS to take 9mm MDF panels to give the frames some strength and allow me to fit runners and battens for shelves.
I decided that I could make use of the steel shelving if I could just find a way to fit the shelves to the side panels.
Solution more CLS to the rescue. Just a cast of putting a rebate down one edge to allow the lip on the end of the shelf sit inside.
Then screwed the CLS rails to the sides, I got my father to machine up a basic punch and die to form a countersunk indentation in the side panels to take the screws.
As the re wiring progressed re claimed fittings were used when possible along with a big helping of dads supplies of conduit, cable and fitting that I am sure were just taking up valuable space in his shed.
