


To continue my theme of reviewing stuff despite my conspicuous lack of skill or experience I thought I'd write a short review of the Narex Motrice Chisels.
I bought a set of these from WH as I'm planning on making a coffee table with plenty of M&T joints so I thought I'd make sure I had the right gear so I can't blame my tools (although, as a bad workman, I suppose it would be handy to have that excuse).
Small mention to Matthew here for smoothly sorting out a PayPal problem when my computer died mid-transaction and for sending the parcel via my preferred courier. But we knew about his customer service anyway so I'll not dwell on that.
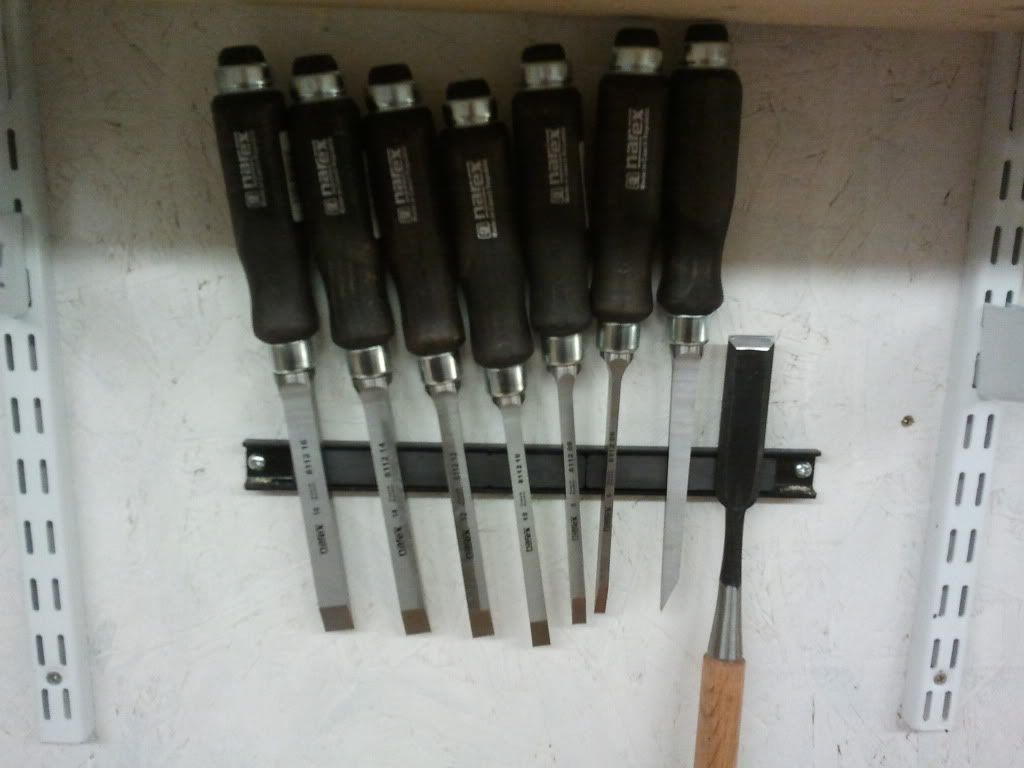
So, here they all are together (sorry for the poor focus). I like the fact that the set comes with the magnetic holder. I think this will be very useful for keeping them handy. You can see that my Japanese slick chisel has already sneaked on-board as I tend to grab that one a lot for general fettling.
They're substantial to say the least. I also like the handles which have comfortable flats to help you align the blade. They sit well in my hands but, after my last review of the QS No.6, I'm not going to attempt to pretend that this is going to mean you'll all agree.
In order to learn how to make M&T joints, I decided to make myself a stool for the shop out of scrap pine. I was in the middle of doing this with my 2 cherries chisels when the Mortice chisels arrived.
I didn't want to change my mortice gauge mid-project so I picked the Narex chisel that happened to be the same size as the joints I was cutting and tried using that instead.
This was the biggest in the set. I had a little trouble sharpening it. I lapped the back as per Matthew's video and this went fine. But I couldn't seem to polish the bevel without it being skewed. I tried a few times to reset the chisel in the honing guide to make sure I was lining it up square but it still wore the left side of the bevel more heavily than the right. I'm left with the conclusion that the bevel wasn't particularly perfect or I'm not very good. I think I'll opt for the latter but, in any case, once I'd imposed my bevel on the chisel, I was able to get it nice and sharp.
So, here's where the fun started. I chopped a mortice in the pine. I must admit that my first impression was disappointment. Don't get me wrong; they cut perfectly well and I was able to chop the mortice just as well as I'd been managing with my bench chisels. But that's the rub; I wanted an improvement, not "just as well". I was left wondering what exactly the point of mortice chisels is when I'd been getting along fine with my bench chisels. If anything, the thicker blades were harder to drive into the cut which made the job slightly harder.
But, hang on a minute. I'm a scientist and, if it's one thing scientists should know, it's how to design a fair experiment. What are the main features of mortice chisels? Well, there are several, but they generally amount to the same thing: making the blade bloody strong. So, I asked myself, they must be designed for being used where this strength is required. A 16mm chisel in pine is not exactly that test.
So, I needed some hardwood and a smaller mortice. Enter my special Random Mystery Hardwood (RMH) given to me by a friend who works for a hardwood flooring company. They get loads of samples and he gave me a few when he found out my predilection for tree butchering. I've no idea what it is. It seems pretty tough and has a nice, open grain.
Here's a shot of me squaring up an end ready to cut a blank from it. I used the No6 and I still find the handles comfy")
Here we are, ready to get mortice and tenoning:
I used a much smaller chisel for this one and had no problems sharpening it.
Then I cut the tenon using the cross-cut and rip-cut dozuki (I'll review these properly another time as this wasn't really a task worthy of assessing them - but initial impressions are good).

Then on to the important bit: chopping the mortice.
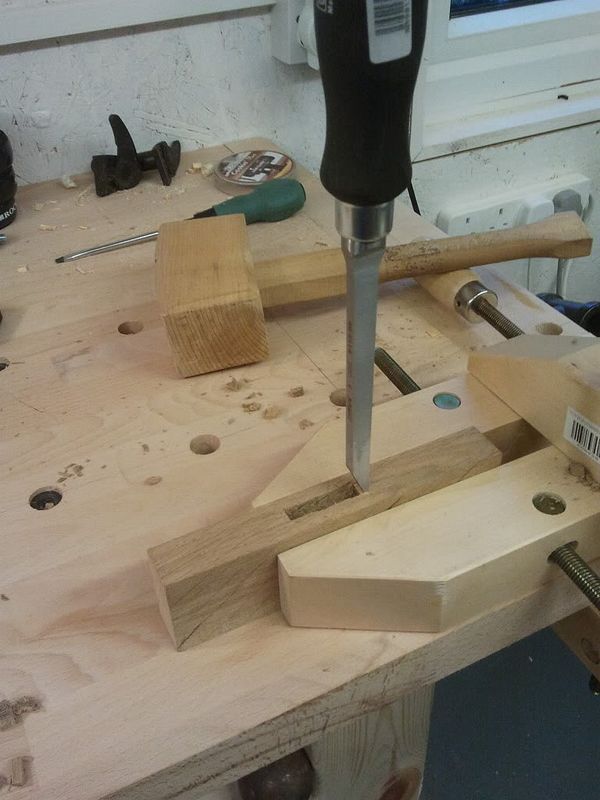
And, I'm pleased to say, all became clear! Suddenly, I started to understand the point. The chisels cut straight and true and their strength gave me the confidence to give them a damn good spanking as well as to do the occasional levering to work loose recalcitrant chips. For fair comparison, I should have tried chopping the same size mortice with my bench chisels but, frankly, I didn't want to break them so I didn't try it.
After some very minor paring with the Japanese slick, here's what we're left with:
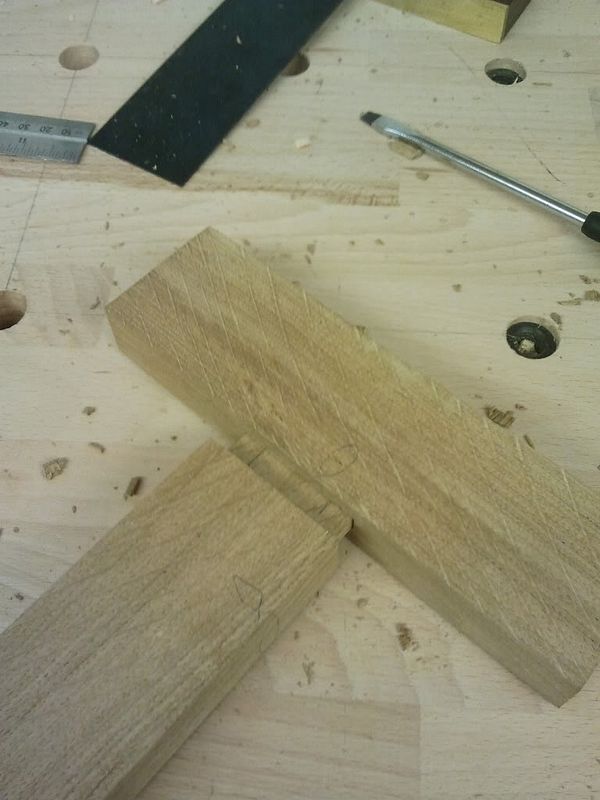
I didn't push the tenon all the way through so that you can see the joint better but I can assure you that it was flush and square when I did.
Anyway, I'm happy and looking forward to honing my skills and cutting more joints with them. I just need a decent shoulder plane now...
Dave
I bought a set of these from WH as I'm planning on making a coffee table with plenty of M&T joints so I thought I'd make sure I had the right gear so I can't blame my tools (although, as a bad workman, I suppose it would be handy to have that excuse).
Small mention to Matthew here for smoothly sorting out a PayPal problem when my computer died mid-transaction and for sending the parcel via my preferred courier. But we knew about his customer service anyway so I'll not dwell on that.
So, here they all are together (sorry for the poor focus). I like the fact that the set comes with the magnetic holder. I think this will be very useful for keeping them handy. You can see that my Japanese slick chisel has already sneaked on-board as I tend to grab that one a lot for general fettling.
They're substantial to say the least. I also like the handles which have comfortable flats to help you align the blade. They sit well in my hands but, after my last review of the QS No.6, I'm not going to attempt to pretend that this is going to mean you'll all agree.
In order to learn how to make M&T joints, I decided to make myself a stool for the shop out of scrap pine. I was in the middle of doing this with my 2 cherries chisels when the Mortice chisels arrived.
I didn't want to change my mortice gauge mid-project so I picked the Narex chisel that happened to be the same size as the joints I was cutting and tried using that instead.
This was the biggest in the set. I had a little trouble sharpening it. I lapped the back as per Matthew's video and this went fine. But I couldn't seem to polish the bevel without it being skewed. I tried a few times to reset the chisel in the honing guide to make sure I was lining it up square but it still wore the left side of the bevel more heavily than the right. I'm left with the conclusion that the bevel wasn't particularly perfect or I'm not very good. I think I'll opt for the latter but, in any case, once I'd imposed my bevel on the chisel, I was able to get it nice and sharp.
So, here's where the fun started. I chopped a mortice in the pine. I must admit that my first impression was disappointment. Don't get me wrong; they cut perfectly well and I was able to chop the mortice just as well as I'd been managing with my bench chisels. But that's the rub; I wanted an improvement, not "just as well". I was left wondering what exactly the point of mortice chisels is when I'd been getting along fine with my bench chisels. If anything, the thicker blades were harder to drive into the cut which made the job slightly harder.
But, hang on a minute. I'm a scientist and, if it's one thing scientists should know, it's how to design a fair experiment. What are the main features of mortice chisels? Well, there are several, but they generally amount to the same thing: making the blade bloody strong. So, I asked myself, they must be designed for being used where this strength is required. A 16mm chisel in pine is not exactly that test.
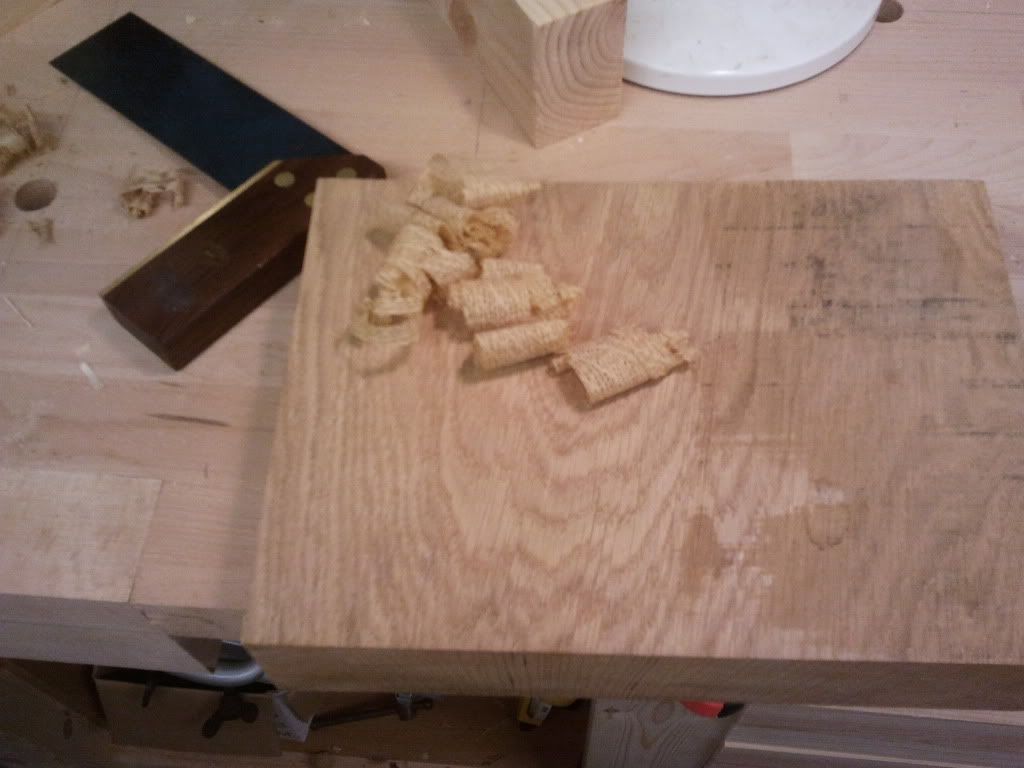
So, I needed some hardwood and a smaller mortice. Enter my special Random Mystery Hardwood (RMH) given to me by a friend who works for a hardwood flooring company. They get loads of samples and he gave me a few when he found out my predilection for tree butchering. I've no idea what it is. It seems pretty tough and has a nice, open grain.
Here's a shot of me squaring up an end ready to cut a blank from it. I used the No6 and I still find the handles comfy
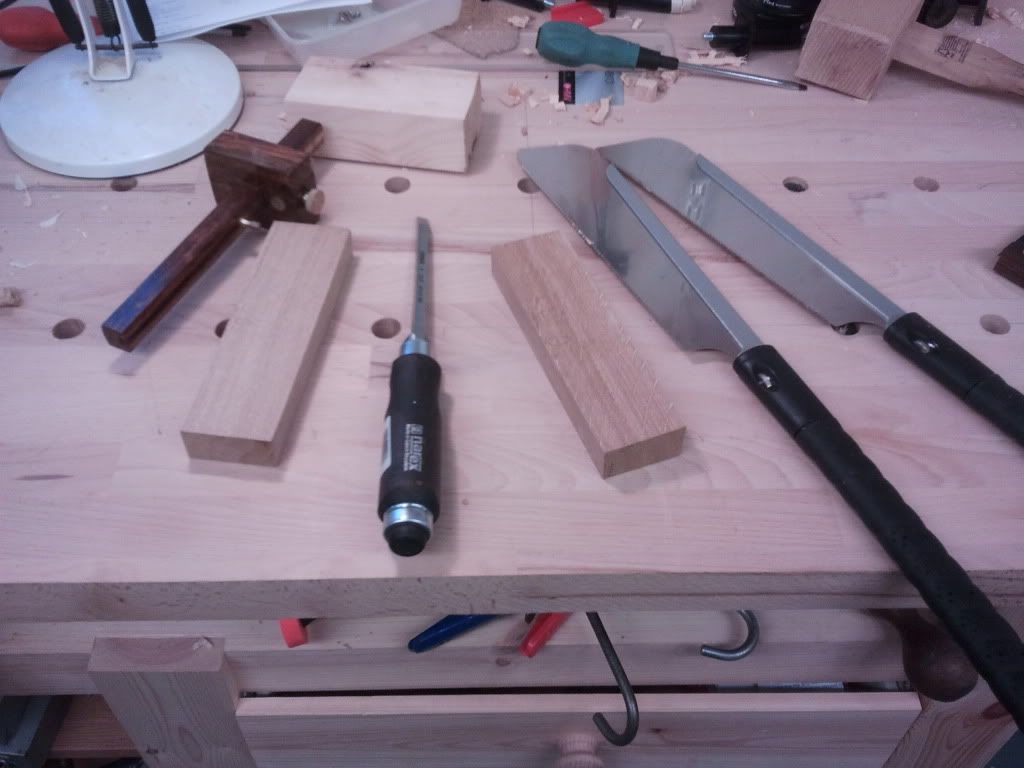
Here we are, ready to get mortice and tenoning:
I used a much smaller chisel for this one and had no problems sharpening it.
Then I cut the tenon using the cross-cut and rip-cut dozuki (I'll review these properly another time as this wasn't really a task worthy of assessing them - but initial impressions are good).
Then on to the important bit: chopping the mortice.
And, I'm pleased to say, all became clear! Suddenly, I started to understand the point. The chisels cut straight and true and their strength gave me the confidence to give them a damn good spanking as well as to do the occasional levering to work loose recalcitrant chips. For fair comparison, I should have tried chopping the same size mortice with my bench chisels but, frankly, I didn't want to break them so I didn't try it.
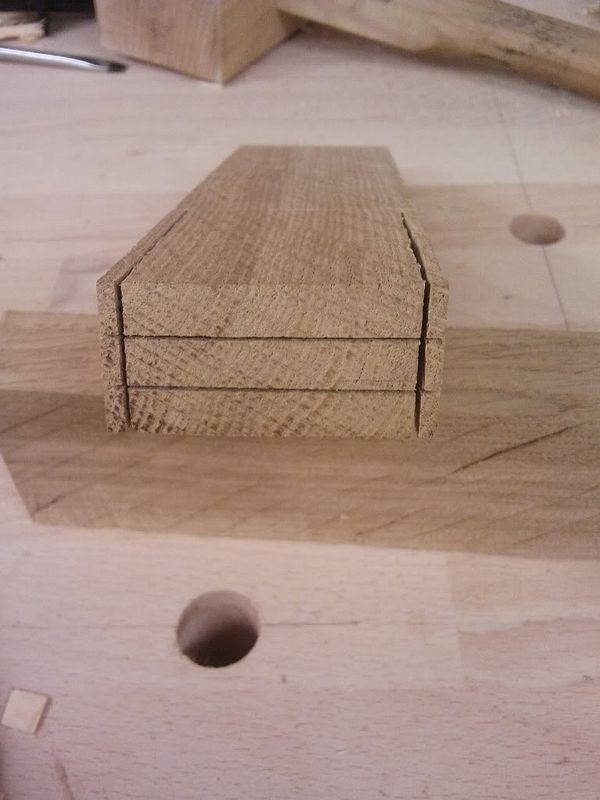
After some very minor paring with the Japanese slick, here's what we're left with:
I didn't push the tenon all the way through so that you can see the joint better but I can assure you that it was flush and square when I did.
Anyway, I'm happy and looking forward to honing my skills and cutting more joints with them. I just need a decent shoulder plane now...
Dave