My Cyclone Build

UKworkshop.co.uk

Help Support UKworkshop.co.uk:

This site may earn a commission from merchant affiliate links, including eBay, Amazon, and others.
I thenn needed to route some circles in the lid which up to now had remained solid. However the trammel bar I used earlier would not allow me to route a small enough hole. So I built this, copied off the jigs and tips forum. Took about an hour.

IMG_2959.jpg


Mark
 
I started by routing a shallow circle in what will become the inside of the lid, same diameter as the drum

IMG_2961.jpg


Then a smaller circle on the inside, almost all the way through

IMG_2962.jpg


The on a quarter of the the arc, the radius was extended by a few mill

IMG_2964.jpg


I then cut it out completely with a trim bit. Then flipped it back over routed the inside of that large shallow circle

IMG_2969.jpg


Then cut off a piece of spiral ducting and slotted in. You can see why the arc had to be extended on 25% of the small circle

IMG_2970.jpg


More next week


Mark
 
the first and most obvious worry is that wood particles are very abrasive. Are there any examples of fiberglass withstanding such as assault.

Kit Cars I suppose withstand the grit and rubbish from UK roads for many years. Any other examples.

Al
 
Al

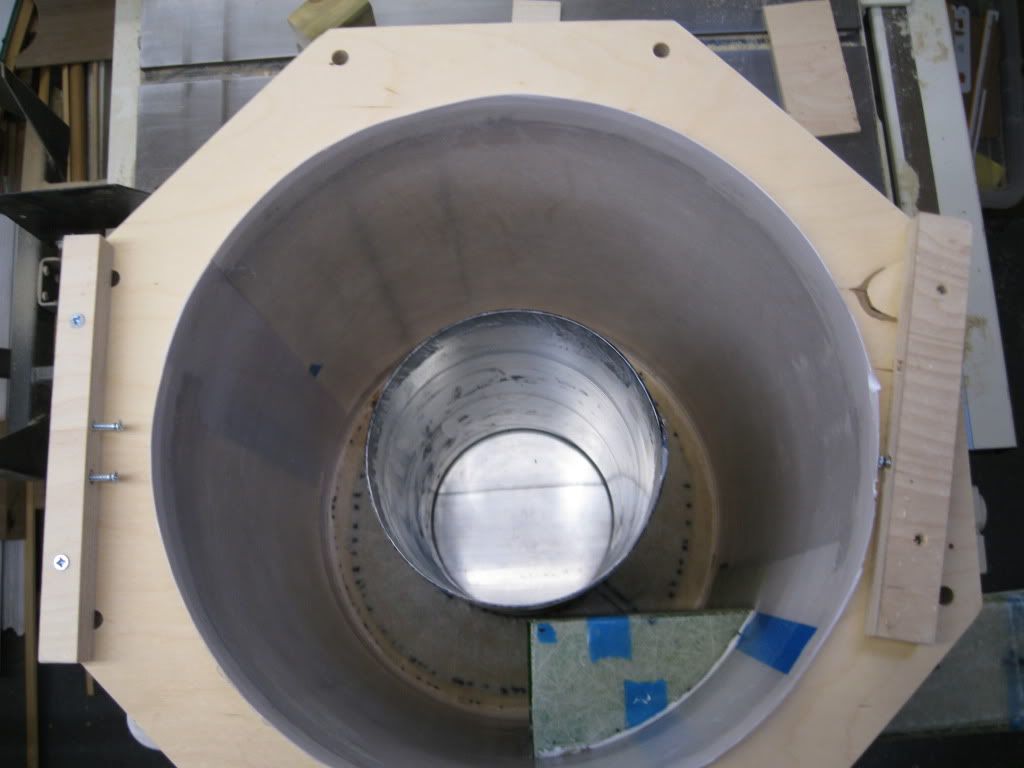
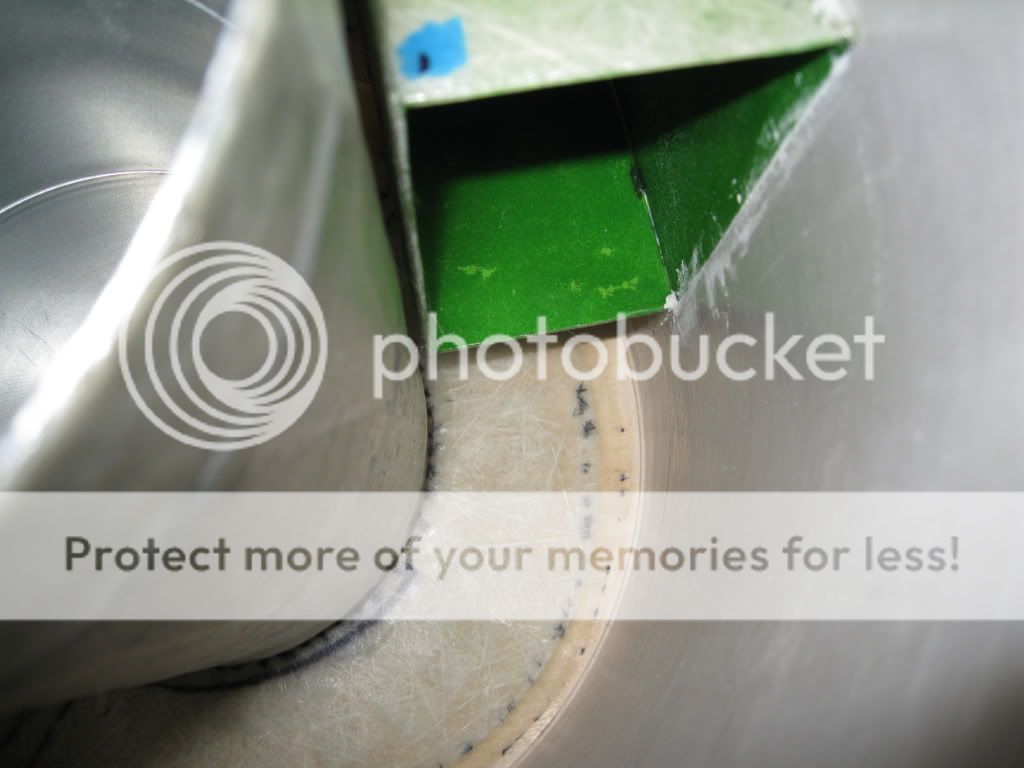
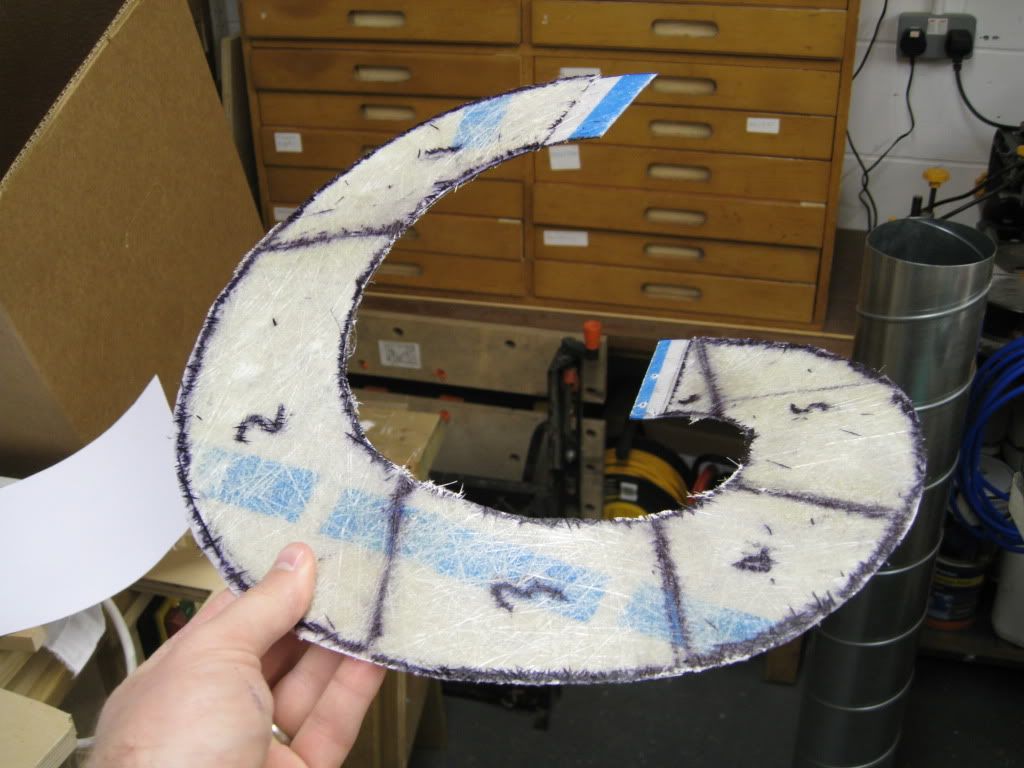
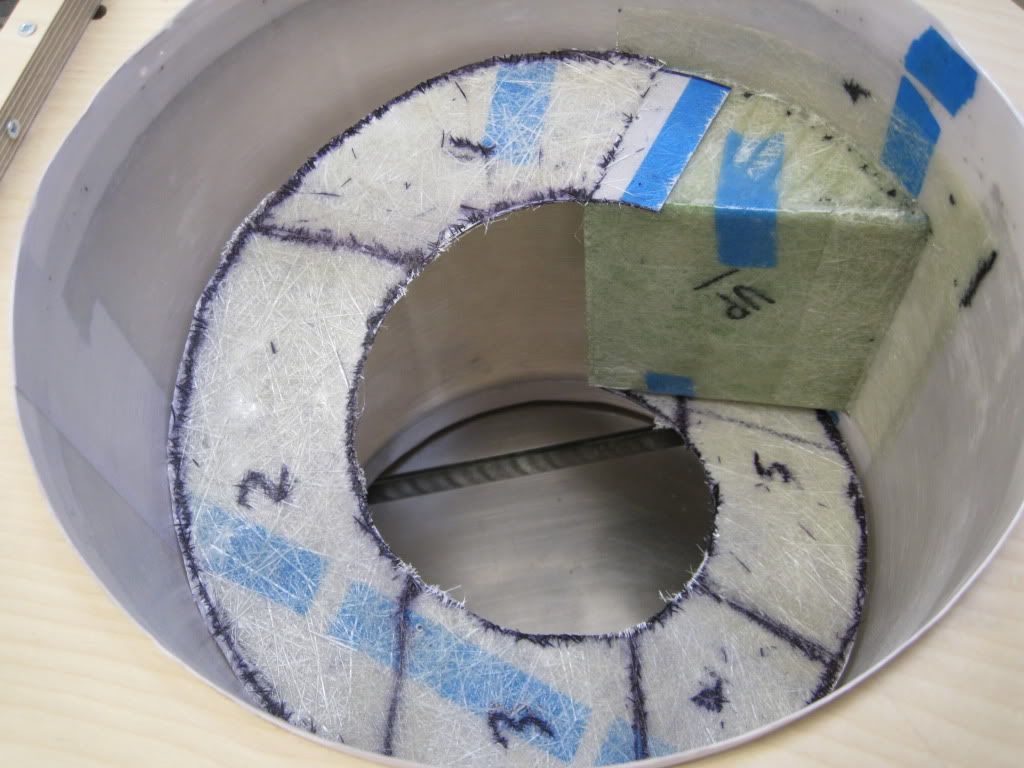
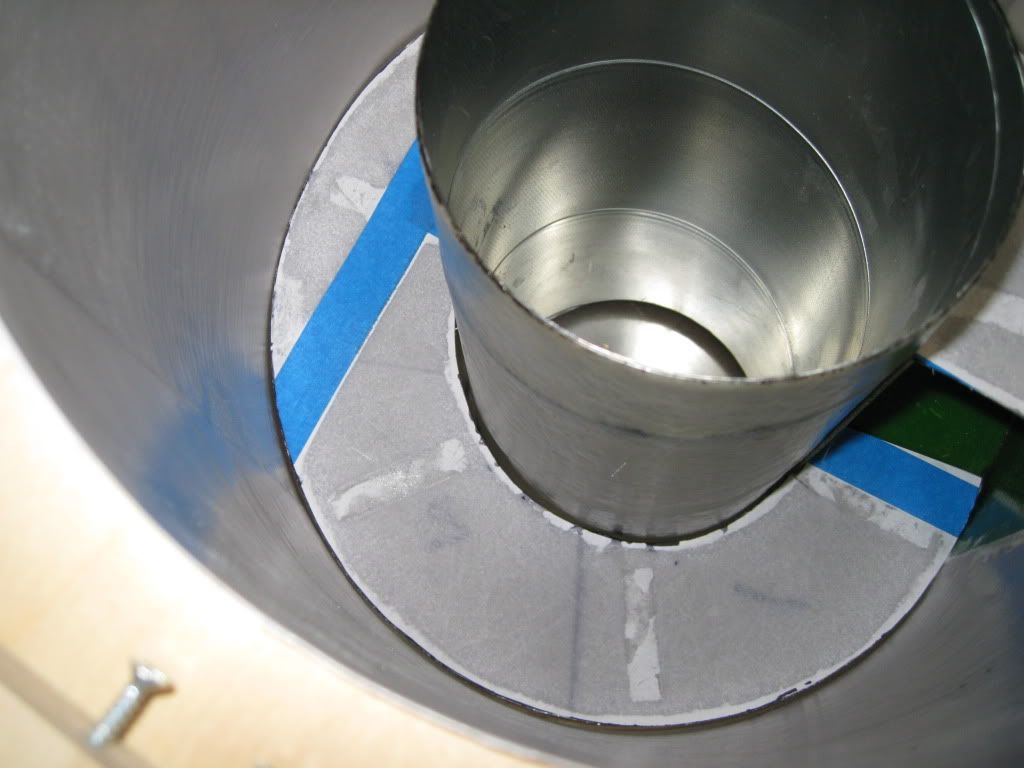
As I understand it the only place that suffers from constant bombardment and consequential wear is the area opposite the incoming ducting (well this is according to Mr Pentz and we shall not argue with God). To that end if the final design allows access to this area then another coat of resin would be easily applied, or if you wished a small section of Kevlar Cloth could be laminated into this area for the ultimate bomb proof solution.

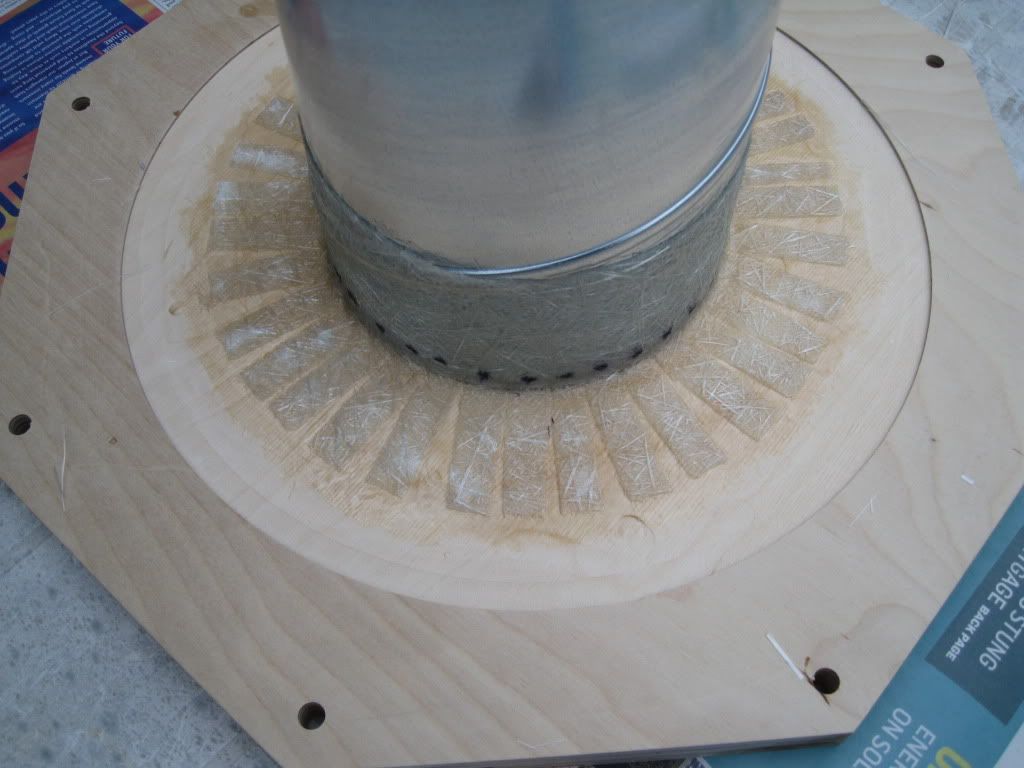
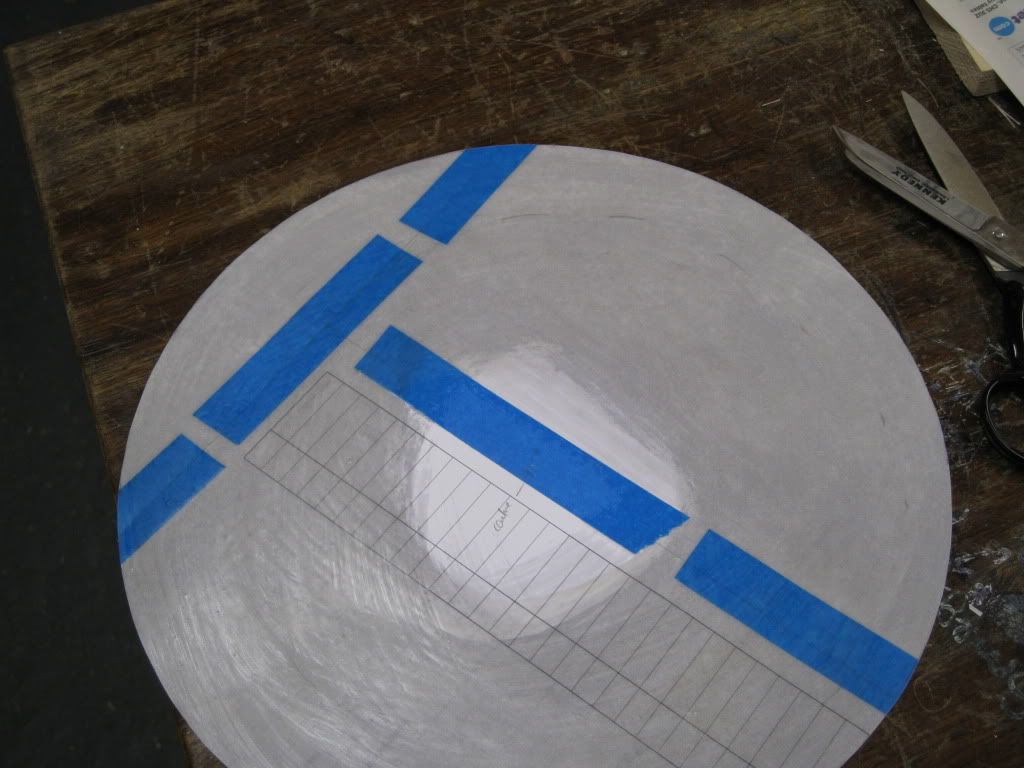
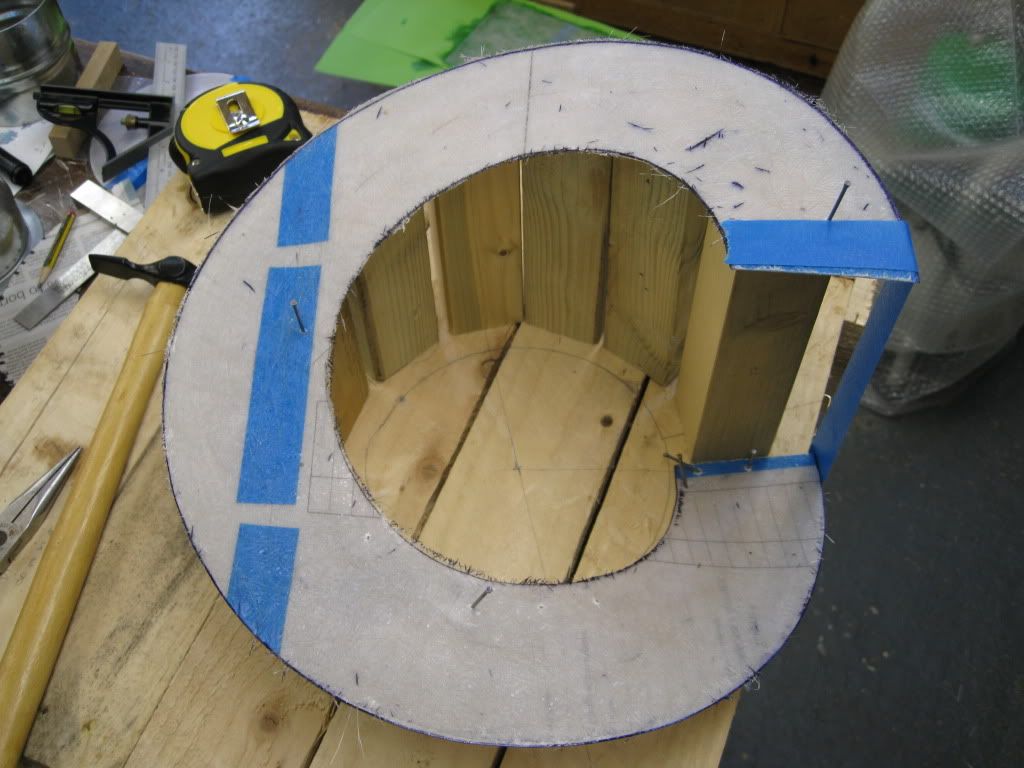
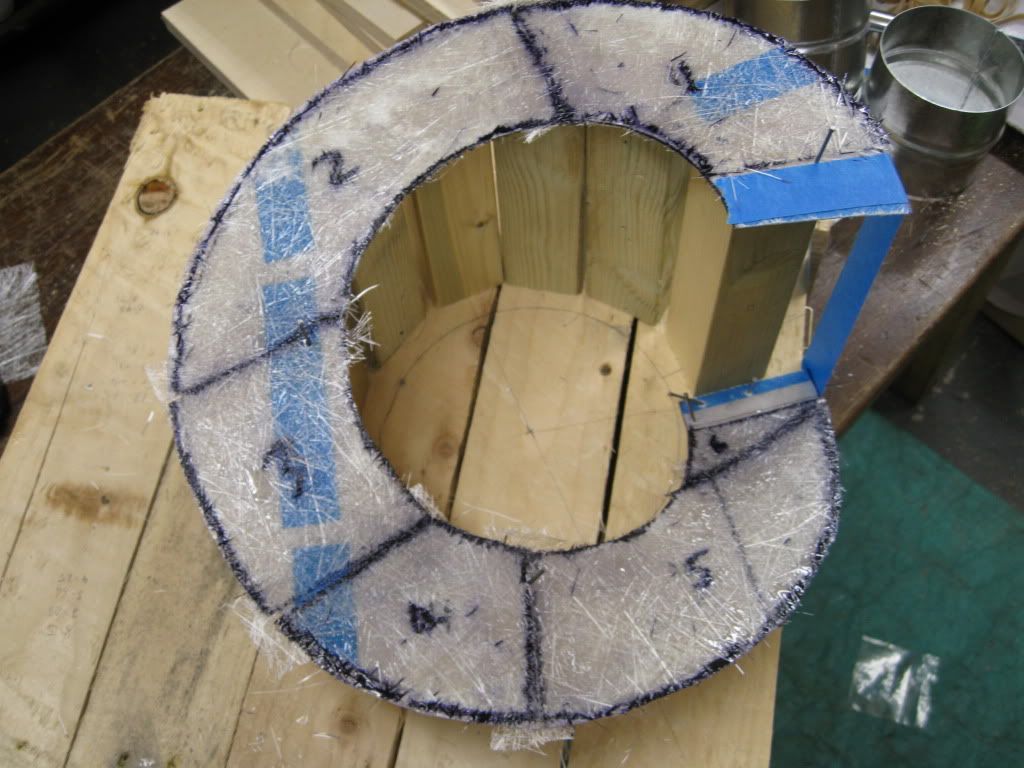
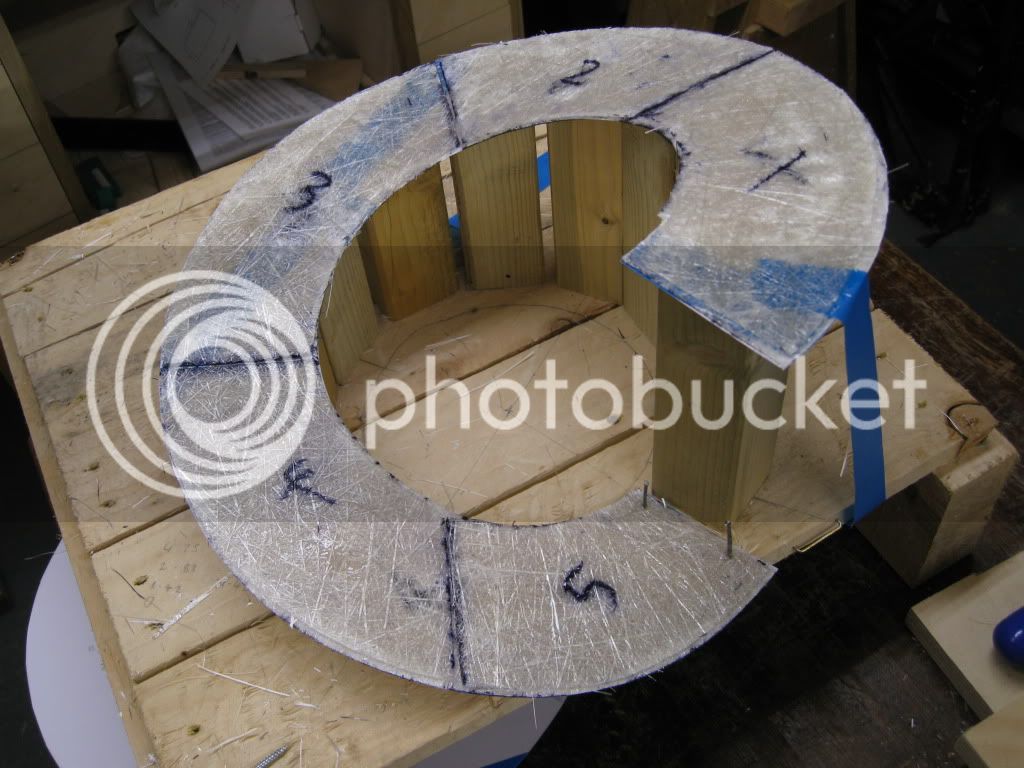
My experience (boatbulding) with fibreglass and resin, although I prefer epoxy to polyester, is that it's extremely strong and offers good wear resisitance. Plus it is really easy to repair, replace, modify, create molded parts etc and generally fabricate into things that you couldn't make as easily by any other method. Only down side is it can if you are not careful it will become a sticky and therefore messy process.

So far I'm loving the build.

Regards

Richard
 
Al
I have no idea if this will all work in the end. I had wondered about wear myself. I am hoping to be able to seal the upper drum and lower cone so that it can be taken apart and maintainance done if needed. Both are at least 3mm thick now and feel very strong, I'll get the calipers on it if I remember and measure exactly at some point. As I have said throughout I am no expert on either cyclones or fibreglassing. Richards comments do make me optomistic though as he seems to have some experience of this material. Now, Kevlar, that sounds interesting, where do I get a small bit of that from?

Mark
 
Mark

Kevlar is expensive stuff and unless you were going to laminate the whole inside I wouldn't bother as it wouldn't come out as smooth as your approach, and smooth airflow is a key component of cyclones I think. If you have problems in the future or want to rebuild to higher spec use a woven cloth rather than chopped strand mat, much stronger and easier to get a smooth surface good finish.

I could see a few issues with wear as it's only resin, then cardboard, then the cloth and the resin isn't as tough when in it's raw state , after all it is designed to be used i conjunction with a fibrglass cloth of some kind. If you have problems and can get access then I would cover the wear area with a light cloth and use epoxy, it will happily bond to cured polyester resin.

Right now get it finished and working and make improvements on Mark II. :lol:

Regards

Richard
 
Richard

Thank you for the info on epoxy and woven cloth, will keep that idea in back up should I need it. It won't be that hard to line the inside.

I do not intend to make a mark 2 if I can help it!!!

Mark
 
Mark

If you do choose to use a further layer of cloth just make sure you abrade the surface to give a good mechanical tooth. Use the lightest cloth possible as you already more than enough mechanical strength in your current build. and possibly overcoat with another thin layer of epoxy resin, best to do this before the last application has fully cured that way you don't need to sand.

I'm trying to think of a way of rotating the piece whilst you do this to make sure that epoxy flows and gives you the best final surface possible.

You'll work it out you've proved that with the build so far.

Regards

Richard
 
You could bond an aluminium wear plate onto the resin surface, a decent MMA adhesive should give a good bond between the Aly and Resin face, though a light abrasion then acetone wipe would help adhesion.

If you can post cure the laminate it would certainly help increase the properties, if you could hold it around 40°C for 16 hours you would definitely see some improvements.
 
Another good idea, thank you.

I'll try and post some more updates this week

Mark
 
A few updates

I finished making the lid assembly. The spiral dust was bonded onto the wooden lid.

IMG_2971.jpg


Once this was cured, the resin/matting was then extended beyond the top.

IMG_2974.jpg


I've found it easier to do this and cut back a new edge than try and finish the fibreglass neatly

IMG_2980.jpg


Temporary in place to get an idea of how it goes together

IMG_3000.jpg


Mark
 
Viewed from the other side. There is about 2 mm gap between the outlet pipe and the edge of the inlet pipe, which is what I was aimimg for. The second picture is a bit of an optical illusion as it is nether wider at one end or as bit as it looks in the photo, you'll have to take my word for that.

IMG_3001.jpg


IMG_3004.jpg


Mark
 
I've started to make the fifth and final piece of this build. It's the part I've been least looking forward to as I thought it would be the most difficult, and I'm finding I was right to think that. Bills instructions (for metal) make it sound quite easy, but its clearly not going to be.

First was the usual applying resin to card board to give me some flexable sheets to work with and cut the basic circle

IMG_2979.jpg


I then (badly) made a former

IMG_2982.jpg


I cut the inner circle out and using a combination of nails and tape bent it round it and held it in place

IMG_2983.jpg


IMG_2984.jpg


Mark
 
Mark

All you need now is some sticky back plastic and the Blue Peter Badge is in the bag!!!!

Excellent work and a whole heap of fun I'm sure.

Regards

Richard
 
Thanks for the encouragement guys, it is very much appreciated.

Very brief update

With the ramp nailed and taped in position on the former, I applied a couple of layers of matting and resin to it. Not pretty when done:

IMG_2990.jpg


However once cured, I cut most of the mess off. It now fully supports itself and the ends are the right distance apart to be stuck to the top and bottom edges of the rectangular inlet pipe.

IMG_2992.jpg


It will also have several more layers on it and look better, and be smoother, by the time I've finished.

I'm very busy the next 2 to 3 weeks so its unlikely I'll get to do much more on this until the end of the month, but I'll post some photos when I have some.

Mark
 
Back from my hols and back to working on this, though Xmas now seems to be getting in the way.

This is what it looked like when it was fitted in the drum.

IMG_2995.jpg


I'm not sure how well it shows in the picture but I was not happy with the fit. What I didn't realise was when the 2 ends of the ramp opened to line up with the top and bottom of the inlet, it pulled the circle in slightly. This meant that the ramp was not tight up against the inside of the drum. It also meant the hole in the middle of the ramp was now too small to let the outlet tube drop in. I tried to extend the ramp on its outside diamater and gring away some of the inside. This did work and make it fet but was not as smooth and well made as I would like. Because of that I decided to make another, using the first one as a template. I stuck the first one back to the former and used it to support and template the new one

IMG_3007.jpg


Mark
 
I applied a small amount of resin and mat and then went for the test fit again

IMG_3008.jpg


I was much happier with it this time so I took it out and made it a bit more heavy duty with a couple of layers of 350g mat

IMG_3009.jpg


Mark
 
Back
Top