My Cyclone Build

UKworkshop.co.uk

Help Support UKworkshop.co.uk:

This site may earn a commission from merchant affiliate links, including eBay, Amazon, and others.
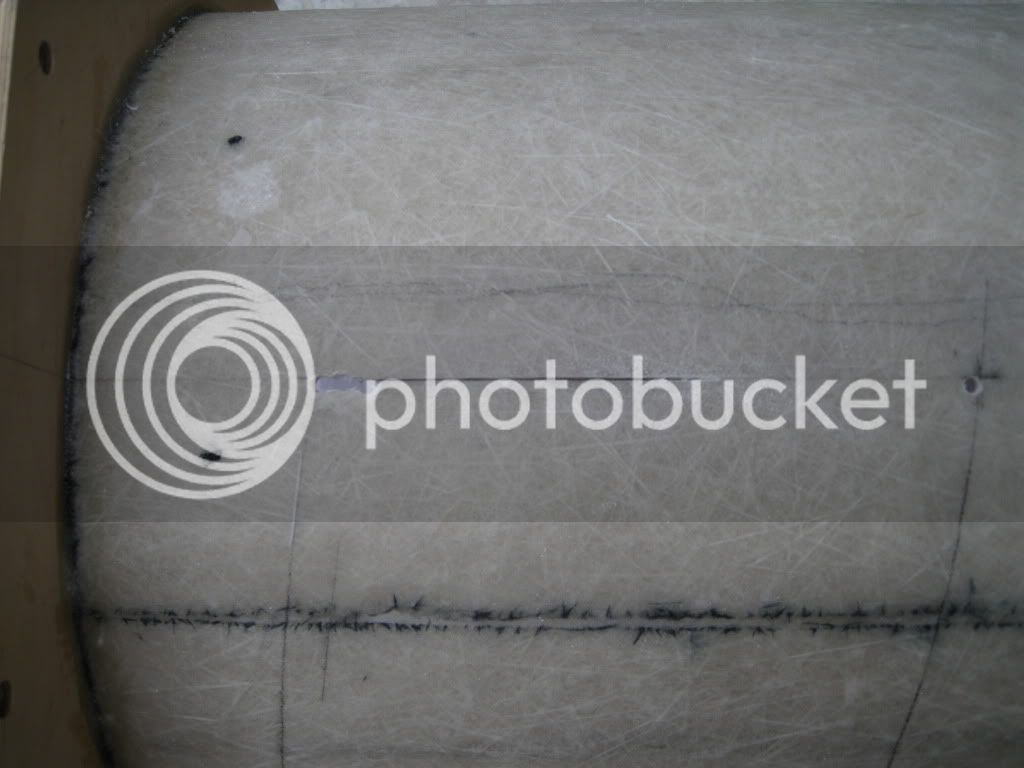
I then started to build the air intake. Ideally I needed some thin flat plastic. But I didn't have any so I used some more cardboard :)

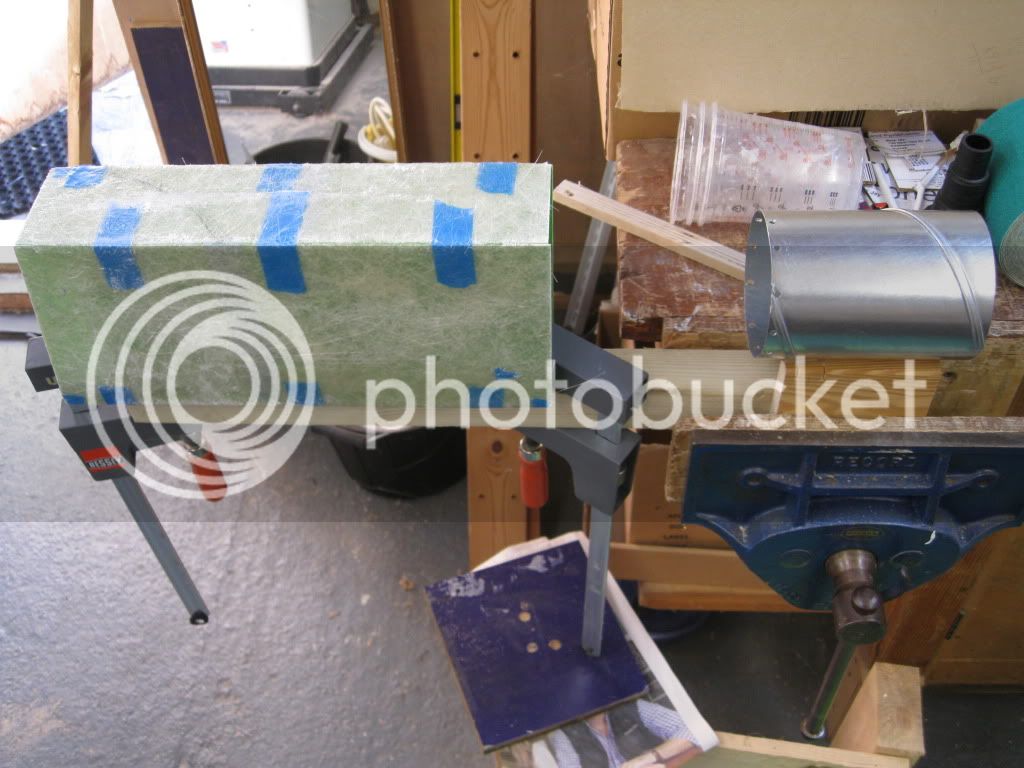
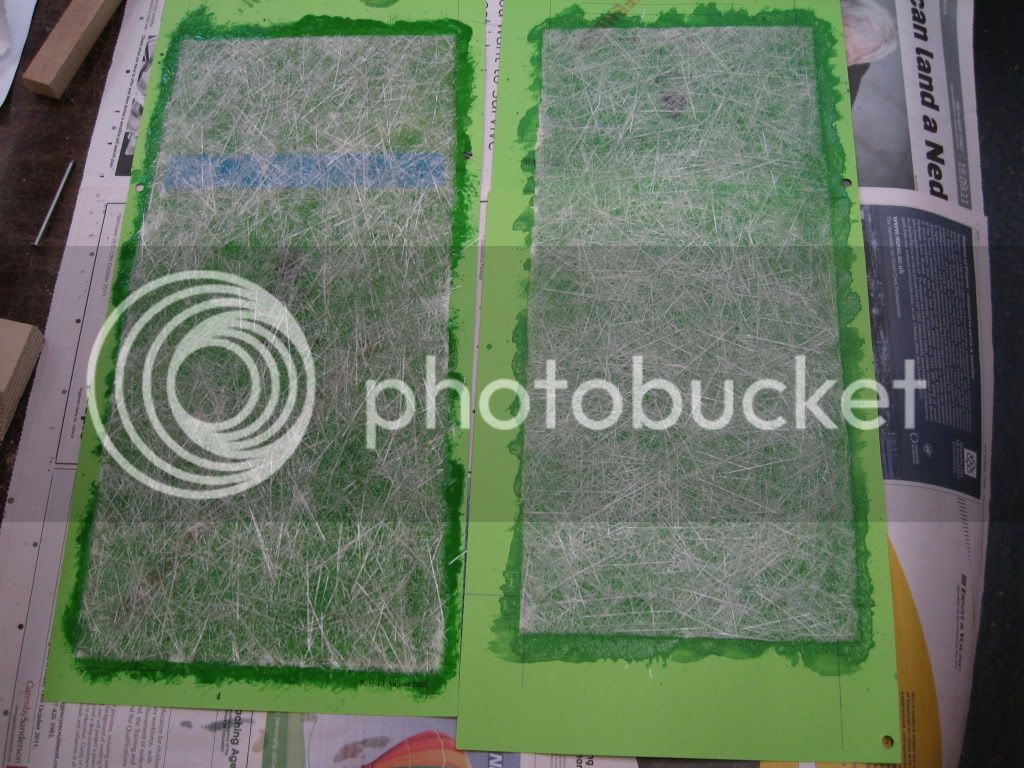
I the built up several layers of resin and matting on it

IMG_2869.jpg


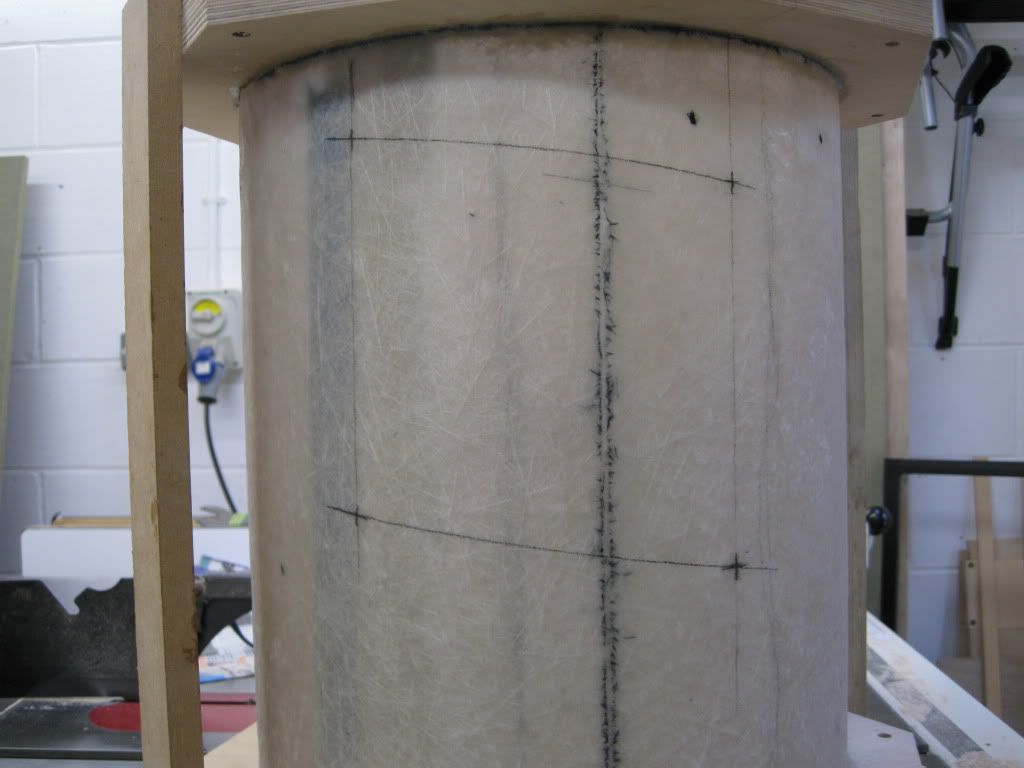
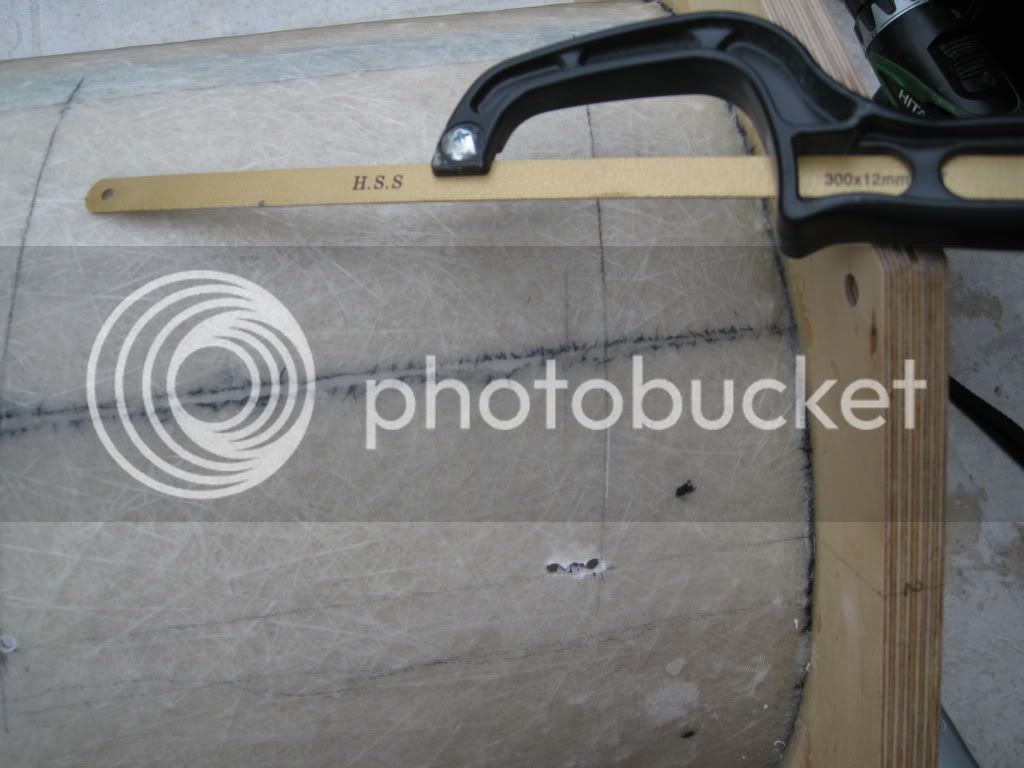
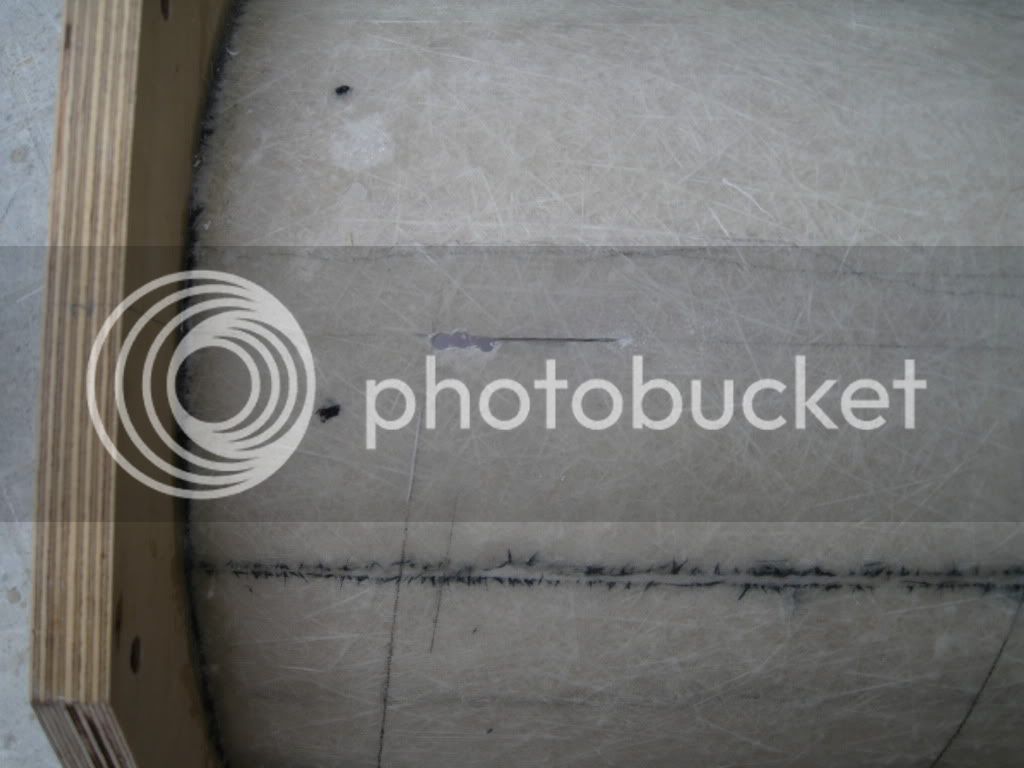
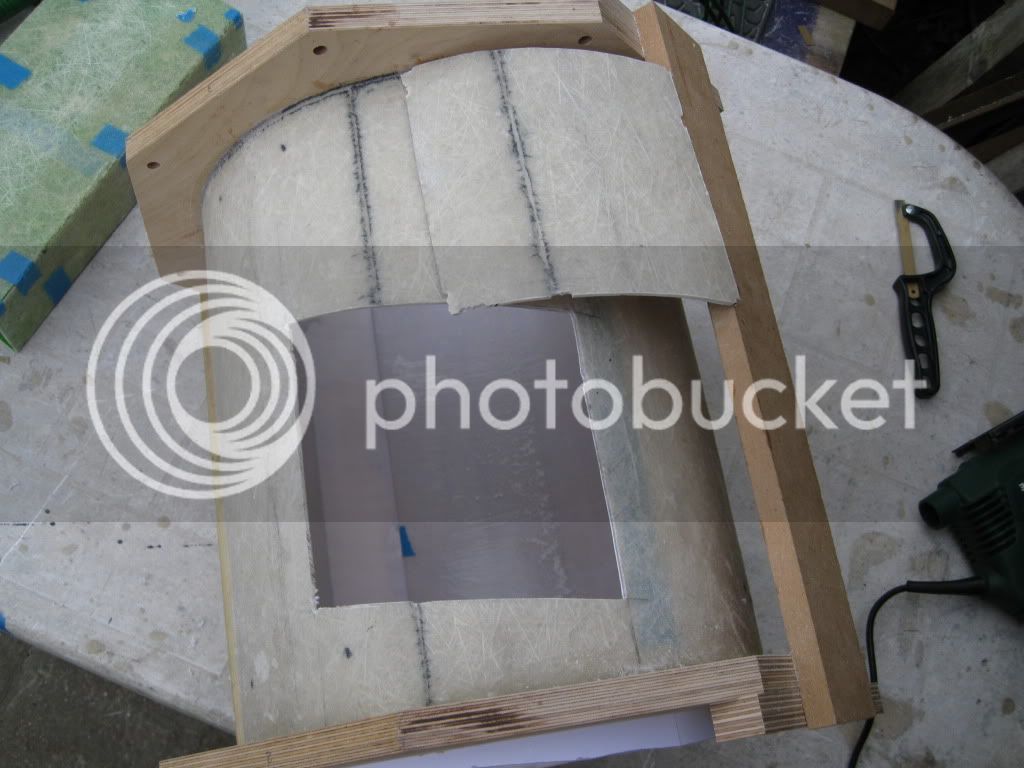
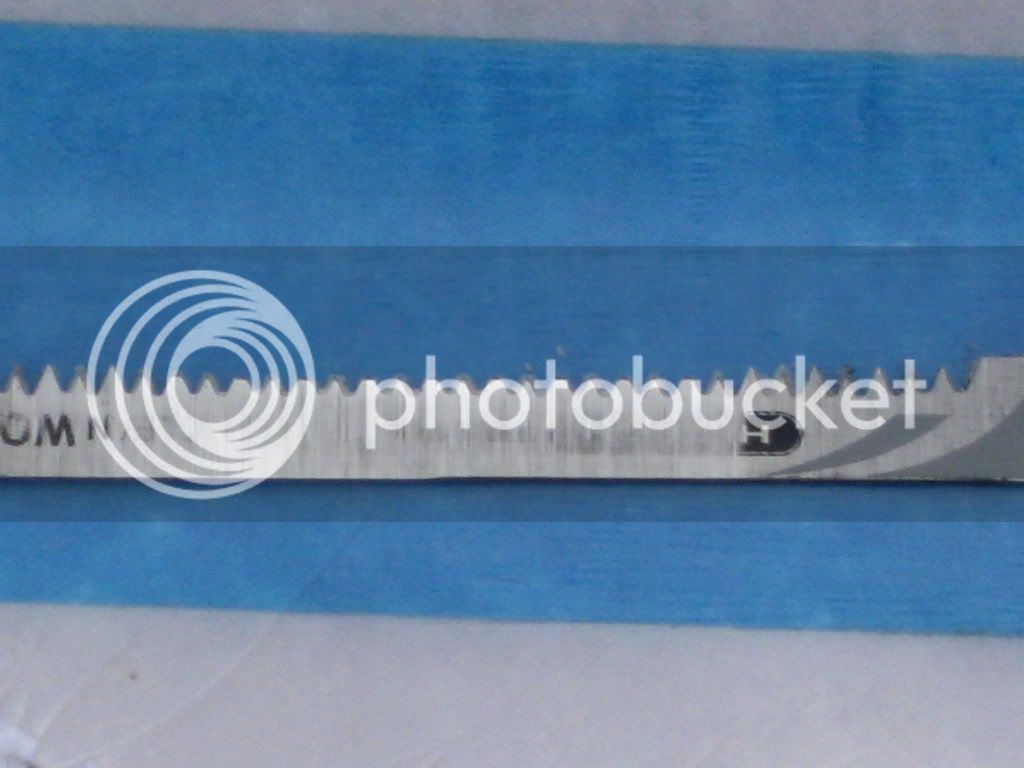
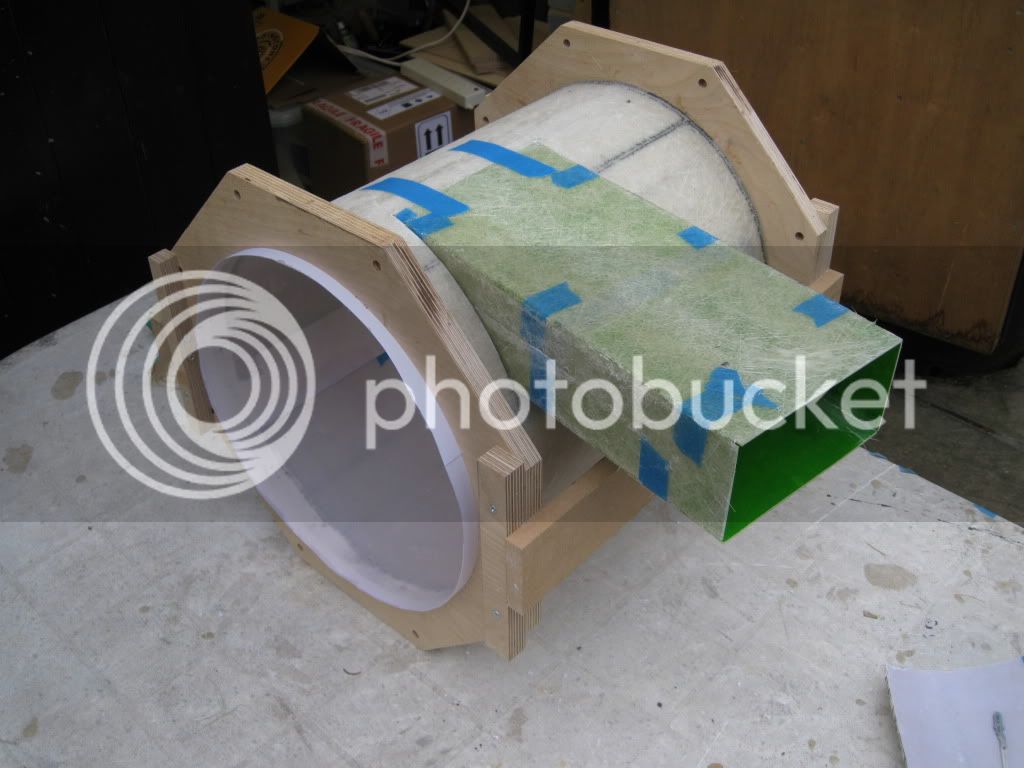
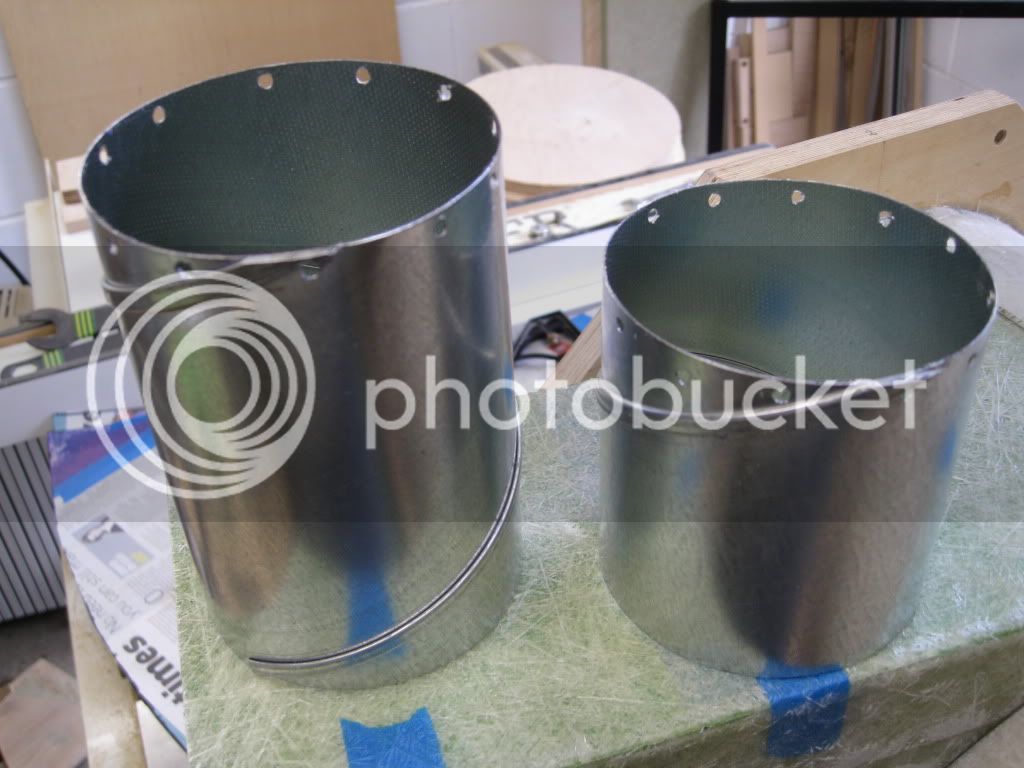
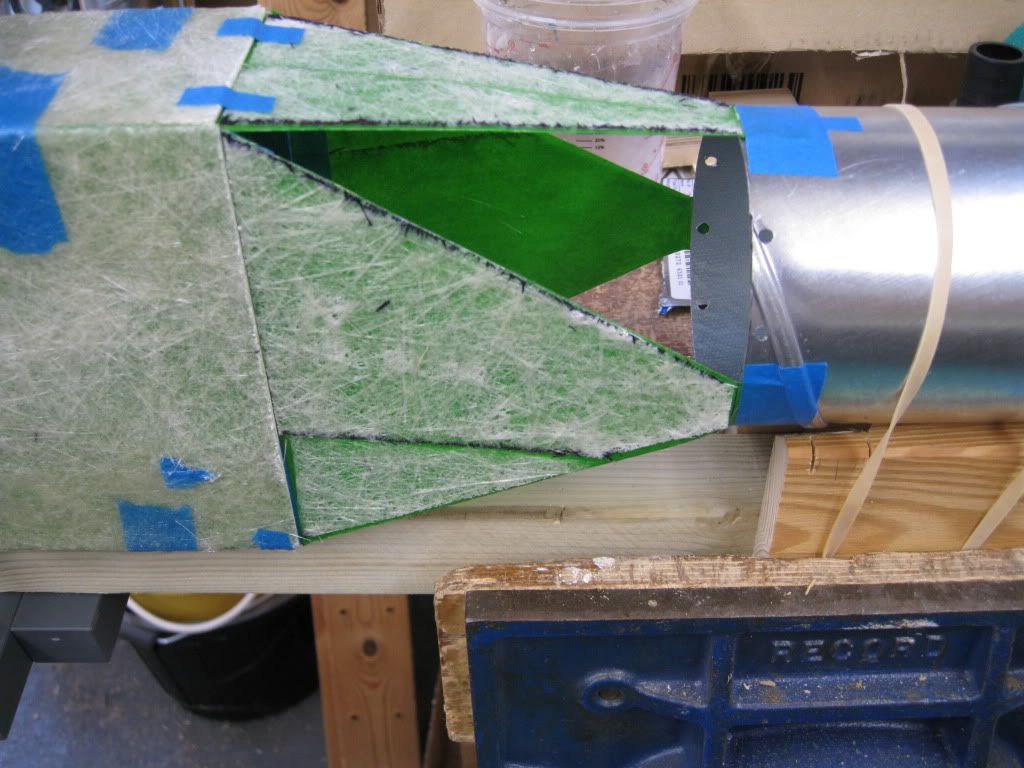
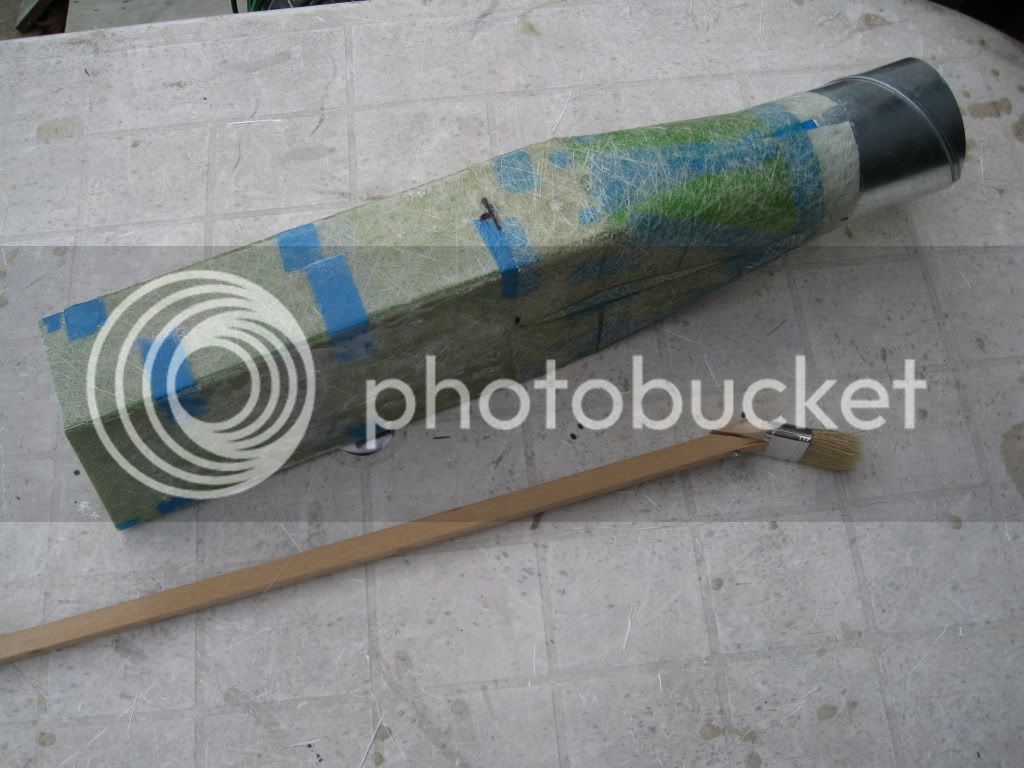
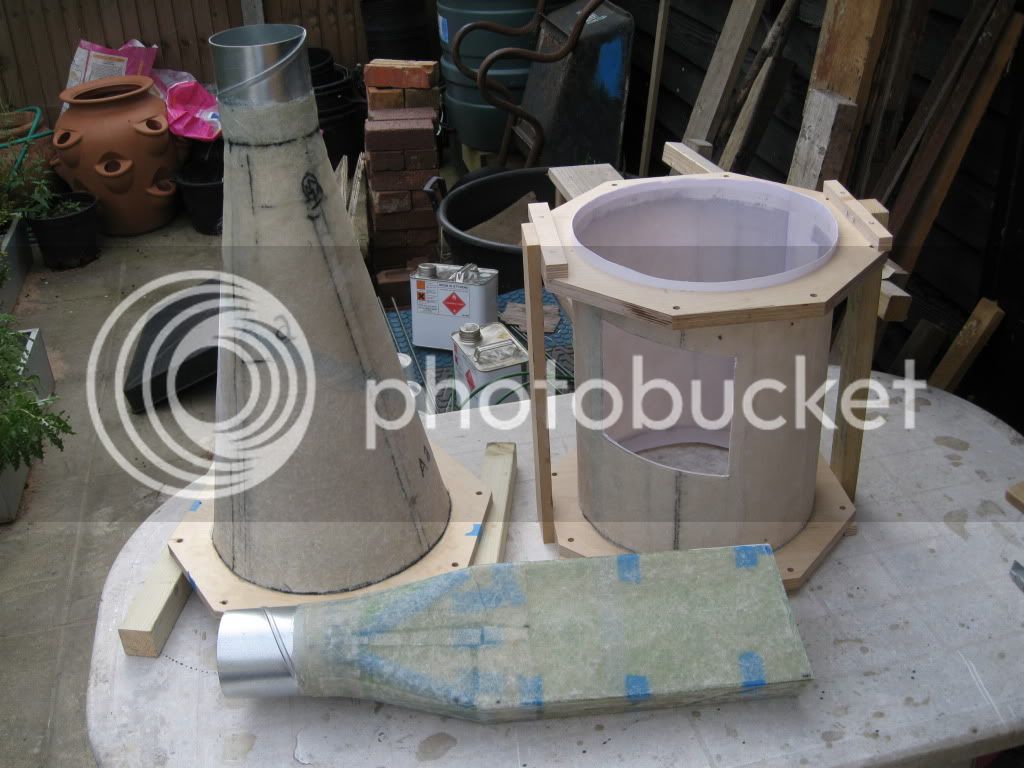
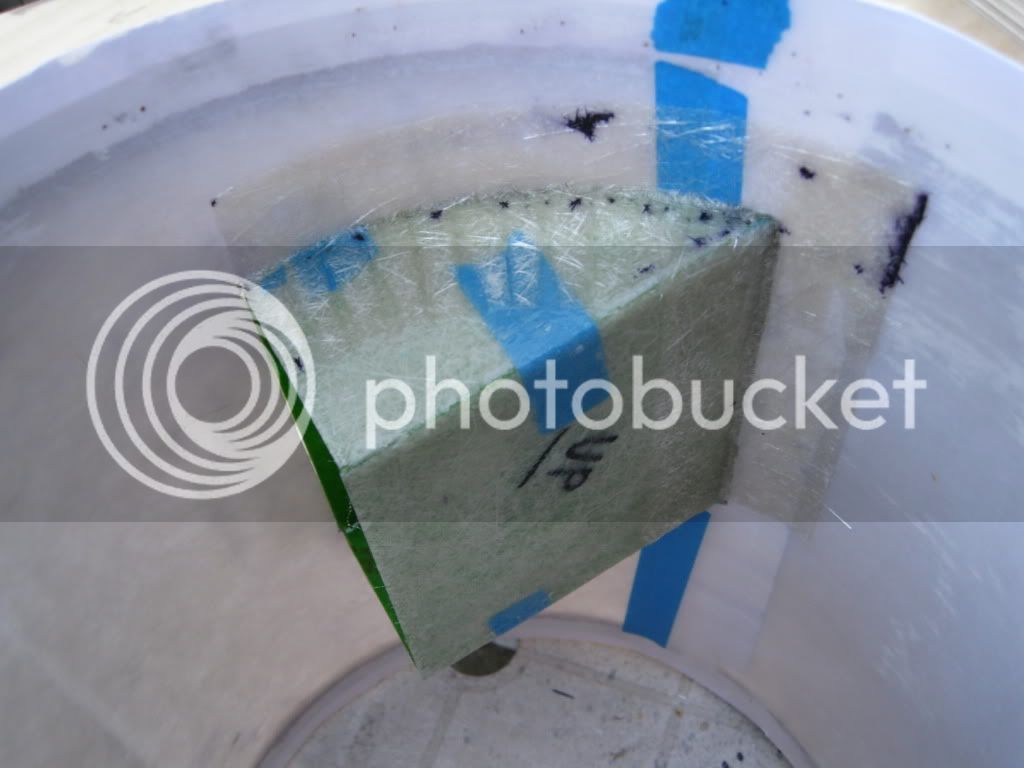
When done I hacksawed it down to the sizes I needed

IMG_2875.jpg


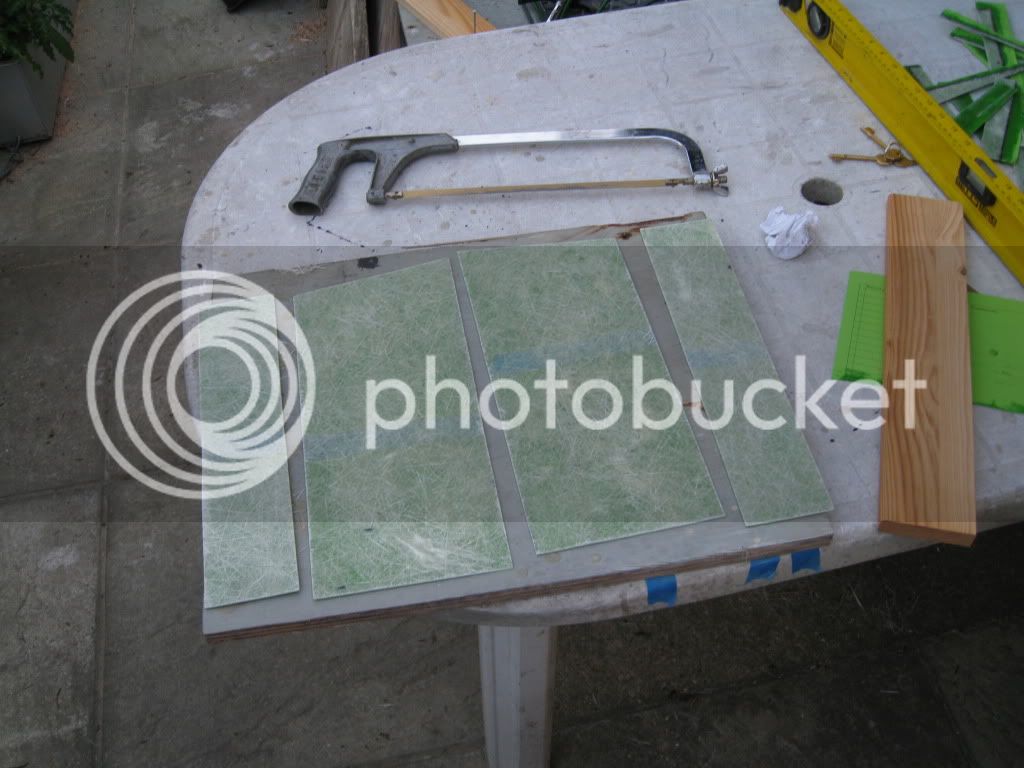
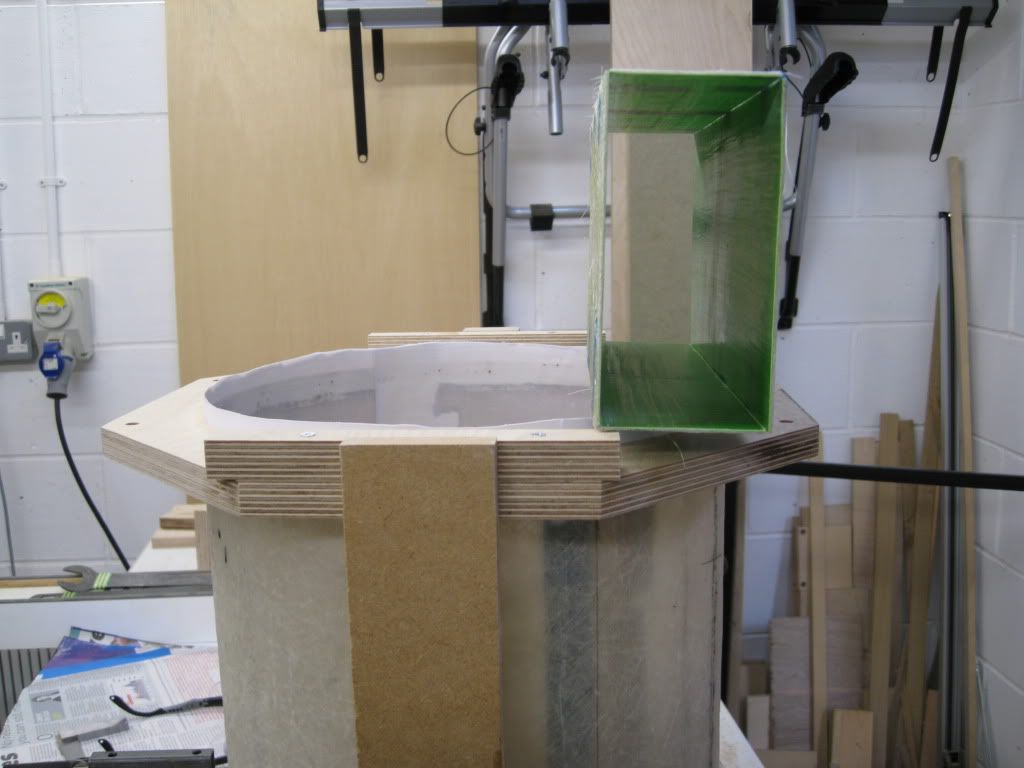
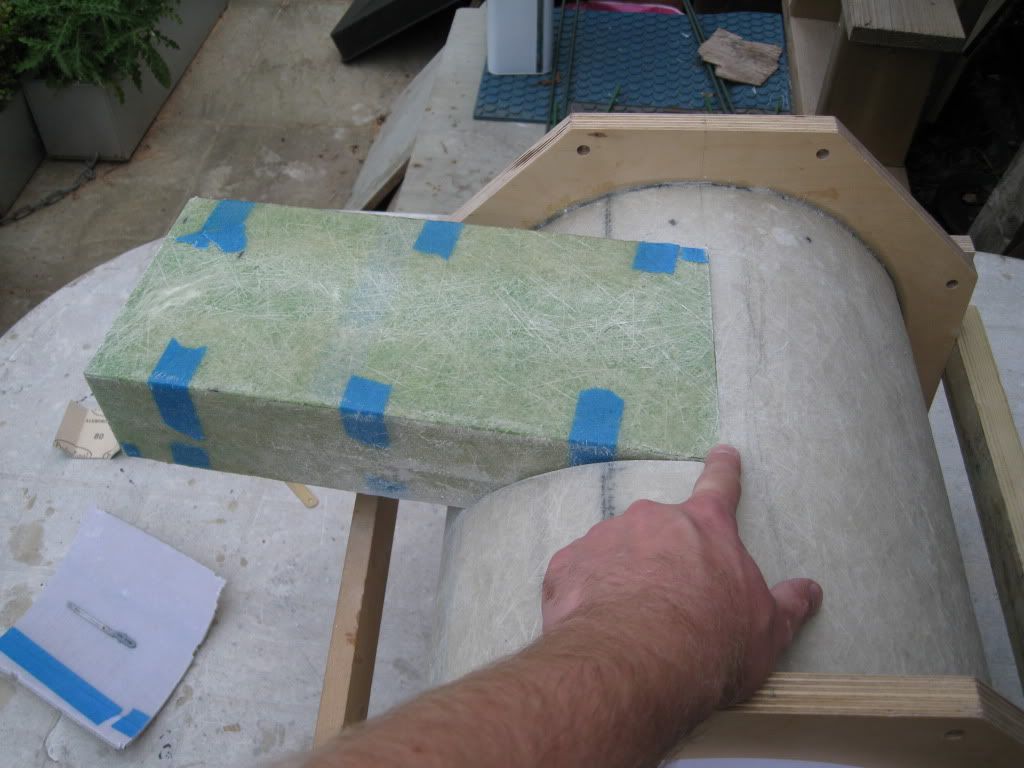
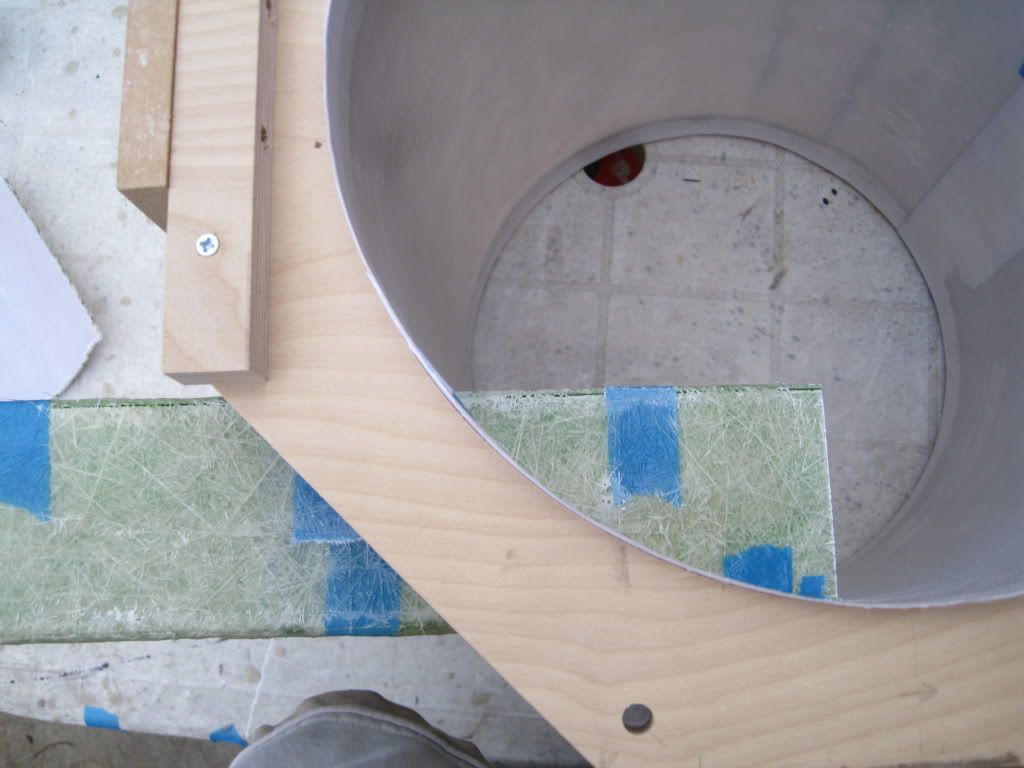
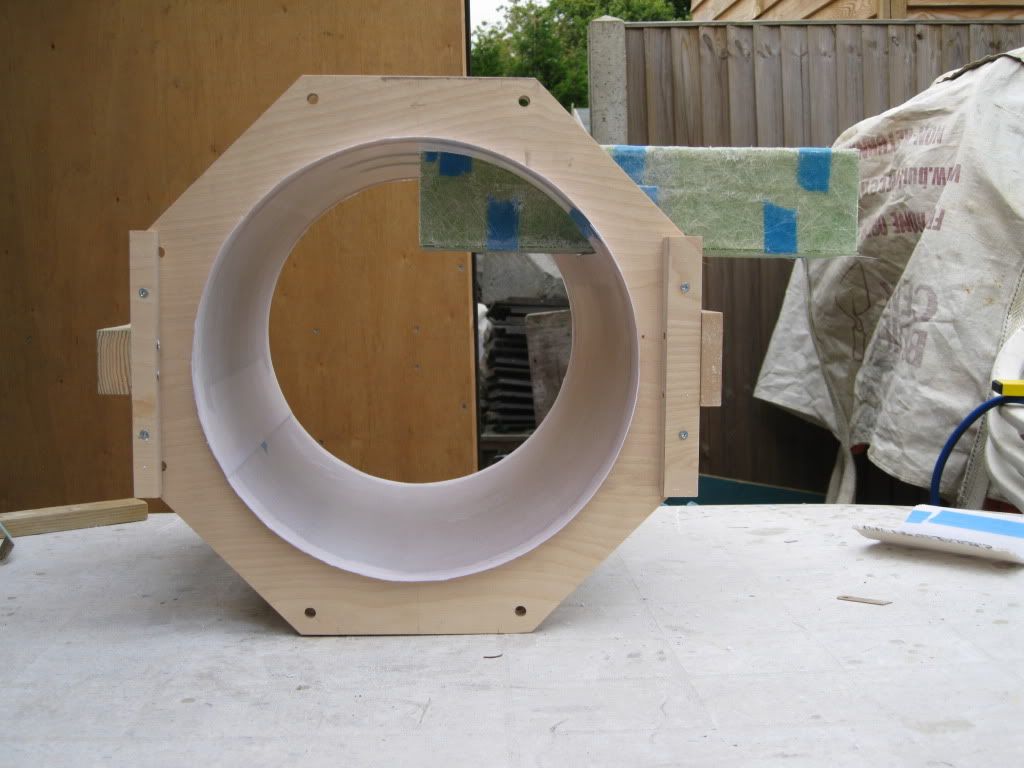
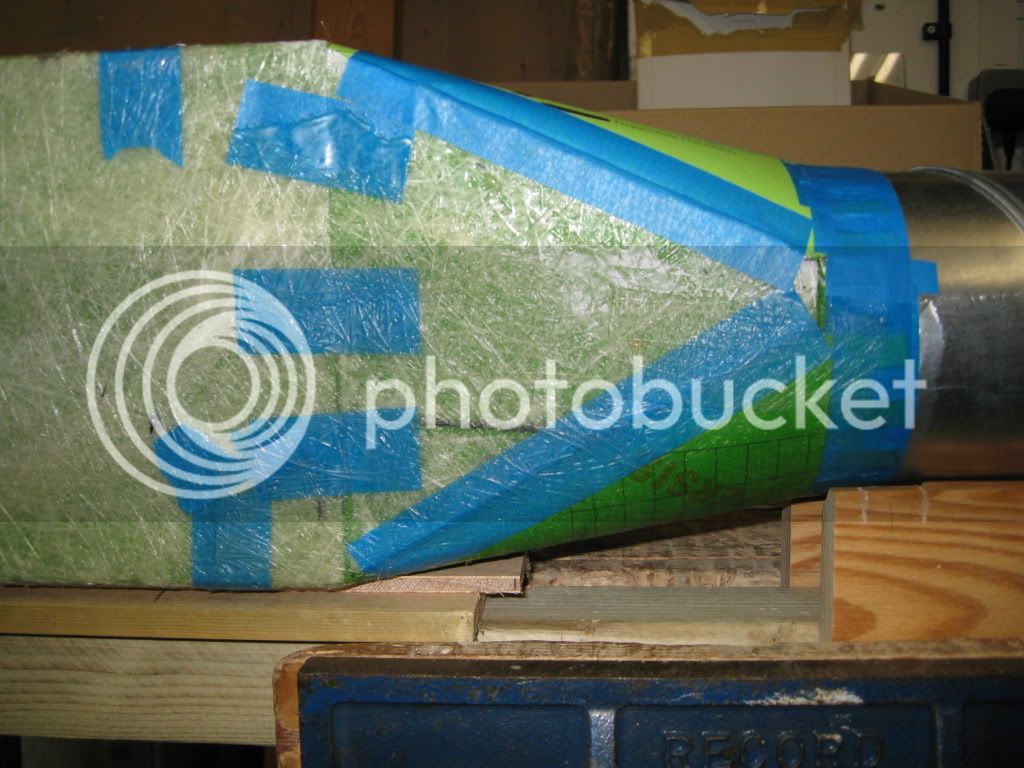
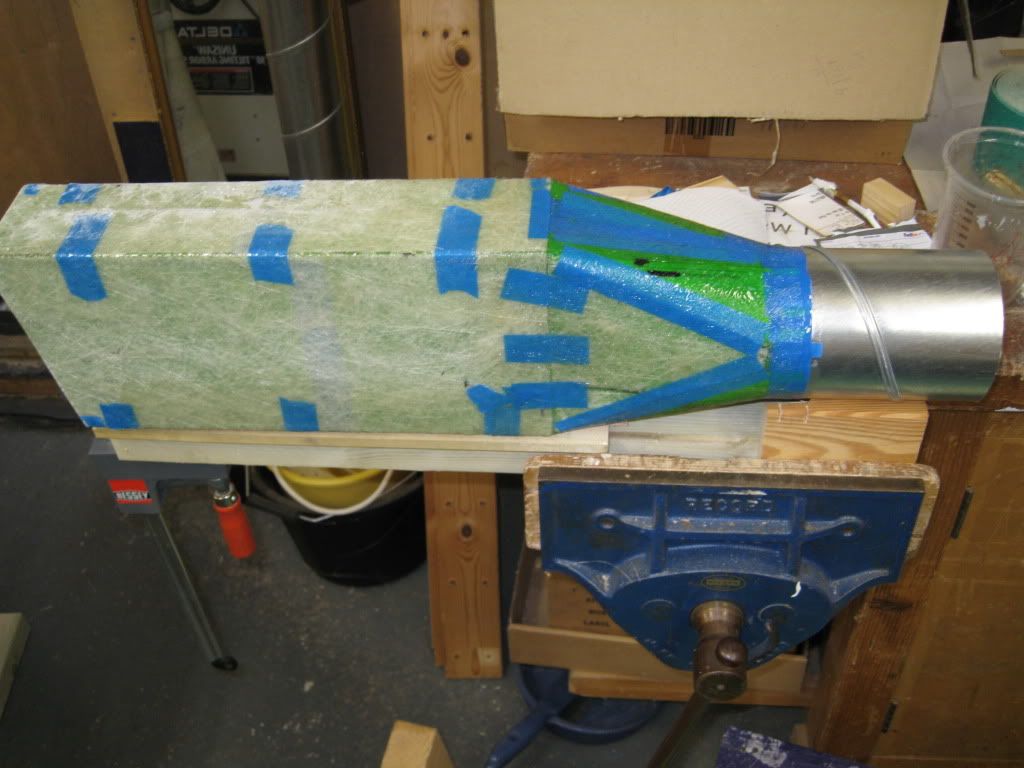
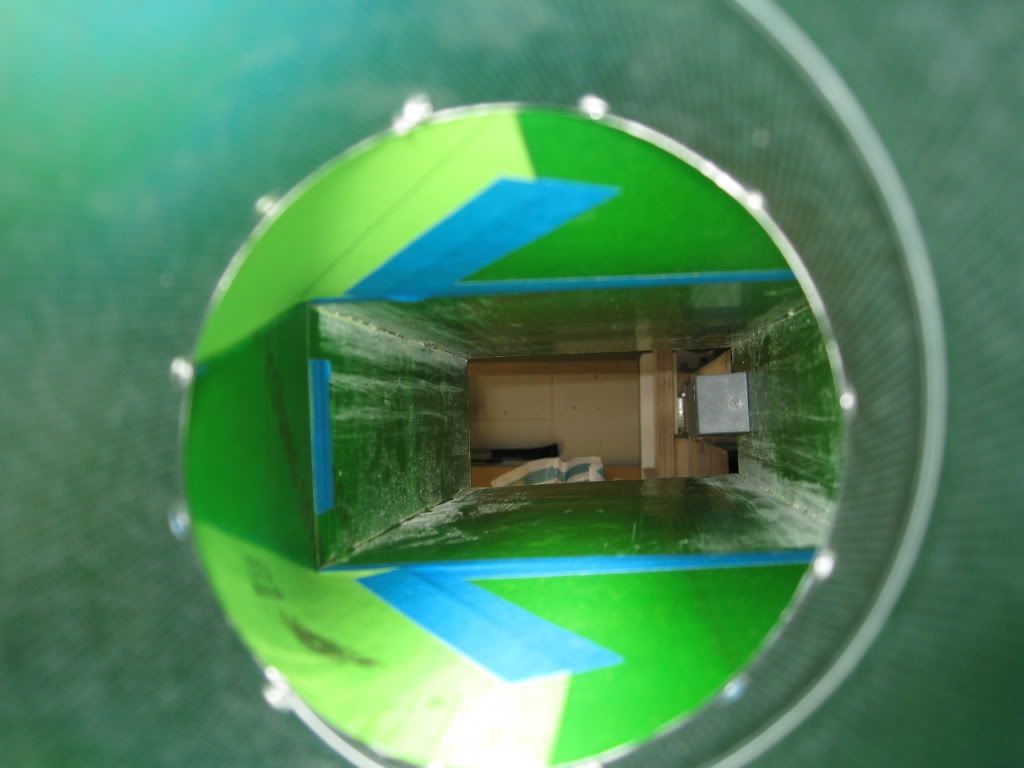
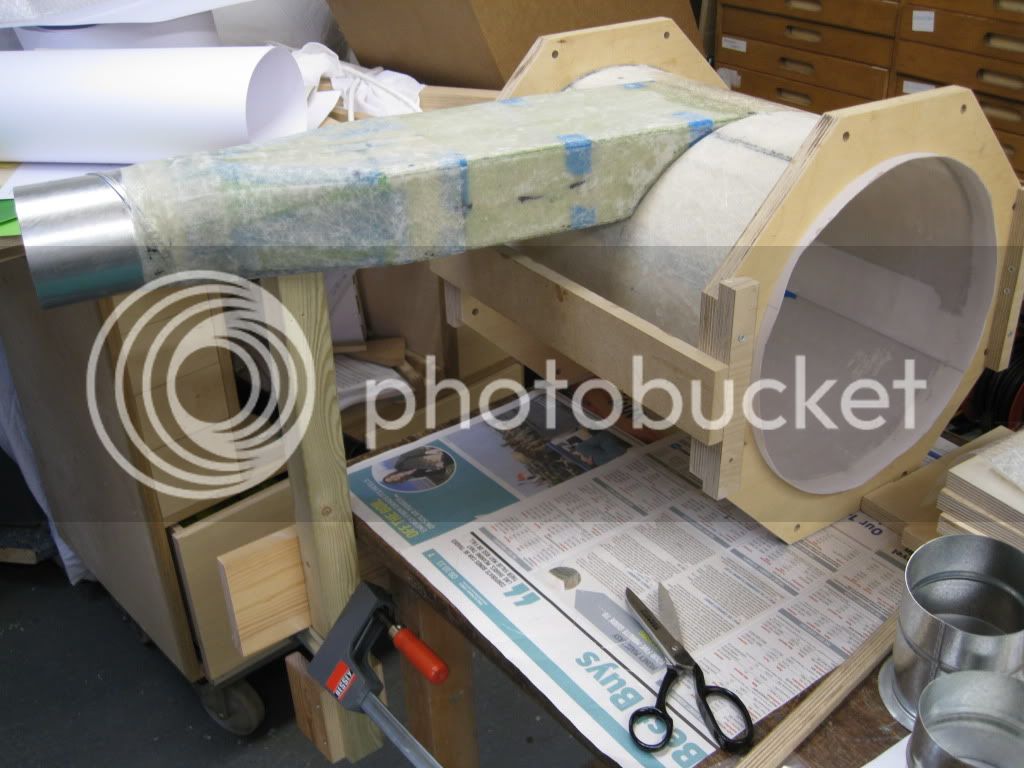
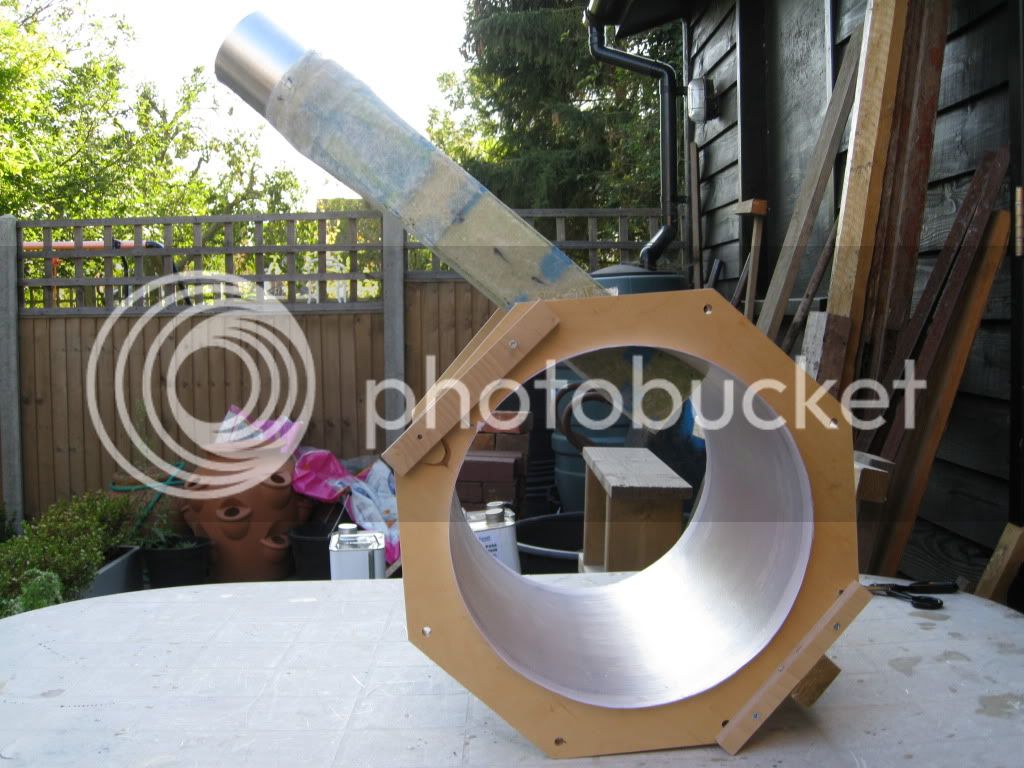
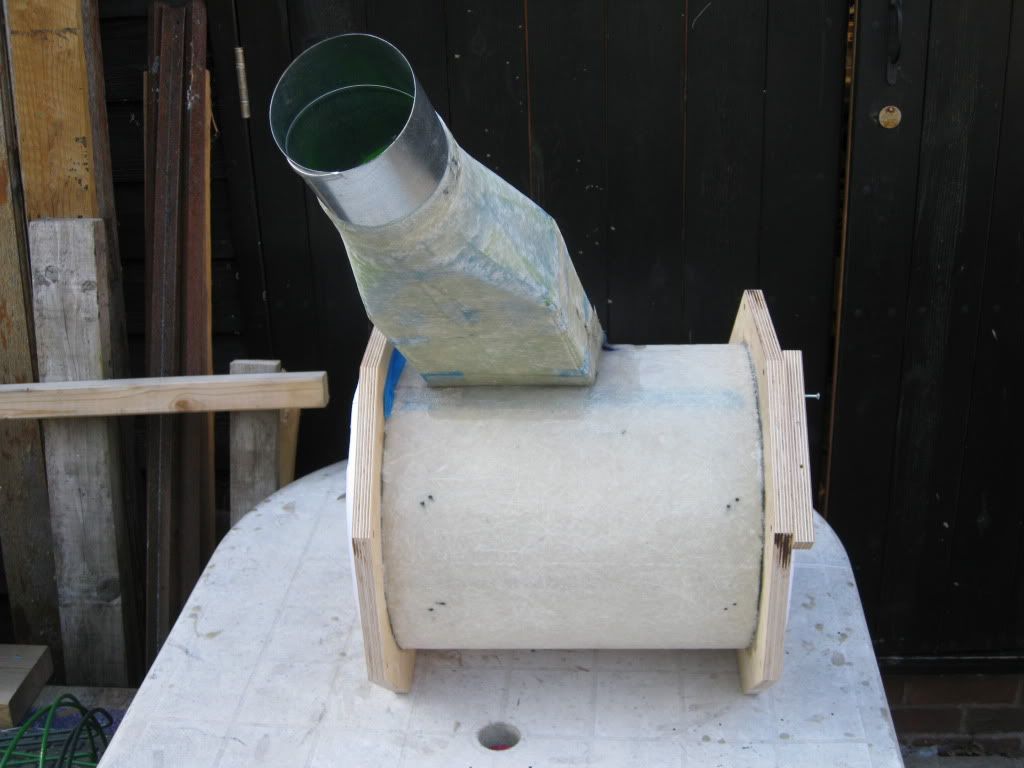
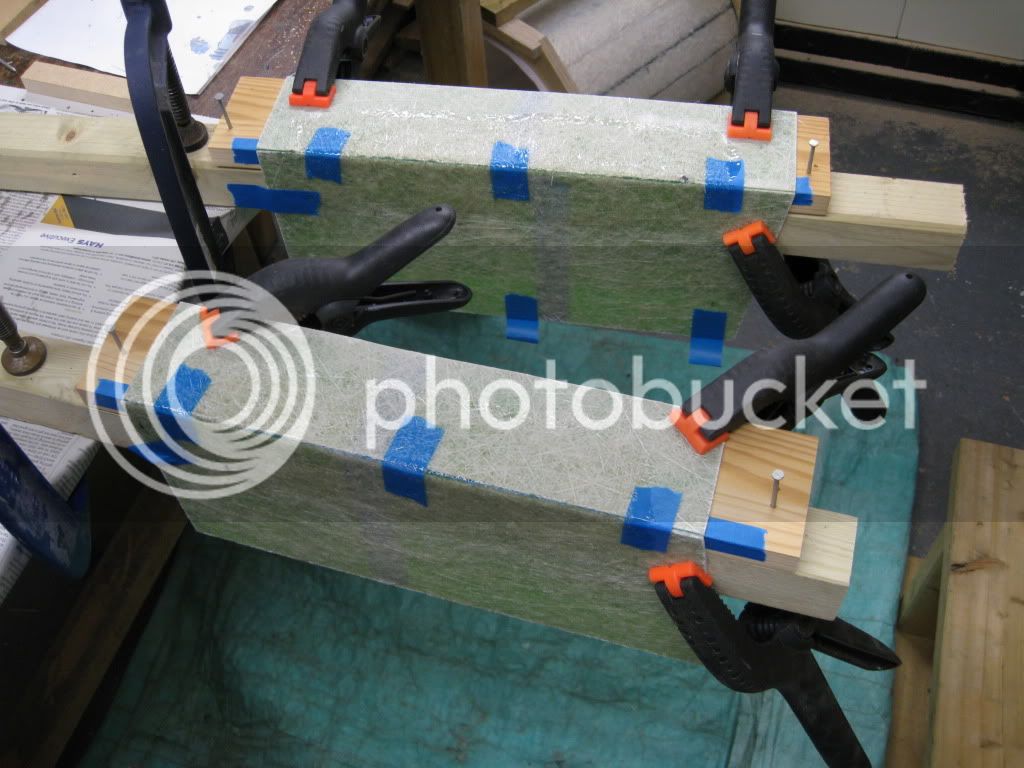
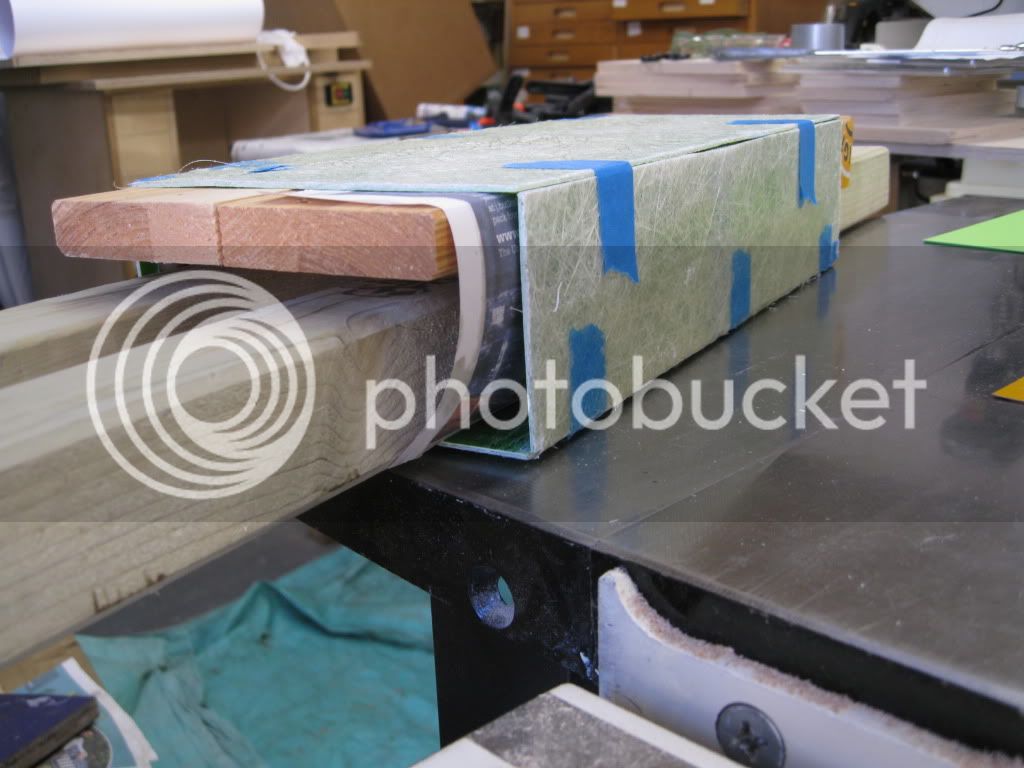
Then stuck it together with masking tape and set it with resin and matting

IMG_2876.jpg


IMG_2882.jpg


Mark
 
Next job was to try and work out where to make the cut out in the upper drum to fit it in. It fits at an angle. The angle needs to be such that a line taken from the top of the inlet meets the bottom of the inlet after one full turn, and will be the path of the air ramp. My mate whos a physics teacher worked the angle out for me, and Ijust lined it up by eye.

IMG_2890.jpg


IMG_2891.jpg


Mark
 
Next the nervous bit, cutting it out. The beauty of fibreglass is it can be patched, but still very nervous about getting it right first time. I drilled out a row of holes to get the hacksaw in.

IMG_2894.jpg


I got about an inch and a half before the hacksaw blade broke

IMG_2896.jpg


I then got about another inch and a half before it broke again

IMG_2897.jpg


At that point I gave up and got the jigsaw out which I should have done at the start.

IMG_2899.jpg


But it did wreck the brand new blade and just shows how strong this now is

IMG_2900.jpg


Mark
 
Time to introduce a bit of metal into the mix, 4 inch spital ducting

IMG_2918.jpg


The first piece is to form the outlet to the collection drum. First the bottom of the cone is marked

IMG_2919.jpg


Then cut off with the grinder


IMG_2920.jpg


Fitted and grip filled to the inside

IMG_2921.jpg


IMG_2924.jpg


Eventually it was glassed over

IMG_2927.jpg


I am aware some people have found 4 inch too narrow for the outlet to the drum. Time will tell but it will be easy to grind off and redo with 6 inch pipe if needed.


Mark
 
Next job was the transition from the inlet to the round pipe. Started by making a jig to hold it.

IMG_2926.jpg


Next was the flat parts pre made

IMG_2928.jpg


Then with bare cardboard and lots of masking tape, stick in the curved sections and apply resin and matting in layers

IMG_2939.jpg


IMG_2941.jpg


View down the inside

IMG_2933.jpg


I did have to improvise with the brushes to keep building the layers up on the inside

IMG_2945.jpg


Mark
 
Which leaves me with these parts

IMG_2946.jpg


I have now joined the upper drum to the inlet with more resin/matting

IMG_2948.jpg


I hope people are finding this interesting, its been a learning curve for me with the fibreglassing. I'll have more pics to post in a few days.


Mark
 
Loving the build. It's really interesting seeing how somebody else approaches things.

Cheers

Karl
 
That looks really good, needs a lot of patience, makes my modified Triton look a little sad, the small sense of pride I had is now somewhat diminished. :(
 
Glad people are enjoying the build

MrA remember I have not seen your triton but it sounds like it is both finished and working, mine is neither yet


Mark
 
I am a little confused :?

Correct me if I have this wrong.

The extractor sucks from the top of the round drum?

The dust enters via the square entry port into the round drum and gravity causes the particles to drop down?

The cone is below the round drum and has a catch bin beneath?

Does the cone cause a vortex that travels up into the round drum?

What stops the dust just following the path of the airflow?

Why is the entry port not in the side of the cone like other cyclones I have seen?

Have I got this completely wrong?

A bit deep for 8am I know or is this another thread altogether.

I told you I was interested!

Mick
 
Mick

I am no expert at this, which is why my design is a copy of the bill pent design. There are obviously other designs such as those sold by Chems that work just as well which have no upper drum, as you say, the inlet straight into the cone.

With the design I am following, yes the air is sucked out of the top, but there are a couple of more bits to make. One is the lid which has a pipe which descends into the top drum, so I guess it actually sucks from the middle of the drum not the top in reality. There is also an air ramp which helps get the air going into a vortex. As for the cone, I don't think it causes the vortex as such, the air will swirl in it and yes it will funnel the chips to a drum below.

But as I said, I'm no expert, just copying someone else's plans

Mark
 
Great job, keep it up.
I am amazed at your choice of materials. I have held back from building a cyclone because of the need to solder galvanised metal components. What a way to go !!.

Watching with great interest.

Alan
 
The table saw looks like a Delta unisaw, but I may be wrong.

Really good build! I'm thinking about making a cyclone so this is perfect timing. Where did you get the fibreglass and resin from? I've bought it from a roofing supplier in the past, but I've found that it can be bought online for less.

Thanks,
Mark
 
Kernow

My saw has been correctly identified by Mark Aspin


Alan/Aled

My descision to build it this was are exactly the same as yours. The thing about the fibreglass is it can be ground off and redone/patched, though I have not needed to do that yet. It is only the second thing I have made using it, the first being a nice flat lid for something in the garden. That was a massive learning curve, knowing how much I could use at once, how quickly it goes off and how to bend the matting around a corner. I'm still learning but its not that difficult once you have an idea of the properties of it.

Mark

I was given the matting by a member on here a while ago, a massive roll that I think will never run out! The resin and other bits and bobs came from here as recommended by JasonB
http://www.ecfibreglasssupplies.co.uk/
I still had alot of the bits I needed left over from my previous project so I've only probably spent about £30 on the extra resin and disposable brushes I needed.


Hope that all helps


Mark
 
Time for some more. Unfortunately I've not got much done in this last week but here's whats happened

first I got the inlet fully attached to the upper drum both inside and out. Hopefully you cann see the angle it goes in at

IMG_2952.jpg


IMG_2951.jpg


IMG_2956.jpg


Mark
 
Back
Top