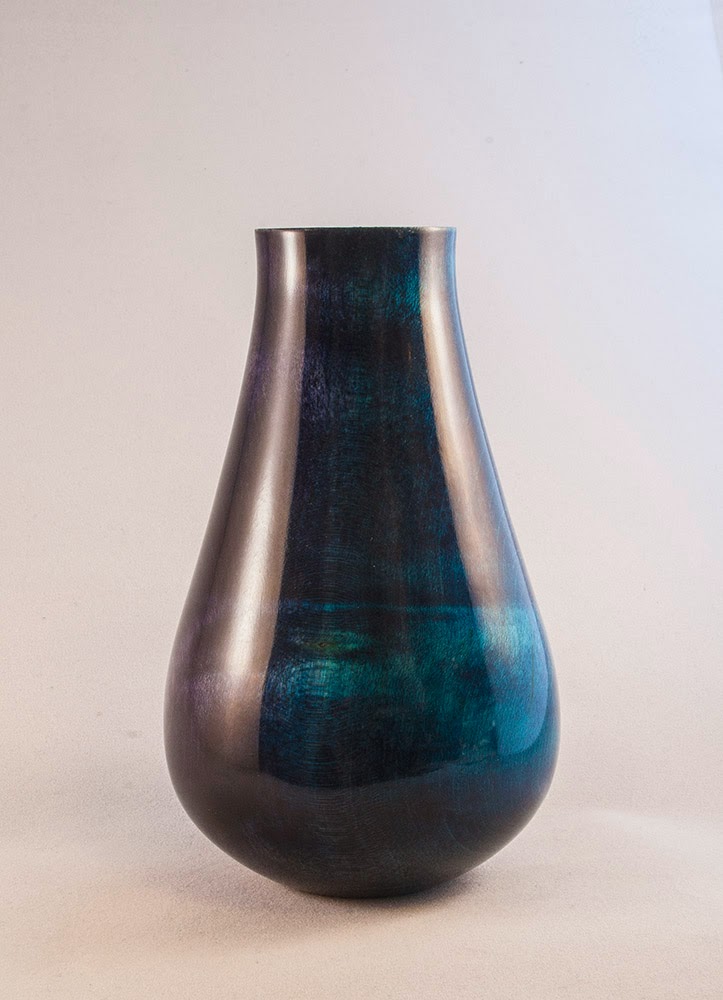
More Blue.

UKworkshop.co.uk

Help Support UKworkshop.co.uk:

This site may earn a commission from merchant affiliate links, including eBay, Amazon, and others.

KimG

Little Woodworm
Joined
2 Jul 2012
Messages
1,138
Reaction score
28
Location
Pembs
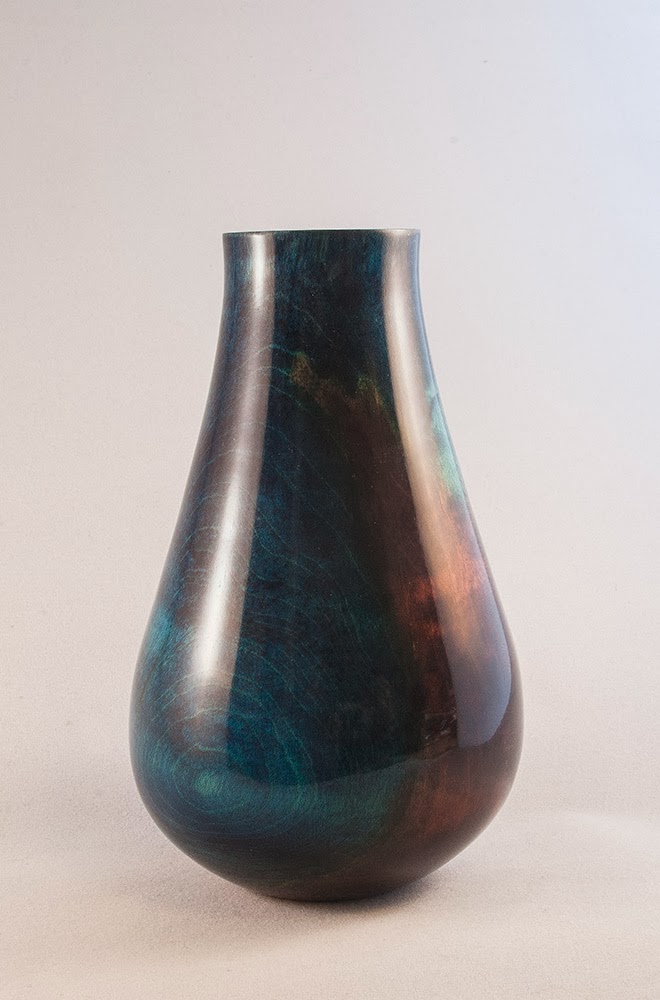
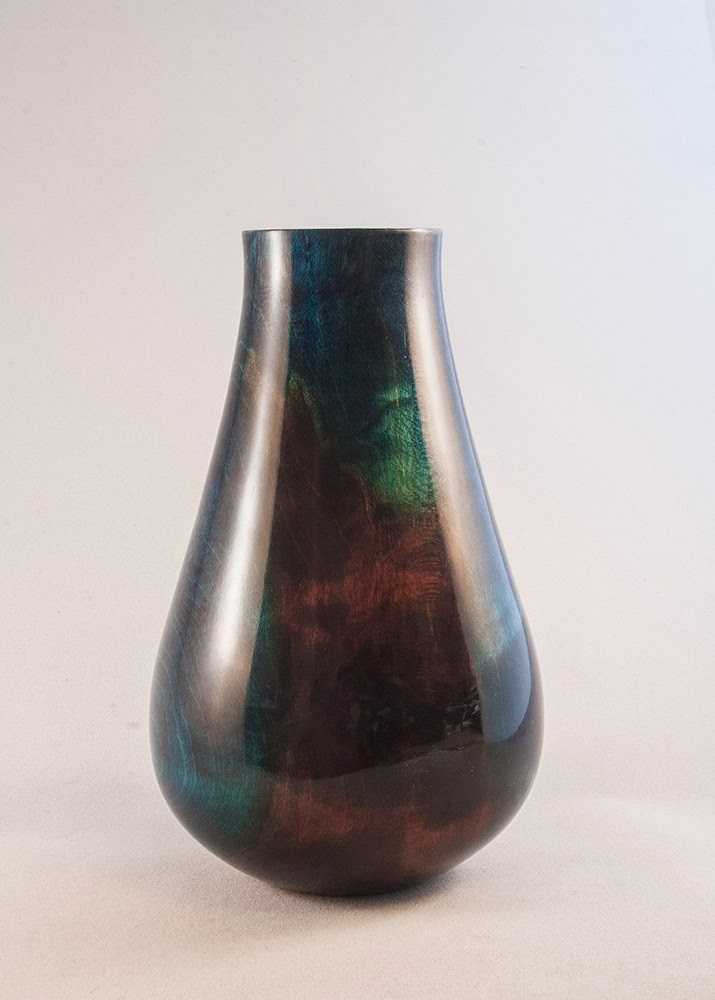
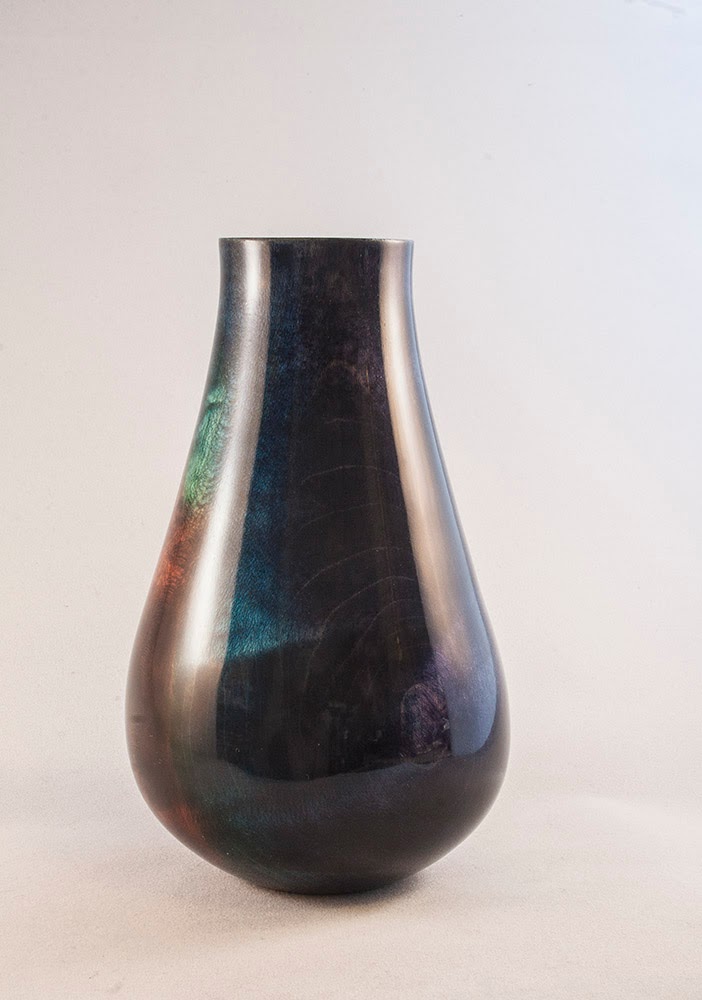
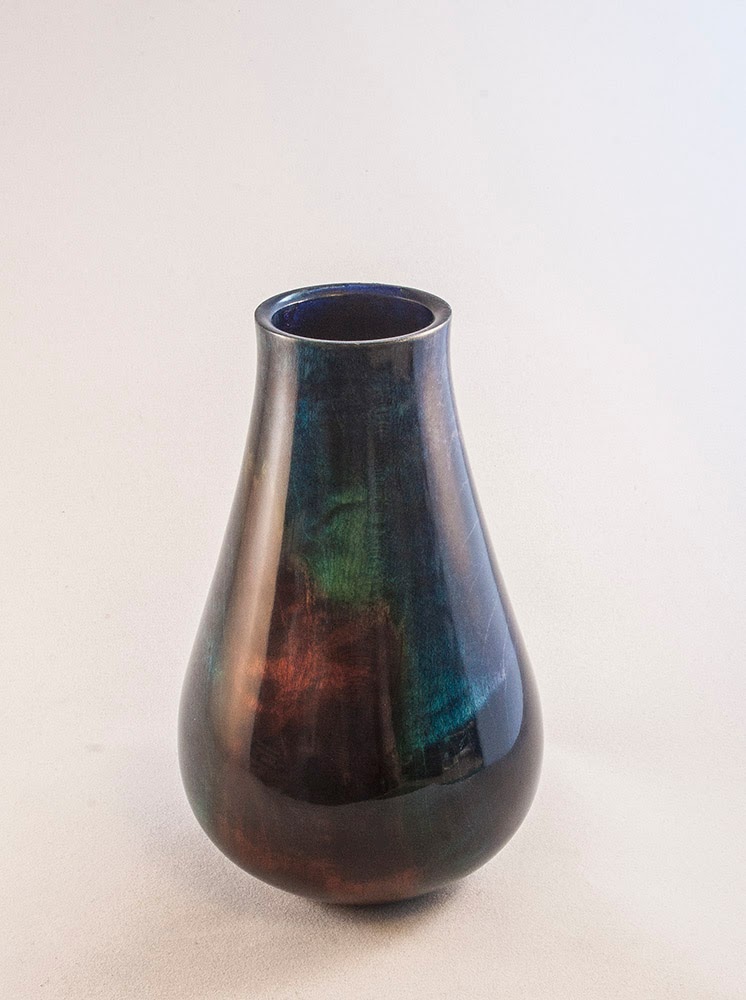
Just a small coloured vase, gloss lacquer finish. Dimensions, about 6/7 inches high, (it's in the shop so I can't check it!)

(I did intend to try and photograph the sequence for this Chas, but time and space (in the shed, not Stephen Hawkins type!) prevented it this time, I will get round to it though!)


Bluevase-1.jpg


Bluevase-2.jpg


Bluevase-3.jpg


Bluevase-4.jpg


Bluevase-5.jpg
 
wow. Really like that- both the shape and the colouring.
 
KimG":11rilvgb said:
..
(I did intend to try and photograph the sequence for this Chas, but time and space (in the shed, not Stephen Hawkins type!) prevented it this time, I will get round to it though!)
.
Understand, shame though, that's a glowing example of the Art.
 
Thanks Heather (and everyone else of course!)

Photography on the cheap, well, what's cheap? However, I shall describe my own process.

First off I use one of these mini studios. I use the white background cloth (which I keep wrapped around a tube to keep it free of creases)
I set the cloth so that it is fixed at the back of the little box the studio forms, fixed at the top, then draw the front towards me so it makes a curved background.

I place the item in the studio and use the two spotlamps through the sidewalls, fairly close (4 inches away from the wall roughly) and check that the item is central in the view finder with sufficient gap at each side to allow for cropping later.

The camera is a Canon 400D digital SLR, but a compact would do as well so long as you have certain controls over the exposure settings.

I use an ISO of 200. I set the camera mode to AV which is aperture priority and I set the aperture to F19, this is to give maximum depth of field (the amount of the image front to back that will be in focus) this avoids blurry out of focus areas.

Naturally with such a low ISO and tiny aperture the shutter speed is very slow, so a tripod is essential. I also have a remote shutter release, but using the time delayed release would work as well, just a bit more time consuming.

I shoot all my images in RAW mode, this allows for maximum adjustment after shooting as the image is fully uncompressed or altered, I use Photoshop to adjust the image, photoshop has an excellent RAW image plugin, this allows me to adjust the exposure, white balance, clarity and vibrance as well as sharpening the image prior to opening it proper into the photoshop workpage. As the RAW adjustments have pretty much fixed any obvious errors (underexposure etc) there is not much left to do, I use the patch tool to clean up any white spots (digital cameras are notoriously good at picking these out!) and odd marks in the background, make sure the subject is level or upright depending on the format, crop the image to suit and resize so that the longest dimension is 1000 pixels.

All this would be much easier to demonstrate than it is to describe! I don't think I left anything out, but feel free to ask if you think I did.
 
The finishing process is described in the New to Turning? Help, Information & Forum Challenges. section click here and look under KimG's treatise on buffing coloured pieces & video link.

As for colouring, well again, this is something that describing in text just isn't going to convey the information well, and would give me writers cramp trying, I have attempted on several occasions to indicate my approach to it, which in simple terms pretty much amounts to "If you really like the idea, buy a small set of dyes and have a go" which is exactly what I did, and just developed it from there. There is a video on youtube by Andy Coates that originally inspired me, it's an excellent demonstration, anyone interested in colour work should watch it.
 
Ha, thanks, Kim, I've been eyeing up those mini studios on Ebay and wondering whether they're any good. Obviously they are! I also wasn't sure about the spotlamps, but you say you use those as well, instead of flash? Or as well as?

I've got cameras, but I've never bothered shooting in Raw, however I've got to do something to change my ways, the last challenge photo was shot with the item hanging up over the fireplace WITH the fire lit, there was nowhere else to photograph hanging up with a bit of contrast. Fortunately with the flash you can hardly see the flames.

Is there a way to hang things up in those booths, or does the item have to rest against the backdrop?
 
No flash Heather, it throws shadows. The spots come with the studio. The studio forms a little open fronted box, I guess you could easily rig a bar across it to hang stuff from, I don't rest stuff against the back as such, in fact I bring as far forward as is practical, this keeps the background as innocuous as possible.
 
Fantastic vase.Great job on the colouring I know when I first tried to apply colour i did it all backwards and mucked it up. I must try again sometime.
 
Beautiful work once again Kim. I love your stained stuff, and the glassy finish on this is just out of this world. No wonder you had that lass ask you whether your work was glassware at a sales stand a while ago (If I recall right).

I realise that it's a clear lacquer that you put on this as a finish, but did you buff that on the chestnut buffing system or something to get it this flawless? Beautiful, and more than a little inspiring.

Have you ever tried Adobe Lightroom for tweaking your photos? It's very good, takes a lot of the more mysterious parts of photoshop, and demystifies them into simple sliders and dials. Very very good software. In fact it's gotten so good in recent versions, it's harming the sales of their other photo softwares, as it does pretty much everything a photographer, rather than a graphic artist, could need of it.

Thanks for sharing.

Nic.
 
Ooh cheers for the link on finishing :D Shall have a read of that when I've time (and probably bookmark as its the sort of thing I'd love to try on my turnings)

I'll throw this in regarding taking pics if I may.
Few things:
Flashguns. You can either tape a bit of white carrier bag over the flash lens to diffuse your light and provide a softer lit picture, takes off the harsh over-exposure that a directly pointed flash gives.
Some flashguns (high end stuff) can give off a bit of heat when triggered so this may not be for you (although if you have such a flashgun then you're probably well versed in using a camera and I don't know why you're reading this :p)

You can also, if it suits, point the flash up and bounce it off the ceiling which will provide a blanket of diffused light over the subject.

Or tripod and a longer than normal shutter speed to gather as much natural light as possible to eradicate any harsh glares along with a well lit room in general.
 
Thanks Nic, this time I used satin lacquer, 3 coats, and then buffed on the 3 wheel system. It was Phil Irons who pointed me at the satin, it's what he uses for high gloss, apparently it is a little heavier in solution that the gloss, so you get a better coat. I found it was easier to buff too, but that was because it was easy to see where you had been etc.

Not tried lightroom, my neighbour uses it and he is a very good photographer, but I am pretty happy around photoshop having used it for several years.
 

Latest posts

Back
Top