thecoder
Established Member
Digit":1vyvtjxv said:I'll stick with my locked mitres! :lol:
Roy.
HOW MUCH !!! I nearly fell of mi perch :lol: :lol: :lol:
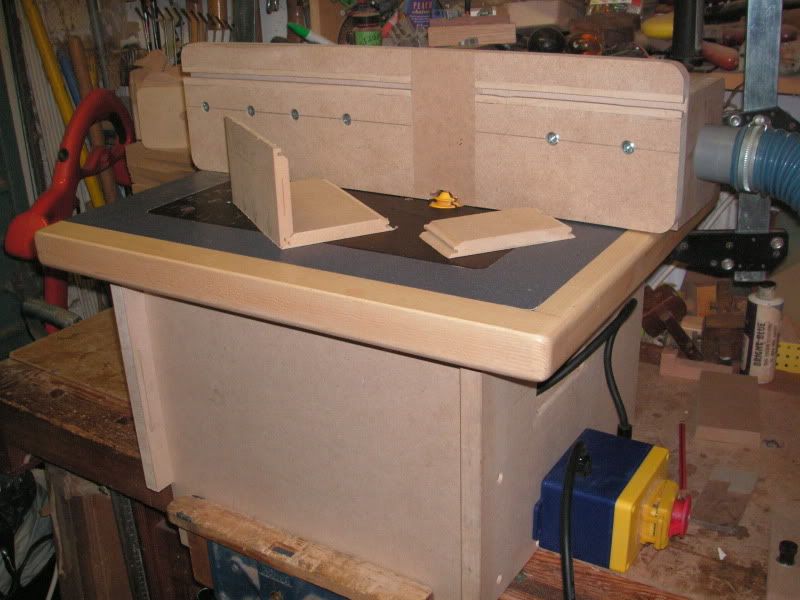
http://www.axminster.co.uk/axcaliber-45 ... rod783050/


Digit":1vyvtjxv said:I'll stick with my locked mitres! :lol:
Roy.
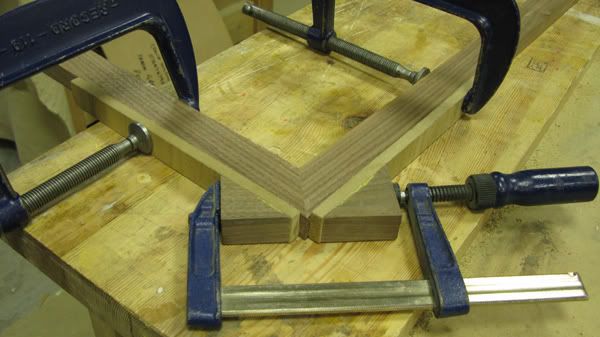
jasonB":3sh1ii02 said:Andy its so simple can you not work it out for yourself?
Say its 10mm thick timber.
Vertical board in Jacobs sketch
1. cut a 10mm wide by 7mm high rebate by whatever means you want router table would be accurate or a rebate block.
2. With a 45deg cutter in the router table mitre the remaining 3mm thick end or use the spindle, saw bench or shoot it by hand
Horizontal bard in his sketch
1. Cut a 3mm deep by 7mm high rebate in the end using any of the above methods
2. With a 45 deg cutter raised up in the table or spindle mitre the remaining 3mm of the end. Could be done with a saw and SUVA guard
To speed things up the two rebates would be done first then the two mitres.
Simples
One other point with theis joint if you are cutting a rebate for the top or bottom then have the rebate extend to cover the corner rebate, that way it will look like a mitred joint from above & below.
Jason
Digit":1q346rhp said:Phew! Fortunately that is for a spindle moulder. It seems that Axminster no longer do the smaller ones, pity.
Roy.
Digit":17hwabws said:Phew! Fortunately that is for a spindle moulder. It seems that Axminster no longer do the smaller ones, pity.
Roy.
Good grief, will this never end! :roll:andy king":6l7d6uy4 said:it's not that I don't know how to do it, but the quote from Jacob 'which is much easier to make' simply isn't true when compared to a basic mitre. ....
Andy
Digit":1b0h3dch said:Thanks Tom.
Put it this way Dave, for a one off box, forget it!
But there is also the point to remember that the basic box is used for other such things as clocks, writing slopes, small cabinets etc, so if you are thinking along those lines then they are worth the effort.
They are swines to set up first time! They cannot be cut on a table without a suitable sled or similar, they cannot be run along the table fence 'cos as you make the cut the timber is running against the fence with a fine 45 edge.
But with the proper jigs they make a good, strong joint that requires little in the way of squaring up.
Roy.
Digit":3uye43zv said:The problem with that Roger was that I ended up with more test pieces than finished pieces!
Now what I do is limit the box sides to a certain range of thicknesses, then, having finally obtained a sutable setting I use a depth mic to measure the position of the cutter relative to the table and to the fence.
These are contained in my 'little black book' and I only have to to set to those dimesnsions to guarantee a fit first time!
Roy.

Digit":26qxb9oc said:Out of curiosity Mike how to you set up the height etc?
Roy.

Enter your email address to join: