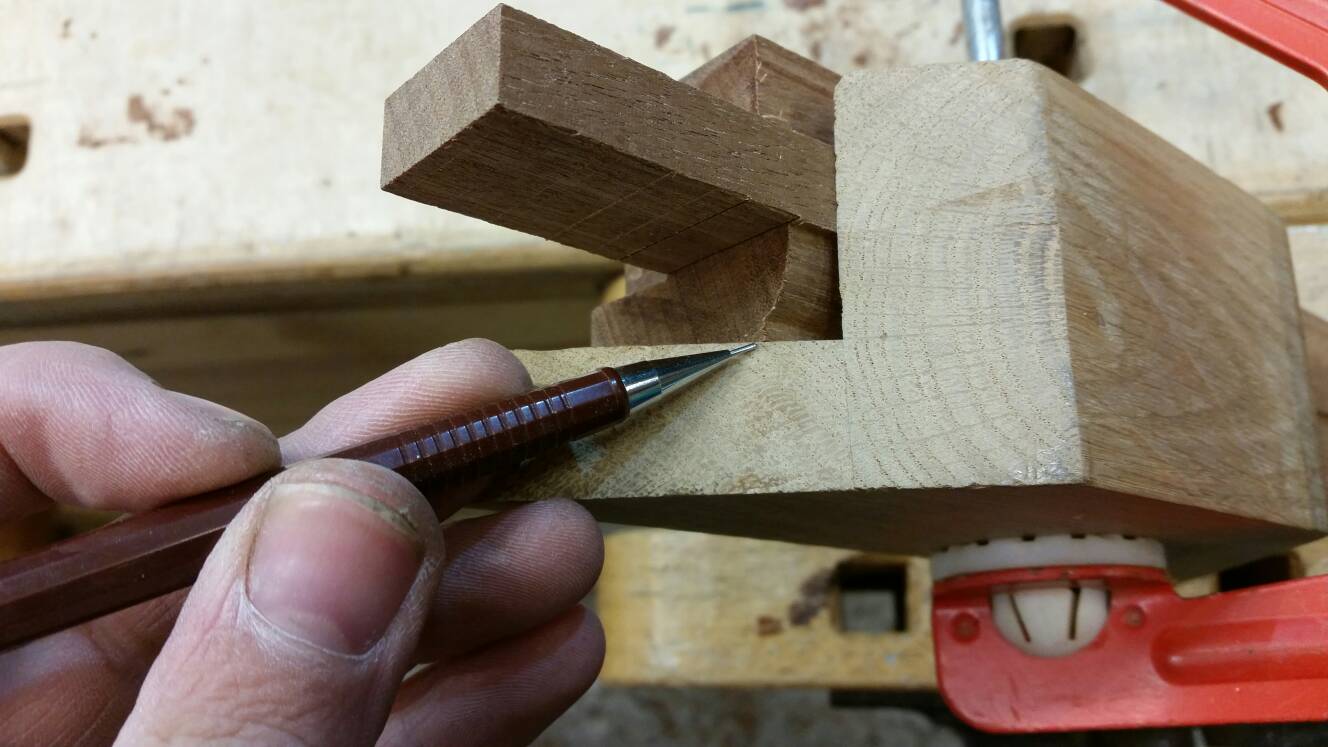
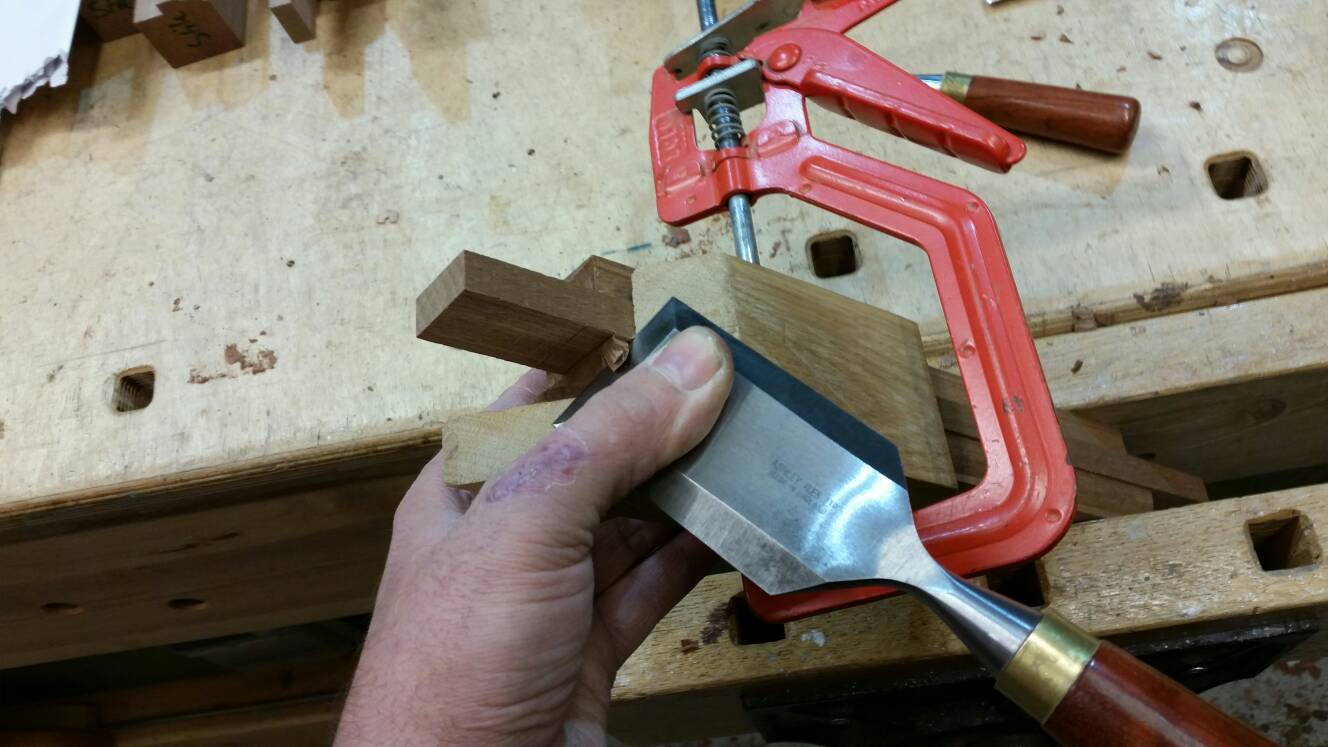
Making a casement window (single glazed)

UKworkshop.co.uk

Help Support UKworkshop.co.uk:

This site may earn a commission from merchant affiliate links, including eBay, Amazon, and others.
Measure your frame opening and mark this size onto a stile.
This is your overall height. Measure your bottom or top rail and mark those sizes onto the stile.
c38df0ada2fbb89e58edc3c841c113b0.jpg

So in this instance I'll put a line 45mm in from one in (top rail) and 75mm in from the other end (bottom rail)
This sash will have 2 glazing bars so measure the distance between the two lines you've just drawn and knock off the width of your 2 glazing bars.
6396d563bf1875606f5821750e5b986f.jpg

Divide by 3, then mark out your bars.
I've probably made it sound more complicated than it really is.
]

Coley
 
Your stile should now have the top, bottom and glazing bar widths marked on the mould side (marked on the 12.7mm flat)
This is the joint we're gonna be marking out.
9380d76c264ac3aef08c2ad8fed7a5db.jpg

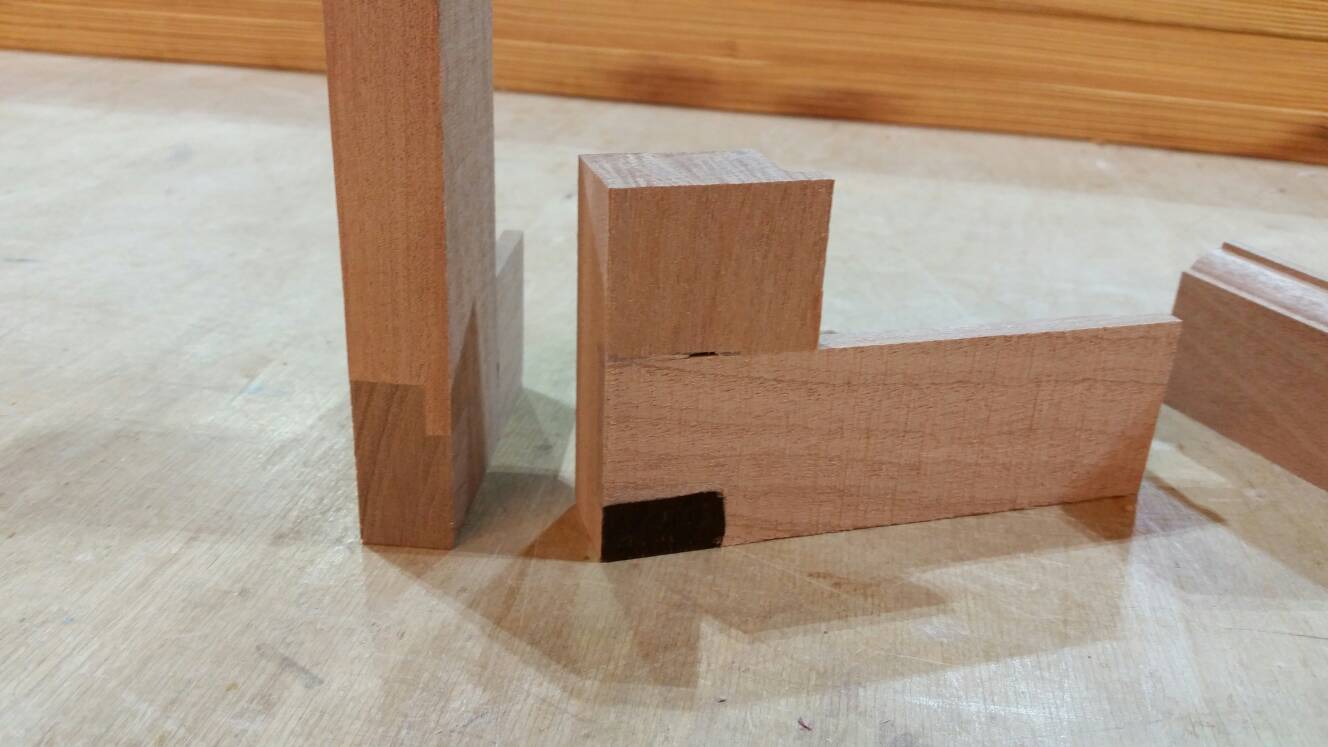
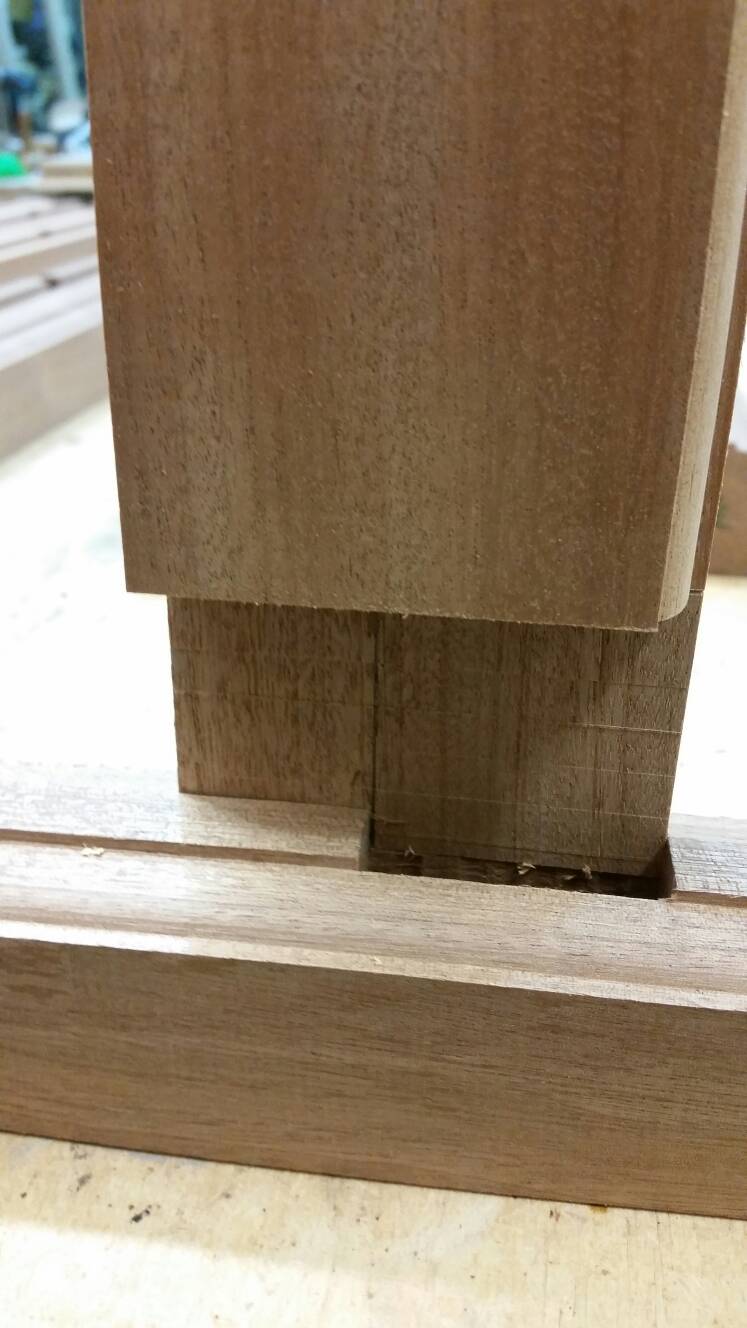
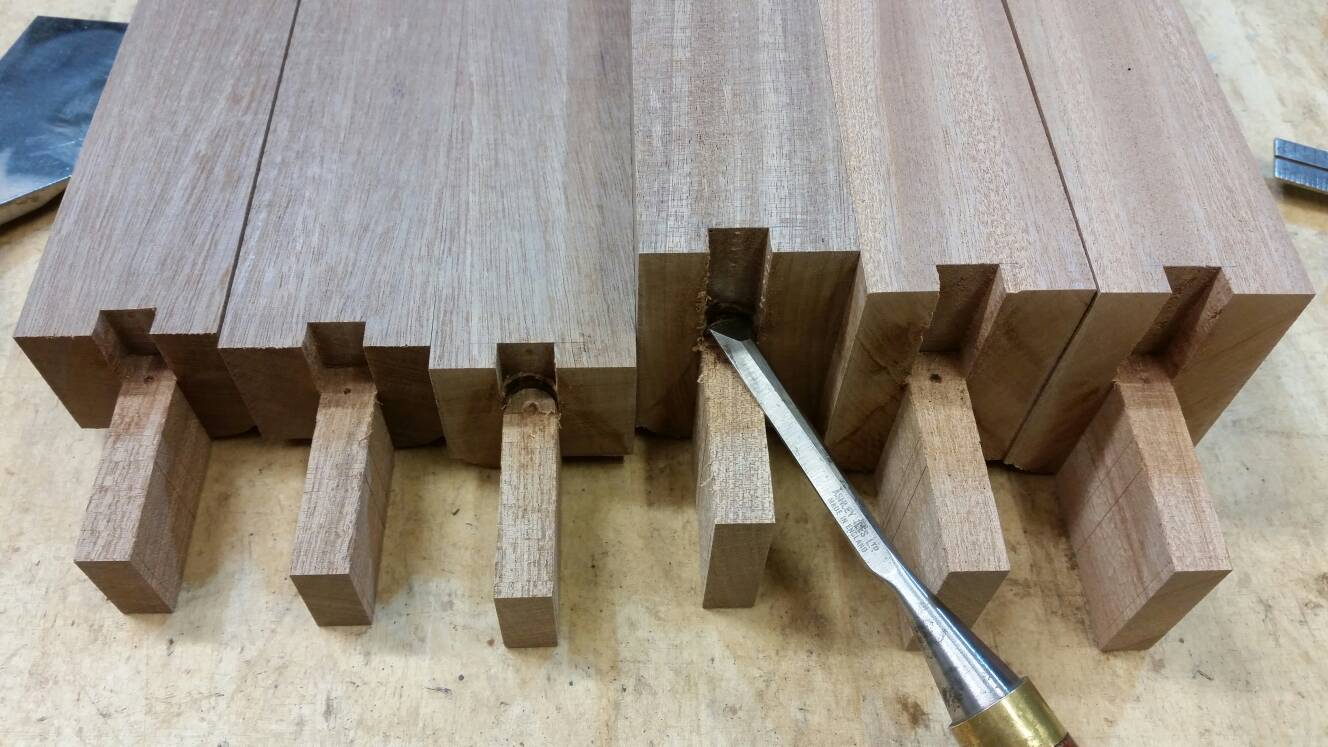
Most tenons are haunched, to stop the tenon falling out. If we were to haunch these tenons, then there would be hardly any wood remaining. Hopefully these few pics might demonstrate.
cee183b59b199421dbf18ec30c70c772.jpg
This is what the joint would look like if it were haunched normally.(not much wood left)
The permanent marker shows the only thing holding the sash together should the glue fail.
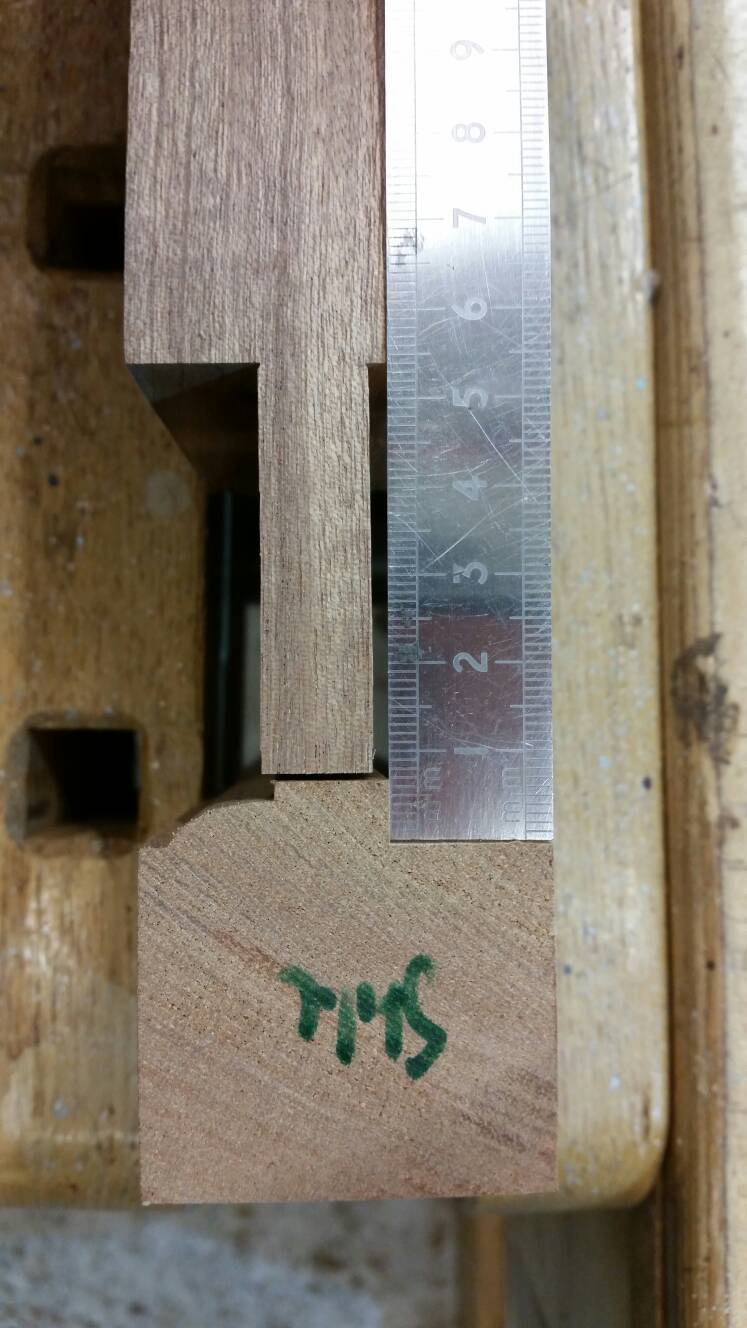
This is what the joint would look like if we did a different joint,kind of a reverse haunch
8fbdffd710cdafb4efef6bbfb7aced5d.jpg

Side by side I think it's easy to spot which joint is better
0b7e30b7c2be700b18760d1cddc5cb82.jpg

All the stile needs for the top and bottom rail is a mortice right through. No haunch to the stile required, just decide on your tenon width (usually around 2/3rds) and square those lines around
5d0d38a1a910fc004ae3e2be22c399fc.jpg

On the square side it's good to allow a couple mm for wedging
0957e8f6ce085aefffa181e4b2ec5e00.jpg

This is the worst part of making the sash, it's easier after the marking out.
So to summarise, the top rail (45mm overall) gets a 30mm mortice right through and the bottom rail (75mm overall) gets a 45-50mm mortice right through. I usually make the bottom rail tenon a tad smaller to allow for it being cut 9 degrees to match the cill.
I hope that makes sense, my brain hurts trying to explain it lol , so welcome anyone perhaps explaining it clearer for me.

Coley
 
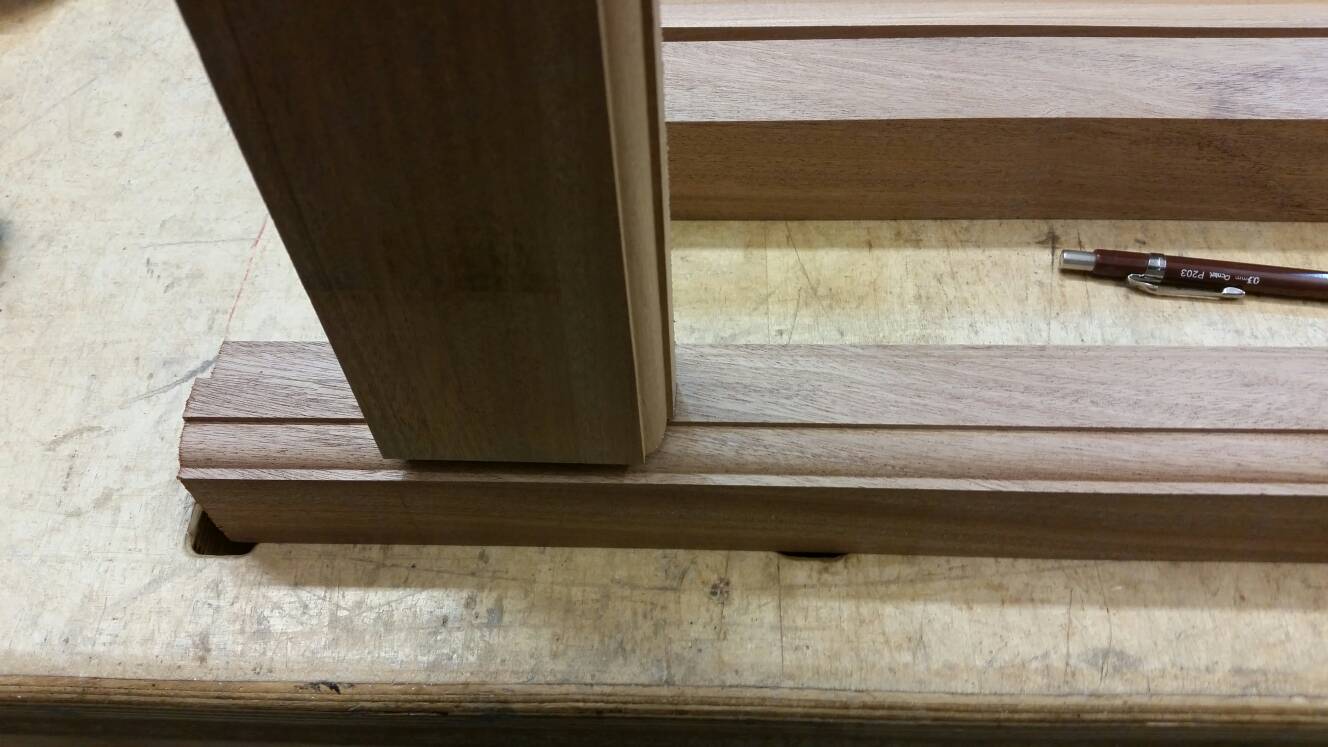
Amazing, you make it look so easy. I'm sure its not so straightforward. The knives weren't off the shelf, you cut the mould shape into them?
Looking forward to Pt 3 :)
 
Now you've marked out one stile it's time to transfer the lines onto all the other stiles.
a25183a5bca067e9e8857ca0eadeafdc.jpg

I usually clamp it's opposite stile together and then square the lines across.
58d2be511f53ef17d5334a61645ffe01.jpg

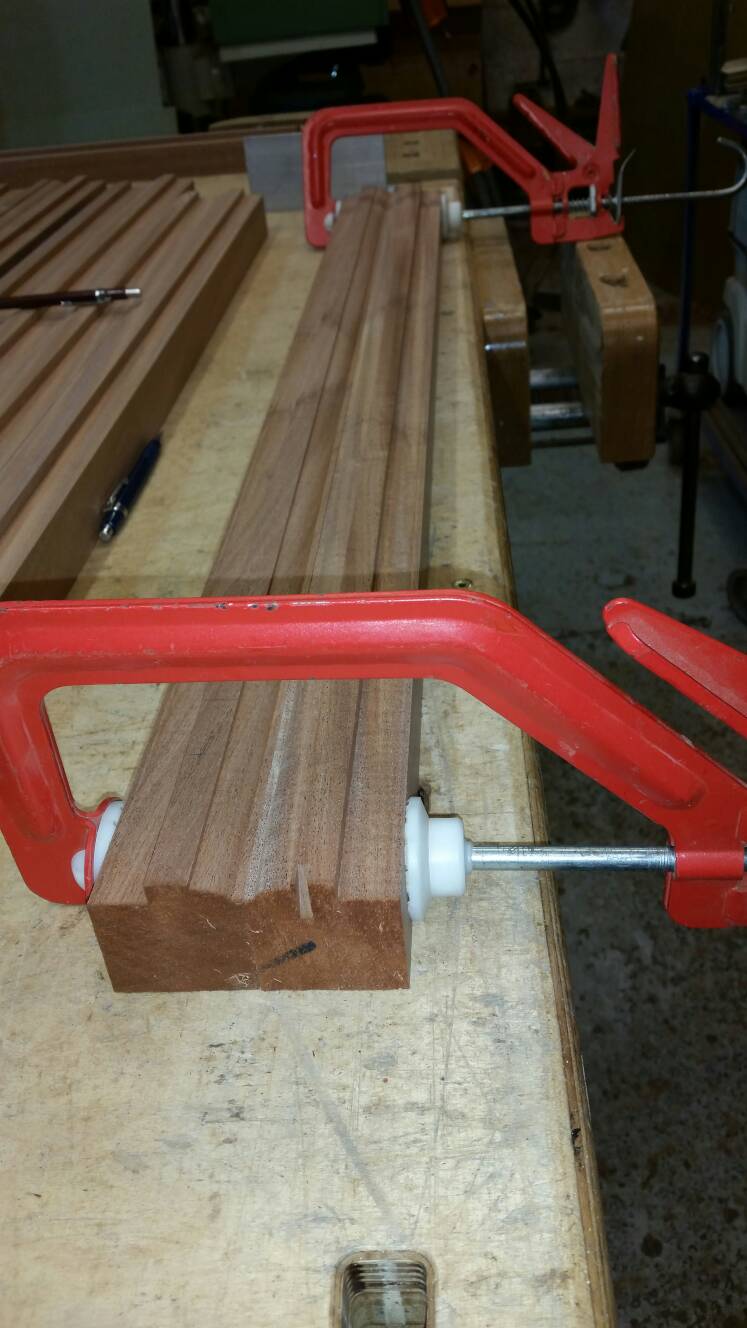
I've found the easiest way to mark all the other stiles is to pair them together, then put the two stiles you've already marked on the outside of the pile. Get the two stiles roughly square
3dfe6e8c5cc8b27714abdb326f0c78f3.jpg

Then use a steel rule or straight edge to mark the lines on all the remaining stiles. I've marked a pile of stiles up to 4ft wide this way, it really doesn't matter if the two outside stiles aren't 100% square to each other.
b213d7fa48a5fccf017cdfeffb24a48e.jpg

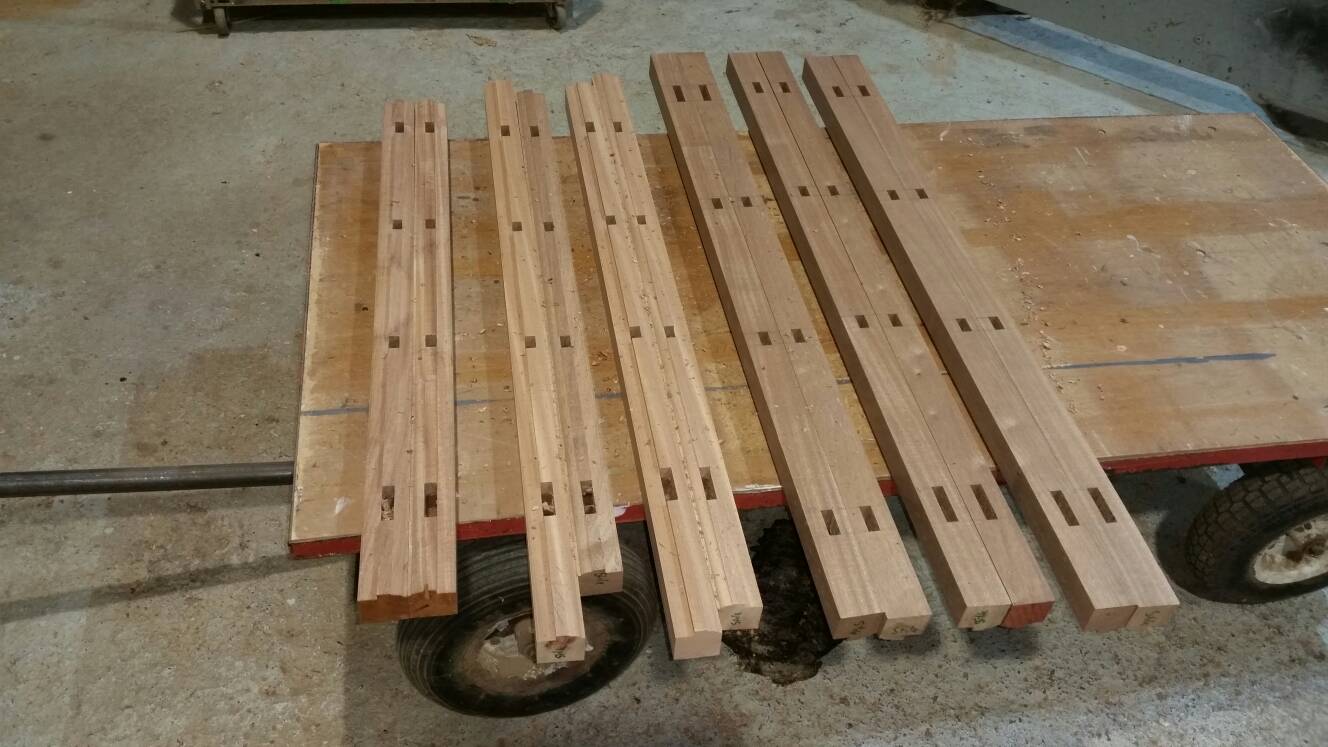
Now everything's marked out, it's morticing time.
31d60a4d4ac50ed4c1885c3bad0a63a2.jpg

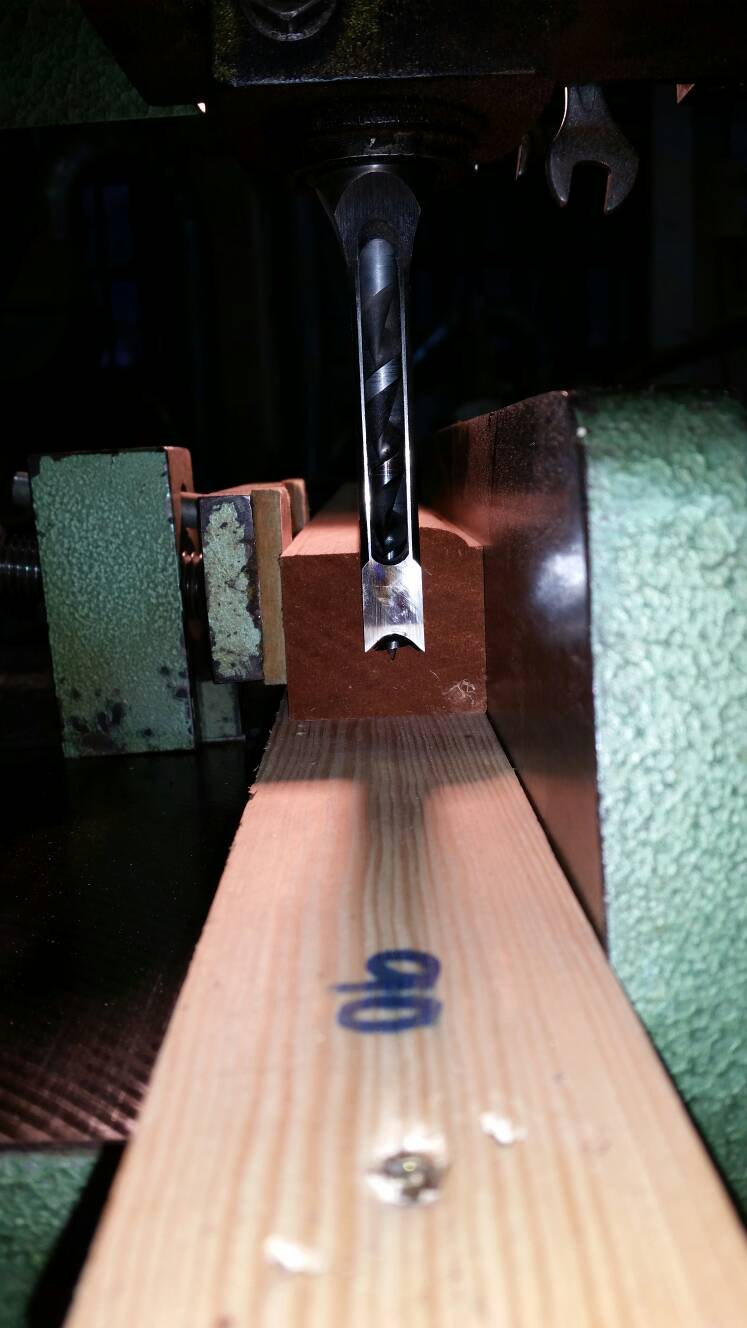
Set your half inch chisel so it lines up with the half inch flat.
5a174e31a4700fcedb1181b1061b22c4.jpg

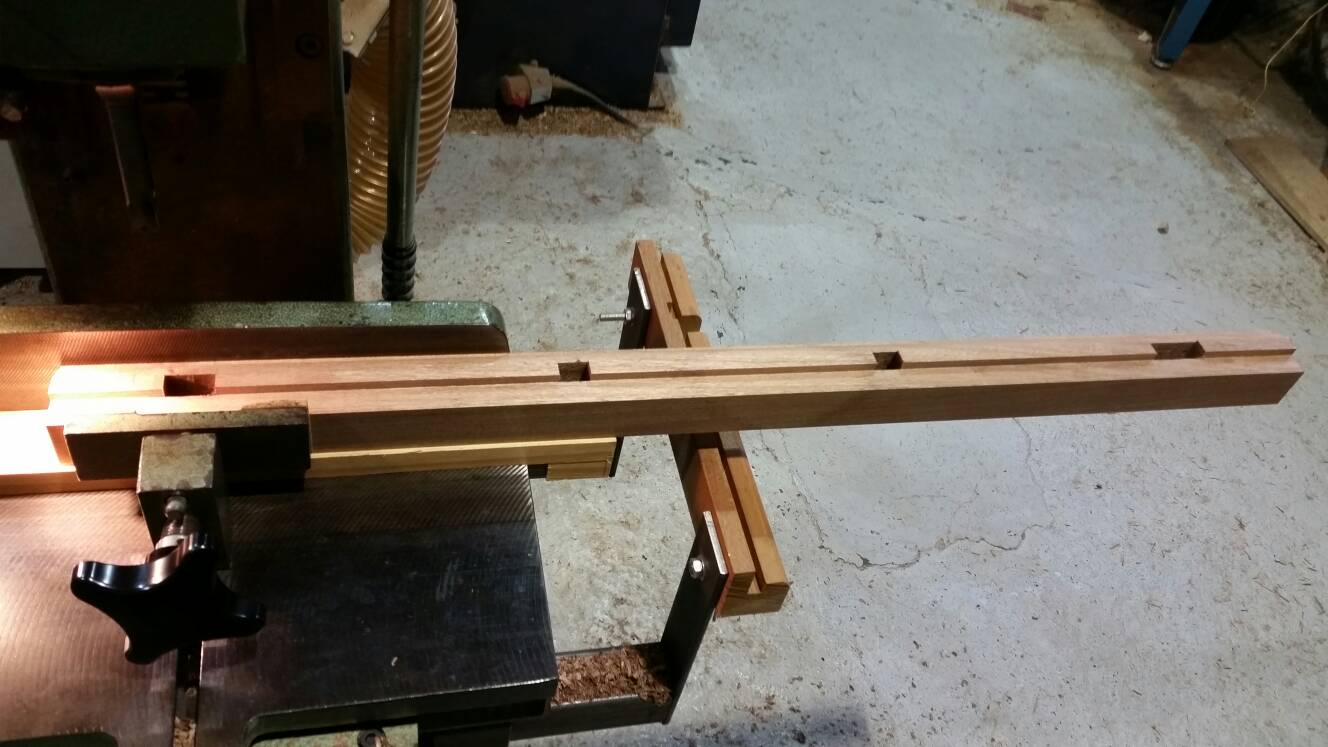
Set your chisel depth to just over half way and mortice to the lines from each side
410b1a91053f06d5ddf5ba64fe09f916.jpg

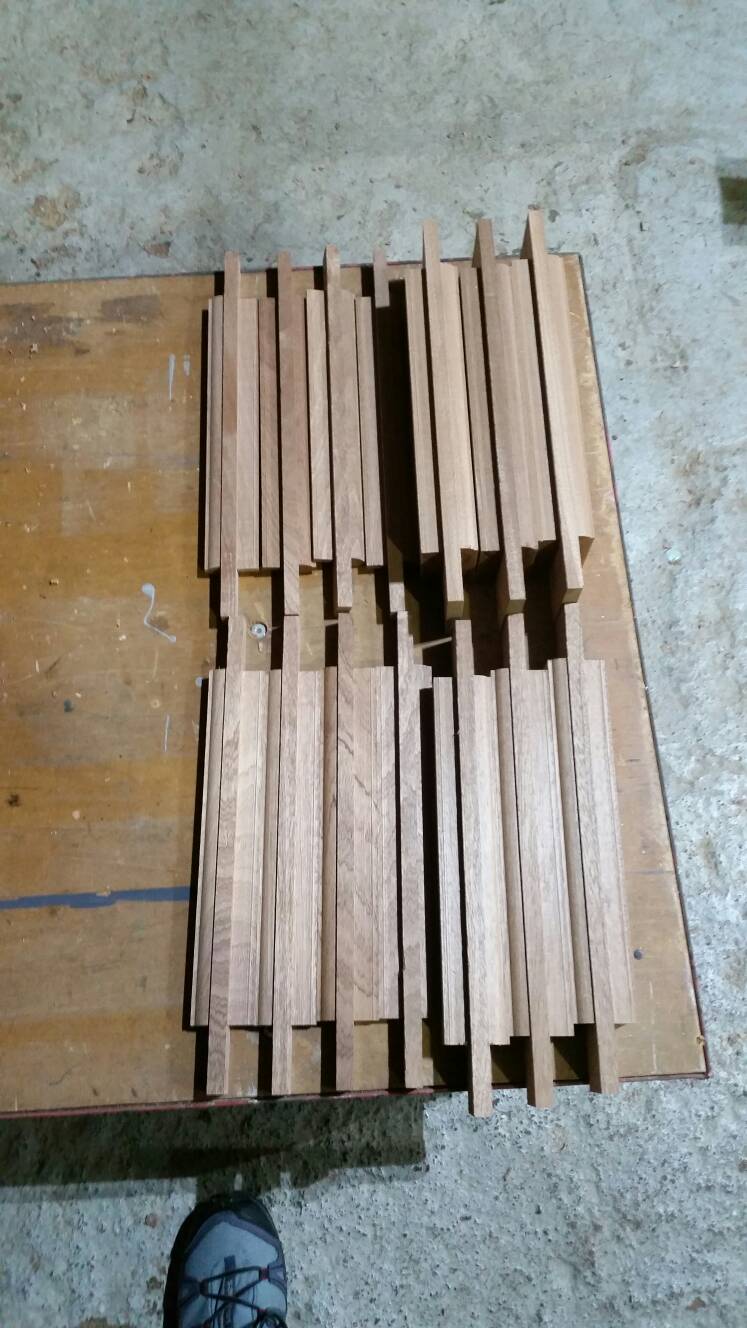
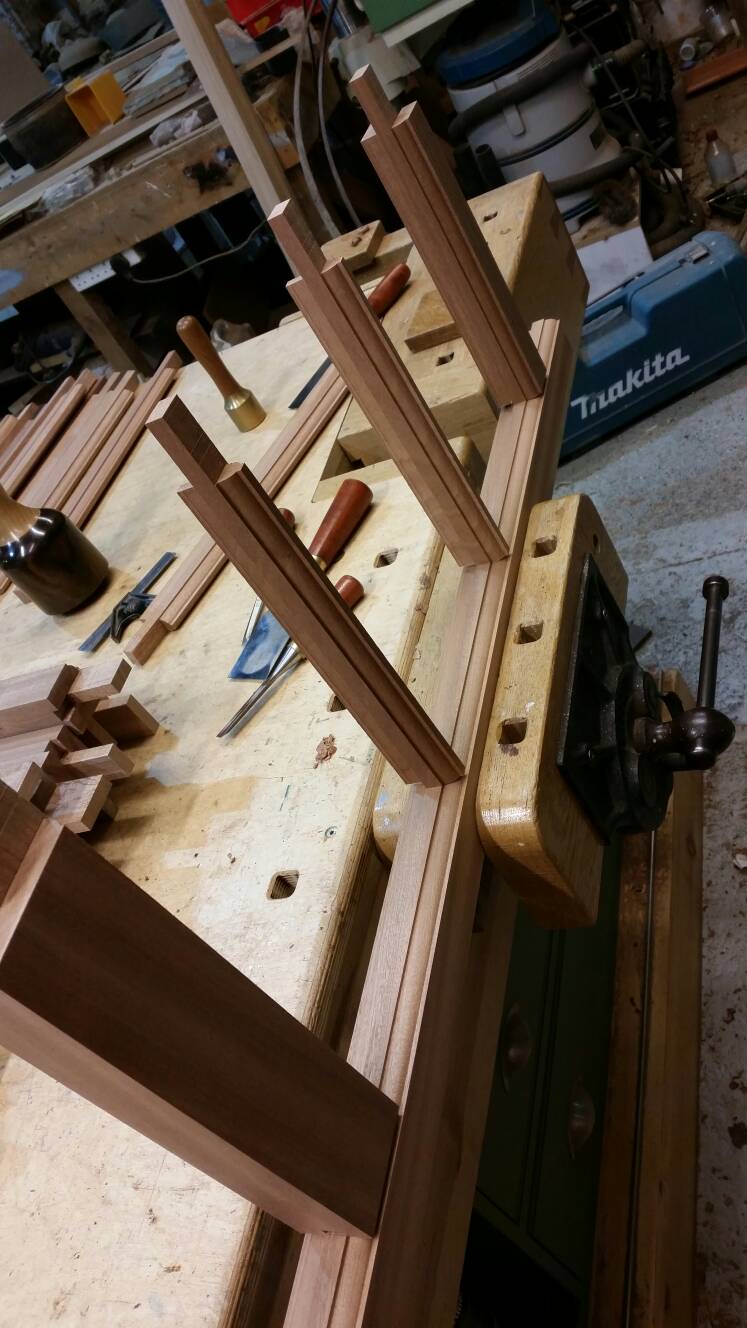
When you finished you should end up with a pile of matching/paired stiles
329453ba1eabe235ddef92d8fc5c2f5f.jpg


Coley
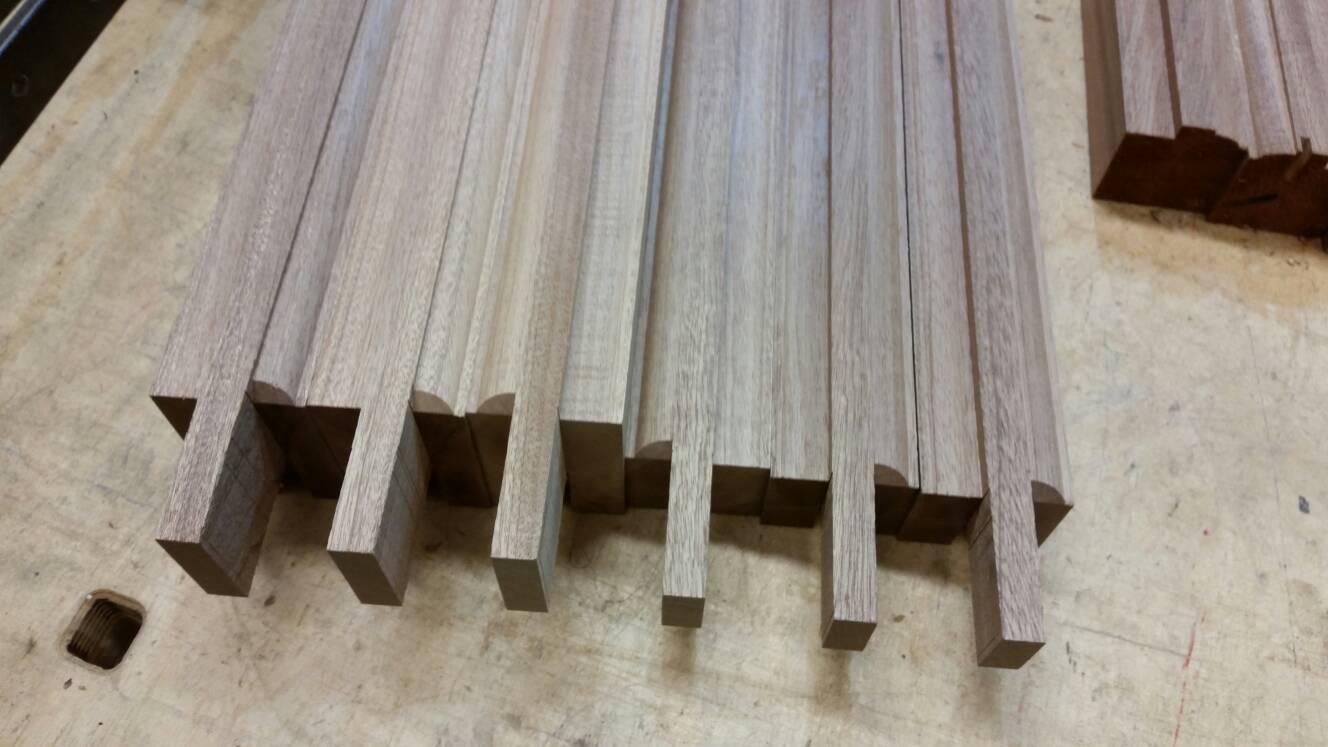
 
Your tenons need square shoulders
1b0bf1f0baa34f81a38884850ba2c743.jpg

This is soooooo much easier to mark out !!!
Measure your opening and subtract two stile widths, now they've been rebated and moulded.
d89ad5e546b7c69c1085d39ab7698bd5.jpg

This is your shoulder to shoulder measurement.
5746b7f37897608ec27fac9a176a18aa.jpg

Square shoulders so this'll be a doddle compared to the frame marking out !
Mark the width of your tenon onto a top/bottom rail.
3cc043512494ac4335f6256d135ca27c.jpg

Cut this line tightish to the shoulder. 3mm off would be fine unless you decide you can cut nearer.
38c87932bea77d7120ce5c69c2628ce6.jpg


Coley
 
Next step is to mark the reverse haunch bit.
Measure depth of rebate
662853ea01a5b7e38bba307f341f3a3f.jpg

Then transfer this measurement on the top and bottom rails
a3d410318ae07033656a8ed6f70df414.jpg

Mortice this line to the depth of the tenon
c1ebcfa25ea8b6cb948d1a616dffe995.jpg

You can set the morticer depth stop to speed things up
10b9360c4210c3a54da4175629e87c50.jpg

Once all those are done, tidy up the corners with a chisel
14dd6a135bc7abdee2243fa1bfd844eb.jpg

That's all the morticing finished now !!!!! Woo hoo :lol:
Plonk the tenons in the mortices if you like.
4065edcf647c808ecfe2d6ac27ec11ee.jpg

You might find your glazing bars are a little snug. They've got to be wedged so you can sharpen them off a tad if it makes them easier to fit.
f89b5fcb444100ececd98969a0c1c257.jpg

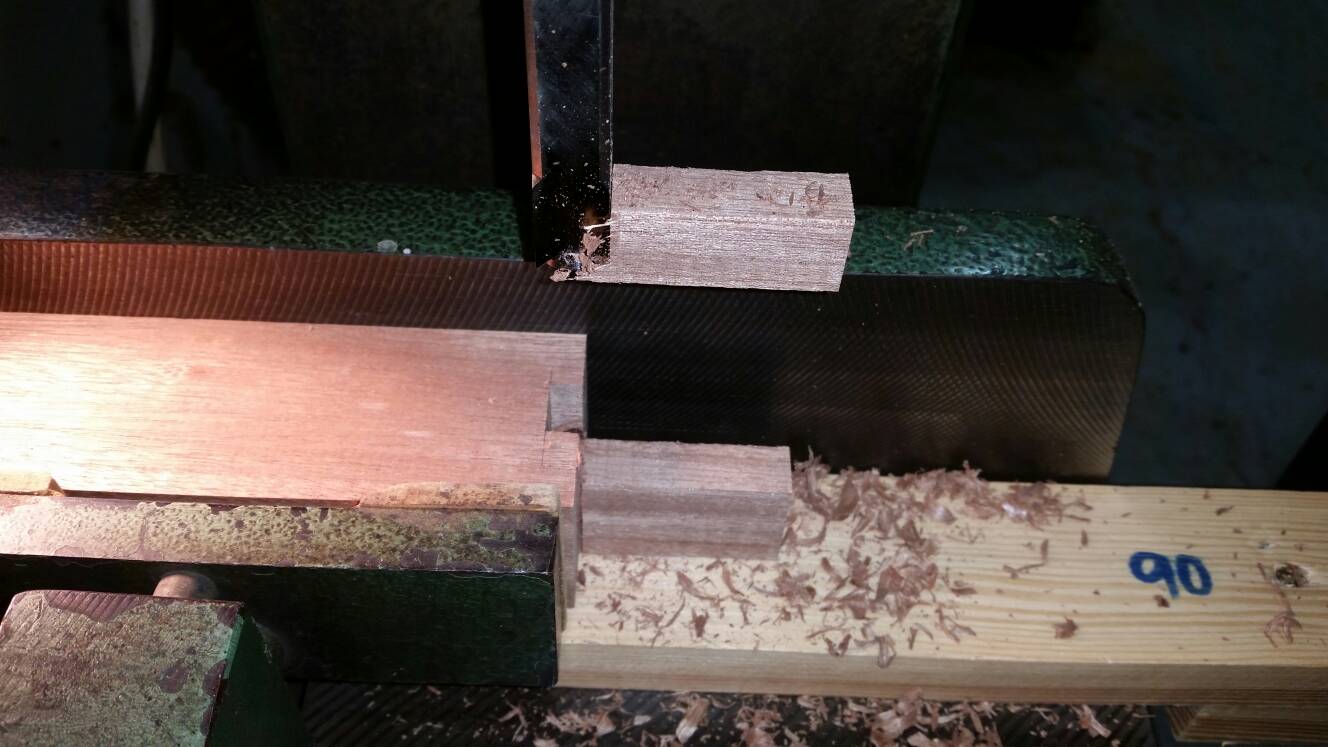
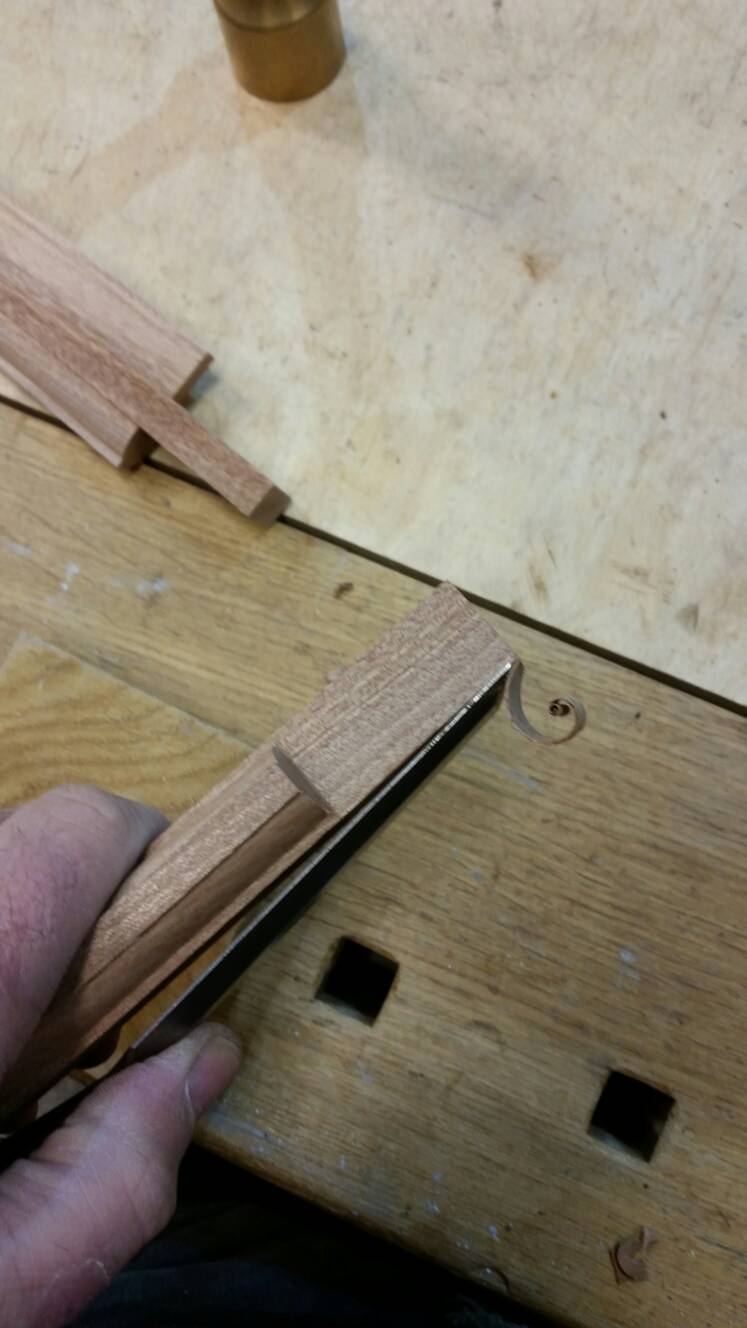
Next thing is to fit the tenons to the stiles. You could either mitre the moulds on the stile and rails, or a better job is to mitre and scribe the rails. If you do this way, any shrinkage/movement of the timber will be less noticeable. First we need to mitre the end of the rails and glazing bars
e14e852e69b817414f04b244054d7d6e.jpg

A simple wooden mitre template is more than adequate-no expensive metal version required.
80e3a35cc1a17d603b87bb116ca17c5d.jpg

This is one task I've found a wide but short butt chisel makes life so much easier. Using a normal length chisel in comparison, is like working on your bench, stood on a stepladder !
Keep your chisel flat against the mitre template and slice away until you reach the tenon- that's all there is to it.
ab81d0e6657a615cb2fa2ac713d387d7.jpg

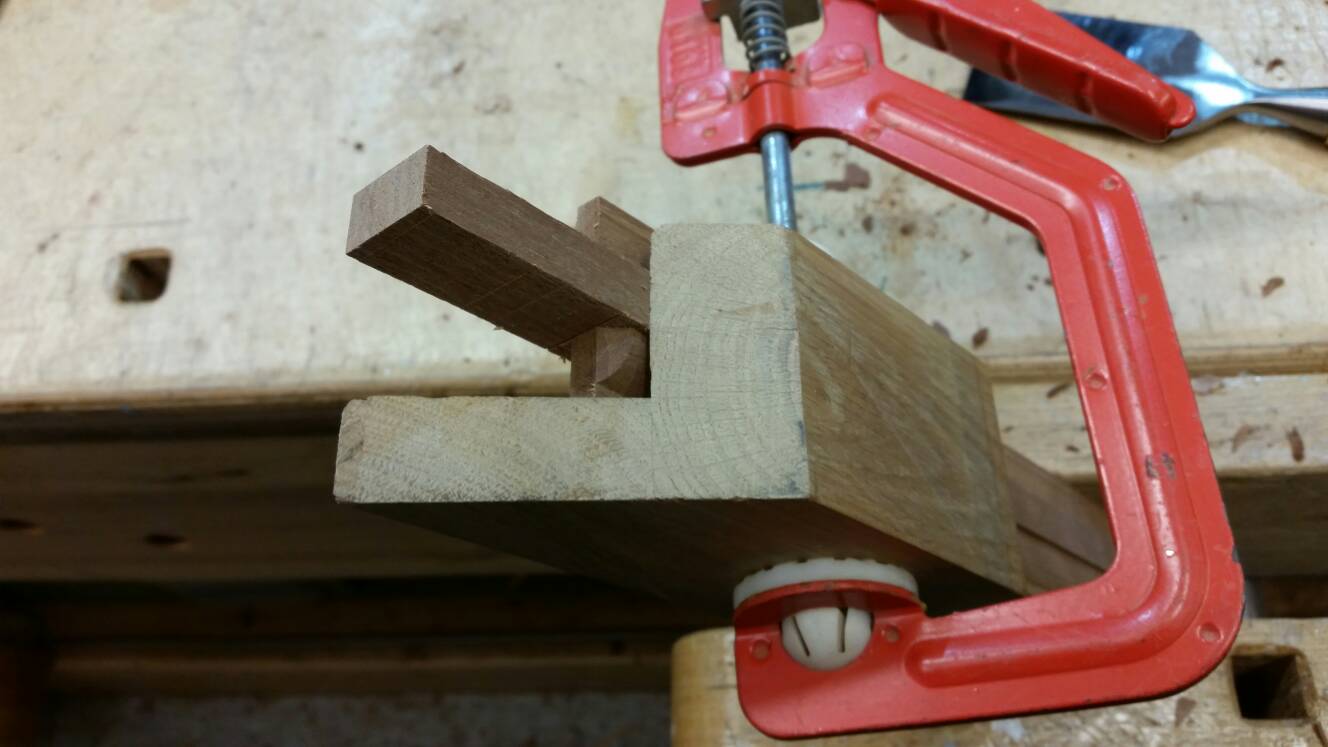
Sometimes I struggle with gripping things, so having a 4 inch solo clamp to hand can be a blessing. Your glazing bars will need mitreing on both sides of each end.
df8eee45155e43a17752d9ac409815b2.jpg

That's all the mitres done . Next onto doing the scribing ;)


Coley
 
Hi looking at your workshop equipment and trollies for material movement I'd say you do this sort of work for a living. You have already said that the sequence of machining is
not how you would make a window in practice but show it this way so a novice might find the sequence easier to follow.

The only technique that puzzles me, with regard to the frame, is why you put a shoulder on the side of the mullions at the M+T joint (a shoulder either side of the tenon and in line with it?).

Mark
 
meccarroll":1kgtea7y said:
Hi looking at your workshop equipment and trollies for material movement I'd say you do this sort of work for a living. You have already said that the sequence of machining is
not how you would make a window in practice but show it this way so a novice might find the sequence easier to follow.

The only technique that puzzles me, with regard to the frame, is why you put a shoulder on the side of the mullions at the M+T joint (a shoulder either side of the tenon and in line with it?).

Mark
Hi Mark. I would normally do things slightly differently, the most obvious difference would be using a scriber on the tenoner for the sashs. This would also mean the tenoning and scribing would be done before the rebate and mould. I was hoping to show that someone who perhaps didn't fancy doing all the machining, could just buy in all the sections required.
I'm glad you raised the point about the notches on the frame tenons. For years I just made the tenons the same width, with no real problems. Depending on how warm/roasting the central heating was set, varied how much a gap you'd see when the tenons decided to shrink. Rather than see a hole, it seemed better to in effect scribe them over aswell. More work, but I think slightly better than a straight through joint.
Theres also the thought that if water did somehow find its way ontop of the head, the notch should help it from dripping inside.
Same width tenon, perfectly acceptable. Notched/scribed one, perhaps a tad better.
Thanks for taking the time to read this. I'm relieved it's not all coming out as complete gibberish :lol:

Coley
 
Brilliant work coley, brilliant to read and see how it's supposed to be done rather than how I bodge it on the daily!


Sent from my iPhone using Tapatalk
 
Coley

Your reverse haunch is actually called a franking

great job by the way, not had an occasion to do something like this in years (since plastic took over) however did loads in the late seventies/early eighties. if I do anything like this now it is usually for double glazed units which dictates that the rebate also goes back past the mortice and tenon (hope this makes sense) which narrows the width of the tenon by the rebate depth.

some may be interested in a few sketchups in did in this post

http://forums.ukworkshop.co.uk/viewtopi ... 9&p=731989
 
Excellent work and thread Coley. I've knocked up a fair few windows in my time but always with pre machined window sections. All the local timber yards used to carry framing of different patterns but alas no more since the onset of UPVC. It's been a long time since i had occasion to make a wooden window and chances are i will never again, so thanks for the interesting peek into your world.
 
Hi Coley
Great work,well done.

Out of curiosity, do you CE mark your windows? I note that since 2013 replacement external doors and windows now need to be CE marked, which is a complete nonsense IMO and installed by a Fensa registered fitter or building regulations inspected approved, otherwise the home owner runs into a nightmare when trying to sell their property.
 
windows should be CE marked in theory but Ive never been asked.

Windows also have to have an energy rating and installed by a Certass / Fensa registered fitter. The installation company has to have a least 1 surveyor and 1 installer that have to be qualified either with an NVQ or minimum certificate of competence. Each job has to be insured with an insurance backed guarantee as part of the requirements.

The quality of installation is mostly determined by whether it complies with the various building regulations, part L, part B, part F, part B.........
 
ColeyS1":33m6ry94 said:
meccarroll":33m6ry94 said:
Hi looking at your workshop equipment and trollies for material movement I'd say you do this sort of work for a living. You have already said that the sequence of machining is
not how you would make a window in practice but show it this way so a novice might find the sequence easier to follow.

The only technique that puzzles me, with regard to the frame, is why you put a shoulder on the side of the mullions at the M+T joint (a shoulder either side of the tenon and in line with it?).

Mark
Hi Mark. I would normally do things slightly differently, the most obvious difference would be using a scriber on the tenoner for the sashs. This would also mean the tenoning and scribing would be done before the rebate and mould. I was hoping to show that someone who perhaps didn't fancy doing all the machining, could just buy in all the sections required.
I'm glad you raised the point about the notches on the frame tenons. For years I just made the tenons the same width, with no real problems. Depending on how warm/roasting the central heating was set, varied how much a gap you'd see when the tenons decided to shrink. Rather than see a hole, it seemed better to in effect scribe them over aswell. More work, but I think slightly better than a straight through joint.
Theres also the thought that if water did somehow find its way ontop of the head, the notch should help it from dripping inside.
Same width tenon, perfectly acceptable. Notched/scribed one, perhaps a tad better.
Thanks for taking the time to read this. I'm relieved it's not all coming out as complete gibberish :lol:

Coley

Thank you for the reply Coley. It's very nice that you have taken the time to construct a window in a way that makes it easier for a newcomer to follow rather than show how you would actually make a window when doing it to make money. I think this will be very helpful to a first time window maker or anyone contemplating making a window for the first time.

Mark =D>
 
Very interesting Coley, thank you. Your not using a marking knife but a fineliner pen, pencil? Why no marking knife and what type of pen, pencil are you using? Can I see some of that router non slip rubber webbing on your morticer? I going to look for a short butt chisel, I expect are all much the same quality but can you recommend a make? As I say very interesting, enlightening how this is done. thanks for taking time to explain to people. You certainly are a very able craftsman!
Cheers.
 
pollys13":2ko6p0ql said:
Very interesting Coley, thank you. Your not using a marking knife but a fineliner pen, pencil? Why no marking knife and what type of pen, pencil are you using? Can I see some of that router non slip rubber webbing on your morticer? I going to look for a short butt chisel, I expect are all much the same quality but can you recommend a make? As I say very interesting, enlightening how this is done. thanks for taking time to explain to people. You certainly are a very able craftsman!
Cheers.

I have a 1" Crown butt chisel that i rather like. I bought it for paring hinge mortices, which gives more control. Was about £10 when i bought it.
 
bench_monkey":2v0mhec0 said:
Brilliant work coley, brilliant to read and see how it's supposed to be done rather than how I bodge it on the daily!


Sent from my iPhone using Tapatalk
Cheers bench monkey. I'm sure there's many other ways that work, this seems to tick most boxes for me....for now ;)

Coley
 
katellwood":3k0zpa7q said:
Coley

Your reverse haunch is actually called a franking

great job by the way, not had an occasion to do something like this in years (since plastic took over) however did loads in the late seventies/early eighties. if I do anything like this now it is usually for double glazed units which dictates that the rebate also goes back past the mortice and tenon (hope this makes sense) which narrows the width of the tenon by the rebate depth.

some may be interested in a few sketchups in did in this post

http://forums.ukworkshop.co.uk/viewtopi ... 9&p=731989
Thanks for clarifying the name katellwood. I struggled for about 10 minutes to find the correct spelling and gave up in the end :lol:
Your sketchup drawings are amazing ! I'd love to be able to draw with that amount of detail but can just about manage shapes, let alone all the scribey parts.
I know what you mean regarding double glazing. This window is probably a once in 3 year kind of job. It's mostly all double glazing with the odd like for like listed window.
Thanks for sharing those sketchup pics. They make it much easier to understand.

Coley
 
skipdiver":2b72w5kb said:
Excellent work and thread Coley. I've knocked up a fair few windows in my time but always with pre machined window sections. All the local timber yards used to carry framing of different patterns but alas no more since the onset of UPVC. It's been a long time since i had occasion to make a wooden window and chances are i will never again, so thanks for the interesting peek into your world.

Glad you found the thread interesting. I had no idea the parts could be bought off the shelf back in the day. Out of curiosity did they provide hardwood cills or was it all softwood ?
Cheers

Coley
 
deema":2z00lvdq said:
Hi Coley
Great work,well done.

Out of curiosity, do you CE mark your windows? I note that since 2013 replacement external doors and windows now need to be CE marked, which is a complete nonsense IMO and installed by a Fensa registered fitter or building regulations inspected approved, otherwise the home owner runs into a nightmare when trying to sell their property.
I haven't needed to yet but agree it all seems a complete faff. I think the majority of windows I make are bespoke to match/replace existing. This was a like for like replacement for some listed windows. The cameras possibly showing the wood as having a red tinge. It's actually softwood but the cameras making it look different...if you know what I mean ;)
I remember at the time thinking the world was gonna end, but luckily it hasn't seemed to affect me yet.
Robins reply kind of sums it up.
I looked into being Fensa registered but the cost, not to mention having to fit x amount per year made it not worth while. To get around it, I get the customer to inform building control before any work commences. Occasionally they'll ask for section drawings but more often than not, make an appearance when fitting begins, followed by a final visit when everything's complete. I think they charge about 90 quid for the piece of paper but atleast it's all above board. I thought it might put a few people off when I explain the Fensa situation. Most customers just take it in their stride and just accept it has to be done.


Coley
 
Back
Top