Lounge remodelling

UKworkshop.co.uk

Help Support UKworkshop.co.uk:

This site may earn a commission from merchant affiliate links, including eBay, Amazon, and others.

siggy_7

Full time tool collector, part time woodworker
Joined
25 Sep 2011
Messages
604
Reaction score
66
Location
Gloucestershire
A while ago I posted on here for some advice on insuring some structural work I was planning for my house, and I was asked to put some info up when it was all done. So here it is...

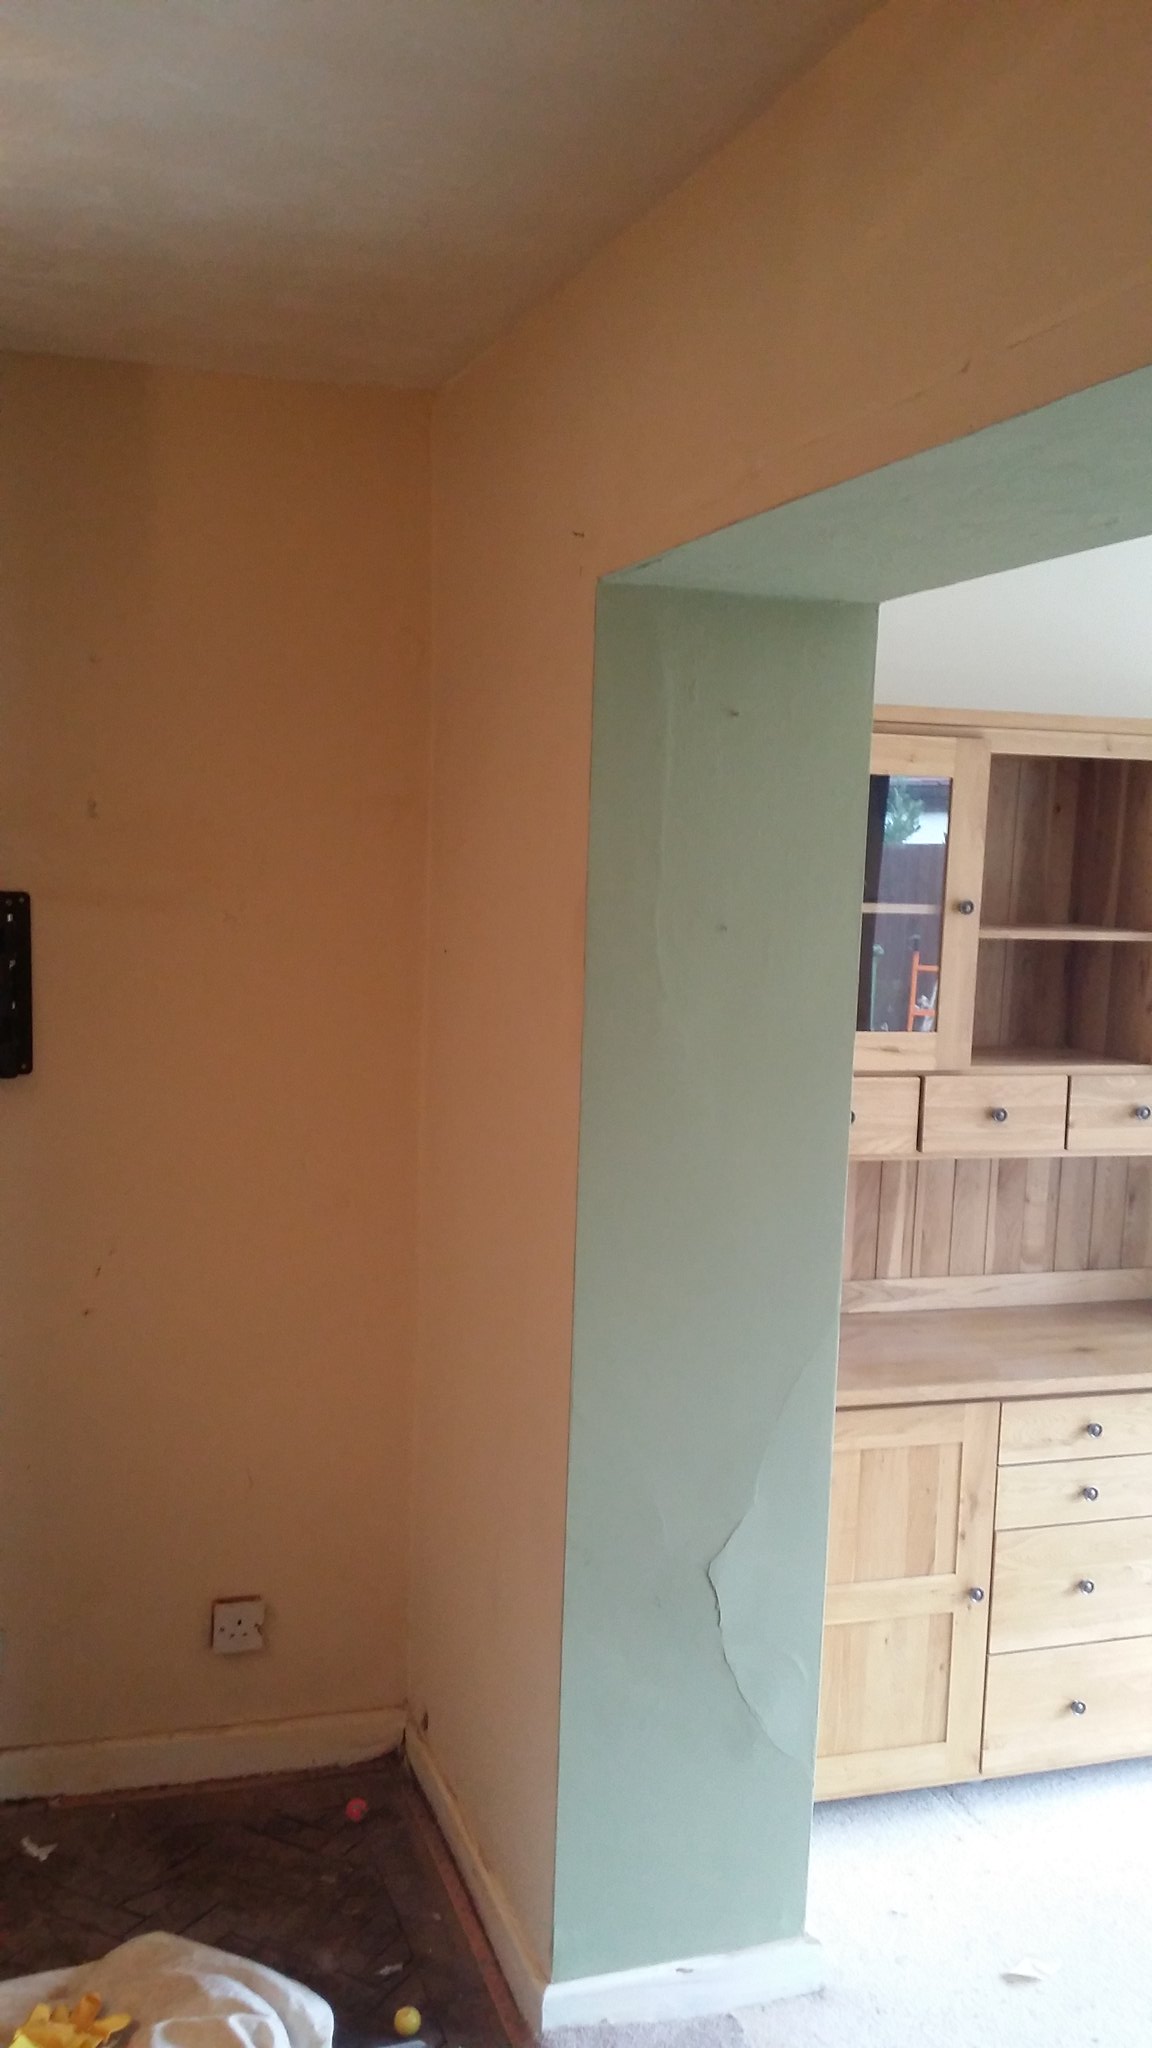
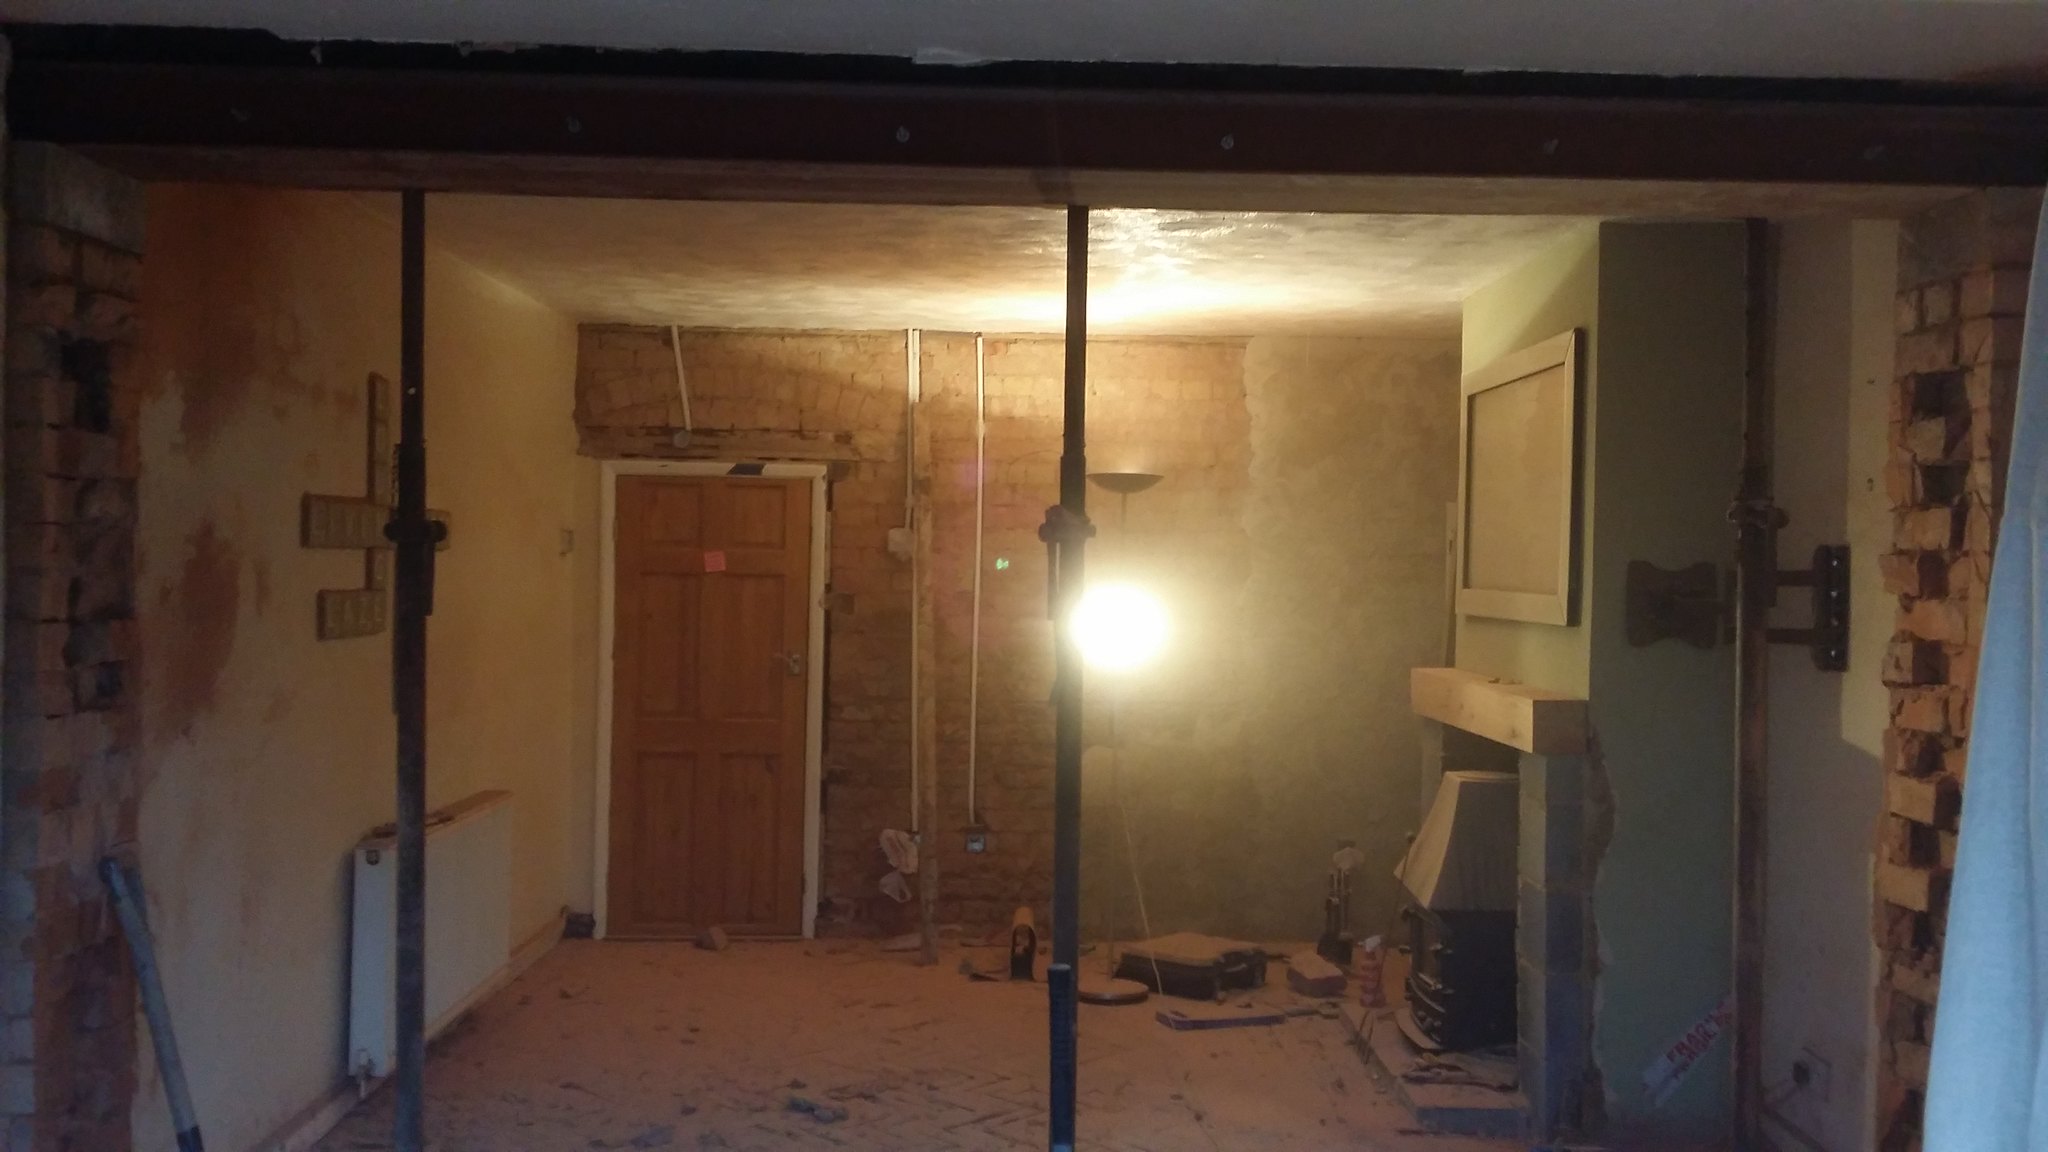
Background: Our house is a farming cottage originally built in 1856. The house had a 2 storey extension added to the rear around 20 years ago. On the ground floor, I think the original living room had a patio door to the garden. When the extension was added, I think they just took the frame out to connect the living room to the extension. However, this left a large chunk of wall in the middle of the room effectively dividing it up into two smaller less usable rooms, and also made the original living room very dark. As the original walls of the house are about 360mm thick and solid brick, it also took up a lot of floor space. We wanted to remove most of this wall to open up the room and make the space more usable.

21718595684_83a567f2a2_k.jpg


22341363985_cc0833e08a_k.jpg


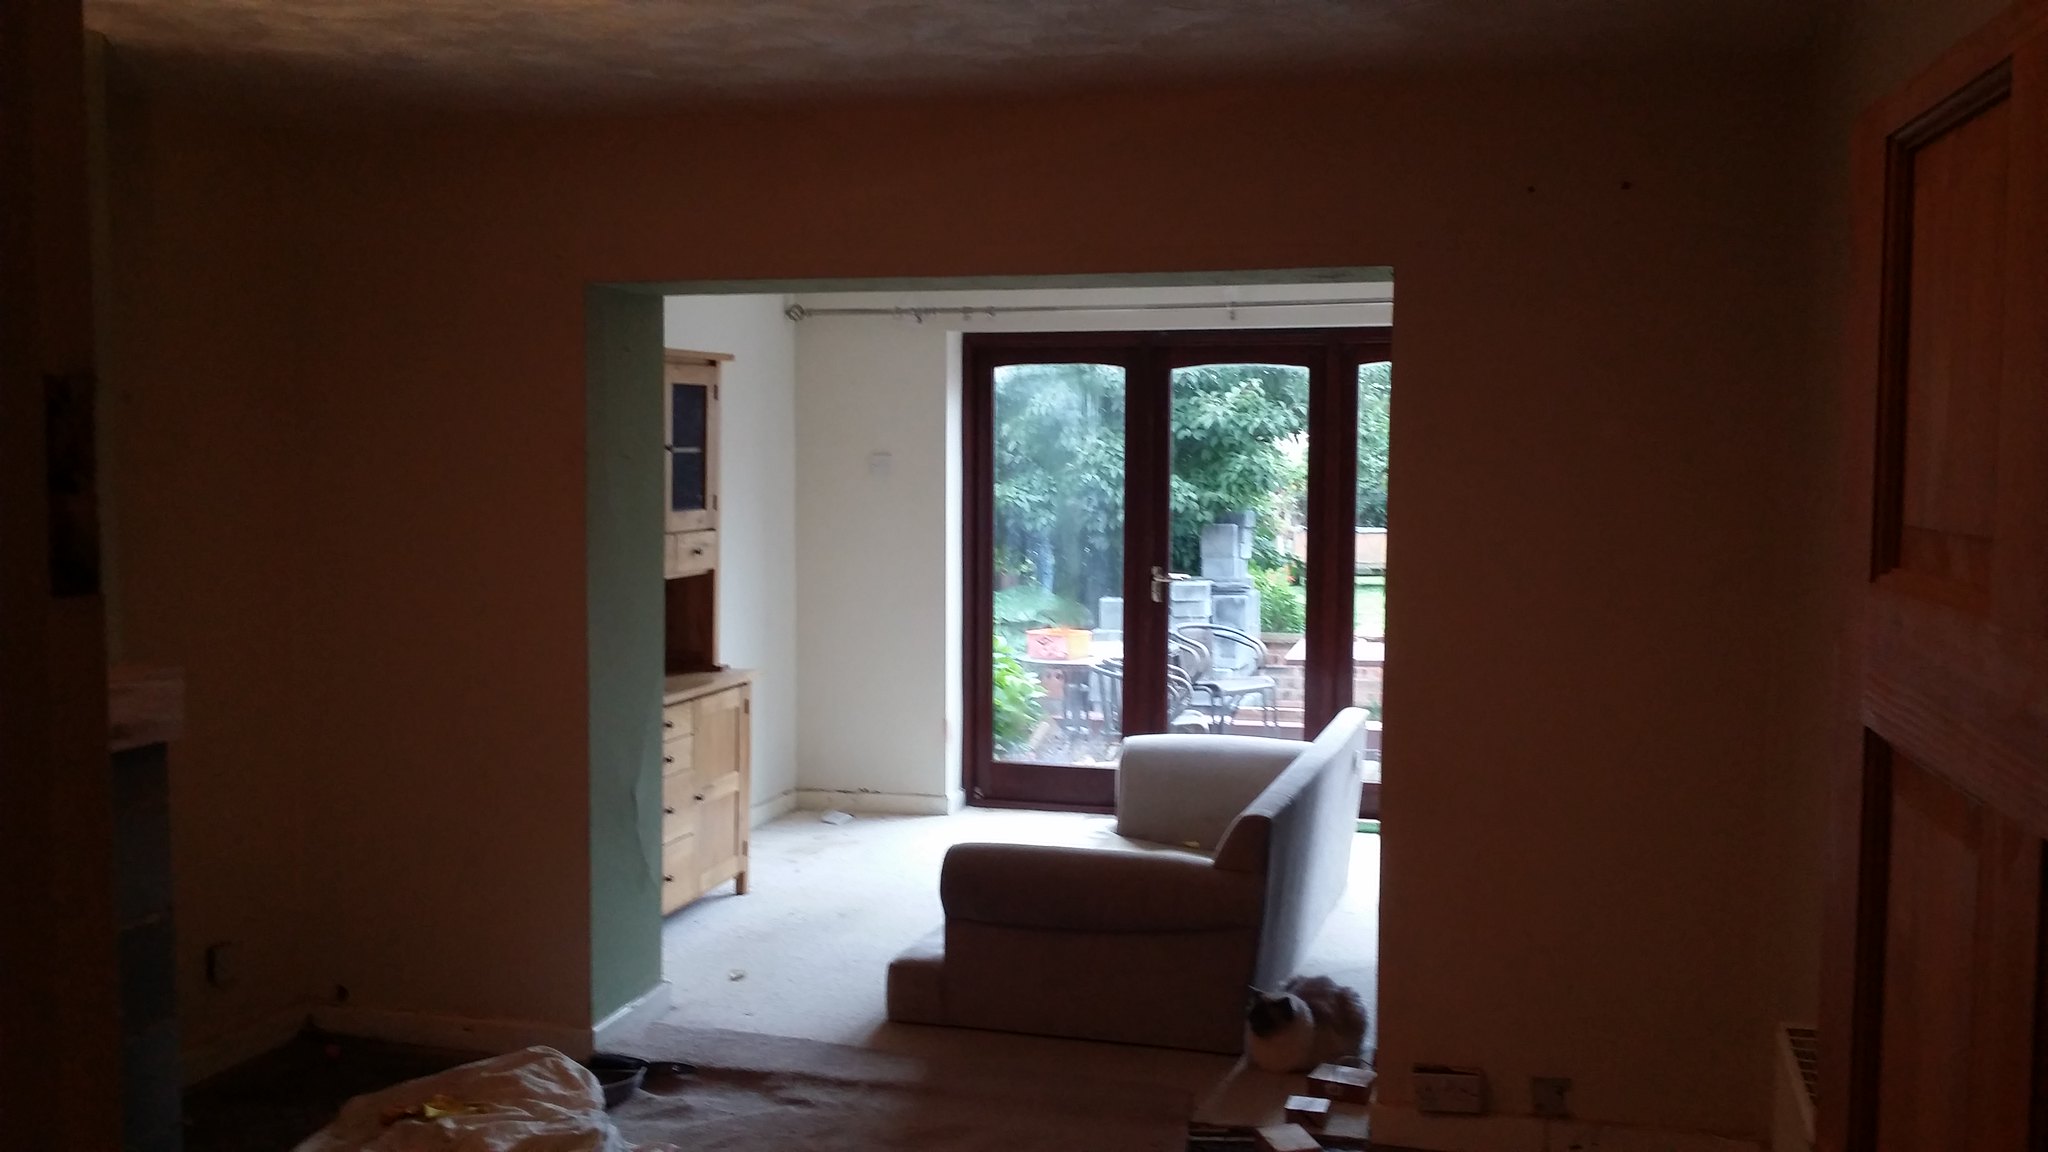
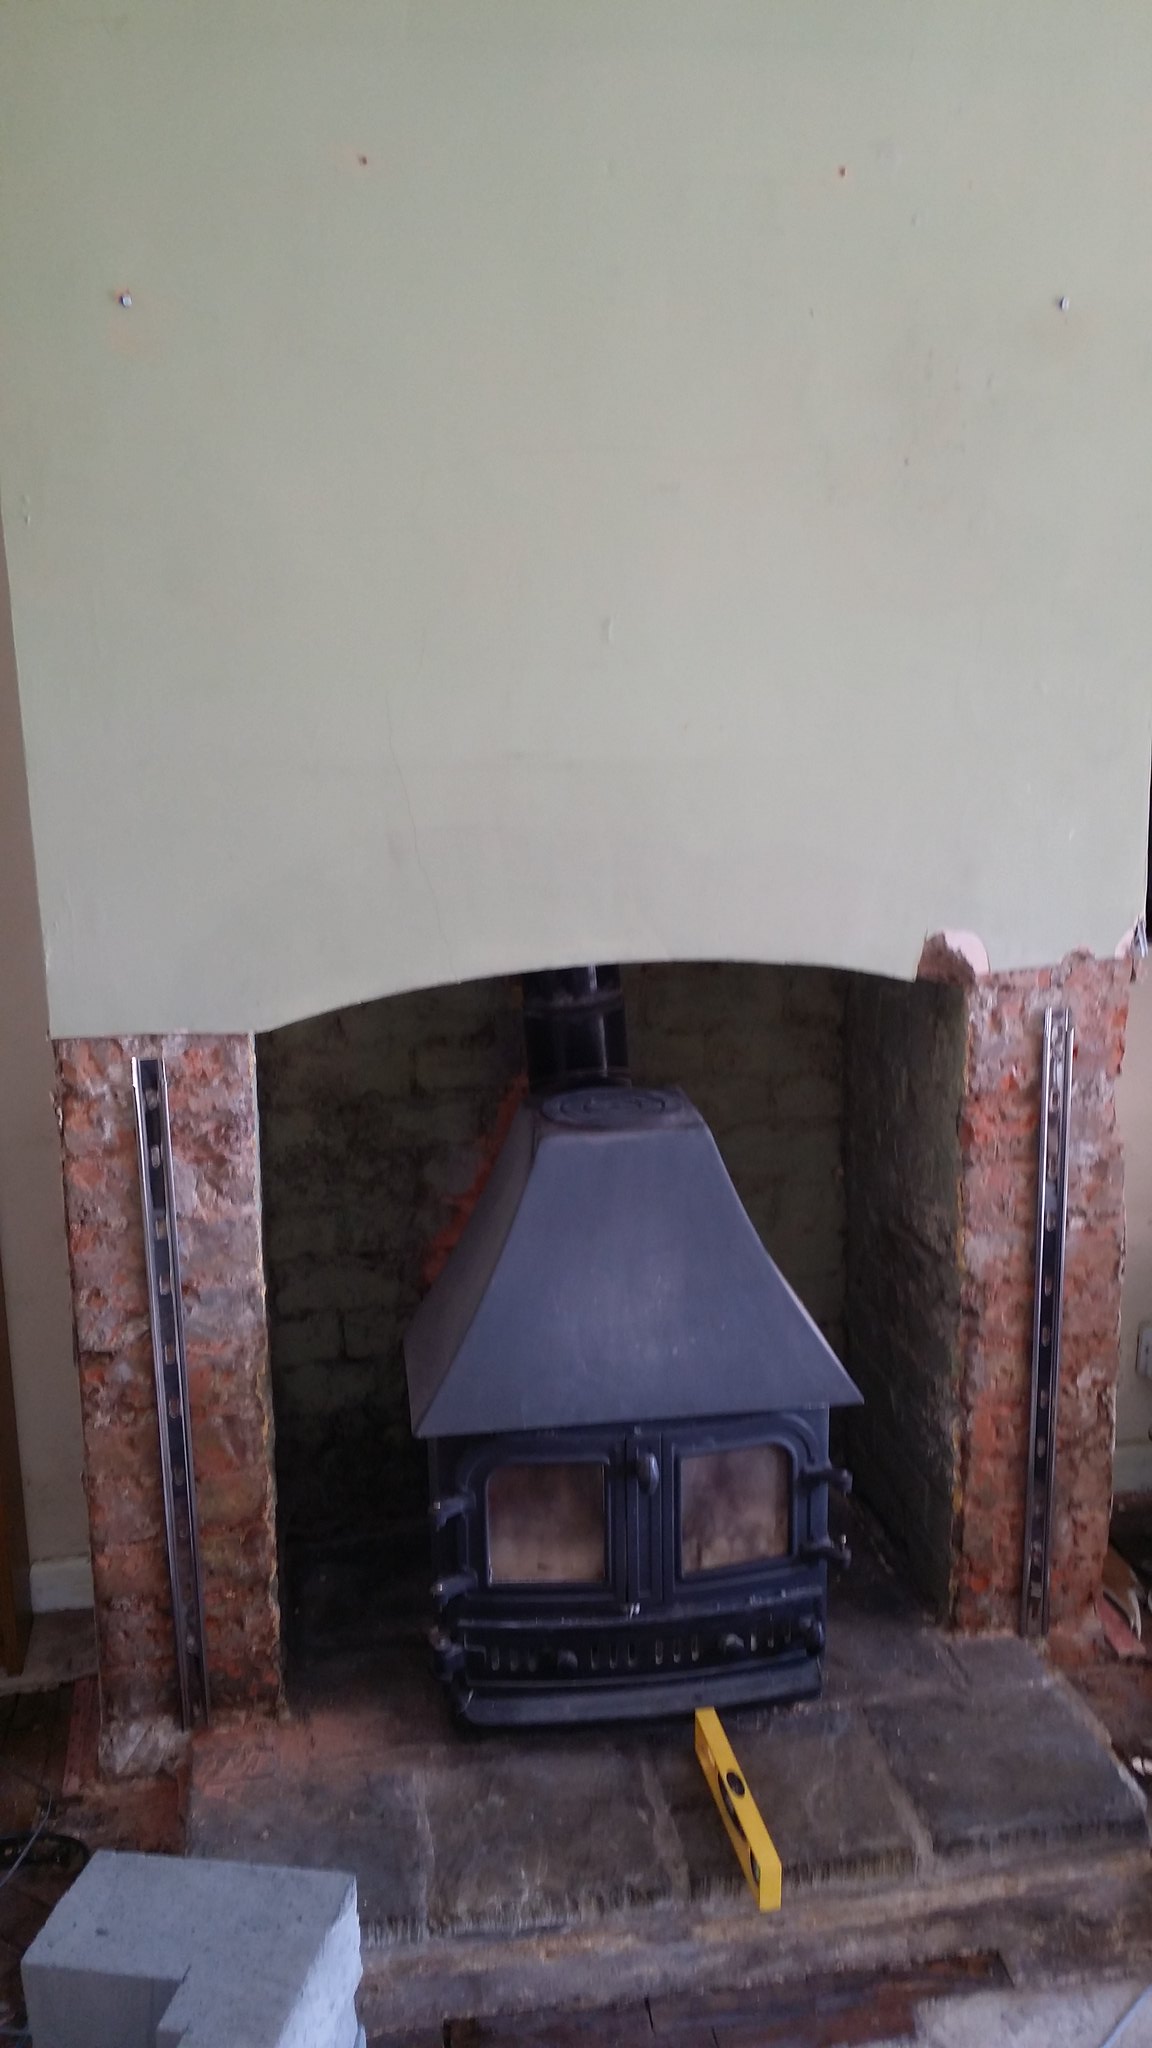
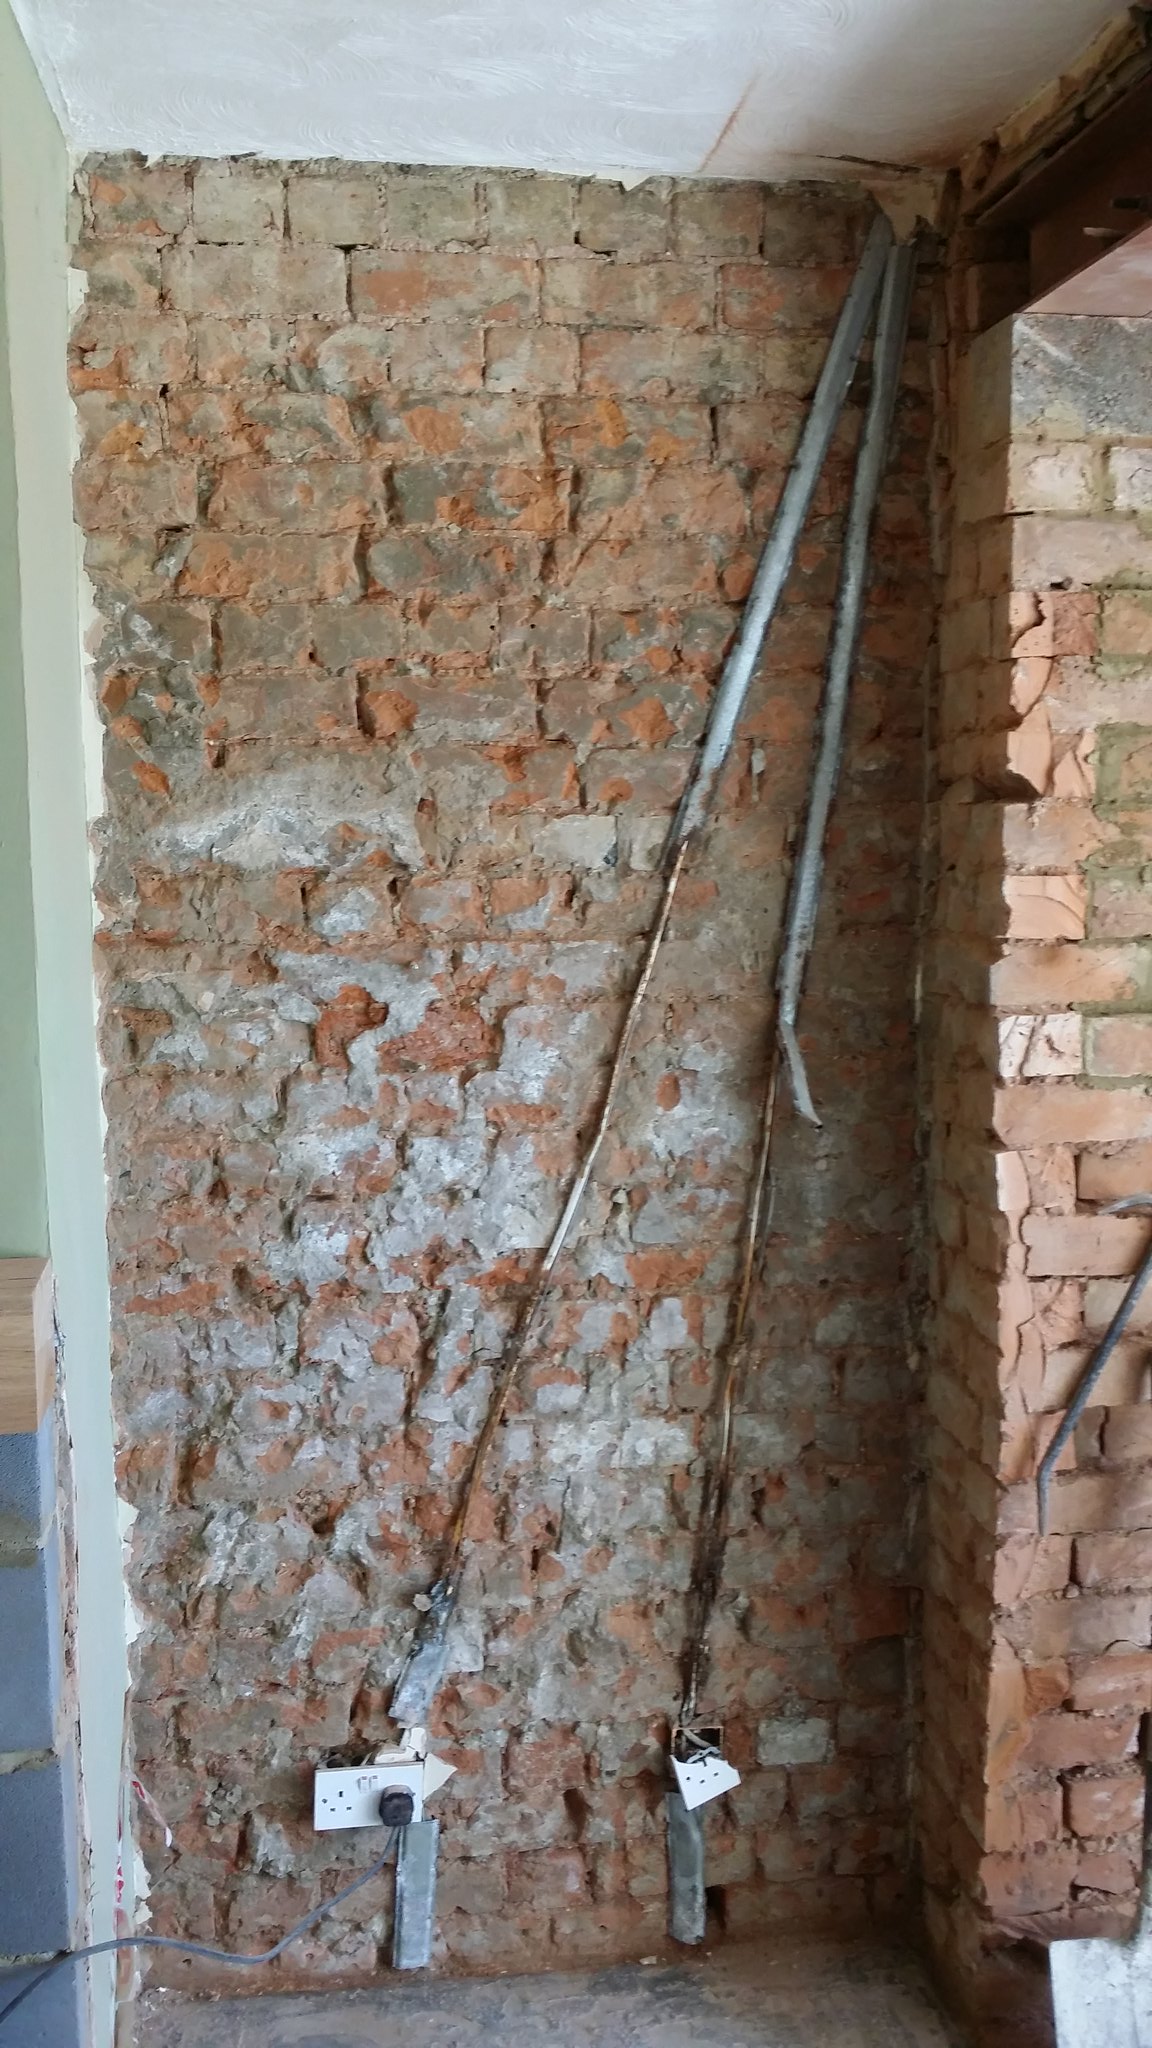
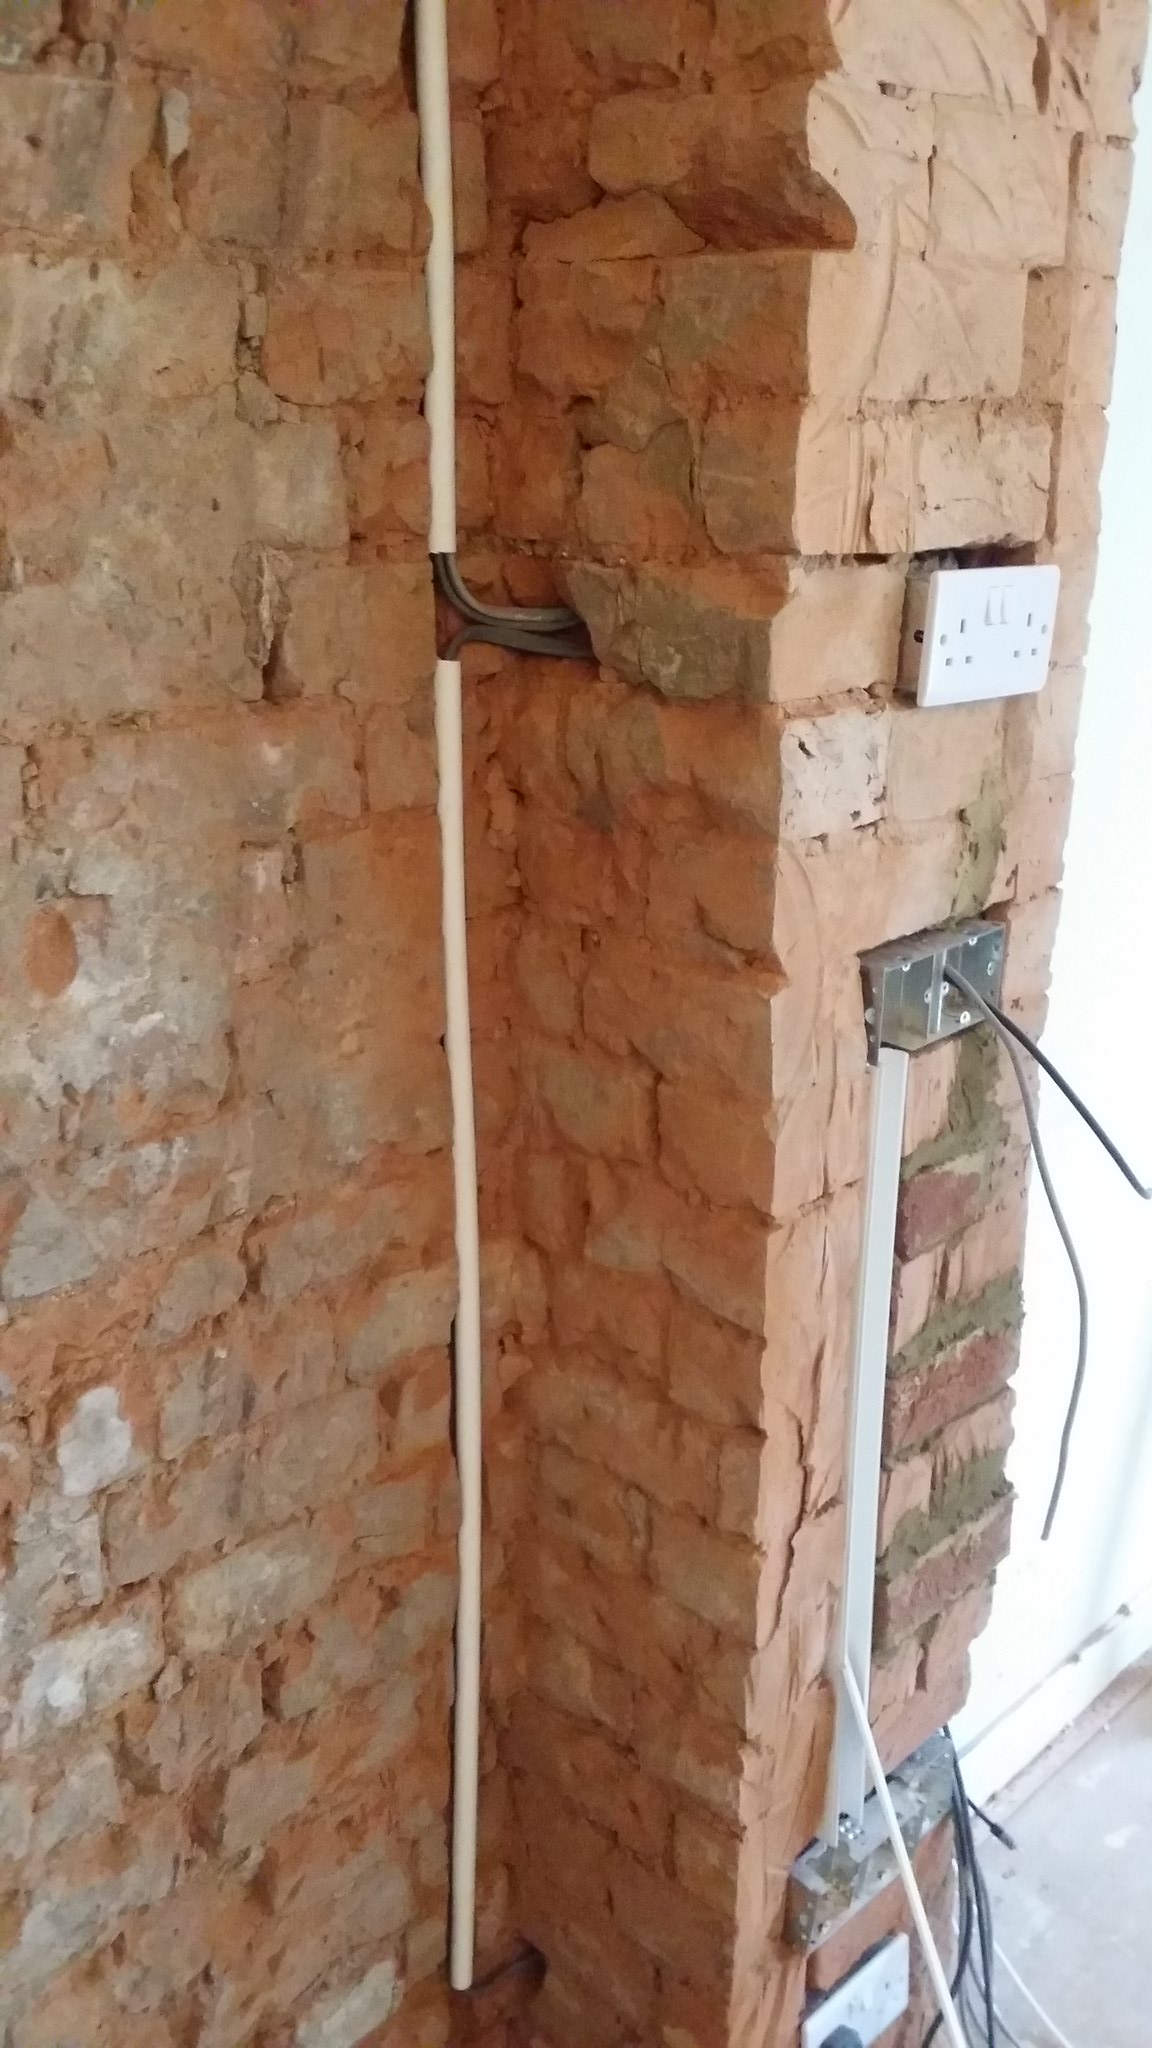
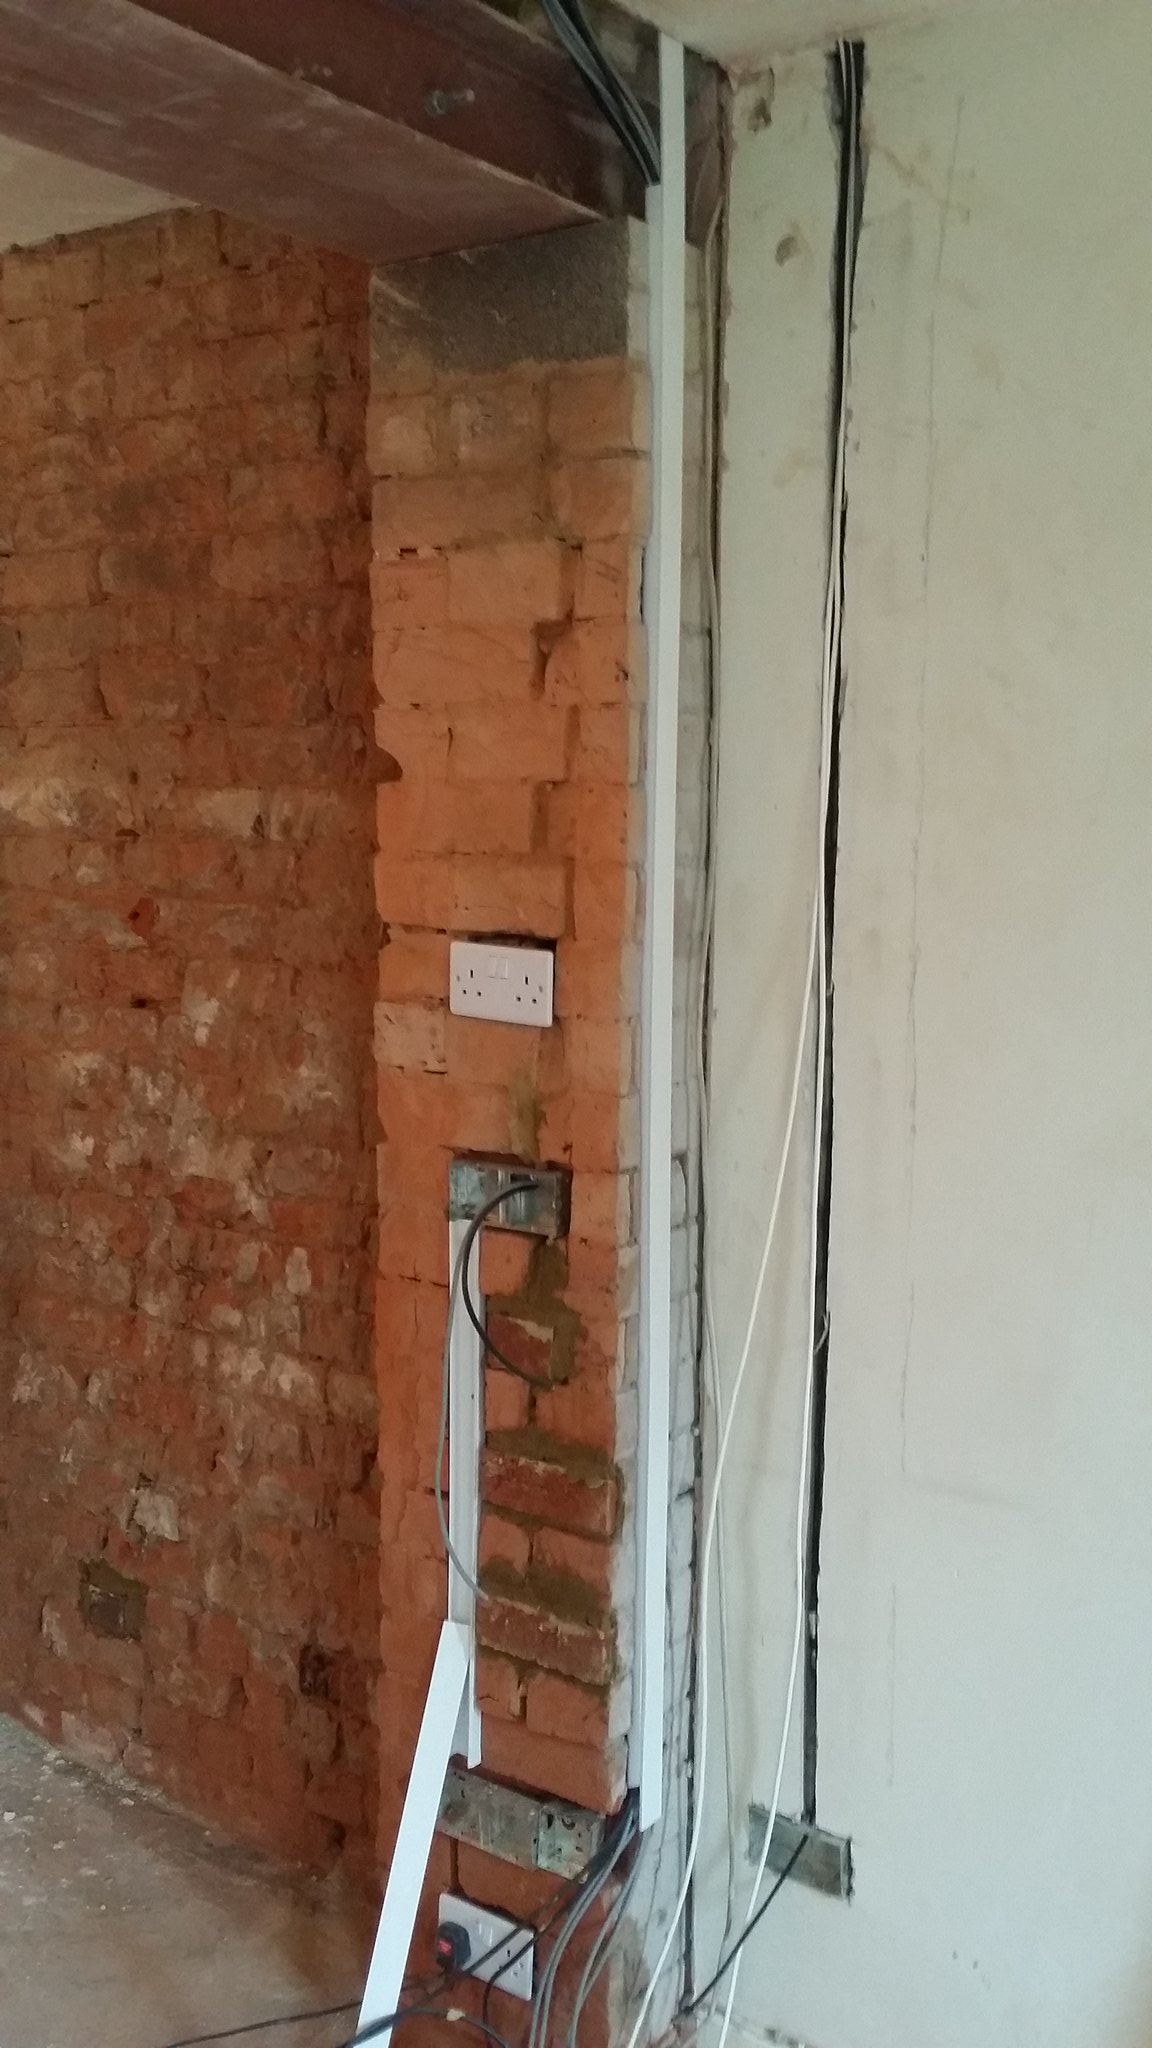
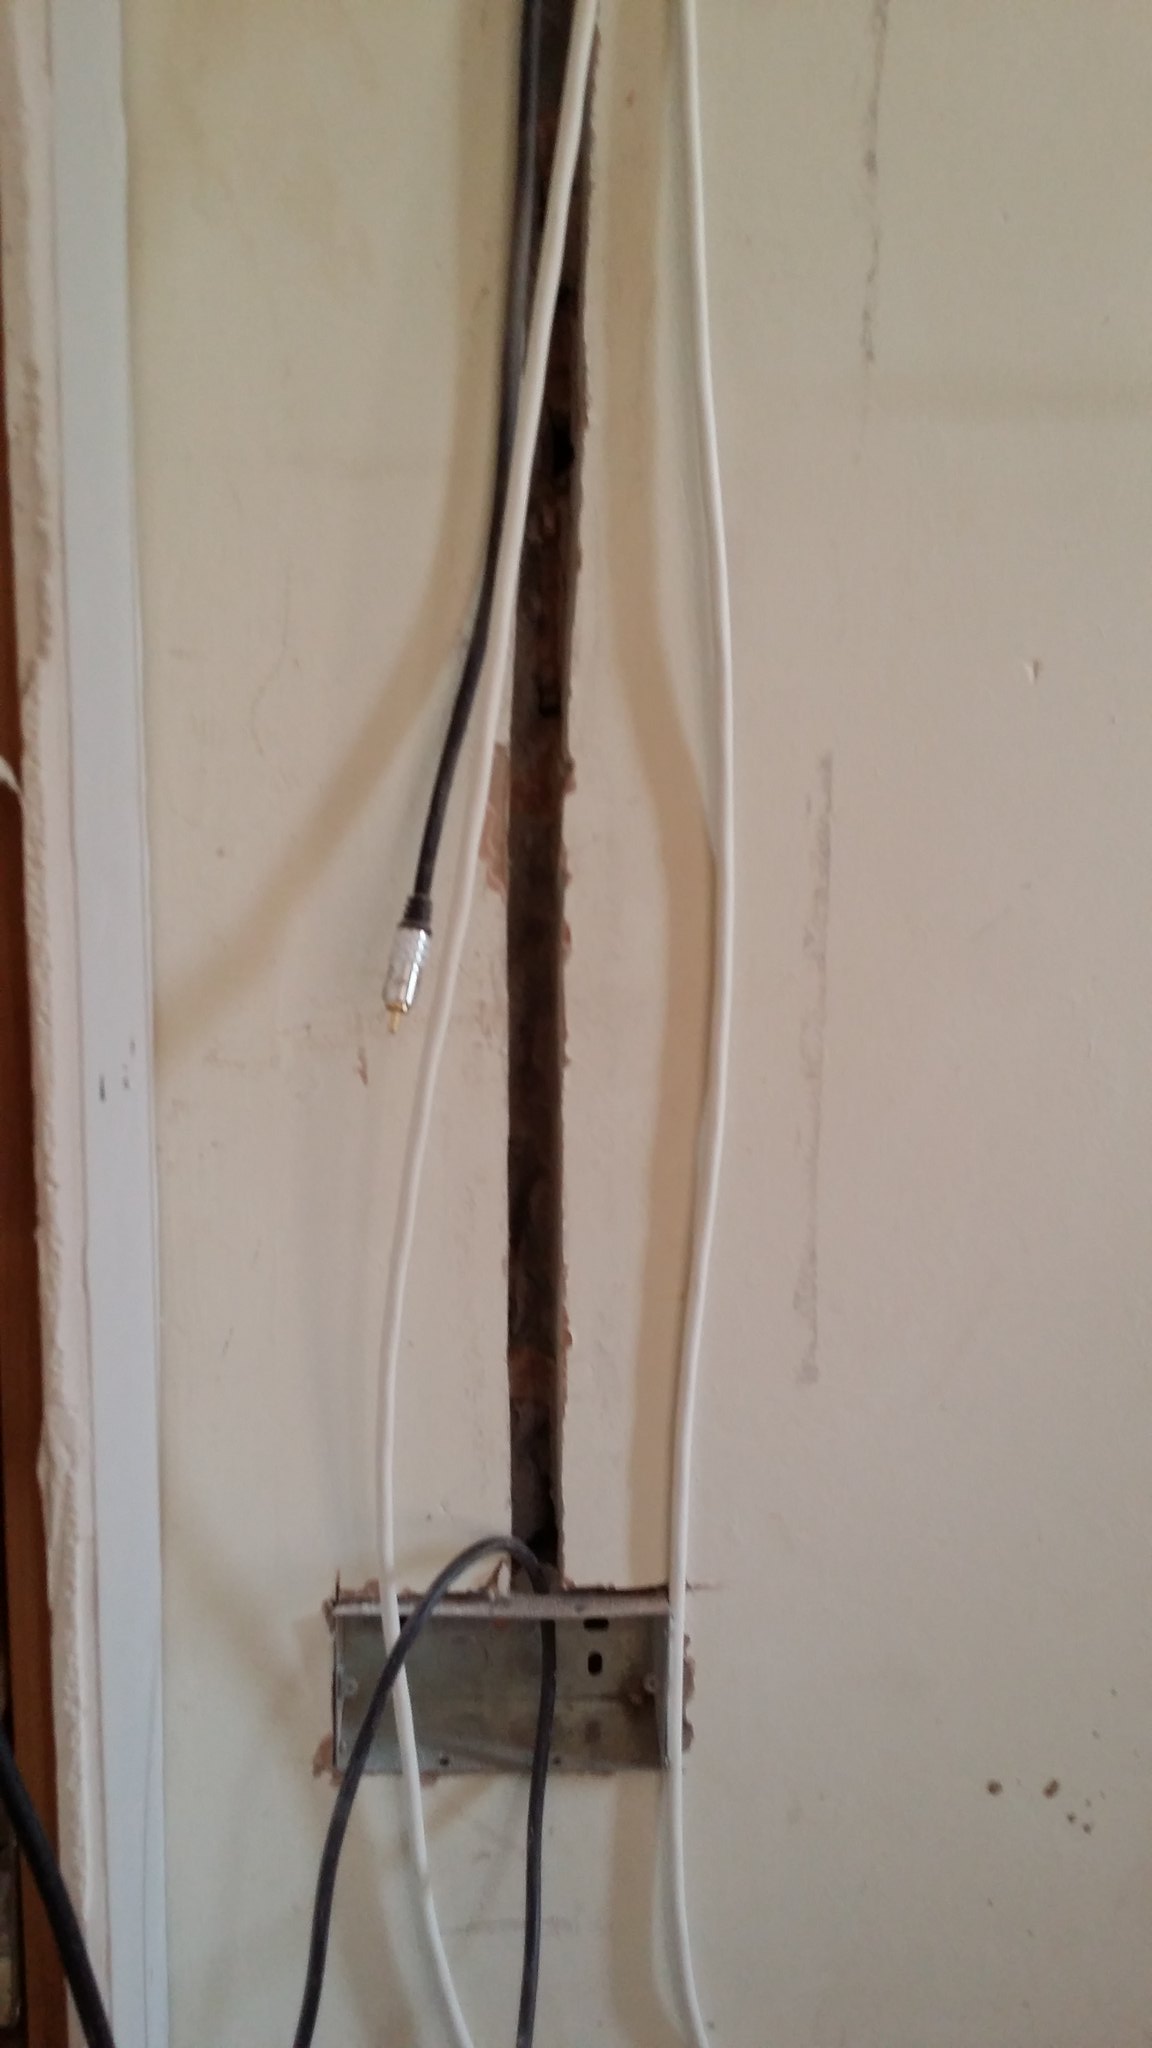
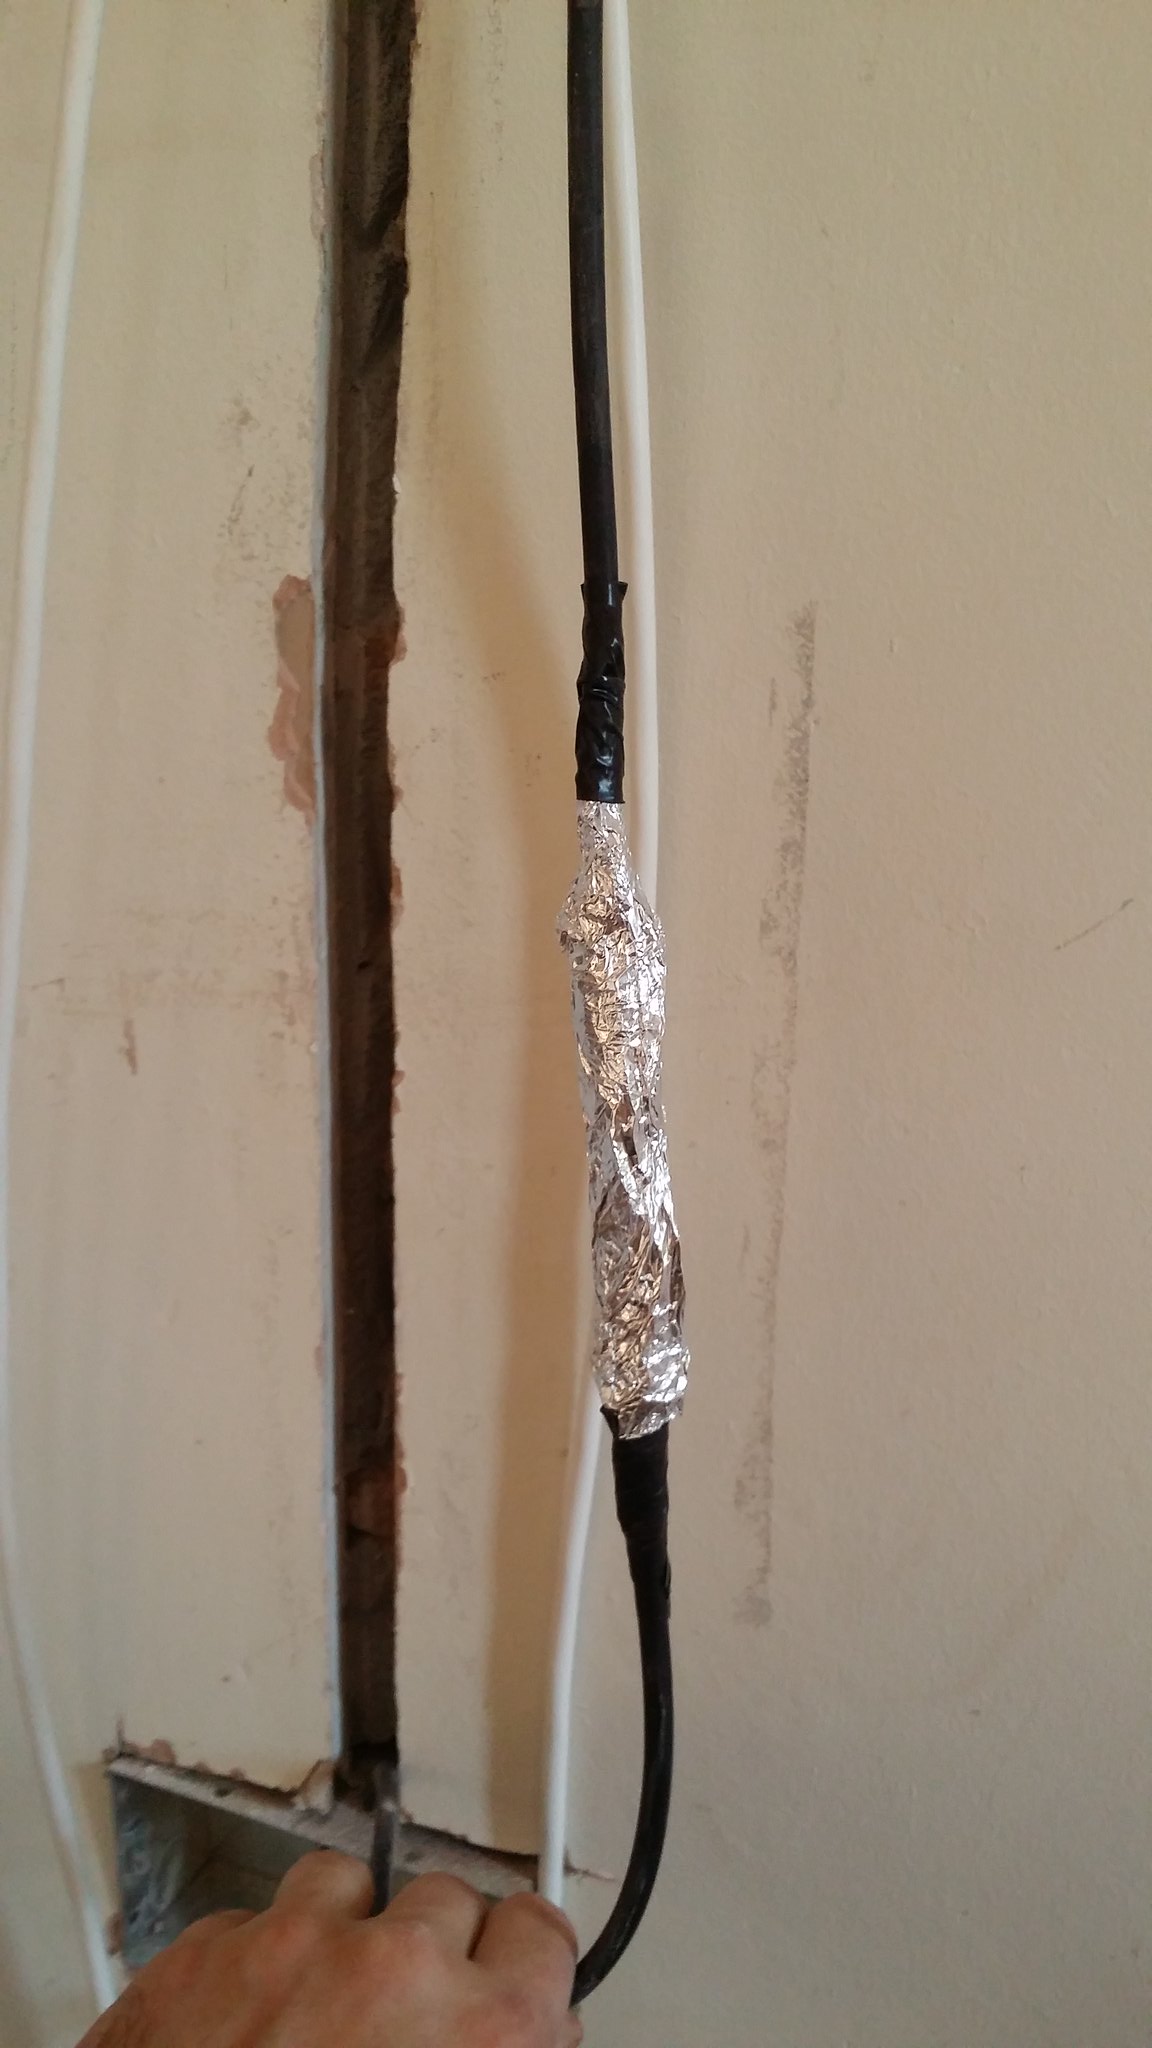
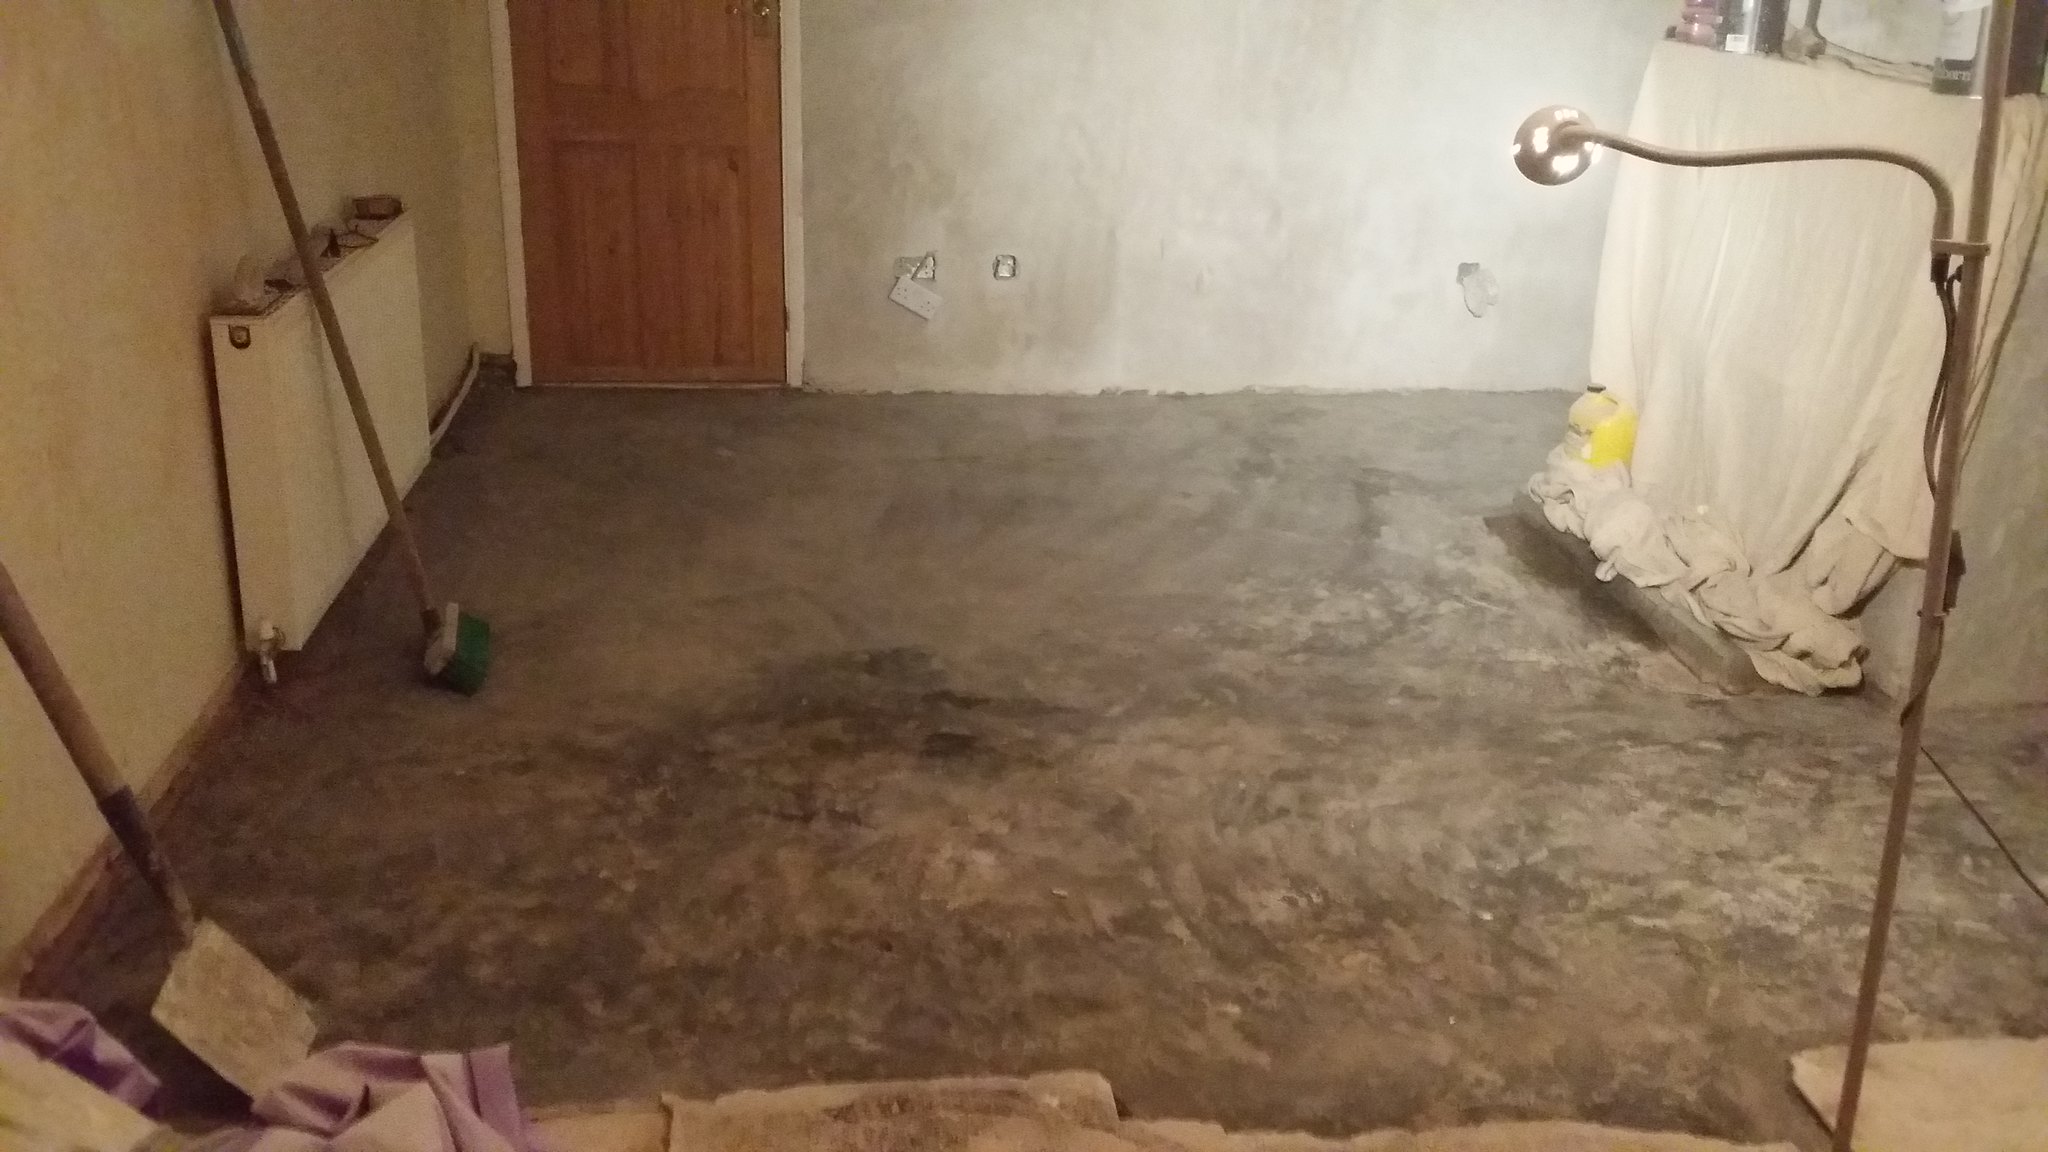
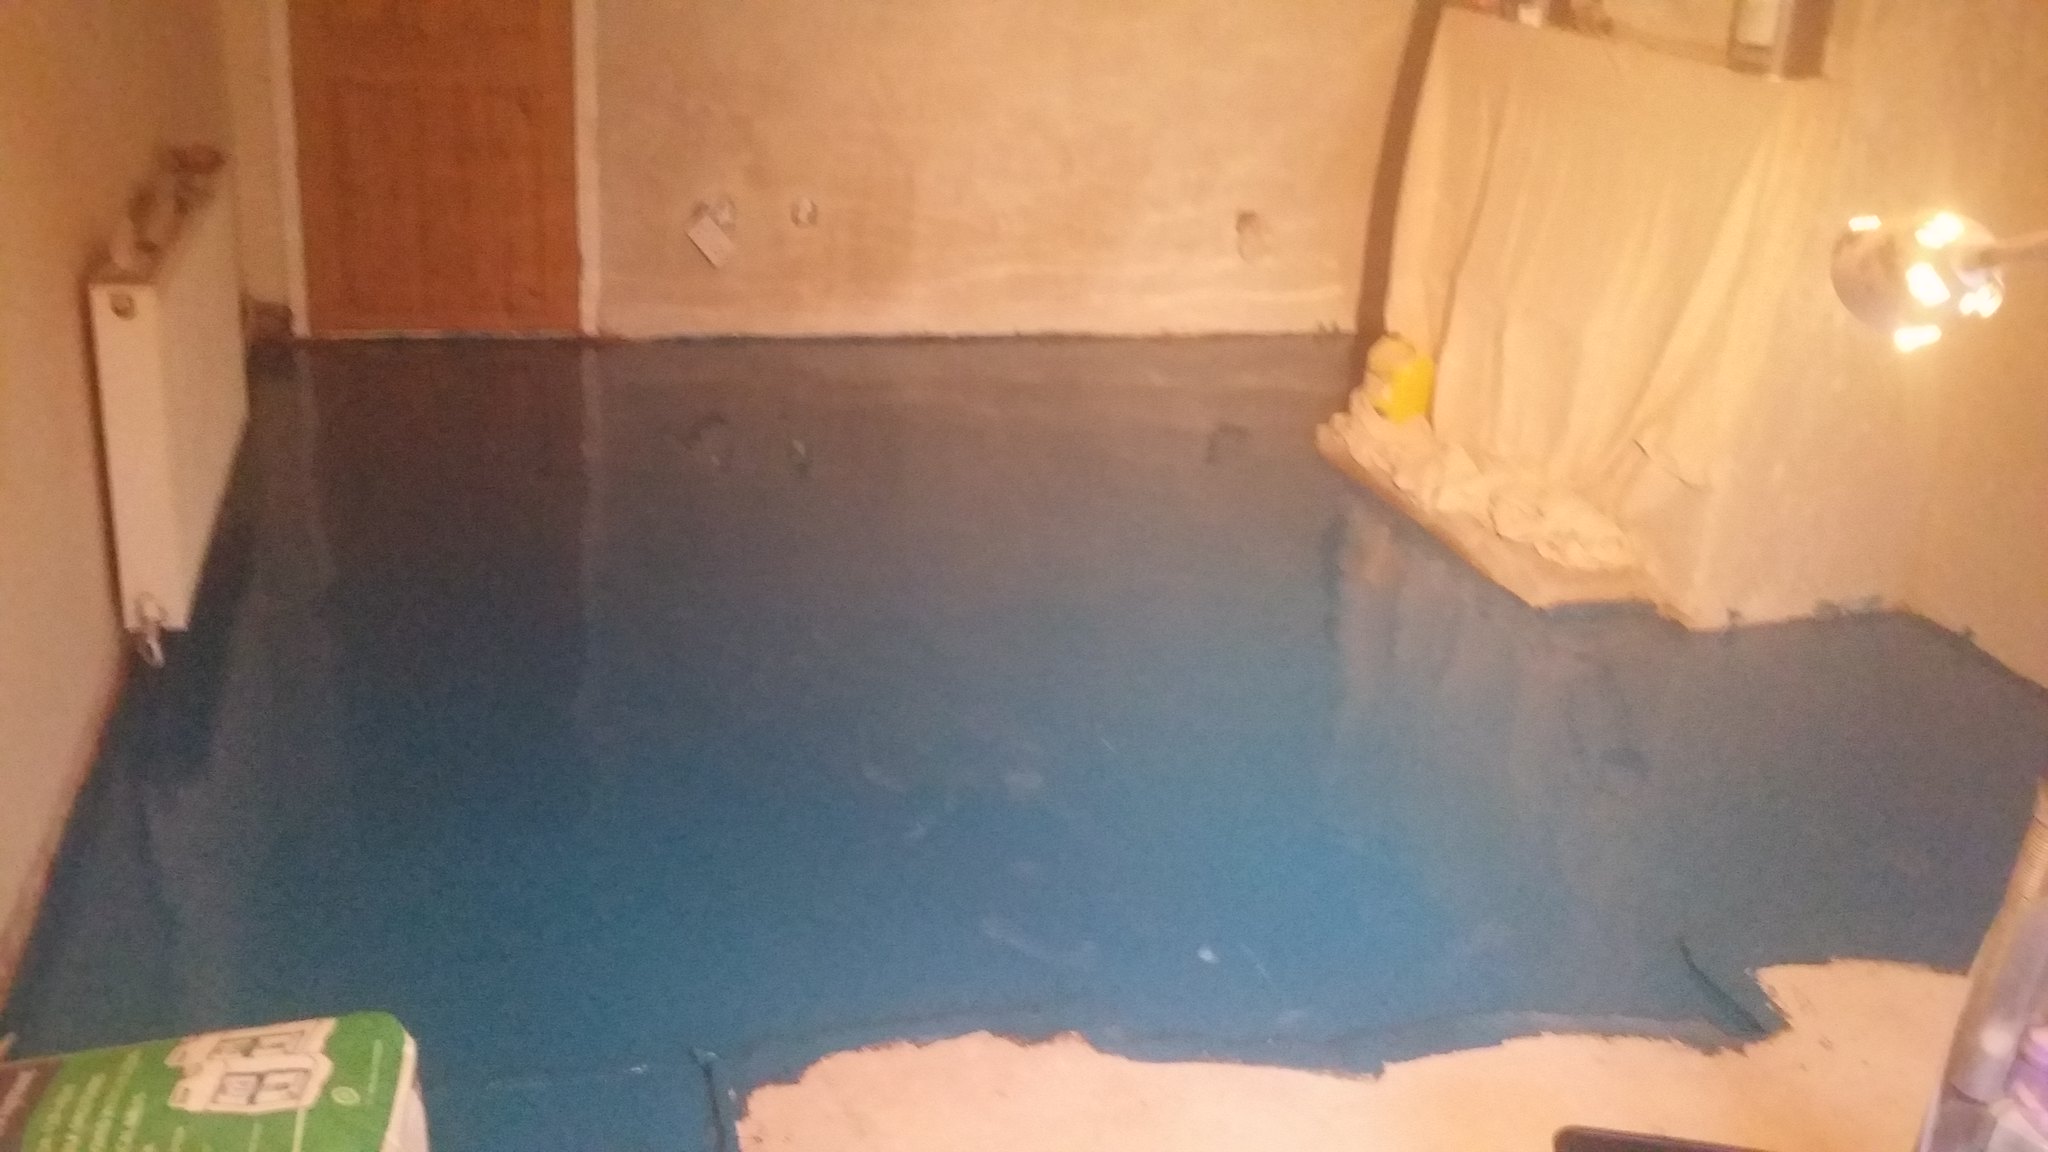
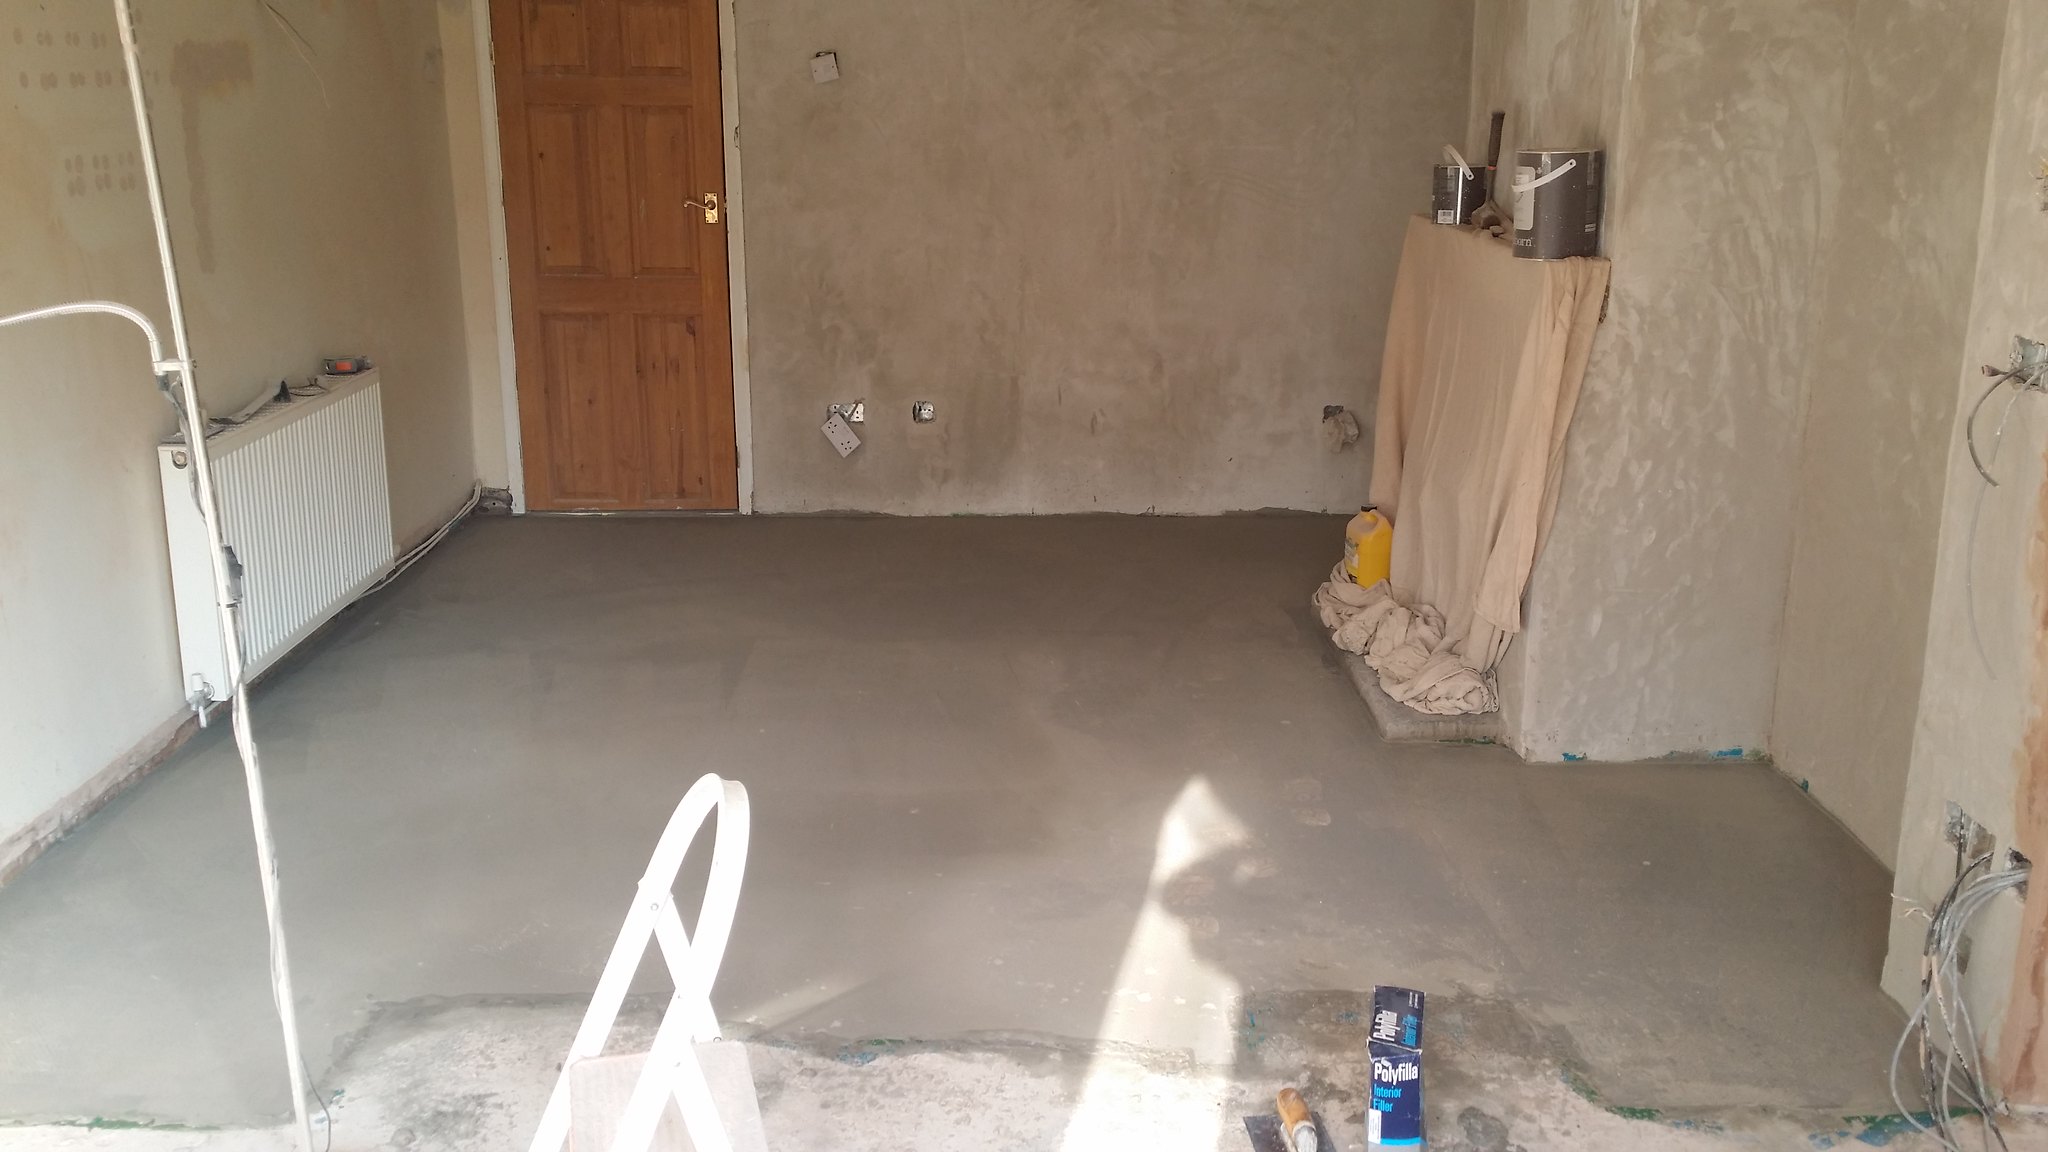
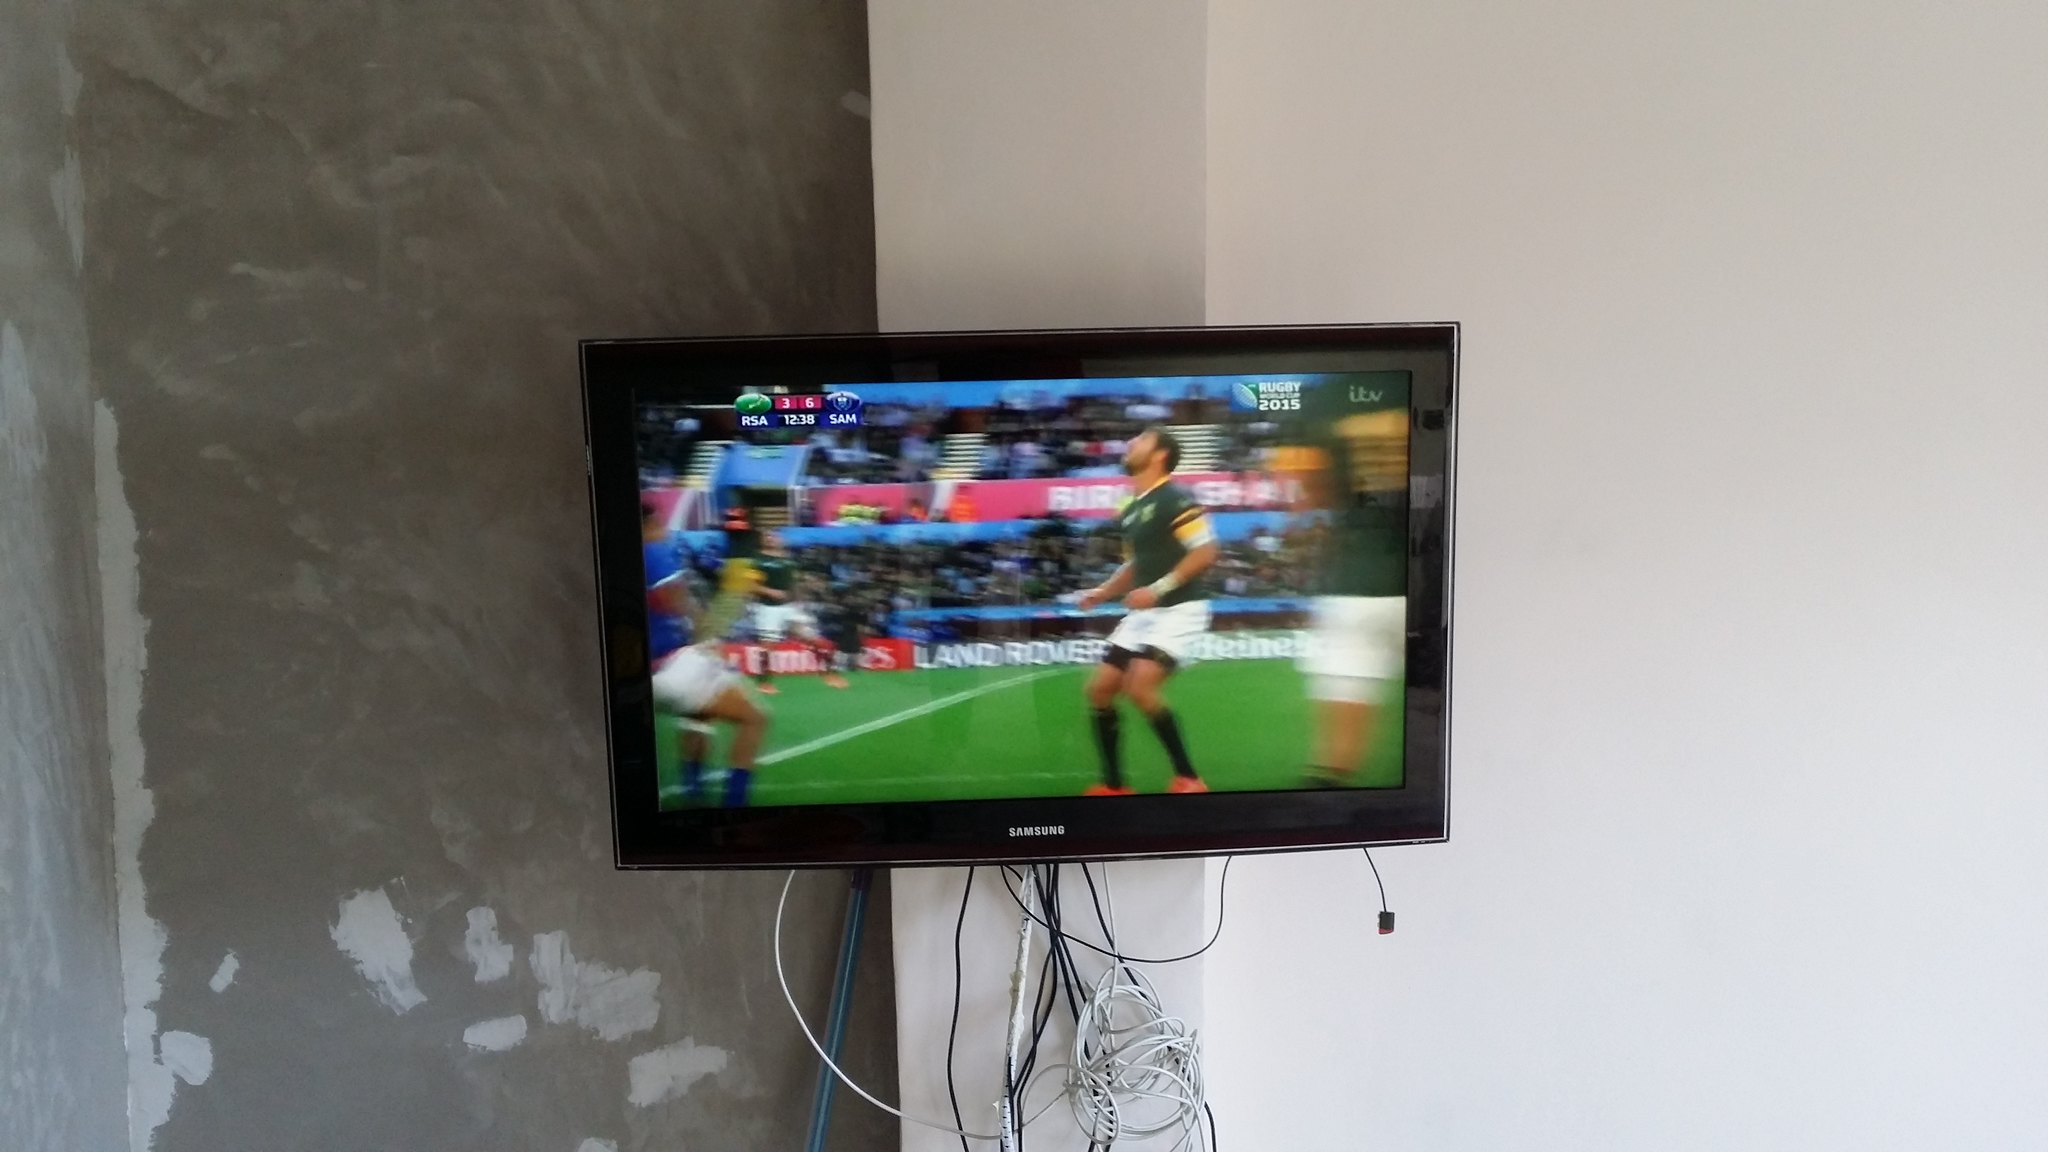
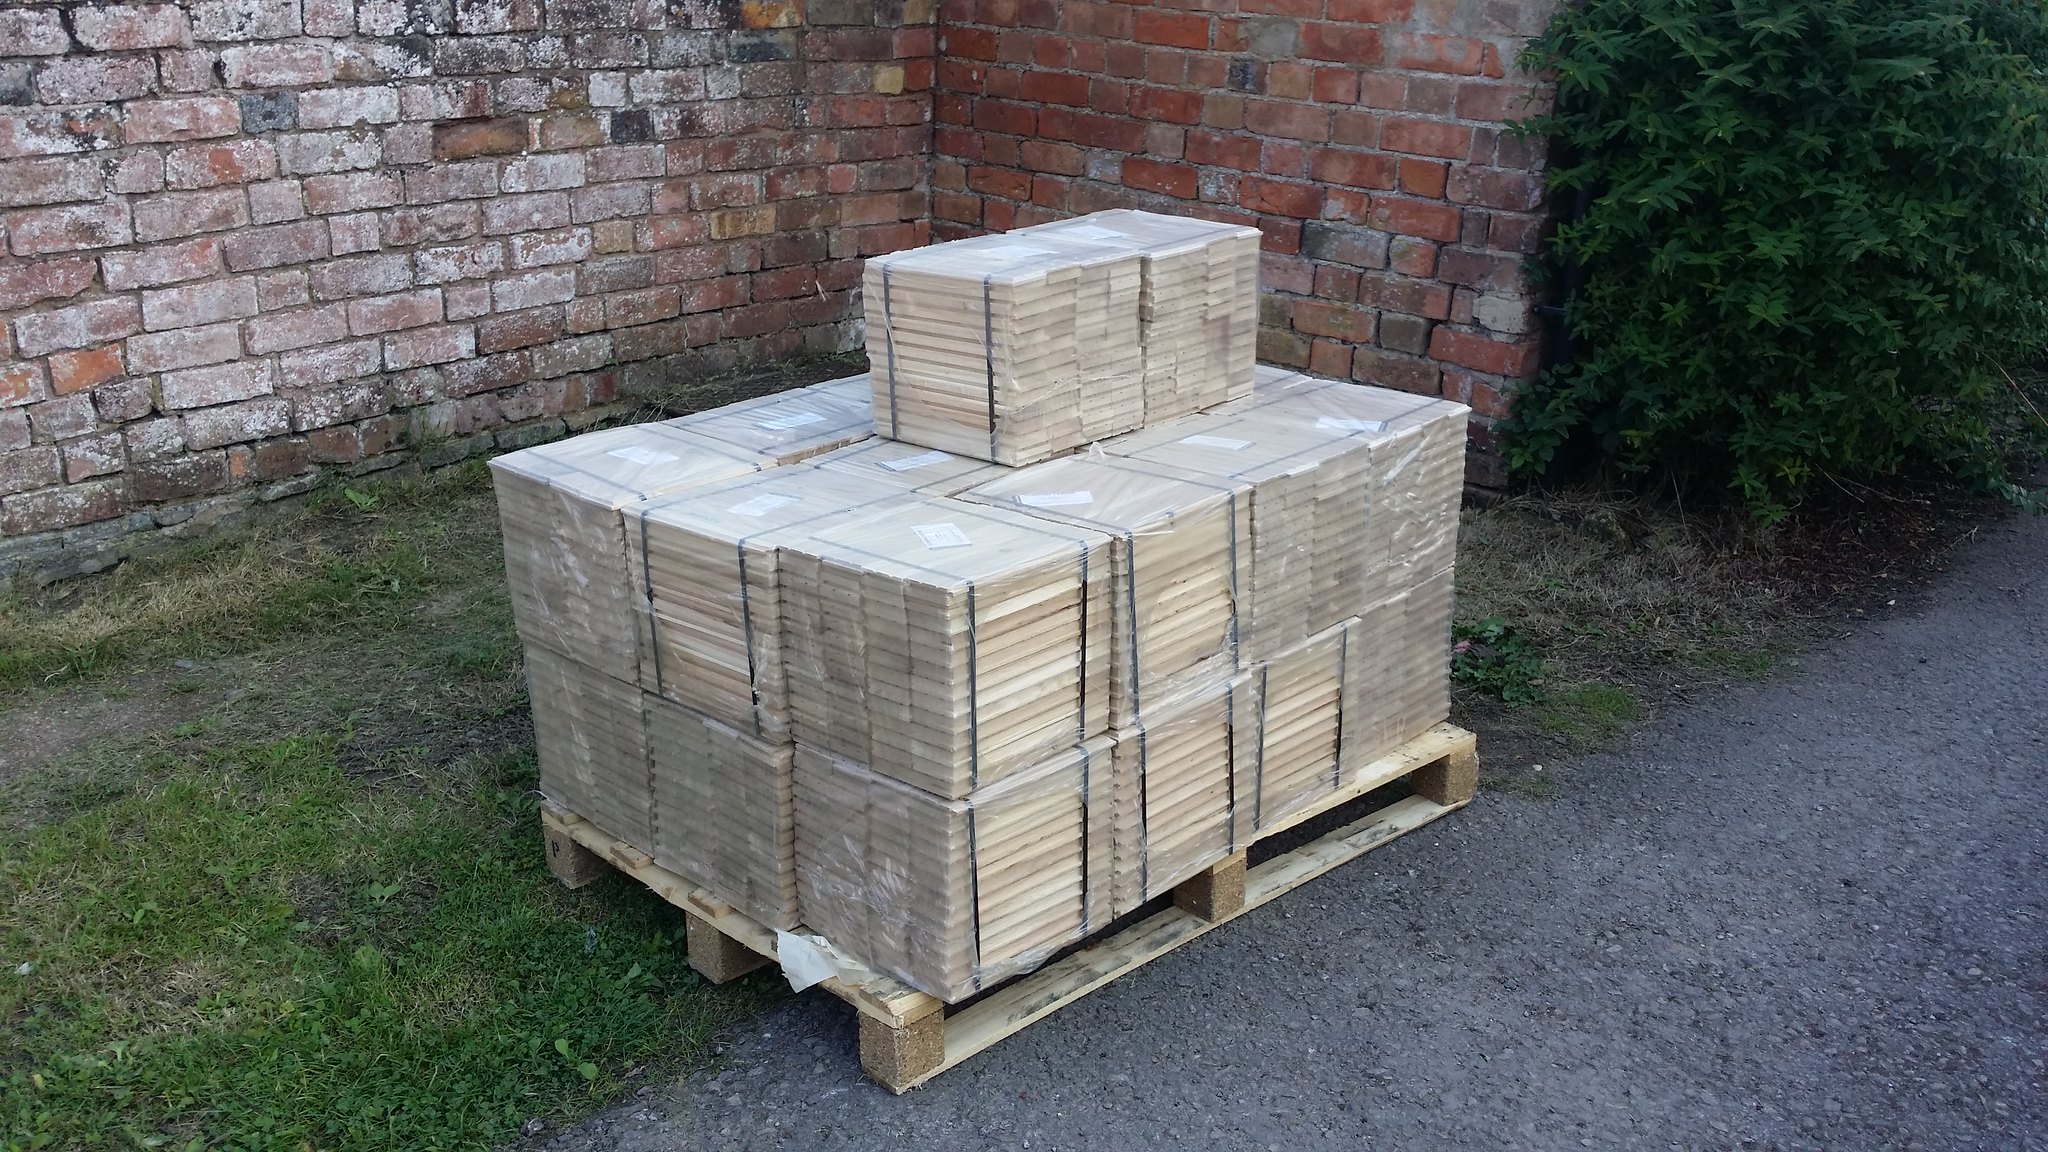
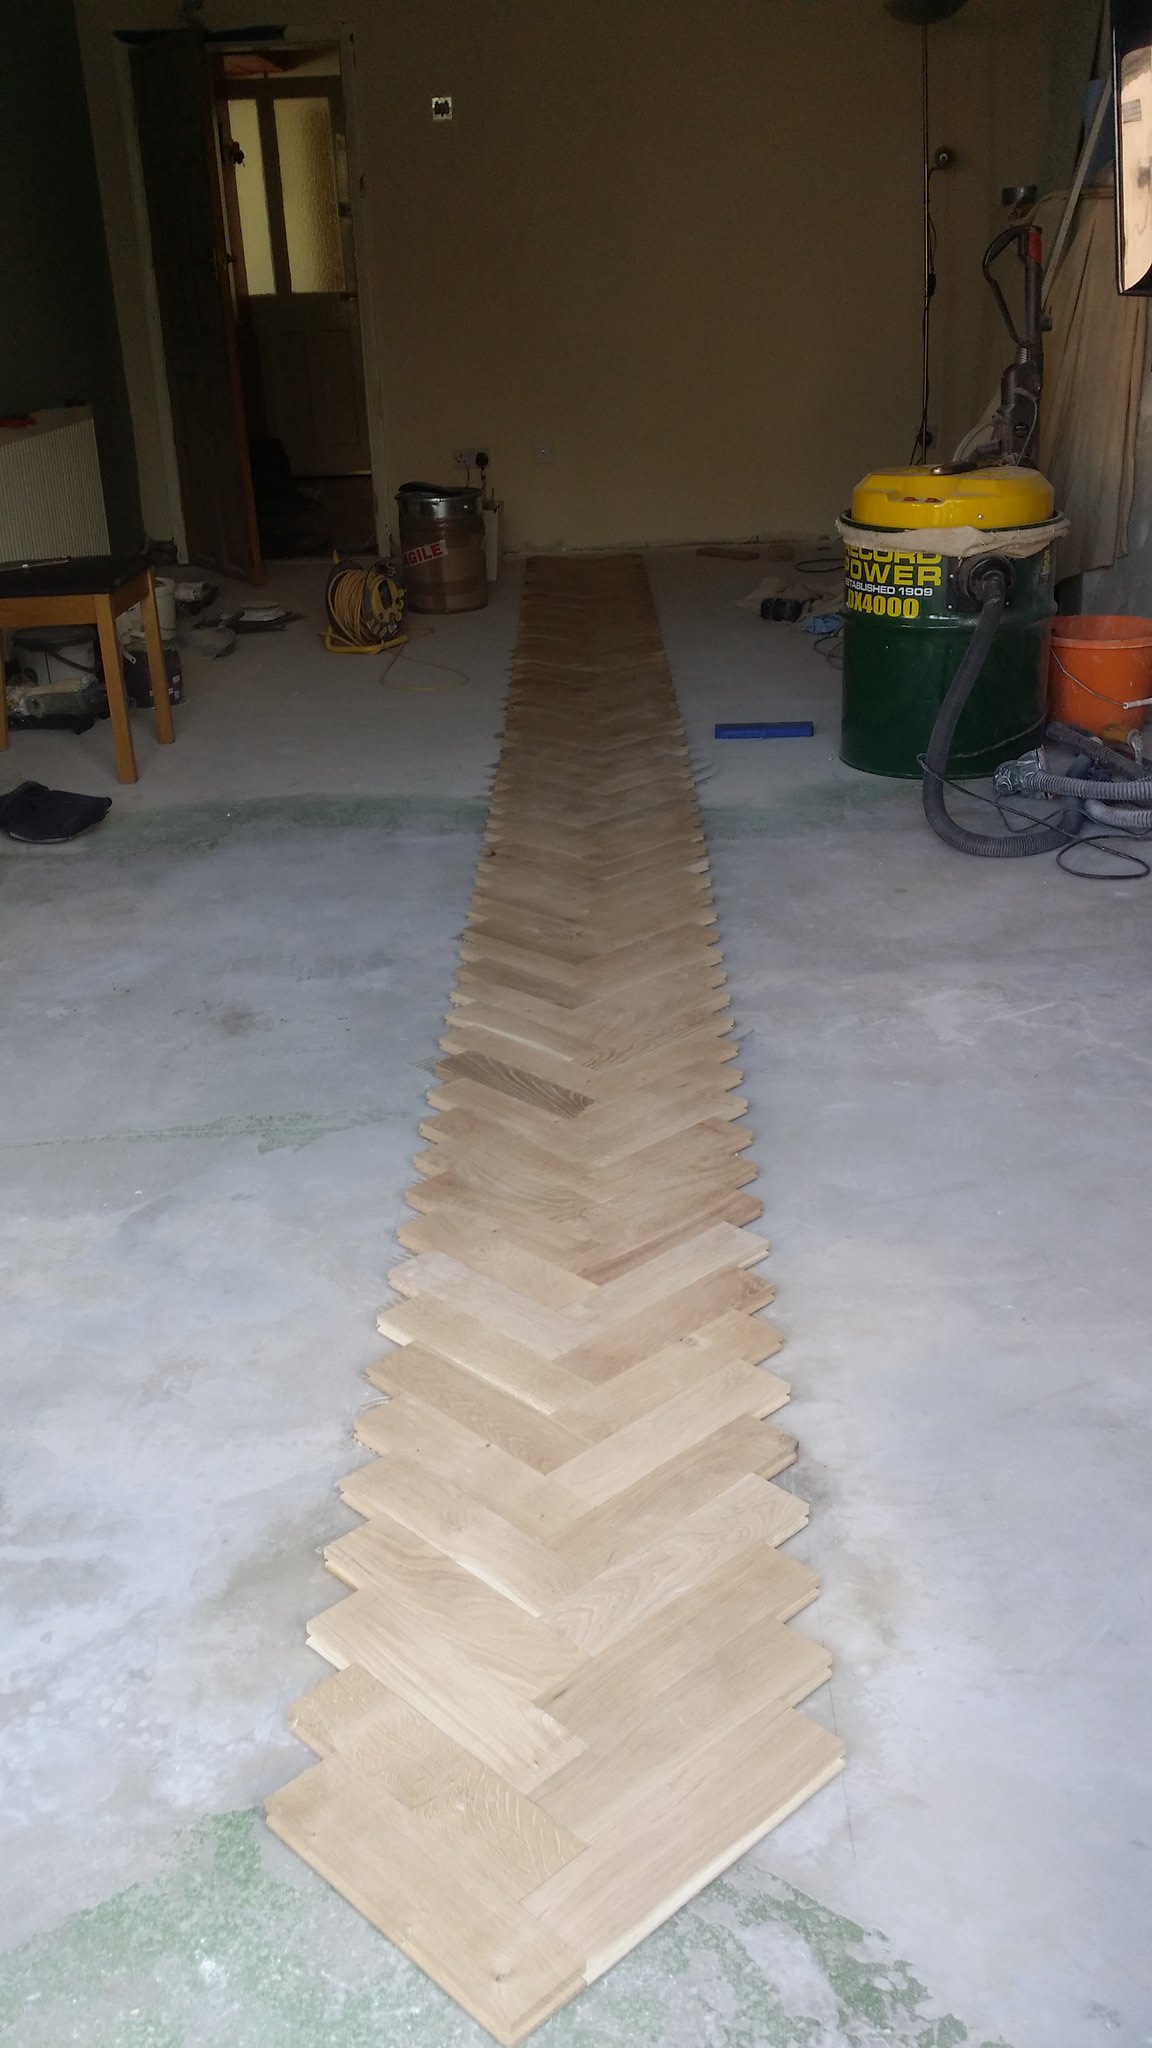
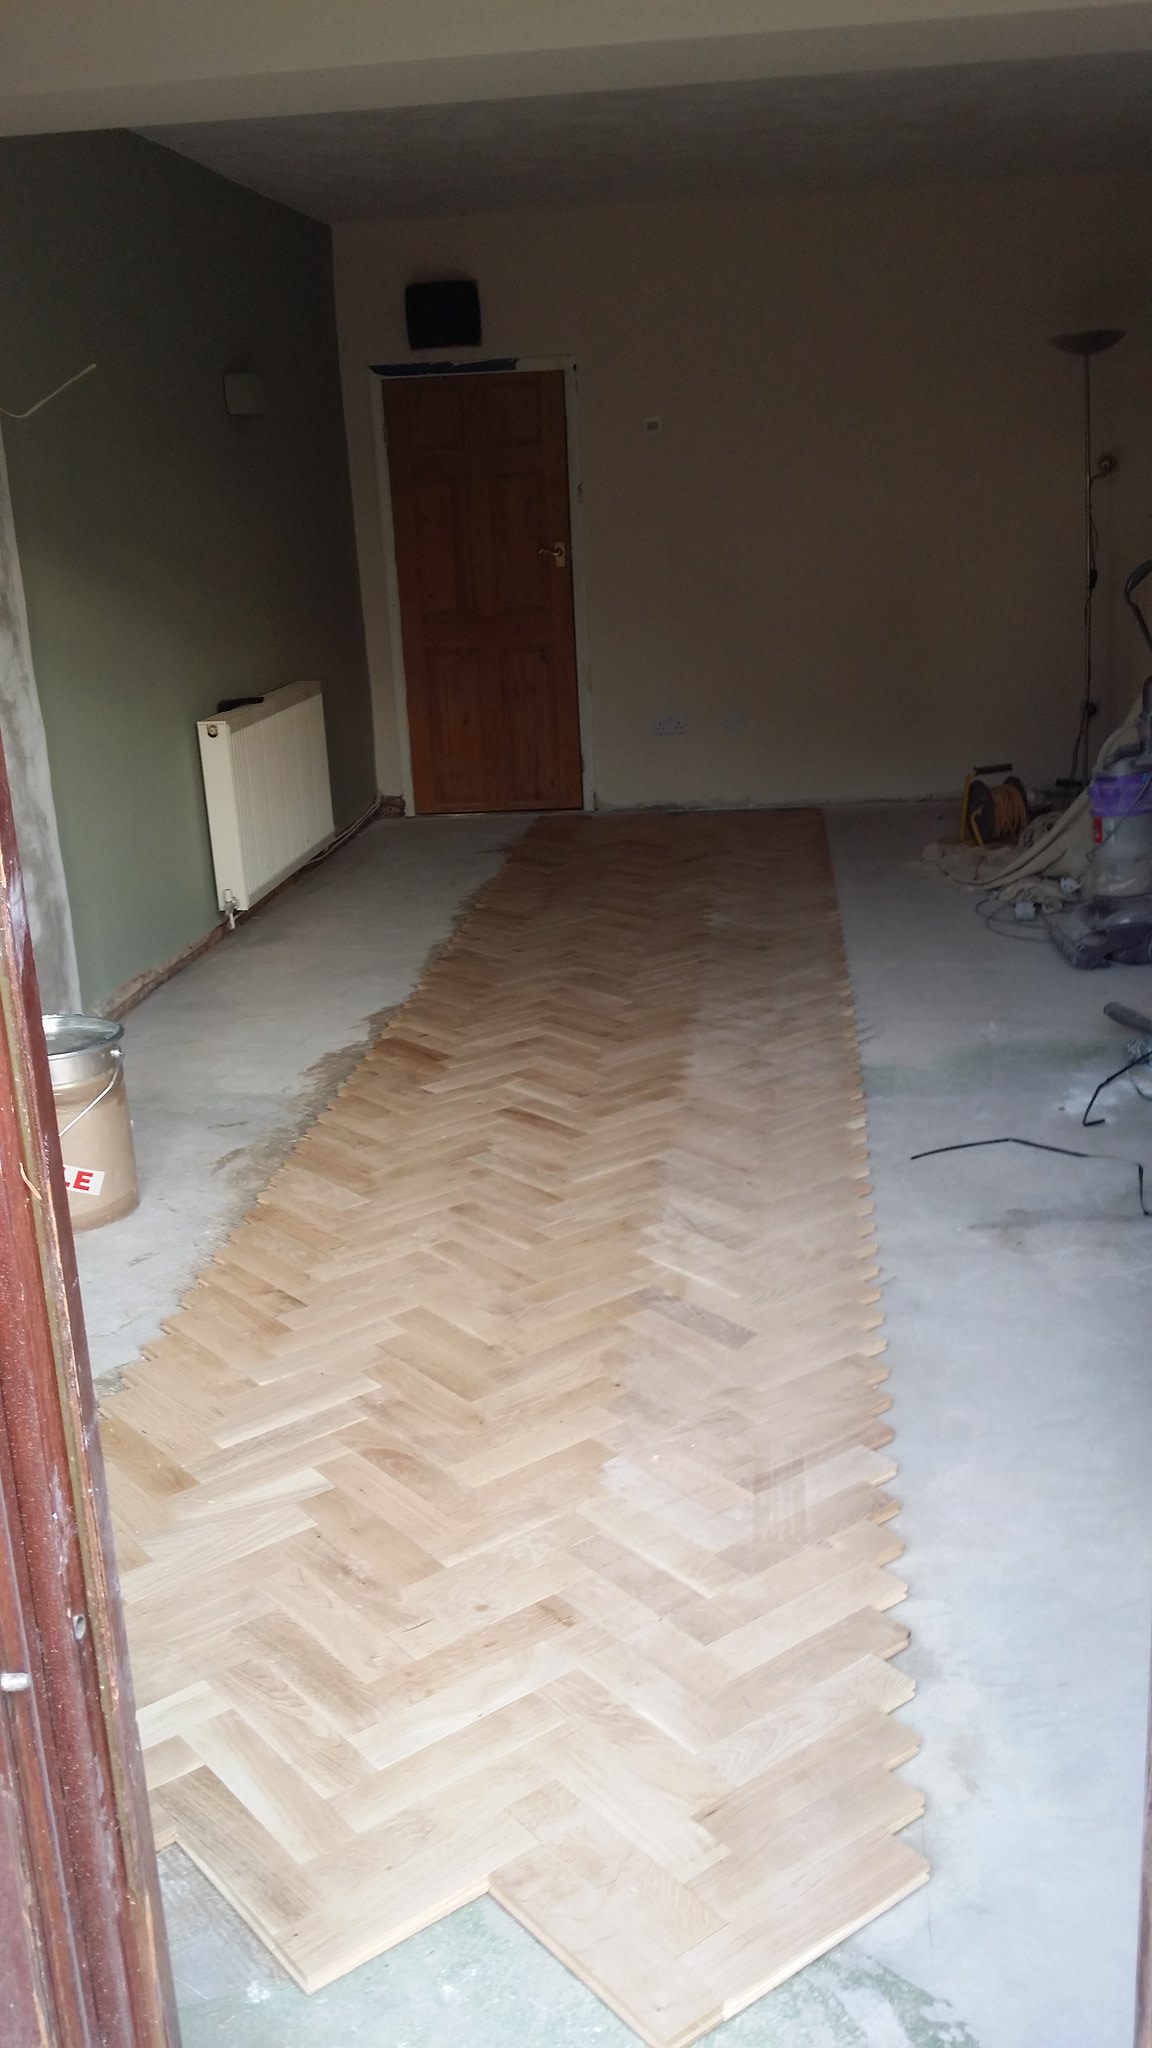
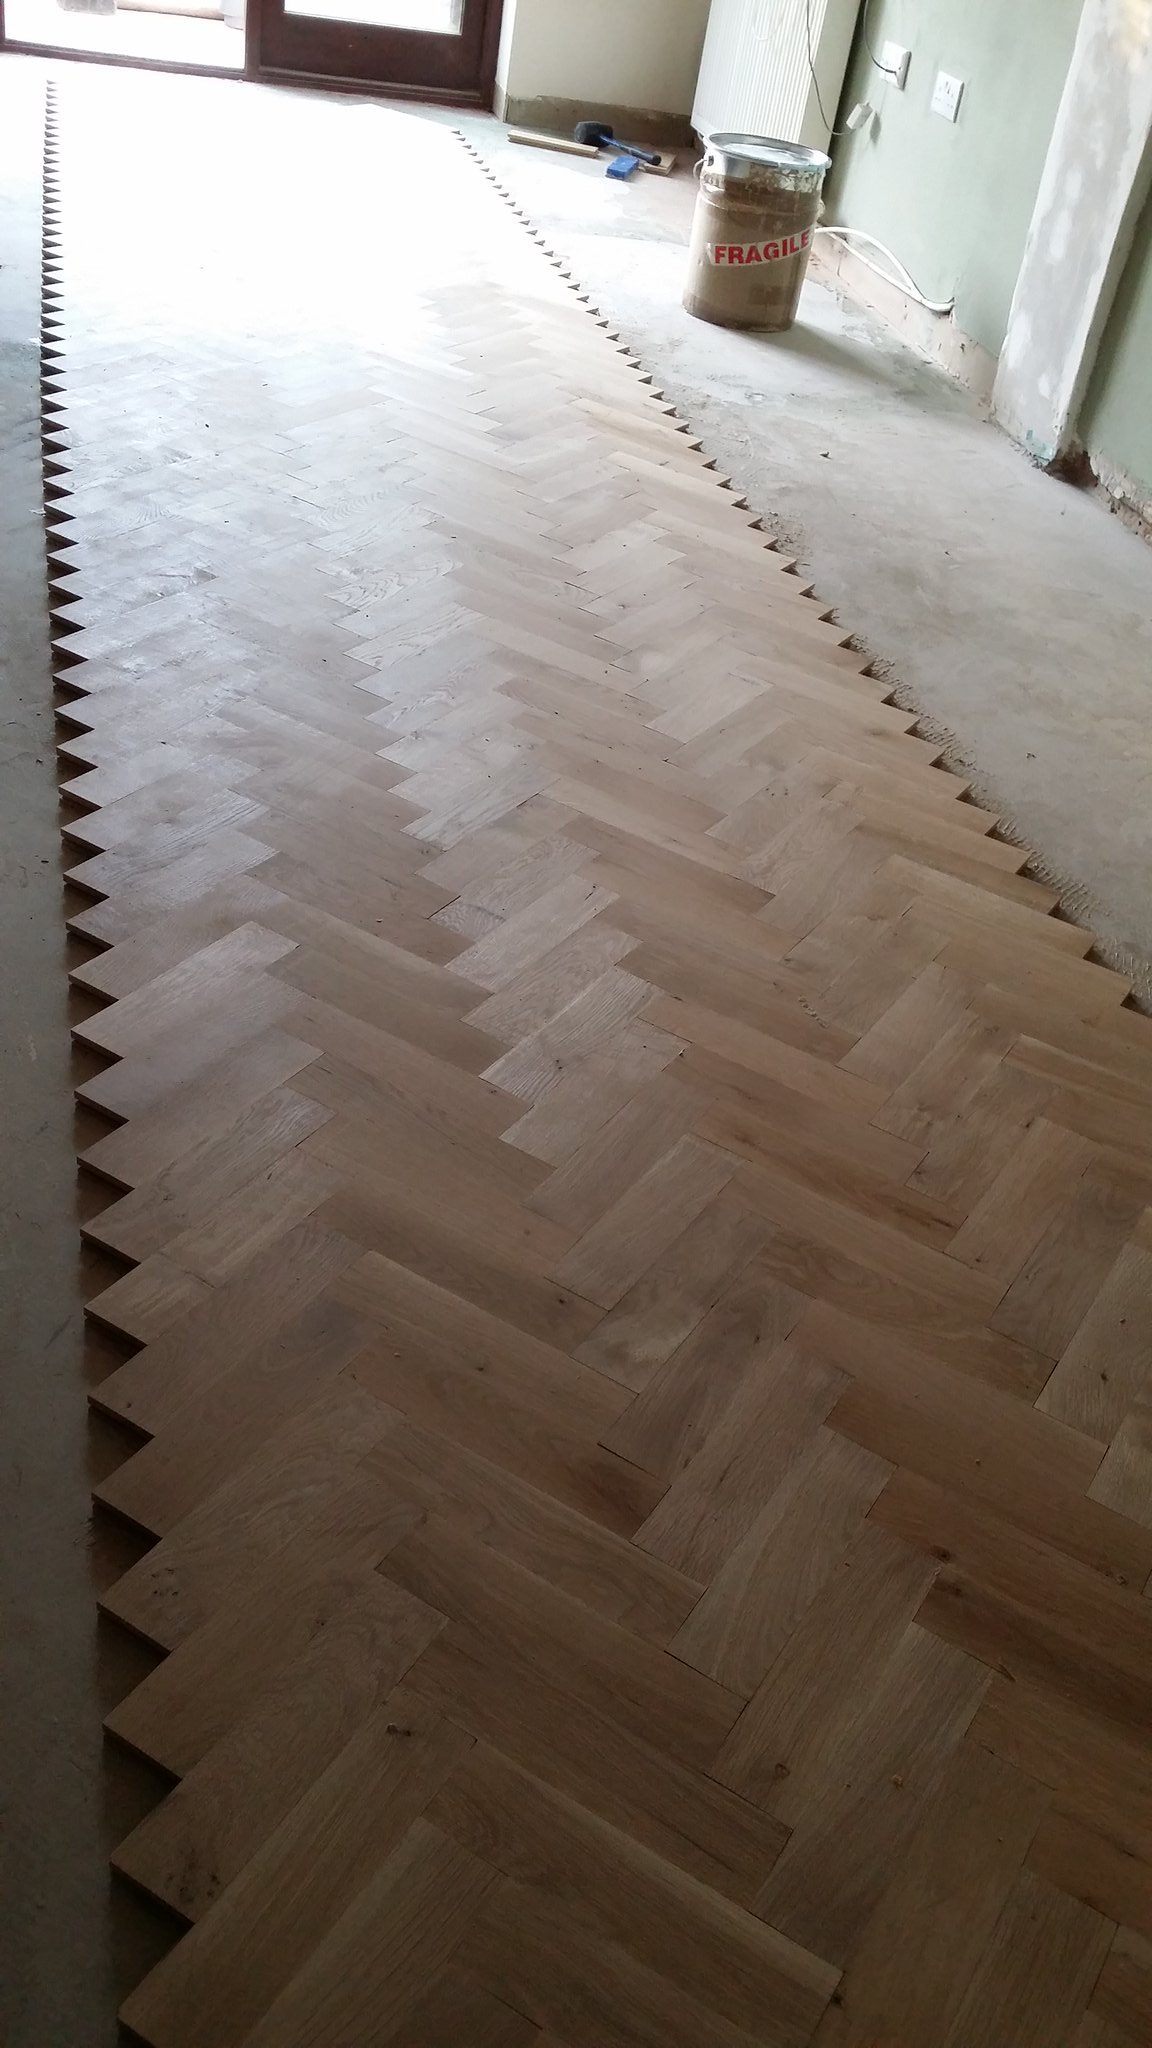
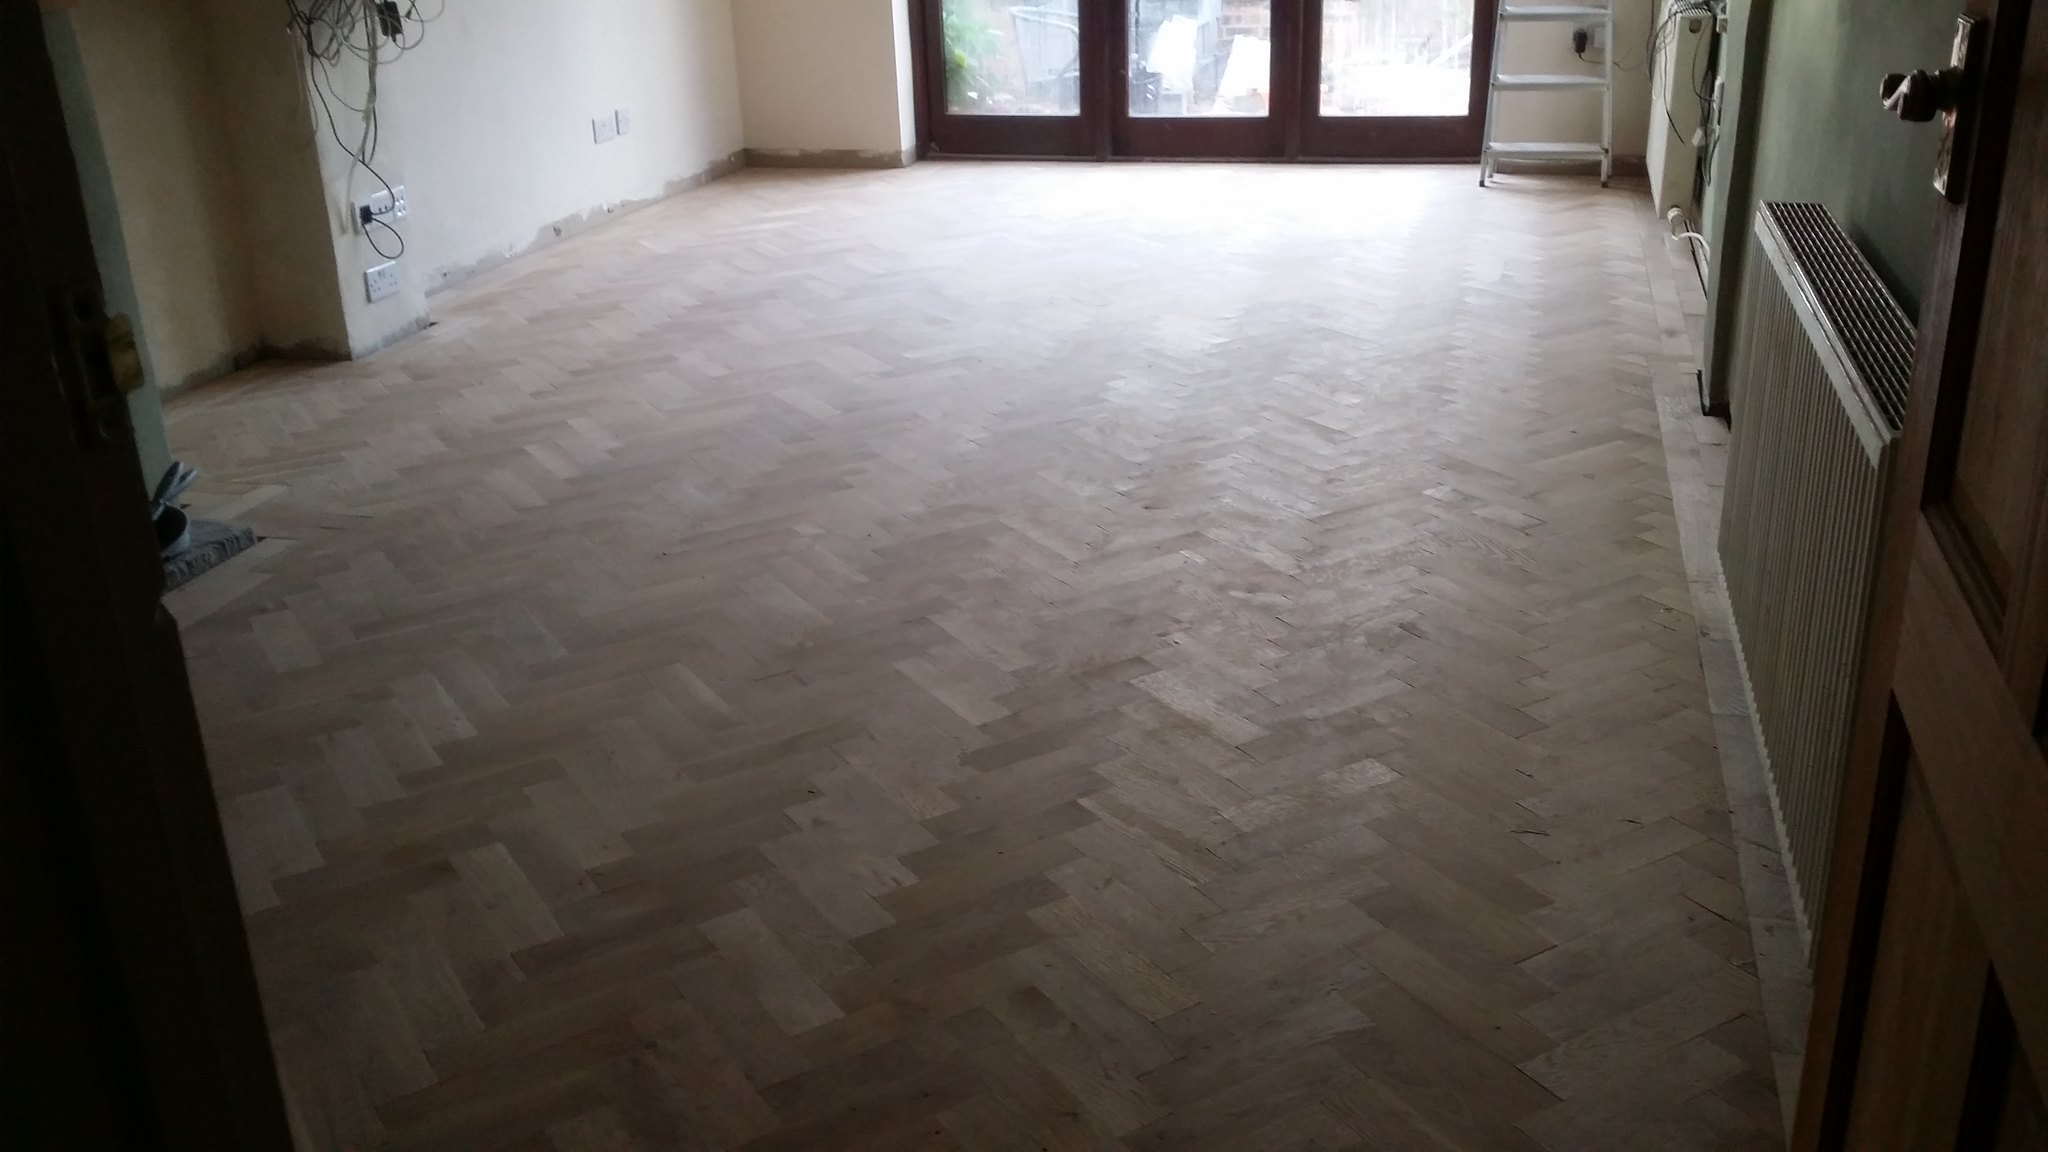
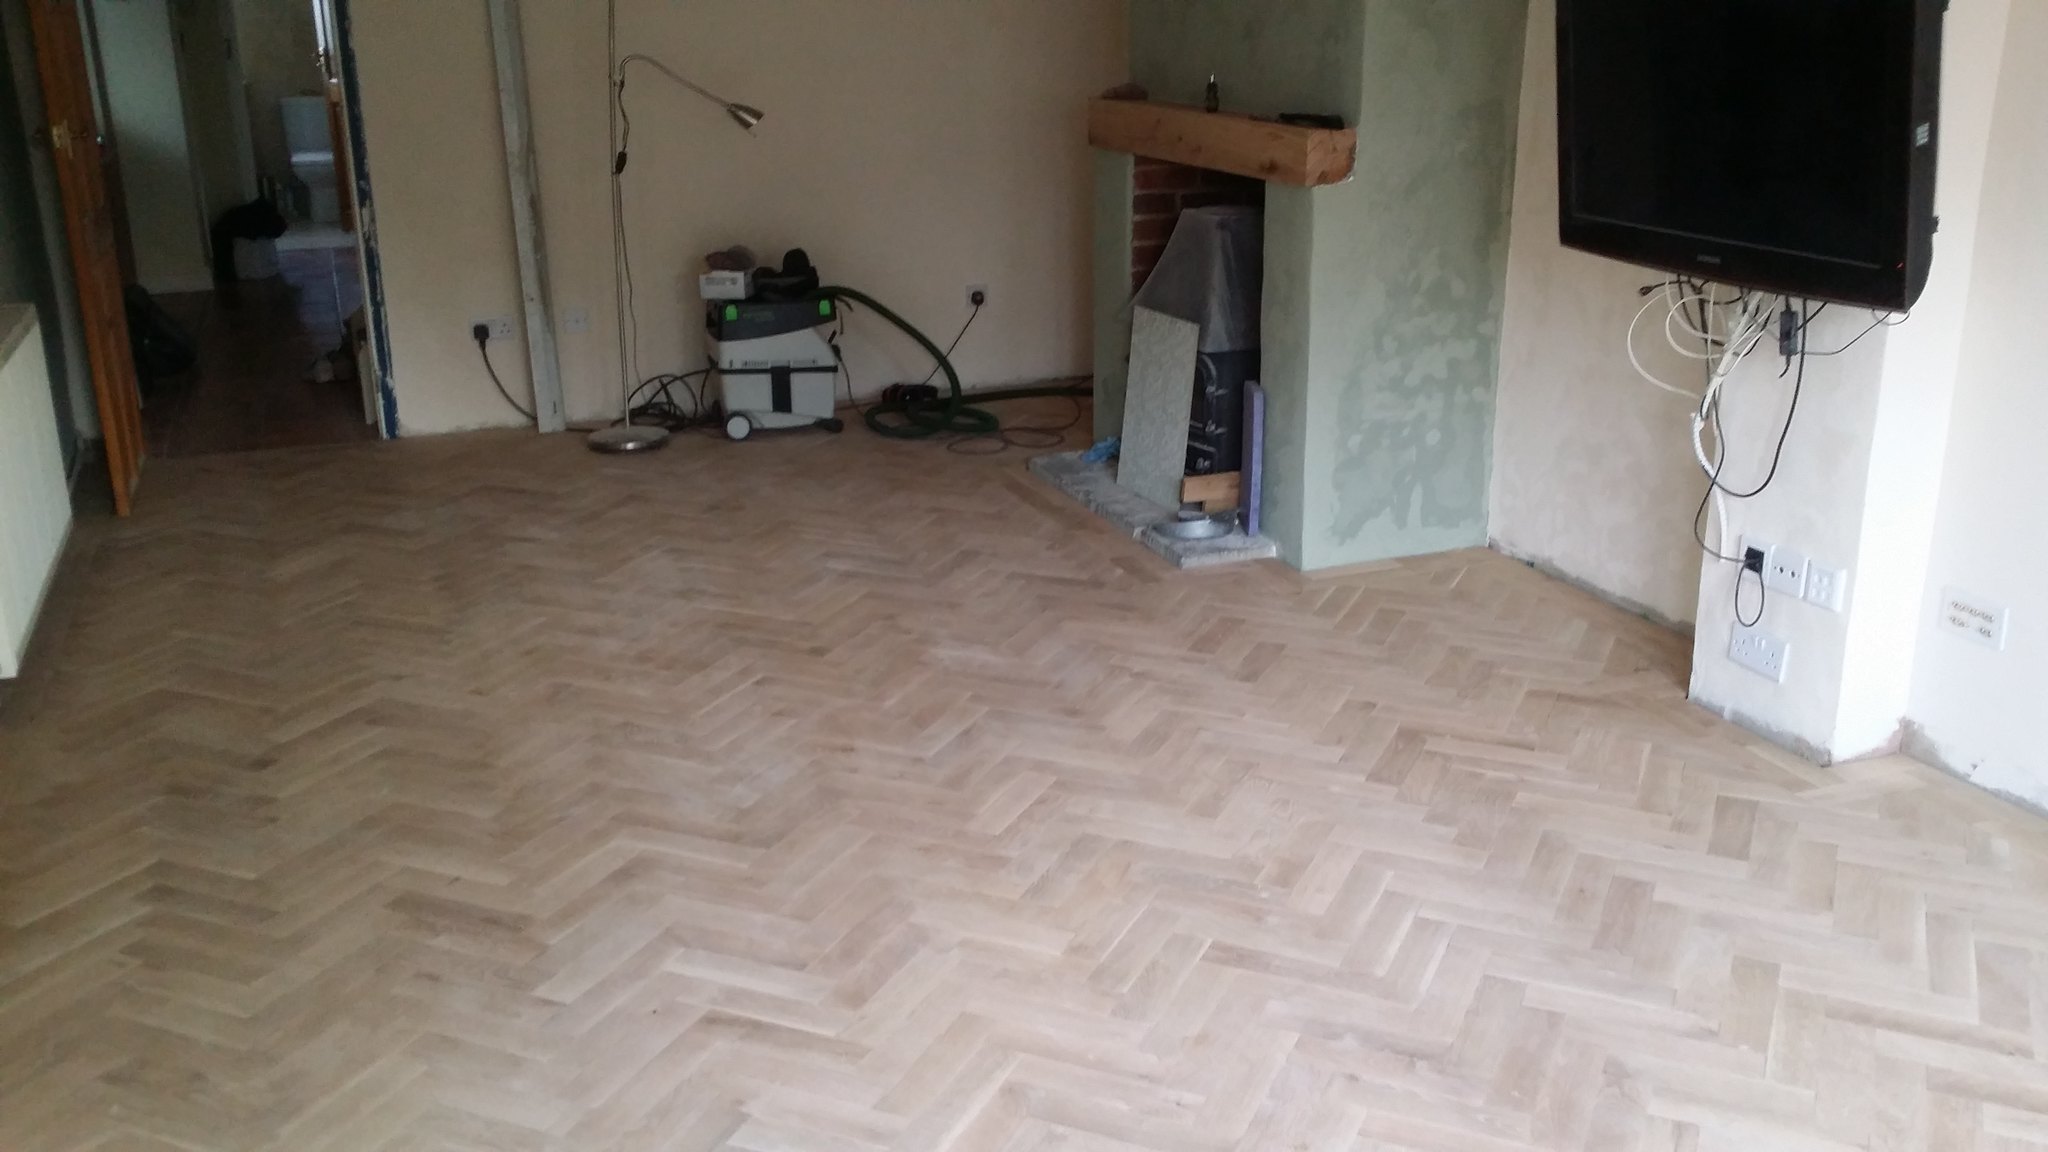
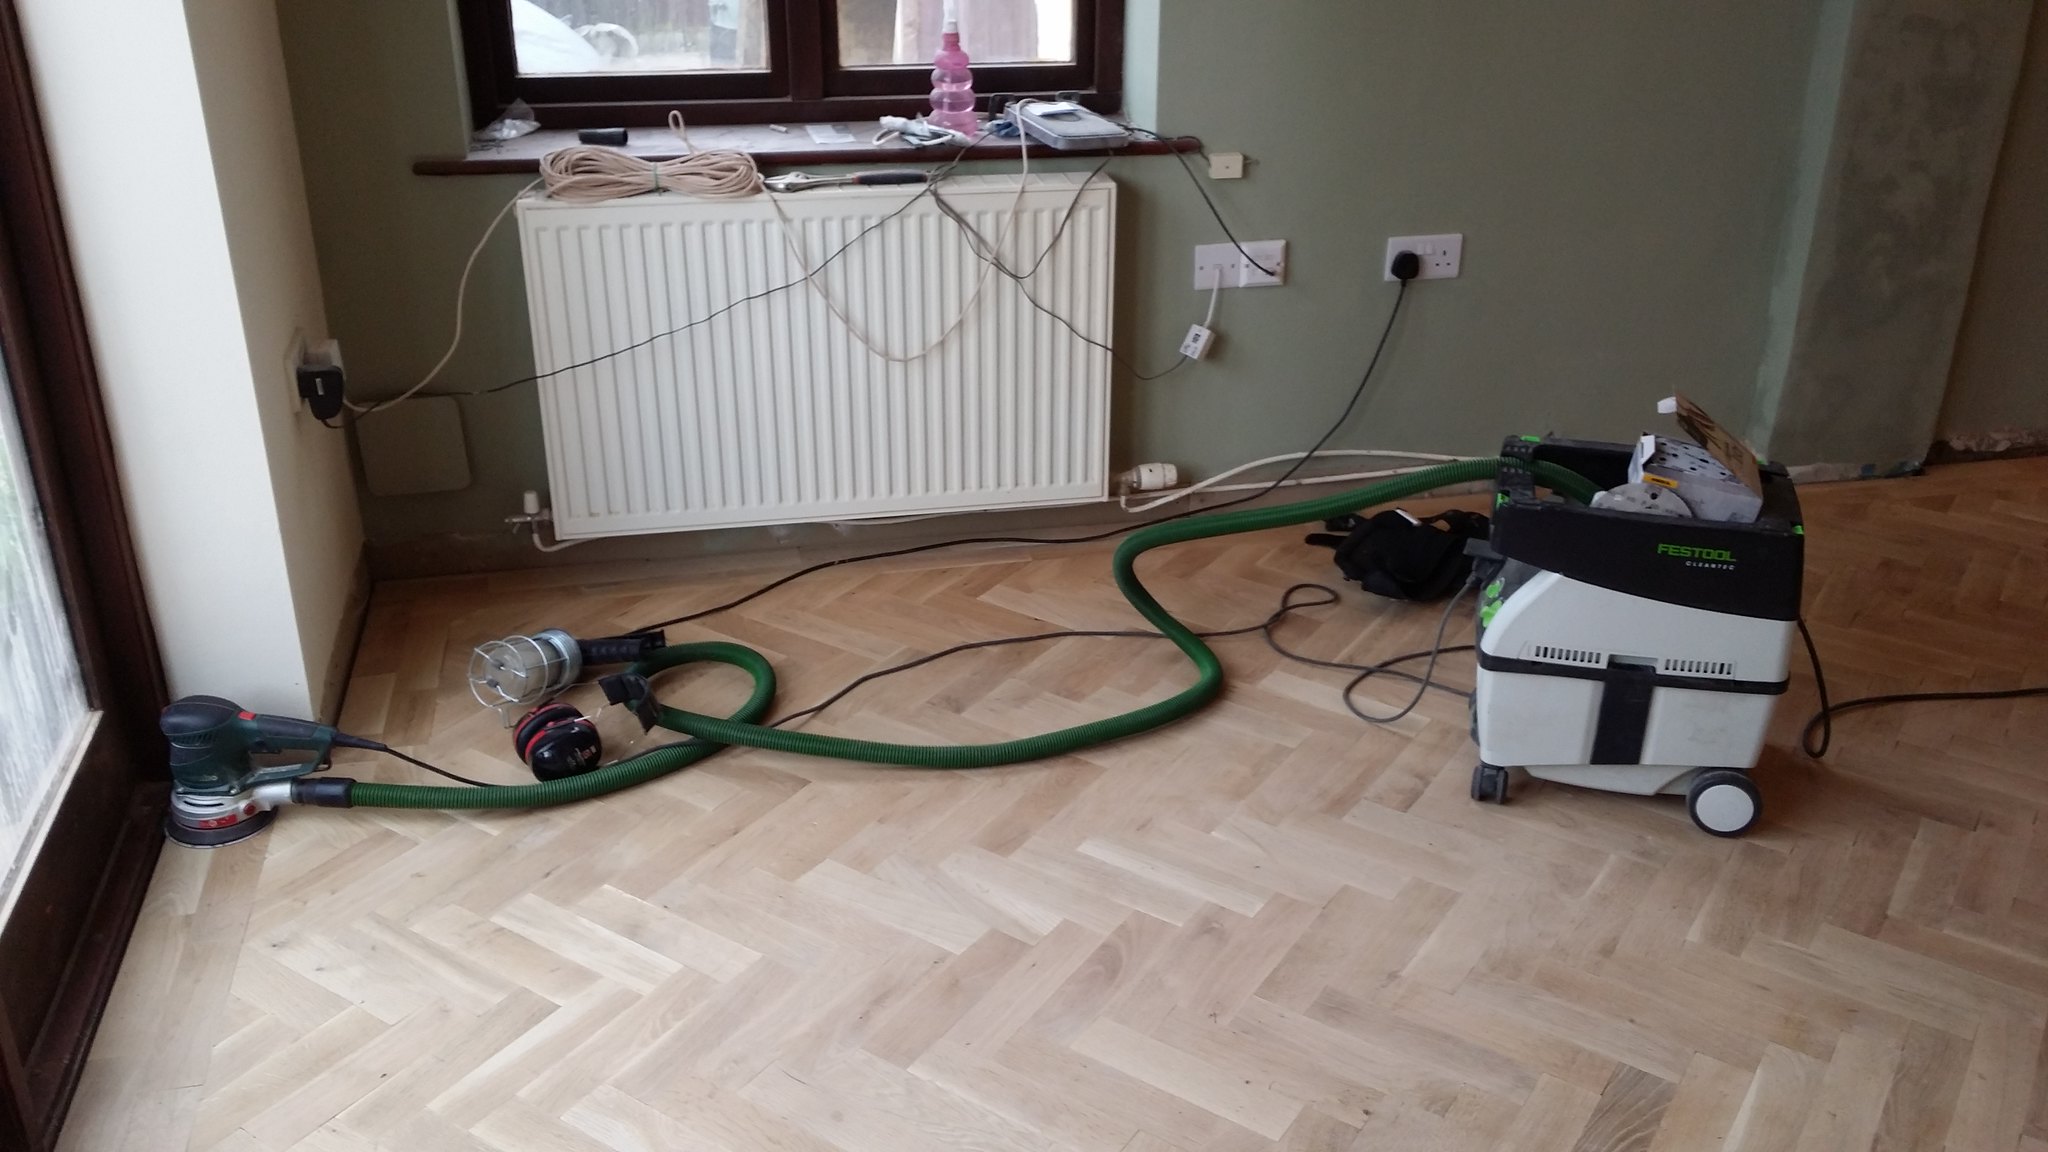
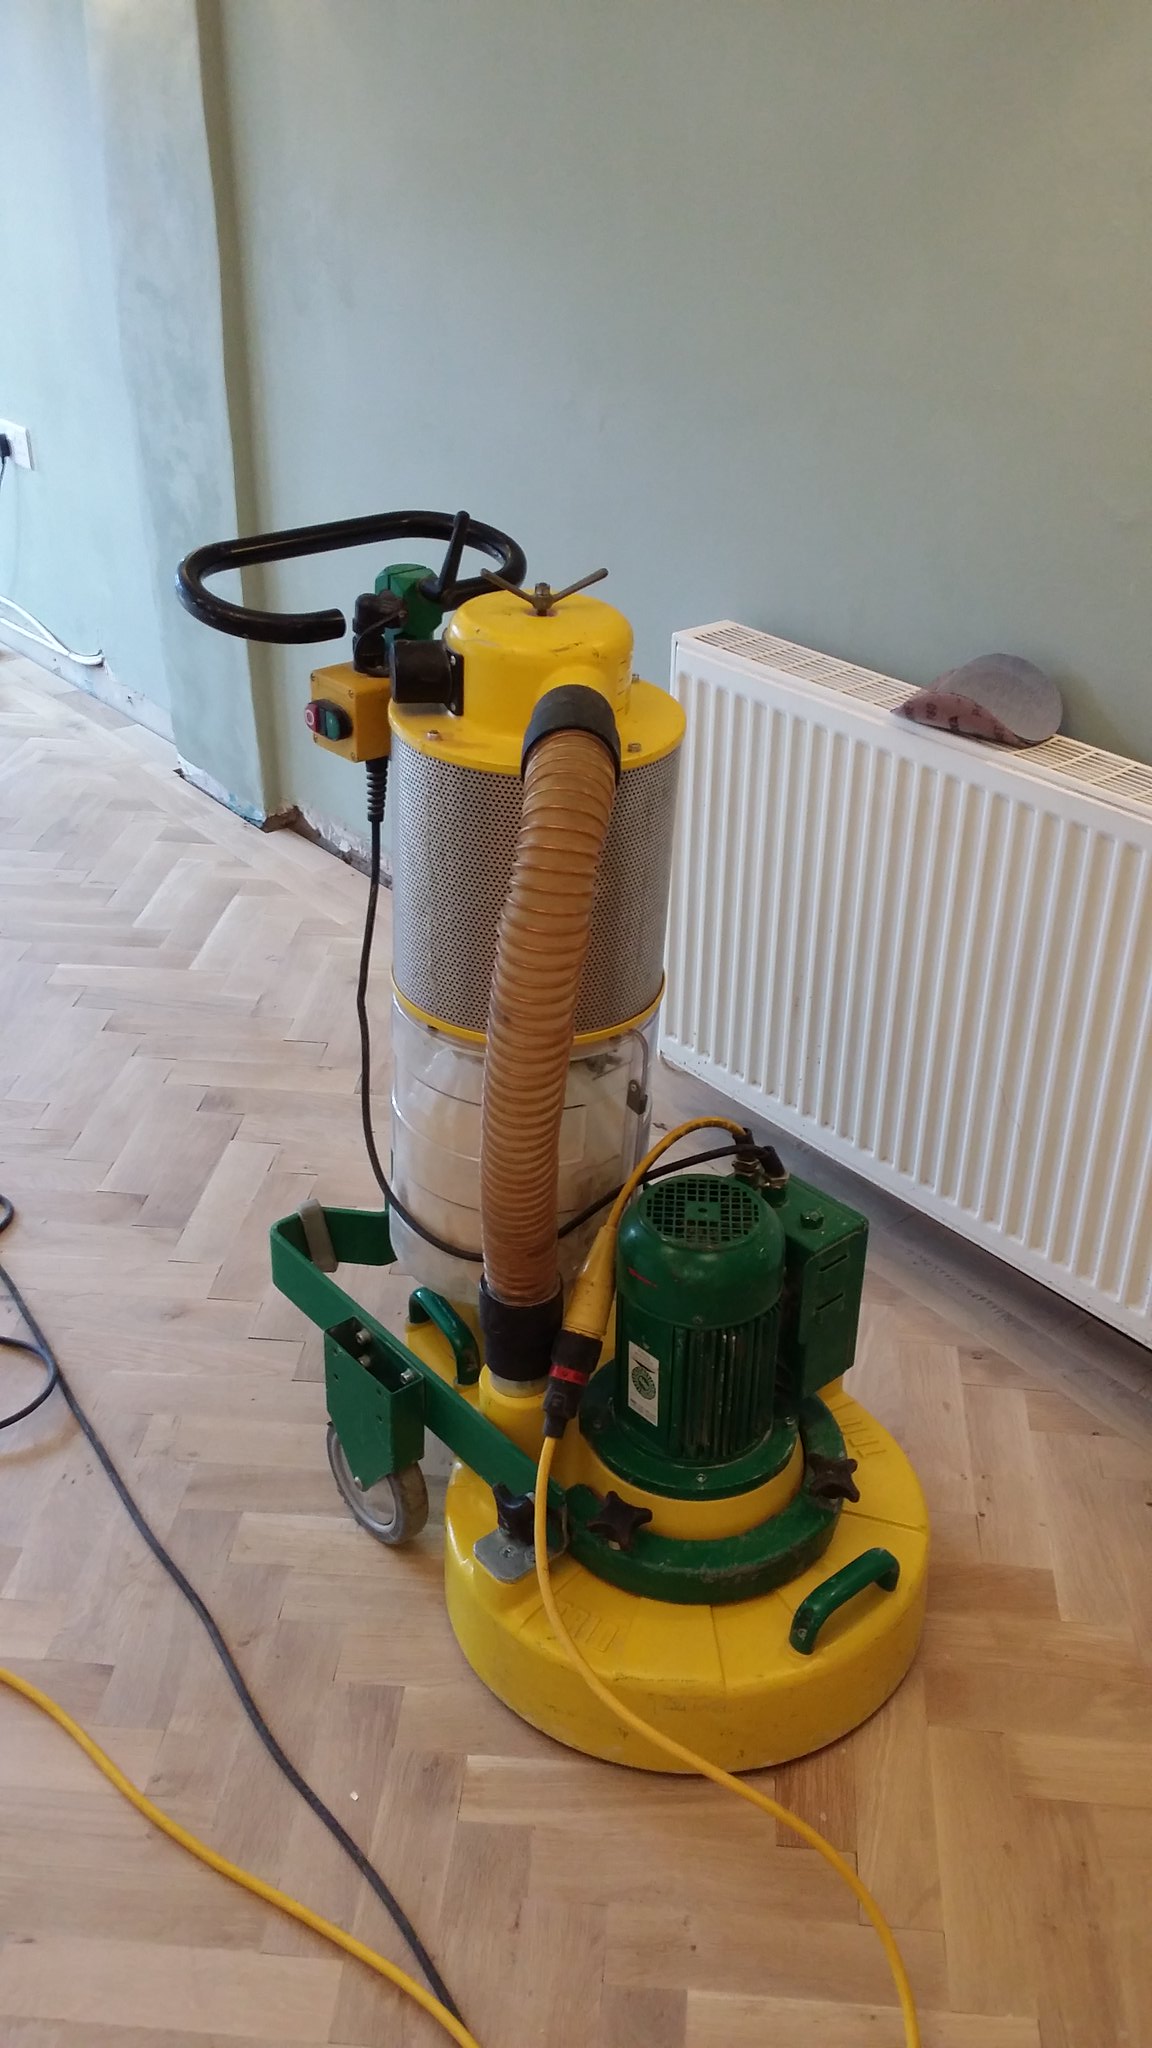
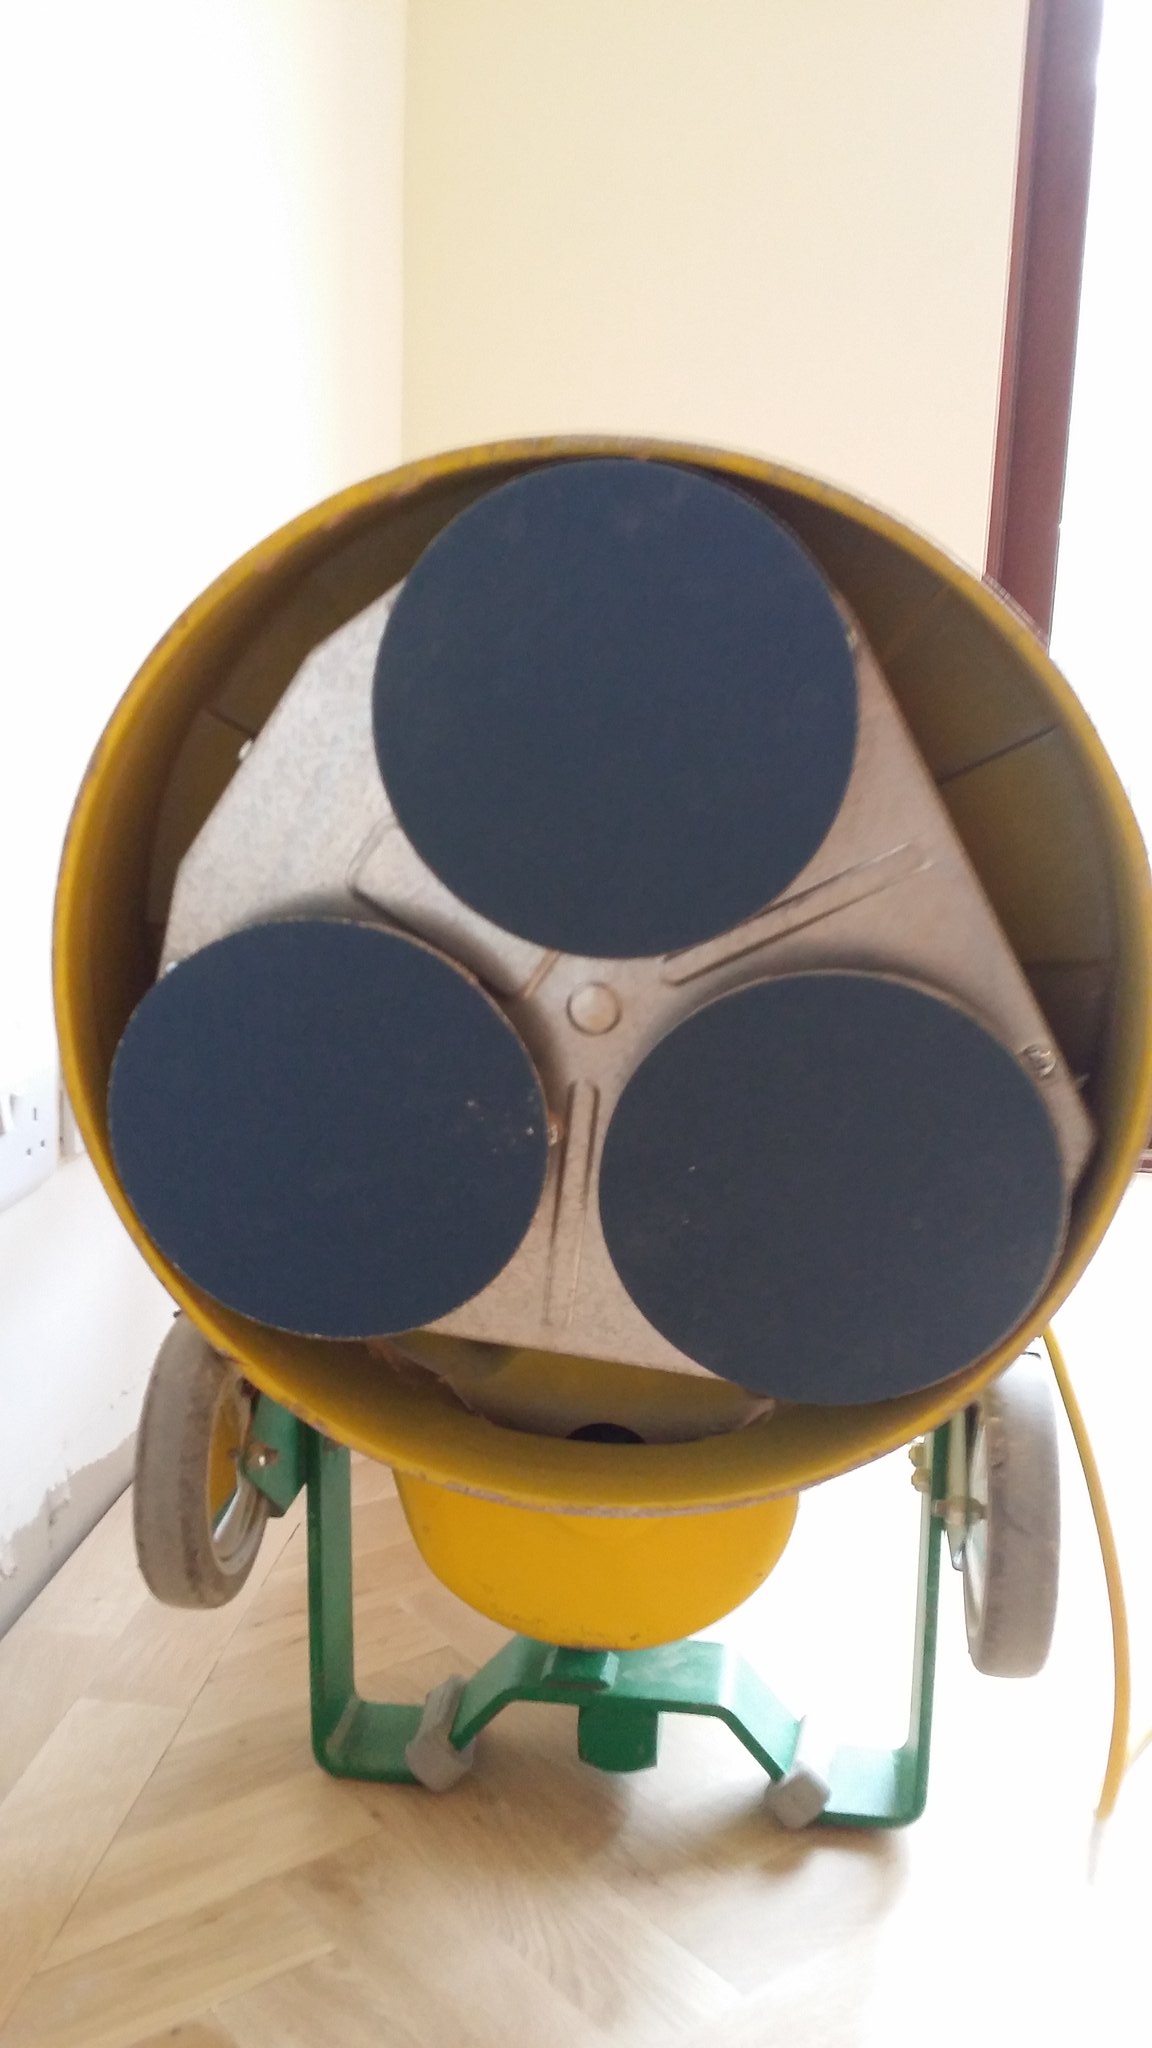
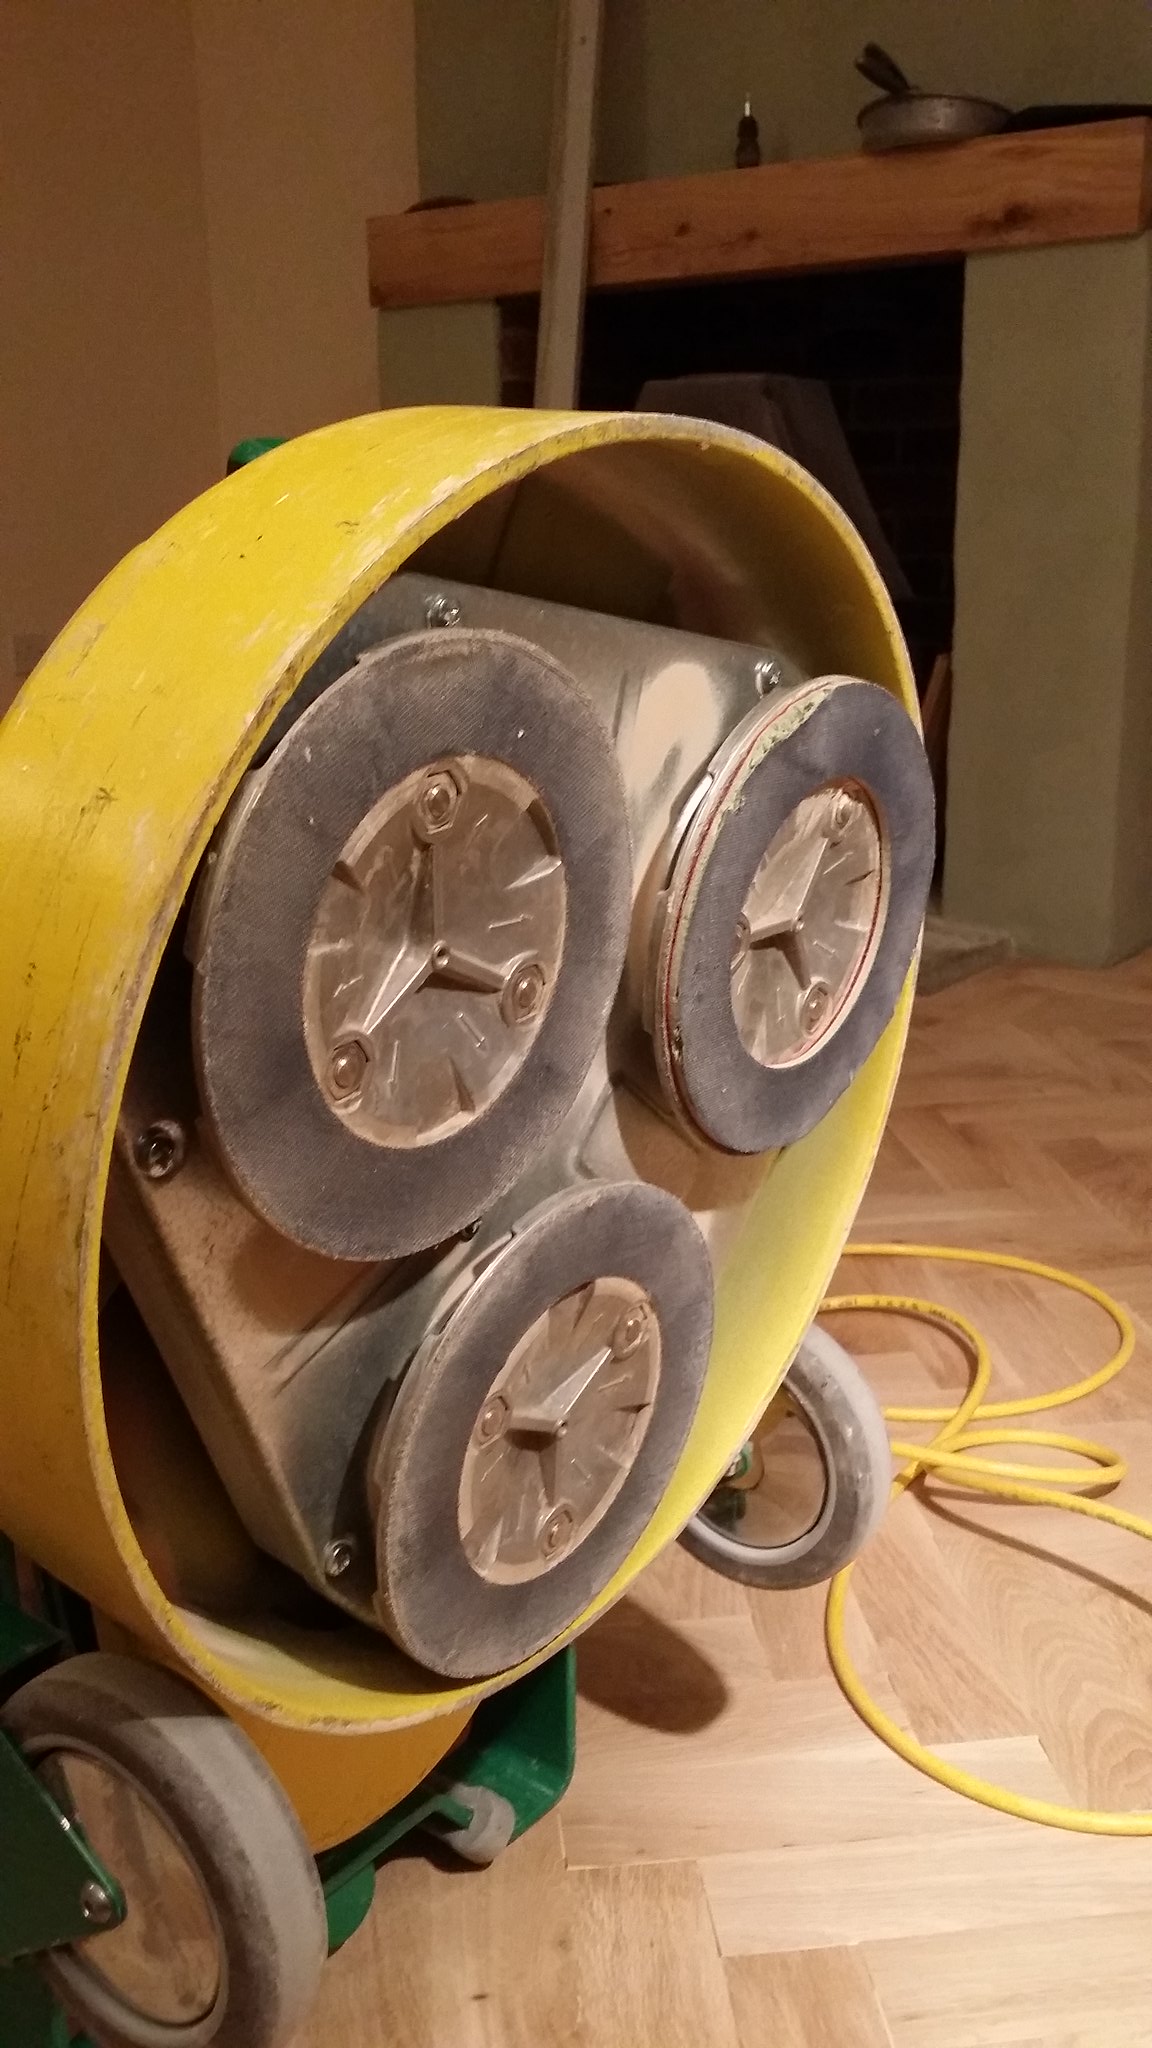
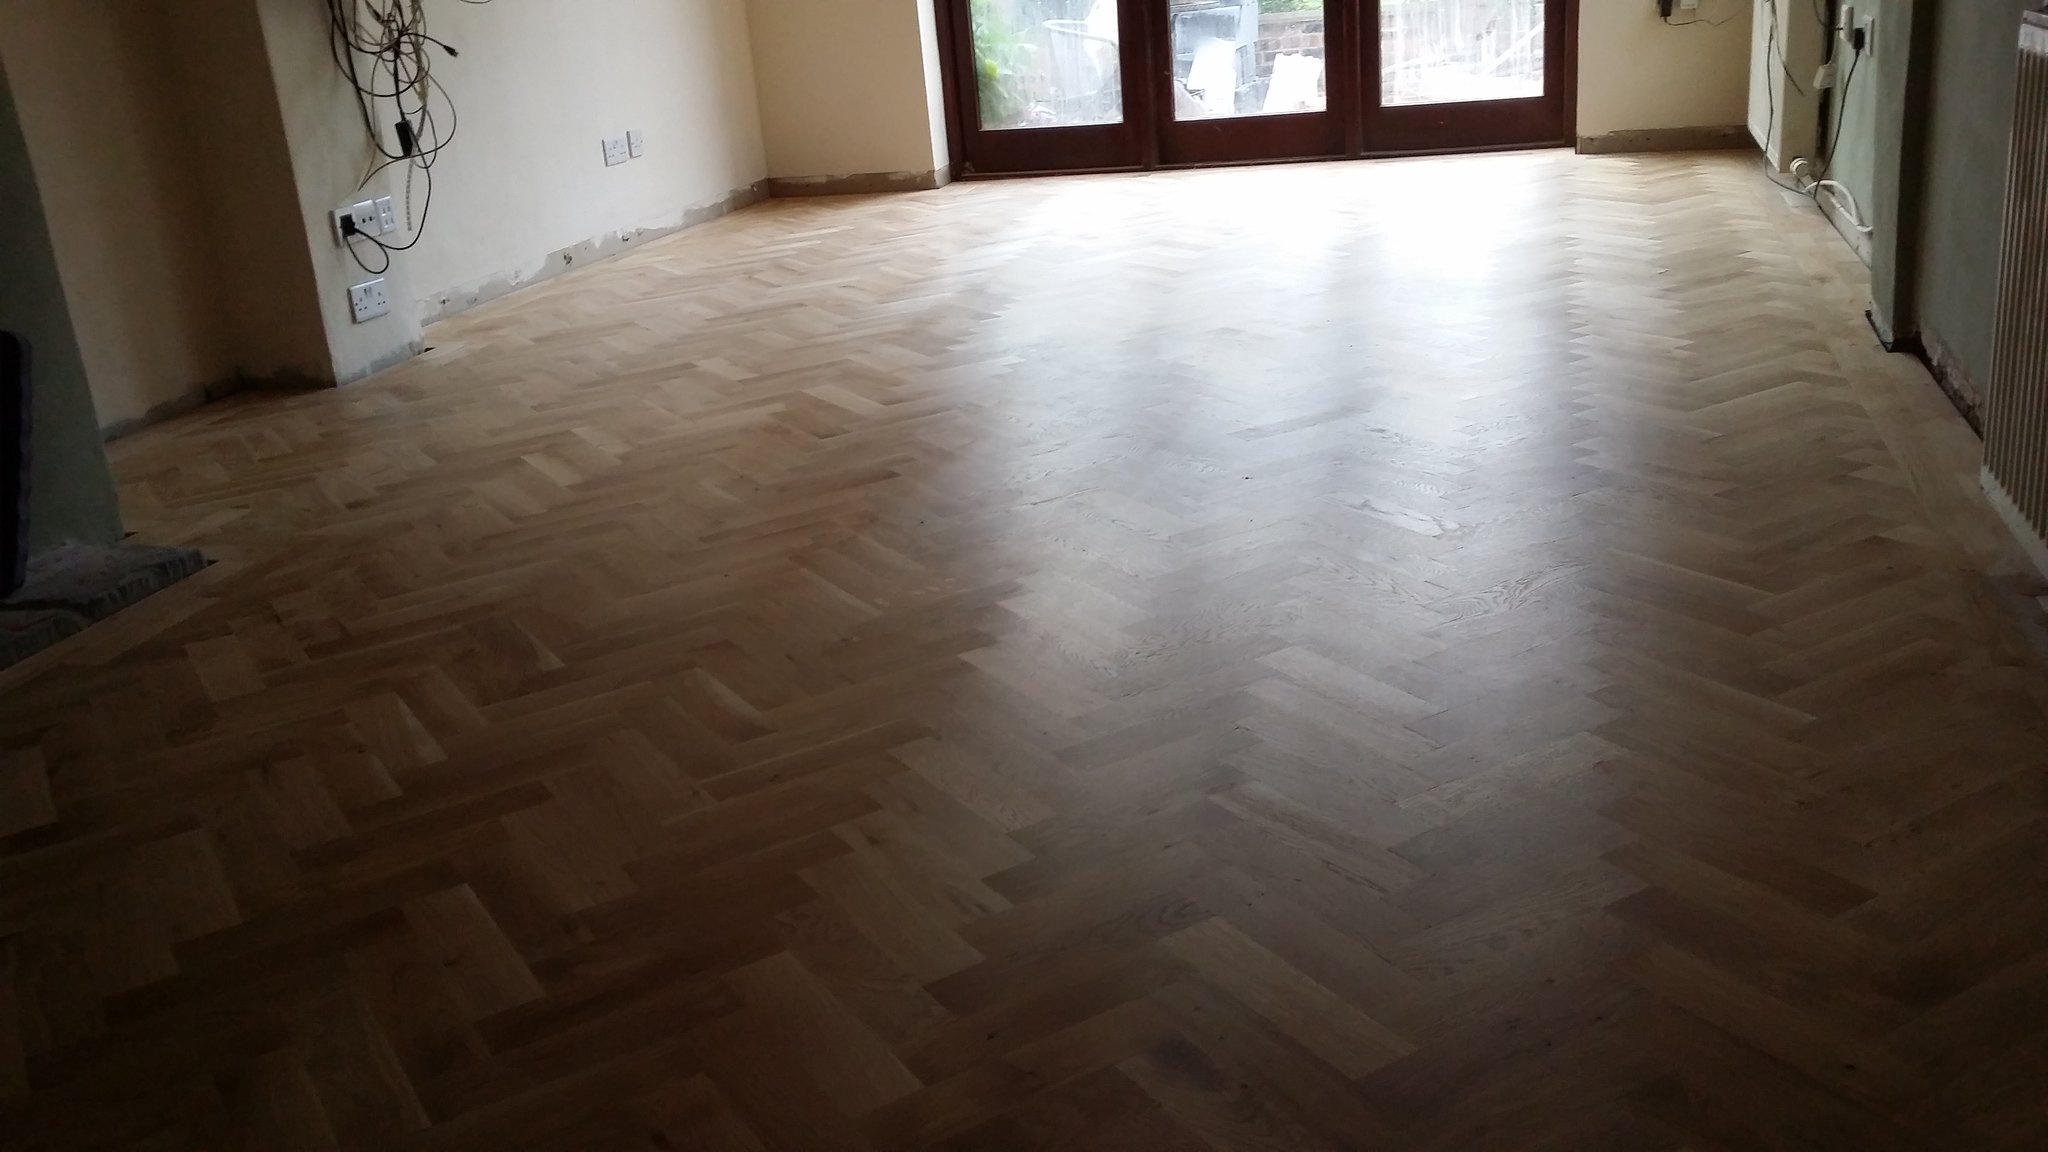
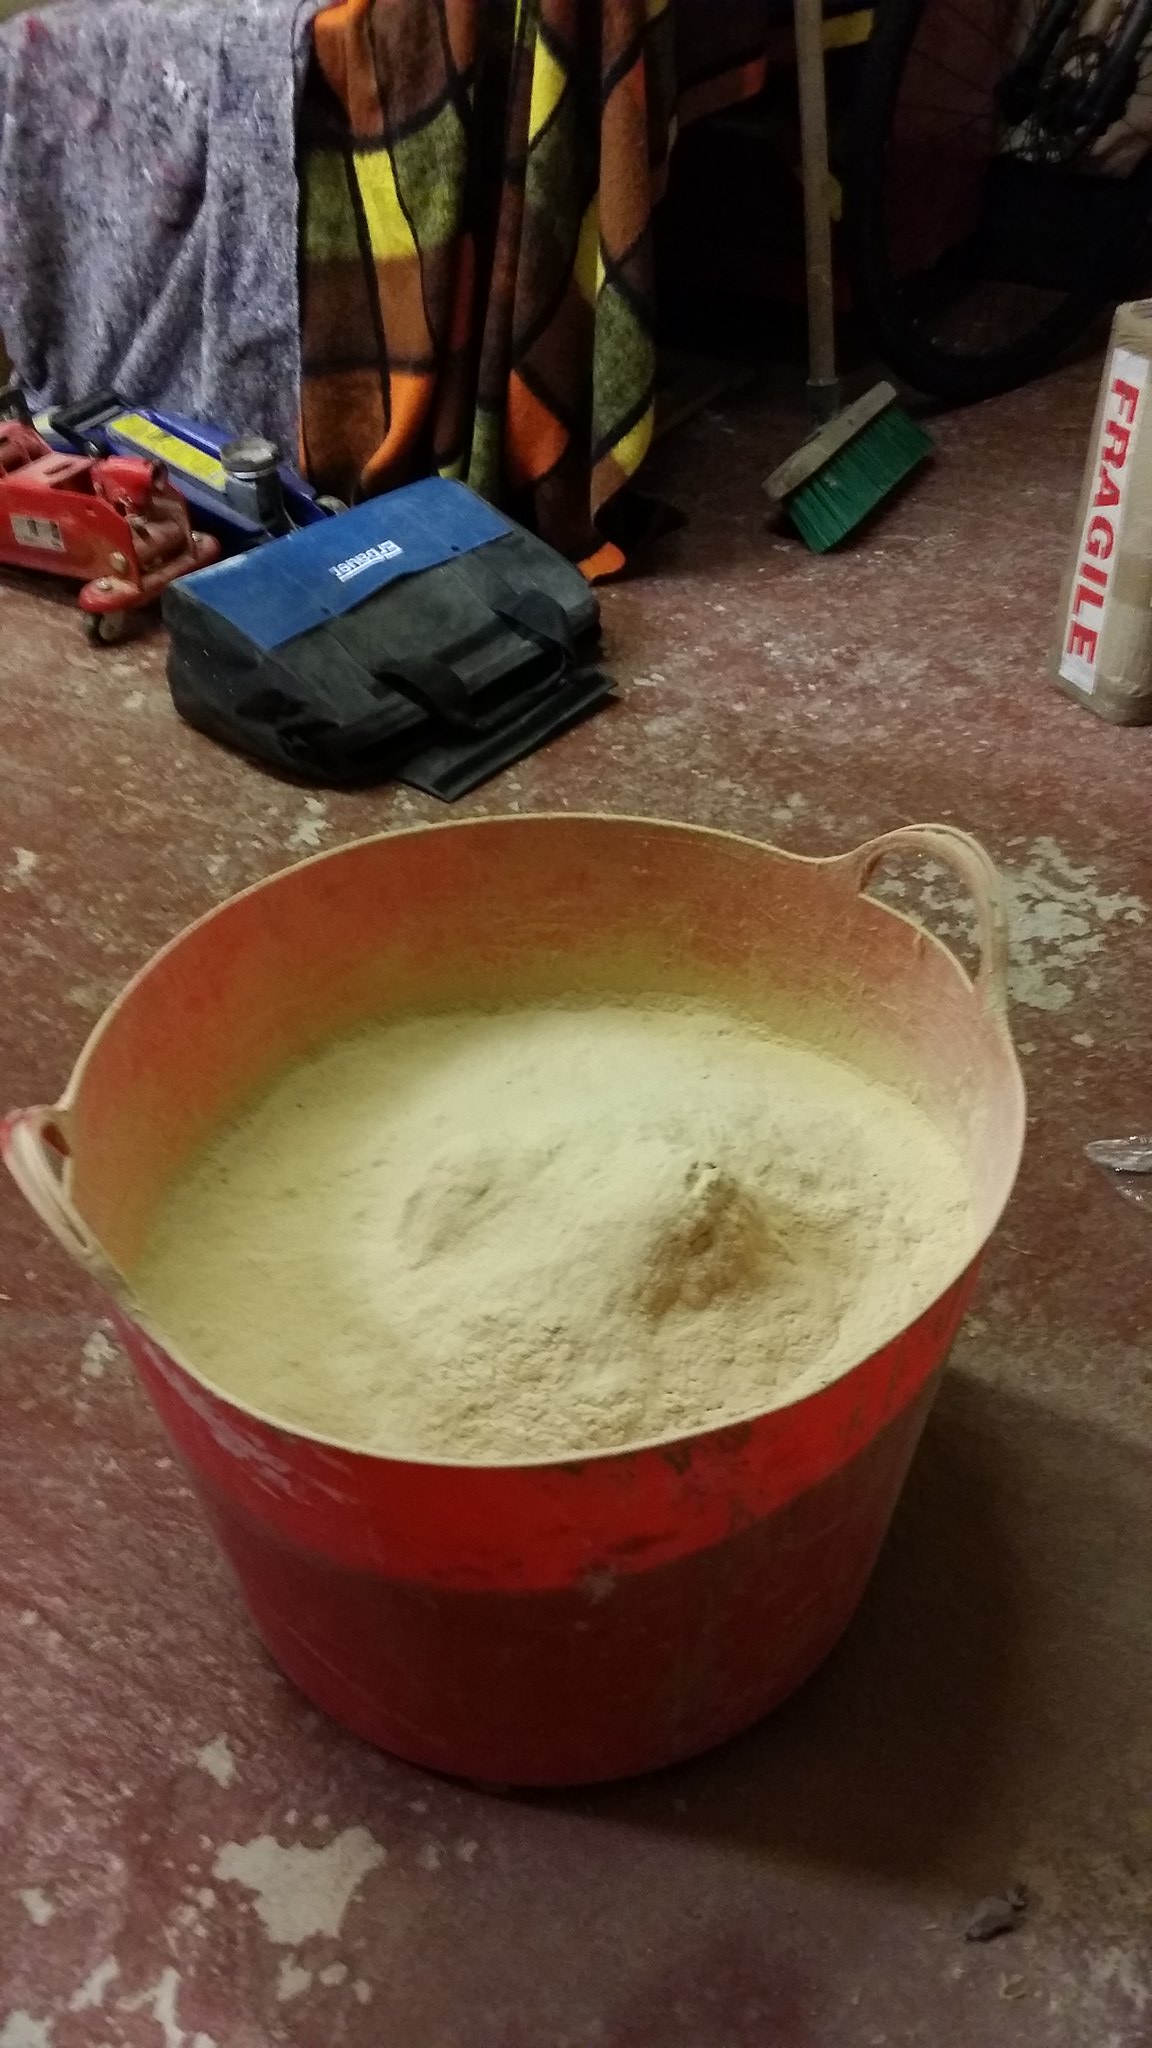
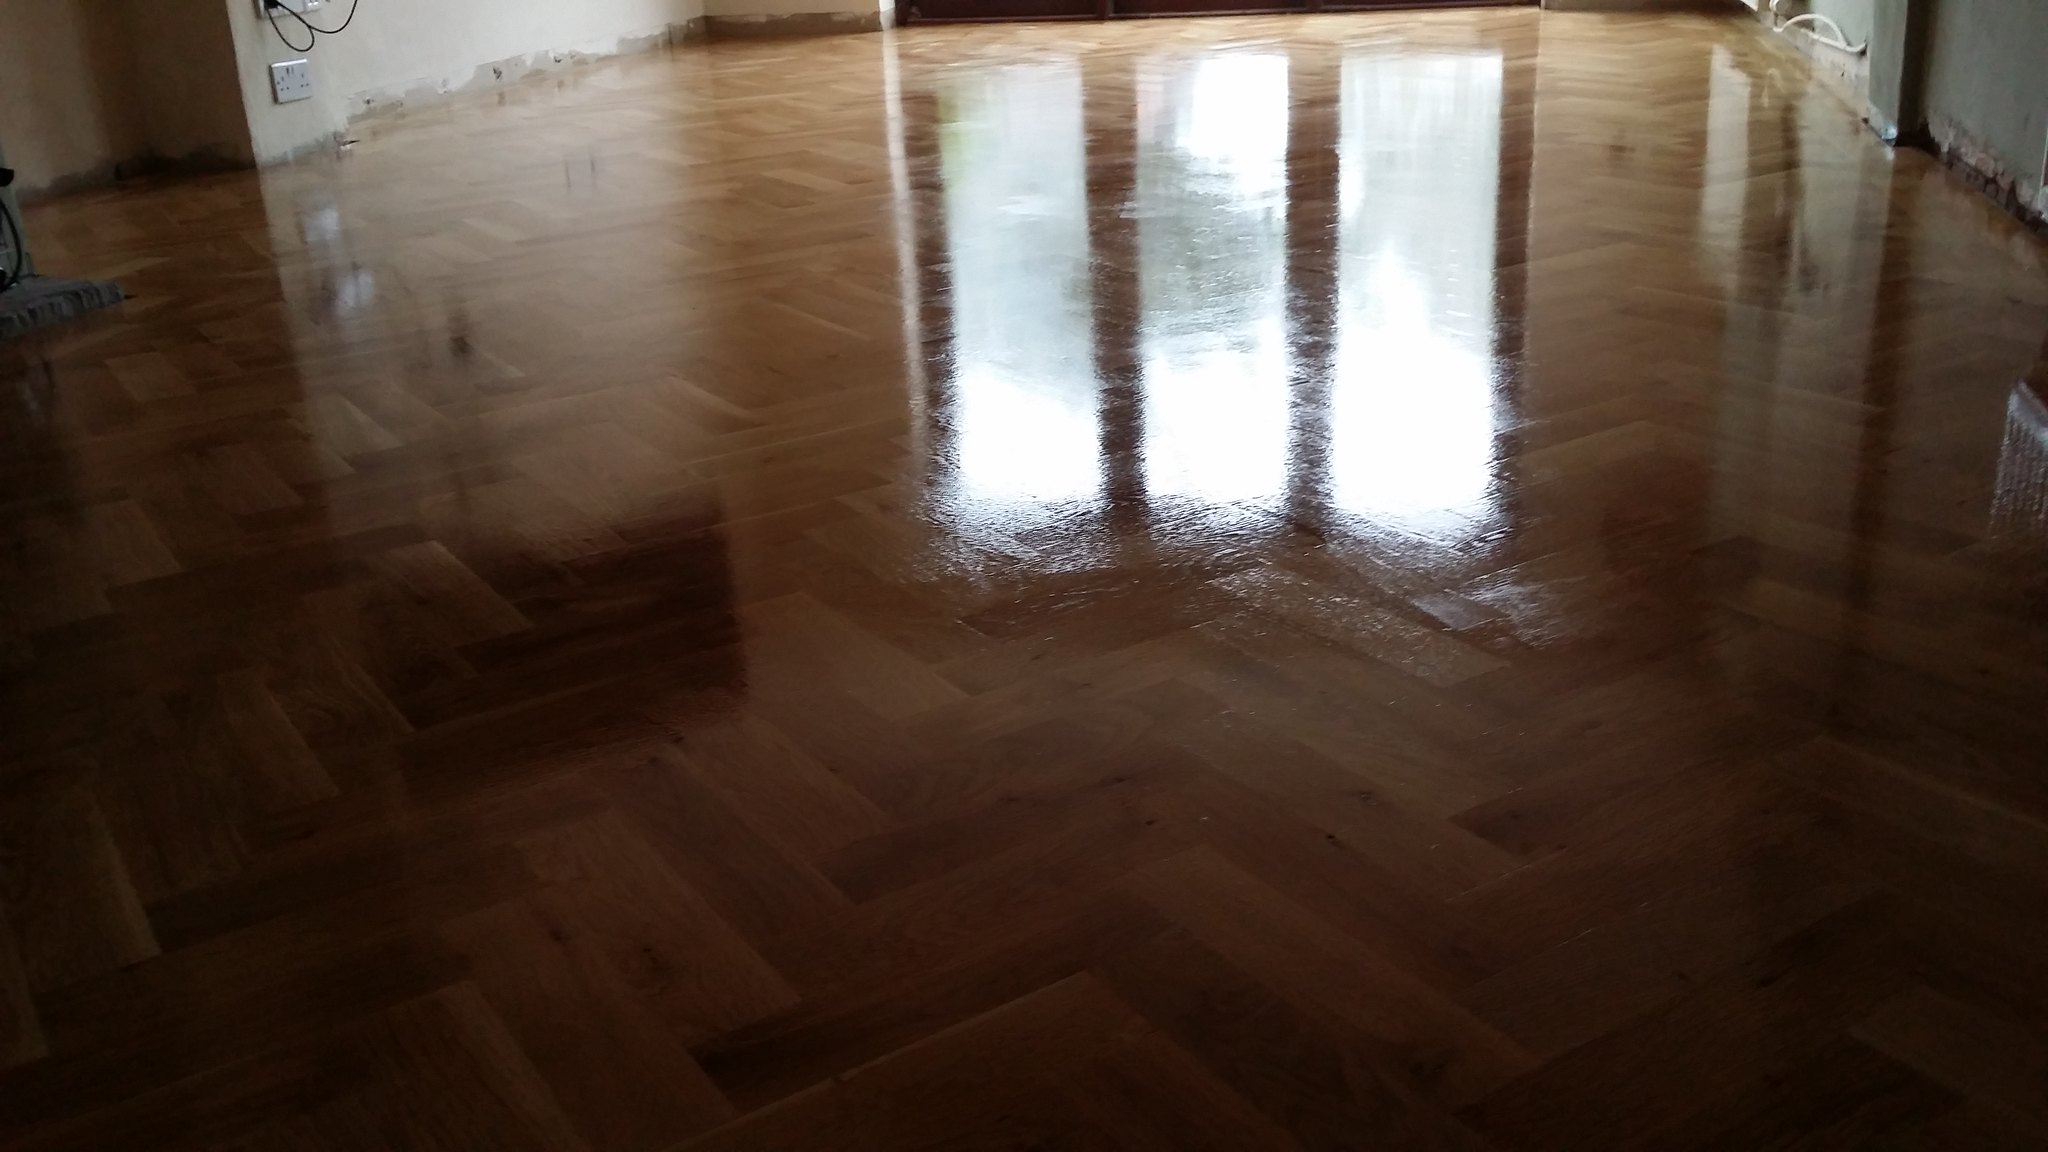
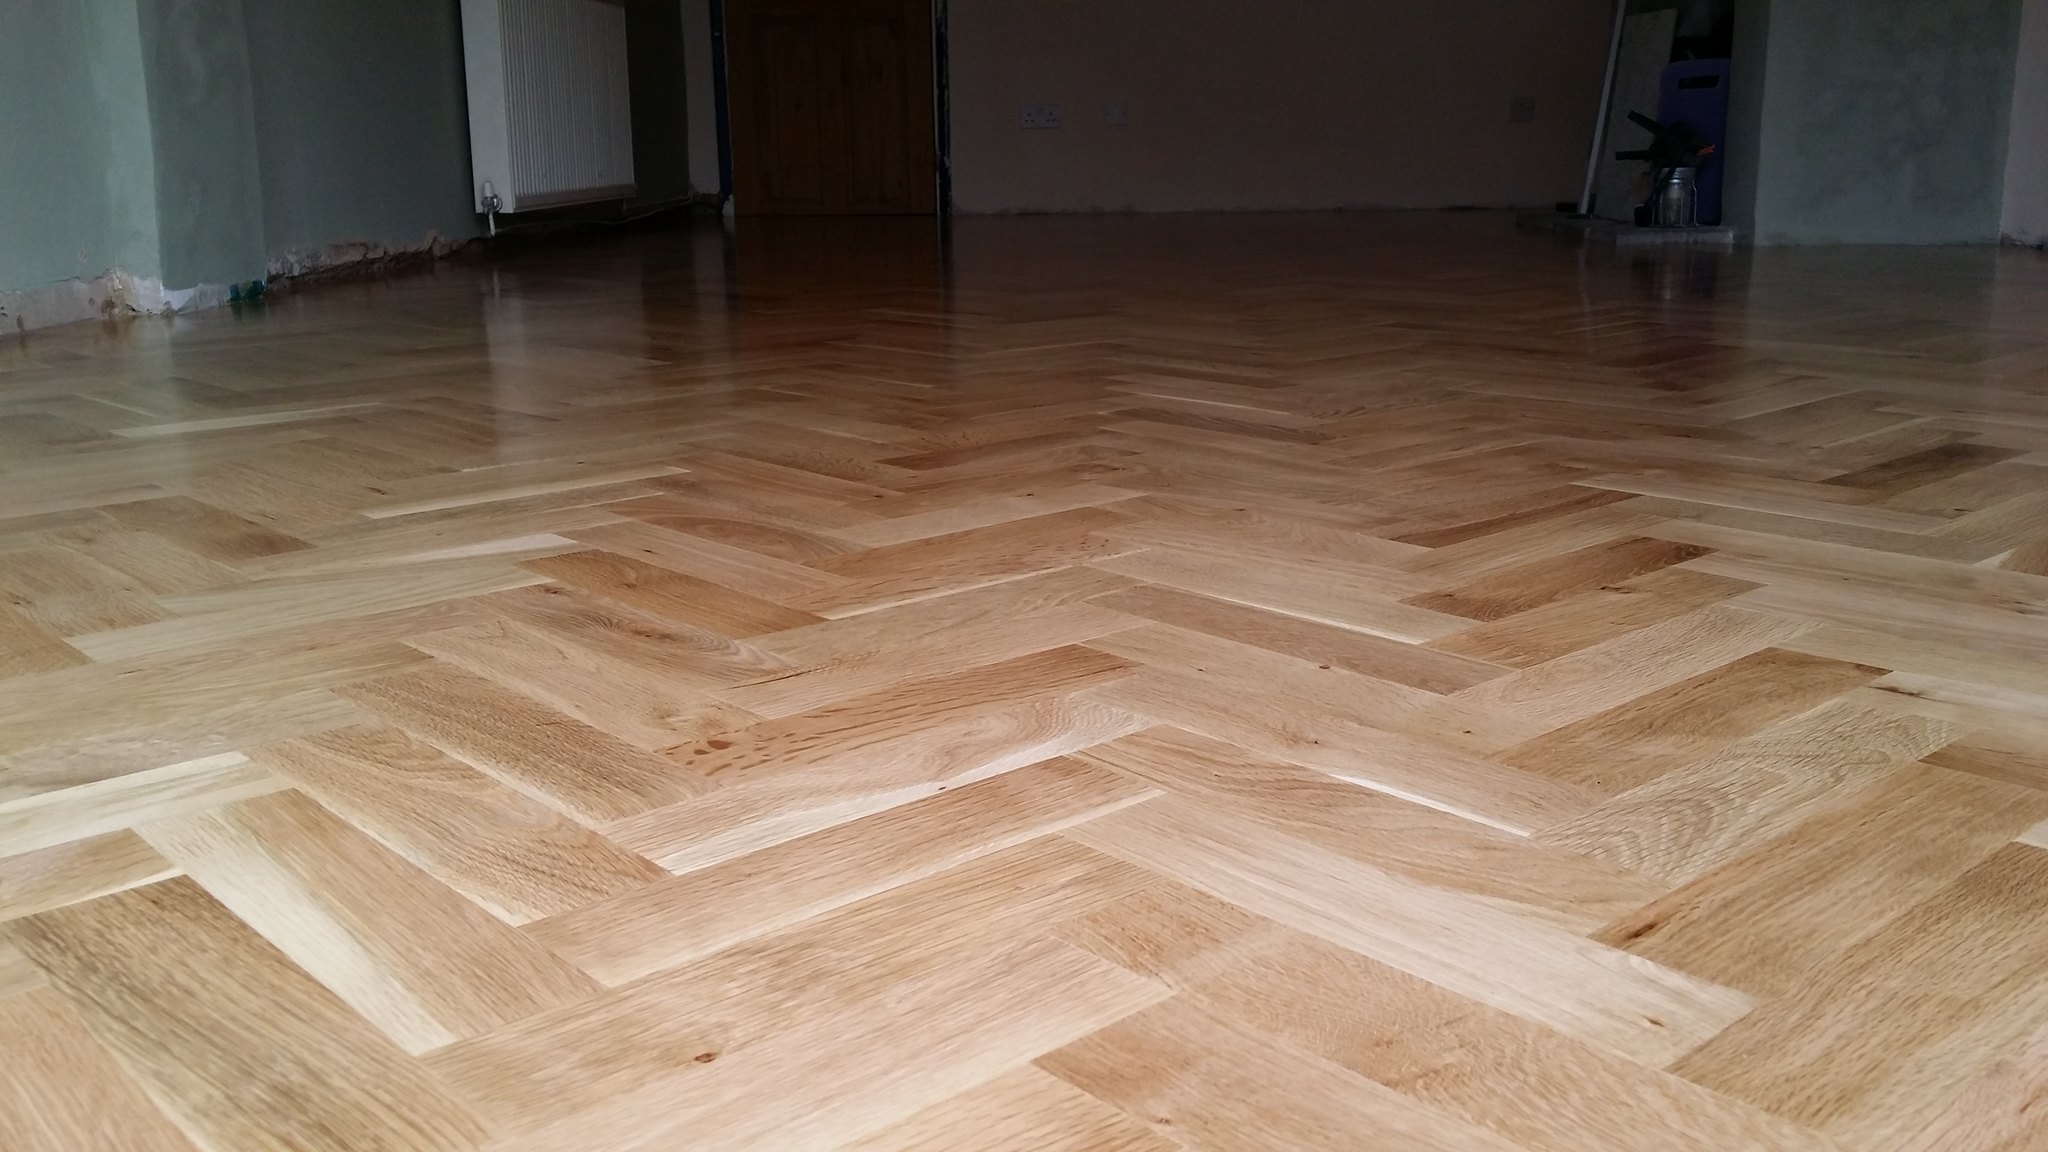
You can also see in the photos a couple of other problems with the old lounge. Firstly, the original floor in the old lounge was wood block, but having been laid a long time ago on a slab with no DPM and subsequently been covered up by underlay and carpet the wood had rotted away. Also, the old walls had been re-plastered in gypsum based plaster. As the old parts of the house have no constructional DPM (although we think a liquid one was injected at some point) this was causing big problems with moisture damage to the plaster. The wiring was also in quite a poor state, and we wanted to reconfigure and add to a lot of the wiring in the room. Given that a lot of the works were inter-related, we decided that the best thing to do was to bite the bullet and do the whole lot at once.

Structural modifications

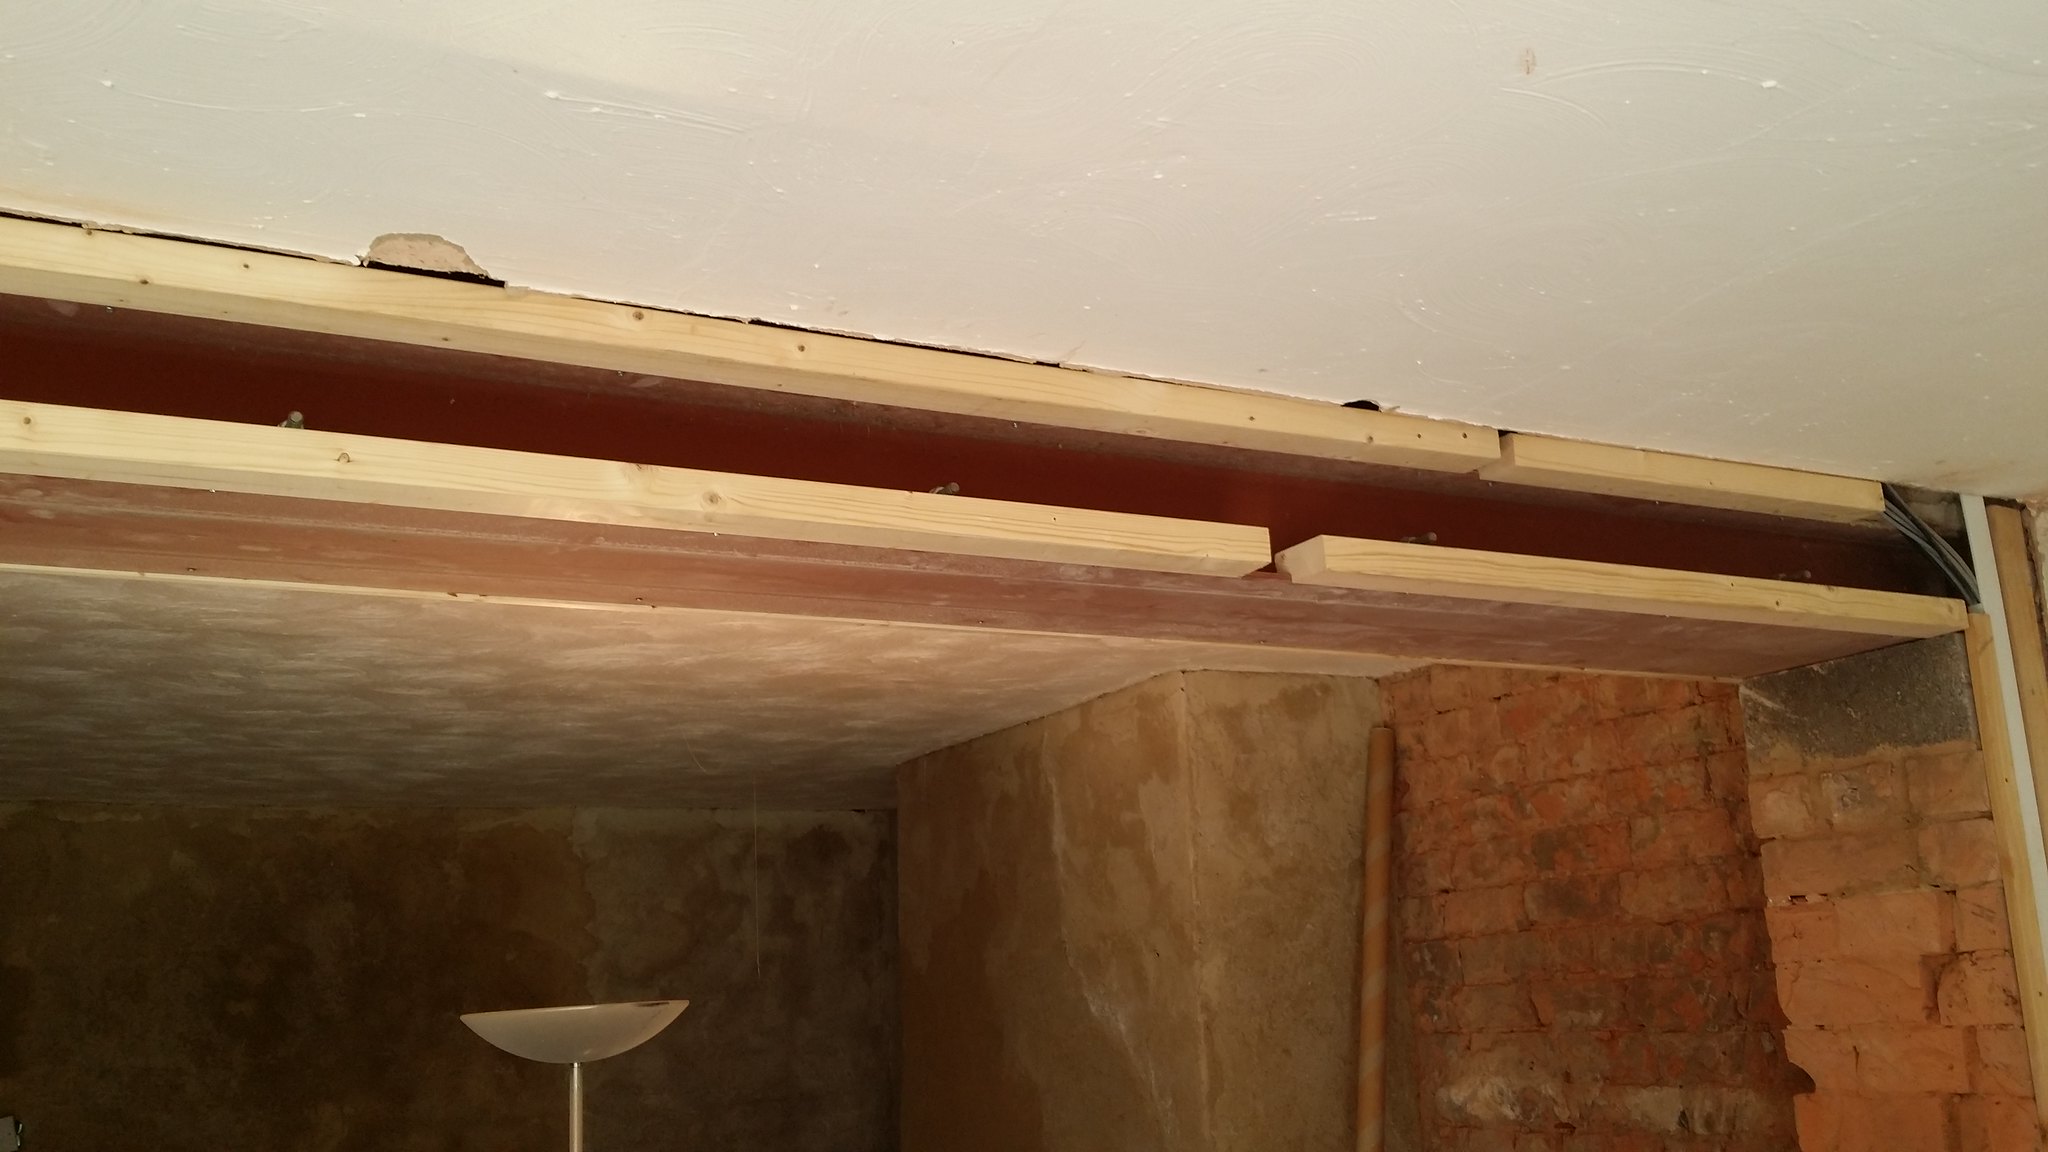
The first job was to prop the ceiling before we could remove the wall and install a steel RSJ. The old part of the house has joists running into the wall, whereas the extension has joists running parallel to the wall. On the first floor, there is about 400mm of wall on either side to support the roof. By propping the ceiling on the old house side, we supported all the joists that were originally load bearing on the old wall; additionally as these ran into the old wall on either side we effectively made use of the joists as temporary strongboys to support the short length of wall either side of the opening on the first floor.

22351979091_174d68df5a_k.jpg


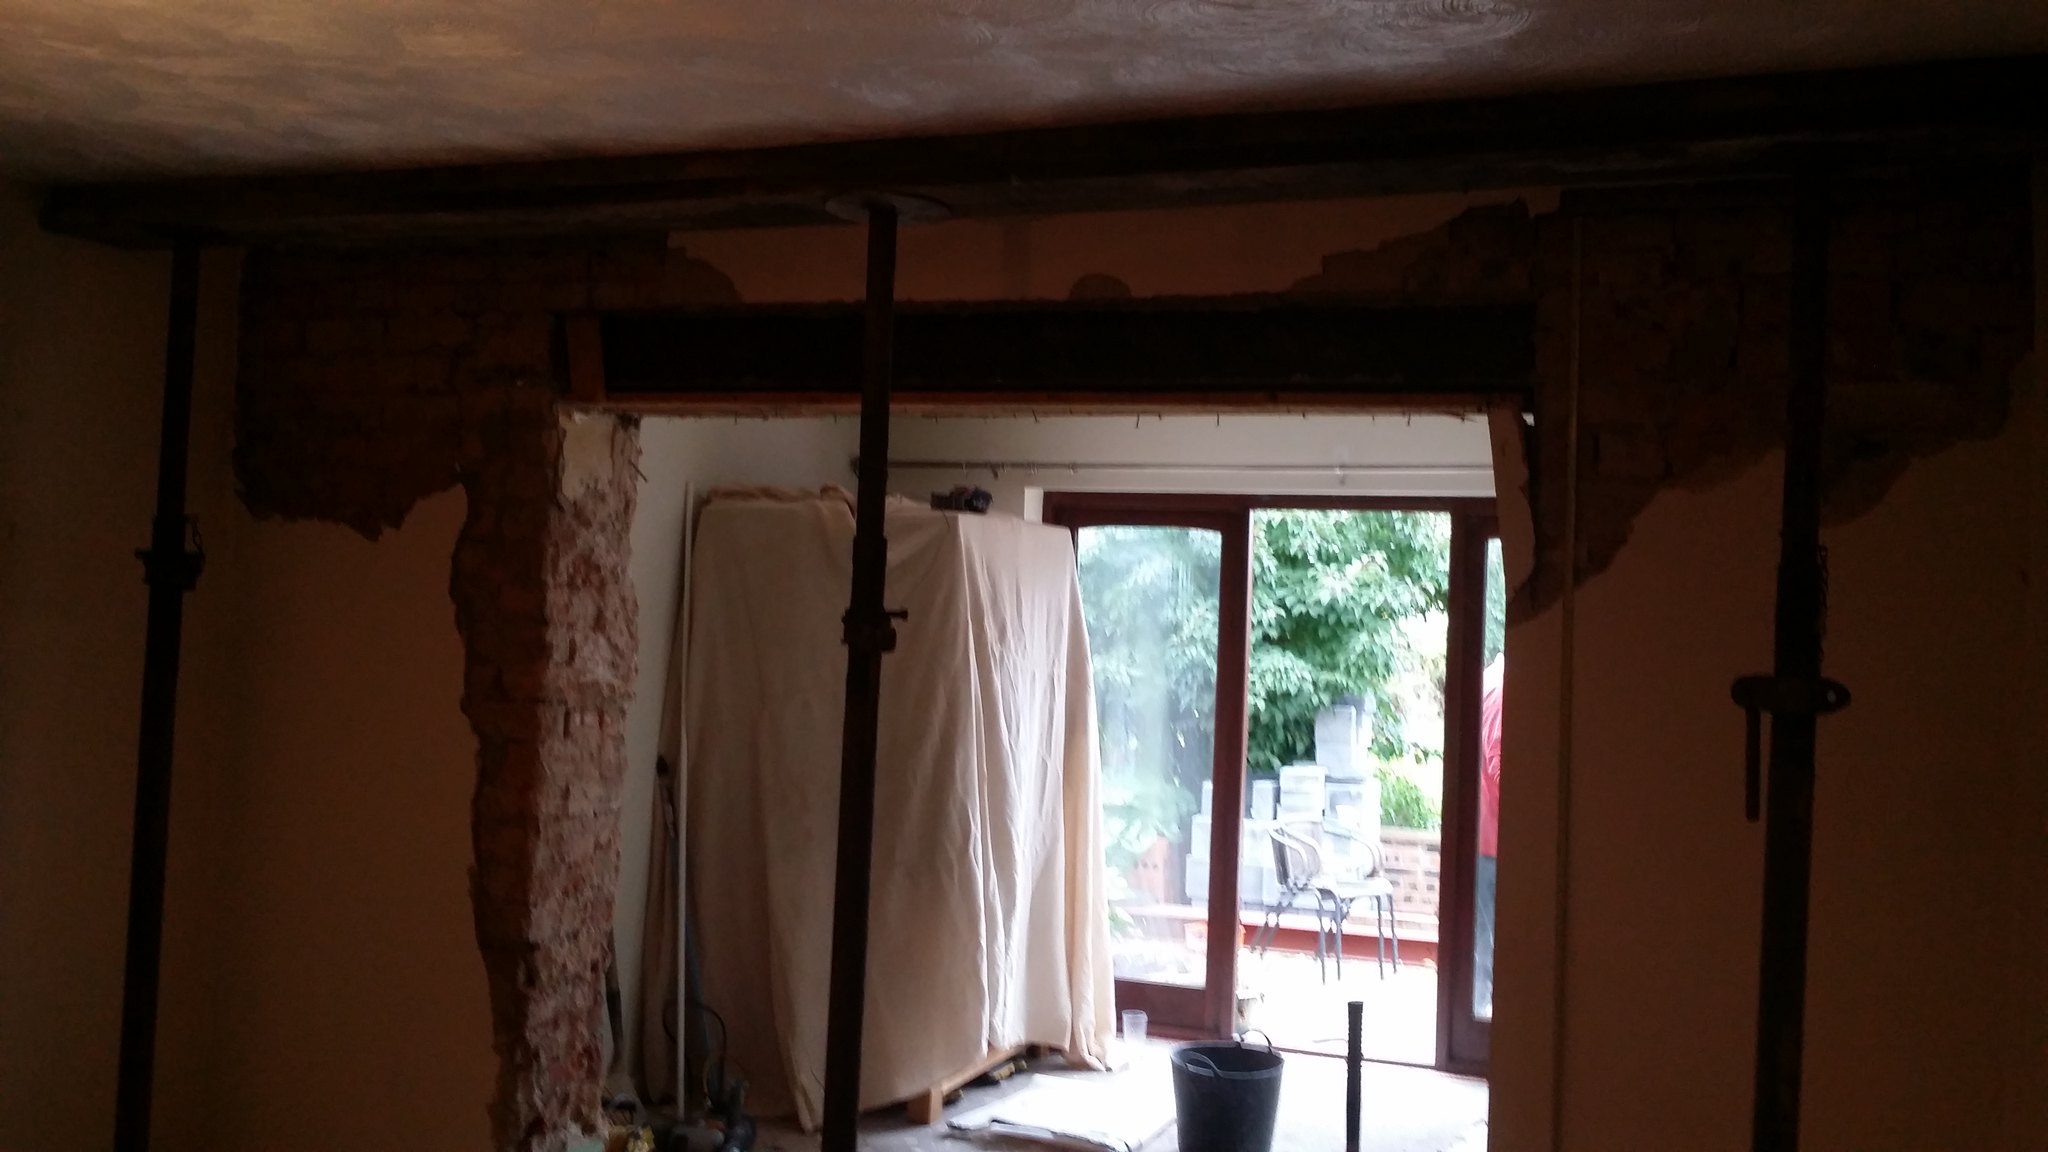
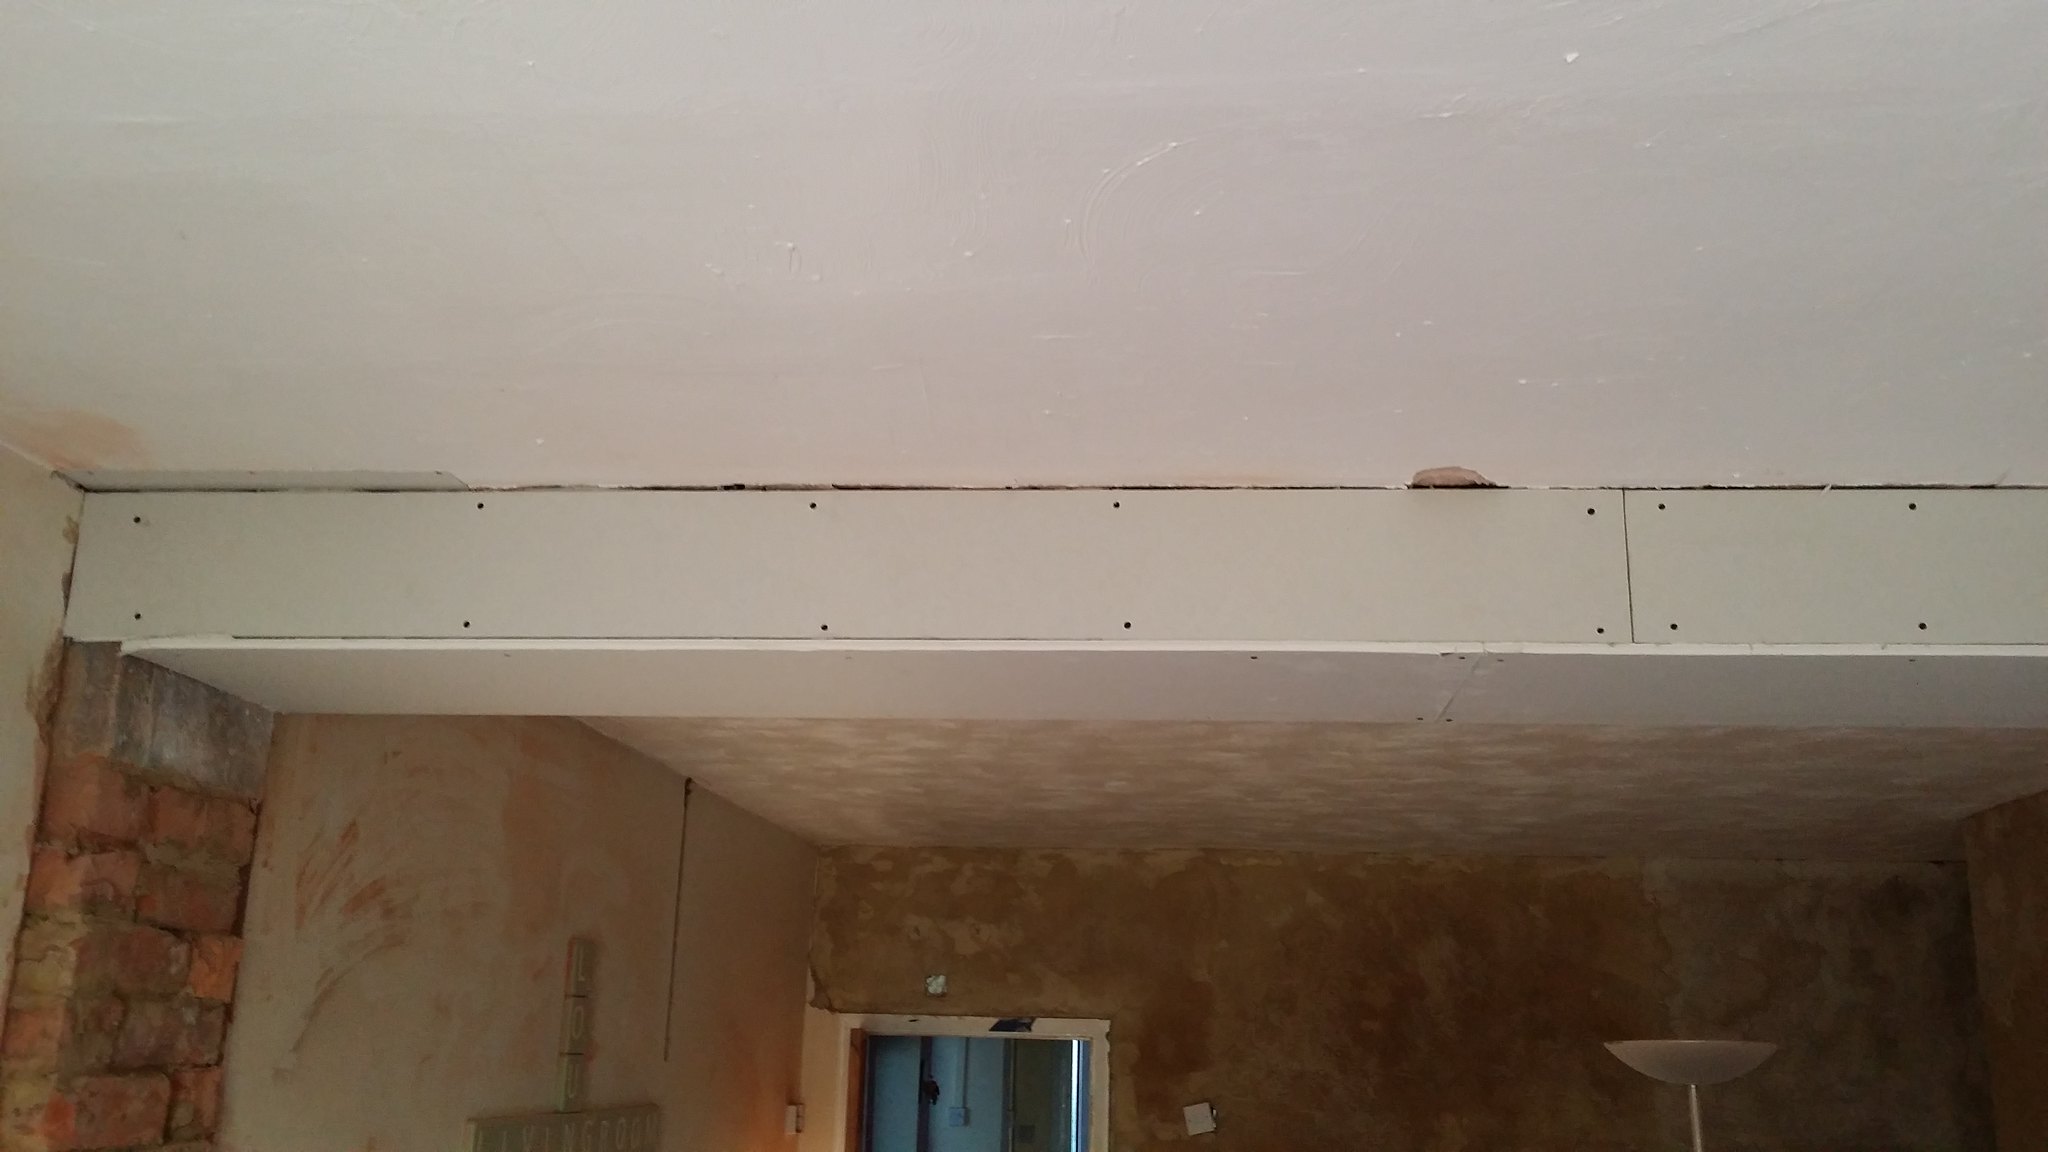
Taking the wall out and installing the new steels took 2 days of work from me and two family members. The wall was pretty solid and took some shifting in places! The new steel, specified by a structural engineer, was a pair of 152x152mm I-beams bolted together at 600mm centres resting on 400mmx150mm concrete padstones either end. Total unsupported span is about 3.6m.

22153590208_f07e1270e9_k.jpg


22328299982_74c0ba2b99_k.jpg


22351956641_7d8cc1da09_k.jpg


22153541998_09f0754962_k.jpg


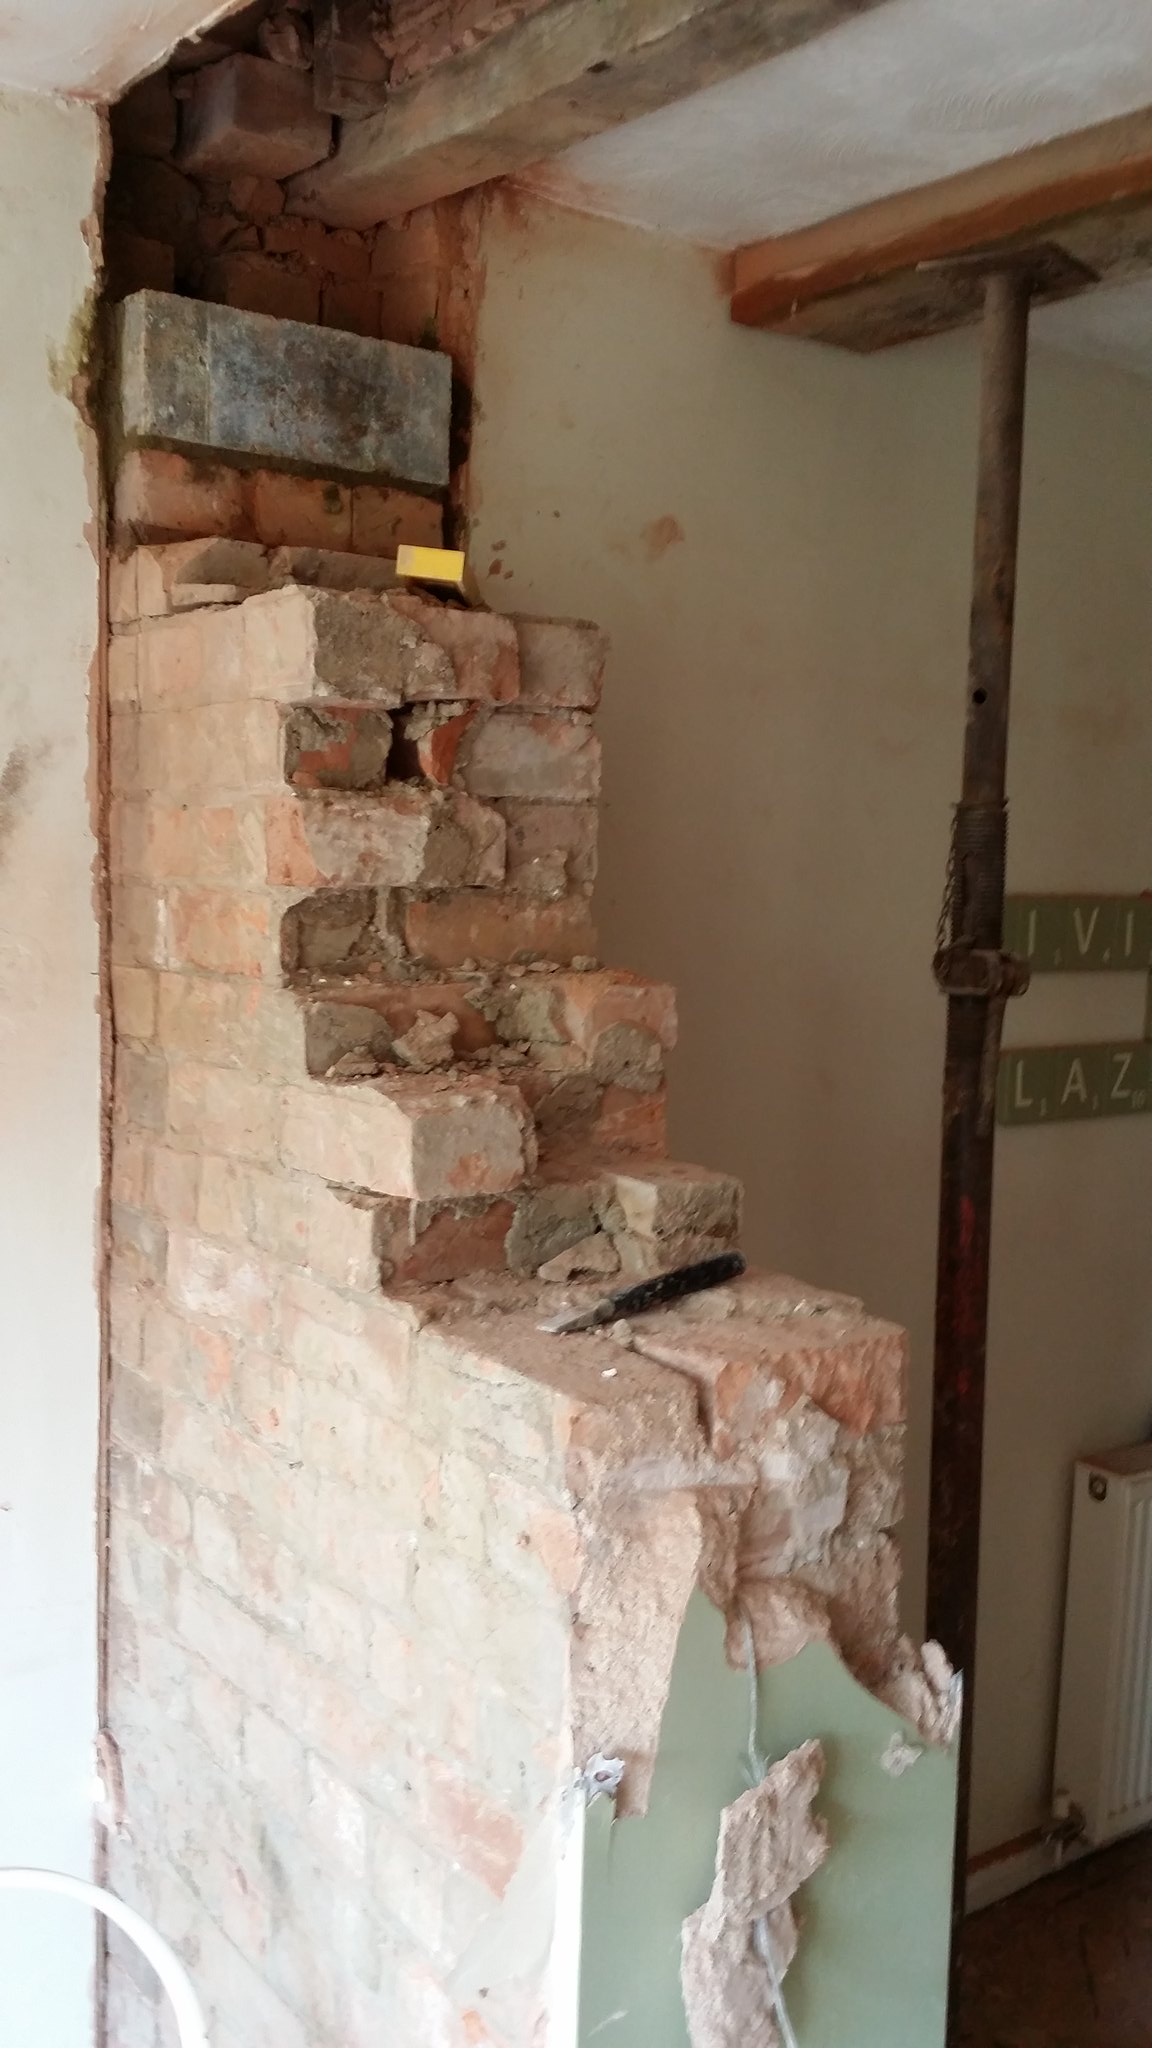
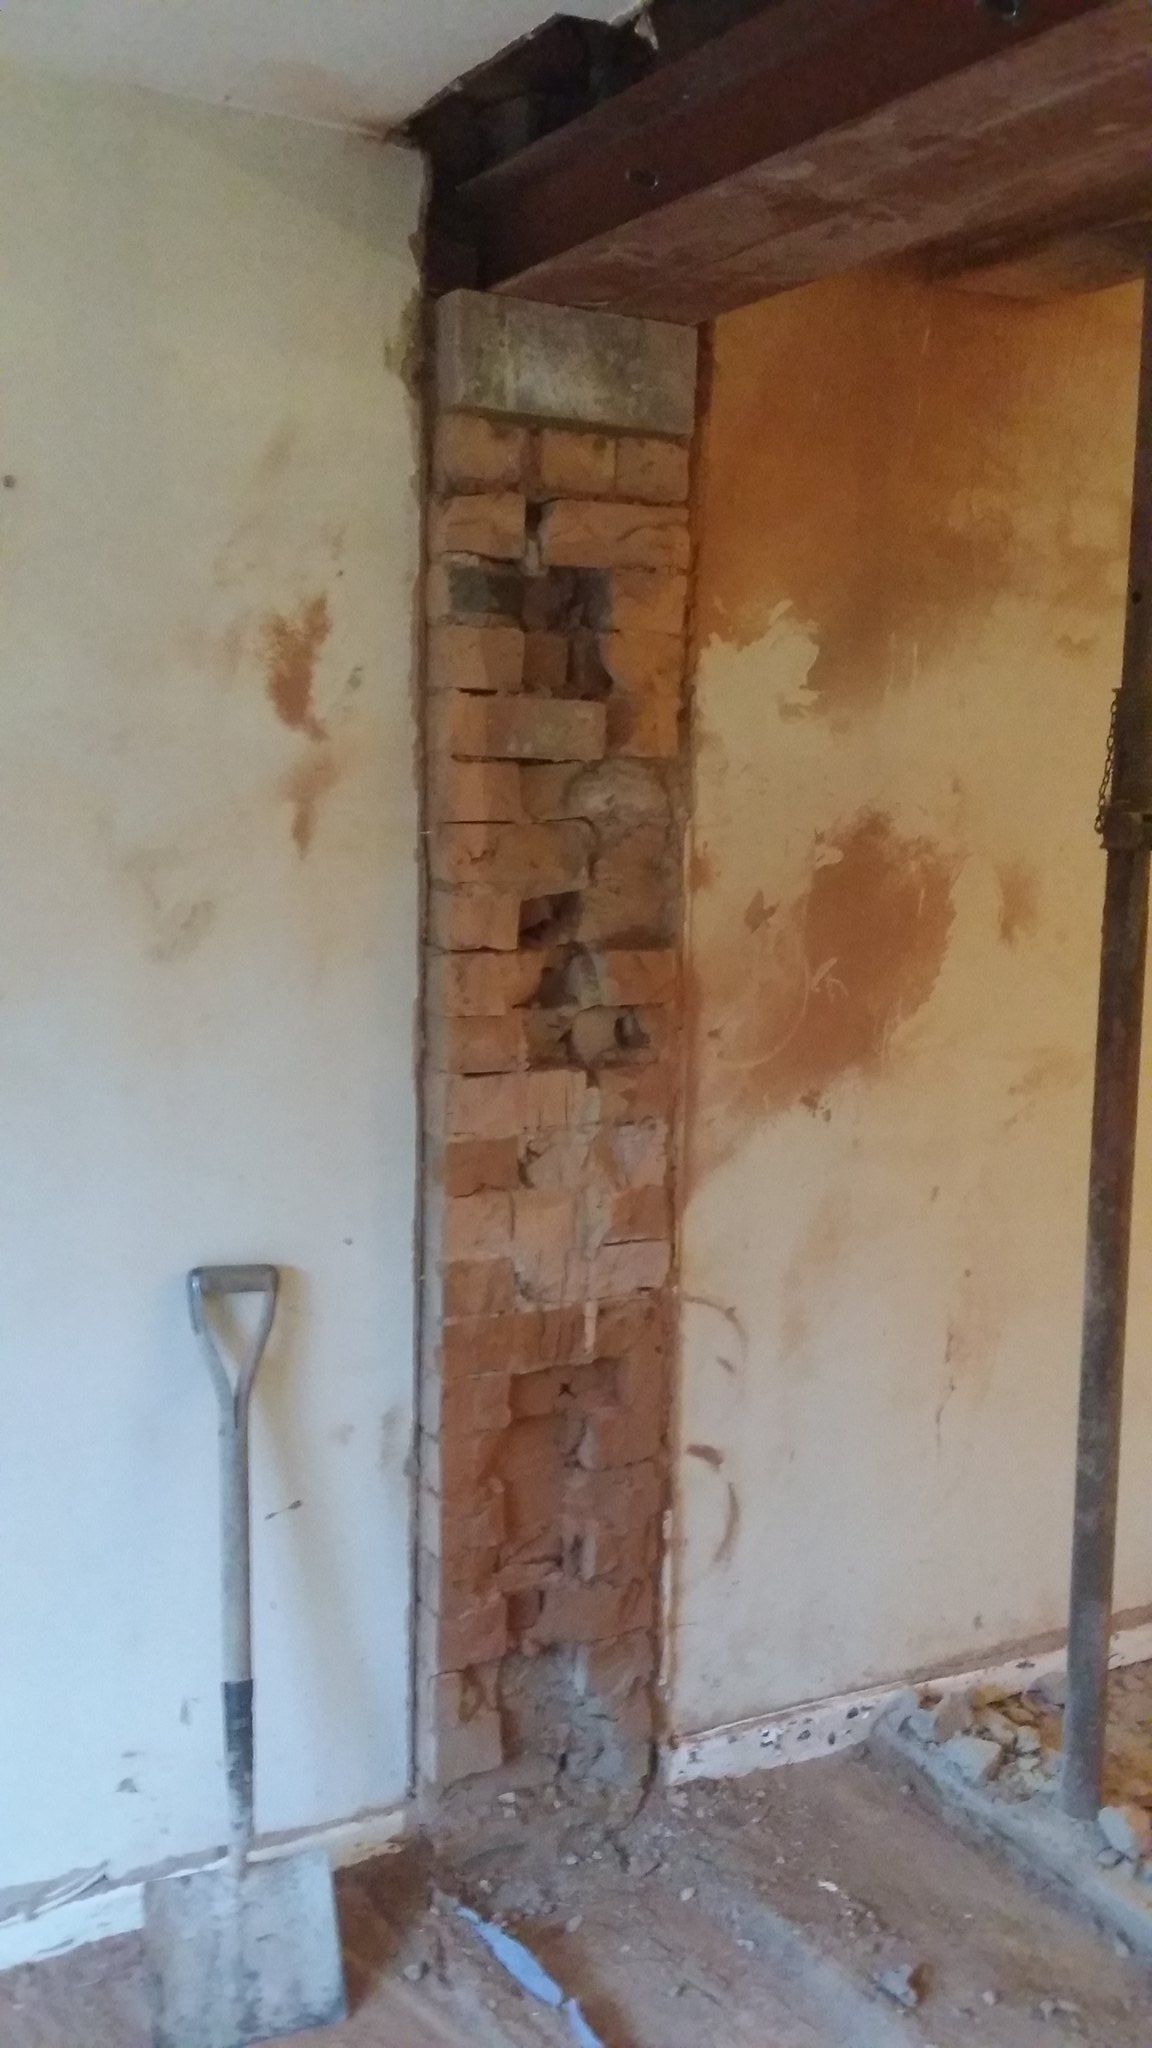
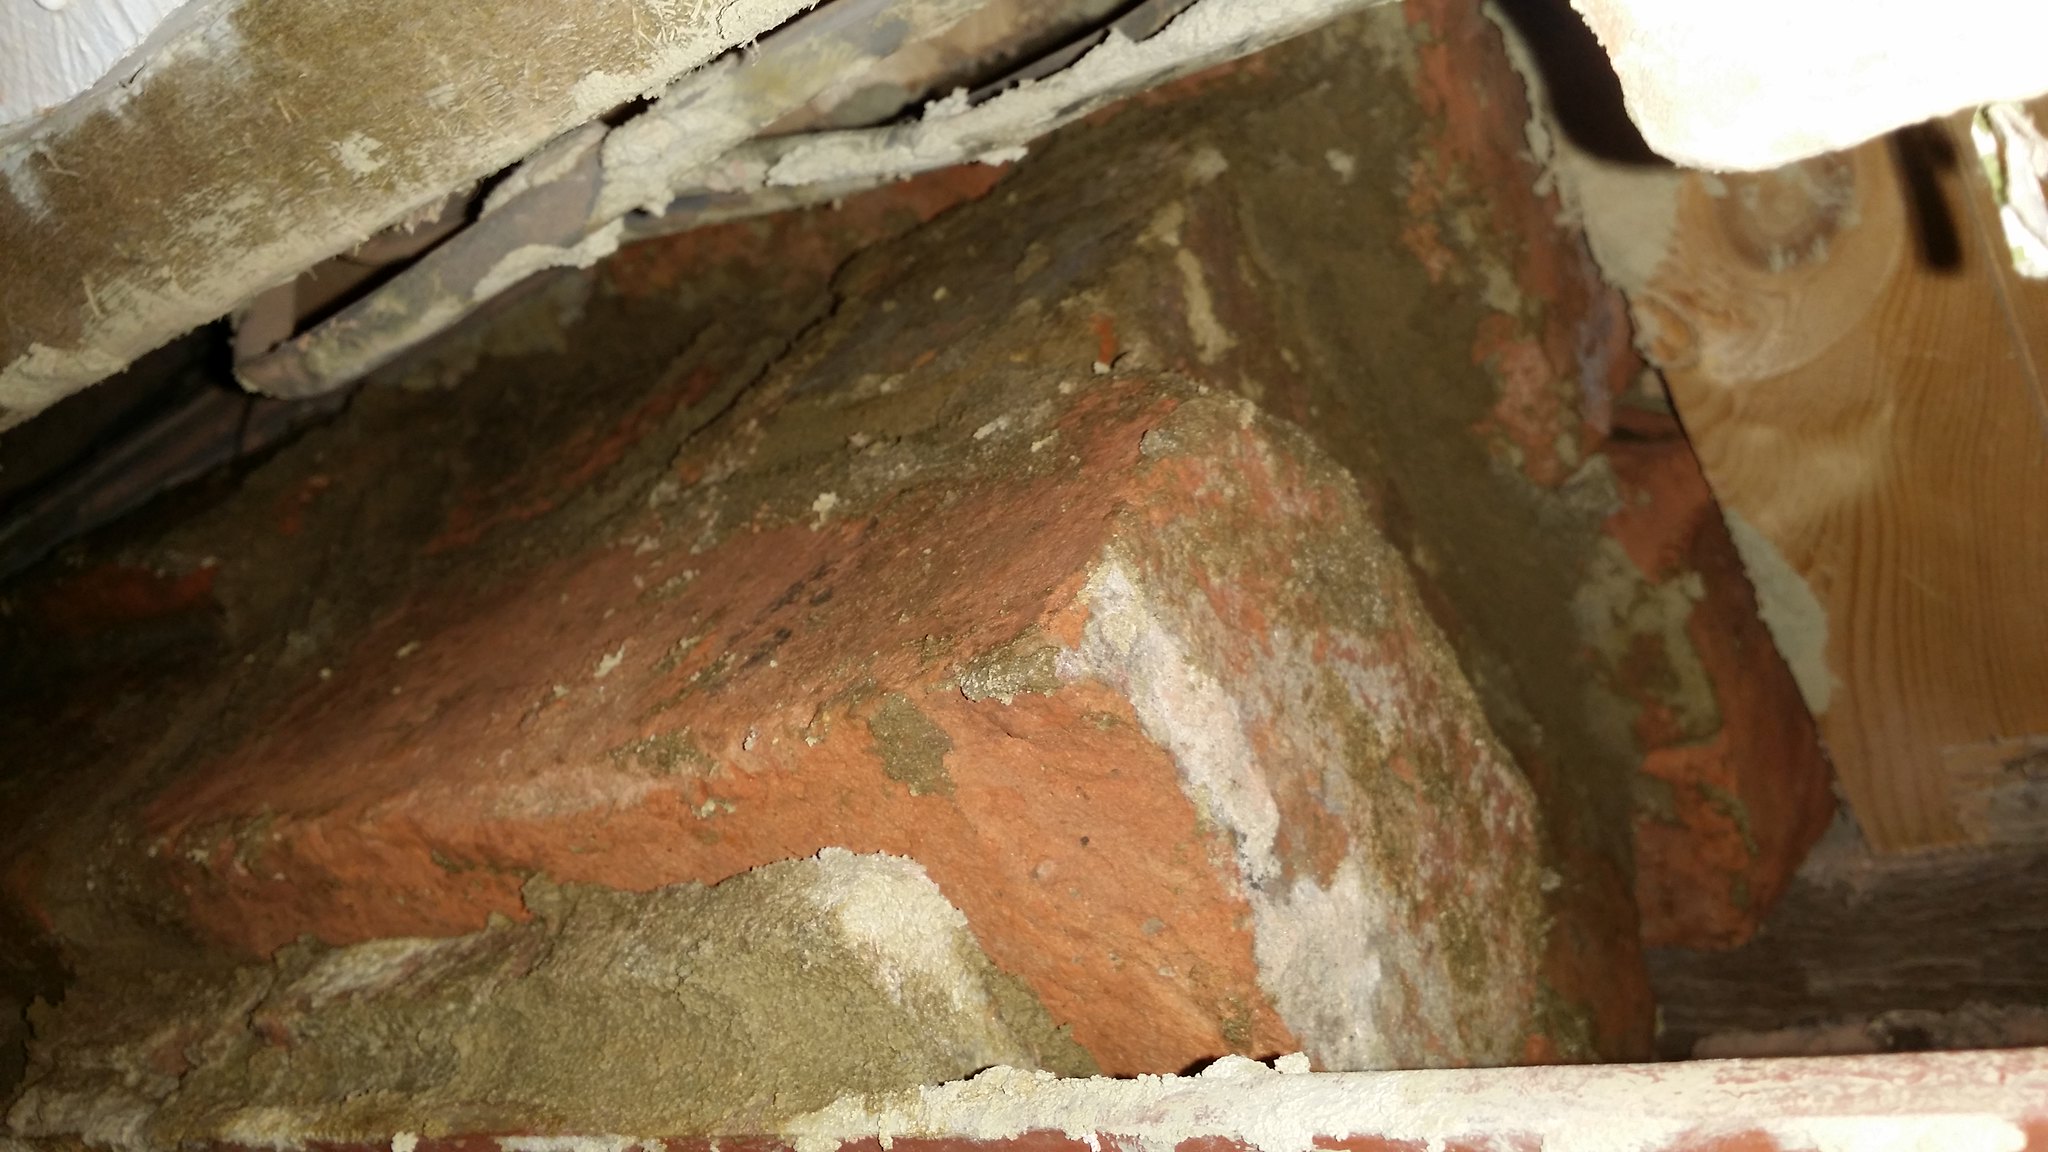
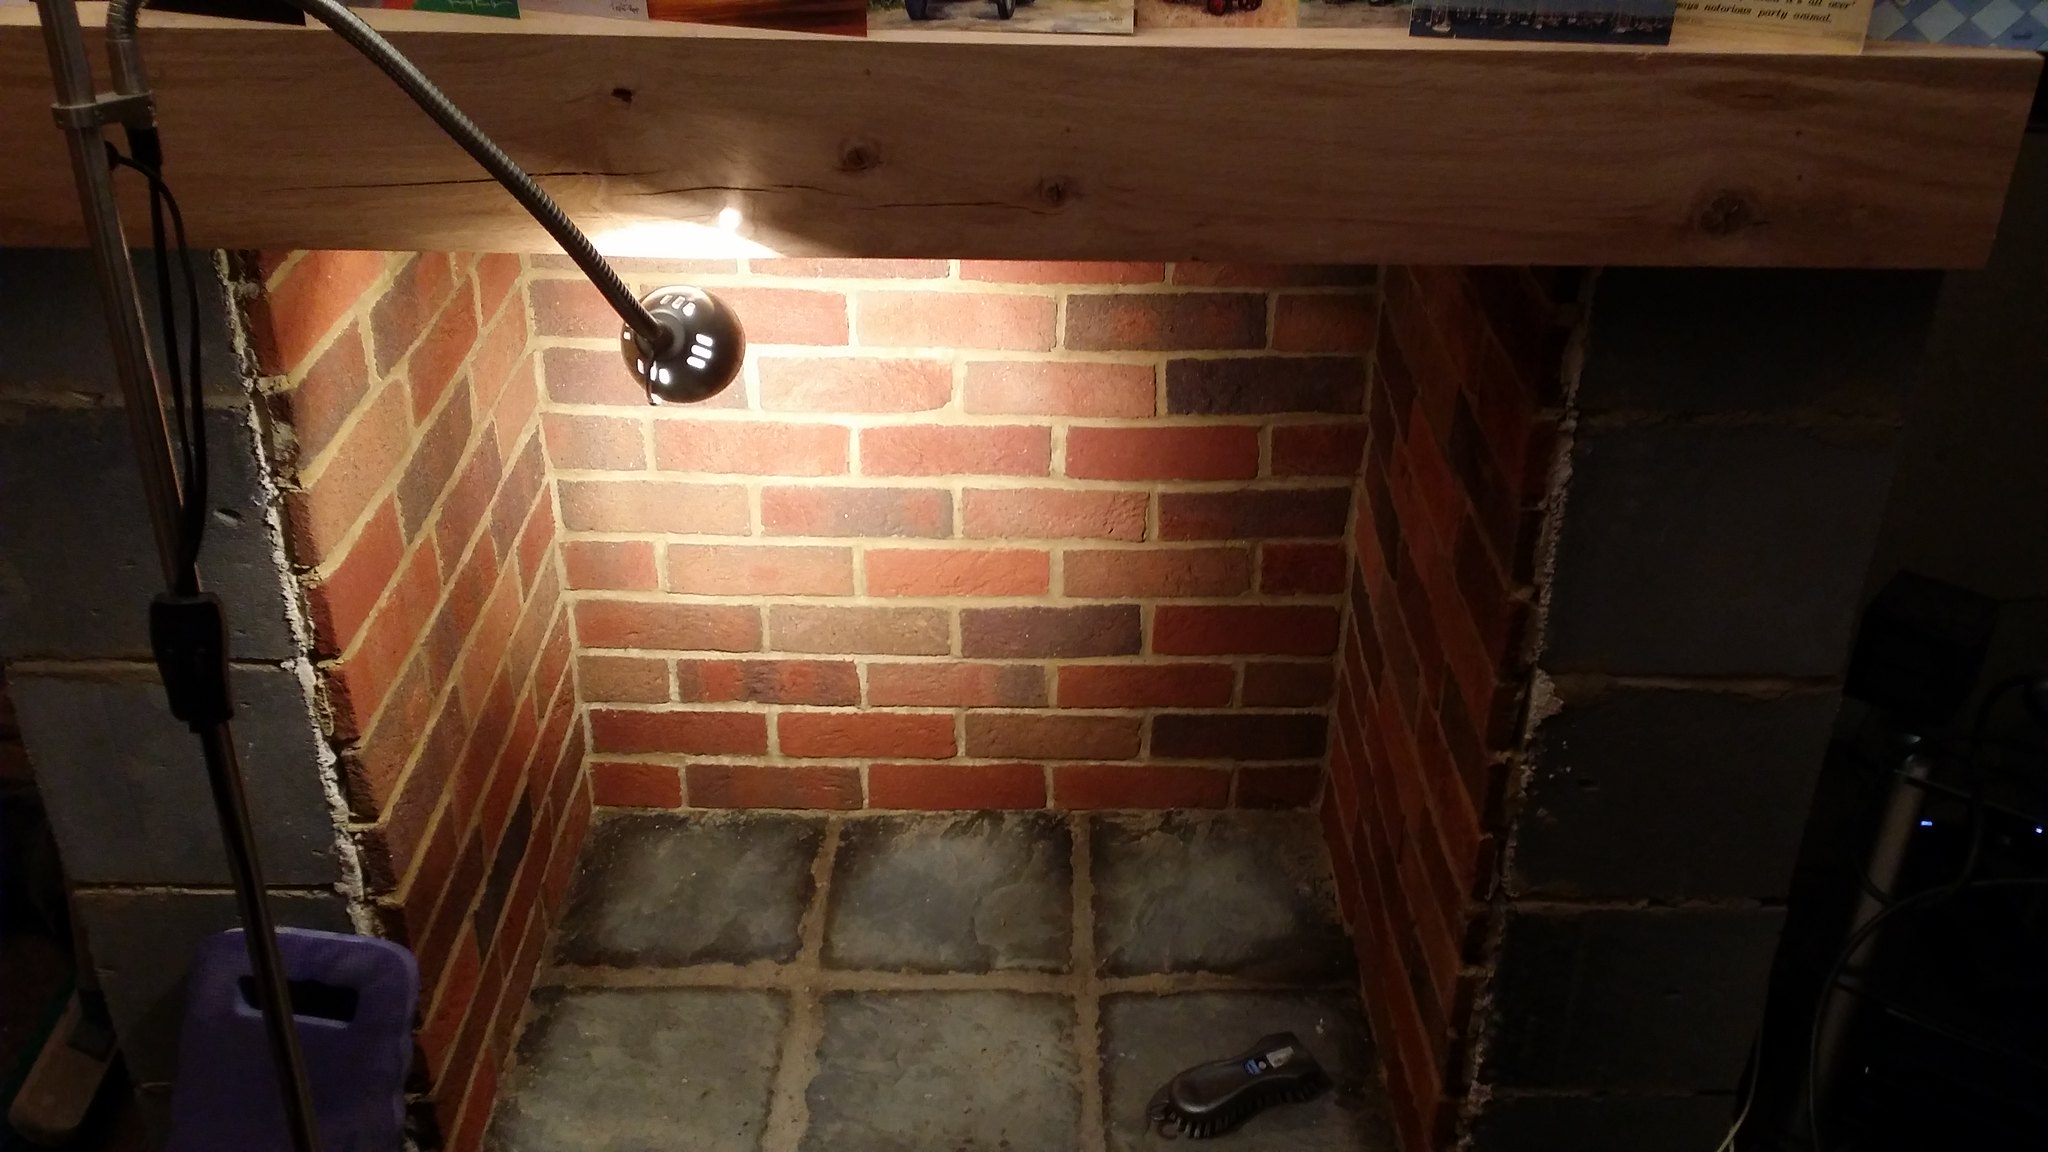
I had to put back a few bricks on top of the steel to support the small bits of wall above. Laying bricks from the top course down is quite challenging, particularly with tight access!

21720180973_02328b6a49_k.jpg


22315220076_46613e1881_k.jpg


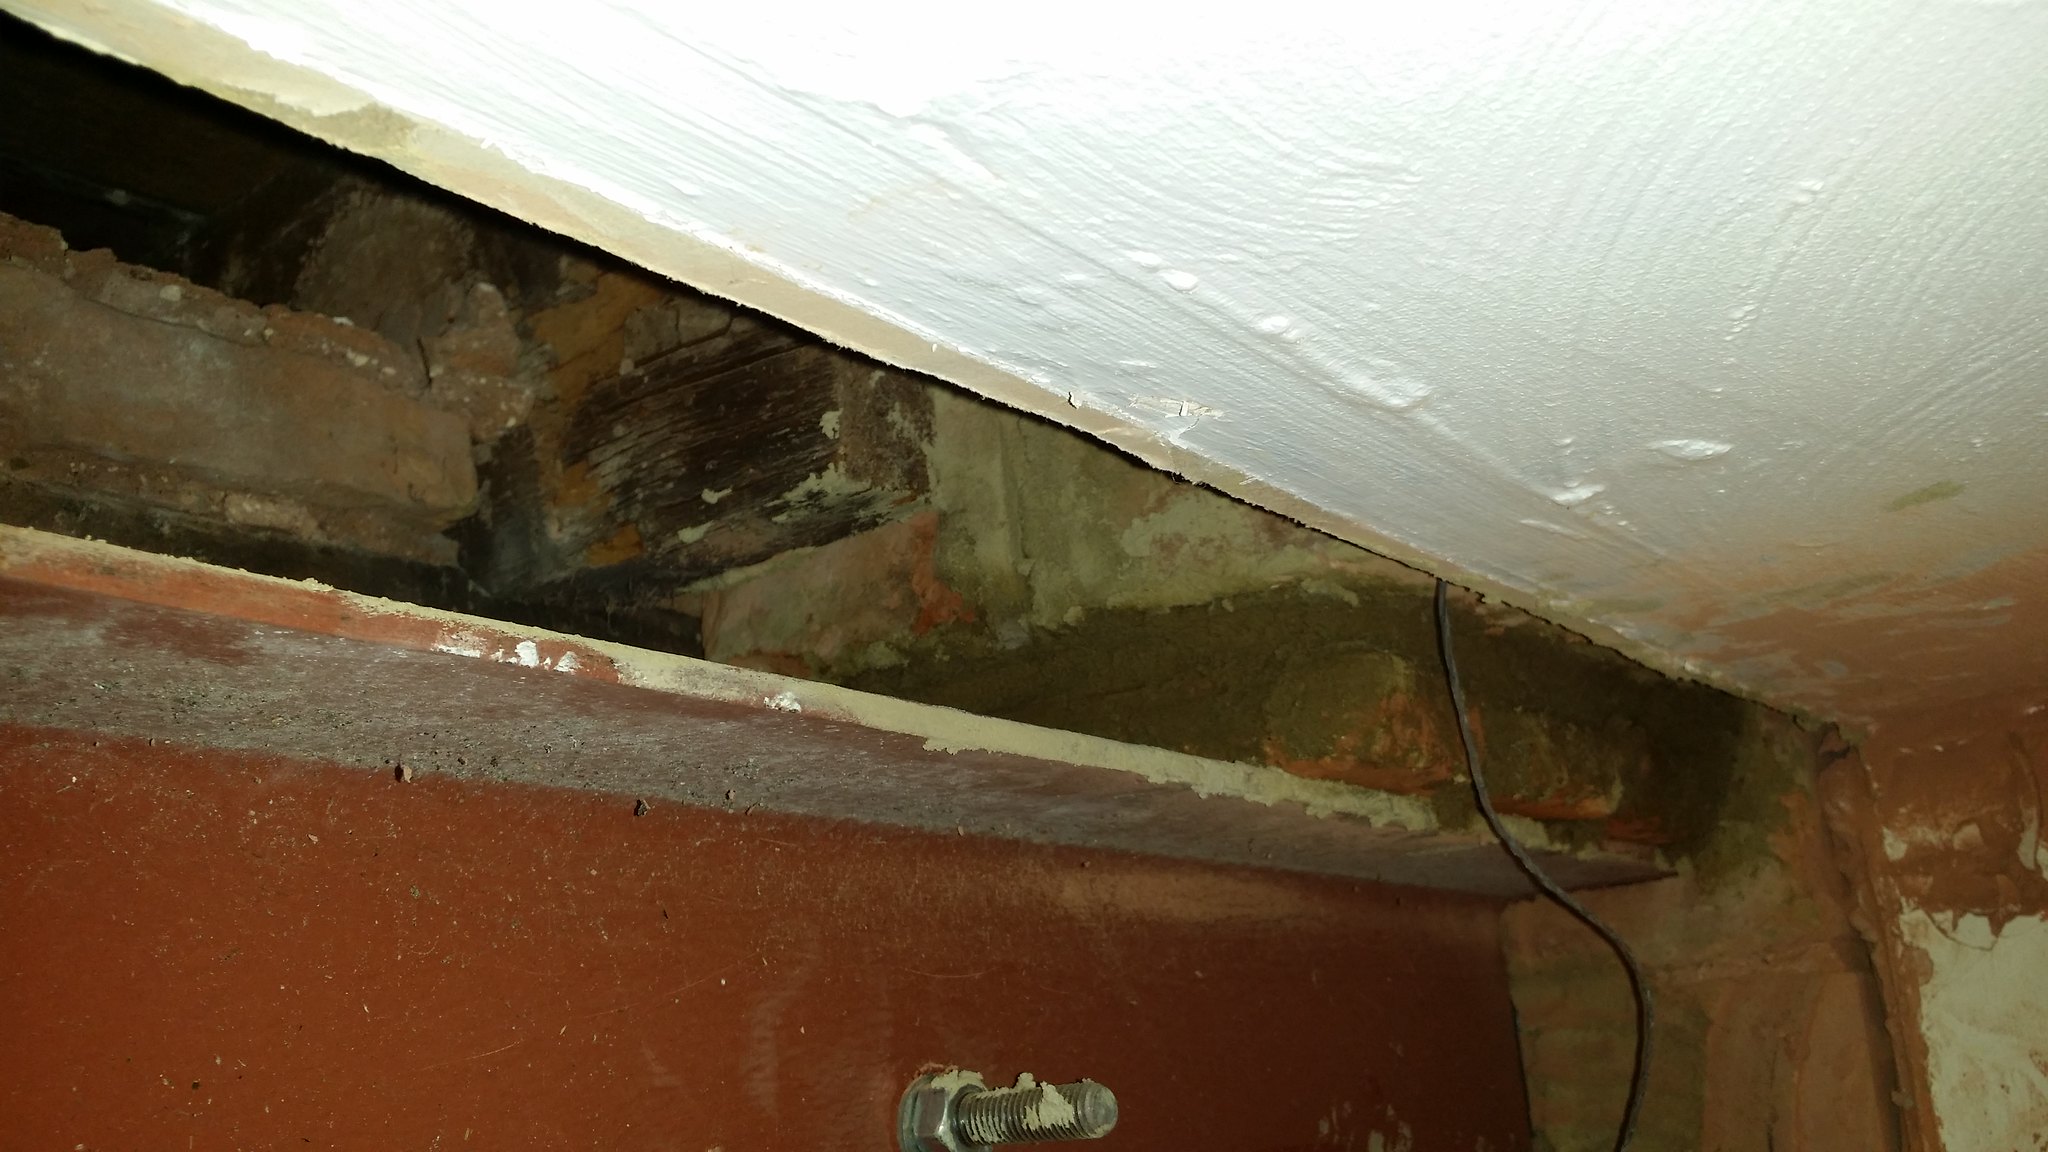
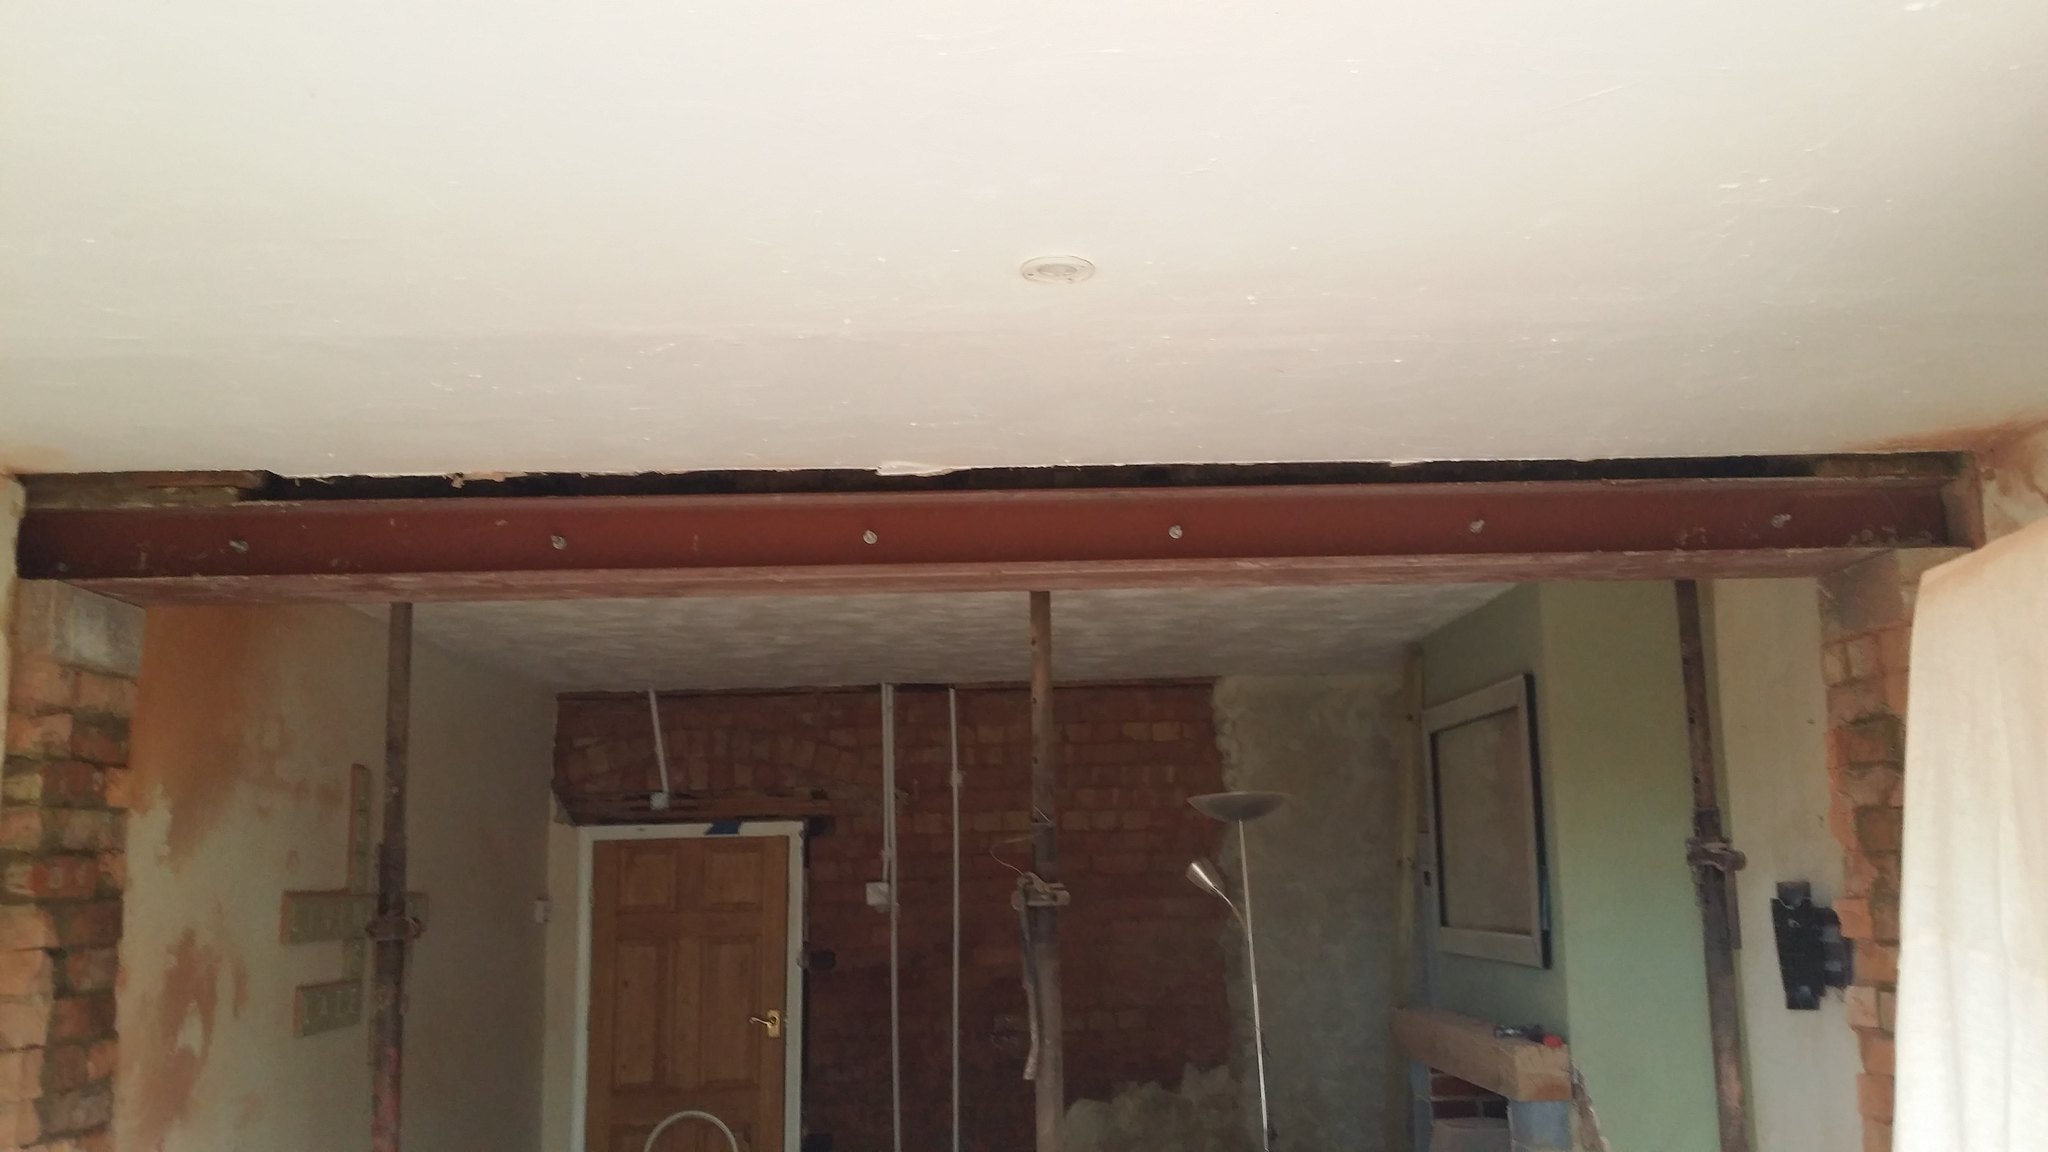
I then drove steel shims between the beam and the wall plate under every joist so that they would be supported by the beam when the props were removed.

22154398419_f14633bb46_k.jpg


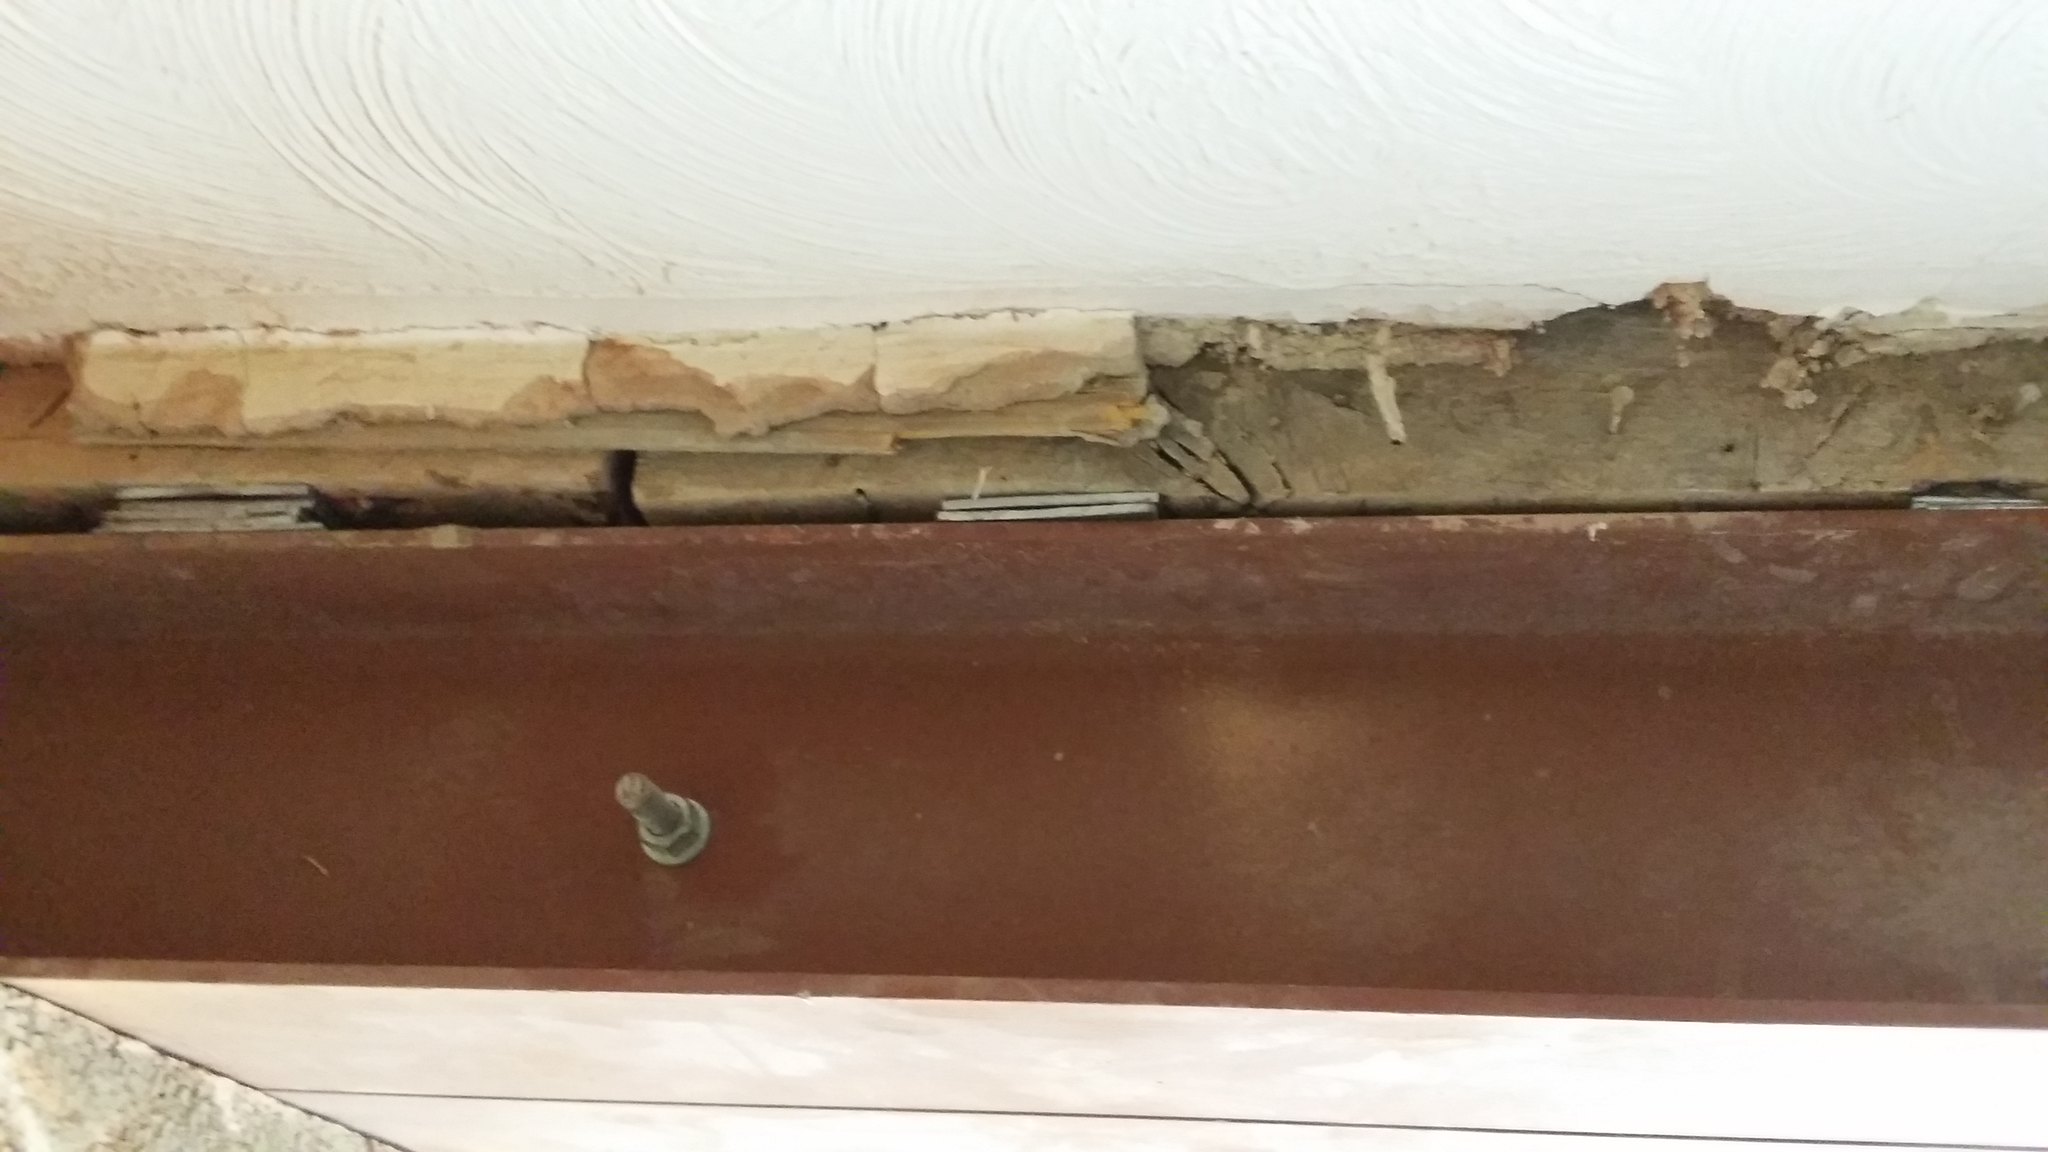
No props, and it hasn't fallen down! I was actually quite surprised that there was no movement or creaking when I took the props away, clearly the shims did a good job.

22154381589_28f0f0d7bb_k.jpg


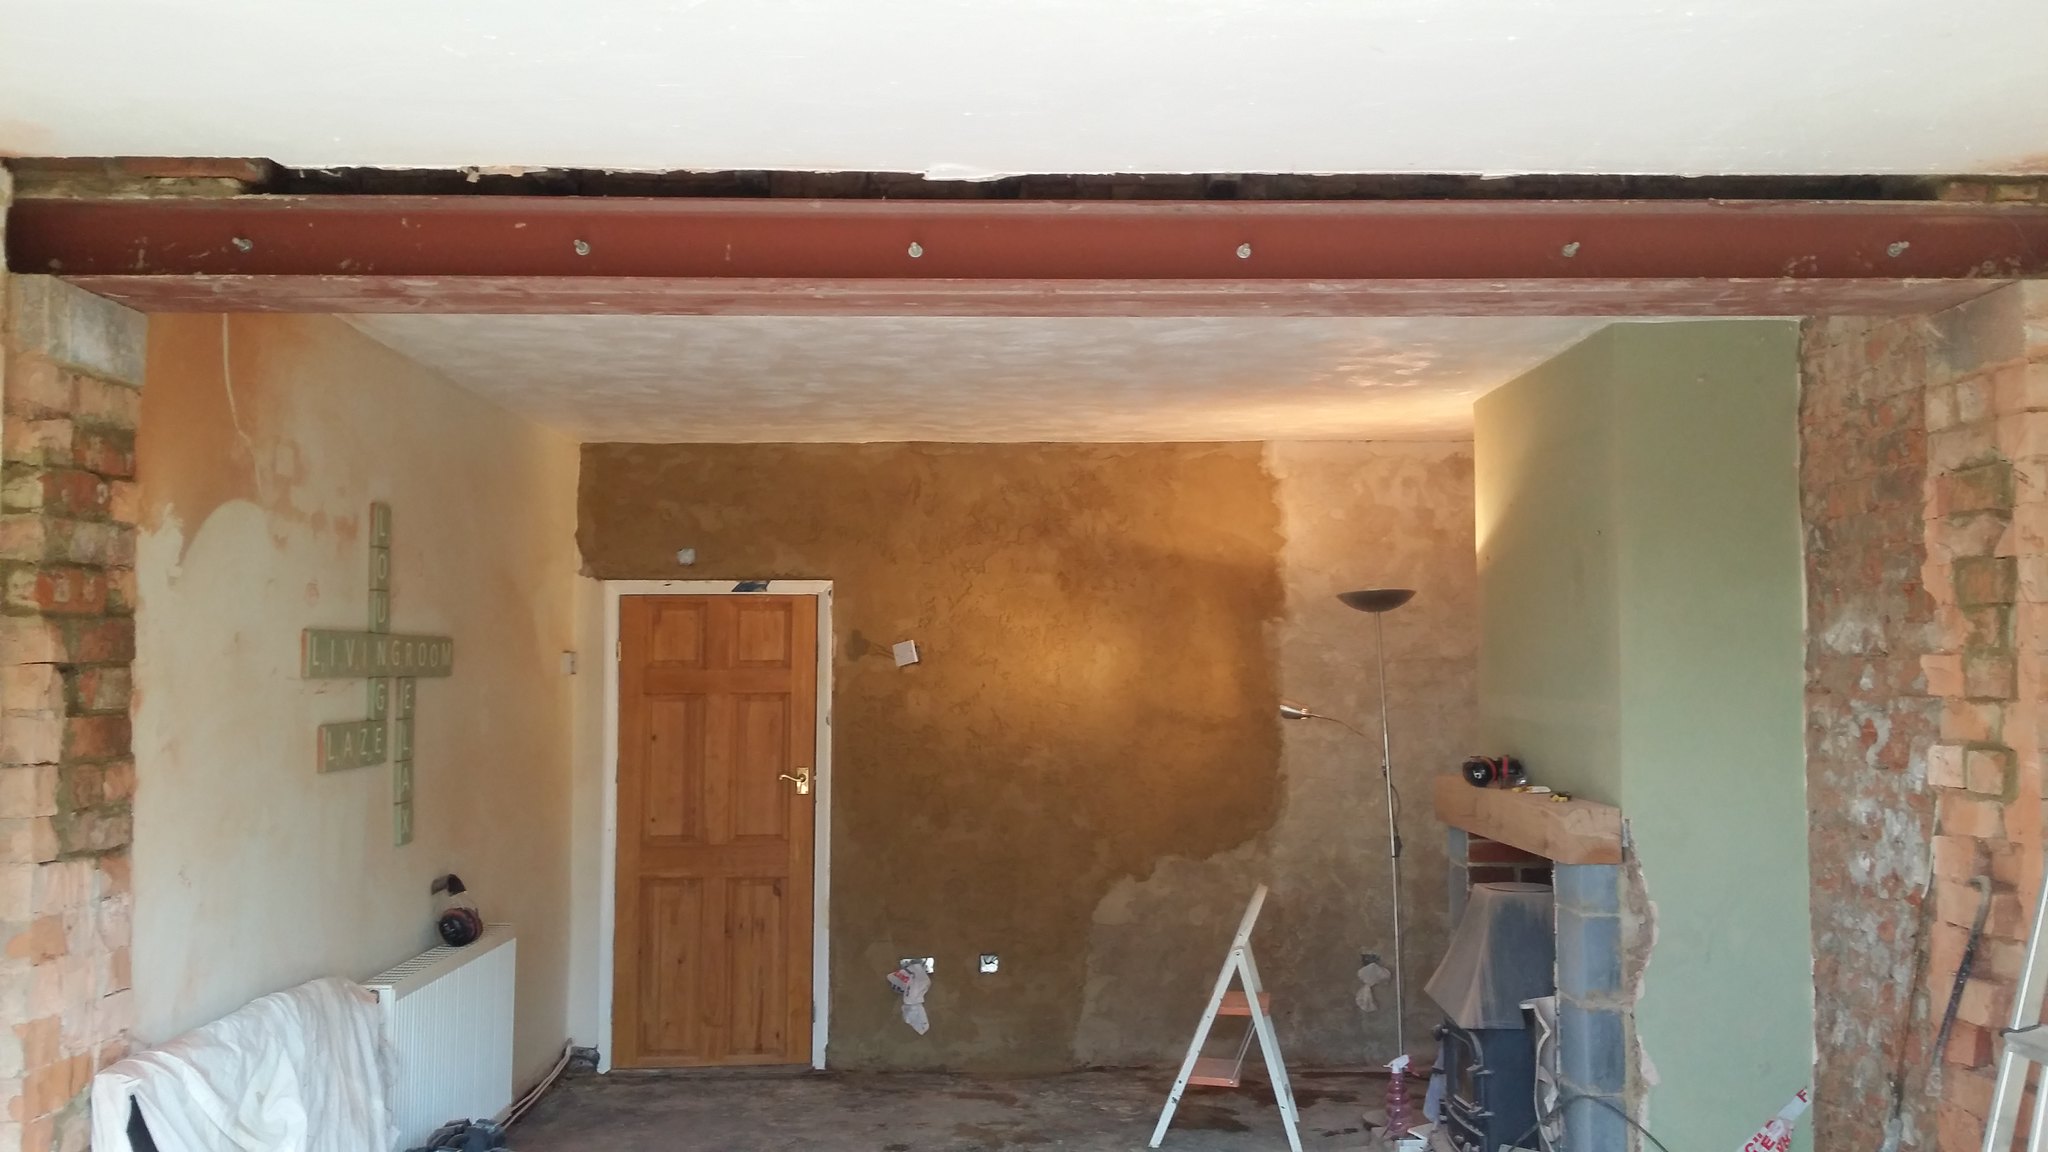
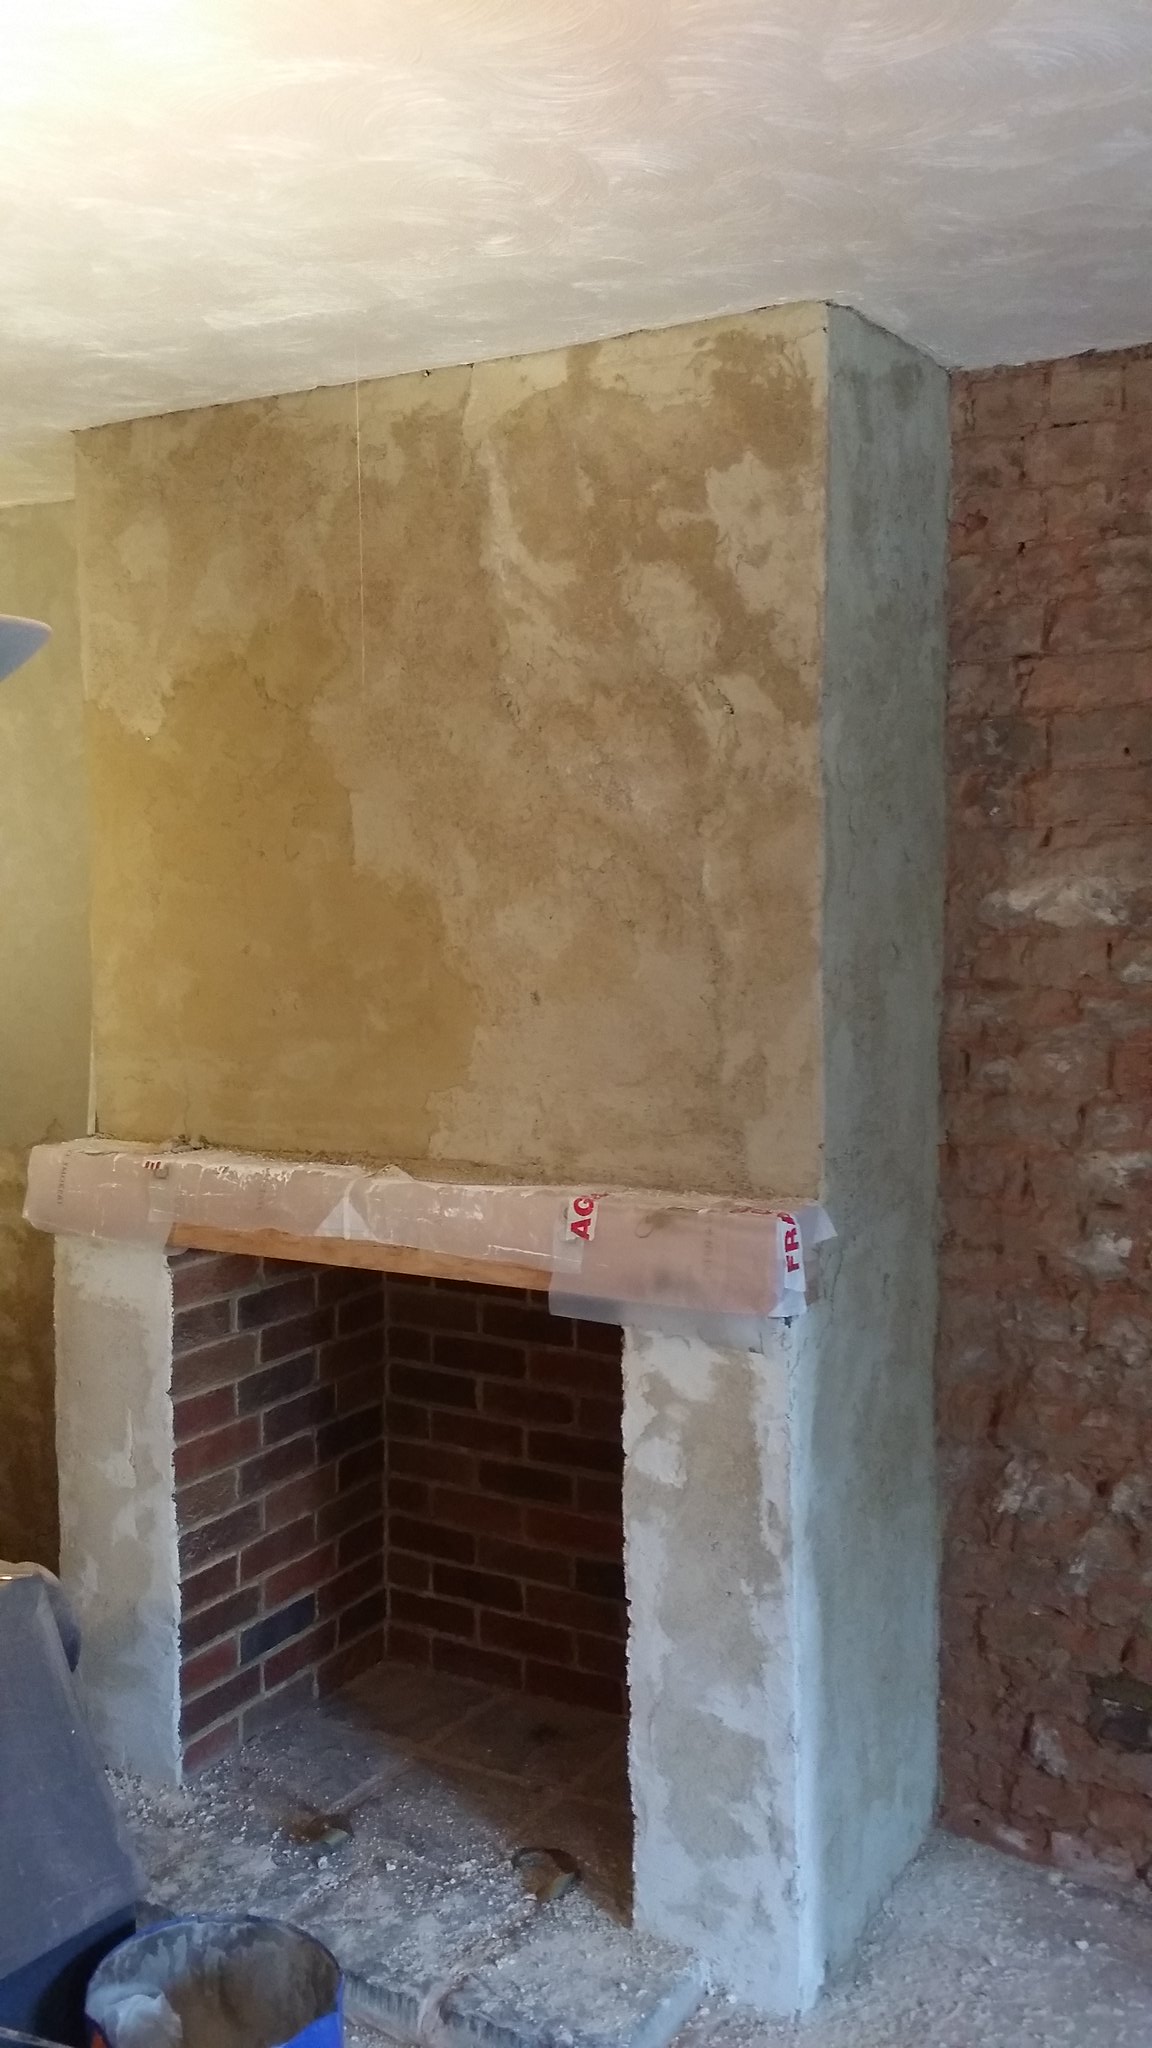
At this point, it was all signed off by building control and the boarding up and plastering could commence. Post to be continued...
 
Good post with interesting pics and comments. Slate has been looked at as the best leveling material in these supporting from underneath situations,
Under bricks etc. Steel shims are easier to size up and hammer too!
Does the Building Control Occifer want the RSJ's fire checked at all?, soldiers in the webbing and plasterboard , or a beam encasement?
You'll be digging up the floor soon I should think, get rid of the flooring blocks, they used to be set in pitch, as a dpc and bonding and fixing material, it'll be interesting
to hear, or see how you'rs was fixed down.
I'm not too sure that Patio doors were sited or fitted in 1856, would likely be the back door?
Anything like here in Sunny Devon I the 1850's the farm worker grew his veg and some kept, or shared a pig, fed on the waste the family or families, produced.
Bloody hard work for sod all pay! and then they pipper you off when you couldn't work anymore.
Until the 1909 OA pension of 5 shillings a week, that is.
I always look around these really older places with great respect for those earlier occupants.
Keep posting please! regards rodders
 
Very interesting - brings back memories of my first big DIY job in the early 80's.....putting an arched opening between the dining room/lounge. It was a bit more straightforward - single brick and no regs.
 
Rodders - I have no doubt there was no patio door in 1856, but when we took the arch apart there were a couple of steels in there which are also unlikely to have been around in 1856. The old opening was exactly 2m wide and quite low (about the height of a door frame), I can't see why the previous owners would have chosen to enlarge the opening at the time of the extension but not choose to make it a more sensible size. At the time of the house construction this was actually the front door, the houses were the other way round then with what is now my back garden the main front entrance and garden, with relatively little space to the rear of the property (which is now my driveway). From what I have heard you are right in the past functional use of the garden.

The BCO didn't mention anything at all about fireproofing around the RSJ. It's all been boxed in with plasterboard now and signed off. There was no attempt to fireproof the previous steel over the opening either. The RSJ is mainly just supporting the first floor wooden joists; I know that steel loses strength well before it reaches melting point but I reckon in a big fire the first floor will have largely gone up in smoke before the steel loses its strength and gives way so I'm not too concerned.

These images are actually from August - the lounge is now basically finished and we've moved back in, I wouldn't have been allowed the time by the foreman to write up a WIP with the house upside down! I'll try and write up the next stages of the remodel later today. I didn't document most of the deconstruction, but the old floor was indeed set in a black tar like substance that had long ago dried out. The sub-floor looked to be concrete. The floor took about 20 minutes to take up with a shovel (just about the easiest part of the whole job I think), it was very loose and gappy.
 
Fireplace

We actually started work on the fireplace first, whilst we were waiting for the structural engineer's calculations (you can see the partially altered fireplace in some of the above images). The original fireplace looked like this - the inglenook was bare brick which was in a poor state and had several layers of shabby paint on it, whilst the chimney breast itself was just a flush wall with plaster which also wasn't in the best of nick. We wanted to build out the chimney breast to take an oak beam, and also re-line the inglenook with brick slips. In the first image I've already stripped the plaster off the front where the new pillars are going to be built.

22152866360_9727168048_k.jpg


I didn't actually take many more pictures between this and the fireplace being completed. The pillars were built up at the front using aerated blocks, then the whole of the inglenook was stripped back to bare brick with an angle grinder and wire brush (lovely job!). I put a base coat of NHL 3.5 hydraulic lime plaster made with coarse sand to give myself a flatter surface to work from. 20mm brick slips were then stuck onto the plaster with a hydraulic lime mortar; I went up two courses at a time using offcuts of plasterboard for spacing. The whole lot was then pointed in lime mortar - my wife did this bit as apparently I don't have the patience for such a fiddly job! The end result looked like this, you can see the 6" oak beam sat on top which was fixed in place with cement onto the pillars:

22341398875_4024c18156_k.jpg


During plastering, a better view of the change:

22153166990_6cb6763baf_k.jpg


Walls and electrics

As already mentioned, the walls in the original part of the lounge were mostly in a very poor state and needed stripping back and replastering with something breathable. I also wanted to move and add to the electrical sockets, add in wiring for ethernet, surround sound and TV signal, and change the lighting round. Good job we decided to do all that too. Here's an example of the wiring we found when we stripped off the plaster:

22153218810_38acfac7c7_k.jpg


The moisture in the wall has completely rotted through the metal capping, the angle of cable in the wall is ridiculous... Wonder what Part P would have to say about all of this! Replacement wiring around the same wall, this time in plastic conduit with dedicated high-up power, aerial and network socket for a wall mounted TV and a conduit channel to run signal cables between the TV and cabinet below.

21720116033_cf917b4a7e_k.jpg


View from the other side of the pillar, showing the conduit where all the network and aerial cables are running through. The channel chased in on the right hand side is for speaker cabling:, all as far as possible from the power cables on the other side:

22153479278_eac8bdd685_k.jpg


10 metres of subwoofer signal cable in the wall, and guess what! Fortunately an easy enough fix. Have a good laugh at the Heath Robinson shielding around the connection (which was on the advice of a mate who really knows his stuff):

22154280359_838413d951_k.jpg


22351767251_abac886795_k.jpg


22351759961_bf9d6e6ee4_k.jpg


Boarding up over the RSJ. I attached some timber battens first with rebates cut so they sat over the flanges of the beams, battens fixed on with screws:

22341181045_b5a76cd08b_k.jpg


22351789921_ecdb25232f_k.jpg


All the plastering was then finished off. In the old part of the house I used a base coat of 2.5 parts 3mm graded sharp sand to 1 part NHL 3.5 lime plaster (St Astier) followed by a top coat of 2 parts silver sand to 1 part NHL 3.5. The plasterboard and extension parts of the house were done using Thistle Multi Finish. I found it really important for the base coat of lime plaster to use a well graded aggregate, DIY shed "sharp sand" was much too inconsistent and generally had too much grit in. My brother in law spent a year as a plasterer's mate about 20 years ago so kindly did all the top coat work for me. I was really grateful for his help, but the lime plaster sections proved incredibly difficult to deal with, especially with the top coat. Because the walls are old and very porous, the top sections would dry out ridiculously quickly (as in, difficult to work after 10 minutes and you could literally hear the moisture being sucked from the plaster) whilst the bottom sections of the wall which had retained mositure via capillary action would sometimes take hours to go off enough to float and polish. The drying was very patchy, and I ended up having to spend a lot of time afterwards with Casein breathable filler and a sander. Even then, the finish is pretty disappointing. I wetted the walls down several times with a soaking wet sponge; in the wet places the walls stayed nice and wet whilst in others the water would just vanish before my eyes. I'm sure a professional experienced in lime would have been able to deal with this a lot better, perhaps I should have spent quite a bit more time practicing myself. Never mind, the walls are finished now and it has at least stuck on well with no hollow sounding bits or visible cracks. The walls were painted with breathable Earthborn clay paint.

Write up on the flooring to follow.
 
Floor preparation

The old half of the lounge had the floor level with the new half - but that was with the old block flooring in place. Once the wood block was lifted, there was about a 15mm height difference. I also needed to install some form of DPM. If you follow modern building standards, they will tell you the only thing to do is to dig up the floor and install a constructional DPM. However, in the past numerous bitumen and epoxy based products were recommended for this purpose as well (e.g. Synthaproof). It's not clear to me why these products are no longer recommended for this purpose, as they have provided long-lasting damp proofing on lots of projects.

I didn't have the appetite for all that breaking out of an old subfloor, so I decided the way forward was to lay an epoxy DPM and then self-levelling compound on top for the wood block floor. Having done some research, I settled on F.Ball products. I used Stopgap F76 epoxy DPM, then a primer of P131, then a filled mix of green bag, 128 liquid and graded aggregate. I looked up my local stockist - B L Flooring supplies - went along with a trailer. Big mistake. I have never encountered a less helpful individual than the guy who "served" me - he tried to tell me I was using the wrong "old hat" products (despite there being a big chart centre stage on his counter advising precisely the product I wanted) and made a big song and dance about being "trade only" and not really wanting to serve me in the first place. Fair enough I guess, if they don't want £400 of my custom then I'll happily take it elsewhere. How these places survive with such an approach is beyond me. In the end I used Berkshire Trade Flooring, who gave me excellent service and free next day delivery of a pallet load of products.

First job was to prepare the old subfloor. Where the previous walls had been the floor was obviously really rough, so I started by mixing up some green bag with 114 liquid (this is rated to go under as well as over the DPM). The whole floor was cleaned up with an angle grinder and wire brush.

22153072070_17461cf9ac_k.jpg


Then the F76 DPM was put down. In retrospect I messed this up; because the floor was still not that smooth I ended up needing to buy extra DPM and I used it at about double the estimated coverage rate. The DPM is much more expensive than the self levelling compound, so I should have put down a 3mm layer of green bag and 114 liquid before the DPM to give a smoother surface. Reading the various instructions closely afterwards this is what is recommended, but given the range of different products and application advice it's not at all clear until after the event (well it wasn't to me).

22153044440_1b01afdac3_k.jpg


Next day I called in the cavalry to help with the self levelling compound. As I was laying it quite thickly, I expected to need a quick flow of material - and so it proved. I had a team of three in-laws mixing up (one bag of green bag and half a bag of aggregate per mix) and me laying. We found with the mixing that the advice to hold a bit of the liquid back to prevent separation wasn't necessary, and the mix was too dry until the full container was added. I laid the compound with a 6' aluminium feather edge and a plastering trowel, using a spiked roller afterwards to smooth out fine ridges and remove any trapped air. I worked freehand from the join between the old and new floor, down one side of the room then back up the other side. It seemed to work well and I was happy with the result, it was a little down right at the edge but aside from that it turned out a lot better than the new half of the room. The whole lot was laid in under 90 minutes and I didn't struggle with it setting too quickly. I found it took a little longer than advertised to harden before I could walk on it; I left it until the next morning before continuing work.

21719978713_640dd717d8_k.jpg


Got the TV on 3 hours before the England-Wales game, which was a major objective for me. In retrospect it wasn't such a great achievement.

22154204999_b38a055327_k.jpg


Laying the floor

At last, on to the fun woodworking related bit - laying the block floor.

I decided that the amount of extra work involved with reclaimed wood block flooring wasn't warranted, so I sourced 27m2 of new "natural" oak wood block for £650 delivered. This has the advantage of still having all the tongue and grooves intact, so it should hold down well. It arrived about 3 weeks before I started laying, it was all unpackaged and left as spaced out as possible to acclimatise.

22328090312_086624425d_k.jpg


Laying the first row. I went for a traditional herringbone pattern with a double width border. I found it quite difficult to exactly follow a line on the floor as the adhesive goes down over the layout line, hence it's not perfectly straight (not that you'd see that now but it did cause some issues with gaps). I think I'd try using a building line if I did this again. I used Lecol 5500 adhesive, which isn't the friendliest stuff to work with but seems to have very firmly stuck it all down.

22153309708_d5bbb4ed79_k.jpg


After leaving to set for a few hours, I laid a few more rows. End of the first day's work.

22153017460_d9fd3cc144_k.jpg


22153011000_3f8c0ddd5a_k.jpg


Laying the central part of the floor actually went a lot quicker than I was expecting, I could lay about 2m2/hour. I was expecting it to be physically tough but what I was surprised by was it was my back and not my knees that complained. I could only work for a maximum of three hours at a time before needing a rest.

Once I had laid the main part of the floor, my father in law and I started on cutting out the blocks to give a straight edge for the border to abut. This proved to be much more time consuming than any other stage of the process. I decided that as the blocks still had the tongue and groove intact, I would make use of this by putting a groove in all of the cut blocks around the edge, and then orientate the border blocks so that all the tongues went inwards and located into this groove. I set up a small router table for doing all the grooving. In total we probably spent about 30 hours cutting and planing blocks to fit.

The finished floor, prior to sanding.

21718251854_cef33655cc_k.jpg


22154163819_312c341768_k.jpg


22152980680_b902f05334_k.jpg


Sanding and finishing

I used my 6" ROS for the edge sanding, helped by the fact that all the skirting boards were off. I quickly decided that for the main floor I would hire a machine in! I started out with Abranet HD 40 grit for levelling, then used normal Abranet 60, 80 and 120 grit. I love that stuff, the lack of dust and consistency of bite is awesome.

22327977062_1aa2d8e88c_k.jpg


To sand the main floor, I hired in a special floor sander called a Trio, made by Lagler.

21718220784_b20ac3d6af_k.jpg


The machine has three 7" sanding disks mounted on a turntable. During work, each disk is driven at high speed as the main turntable is rotated at a slower speed via an epicyclic drive. It doesn't leave the parallel scratching that a belt sander does and is therefore ideal for floors like herringbone pattern where you can't sand consistently relative to the grain.

22154133199_039e5318a7_k.jpg


Fortunately as I'd laid new blocks onto a level floor the surface was pretty even, but it still took some time to level. This machine is normally supplied with 60. 80 and 120 grit abrasives; it's not really designed for heavy levelling more finish sanding. For initial levelling of a more uneven floor I would recommend getting a belt sander in first. There are foam rings on each disk, for initial levelling I removed them which improves the cut.

22153230358_701238d95e_k.jpg


You can feel the machine jumping around when the floor is not level. I used it at a crawling pace with a 50% overlap between passes; the oak floor I laid is very hard and you would have to really be trying to sand the floor unevenly. A plus of this machine is that you can get quite close to edges, it will go within about 4" of the wall, I went round the edges several times to level up. All in all I was using the sander for around 10 hours, it's physically easy to use but very heavy to transport although it breaks down into several parts. I used 4 sets of 60 grit disks and 1 set each of 80 and 120 grit; the hire shop I used charged £2.70 a disk so if you're hiring one it might be worth sourcing your own abrasives. Dust collection from the machine was excellent.

I filled any gaps in the floor with Lecol 7500 filler and sawdust before final sanding.

The result of all that sanding!

22152924980_d3e2e98e72_k.jpg


22314920666_218b3dd62d_k.jpg


Varnish while it's still wet. I used one coat of Juncker's Prelak and two coats of Strong silkmatt (Satin).

22327908012_0a381511d0_k.jpg


I sanded back between coats using my ROS and 240 grit Abranet. A very light touch was needed. I applied the varnish with a 4" foam roller around the edges and a 12" short pile roller on the rest.

The finished floor!

22152894110_982413a5dc_k.jpg


22327893612_963d6d1c6a_k.jpg


Since then I've fitted new skirting and tidied up a few things around the edges, and moved everything back into the room. I also sanded the oak beam over the fireplace which has been coated with 3 coats of Liberon Finishing oil. There are a few more finishing touches to apply (mainly making and fitting some oak beading to cover the expansion gaps between the floor, the doors and the fireplace, and applying a pattern onto the fireplace wall with a stencil roller), but essentially we are at last moved back into the room and I am at last no longer being nagged by the other half.
 
Well done you've done a cracking job.
Lecol 5500 is a good reliable adhesive that I've used for years.
The junckers strong is as good a seal as any one component polyurethane on the market.

Your right about a builders line though, I've even heard of guys using a laser line for setting out.
 
Another good read, It would have been nice to see the skirting in and decorating/beam finished, or is there an episode 4?
Thanks for sharing Regards Rodders
 
Thanks all for the comments. Rodders, the skirting is now on and furniture moved in. There are a few finishing touches still to do, mainly make up some bead to cover the expansion gaps around the fireplace and across the door thresholds where there is no skirting to hide the gap. Unlikely to get done for a little while but I'll put a few pictures up when complete.
 
You could always look to fill the expansion gap with cork (not decorators cork) it comes in 12x22mm x0.9m lengths and is the traditional way to finish the perimeter of a block floor.
 
Parquet Dave":1rmq53yy said:
You could always look to fill the expansion gap with cork (not decorators cork) it comes in 12x22mm x0.9m lengths and is the traditional way to finish the perimeter of a block floor.

I have read in a few places that this wasn't generally recommended, as the expansion gap is there for a reason and filling it with a solid material defeats the purpose and encourages failure? I know cork is a very compliant material and I've seen it used in a lot of floors to cover the gap around the edge. I'm guessing from your username you probably know a great deal more than I do about wooden flooring, I'm always willing to be educated :)
 
Parquet Dave":3j19awdk said:
You could always look to fill the expansion gap with cork (not decorators cork) it comes in 12x22mm x0.9m lengths and is the traditional way to finish the perimeter of a block floor.
You mean cork, not caulk ?
 
M series that's right my mistake I meant cork strip not Decorators Caulk.

Siggy
On strip floors the installation of cork in an expansion gap would not be advised as the direction of expansion is all across the width of the boards.
With a block floor the floor expands in all directions due to the blocks being laid at right angles, so the amount of expansion is across all sides.
I reckon that as there is plenty of expansion on the other three sides using cork around the fireplace is unlikely to cause an issue.
 
Back
Top