knife making and getting a lovely sheen on the blade

UKworkshop.co.uk

Help Support UKworkshop.co.uk:

This site may earn a commission from merchant affiliate links, including eBay, Amazon, and others.

mock

Established Member
Joined
25 Jun 2014
Messages
1,468
Reaction score
11
Location
WALES, Nr Neath
How to get a lovely sheen on a knife
Someone asked me how to get a lovely sheen on a homemade knife I have never made a knife so I thought I would ask for some advice on here for him mock
 
I haven’t made any knives, but lots of silver jewellery, I suspect it’s much the same. Once you’ve shaped the piece, work up through the grits removing the marks from each previous grit. Up to 2 or 3000. Then buff with rouge then buff with white lightning.
 
It depends on what you're trying to get I've made a few knives, but none super brightly polished (as it's too hard to keep a knife with a bright polish in shape).

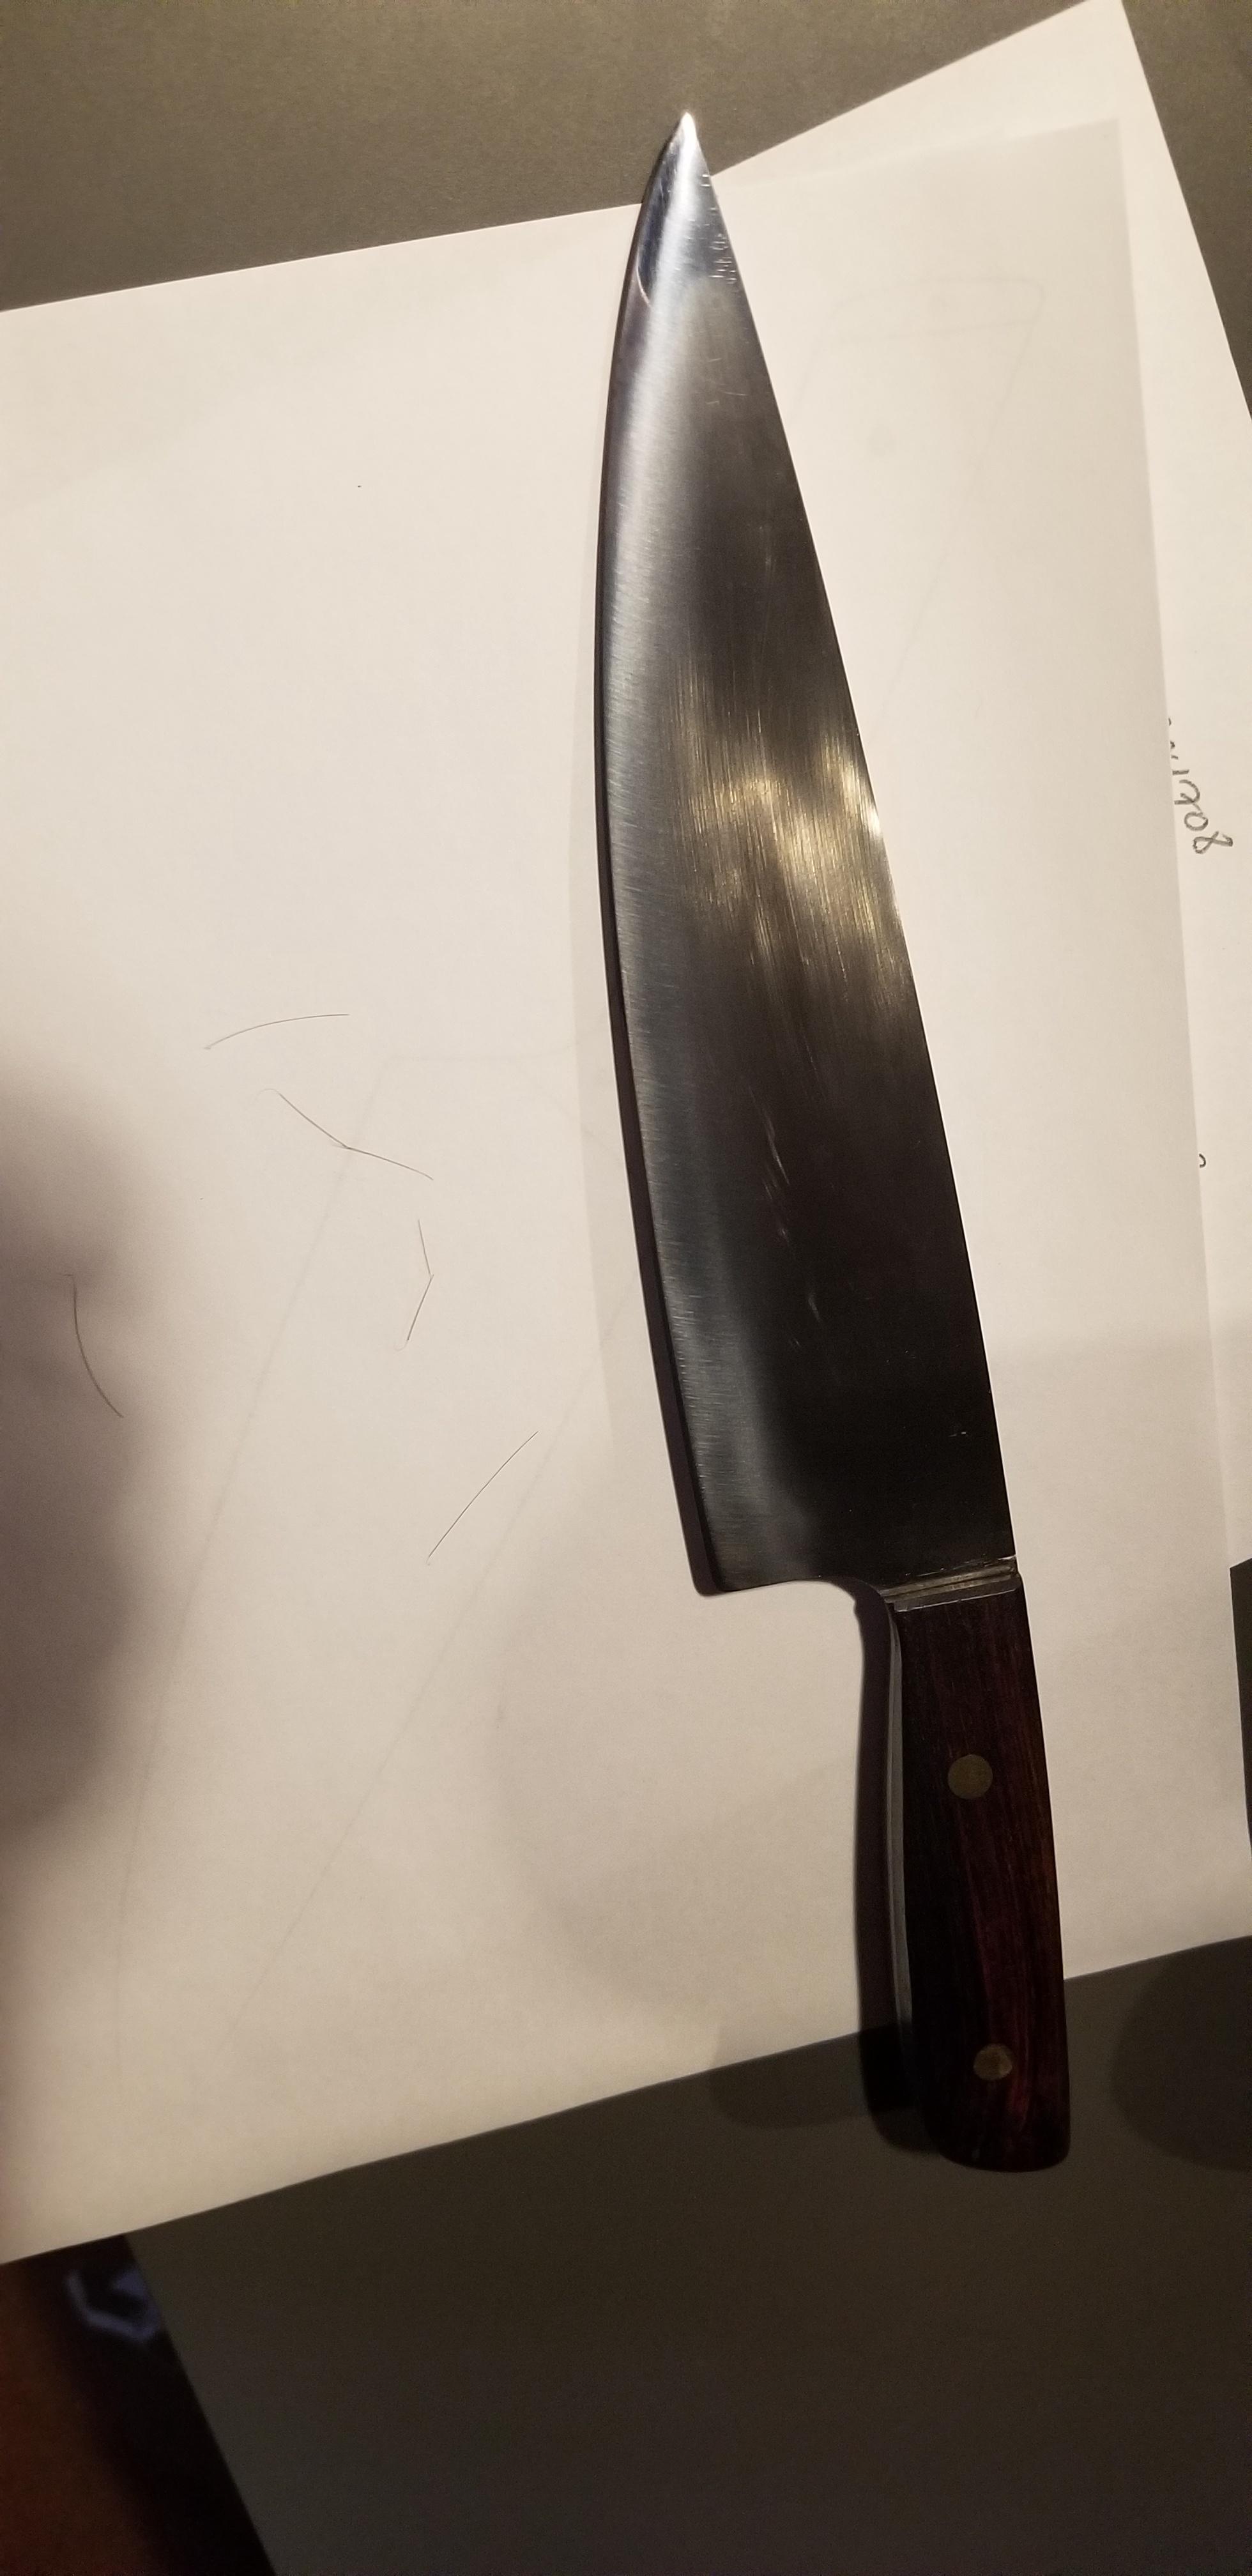
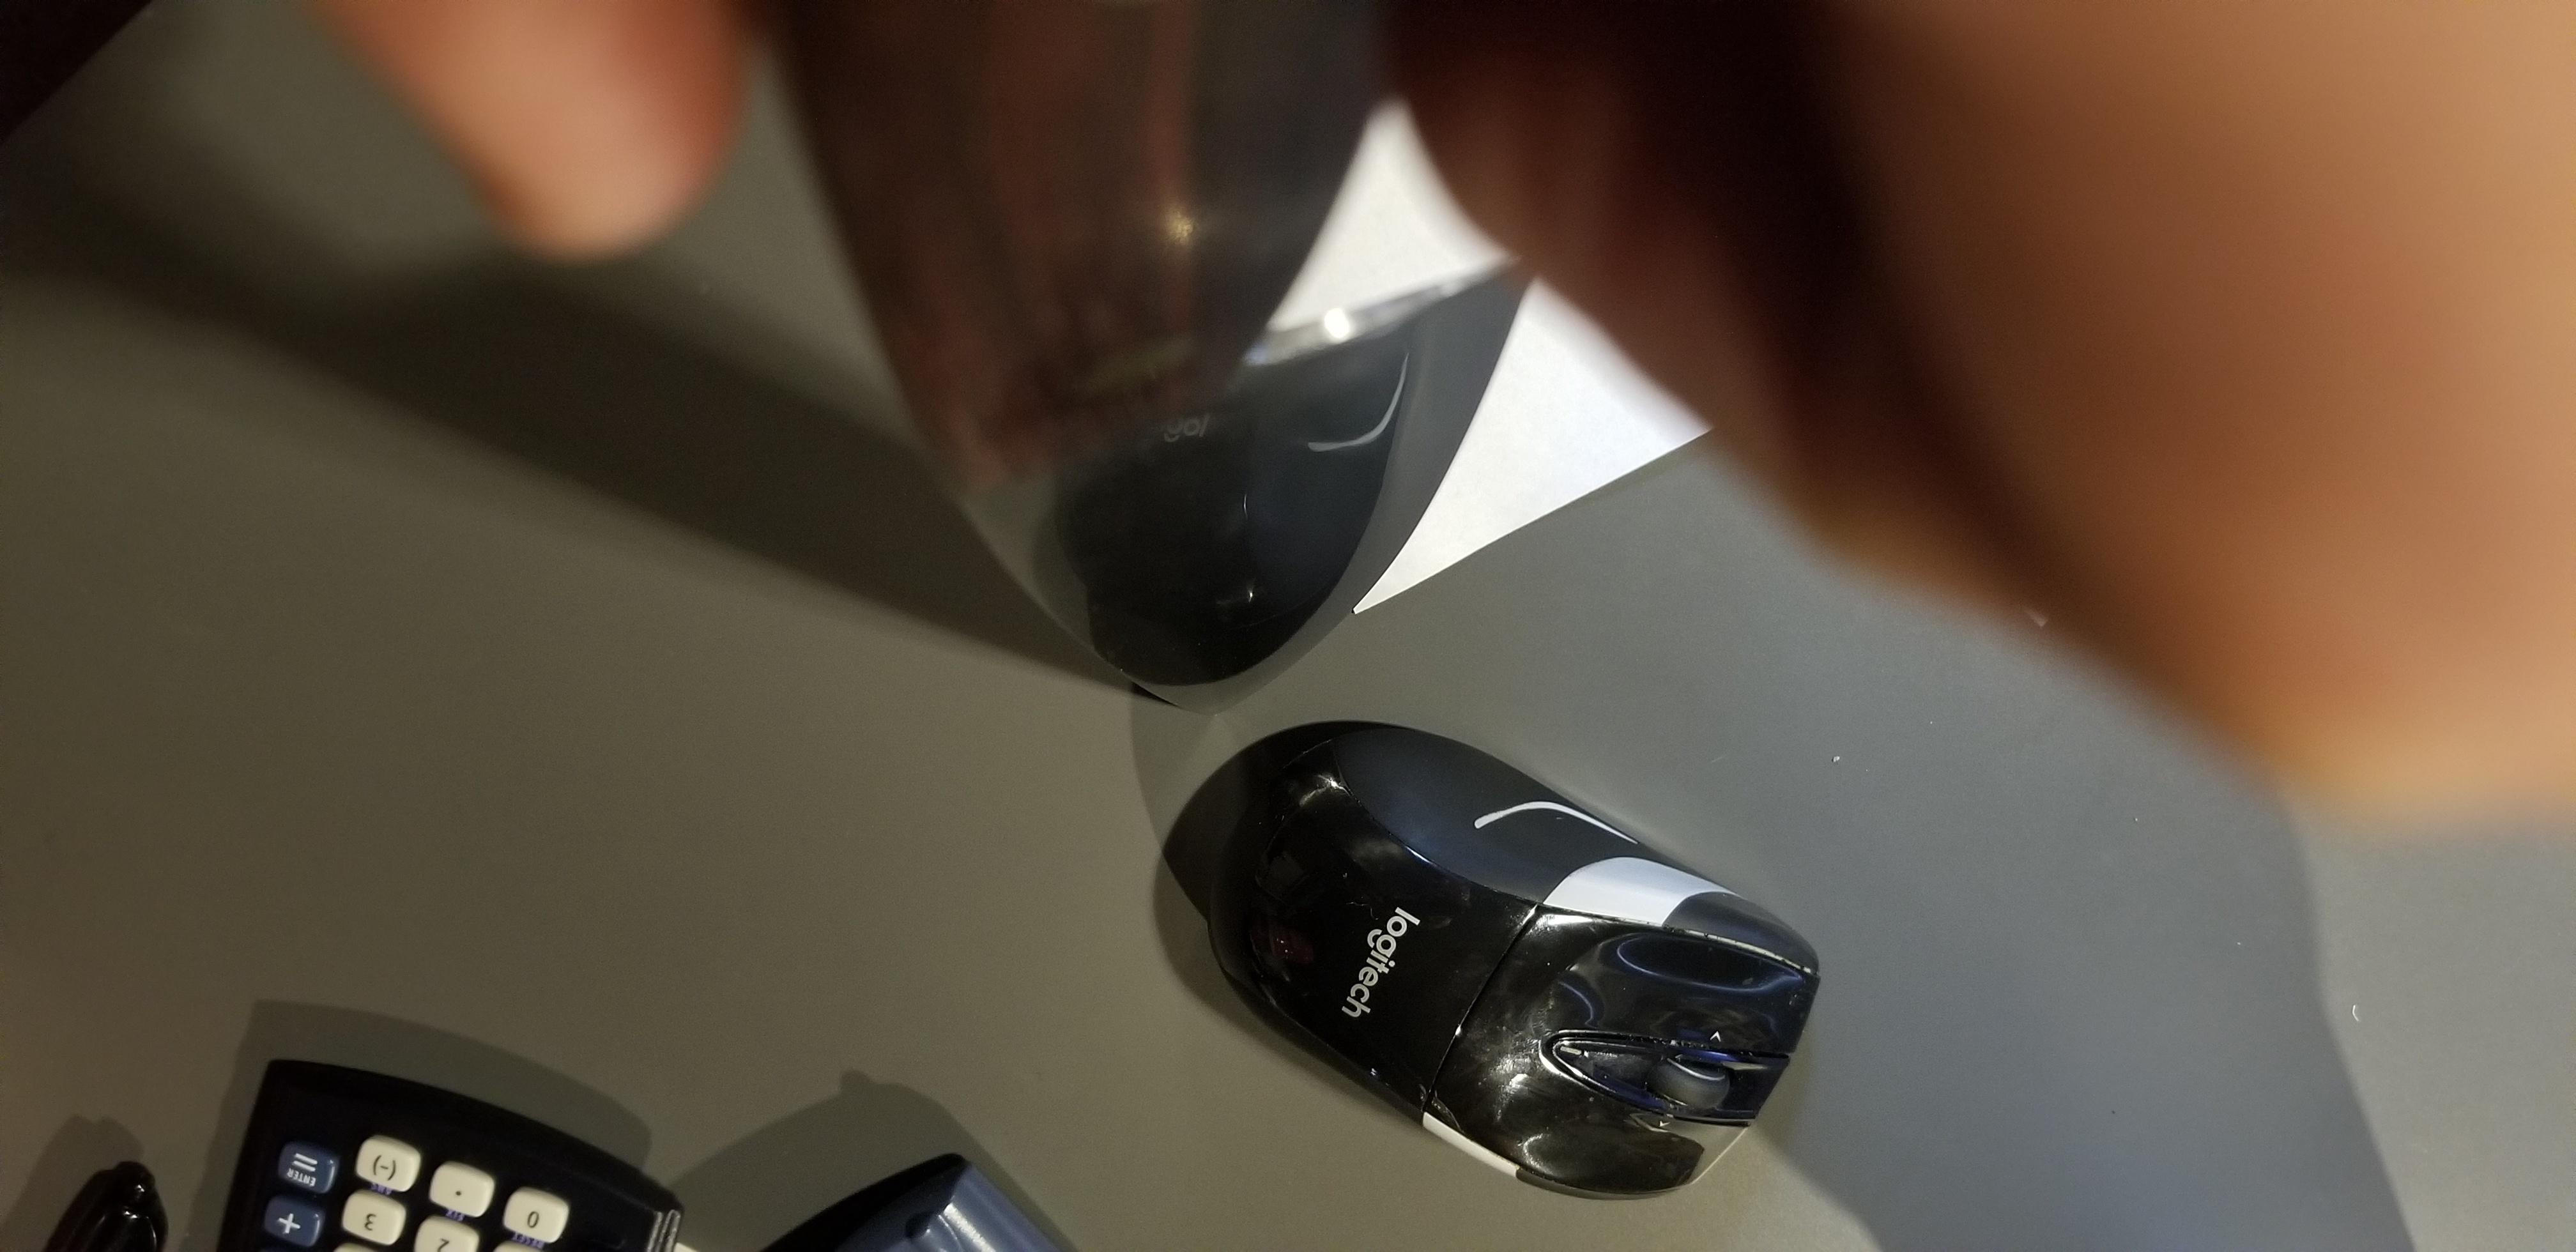
I make them like this (from the side and then from above). You can see the cloud from the side isn't as deep of scratches as it may look (based on the reflection looking along it).

The reality is that it's a lot like sanding wood, in that:
* you don't start sanding until the stock removal or shaping work is fine enough to be able to sand
* Once you do, you must make sure the work of the current grit is uniform and well done with no stray deep scratches (if you bump up, you'll never get them out)
* Once you get to a certain point, you have to decide if you're going all the way to bright polish ir if you'll do something such as what I showed (the virtue of what I showed, which is just a 220 grit al-ox with a light touch and some lubricant, is if the user of the knife lightly scuffs the knife accidentally, they can restore the same level of finish. if the knife is bright polish, it'll never look like new again as matching a polish can be difficult.

The best way, though, to tell that you didn't do enough on a given sanding step is to move up a step and then find the scratches remaining deeper than the prior.

A little harder to explain than do (these pictures show that I have a bit more to do on the tip of this knife, but not a big deal as it's still in my shop on a shelf. I wouldn't send it to someone as a gift with the little marks left in the tip, but this was the first one I made).

DHFN2un.jpg


PBjix57.jpg
 
a better example of this from a later knife.

I think it's a good idea for the average person to do the last half of this work by hand, or back and forth between machine sander and by hand so that you don't end up making a lumpy surface.

(this was a pair of blanks that I did make, grind very thin and send to someone, thus less in nasty stray scratches - the recipient made the handles, thus no handles).

fairly sure this pair may have gotten a follow up quickly (like not more than a minute per side) with gray scotchbrite (by hand, not a powered belt or wheel).
 

Attachments

  • 20211117_140519.jpg
    20211117_140519.jpg
    91.3 KB · Views: 51
The traditional Japanese sword Smith's polish the whole blade using fine stones. Takes a while, and some serious skill, but if you have ever seen a real one then a Katana has got to be the best ever combination of beautiful workmanship and functionality. A real work of art that will take your head off with little more than a flick of the wrist.
 
The traditional Japanese sword Smith's polish the whole blade using fine stones. Takes a while, and some serious skill, but if you have ever seen a real one then a Katana has got to be the best ever combination of beautiful workmanship and functionality. A real work of art that will take your head off with little more than a flick of the wrist.

The closer the process is to being hand done, the higher the price goes, and the more traditional it gets. I haven't watched a documentary about swordsmiths in probably 10 years, but recall the use of fingerstones and from having hand polished some things to a lower level, would guess true hand finishing of something made for upper classes would be a matter of a week to weeks, and not a matter of hours.

Judging from what I can buy when I get belts, I would also guess a lot of mid-level knives (in the multi hundred dollar ranges) are mostly done with a progression of grits and then surface conditioning belts. It takes practice to know where to cross over on machine work like that and just attaching PSA paper to something and using a hydrocarbon lubricant is easier in the world of doing a couple and not "surface conditioning" the pretty right off of the corners on every line.

The process I described above as far as a large kitchen knife goes, though (like the long slicer in the second picture) is only about an hour, and a couple more hours could bring the progression to a scratch free high polish.

Anything under a few thousand dollars in japan (in sword length) is probably polished by machines. I'd like to make a sword as the way I work makes it not-so-hard to scale something to that length and differentially harden it, but my wife would not tolerate a sword being left in the house. Good swords are made of steel that's compatible with garage working, though (vs. industrial) maybe better than the steel would accommodate industrial process. Kitchen knives, too, if you're willing to spend four or five hours making one freehand.

I'm sort of slowly saying that this is a territory that a decent hand woodworker can transition to pretty well as some of the things are closely related (as polishing a knife is closely related to a combination of hand and power sanding wood - it just goes more slowly and mistakes take longer to work back out).
 
I polished these with emery paper boards - ~30mm wide 6mm ply with different grades of emery paper stuck on with double sided tape. Grades of paper from 100 to 1500 or 2000. Then buffed them a bit with rouge, although I don't think that made much difference. All takes a bit of elbow grease!

Cheers
Richard
 

Attachments

  • knifeb.jpg
    knifeb.jpg
    136.4 KB · Views: 55
  • knifea.jpg
    knifea.jpg
    195 KB · Views: 55
I polished these with emery paper boards - ~30mm wide 6mm ply with different grades of emery paper stuck on with double sided tape. Grades of paper from 100 to 1500 or 2000. Then buffed them a bit with rouge, although I don't think that made much difference. All takes a bit of elbow grease!

Cheers
Richard
They look lovely. I really like the Lloyd one.
 
I can’t comment on the making but on the finish my favourite small kitchen knife is this one under. I don’t find keeping the polish difficult, it’s a joy to use with the weight and balance and the laminations show well with the polished finish which also makes keeping it clean easy.
3E176B79-1E53-4E2D-AF67-77540F16CD05.jpeg3A555B4B-7DED-4030-A1EB-FACE55F2E9E9.jpeg

My second favourites are again a few laminated Japanese knives, a Wusthof and a Sabatilr these all have a semi-mat finish that matches the green abrasive scouring pads. So IMHO a plain blade goes well with a semi mat finish and the laminations suit a polished b
 
I can’t comment on the making but on the finish my favourite small kitchen knife is this one under. I don’t find keeping the polish difficult, it’s a joy to use with the weight and balance and the laminations show well with the polished finish which also makes keeping it clean easy.
View attachment 124050View attachment 124051

My second favourites are again a few laminated Japanese knives, a Wusthof and a Sabatilr these all have a semi-mat finish that matches the green abrasive scouring pads. So IMHO a plain blade goes well with a semi mat finish and the laminations suit a polished b

Typical combination to get matte/polish is differentially hardened (by alloy, but in some of the older techniques without san mai, by actually using a single alloy and an unhardened spine - which is thought of as a western thing, but practiced in japan, too) - and then an abrasive that's marginal in the higher hardness layer.

I have a couple of pattern welded knives like the one you show and they will show their layers no matter what, though. I'm not sure why (nickel in the layers maybe? 15n20 steel is popular to mix with a more plain high carbon steel so that the nickel makes for a higher polish)
 
The second one then..... the rivets (I guess that's what they are) are really nicely done.
Thanks but I'll have to own up - you can buy the rod like that, like a stick of Blackpool Rock, then epoxy them through the knife handle. You can make them with a bit of effort though. Just not in this case.
 
Thanks but I'll have to own up - you can buy the rod like that, like a stick of Blackpool Rock, then epoxy them through the knife handle. You can make them with a bit of effort though. Just not in this case.

Musical supply is loaded with stuff like this. It's bonkers, as if you decide you'll make your own version, the components end up costing 4 times as much as the finished good from China.

Some of the little pre-made bits are really nicely made, too.
 
Back
Top