


OPJ
Established Member
Some of you will have (hopefully! :wink: ) noticed this in my article for the current issue of British Woodworking. In case anyone wants any further information on how it's done, I thought I'd go in to a little more depth here.
The base consists of 18mm ply, grooved to accept standard aluminium T-track which is fixed with screws in to a sheet of 9mm MDF below. On the underside of the MDF are some rare Earth magnets, which help hold the base flat against the machine's casting while also allowing it to slide back and forth with the fence.
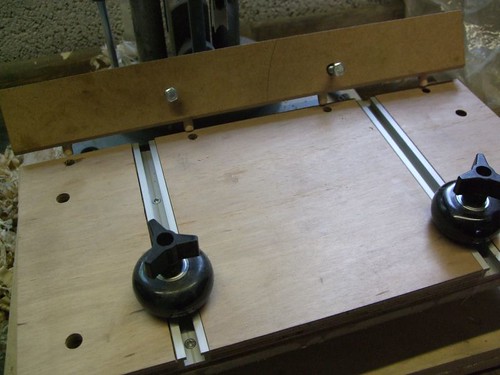
Dowels glued to the lower edge of the MDF fence locate with corresponding holes in the ply base and allow both sections to move together for optimum workpiece support. I did at first try using screws but there all they did was try to pull the base up slightly and out of square with the chisel. The extra holes you can see in each corner of the base allow another sub-base to be fitted on top, which should compensate for anything timber that is too short for the hold-down to have effect.
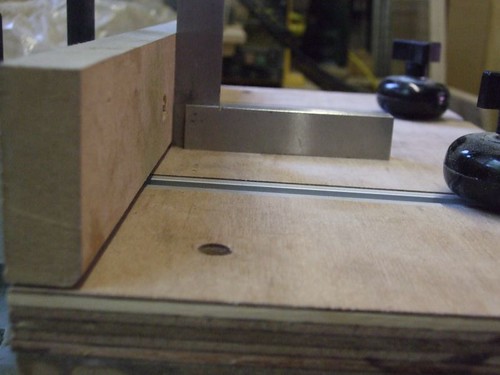
I shimmed the MDF fence with masking tape behind in order to get it square.
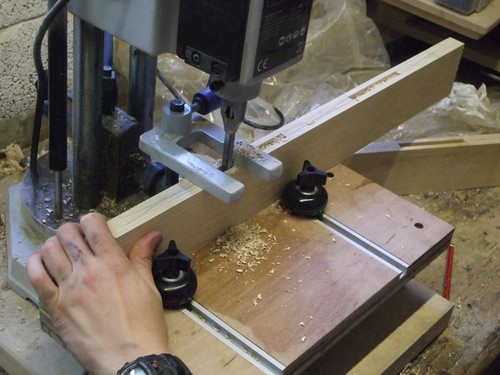
Here it is in action - the roller guides really are great!
Thanks again for looking.")
The base consists of 18mm ply, grooved to accept standard aluminium T-track which is fixed with screws in to a sheet of 9mm MDF below. On the underside of the MDF are some rare Earth magnets, which help hold the base flat against the machine's casting while also allowing it to slide back and forth with the fence.
Dowels glued to the lower edge of the MDF fence locate with corresponding holes in the ply base and allow both sections to move together for optimum workpiece support. I did at first try using screws but there all they did was try to pull the base up slightly and out of square with the chisel. The extra holes you can see in each corner of the base allow another sub-base to be fitted on top, which should compensate for anything timber that is too short for the hold-down to have effect.
I shimmed the MDF fence with masking tape behind in order to get it square.
Here it is in action - the roller guides really are great!
Thanks again for looking.