devonwoody
Established Member
Day 14
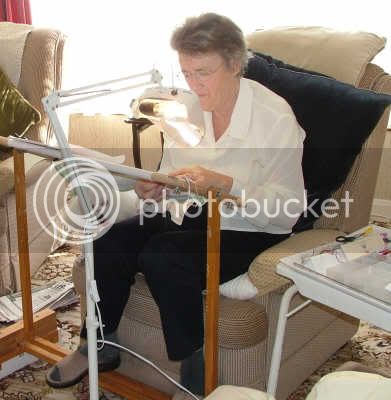
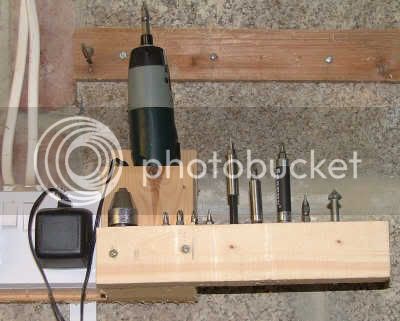
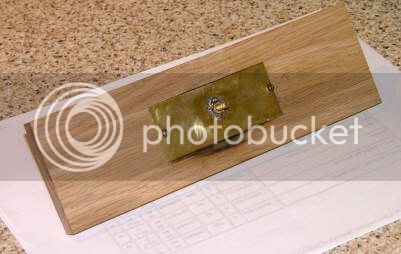
Did some overtime today and got that compartment finished. The first task was to cut some brass sheeting to the under aperture dimensions, this was two sheets with solder between to give some firmness. Next a M4 brass bolt was selected and head removed, a 3.5mm hole was drilled into the knob and the bolt fixed with epoxy. A hole was drilled down through that top compartment lid and through the brass sheeting which has been glued and screwed to the underside of compartment box. A brass nut was then soldered to the underside of the brass sheeting, the bolt had been inserted but its thread covered with Vaseline to stop any solder creeping in to the thread and then locking to that nut.
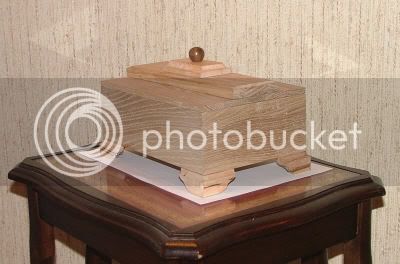
All went well without any c ock ups. The top oak lid of the jewellery box had three indentations drilled to accommodate the protrusions of that secret compartment (the nut and two plate fixing screws)
Finally the whole top piece was then glued to the lid and screws will be inserted from underside the lid later when glue has set.
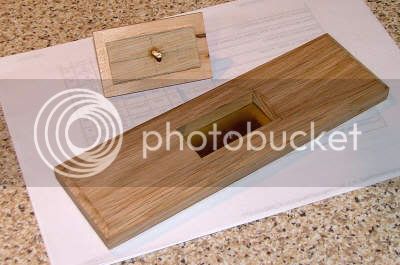
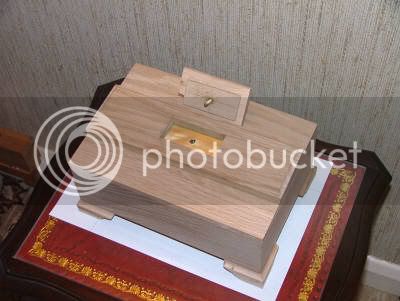
Pleased to write that the top compartment has turned out a success and the lid not having hinges means that it is natural to lift away top holding the knob and the raised side panel. This means anyone not aware of the other compartment has no sight of its whereabouts even when lid is off the box. The weight of the oak top is quite substantial and lies in very comfortably.
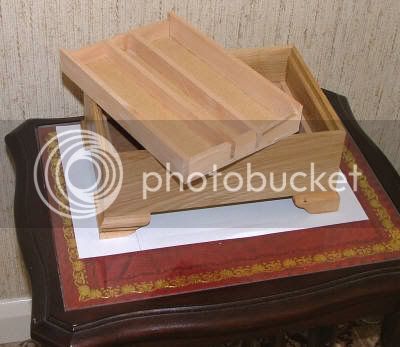
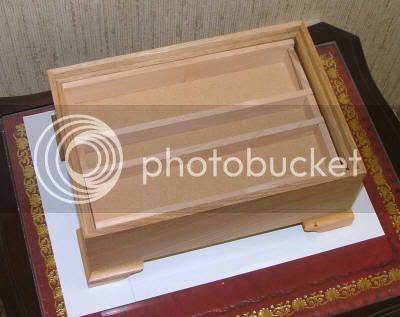
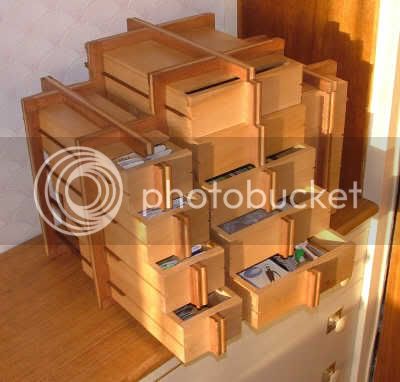
Internal compartments will be constructed sometime in the near future and then the finish applied to this piece plus there is that 13 drawer embroidery box and another desk box also awaiting the finish which will be clear shellac and wax polish. To be honest this part of the workload I find a chore but I suppose must be done. In my model railway making days it was quite traditional to send brass engines away to a professional painter but woodwork does not seem to expect that operation.
I will post photographs of all the items again when finish is applied.
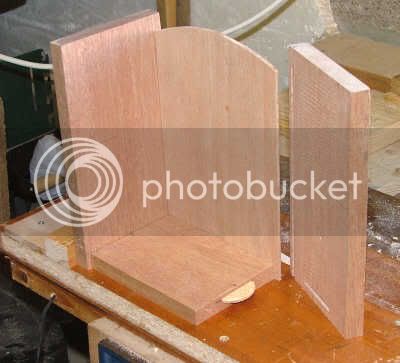
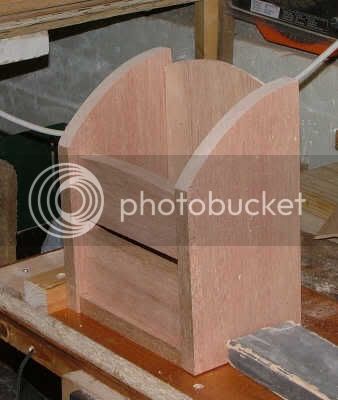
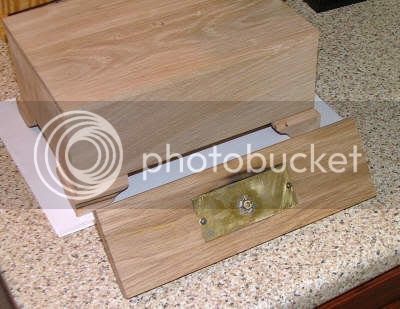
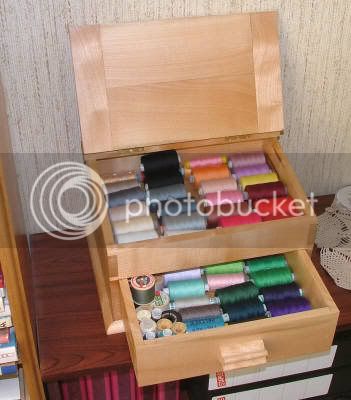
Picture of box now awaiting compartments and finish.
Thanks for watching and the assistance offered by many and for those wooden knobs, sending me veneers and those helpful tips along the way.
__________________
Did some overtime today and got that compartment finished. The first task was to cut some brass sheeting to the under aperture dimensions, this was two sheets with solder between to give some firmness. Next a M4 brass bolt was selected and head removed, a 3.5mm hole was drilled into the knob and the bolt fixed with epoxy. A hole was drilled down through that top compartment lid and through the brass sheeting which has been glued and screwed to the underside of compartment box. A brass nut was then soldered to the underside of the brass sheeting, the bolt had been inserted but its thread covered with Vaseline to stop any solder creeping in to the thread and then locking to that nut.
All went well without any c ock ups. The top oak lid of the jewellery box had three indentations drilled to accommodate the protrusions of that secret compartment (the nut and two plate fixing screws)
Finally the whole top piece was then glued to the lid and screws will be inserted from underside the lid later when glue has set.
Pleased to write that the top compartment has turned out a success and the lid not having hinges means that it is natural to lift away top holding the knob and the raised side panel. This means anyone not aware of the other compartment has no sight of its whereabouts even when lid is off the box. The weight of the oak top is quite substantial and lies in very comfortably.
Internal compartments will be constructed sometime in the near future and then the finish applied to this piece plus there is that 13 drawer embroidery box and another desk box also awaiting the finish which will be clear shellac and wax polish. To be honest this part of the workload I find a chore but I suppose must be done. In my model railway making days it was quite traditional to send brass engines away to a professional painter but woodwork does not seem to expect that operation.
I will post photographs of all the items again when finish is applied.
Picture of box now awaiting compartments and finish.
Thanks for watching and the assistance offered by many and for those wooden knobs, sending me veneers and those helpful tips along the way.
__________________

")