andersonec
Established Member
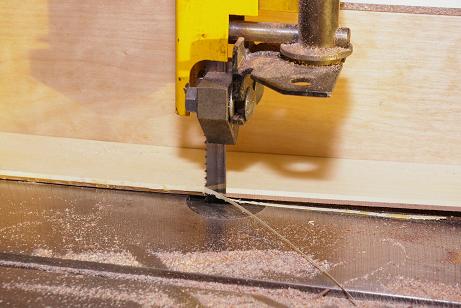
Right then, the two strips were glued up and left to dry, they are then taken out and one side planed to straighten it, then put through the band saw to parallel the other edge

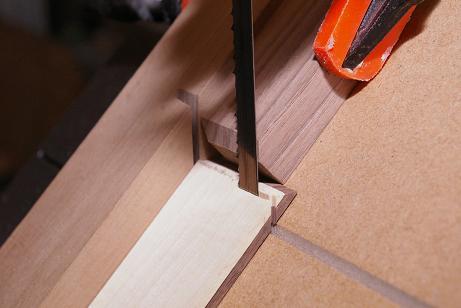
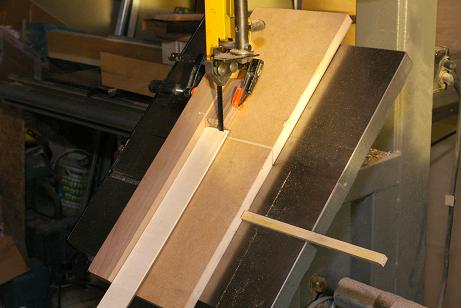
This strip is then crosscut on a little jig for the band saw (very quick to make) and flipped over after each cut to produce little pyramid shaped strips, place a stop block to give the exact cut, this is easy to line up.


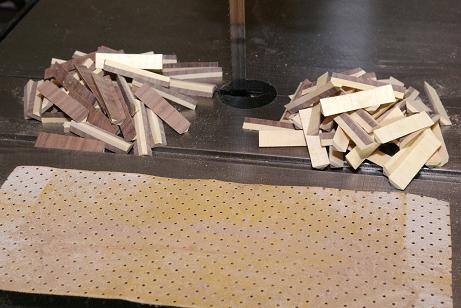
These are then sorted into two piles, Walnut outer in one pile etc. count one pile and lay out half that amount, this will be the length of the outer strips you now need to do.


these measure 300mm (remember we started with a 900mm long piece). I used two pieces of maple veneer and one piece of Walnut veneer for these, 300mm long and a little wider than your pyramids, these are glued together to give you the outer lines, I think just one brown line against the white is very neat.

Run out of space for any more pictures, see next post for part 3

This strip is then crosscut on a little jig for the band saw (very quick to make) and flipped over after each cut to produce little pyramid shaped strips, place a stop block to give the exact cut, this is easy to line up.


These are then sorted into two piles, Walnut outer in one pile etc. count one pile and lay out half that amount, this will be the length of the outer strips you now need to do.


these measure 300mm (remember we started with a 900mm long piece). I used two pieces of maple veneer and one piece of Walnut veneer for these, 300mm long and a little wider than your pyramids, these are glued together to give you the outer lines, I think just one brown line against the white is very neat.

Run out of space for any more pictures, see next post for part 3


