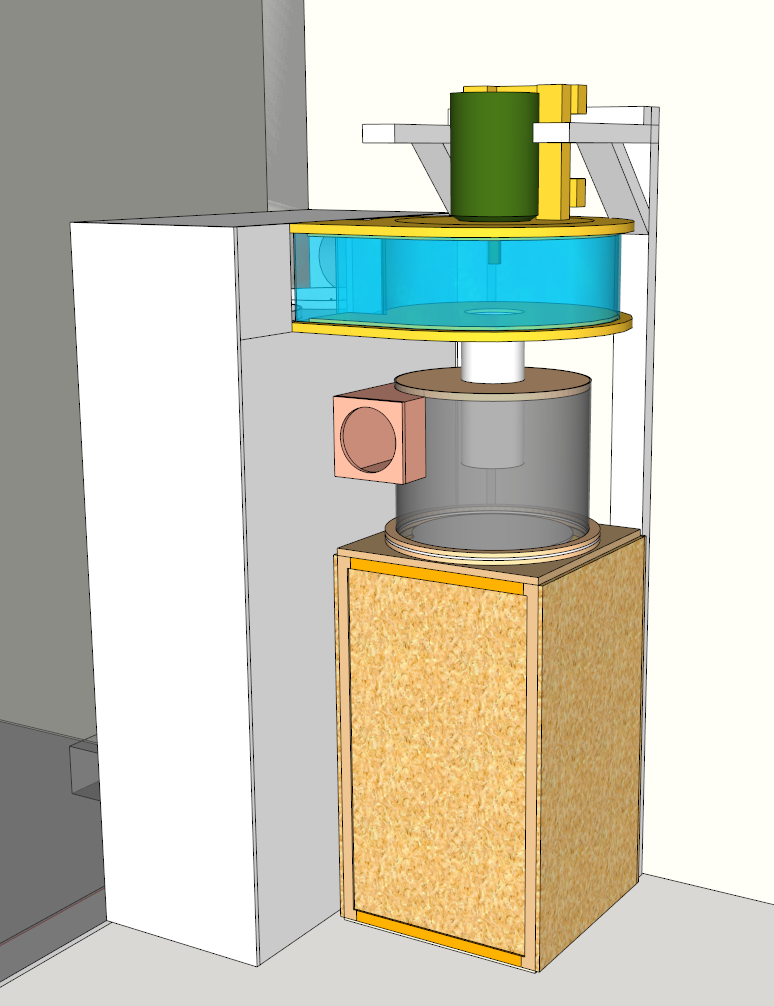
Figured this could deserve it's own thread. I decided a while ago to build a wooden dust collector after seeing Matthias Wandel and also later people like Marius Hornberger build some great stuff from wood and get machines that rivaled hundred or even thousand euro setups for chump change.
I'm cheaper than Uncle Scrooge and my favorite disney character was Gyro Gearloose so this project was a natural fit for me. I had gotten a 4kw 2880rpm 3-phase motor for 25 euros earlier and it turned out to be perfect for this.
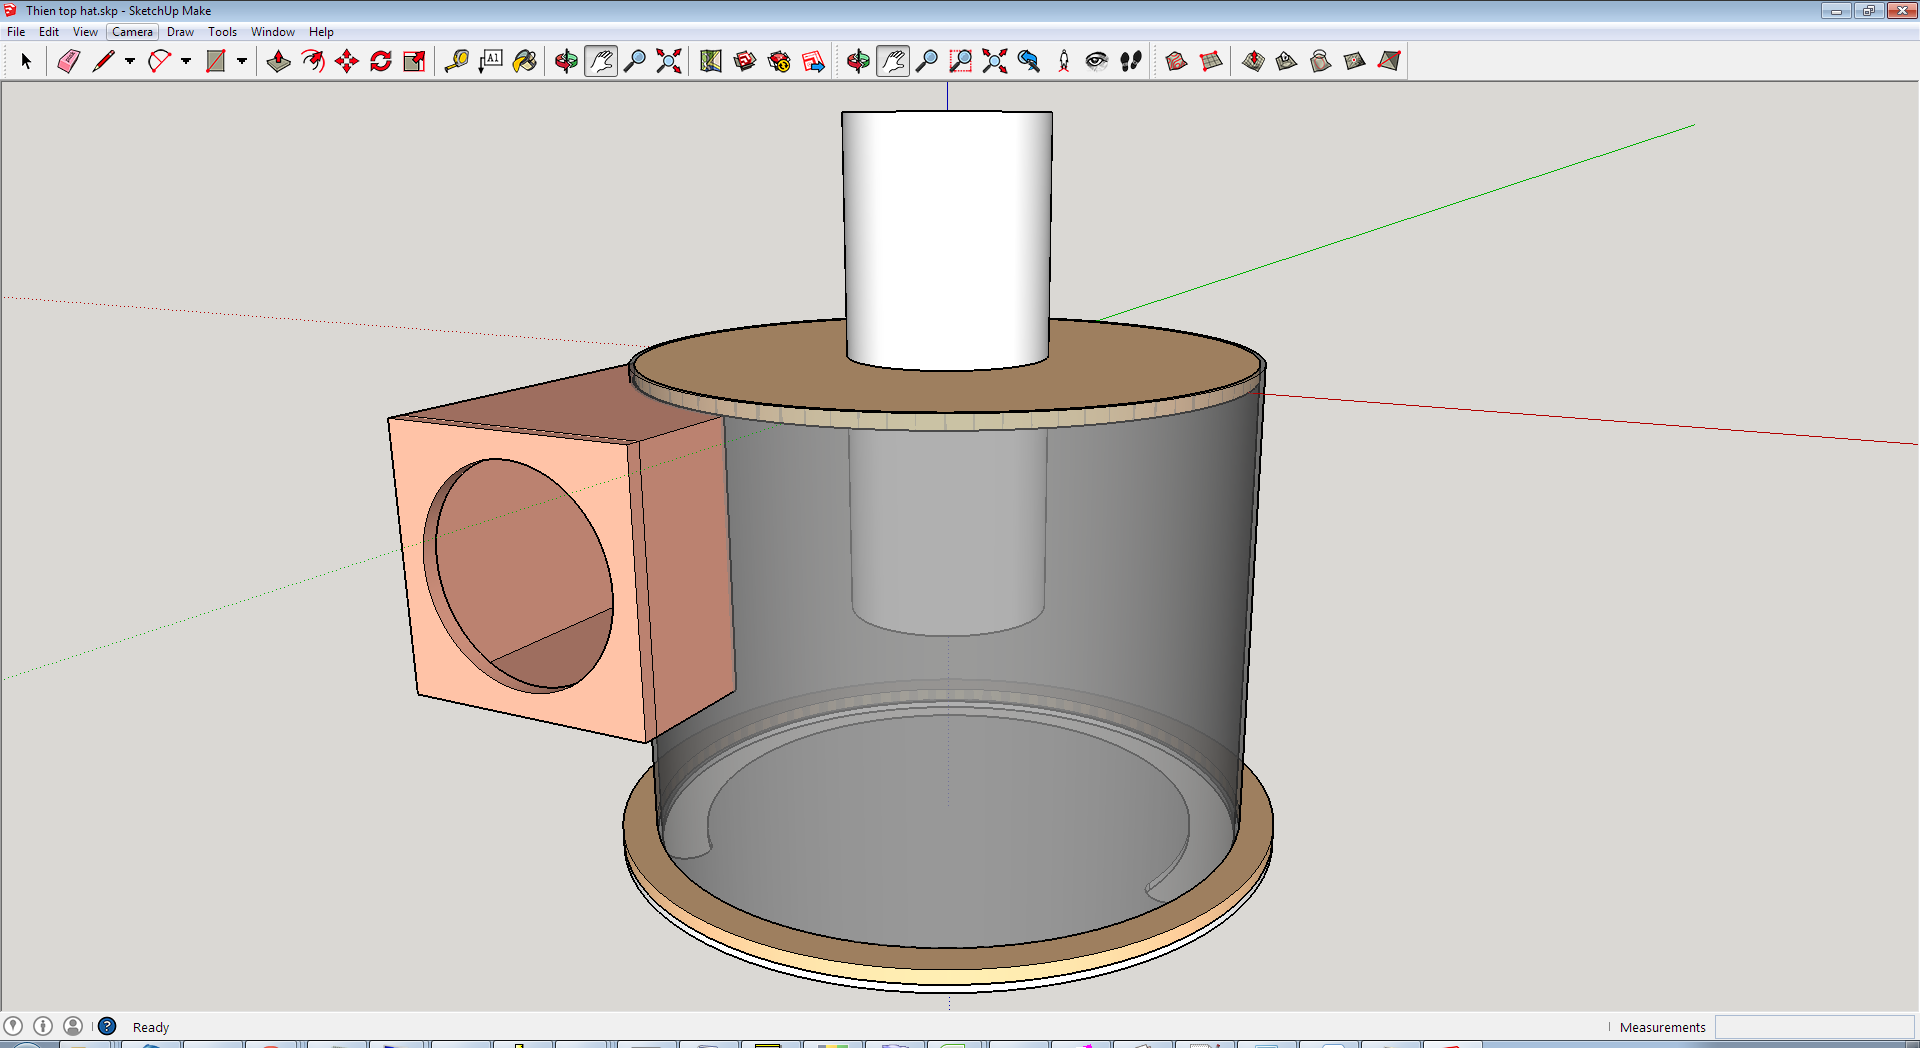
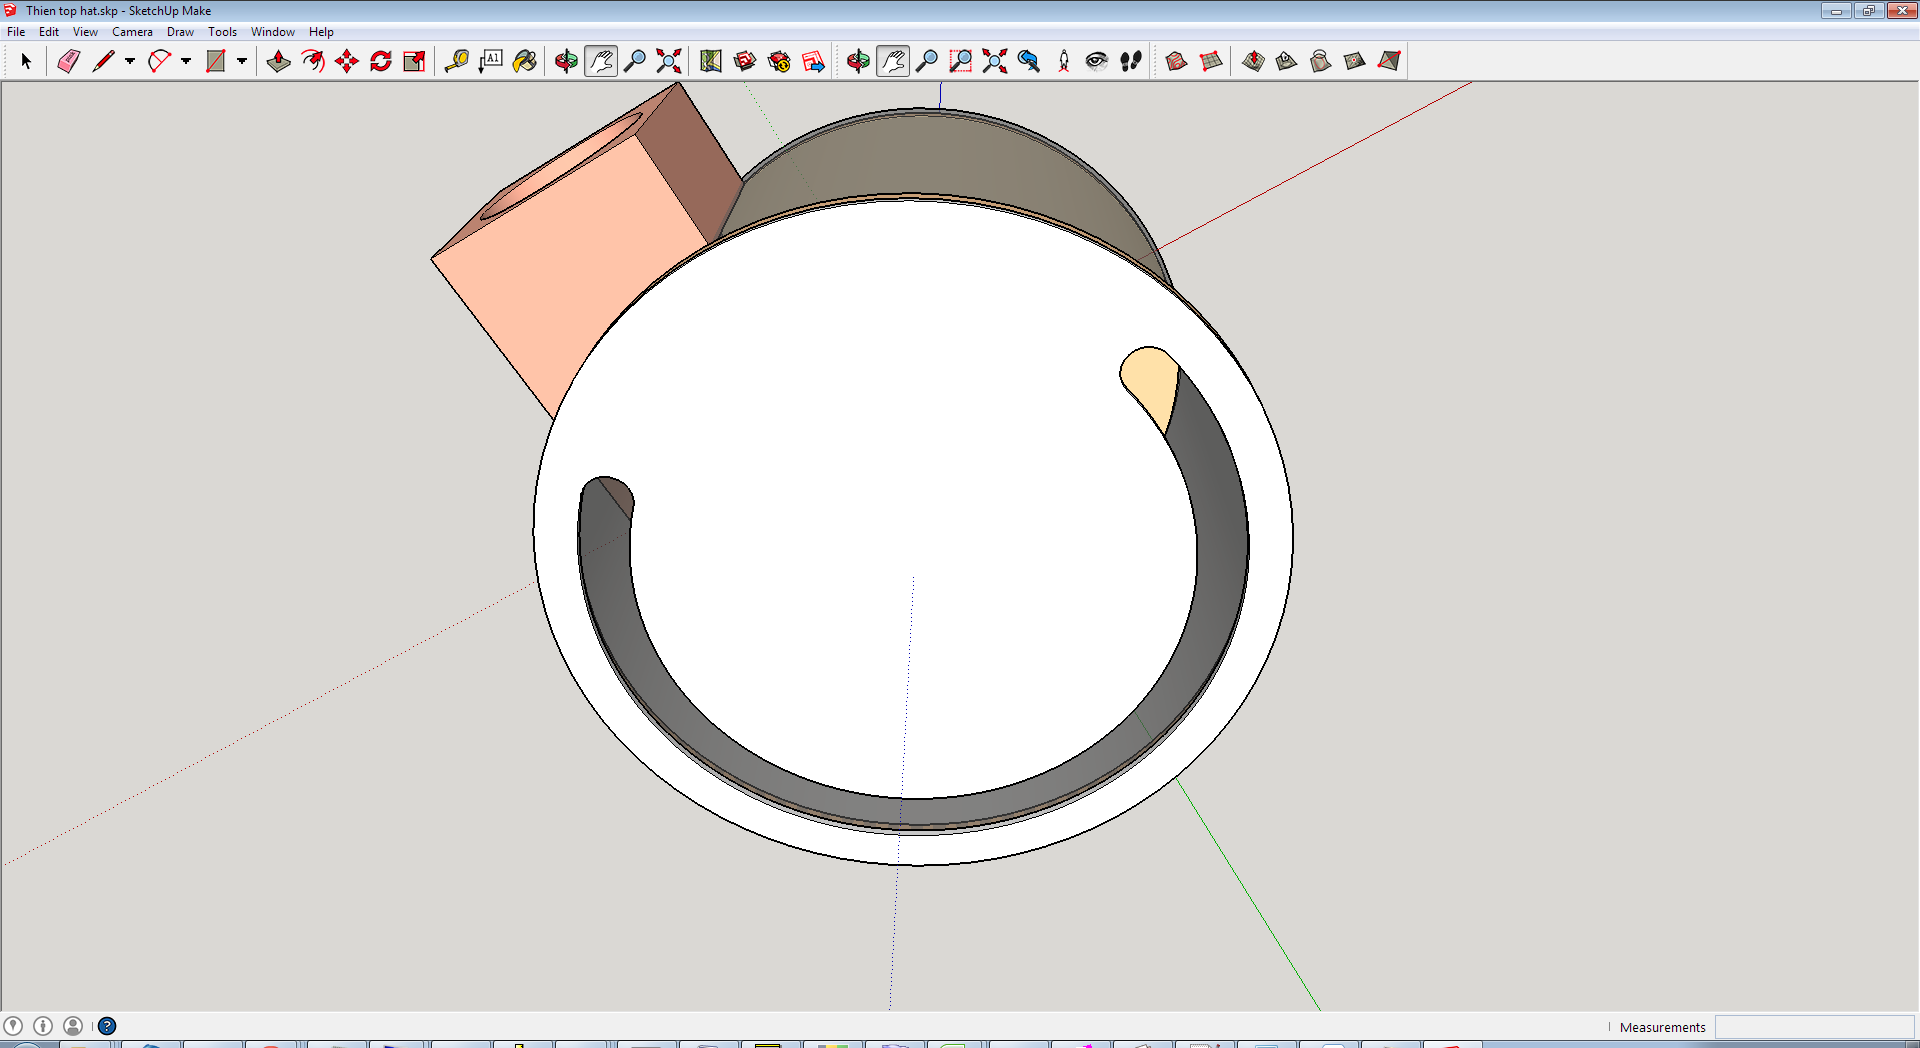
I bought the woodgears dust collector plans just so I could modify and enlarge the impeller, the rest I have designed myself. I liked the impeller design, 12 highly backwards curved blades makes for a very efficient design. And since it's a wooden impeller it cannot be a material handling design, so there is no reason to build a wastefully inefficient standard design. You get around the not material handling part by using cyclonic separation and pre-filtering. I think that's a more efficient setup really.
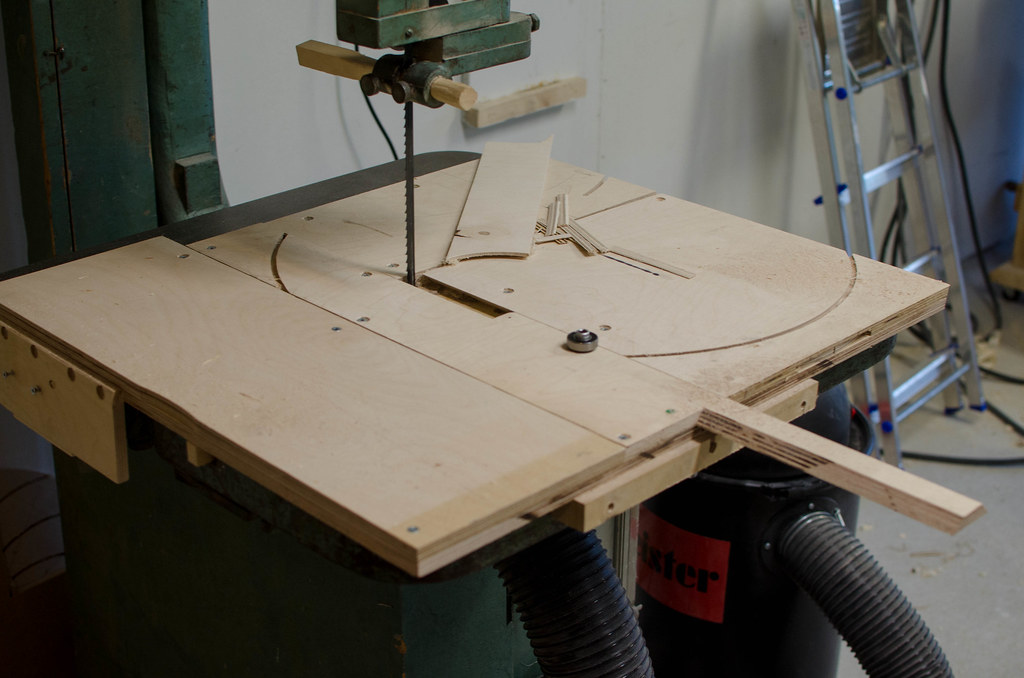
I cut the circles for the impeller on my bandsaw jig and then I routed grooves in them using a setup on my router table, where I had a nail in the surface at a set distance from the router bit and pivot points made on the impellers.
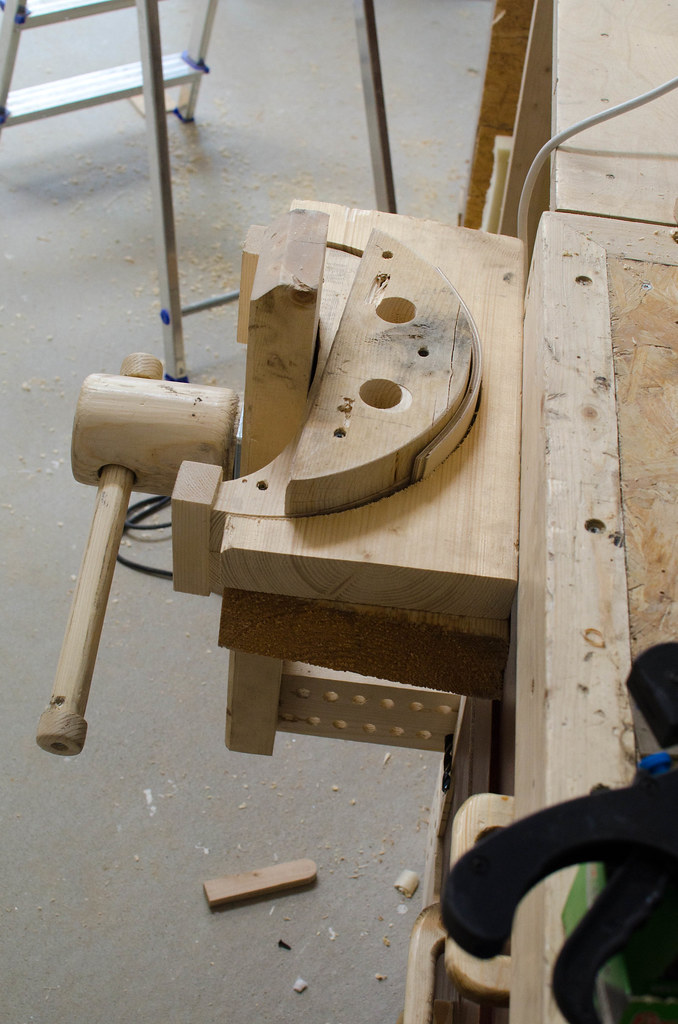
I made vanes from gluing two pieces of 4mm birch plywood, here's a jig I used, it worked better with clamps than in the vice, actually:
After a while I had this:
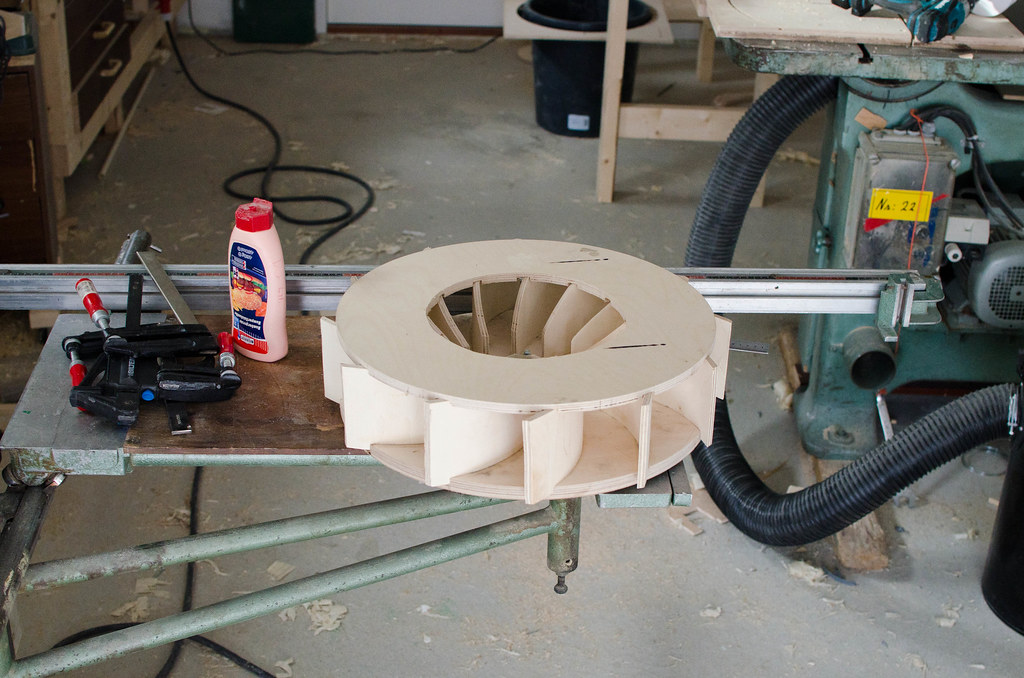
I trimmed it down in size to 46cm or 18" using my table saw jig again:
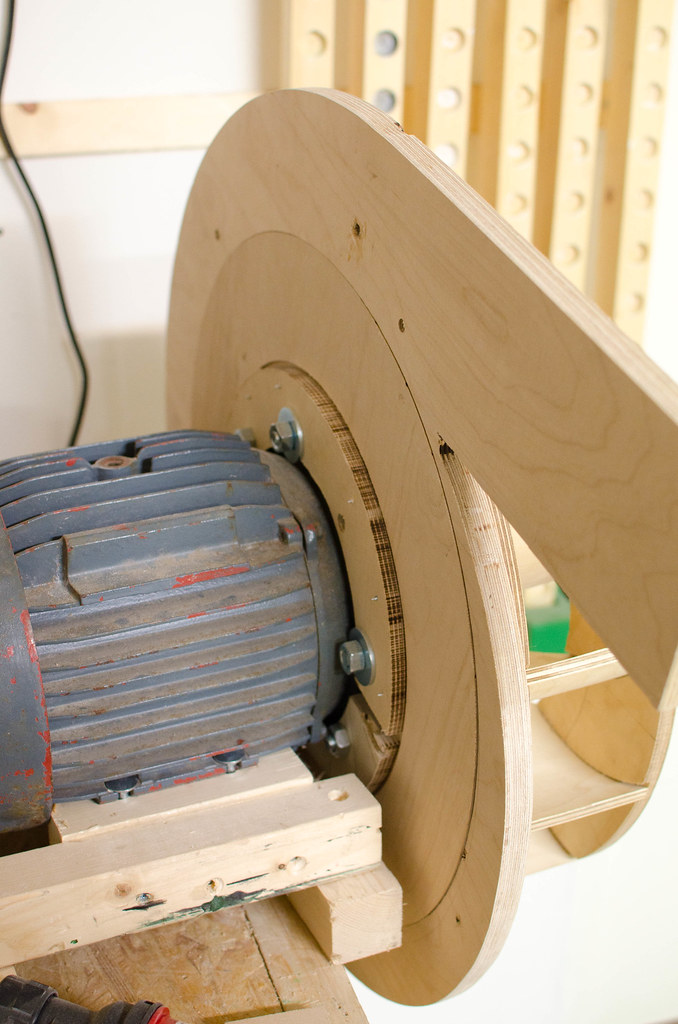
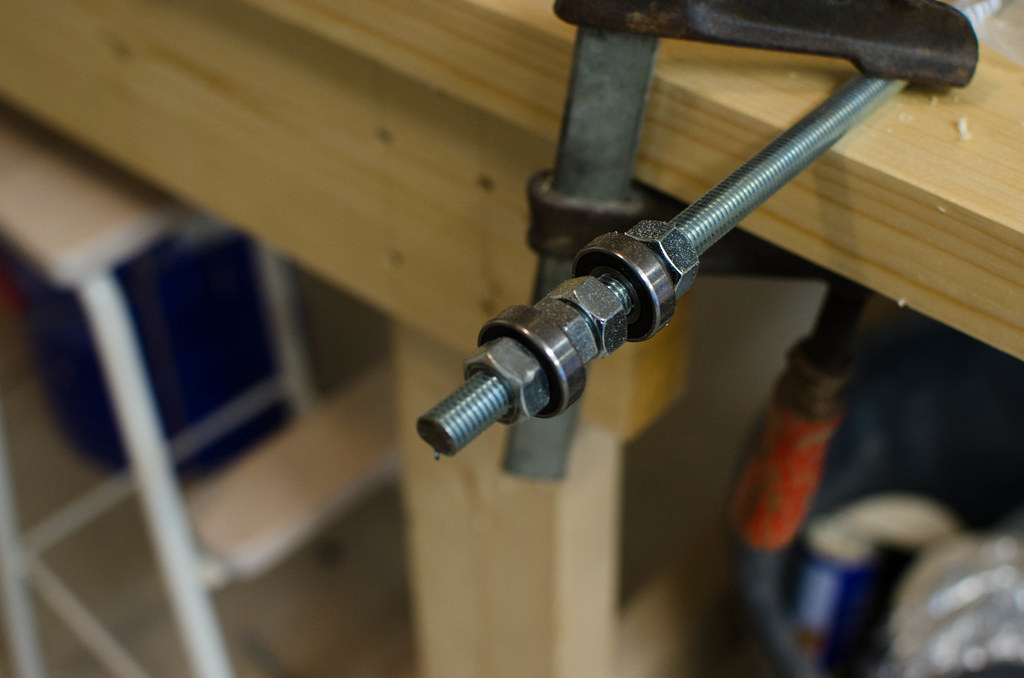
Then I balanced it by mounting it on a threaded rod and some ball bearings of the same size as the bore of the motor:
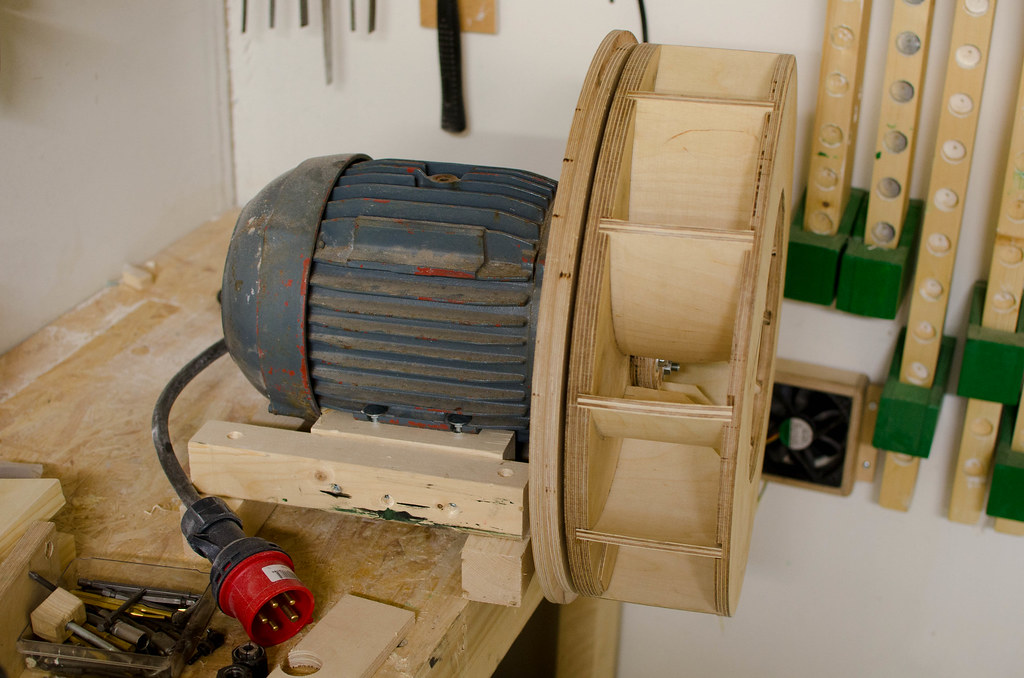
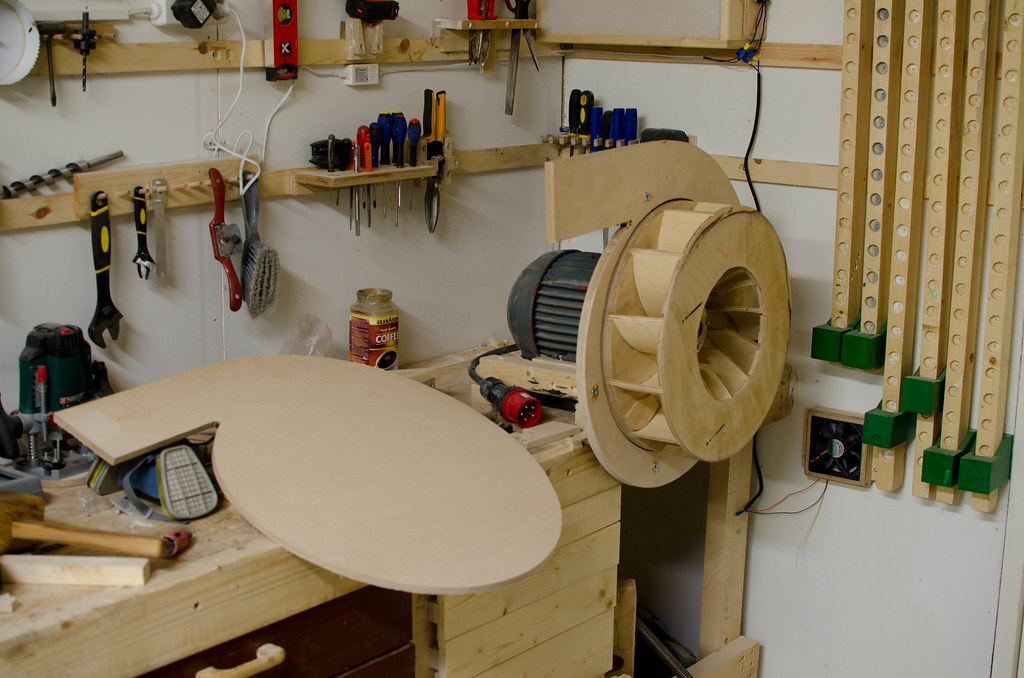
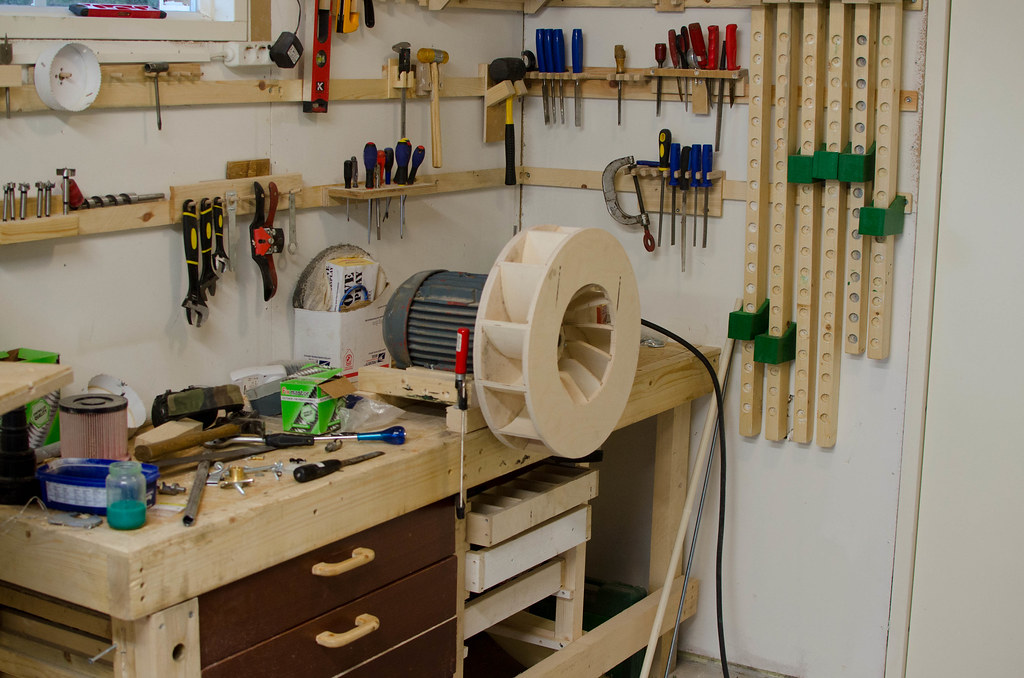
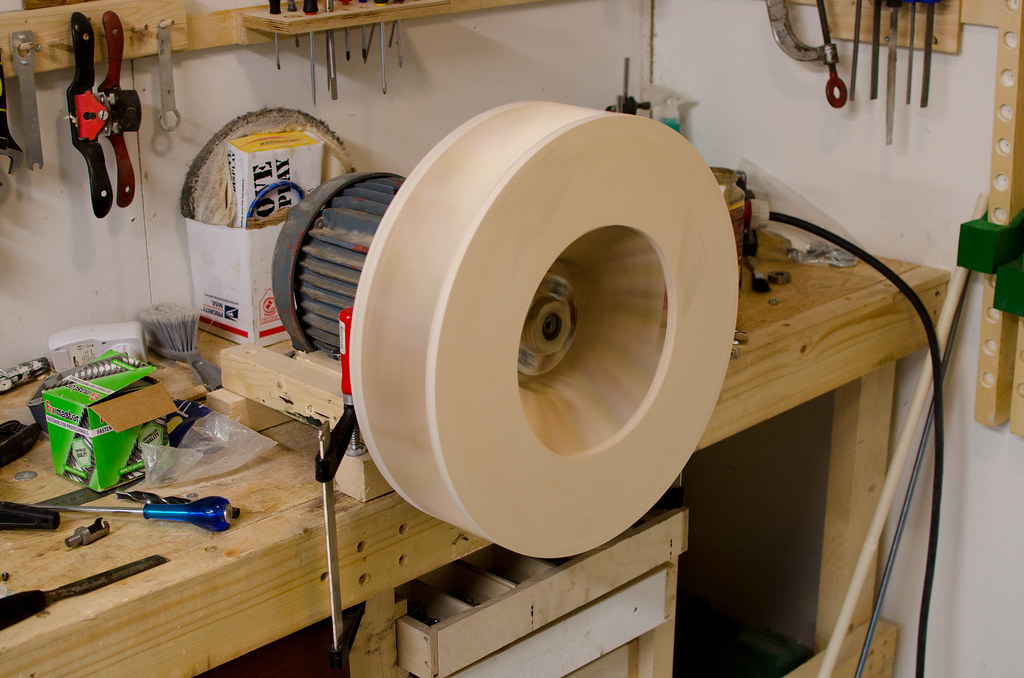
Mounted it on the motor:
First test, a success, but the sound. Oh dear the sound, it sounded like a cross between a jet engine and a demon.
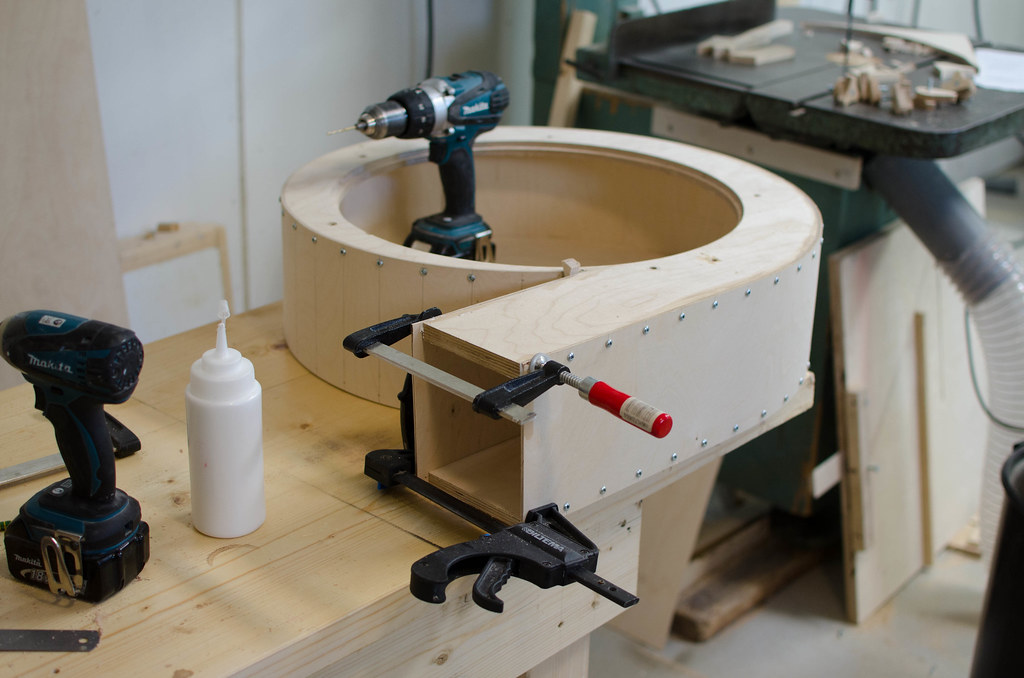
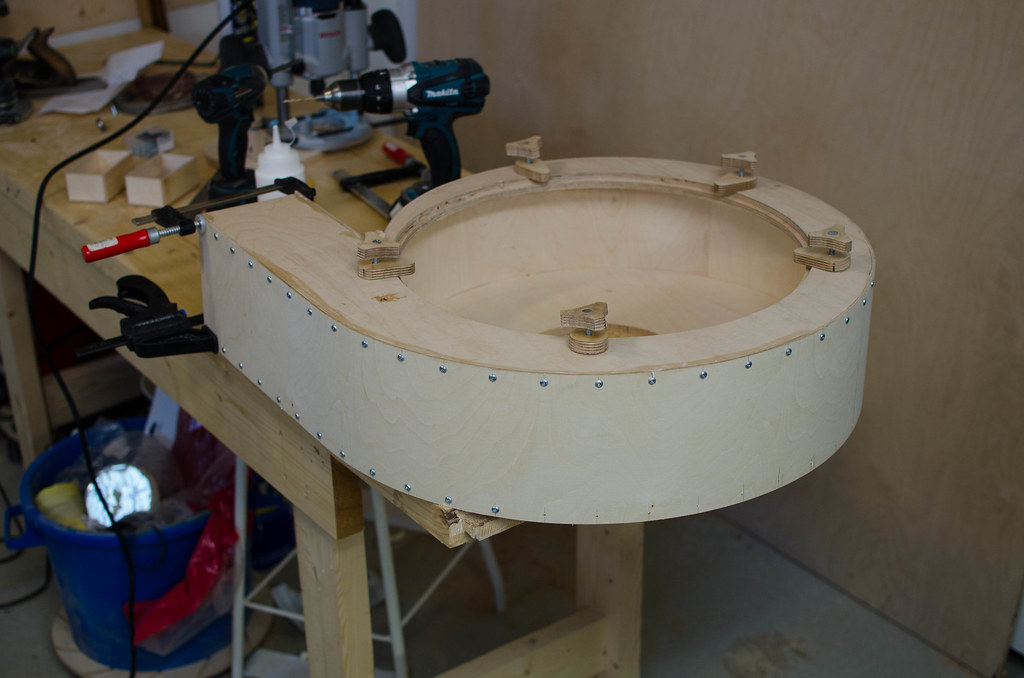
I made the impeller housing afterwards (didn't take any photos of that), or scroll housing as it's also called. It's not a circular shape, but a spiral one, so I made a router jig with a band-clamp that wound around a dowel of the right diameter, so that in one turn I got the proper shape and size outlet I needed.
Then I needed to make a hole in the bottom that's the size of the impeller. This so I can remove the housing later from the impeller and motor for inspection and cleaning. I am copying Marius Hornbergers design in this aspect.
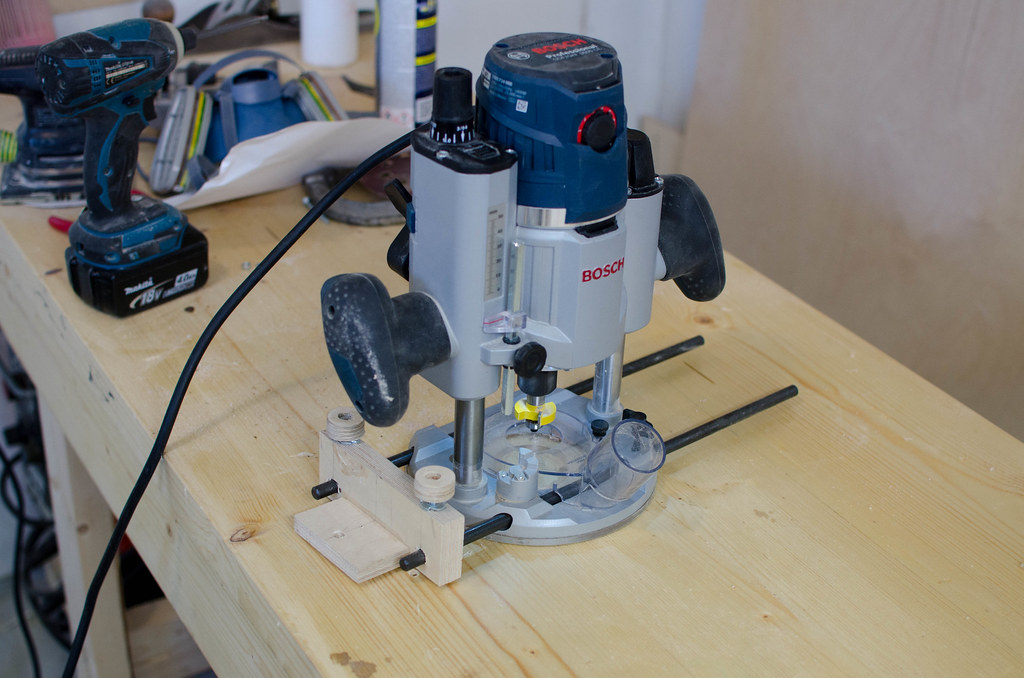
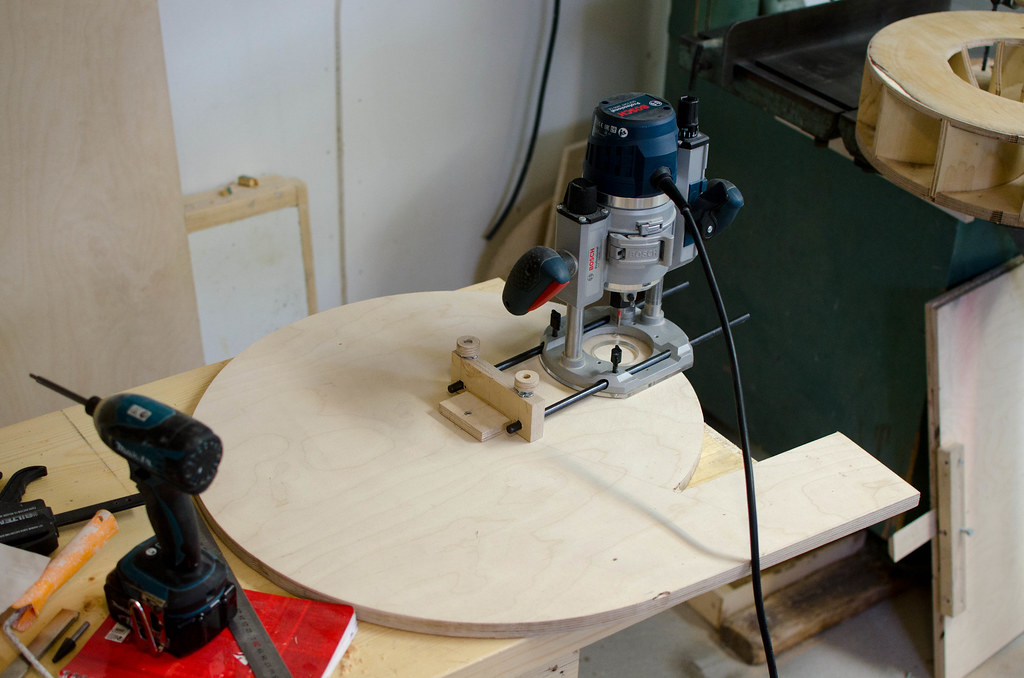
Best way to cut this type of hole is with a router compass. I don't have one, but I have a fence and removing the fence part from the shafts is easy and requires no tools, so I made another attachment to work as a router compass:
Then setting it correctly:
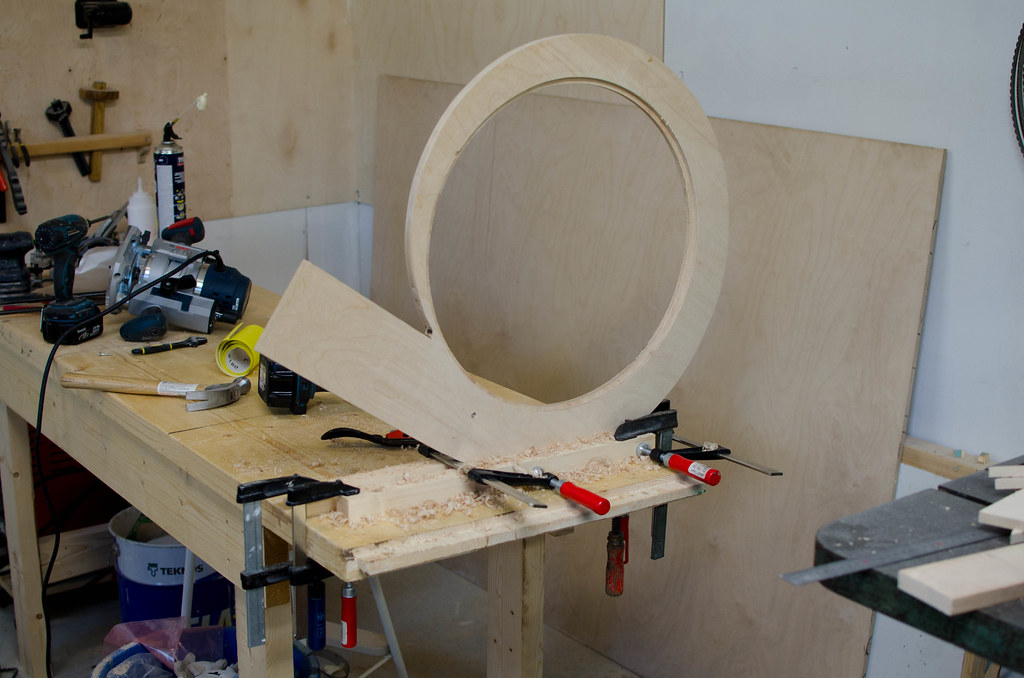
Turn out I didn't set it correctly and made the hole a few millimeters too small, I thought about various solutions to enlarge it a bit but the best one turned out to be using a simple spokeshave and a kind of clamping jig, worked real well. I also routed a rabbet in the hole and I will rout a corresponding one in the insert plate.
Next up is to make the insert plate in question and mount it to the motor.
I'm cheaper than Uncle Scrooge and my favorite disney character was Gyro Gearloose so this project was a natural fit for me. I had gotten a 4kw 2880rpm 3-phase motor for 25 euros earlier and it turned out to be perfect for this.
I bought the woodgears dust collector plans just so I could modify and enlarge the impeller, the rest I have designed myself. I liked the impeller design, 12 highly backwards curved blades makes for a very efficient design. And since it's a wooden impeller it cannot be a material handling design, so there is no reason to build a wastefully inefficient standard design. You get around the not material handling part by using cyclonic separation and pre-filtering. I think that's a more efficient setup really.
I cut the circles for the impeller on my bandsaw jig and then I routed grooves in them using a setup on my router table, where I had a nail in the surface at a set distance from the router bit and pivot points made on the impellers.
I made vanes from gluing two pieces of 4mm birch plywood, here's a jig I used, it worked better with clamps than in the vice, actually:
After a while I had this:
I trimmed it down in size to 46cm or 18" using my table saw jig again:
Then I balanced it by mounting it on a threaded rod and some ball bearings of the same size as the bore of the motor:
Mounted it on the motor:
First test, a success, but the sound. Oh dear the sound, it sounded like a cross between a jet engine and a demon.
I made the impeller housing afterwards (didn't take any photos of that), or scroll housing as it's also called. It's not a circular shape, but a spiral one, so I made a router jig with a band-clamp that wound around a dowel of the right diameter, so that in one turn I got the proper shape and size outlet I needed.
Then I needed to make a hole in the bottom that's the size of the impeller. This so I can remove the housing later from the impeller and motor for inspection and cleaning. I am copying Marius Hornbergers design in this aspect.
Best way to cut this type of hole is with a router compass. I don't have one, but I have a fence and removing the fence part from the shafts is easy and requires no tools, so I made another attachment to work as a router compass:
Then setting it correctly:
Turn out I didn't set it correctly and made the hole a few millimeters too small, I thought about various solutions to enlarge it a bit but the best one turned out to be using a simple spokeshave and a kind of clamping jig, worked real well. I also routed a rabbet in the hole and I will rout a corresponding one in the insert plate.
Next up is to make the insert plate in question and mount it to the motor.