


MikeG.
Established Member
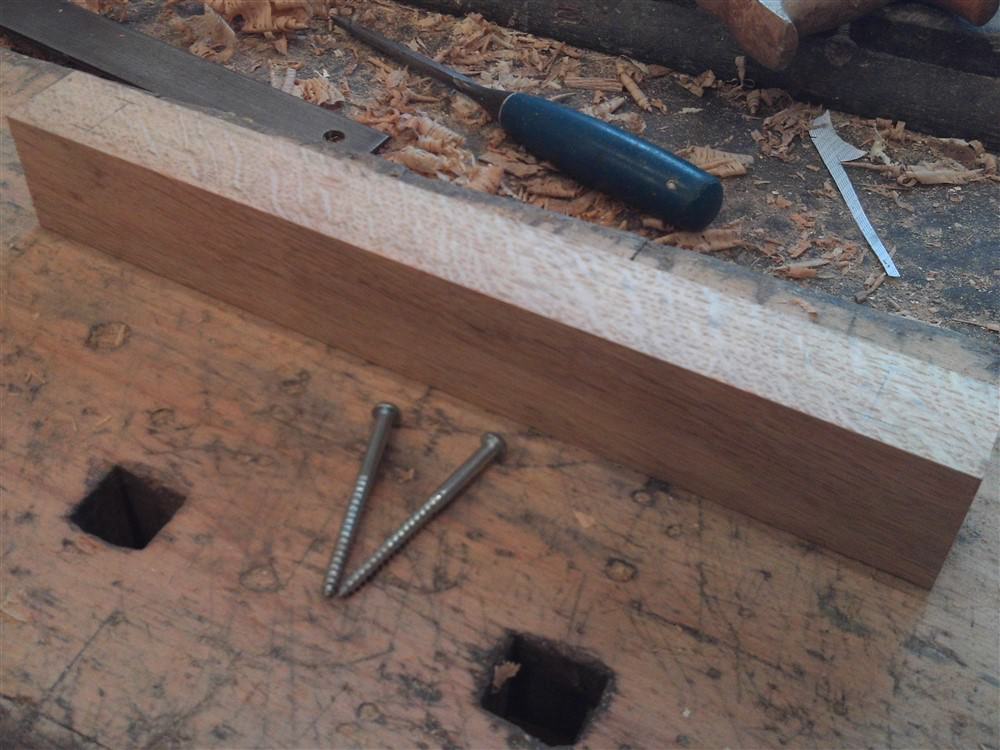
A few months ago I saw a wooden rebate plane for sale in an antique shop. I made a mental note of how it all went together, and now today I had a chance to have a go at making one. I raided my off-cut pile:
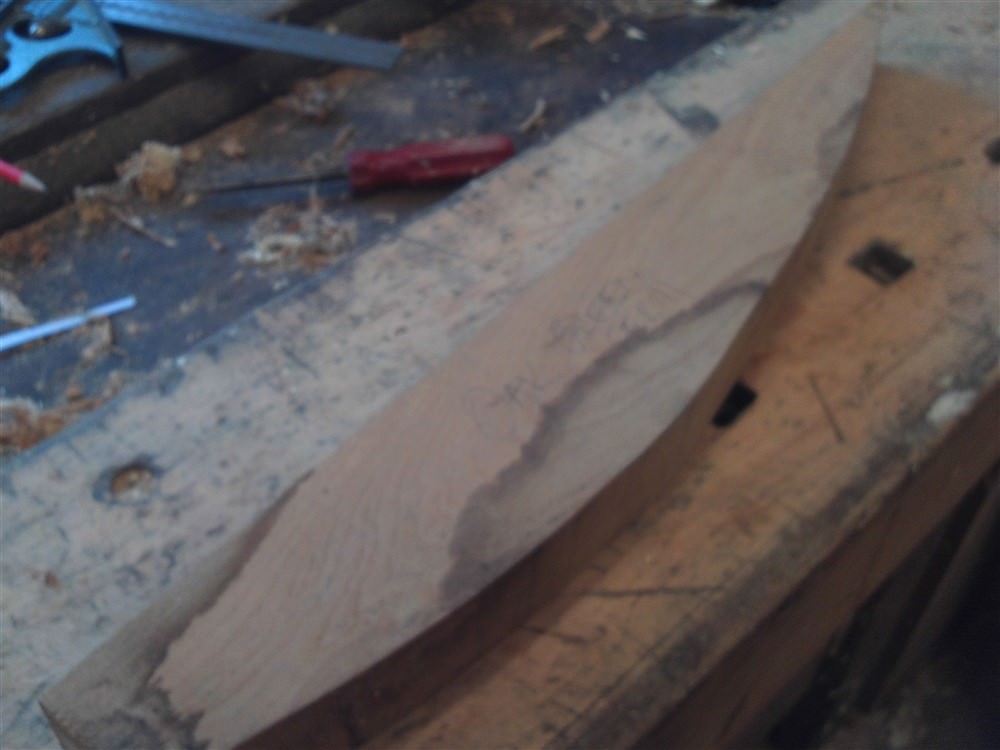
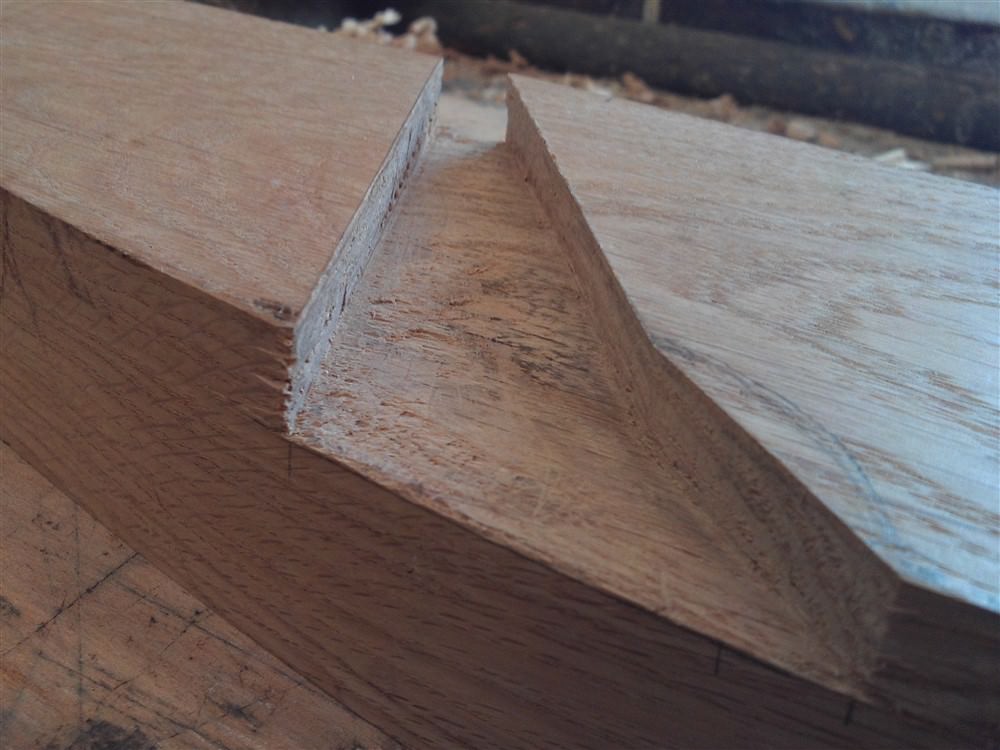
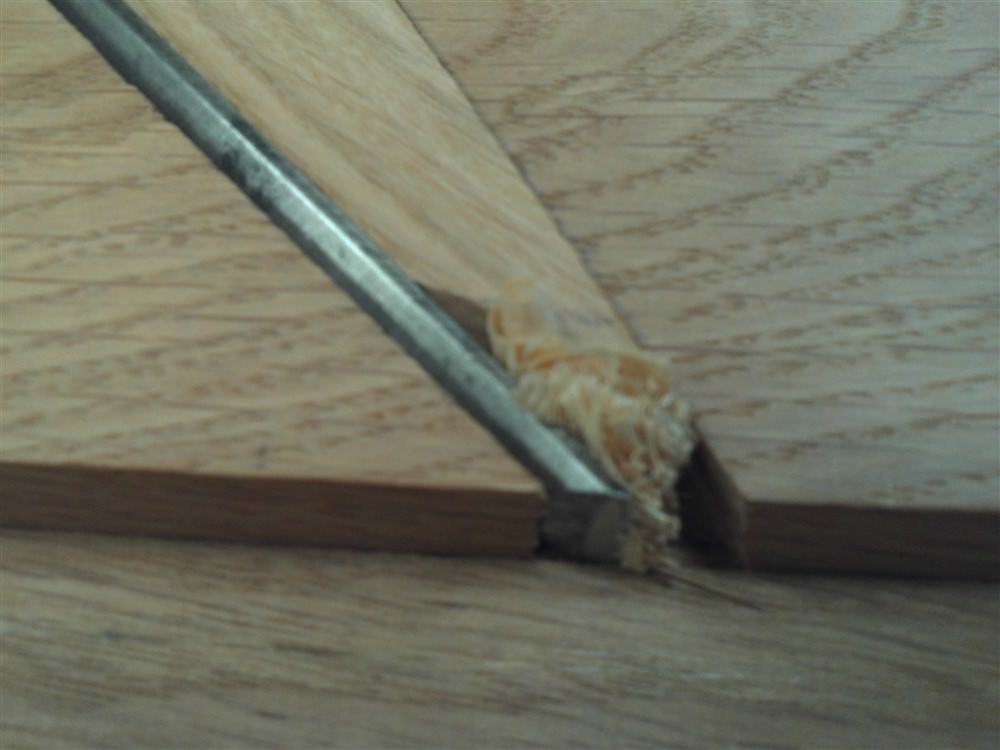
Oops, out of focus. Sorry. It's oak, and looks like the off cut from under an arched brace. I know it's seasoned because:
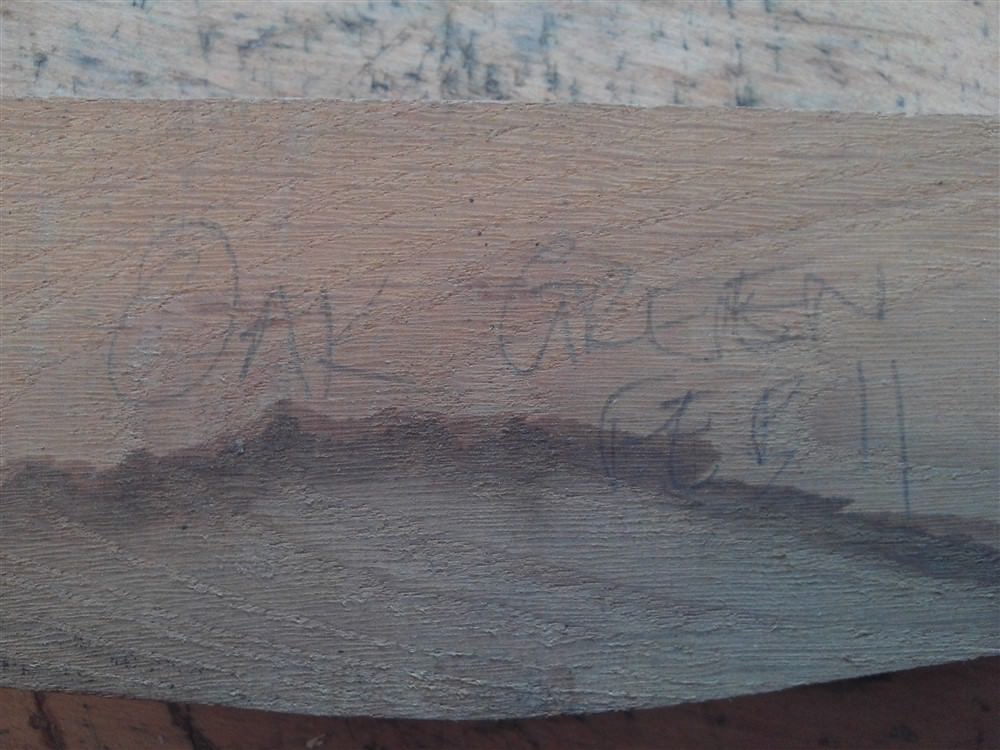
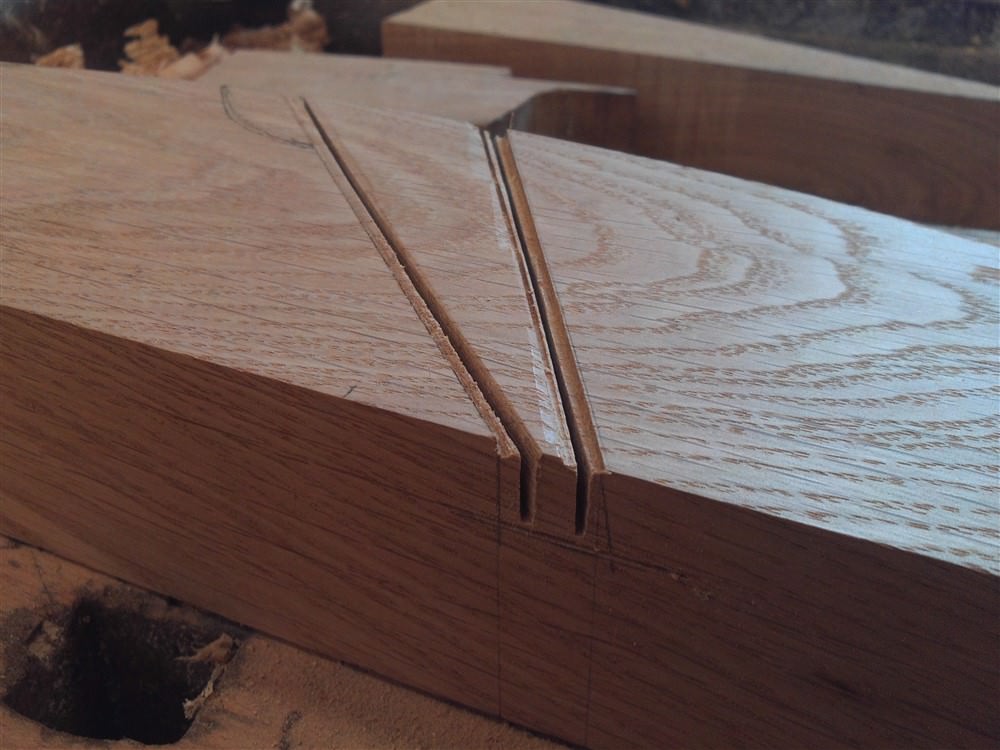
Yeah, it's been drying for almost 7 years. The shape is somewhat fortuitous, and this is another make-it-up-at-the-bench job. I simply cut it to length. The curved shape made securing it flat on the bench quite awkward. I marked out the bed angle (45 degrees.........well, it's a plane, after all). I also marked out the other side of the cut out, against which the wedge will thrust:
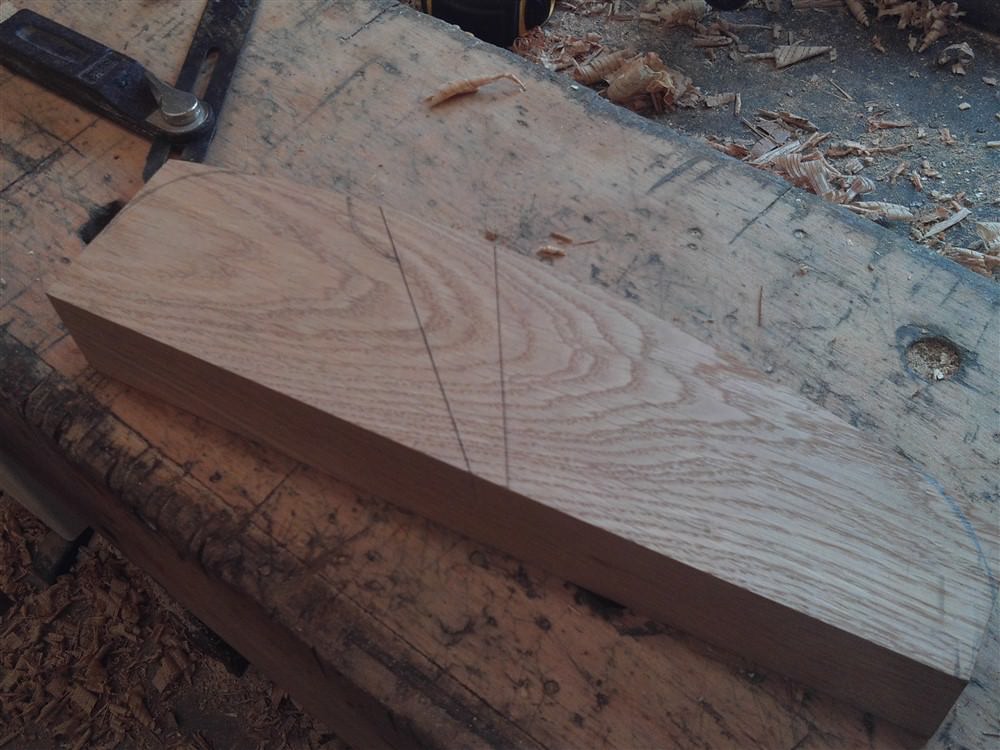
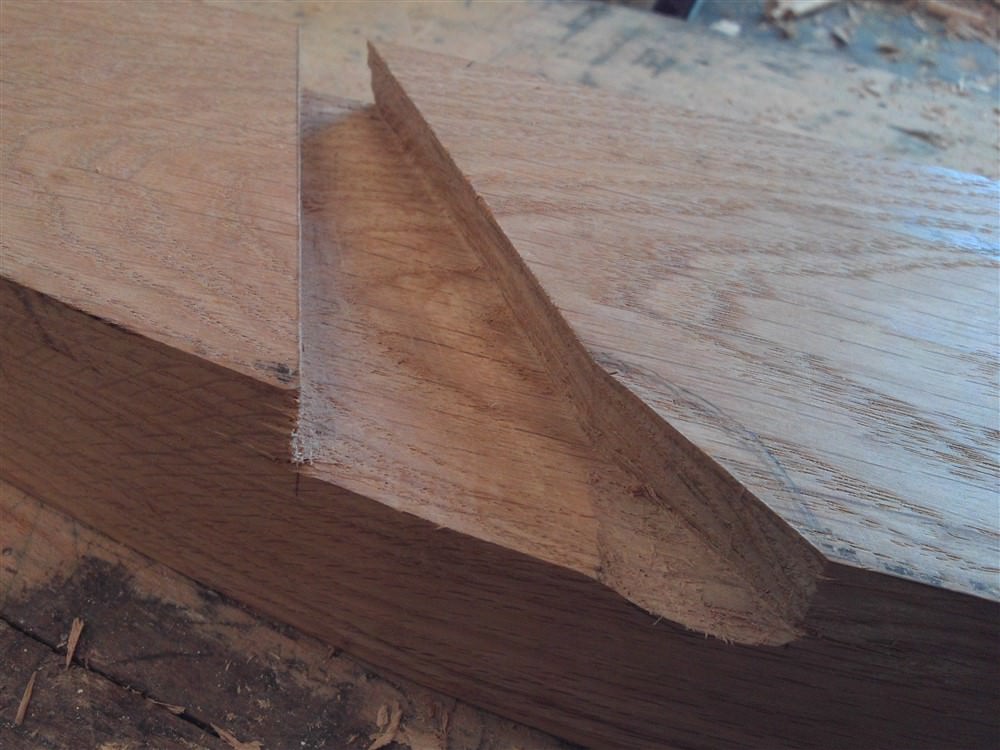
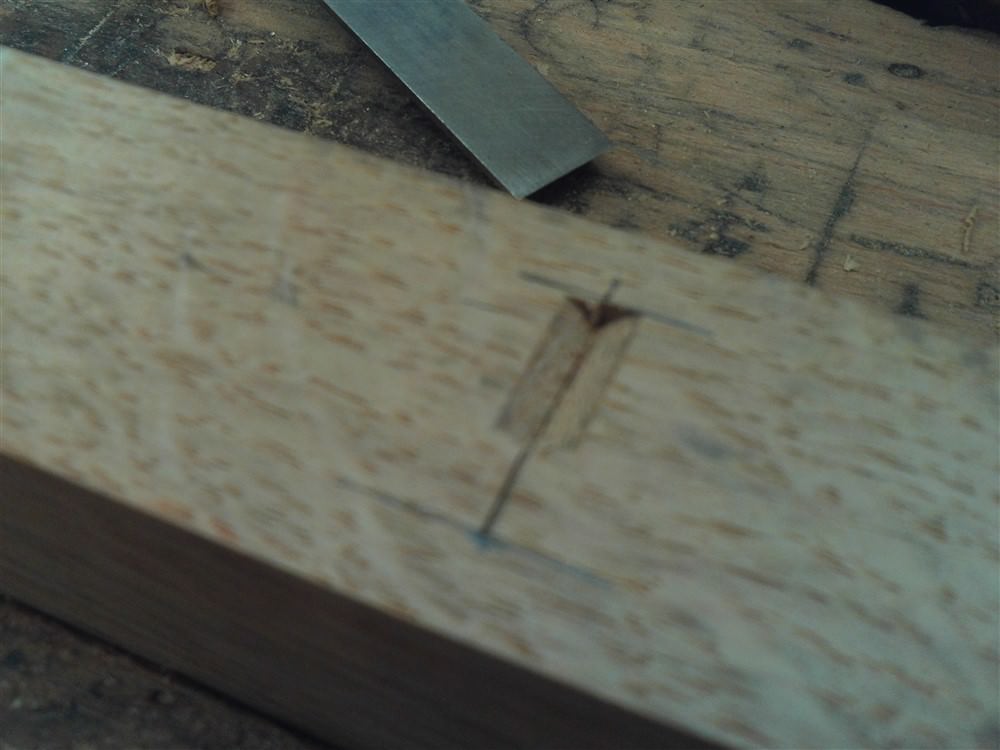
I often chisel to a knife line to give be a good edge to work from:
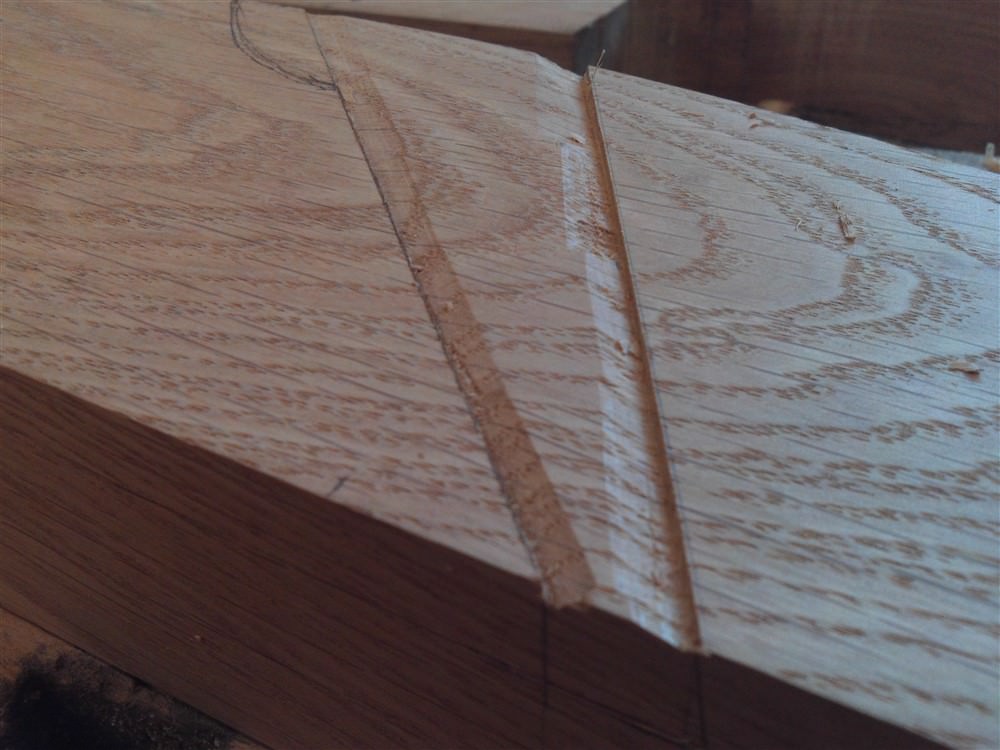
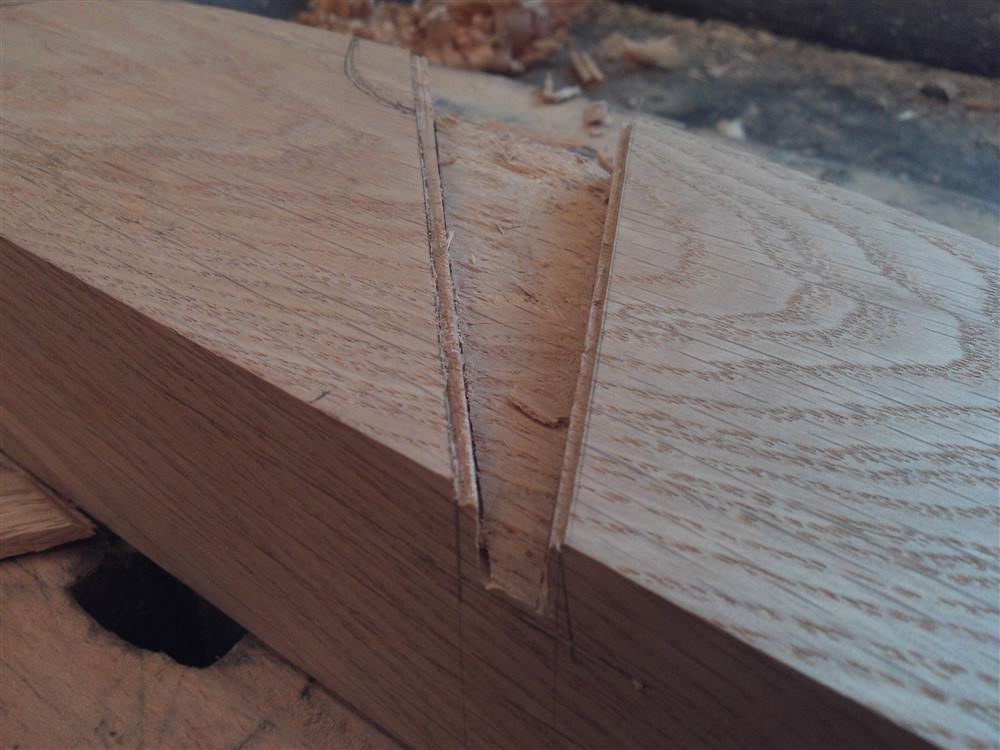
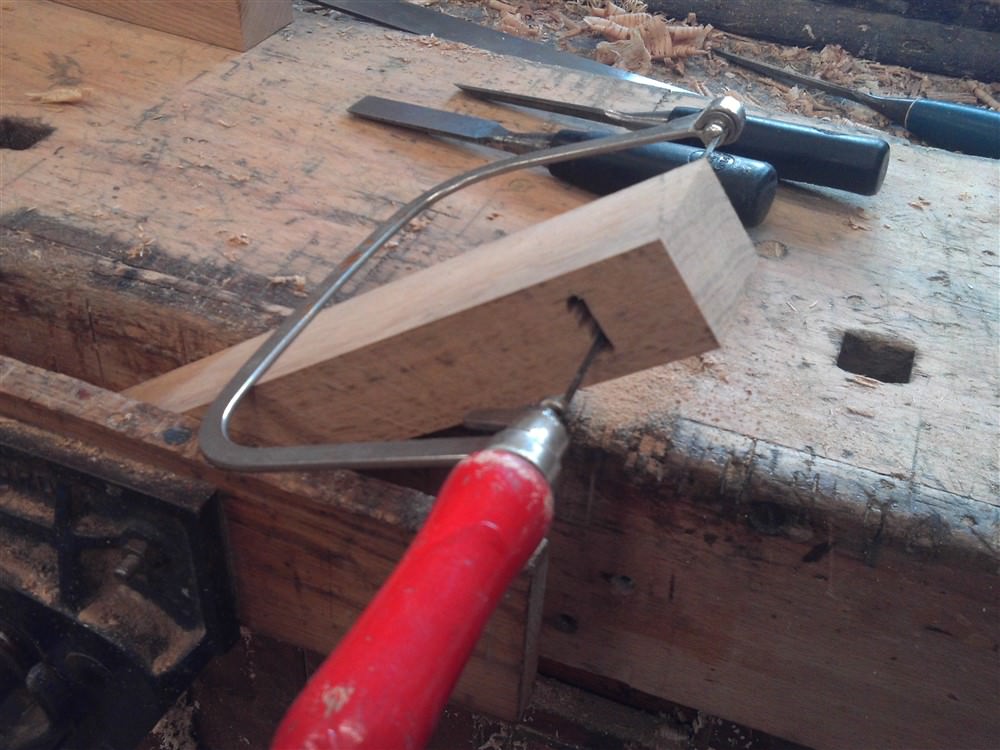
I then cut down slightly away from the line so I could quickly chop out the bulk of the waste with a chisel without fear of damaging the finished edges:
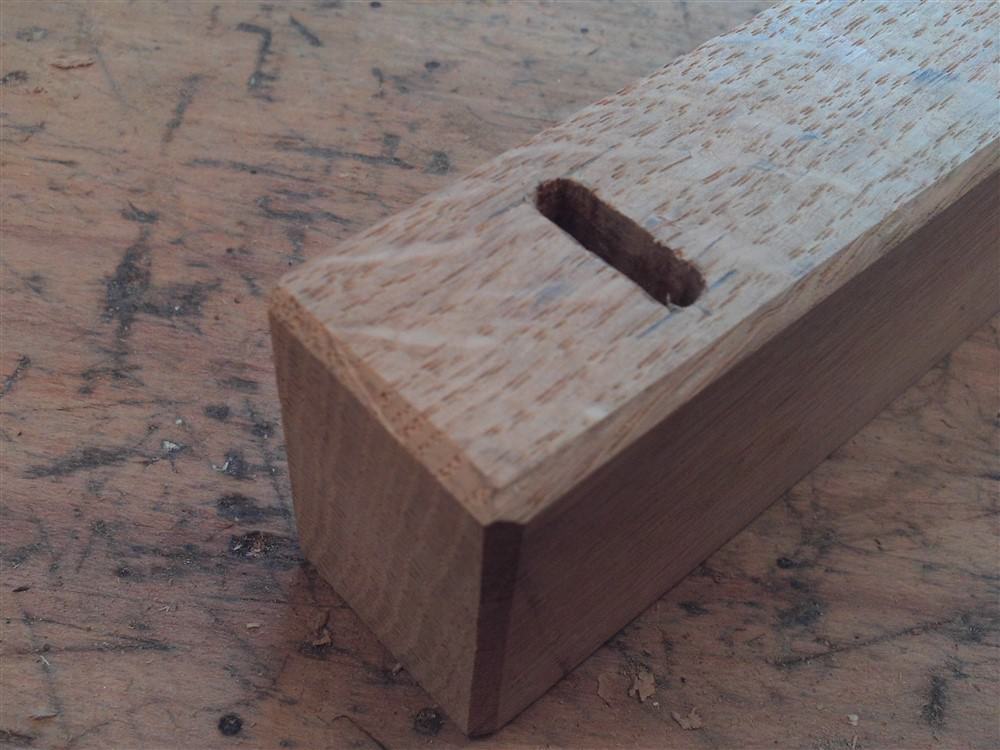
Then carefully chisel down the faces:
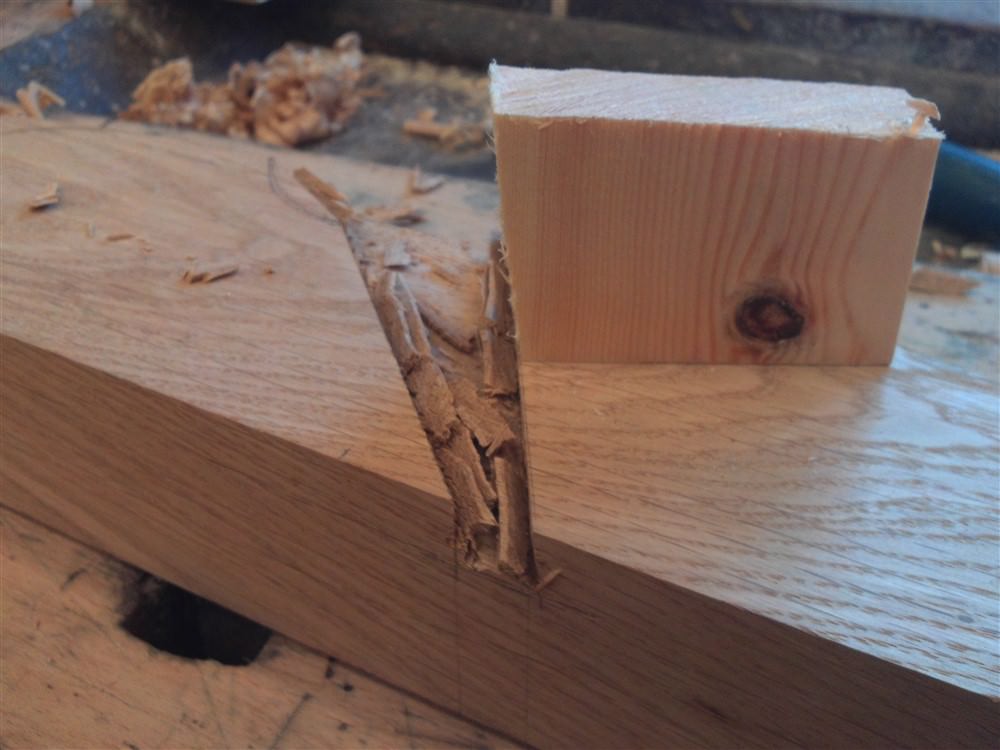
Note the right hand edge is slightly undercut. The scrap piece was cut to the angle to give me a guide.
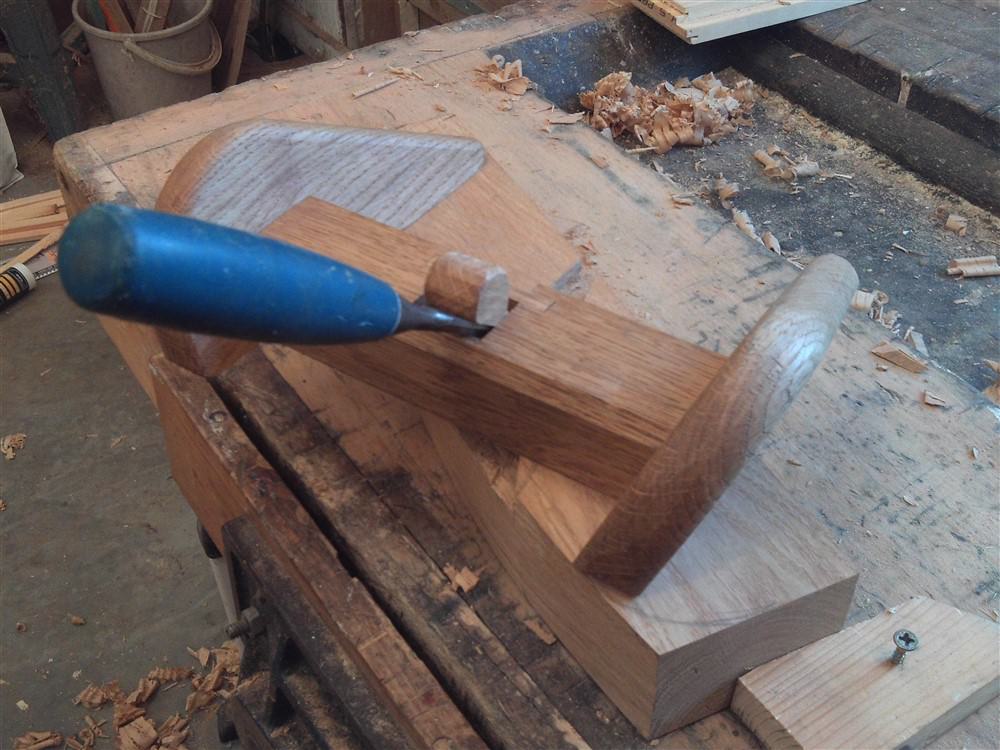
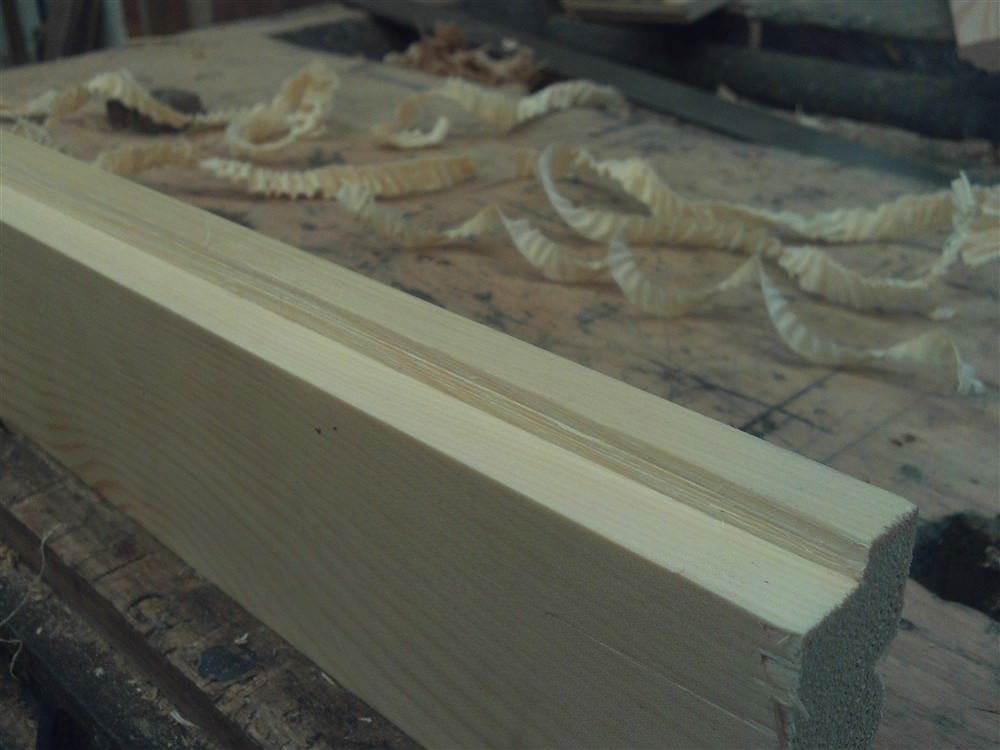
Luckily, I just happen to have a router plane, so I cleaned up the bottom with that:
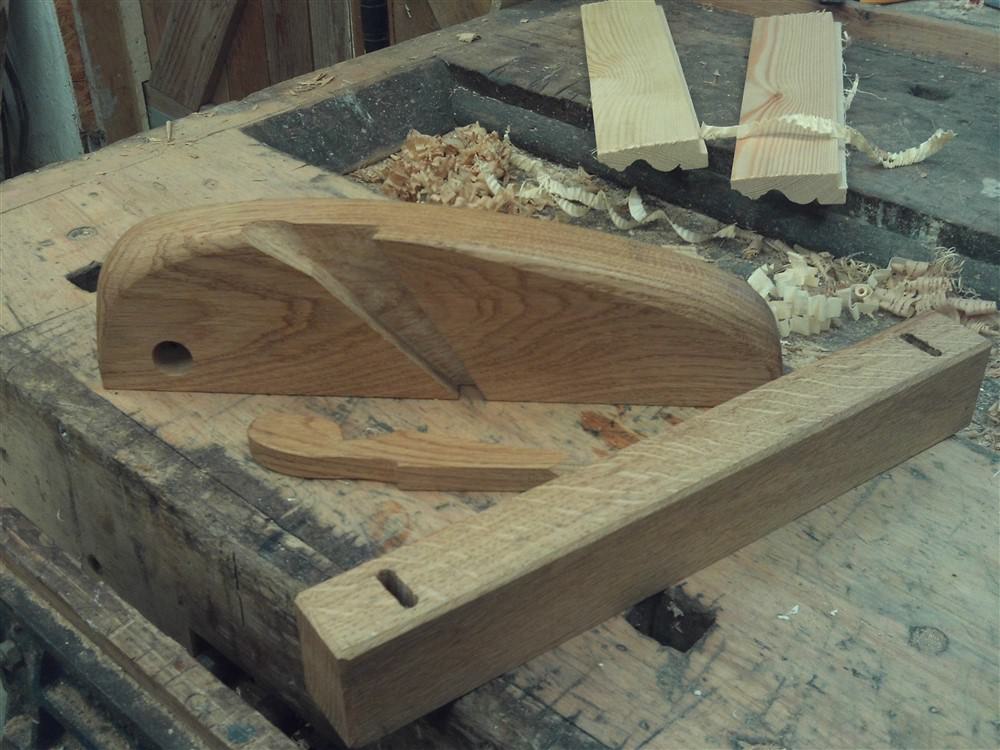
Then a little scallop for the chisel handle:
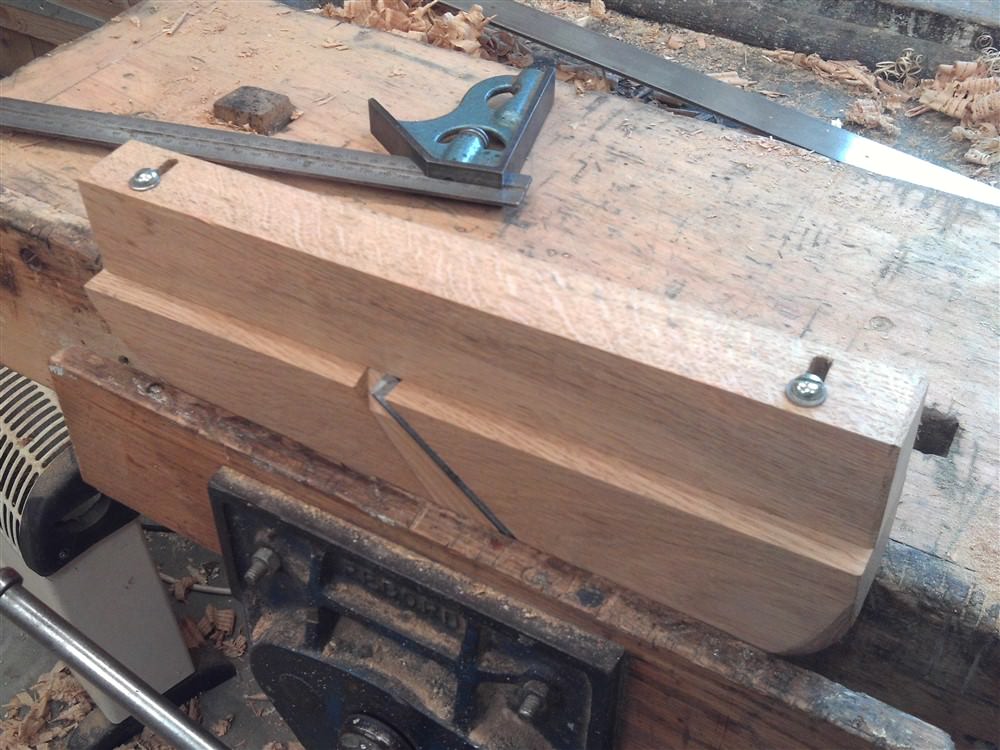
Here I tried out the roughed-out wedge:
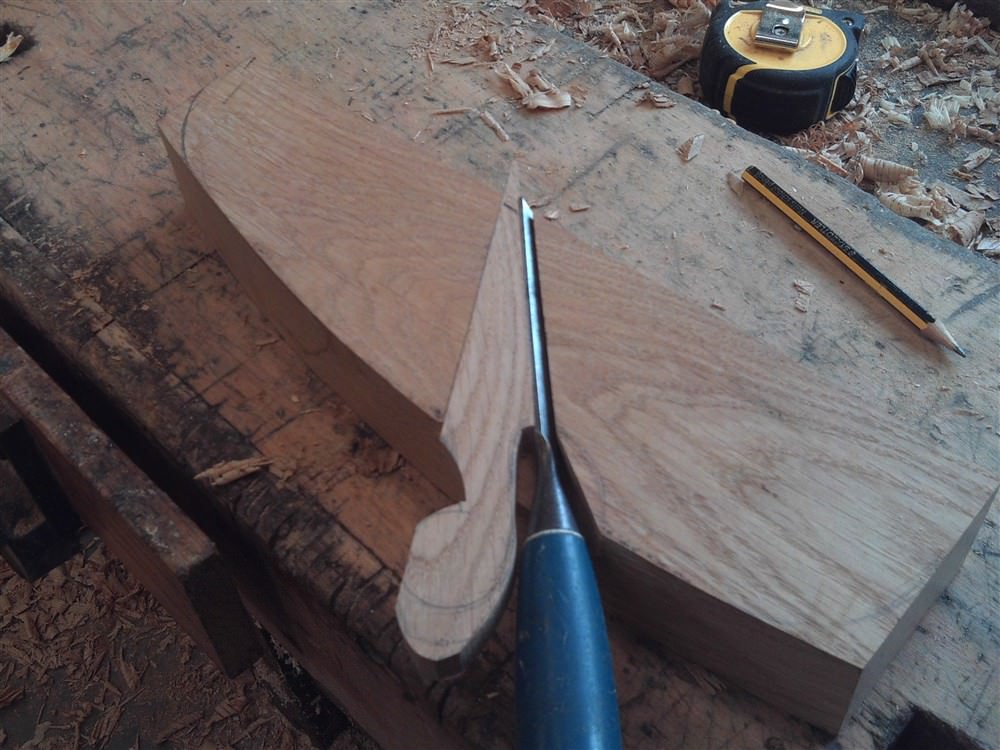
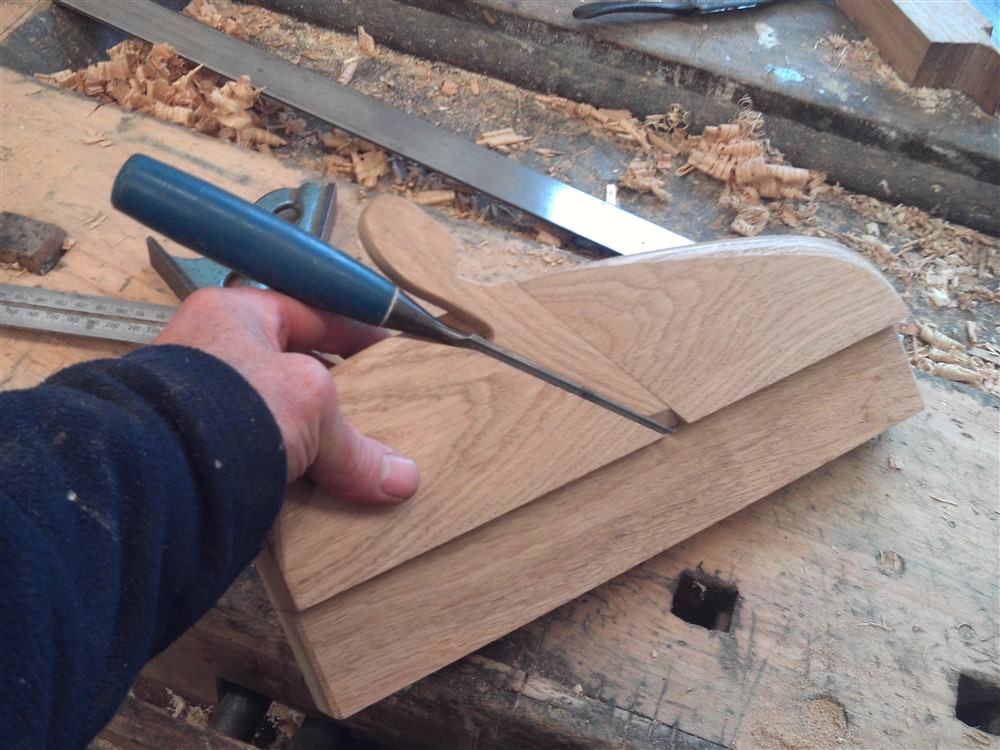
Then it was just a whole lots of shaping and finishing. Remember, the wedge has a skewed top edge so that it locks into the housing rather than flopping out.
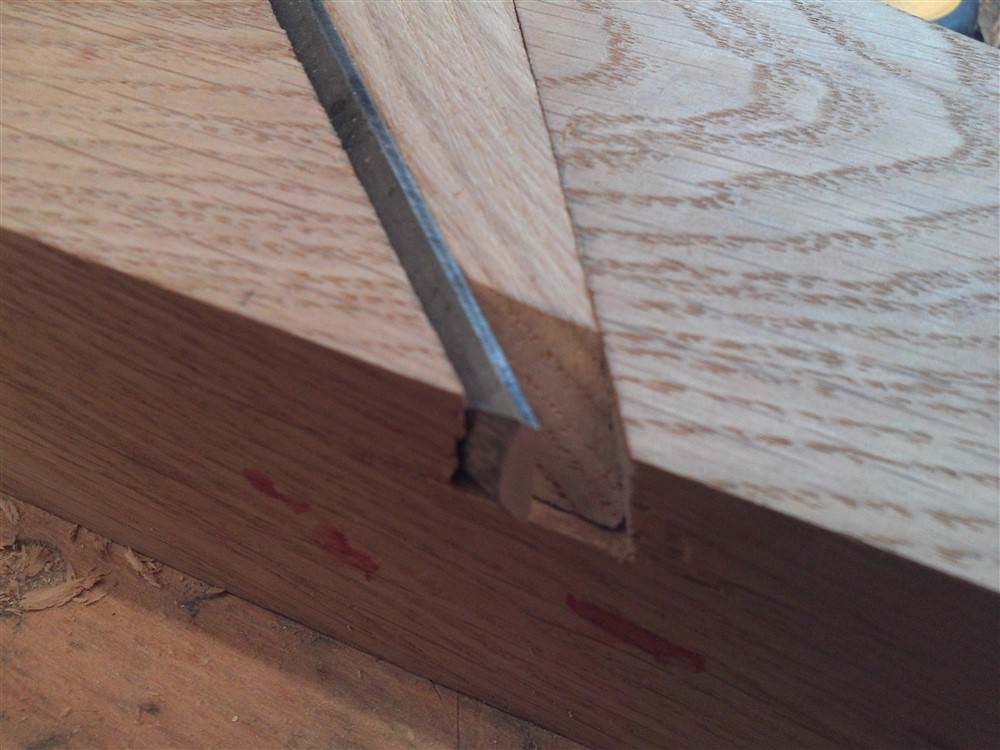
I shaped the end of the wedge to act as a sort of chip-breaker, and throw the shavings off to the side (ooh look, blood!):
The guide is a simple bit of wood screwed to the bottom with slotted holes for screw adjustment. I thought that if it was quite big it would have a good reference when making narrow rebates:
Time to give it a whirl:
Ooops!
I took a bit more off the end of the wedge, and fiddle about with the depth a bit, but got it working really nicely:
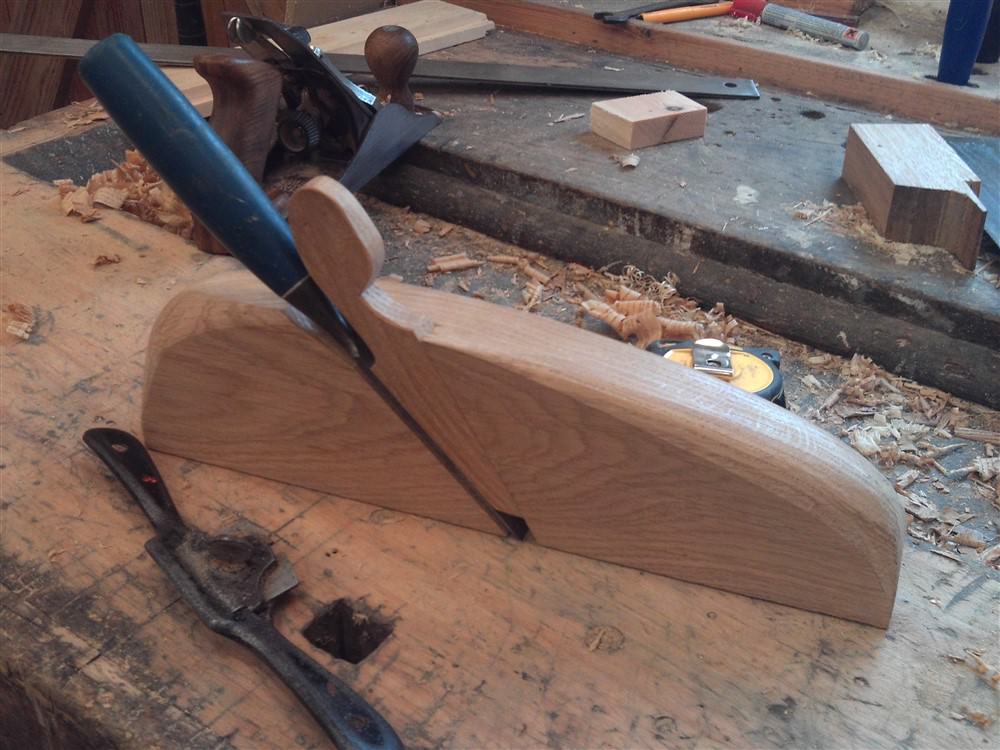
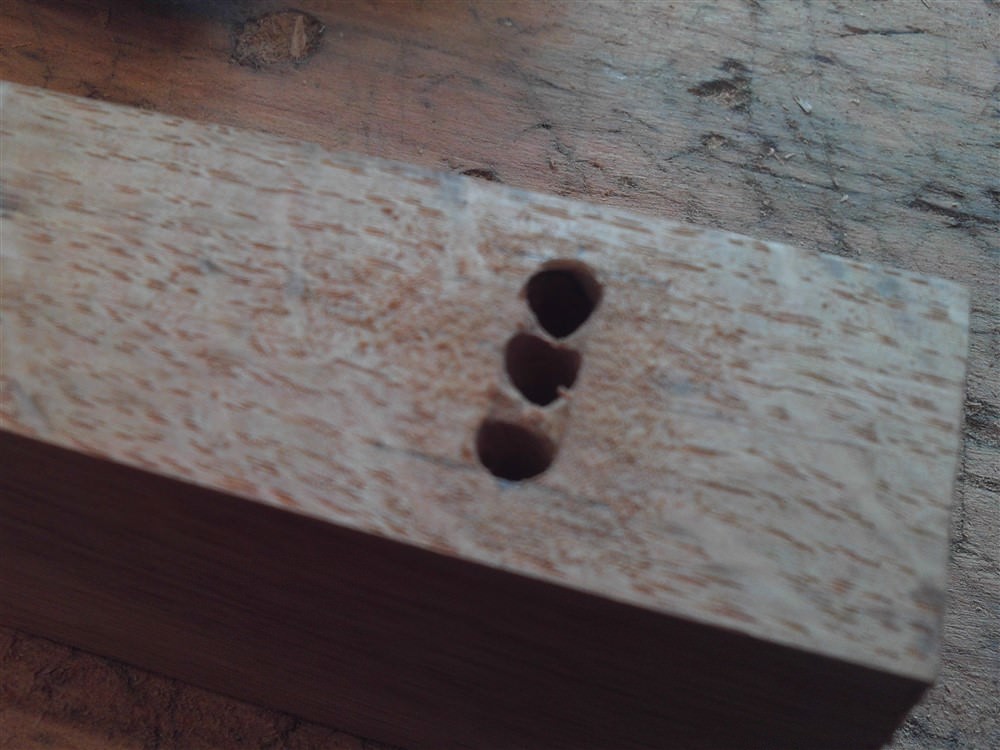
Full length full width shavings. Operator error led to a not perfect "wall", but I'll improve. Finally, I drill a hole in it so I could hang it on the wall, and added some Danish Oil (it's only a tool!!):
Oops, out of focus. Sorry. It's oak, and looks like the off cut from under an arched brace. I know it's seasoned because:
Yeah, it's been drying for almost 7 years. The shape is somewhat fortuitous, and this is another make-it-up-at-the-bench job. I simply cut it to length. The curved shape made securing it flat on the bench quite awkward. I marked out the bed angle (45 degrees.........well, it's a plane, after all). I also marked out the other side of the cut out, against which the wedge will thrust:
I often chisel to a knife line to give be a good edge to work from:
I then cut down slightly away from the line so I could quickly chop out the bulk of the waste with a chisel without fear of damaging the finished edges:
Then carefully chisel down the faces:
Note the right hand edge is slightly undercut. The scrap piece was cut to the angle to give me a guide.
Luckily, I just happen to have a router plane, so I cleaned up the bottom with that:
Then a little scallop for the chisel handle:
Here I tried out the roughed-out wedge:
Then it was just a whole lots of shaping and finishing. Remember, the wedge has a skewed top edge so that it locks into the housing rather than flopping out.
I shaped the end of the wedge to act as a sort of chip-breaker, and throw the shavings off to the side (ooh look, blood!):
The guide is a simple bit of wood screwed to the bottom with slotted holes for screw adjustment. I thought that if it was quite big it would have a good reference when making narrow rebates:
Time to give it a whirl:
Ooops!
I took a bit more off the end of the wedge, and fiddle about with the depth a bit, but got it working really nicely:
Full length full width shavings. Operator error led to a not perfect "wall", but I'll improve. Finally, I drill a hole in it so I could hang it on the wall, and added some Danish Oil (it's only a tool!!):
