


jimi43
Established Member
Hi HC
I decided to take it one step at a time from this point...
First I cut down the old iron so that I got an idea of the handling once I make a parallel iron....and did more work on the staining and polishing of the infill....
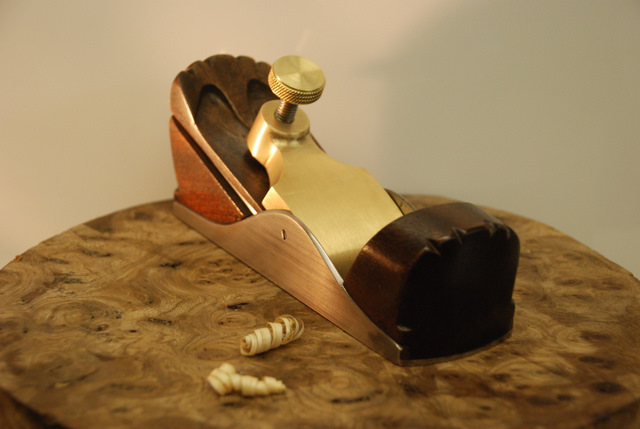
Then I mirrored the wool from the back wedge to the front tote...
I think this works enough...I think it would be too much to mirror the whole ram's head at the front...this would create an inbalance....do you agree?
Now to find a 2009 two pound coin...
They do exist but the bank and post office don't have any....more searching!!
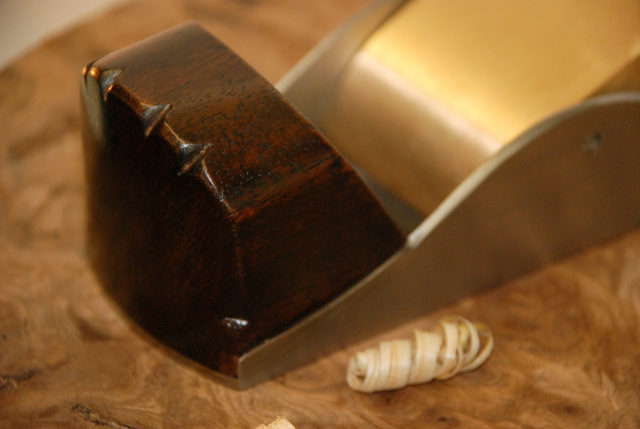
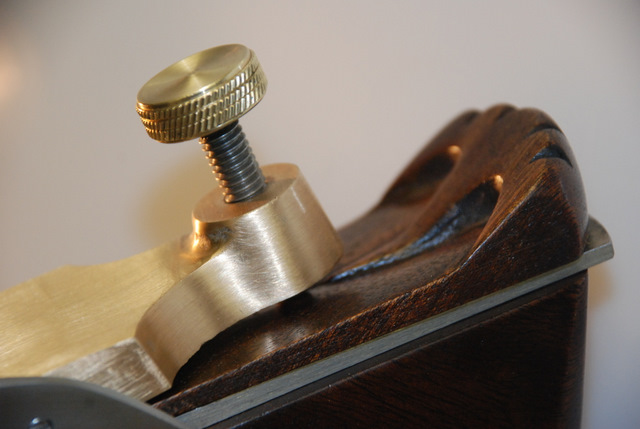
Derek...on your wedge...does the tip go all the way under the lever cap or does it fall short. For mine it is currently under the front lip of the lever cap along with the front of the iron but I think I would prefer to cut it back so that the tip of the cap presses down directly on the front of the iron...this makes more sense to me but before I cut it back, I need your opinion mate....
Cheers guys....
Jim
I decided to take it one step at a time from this point...
First I cut down the old iron so that I got an idea of the handling once I make a parallel iron....and did more work on the staining and polishing of the infill....
Then I mirrored the wool from the back wedge to the front tote...
I think this works enough...I think it would be too much to mirror the whole ram's head at the front...this would create an inbalance....do you agree?
Now to find a 2009 two pound coin...
They do exist but the bank and post office don't have any....more searching!!
Derek...on your wedge...does the tip go all the way under the lever cap or does it fall short. For mine it is currently under the front lip of the lever cap along with the front of the iron but I think I would prefer to cut it back so that the tip of the cap presses down directly on the front of the iron...this makes more sense to me but before I cut it back, I need your opinion mate....
Cheers guys....
Jim
