Jill
Member
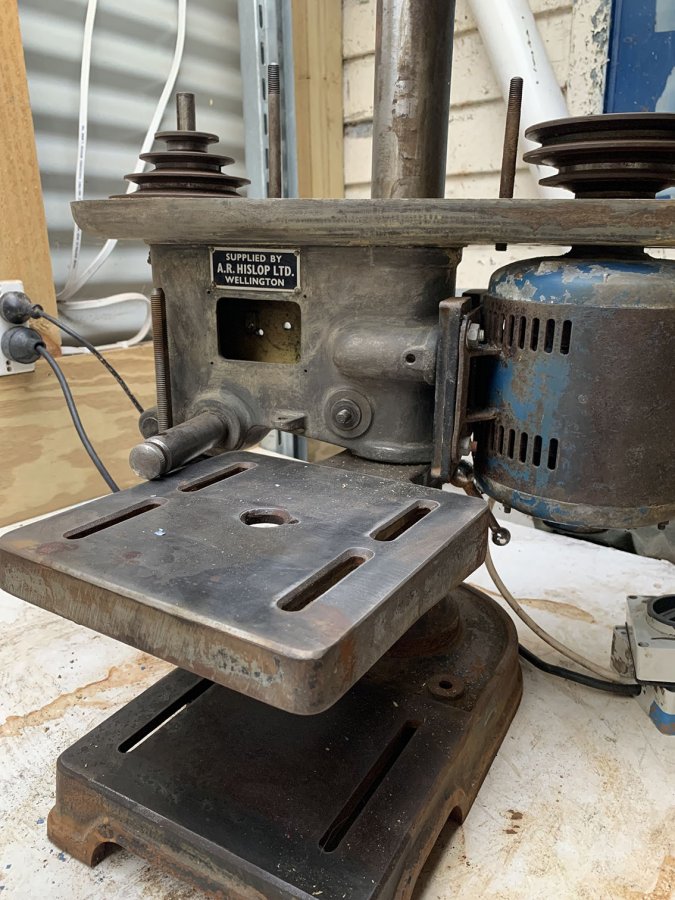
Hi folks - I’m posting from NZ, I’ve inherited a fobco drill press from my Dad, know nothing about them - but keen to use it. It seems in good condition, probably little to moderate use over the years.
The chuck turned beautifully smoothly - until I decided to soak it in vinegar to shiny it up. I was mortified to find a few days later it was jamming up. I’ve managed to loosen it with lots of wd40, and its better but still stiff. Not sure if I can lubricate this from the top? Not keen on taking it right off. Any do’s and don’ts to help this would be appreciated.
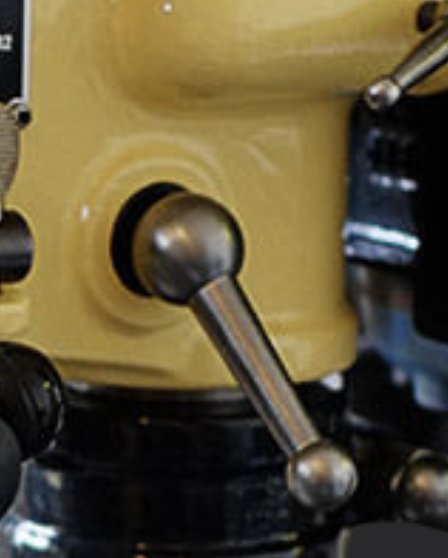
Also, trying to remove the top - when turning the big knobs (very stiff) after a rotation a cracking sound rings out.. am I damaging something?
I’m a woodworker, graphic designer, but never tackled anything like this snd nervous to inadvertently damage.
Jill
The chuck turned beautifully smoothly - until I decided to soak it in vinegar to shiny it up. I was mortified to find a few days later it was jamming up. I’ve managed to loosen it with lots of wd40, and its better but still stiff. Not sure if I can lubricate this from the top? Not keen on taking it right off. Any do’s and don’ts to help this would be appreciated.
Also, trying to remove the top - when turning the big knobs (very stiff) after a rotation a cracking sound rings out.. am I damaging something?
I’m a woodworker, graphic designer, but never tackled anything like this snd nervous to inadvertently damage.
Jill