DBT85
Established Member
By then there may well be a ligtlyused Dewalt for sale!


DBT85":270cht53 said:If I need a double top plate I need to know before I start nailing things together. Rafters will be on top of studs which is why I haven't had a double top plate until now.
DBT85":320p5fwv said:These frames will be secured to the first sole plate (beded on the mortar and dpc and strapped down)
Its to take any unevenness out between the bricks and the wood and bed the DPC so there is no gaps between it and the bricks which would let water through. It gives a solid even bed and is used to make sure everything is level, if you’re a few mm out it can Level it all up with the frames sitting perfect.Fil":20tw4f9o said:Either way whats the idea behind the mortar? And not just bricks / DPC / Timber?
Great progress things starting to take shape. Nice to get away from the cement trades.DBT85":2g4lledo said:Just as well as I'd already started.
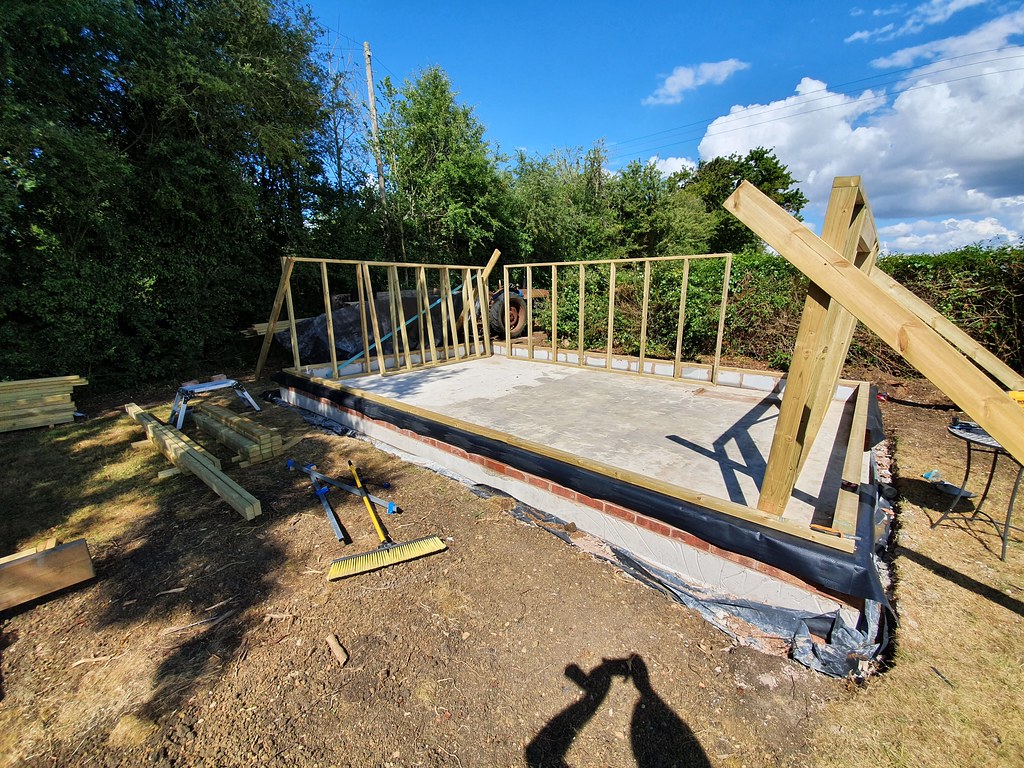
Early finish today. 4 of the 6 frames are done, just the 2 for the window wall to go and I can't do those till I have more timber. Hopefully that will be tomorrow.
Lets hope I can get timber tomorrow. Just need 5x 3m 50x100.
Fil":21pzvota said:These frames will be secured to the first sole plate (beded on the mortar and dpc and strapped down)
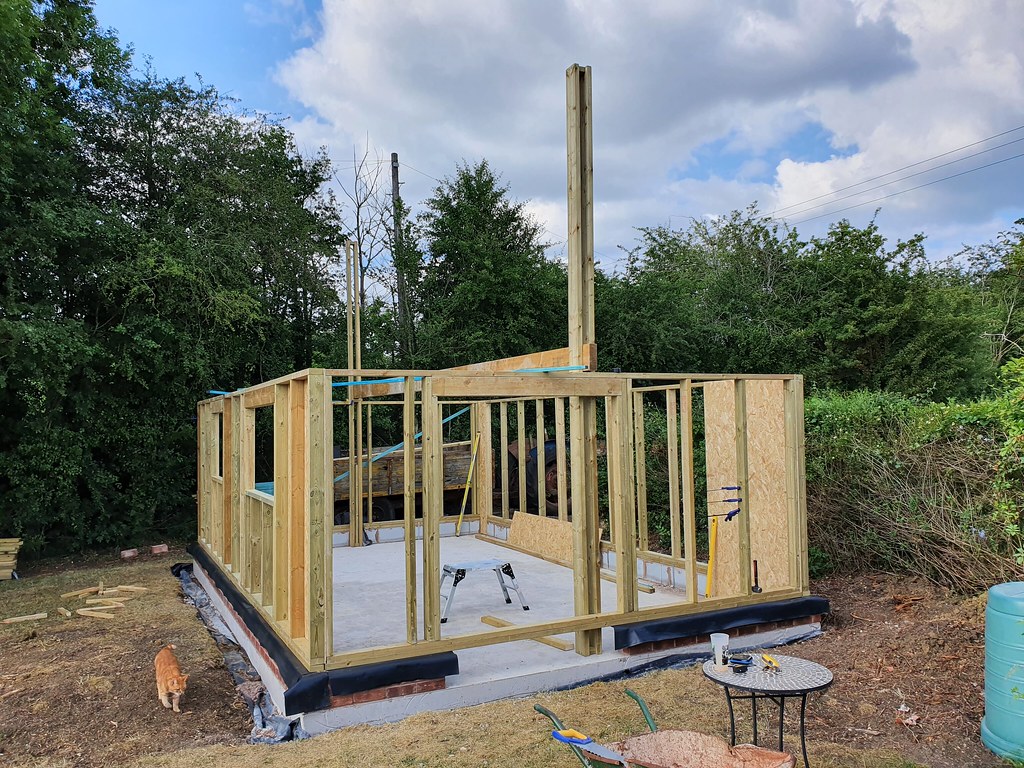
Ha yeah its a bit long now, that's why I'm putting in the link in the OP so people can jump through it.owen":21pzvota said:Cracking on now, nice one; but cant help thinking why didn't you just leave the walls laying down until your ready to fix them in place? They're likely to twist being proped like that. Can't believe this thread has 25 pages and the walls haven't even been built yet :lol:
Fil":3kh7cxg3 said:DBT85":3kh7cxg3 said:These frames will be secured to the first sole plate (beded on the mortar and dpc and strapped down)
have you put mortar on the top ( 2nd course ) of bricks then dpc and then the timber?
OR
dpc on top of bricks then mortar between dpc an timber?
Either way whats the idea behind the mortar? And not just bricks / DPC / Timber?
MikeG.":lslubtiu said:I don't know why this is an issue as it is one of the quickest and simplest little steps in the whole build process, and produces a higher quality result than the alternative.
DBT85":lslubtiu said:I don't think it's an issue Mike, just people like me who've never done anything like this trying to understand.

Chunky Monkey":z1kgtptx said:It's a bit too late now, but it might be worth checking what size OSB your supplier actually stocks (if you haven't already done so). I recently bought 12 sheets of 9mm OSB for a roofing project and my supplier only had 1200x2400
Enter your email address to join: