Dandan
Established Member
Hi all,
After just 2 or 3 years of practice, Mrs Dandan has decided i'm finally ready to make something for inside the house (i'm not so sure).
Our new sofa is a weird scale, it looks like a normal 3 seat sofa but is about 25% bigger in all dimensions, meaning that when you sit on it facing forward, your knees are nowhere near the edge and your feet and calves stick out over empty space, making it a bit uncomfortable.
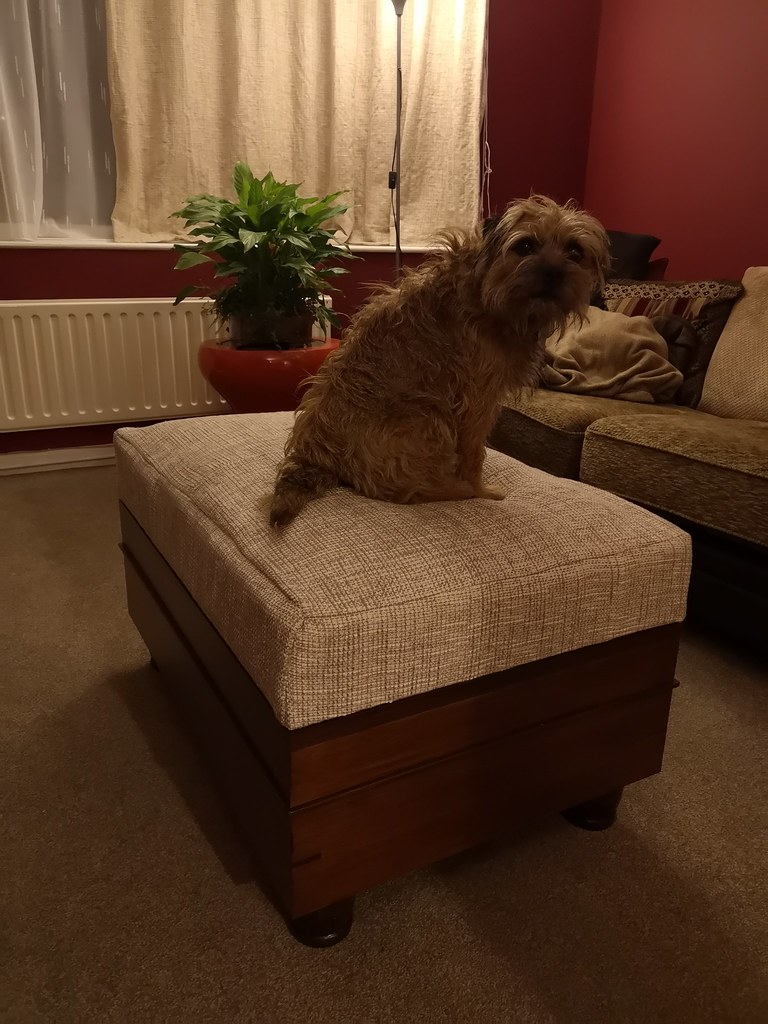
We tend to sit at either end in a chaise longue (sp) style as it's plenty big enough, but a better solution would be a big footstool that we can share.
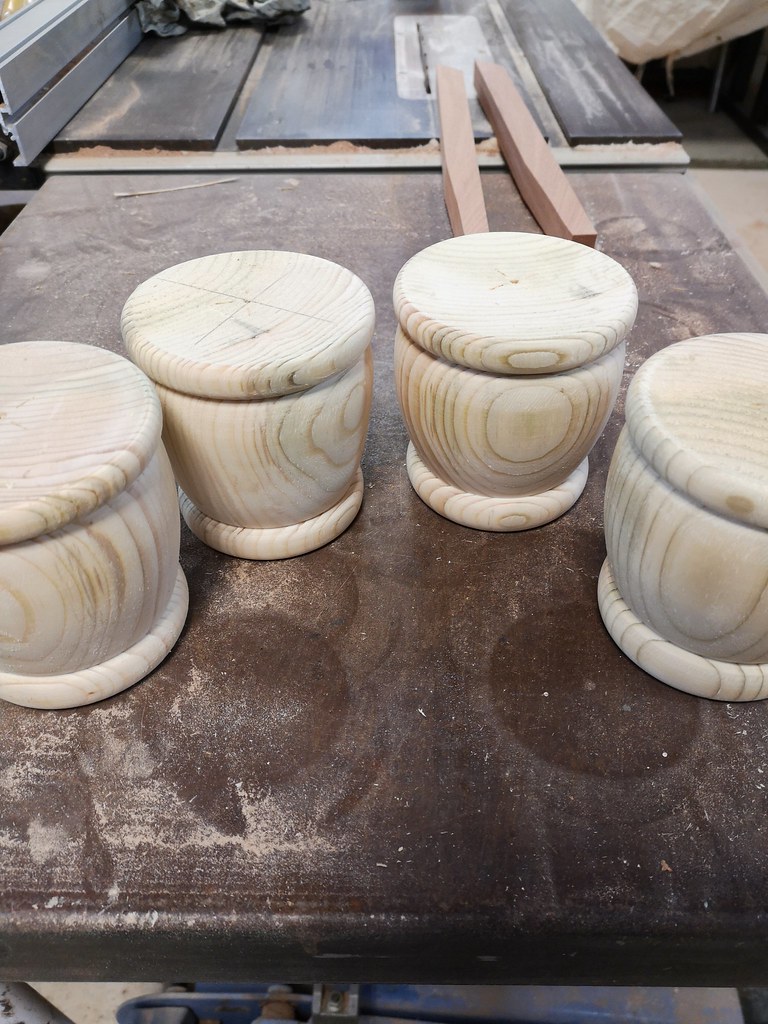
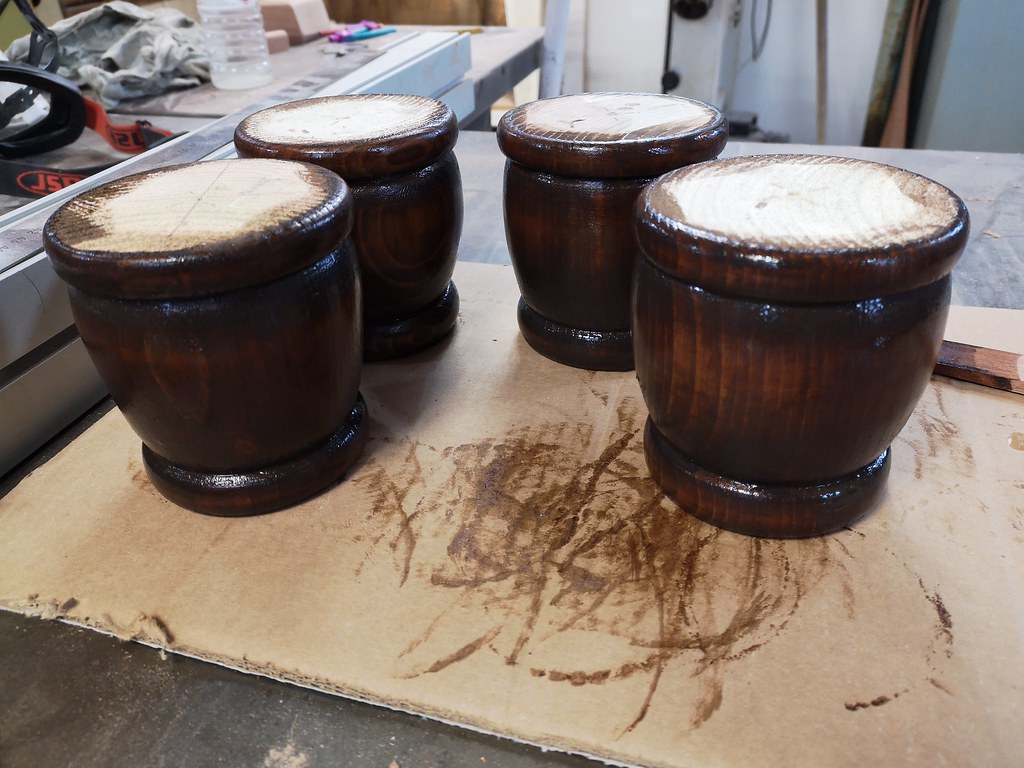
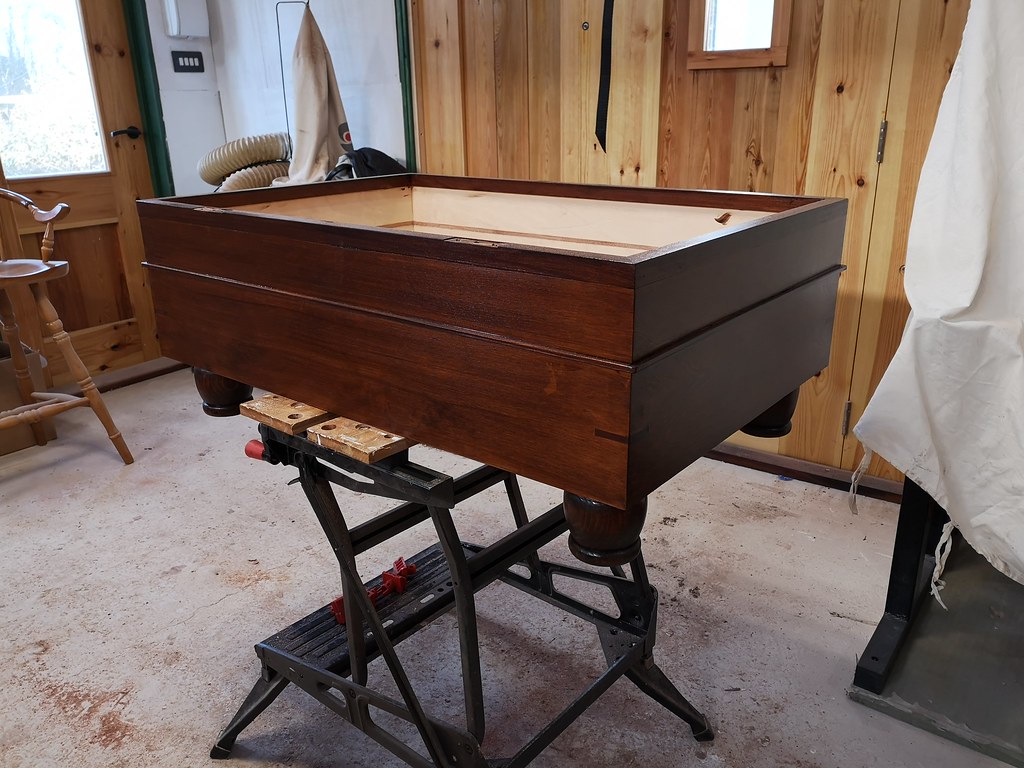
It's going to be a simple build, basically a box with a cushioned lid and stumpy, turned feet. We have some left over fabric from the curtains for the lid, and the non-fabric parts of the sofa are dark brown leather and dark stained wood so I will stain the whole box dark to match.
I have most of a sheet of 18mm birch ply that I decided to use for the box, it has a decent surface finish but I won't feel too guilty about staining it.
Before I cut the mitres for this, I double checked my chop saw alignment, as I noticed some cuts I made a few days ago looked a little skew-wiff and I wasn't sure if it was my saw or my new mitre bench. Turns out the saw was off, its the makita 1019 with two parallel fixed slide bars and the blade was not planar to the bars, causing it to cut a slight diagonal even when the blade is square to the fence. Obviously I should have checked this 6 months ago when I bought it, and I was concerned I was now stuck with a very pricey wonky bit of kit, but the internet saved the day. By loosening 2 screws and using a length of wood to twist the guide bars slightly, you can bring the blade planar with the rails, phew. A few test cuts on a wide board at the max and min slide positions and I got it lined up perfectly.
So I cut the mitres and glued the box up, lo and behold, it was the squarest thing that's come off the mitre saw yet!

I'm very much winging this build, it's more of a way to practice a few techniques rather than a design study, so i'm just sort of seeing what happens rather than sticking to a rigid plan.
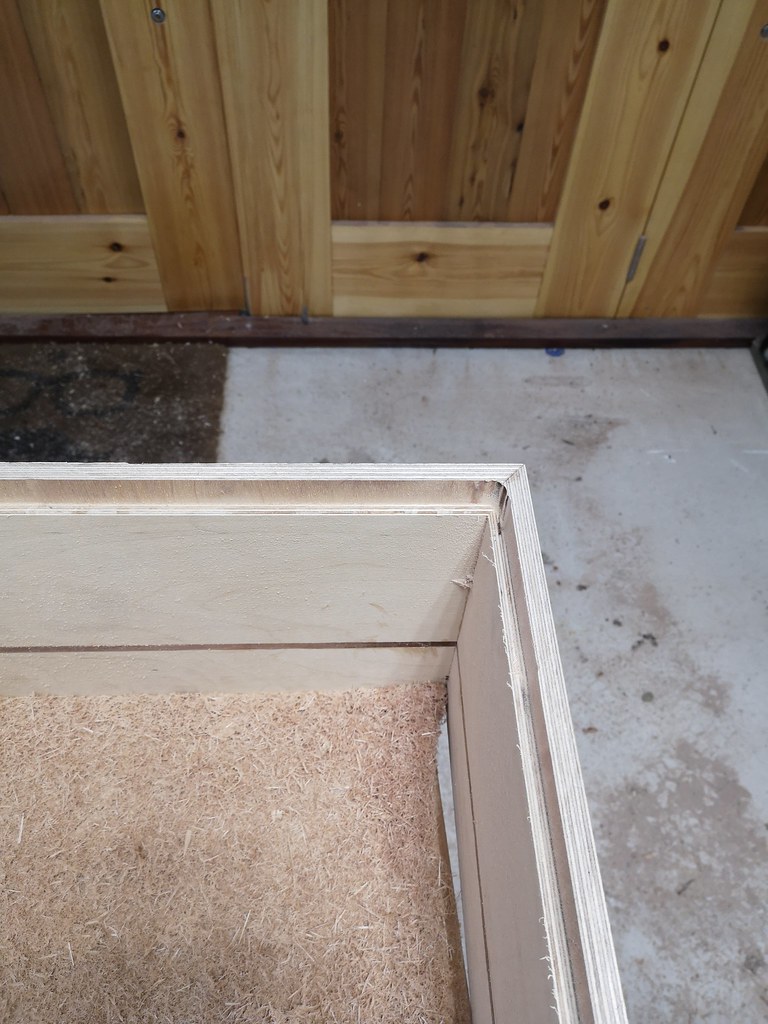
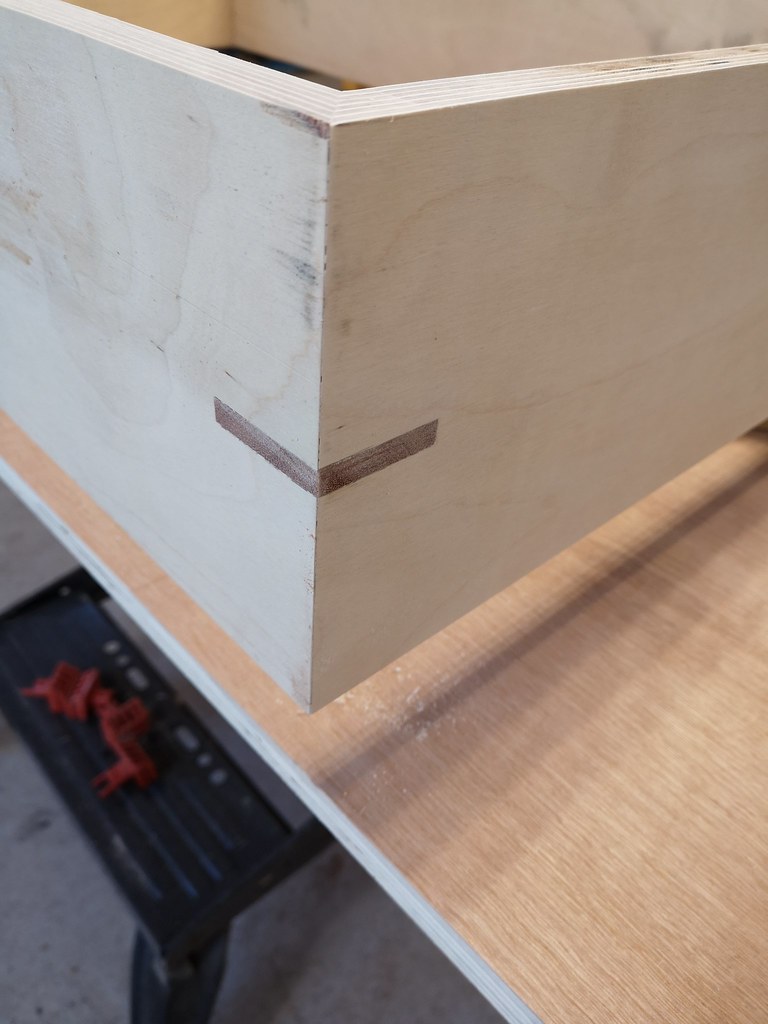
With that in mind, I decided a little bit of strengthening was in order, just because i could really, so I jigged up a diagonal mount on the cross cut sled and cut slots to insert some little biscuits in the corners:
The front of the sofa is leather trimmed and it has a horizontal welt line 2/3rds of the way up it. I wanted to mimic this on the footstool but the welt is so small that I thought just gluing a tiny strip of wood on would be fiddly and prone to being dislodged over time. My solution? Cut the box in half! Kind of like a bandsaw box (but done on the table saw), I cut the top third of the box off, inserted a flat strip of wood that protruded slightly all round and glued the box back together.
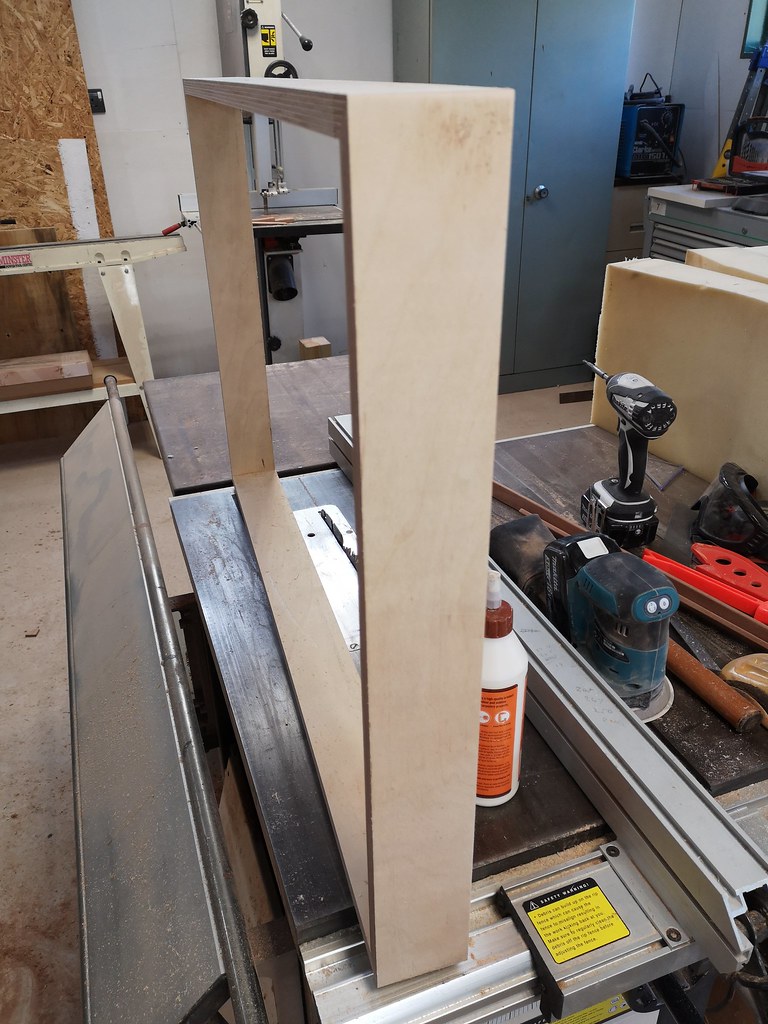
The top third of the box:
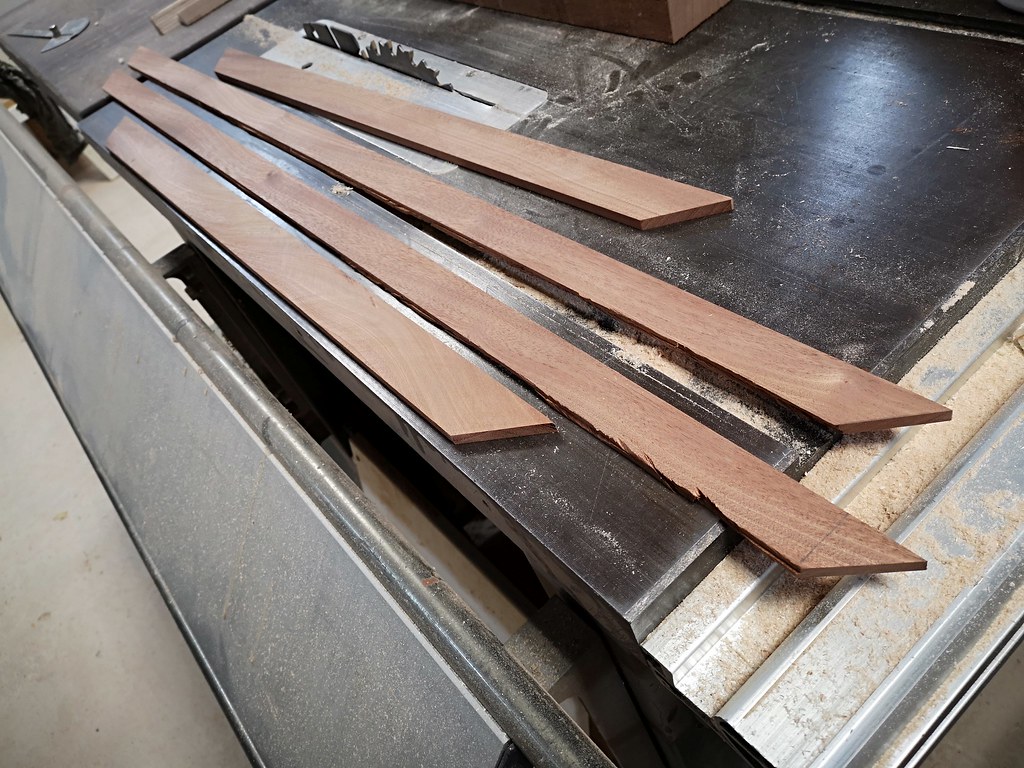
The insert pieces (not yet cut to width, excuse the raggedy edge):
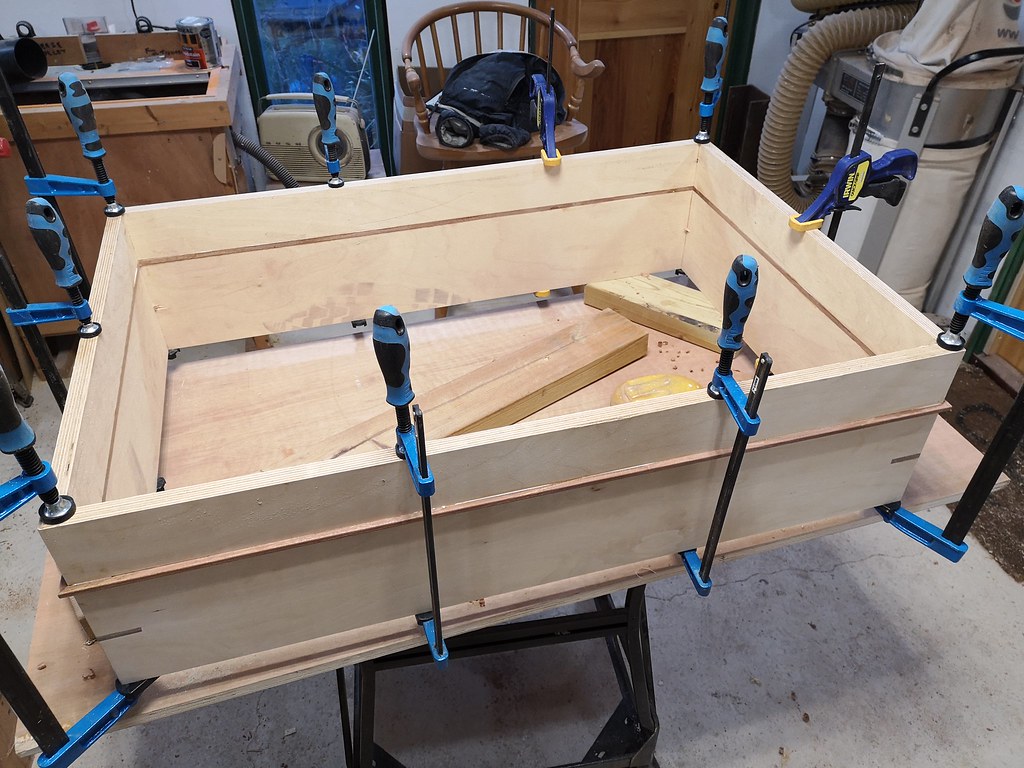
And it glued back together:
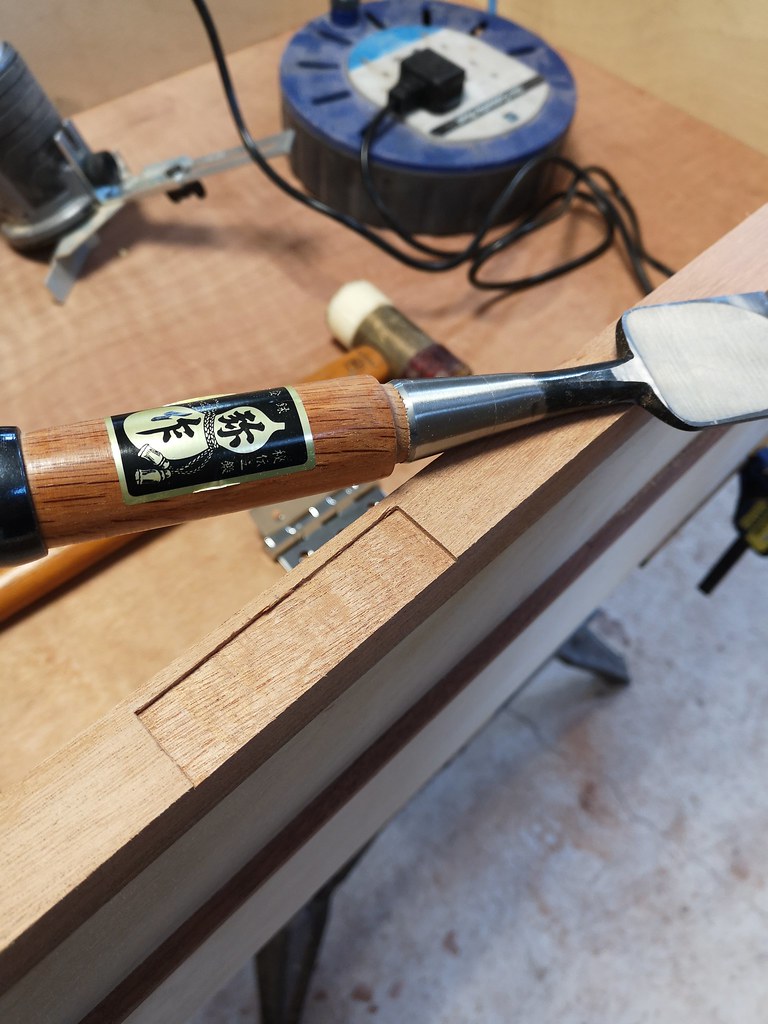
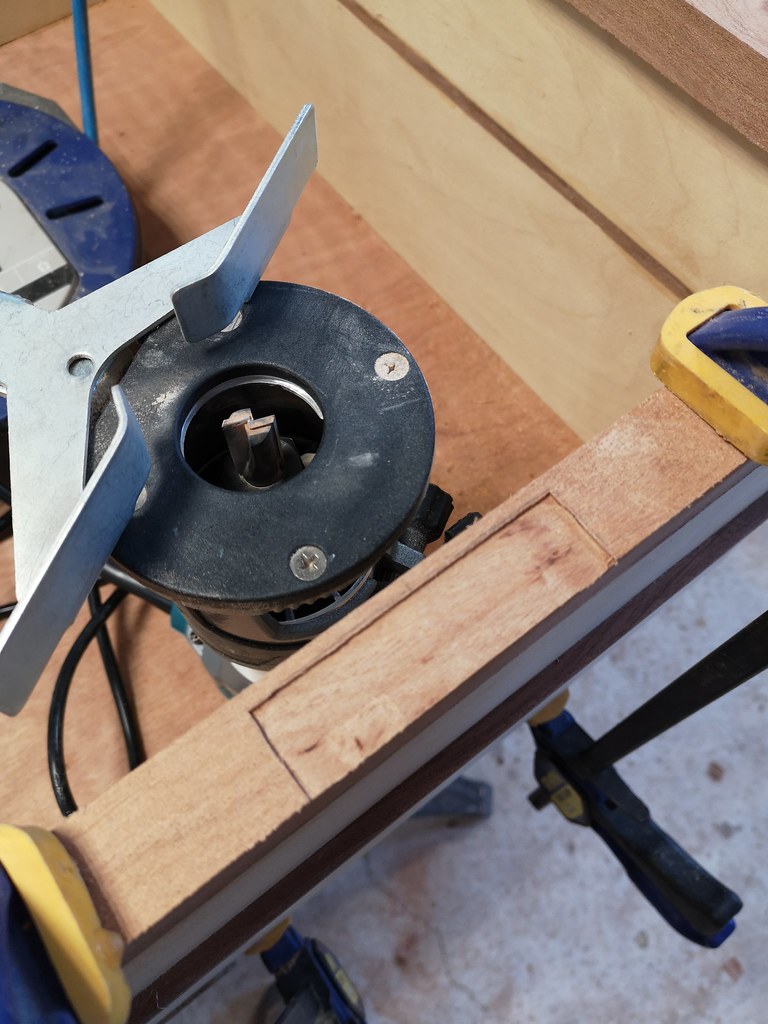
One thing I forgot to do was to cut a rebate in the bottom edges to accept a base board. I could have hauled out the full size router and built some guides to do it in situ, or tried to maneuver it around on the router table, but I took the true enthusiast option and used it as an excuse to buy a trim router.")
That arrives today hopefully so I can crack on this weekend.
After just 2 or 3 years of practice, Mrs Dandan has decided i'm finally ready to make something for inside the house (i'm not so sure).
Our new sofa is a weird scale, it looks like a normal 3 seat sofa but is about 25% bigger in all dimensions, meaning that when you sit on it facing forward, your knees are nowhere near the edge and your feet and calves stick out over empty space, making it a bit uncomfortable.
We tend to sit at either end in a chaise longue (sp) style as it's plenty big enough, but a better solution would be a big footstool that we can share.
It's going to be a simple build, basically a box with a cushioned lid and stumpy, turned feet. We have some left over fabric from the curtains for the lid, and the non-fabric parts of the sofa are dark brown leather and dark stained wood so I will stain the whole box dark to match.
I have most of a sheet of 18mm birch ply that I decided to use for the box, it has a decent surface finish but I won't feel too guilty about staining it.
Before I cut the mitres for this, I double checked my chop saw alignment, as I noticed some cuts I made a few days ago looked a little skew-wiff and I wasn't sure if it was my saw or my new mitre bench. Turns out the saw was off, its the makita 1019 with two parallel fixed slide bars and the blade was not planar to the bars, causing it to cut a slight diagonal even when the blade is square to the fence. Obviously I should have checked this 6 months ago when I bought it, and I was concerned I was now stuck with a very pricey wonky bit of kit, but the internet saved the day. By loosening 2 screws and using a length of wood to twist the guide bars slightly, you can bring the blade planar with the rails, phew. A few test cuts on a wide board at the max and min slide positions and I got it lined up perfectly.
So I cut the mitres and glued the box up, lo and behold, it was the squarest thing that's come off the mitre saw yet!
I'm very much winging this build, it's more of a way to practice a few techniques rather than a design study, so i'm just sort of seeing what happens rather than sticking to a rigid plan.
With that in mind, I decided a little bit of strengthening was in order, just because i could really, so I jigged up a diagonal mount on the cross cut sled and cut slots to insert some little biscuits in the corners:
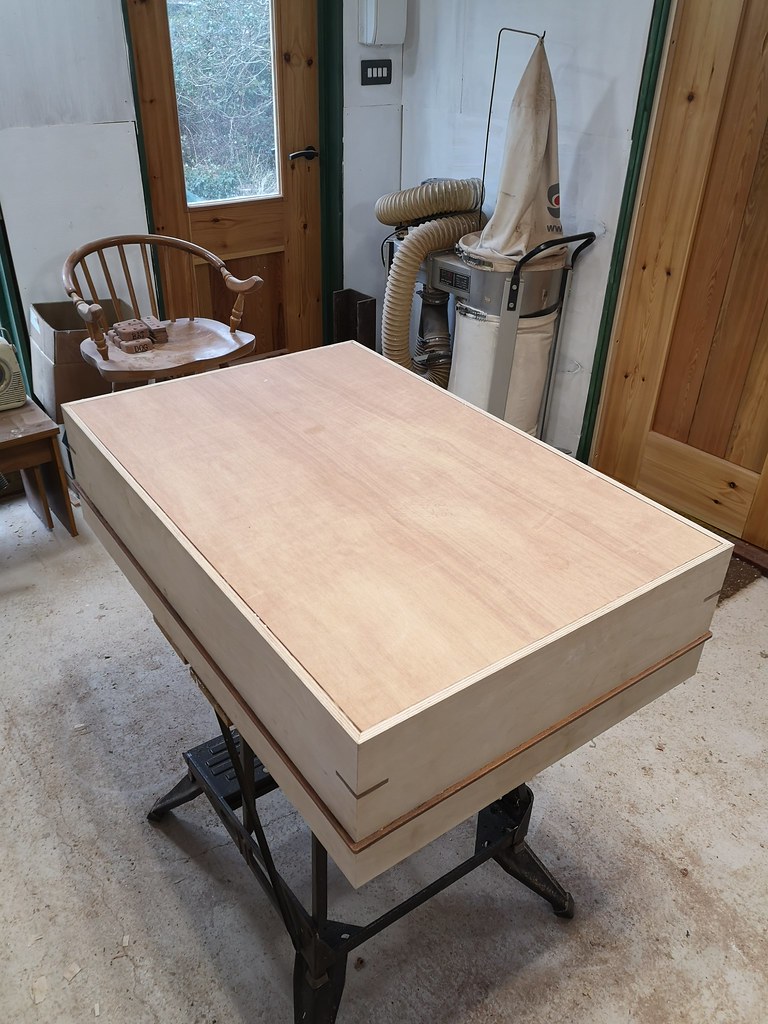
The front of the sofa is leather trimmed and it has a horizontal welt line 2/3rds of the way up it. I wanted to mimic this on the footstool but the welt is so small that I thought just gluing a tiny strip of wood on would be fiddly and prone to being dislodged over time. My solution? Cut the box in half! Kind of like a bandsaw box (but done on the table saw), I cut the top third of the box off, inserted a flat strip of wood that protruded slightly all round and glued the box back together.
The top third of the box:
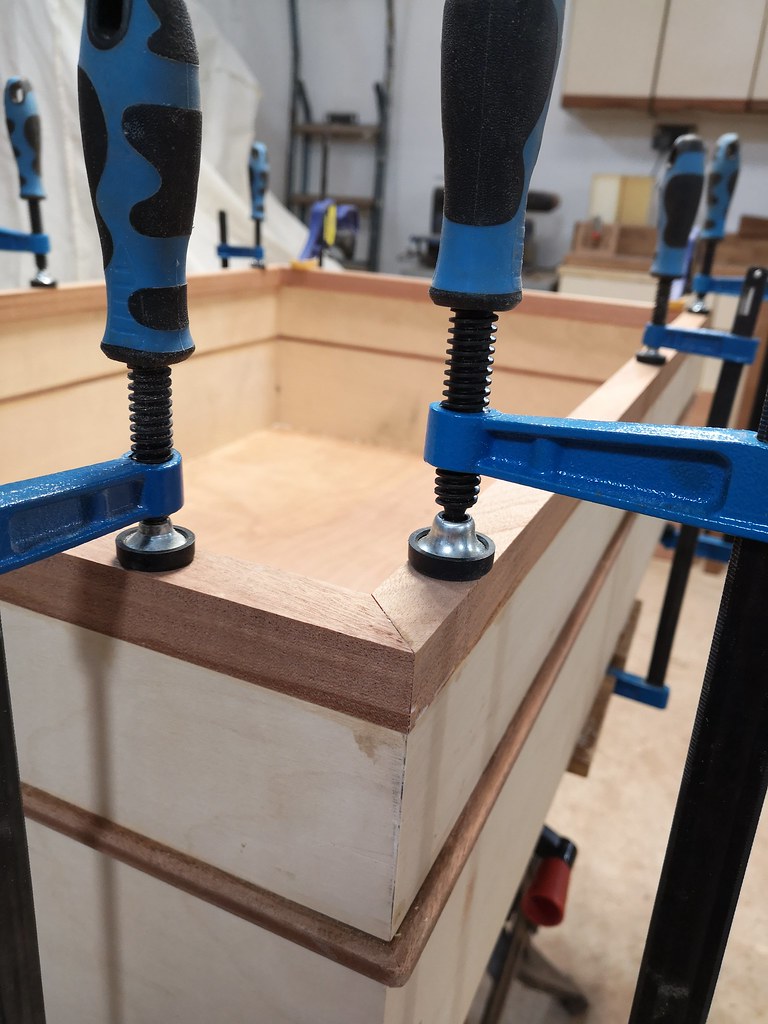
The insert pieces (not yet cut to width, excuse the raggedy edge):
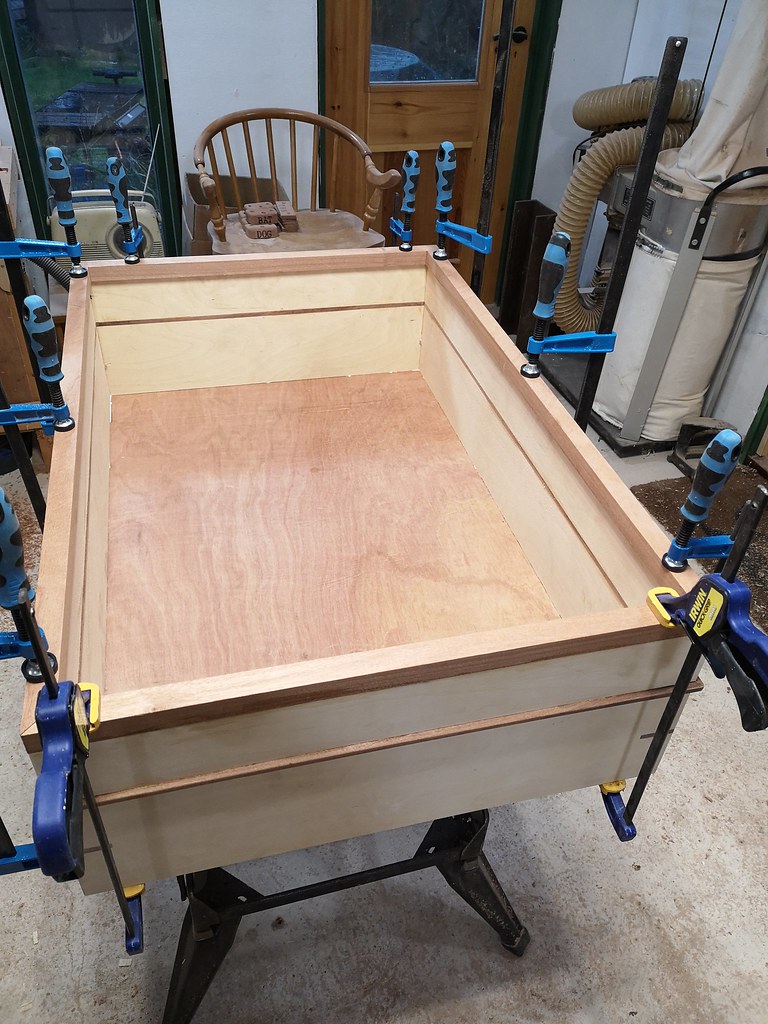
And it glued back together:
One thing I forgot to do was to cut a rebate in the bottom edges to accept a base board. I could have hauled out the full size router and built some guides to do it in situ, or tried to maneuver it around on the router table, but I took the true enthusiast option and used it as an excuse to buy a trim router.
That arrives today hopefully so I can crack on this weekend.