Having just re read the entry guidelines to make sure that my part 2 doesn't have to match my part 1 I just noticed that the guidelines say we can make any number of entries so I may have another go at something else as well. Perhaps my Part 1 design who knows - anyway... Apologies in advance for the poor quality of some of the pics which were taken on a mobile phone when I had forgotten to take the proper camera with me.
The design is for a cabinet on legs with fused and bonded glass panel doors. The glass having its own design and will come later, first I have to get the bits and pieces of the cabinet together. It all started life as a pile of ash I brought home from the last "open day" held at Yandles. Some of you may remember me trying to stuff it all into the back of the car.
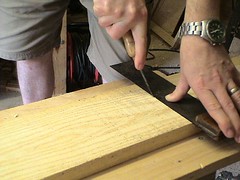
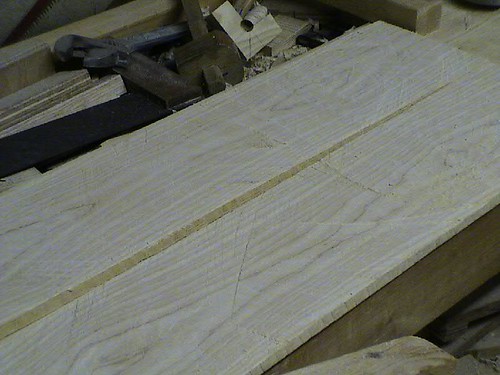
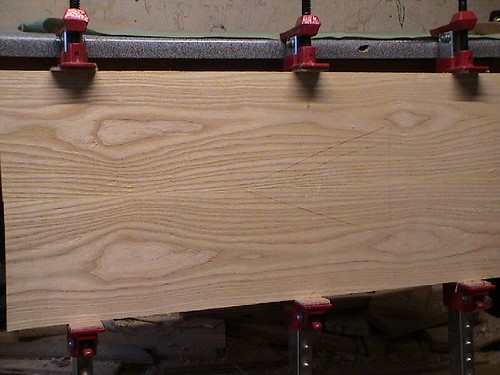
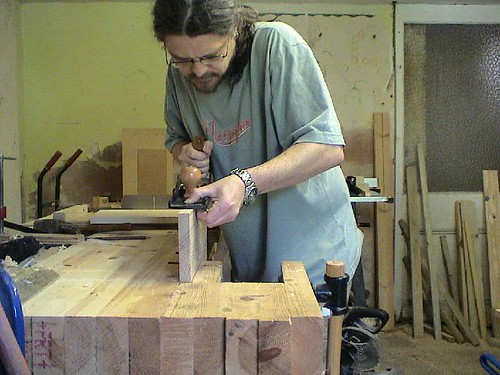
The ash was mostly an inch thick and planked about 9 to 10 inches wide. First job was to cut the panel pieces and legs to rough size. Then, in time honoured tradition one side made flat, followed by one edge
Panels were flipped over and then thicknessed from roughly an inch down to 20mm (apologies for the mixed measures).
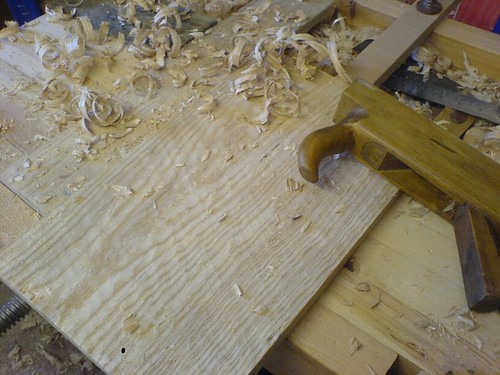
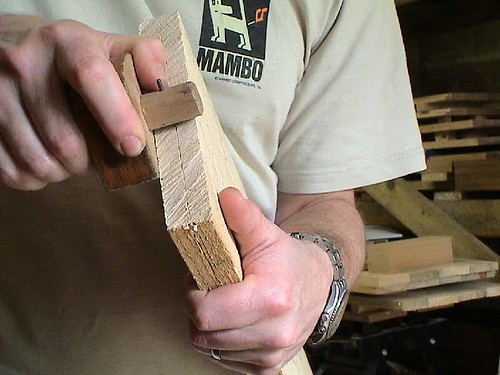
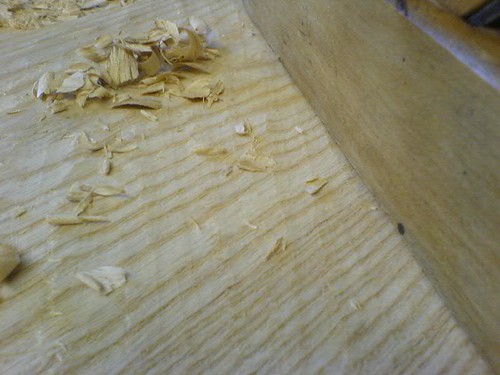
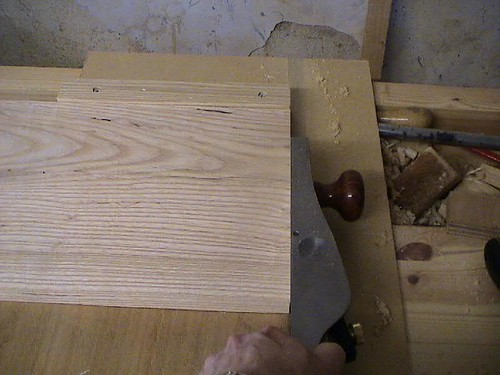
This was done with a wee wooden scrub with a narrow but aggressive blade. It leaves quite a scalloped texture as with most scrubs as you can see here
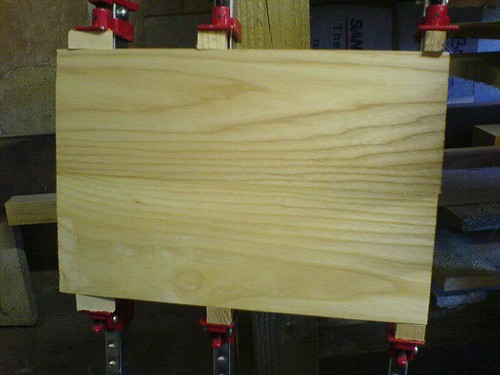
I didn't have enough of the wide boards to get four sides of the cabinet out so the base is two boards edge laminated.
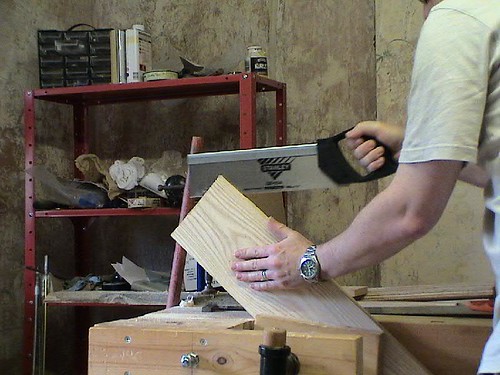
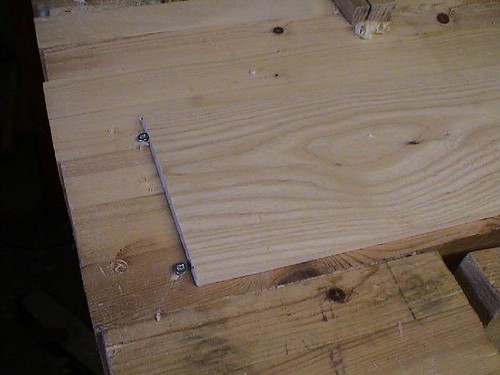
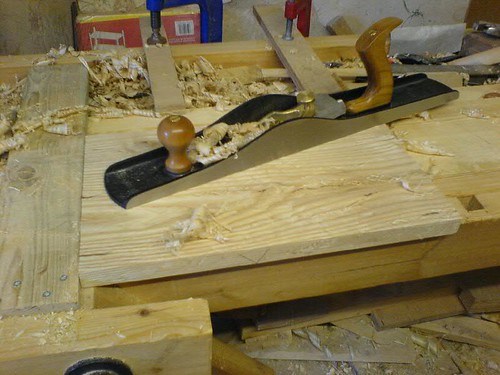
Boards were sized,
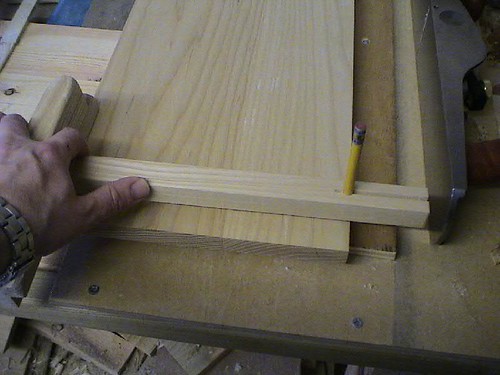
shot square and trimmed to final dimension.
The low angle jack gives an incredible level of finish on the shooting board. Imagine what it would be like if I could sharpen it properly") Those tracks are indicative of a "not totally sharp" or otherwise imperfectly prepped blade I think.
Those tracks are indicative of a "not totally sharp" or otherwise imperfectly prepped blade I think.
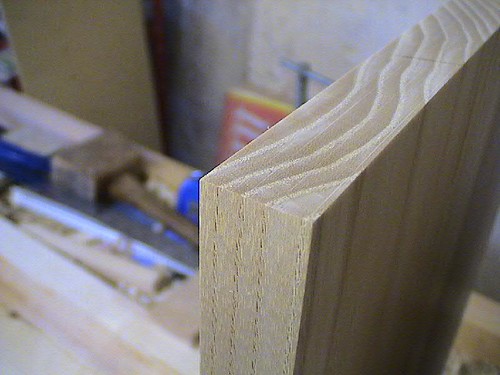
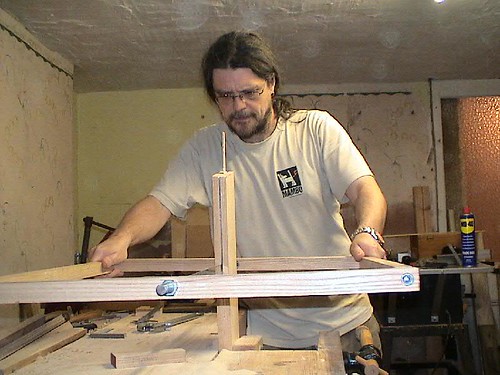
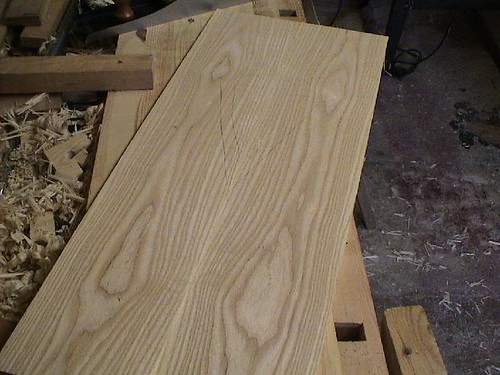
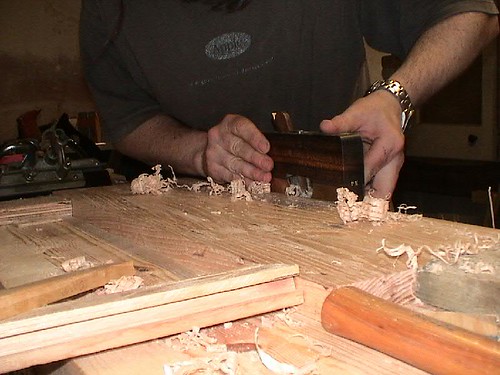
Jointed (excuse my ugly mug creeping into shot).
Leaving quite a nice finish I thought.
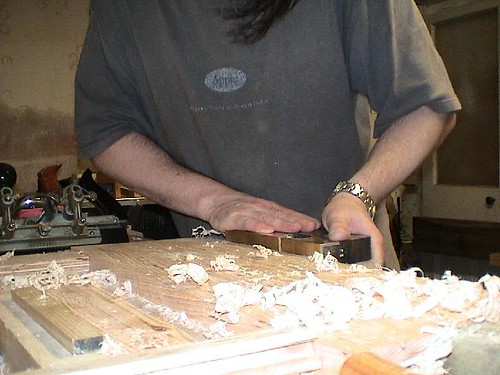
Smoothed and in most cases scraped
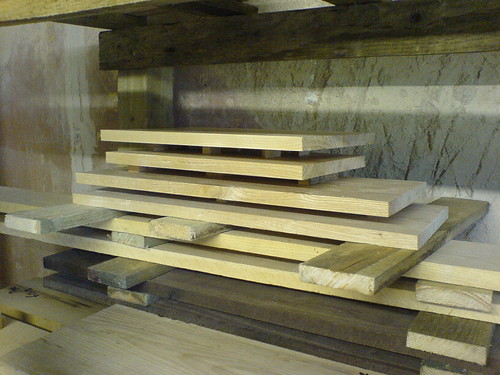
While all this was going on and in between times the pieces were stored in stick on the rack.
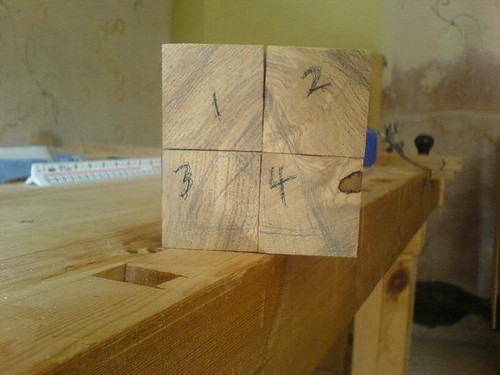
Then the legs. Four of them cut to rough length and jointed and smoothed as with the cabinet panels. I found the legs harder to plane than the boards. I found the tendency was that any error that crept in was chased around the four faces. But eventually I got four flat surfaces at right angles to each other. Legs were marked with a triangle and numbered, hopefully I wont stick mortises in the wrong place.
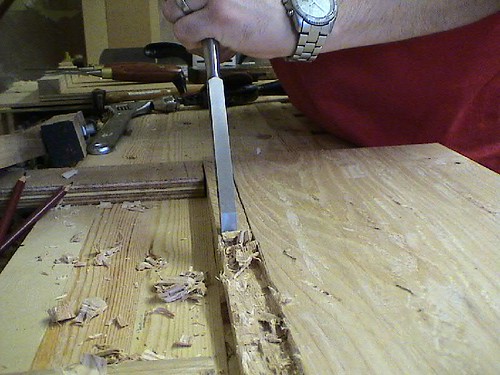
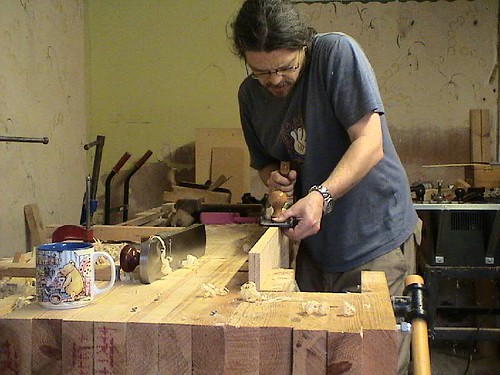
Speaking of mortises
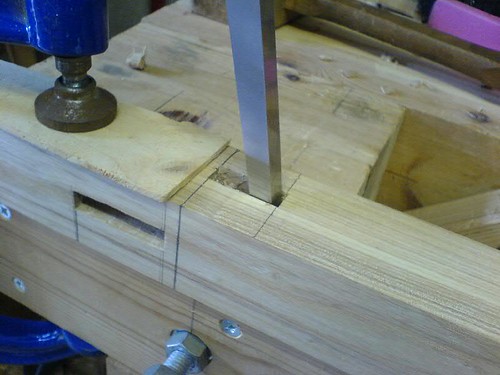
There are eight to do in the legs, two each. chopped out with an LN mortise chisel. Stretchers and rails were cut and tenons formed on the ends. Sorry no pics of the tenons, they were chewed out of the wood with a nasty B&Q back saw and then planed into shape with a shoulder plane.
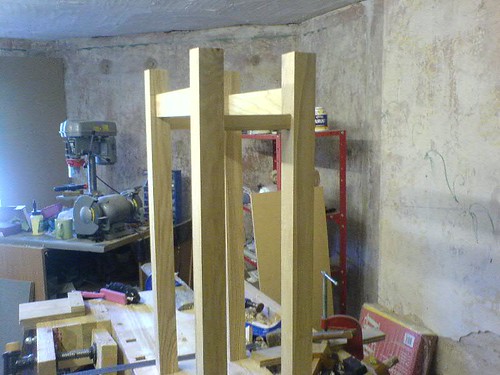
Et voila - the base. I just need to trim the legs to length and tidy up the legs a bit.
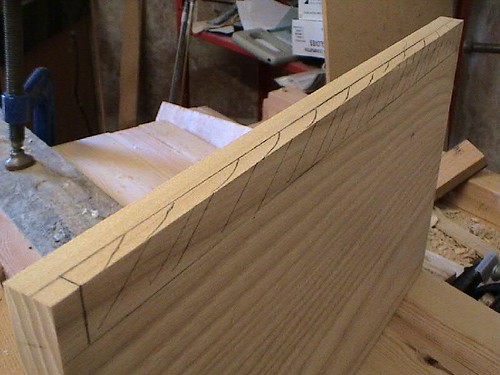
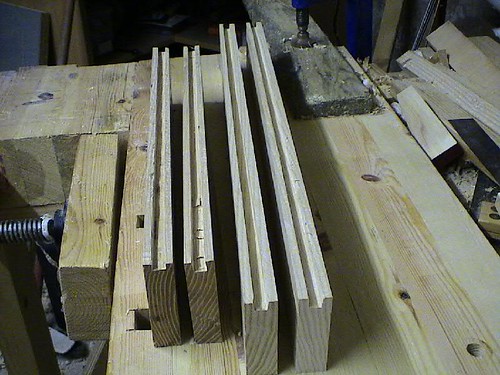
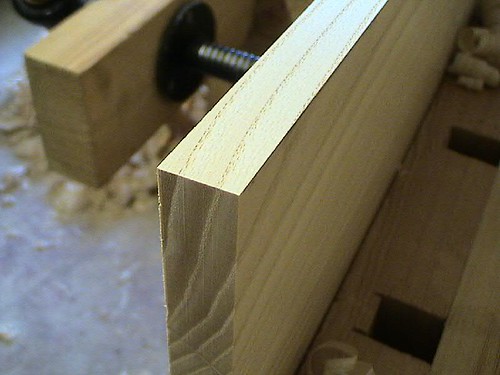
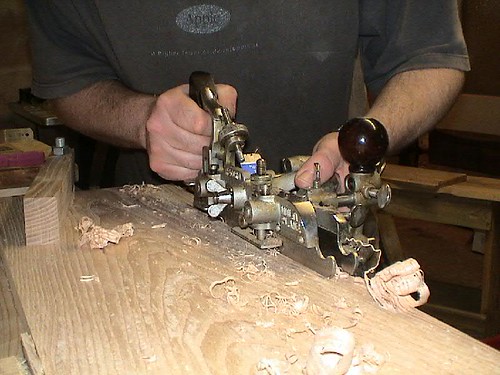
Next step rebate at the back for the back panel to fit into. I've only done the two side pieces of the cabinet section as yet, hoping for a big splurge over the weekend. The rebates at the side are straight through. Top and bottom boards of course have to be stopped (any advice on the stoppy bit anyone)?
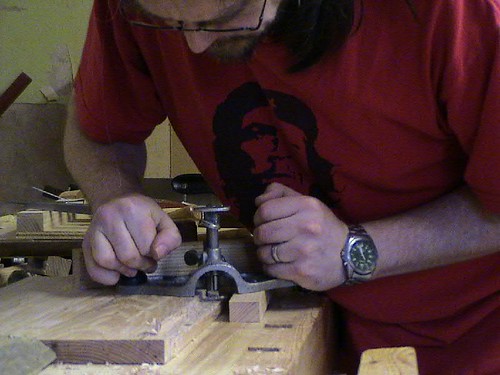
The rebates were formed initially with a Record 405 which came from the bay and then tidied up with a shoulder plane. The biggest problem I had was not having some kind of holddown to keep the board flat on the bench. Because the board had to overhang the edge of the bench so avoid fouling the fence it had a tendency to flip up. I knocked up a threaded bar and offcut affair as a hold down. Ill add a better picture of that later.
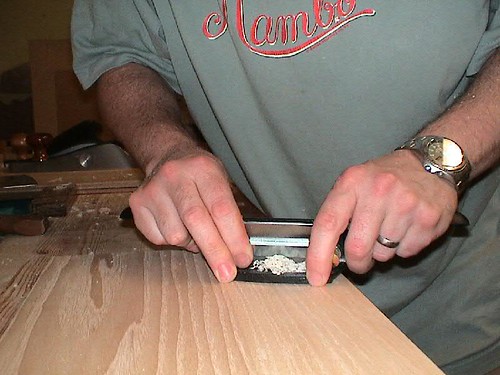
Rebates tidied up with the Phillyplane (TM)
That's as far as Ive got at the moment. More soon.
Cheers Mike
The design is for a cabinet on legs with fused and bonded glass panel doors. The glass having its own design and will come later, first I have to get the bits and pieces of the cabinet together. It all started life as a pile of ash I brought home from the last "open day" held at Yandles. Some of you may remember me trying to stuff it all into the back of the car.
The ash was mostly an inch thick and planked about 9 to 10 inches wide. First job was to cut the panel pieces and legs to rough size. Then, in time honoured tradition one side made flat, followed by one edge
Panels were flipped over and then thicknessed from roughly an inch down to 20mm (apologies for the mixed measures).
This was done with a wee wooden scrub with a narrow but aggressive blade. It leaves quite a scalloped texture as with most scrubs as you can see here
I didn't have enough of the wide boards to get four sides of the cabinet out so the base is two boards edge laminated.
Boards were sized,
shot square and trimmed to final dimension.
The low angle jack gives an incredible level of finish on the shooting board. Imagine what it would be like if I could sharpen it properly
Those tracks are indicative of a "not totally sharp" or otherwise imperfectly prepped blade I think.
Jointed (excuse my ugly mug creeping into shot).
Leaving quite a nice finish I thought.
Smoothed and in most cases scraped
While all this was going on and in between times the pieces were stored in stick on the rack.
Then the legs. Four of them cut to rough length and jointed and smoothed as with the cabinet panels. I found the legs harder to plane than the boards. I found the tendency was that any error that crept in was chased around the four faces. But eventually I got four flat surfaces at right angles to each other. Legs were marked with a triangle and numbered, hopefully I wont stick mortises in the wrong place.
Speaking of mortises
There are eight to do in the legs, two each. chopped out with an LN mortise chisel. Stretchers and rails were cut and tenons formed on the ends. Sorry no pics of the tenons, they were chewed out of the wood with a nasty B&Q back saw and then planed into shape with a shoulder plane.
Et voila - the base. I just need to trim the legs to length and tidy up the legs a bit.
Next step rebate at the back for the back panel to fit into. I've only done the two side pieces of the cabinet section as yet, hoping for a big splurge over the weekend. The rebates at the side are straight through. Top and bottom boards of course have to be stopped (any advice on the stoppy bit anyone)?
The rebates were formed initially with a Record 405 which came from the bay and then tidied up with a shoulder plane. The biggest problem I had was not having some kind of holddown to keep the board flat on the bench. Because the board had to overhang the edge of the bench so avoid fouling the fence it had a tendency to flip up. I knocked up a threaded bar and offcut affair as a hold down. Ill add a better picture of that later.
Rebates tidied up with the Phillyplane (TM)
That's as far as Ive got at the moment. More soon.
Cheers Mike