


dedee
Established Member
Well here it is finally. After how many weeks? I've lost count.
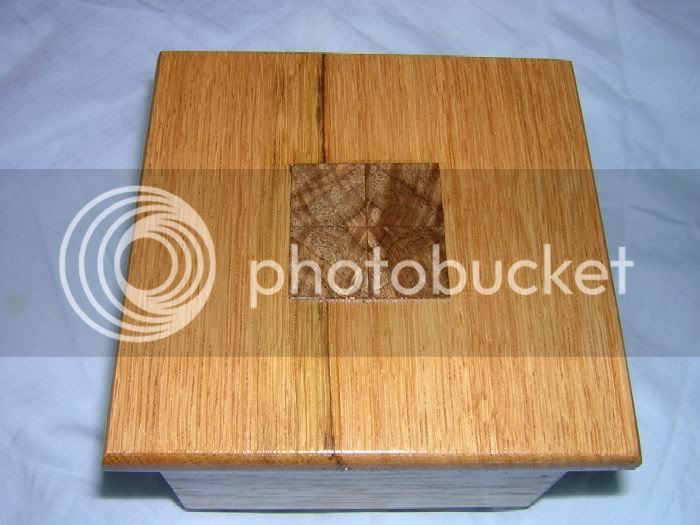
I decided to leave the grooves in the oak caused by the scraper while reducing the depth of the inlays. In the photos they do not show up at all. I guess this would have lost me points in the competition but I will put this down to experience.
I am not at all sure that I have done justice to the nicely figured walnut used for the inlay. The photo does not do it justice. If I were to cut inlays again I would like to be able to cut them much thinner and to a more uniform thickness.
The inside of the lid was routed out so that the lid rests on the outside of the box sides.
The next time I make a box like this I will try and remember to finish the inside BEFORE it is all glued up.
Dimensions approx 4"x4"x5" (lxbxh)

Finished with 6 coats of Liberon Finishing oil
For my next project I'd like to use this board which I found under about 6 coats of point & had formed part of the top of a 3 drawer chest originally located in the greenhouse when we moved into our house.
The medullar rays are outstanding, all I need to do is try and resaw it . It is about 3/4" thick about 6" wide and 3' long.

Andy
I decided to leave the grooves in the oak caused by the scraper while reducing the depth of the inlays. In the photos they do not show up at all. I guess this would have lost me points in the competition but I will put this down to experience.
I am not at all sure that I have done justice to the nicely figured walnut used for the inlay. The photo does not do it justice. If I were to cut inlays again I would like to be able to cut them much thinner and to a more uniform thickness.
The inside of the lid was routed out so that the lid rests on the outside of the box sides.
The next time I make a box like this I will try and remember to finish the inside BEFORE it is all glued up.
Dimensions approx 4"x4"x5" (lxbxh)
Finished with 6 coats of Liberon Finishing oil
For my next project I'd like to use this board which I found under about 6 coats of point & had formed part of the top of a 3 drawer chest originally located in the greenhouse when we moved into our house.
The medullar rays are outstanding, all I need to do is try and resaw it . It is about 3/4" thick about 6" wide and 3' long.
Andy
 Some what pleased it was late being finished. :wink: